ESPAÑOL
diseño propio creado en PicsArt, Margarita, Edo Nueva Esparta-Venezuela
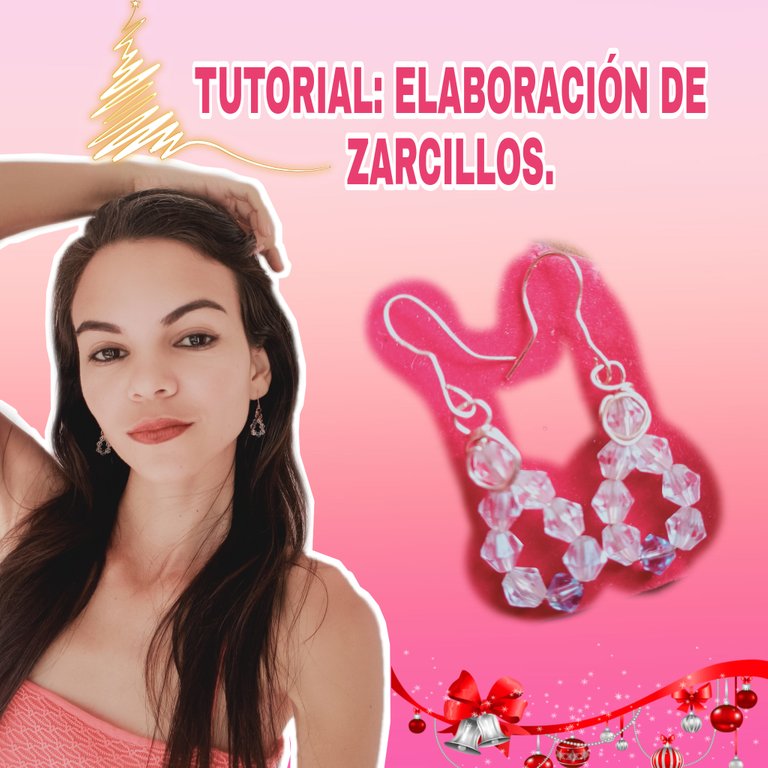
Hola amigos creativos, es para mí un placer saludarle, en esta oportunidad comparto con ustedes unos lindos zarcillos que realice bajo la técnica de alambrismo!
Siempre me ha gustado diseñar y confeccionar mis accesorios así que quiero compartir con ustedes!
Sin más preámbulos acá les dejo los pasos a seguir, En esta oportunidad usaremos los siguientes materiales:
PASO A PASO
MATERIALES
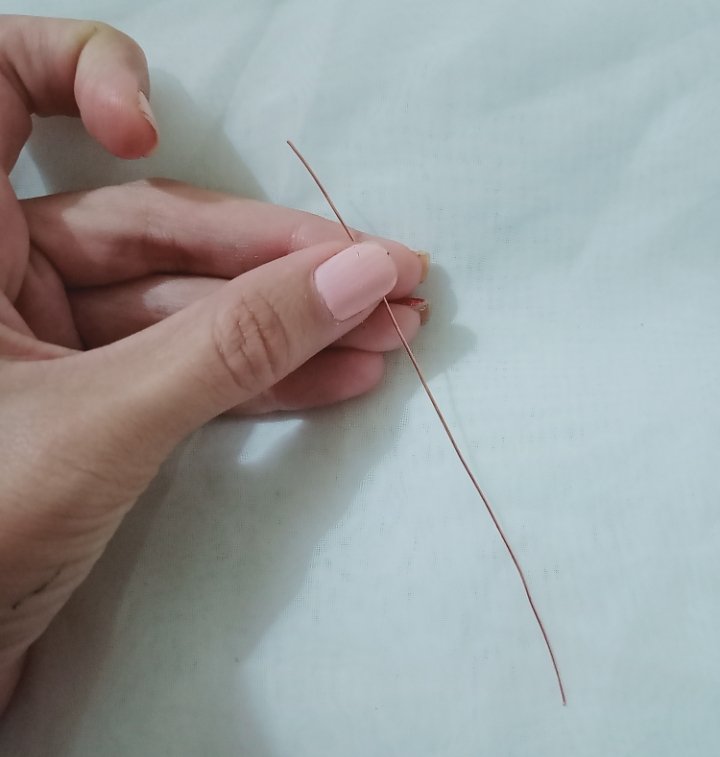
-Cobre fino.
-- piedras de tu preferencia (use 7 diamantes transparentes y 1 azul para cada zarcillo)
-pinza
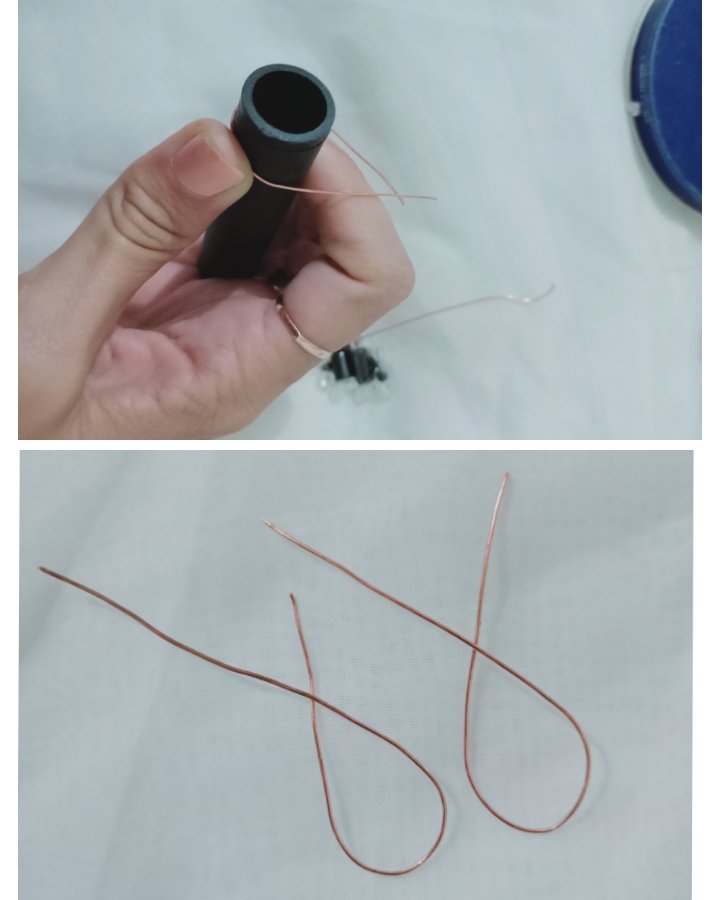
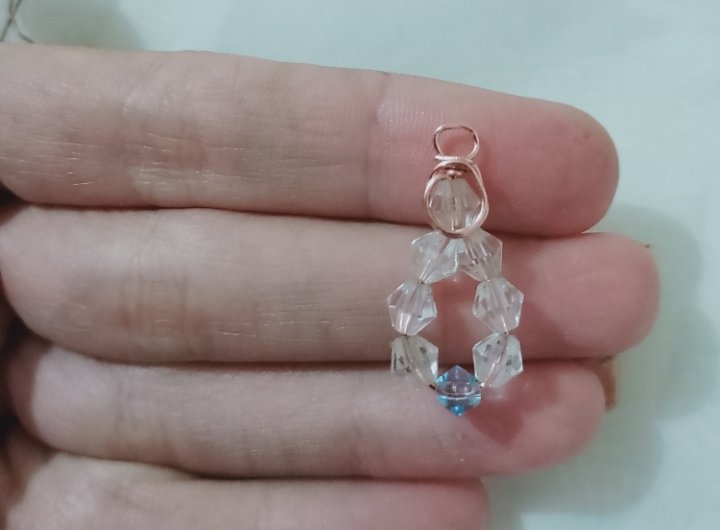
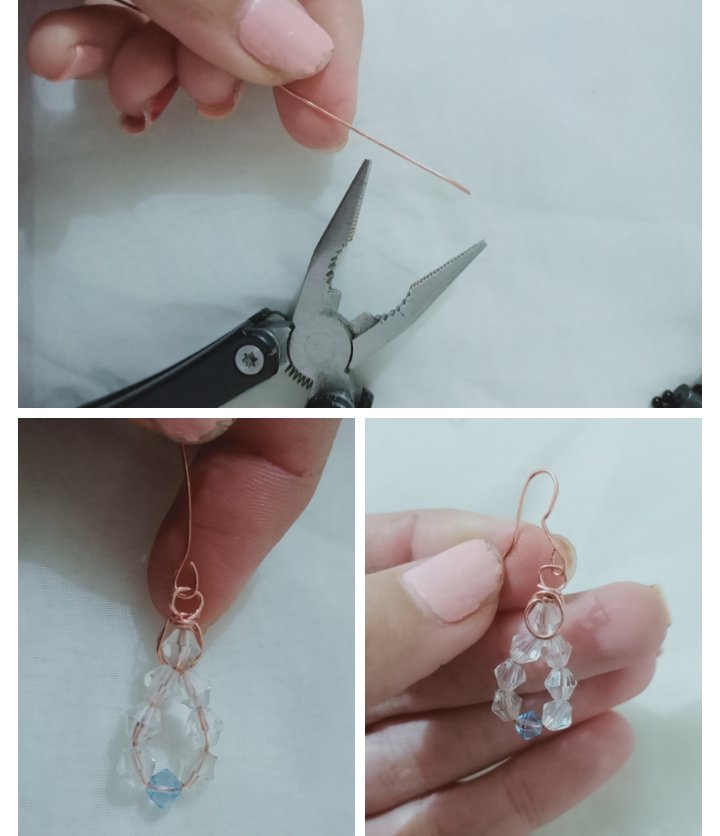
1. Tomamos el cobre fino y doblamos a la mitad, con algún instrumento circular daremos vuelta para formar especie de gota.
2. Luego introduje las piedras, para unir añadí una piedra en ambas puntas así sellamos el zarcillo.

3. Ahora con una de las puntas rodeé la piedra, dando dos o tres vueltas.
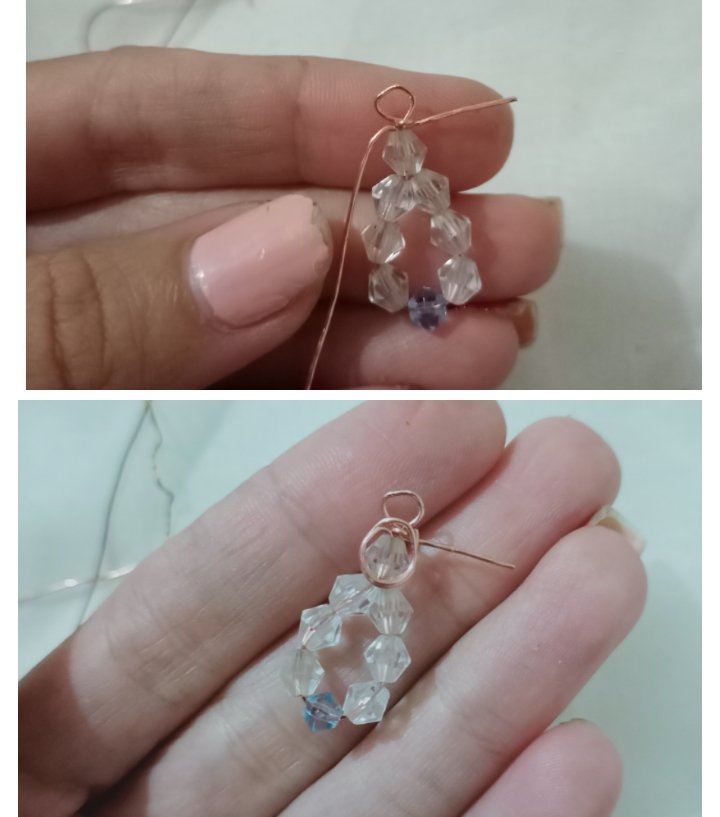
4. Con la otra punta realice la argolla que permitirá sujetar la pieza, con la pinza hice una argolla y di vuelta en la base.
5. Finalmente realice la pieza que sujetará el zarcillo a la oreja, Así tendremos listo el zarcillo.
6. Este procedimiento lo realizamos para elaborar el otro zarcillo!
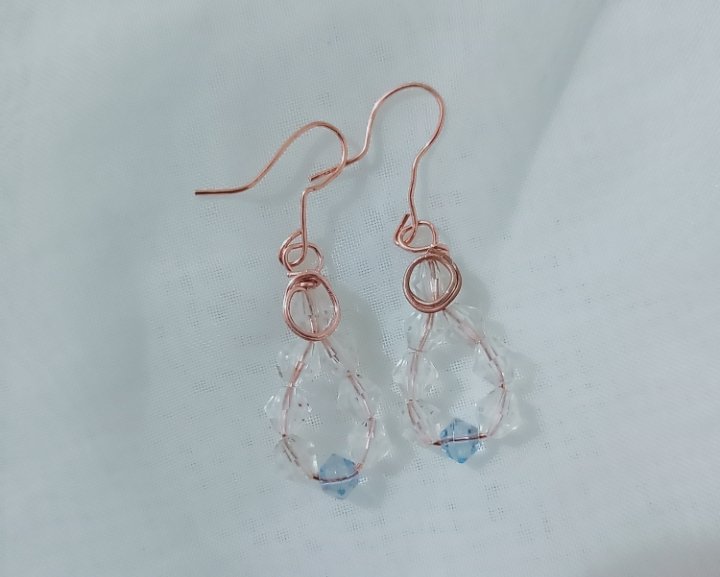
y listo, RESULTADO FINAL

RECUERDA QUE PUEDES DARLE TU TOQUE PERSONAL!.
Feliz de compartir con ustedes mi creación, espero haya sido de su agrado!
ELABORATION OF ZARCILLOS 💎
Fotografías propias tomadas con mi REALME 7i
ENGLISH
own design created in PicsArt, Margarita, Edo Nueva Esparta-Venezuela
Hello creative friends, it is a pleasure for me to greet you, this time I share with you some beautiful tendrils that I made under the wire rope technique!
I have always liked designing and making my accessories so I want to share with you!
Without further ado, here are the steps to follow. This time we will use the following materials:
STEP BY STEP
MATERIALS
-Fine copper.
-stones of your choice (use 7 transparent diamonds and 1 blue for each earring)
-gripper
1. We take the fine copper and fold in half, with a circular instrument we will turn to form a kind of drop.
2. Then I introduced the stones, to join I added a stone on both ends so we seal the tendril.
3. Now with one of the points I went around the stone, making two or three turns.
4. With the other end, make the ring that will hold the piece, with the clamp I made a ring and turned it at the base.
5. Finally, make the piece that will hold the earring to the ear, so we will have the earring ready.
6. We carry out this procedure to make the other tendril!
and voila, FINAL RESULT
REMEMBER THAT YOU CAN GIVE IT YOUR PERSONAL TOUCH !.
Happy to share with you my creation, I hope it has been to your liking!
Own photographs taken with my REALME 7i
Congratulations @venusl19! You have completed the following achievement on the Hive blockchain and have been rewarded with new badge(s):
Your next target is to reach 100 upvotes.
You can view your badges on your board and compare yourself to others in the Ranking
If you no longer want to receive notifications, reply to this comment with the word
STOPSupport the HiveBuzz project. Vote for our proposal!