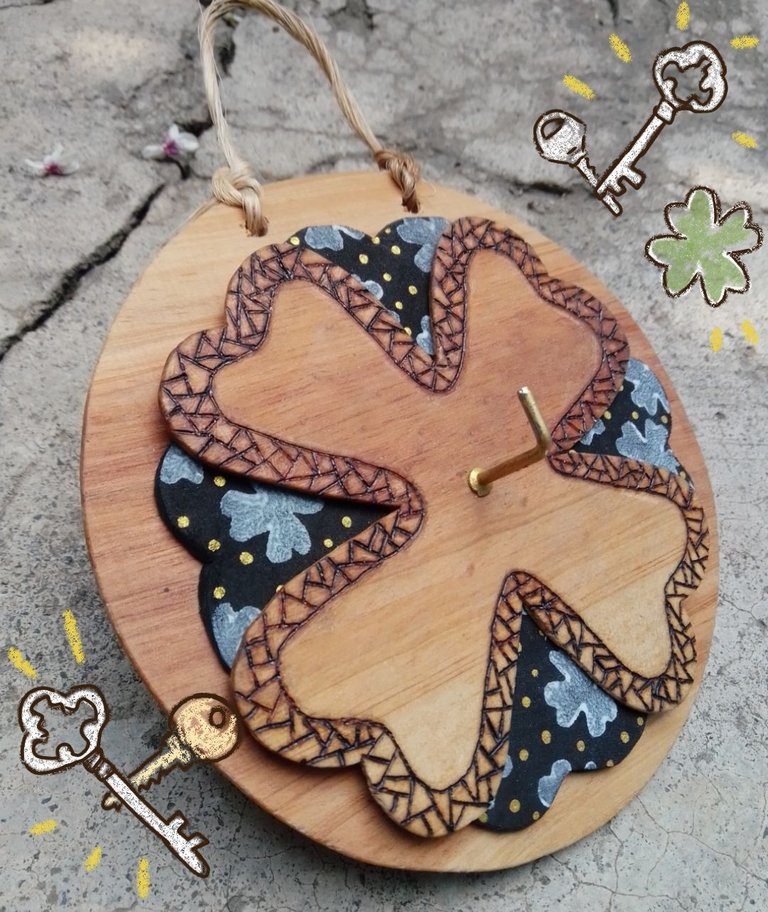
¡Saludos, amigos de hivediy!. Hoy continuamos con la segunda parte de manualidades que estoy haciendo para obsequiar a mi mamá en su cumpleaños.
De nuevo hago uso del trébol como tema central, pero no es solo porque sí, lo que pasa es que mi mamá cree en la buena y mala suerte, le gusta lo que significa y además tiene un tatuaje de un trébol, siempre me habla de eso y creo que son buenas razones, también le gusta Candy Candy y Menudo, pero esa inspiración está más difícil para materializarse 😅
El trébol del día de hoy, será parte de un bonito portallaves, vamos a ver si con esto dejan de perderse las llaves de mi mamá.
Y como yo trabajo con lo que sé hacer, hoy quise que fuera diferente y me fui por el uso de una herramienta que se usa para grabar diseños en la madera mediante corriente, un pirograbador. Como no tengo mucho manejo de la técnica, haré un diseño fácil para evitar cometer errores, porque aquí sí es verdad que no se puede borrar un error.
También hay que estar muy concentrado, es muy fácil quemarse los dedos cuando se es principiante.
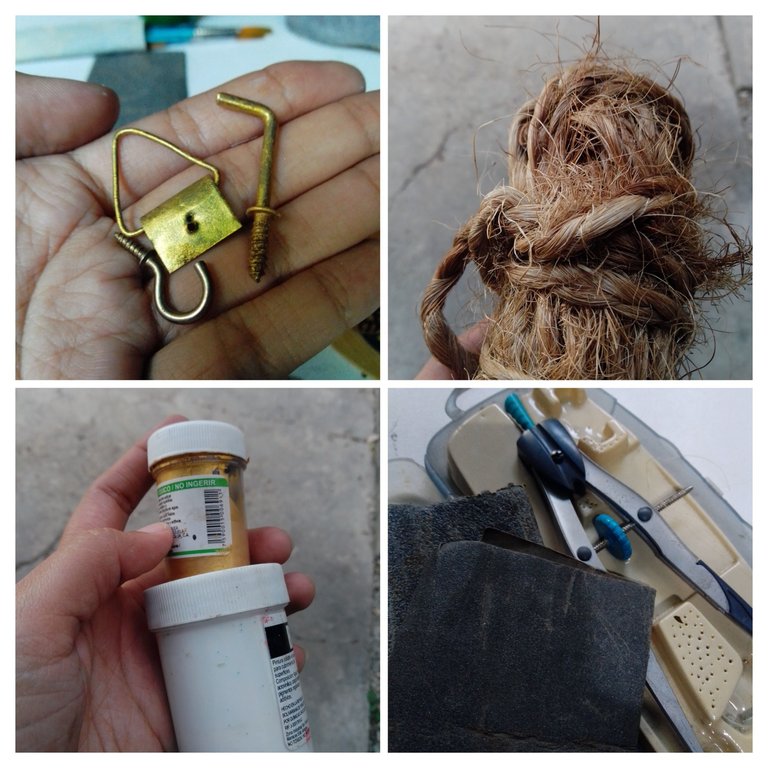
Necesitaremos:
Pirograbador.
Madera de 5mm.
Pintura al frío de color blanco y dorado.
Compás.
Puntero (herramienta para puntillismo)
Gancho para colgar llaves.
Sello de trébol, hecho en la anterior publicación.
Tijera.
Lijas.
Foami grueso.
Cabuya de cocuiza.
Taladro.
Sierra de arco.


Paso 1
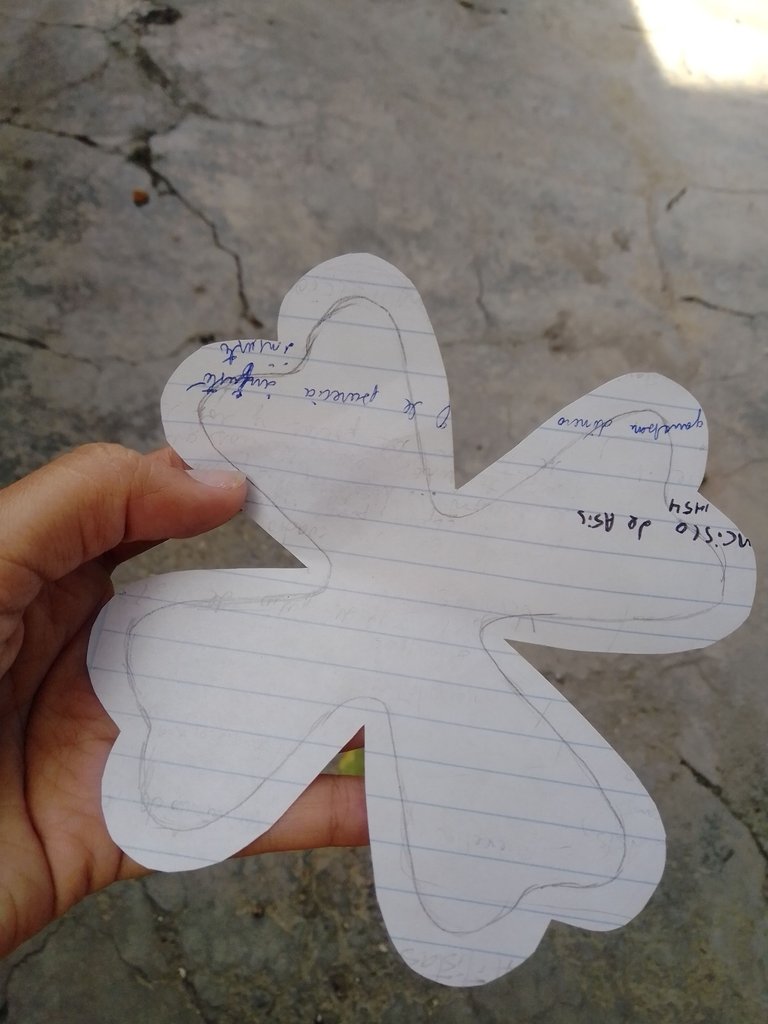
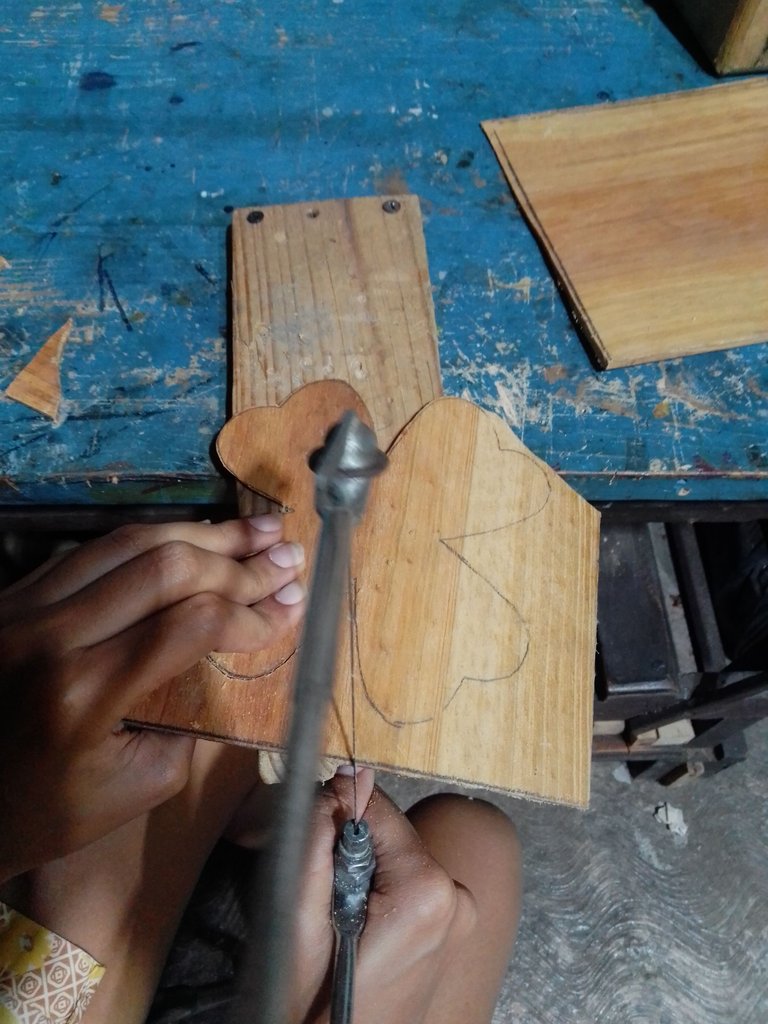
Dibujamos un trébol en papel, cartulina o tu material predilecto para hacer moldes. Aunque yo hice un molde desechable porque haré un solo portallaves. Este molde lo pasaremos a la madera para luego cortar usando la sierra de arco.
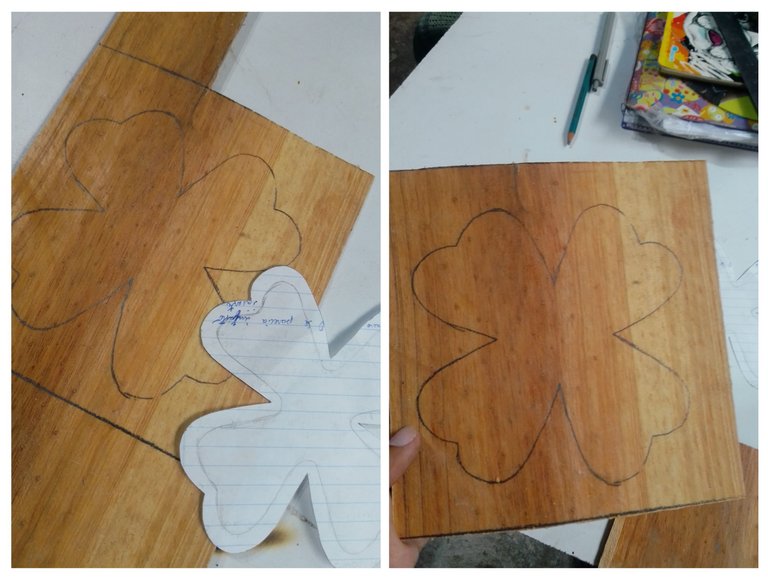
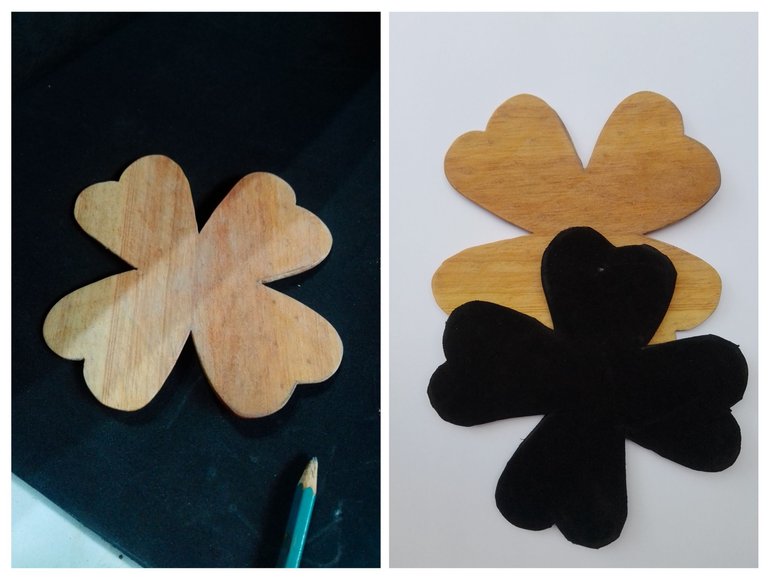
Ya con el trébol en mano, se saca la siguiente pieza, pero en el foami grueso para recortarlo.
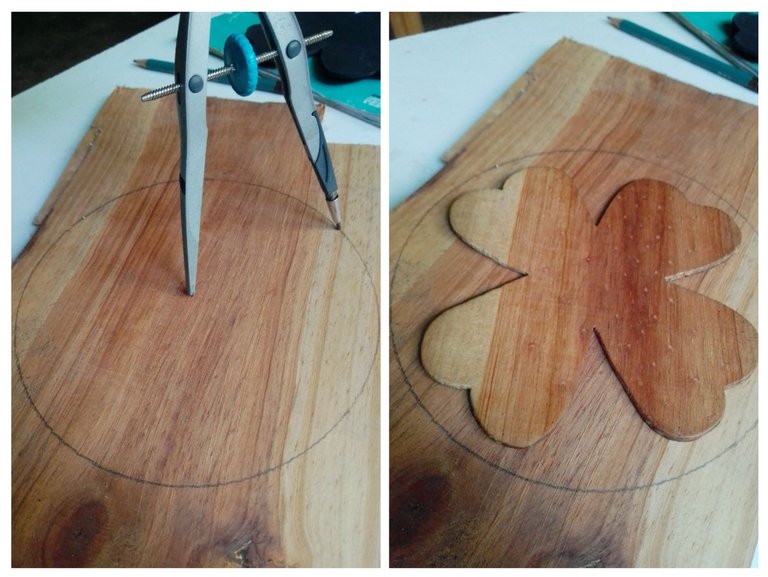
La tercera pieza es un círculo, este se hace midiendo el trébol con el compás y agregando unos centímetros, así quedará el trébol con un pequeño margen alrededor.

Paso 2
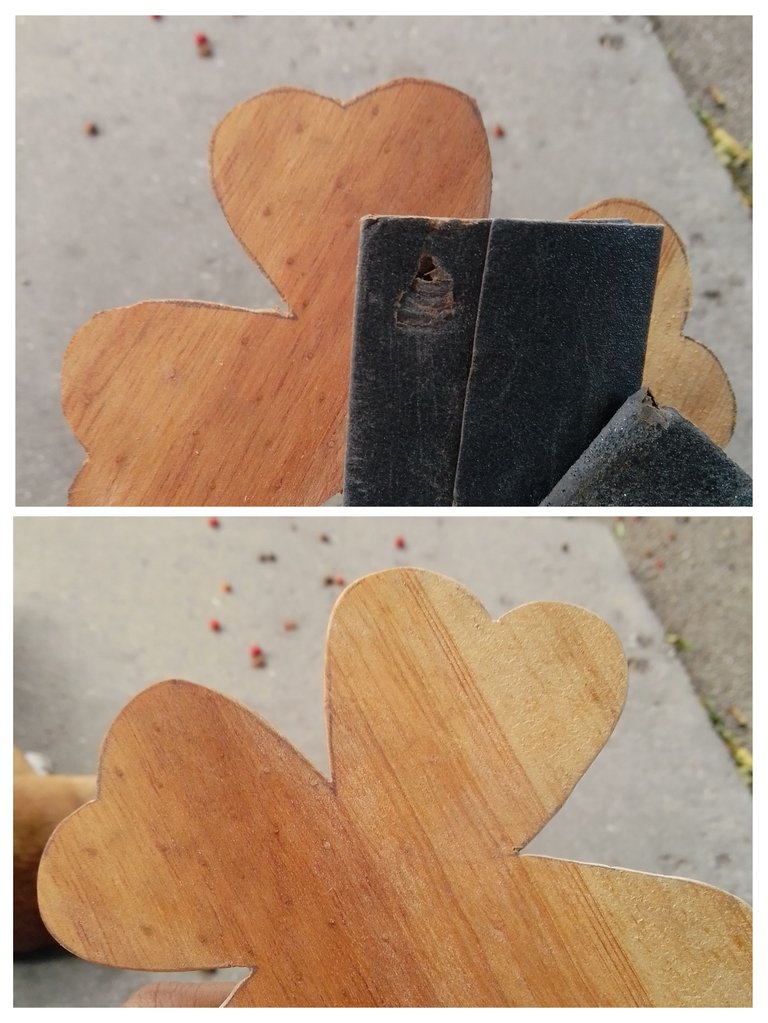
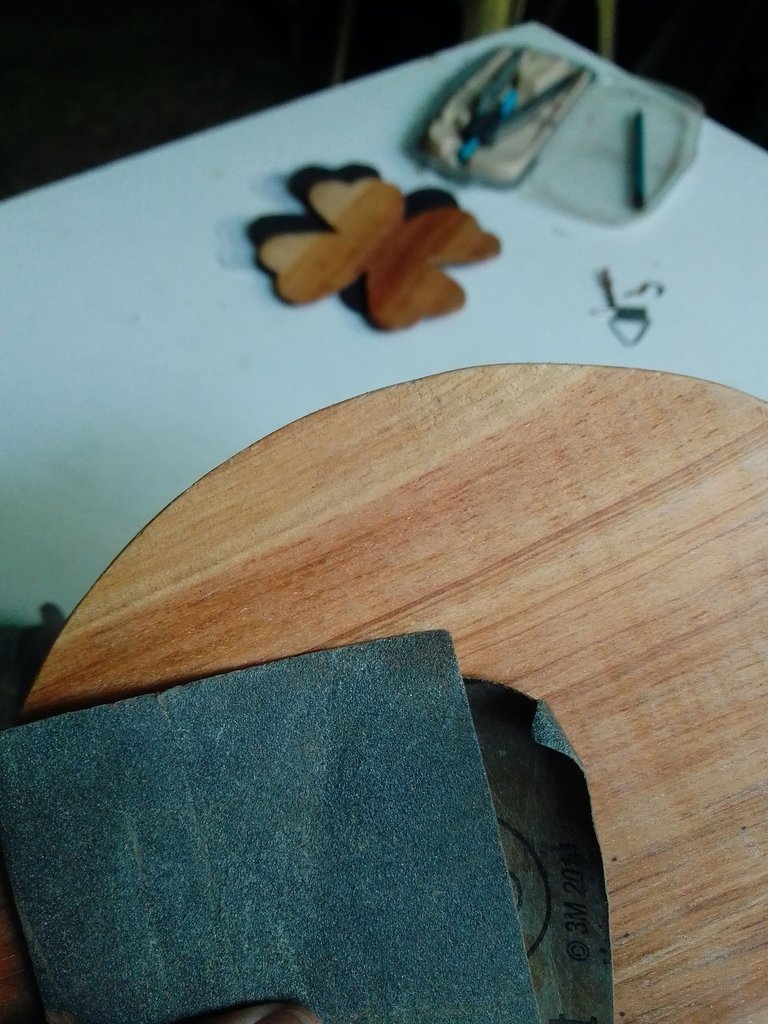
Es necesario lijar el trébol y el círculo para tener un mejor trabajo estéticamente, primero la lija gruesa y después la fina.

Paso 3
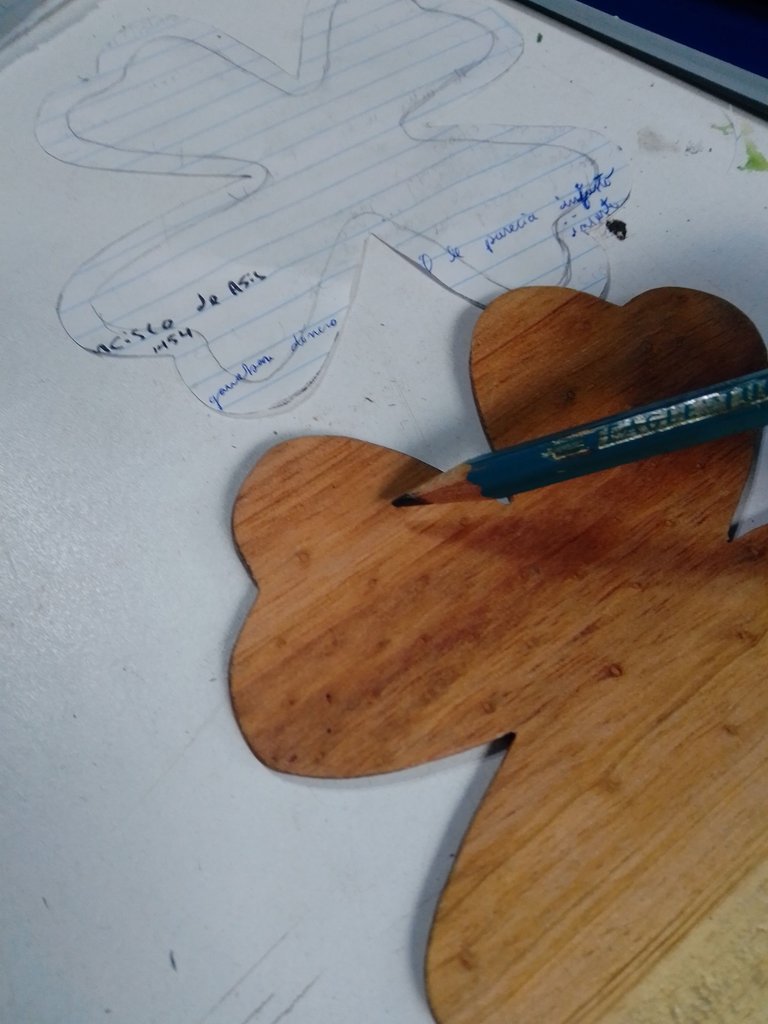
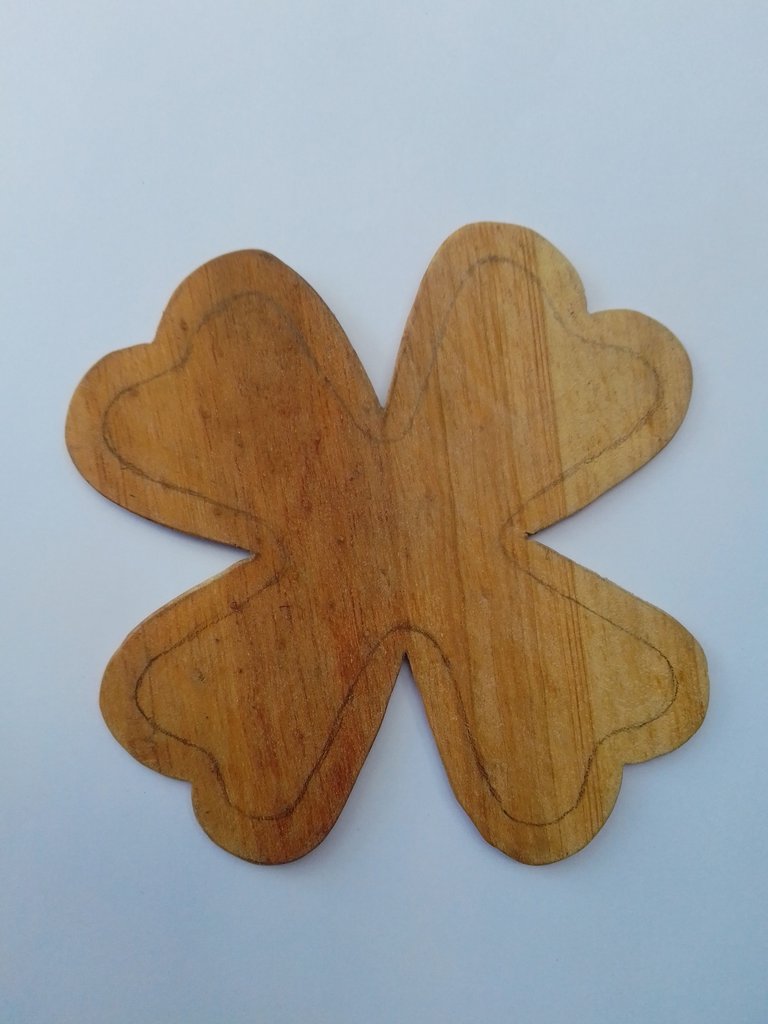
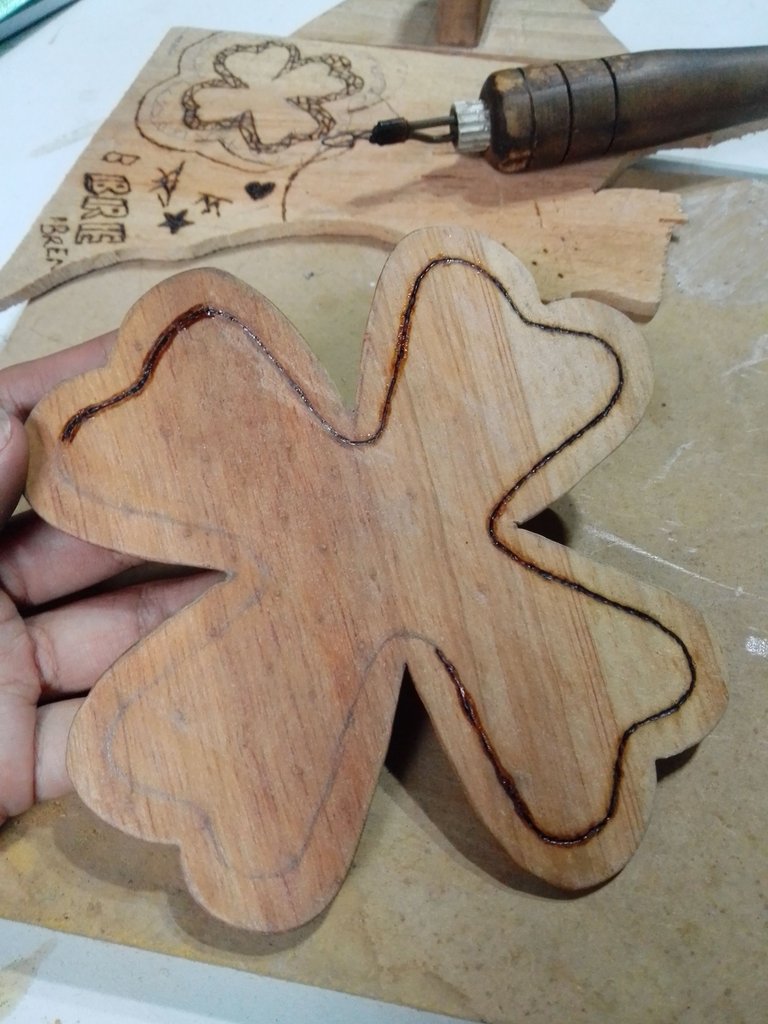
Creo que primero hay que poner un podcast o una serie, porque esta parte lleva un poco de tiempo. Pero antes de usar el pirograbador hay que dibujar un límite, así como se ve en el molde.
Ahora sí, con paciencia y con atención para no quemarse y también para no quemar muuucho la madera. No pasa nada si sale resina, se puede quitar raspando.
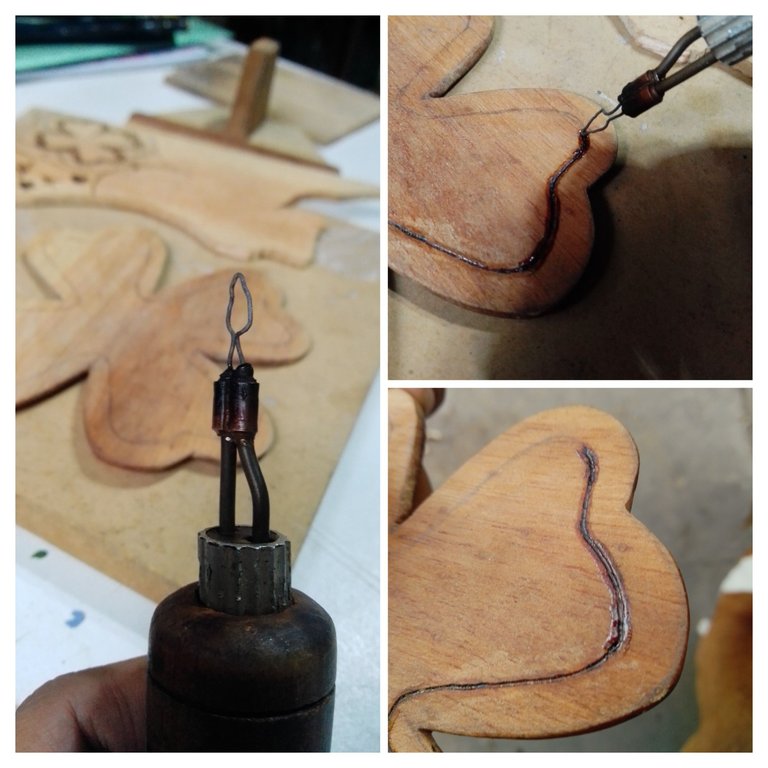
Líneas en varias direcciones, es un diseño sencillo y que se ve muy bien.
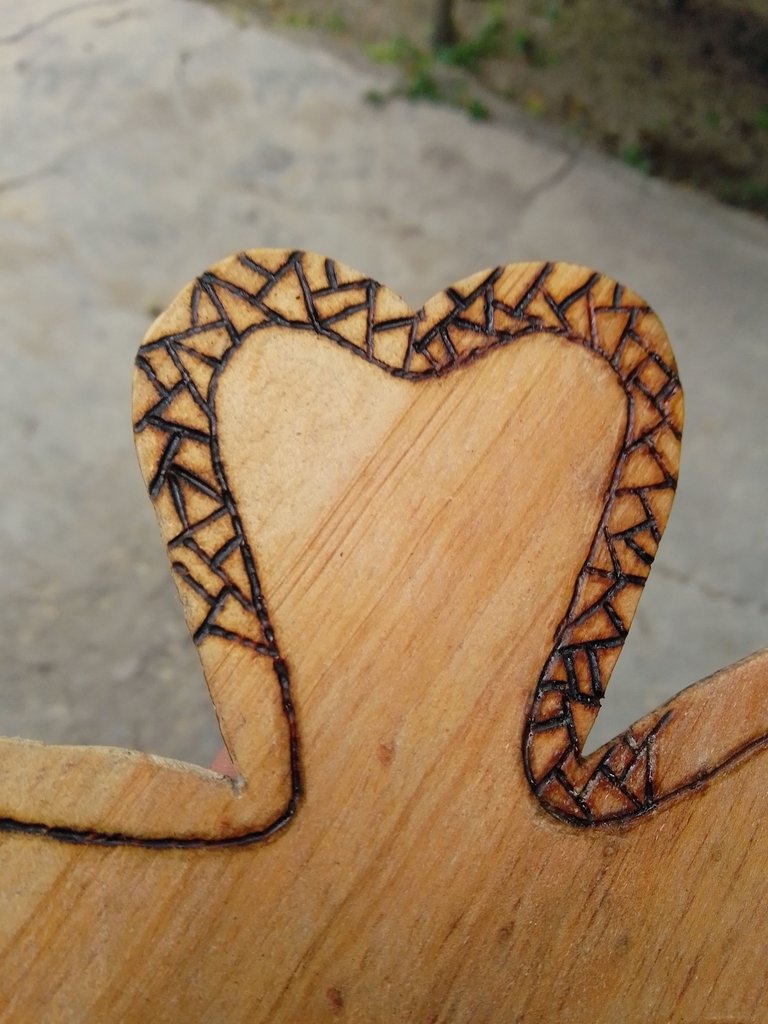
Una eternidad más tarde (voz del francés de Bob esponja) 😅
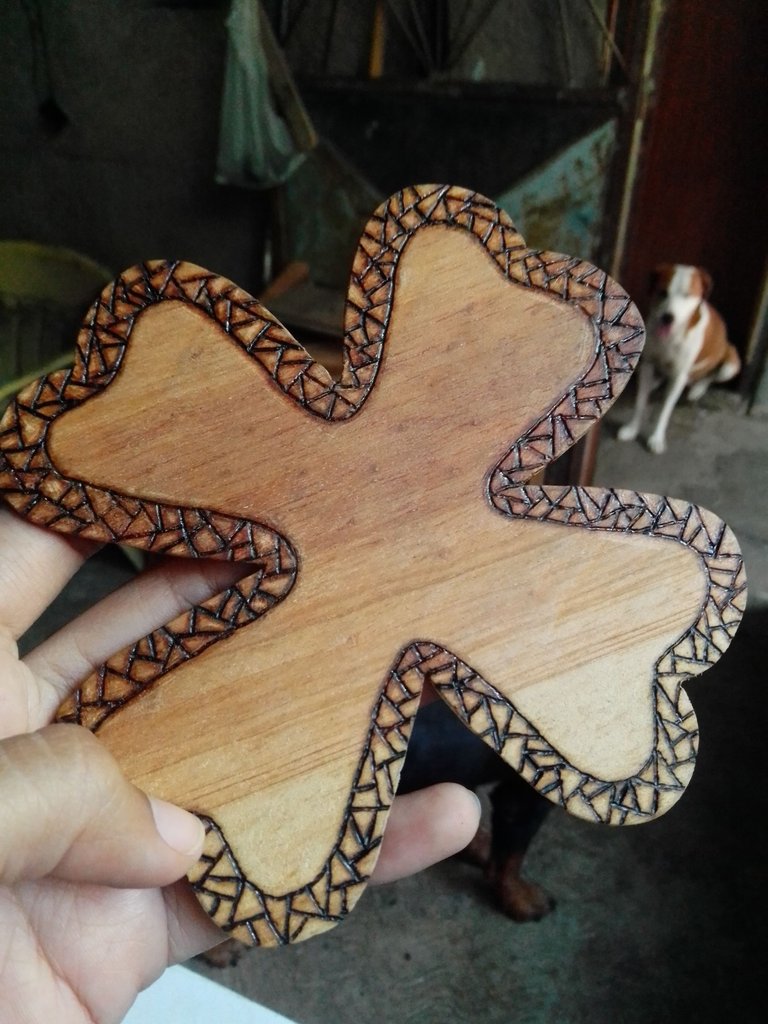
¡Tarán!, recomiendo usar una mascarilla para no estar todo el rato aspirando el olor a humo y resina quemada. Tardé 4 horas, si se fijaron, la punta que usé no era la adecuada, pero es que fue improvisada, esa punta en realidad tenía otra forma. Todo tiene solución.

Paso 4
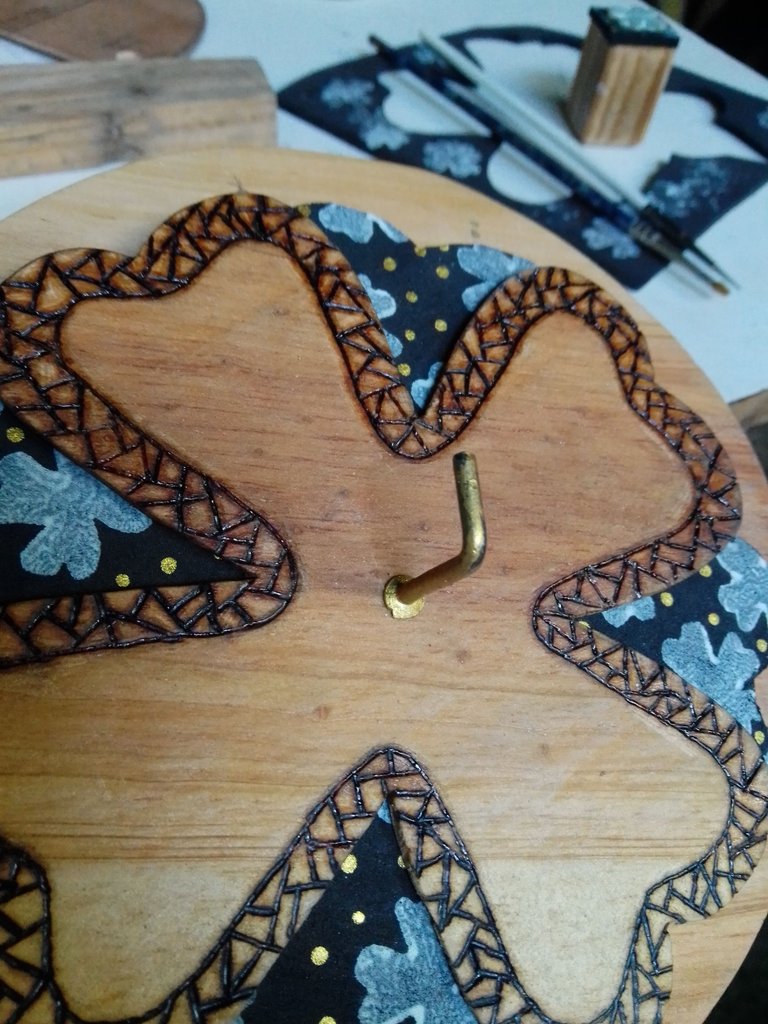
Vamos a presentar las piezas para hacernos una idea de cómo será el resultado final.
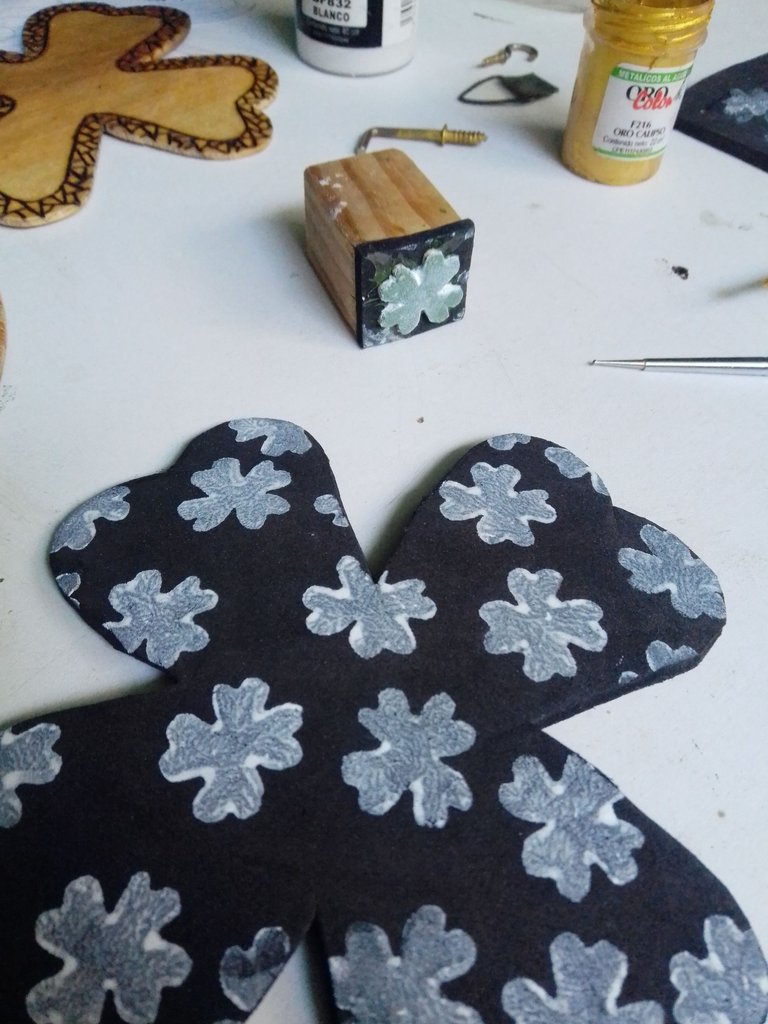
Ahora sigue la parte del estampado con el sello de trébol, un poco de pintura blanca y puntos dorados en el foami le están dando más personalidad a esto. Está casi listo.
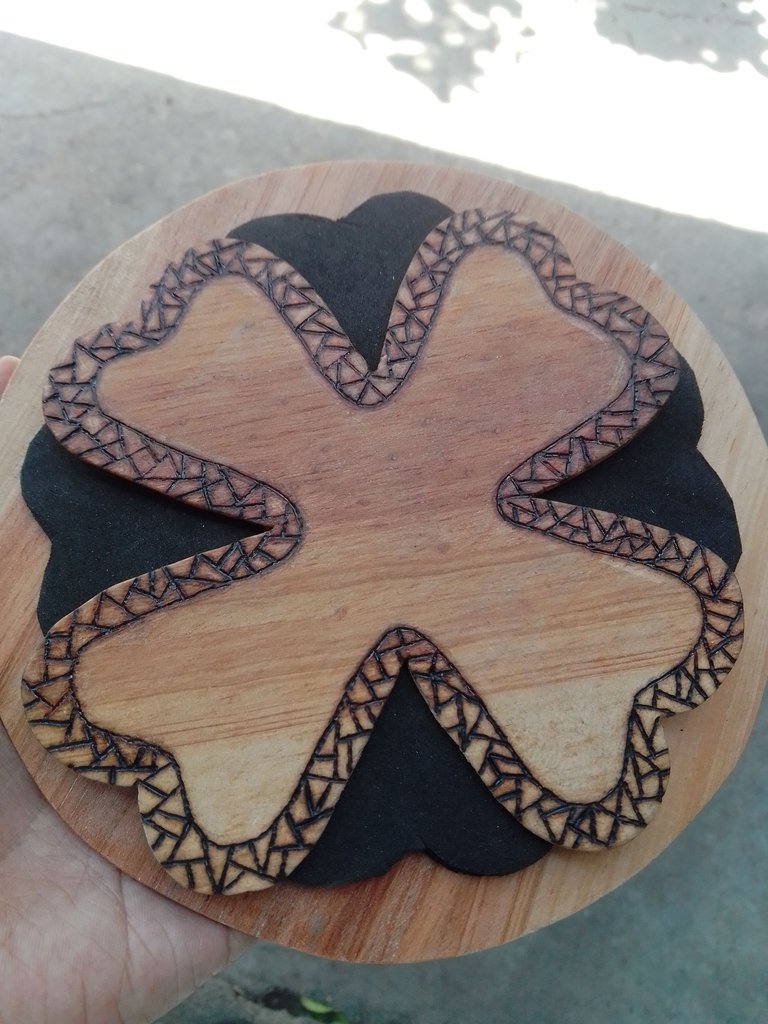
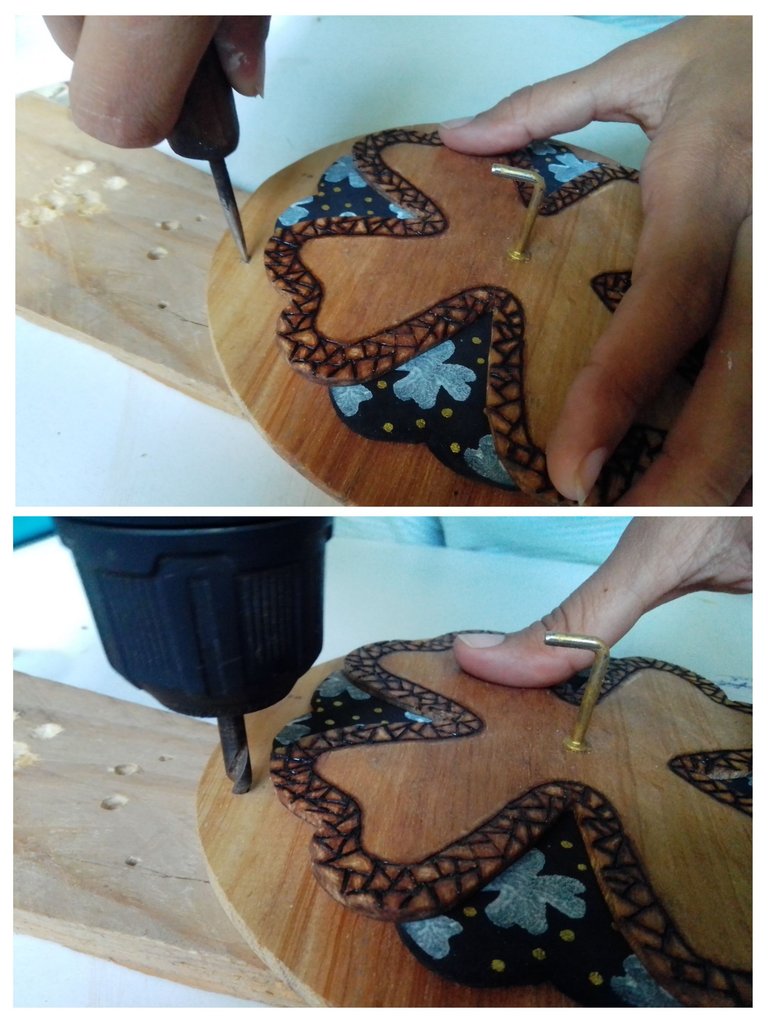
En este momento toca tomar una decisión, se puede usar silicon/pega de zapato para pegar las piezas o si tienes un gancho lo suficientemente largo que pase a través de las tres piezas, puede ser ese el otro camino y así no es necesario el uso de pega. Ese fue mi caso, así que solo con el gancho para colgar la llave quedó todo en su lugar. Lo último sería marcar donde se harán los orificios para abrir con el taladro y colgarlo en la pared.
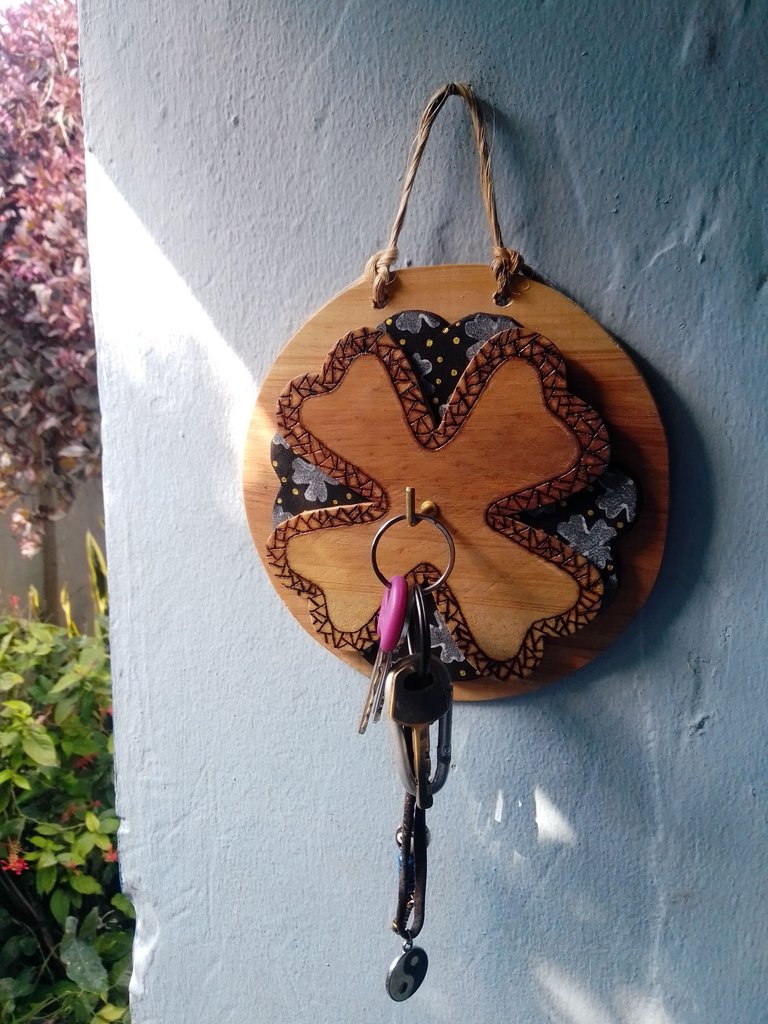
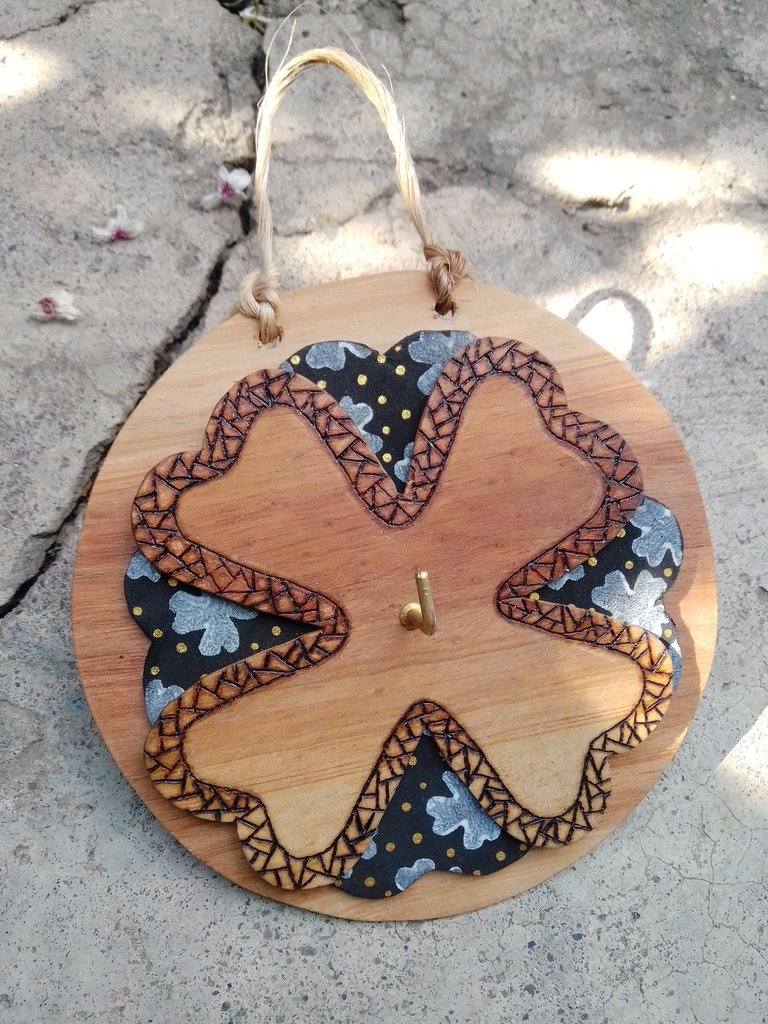
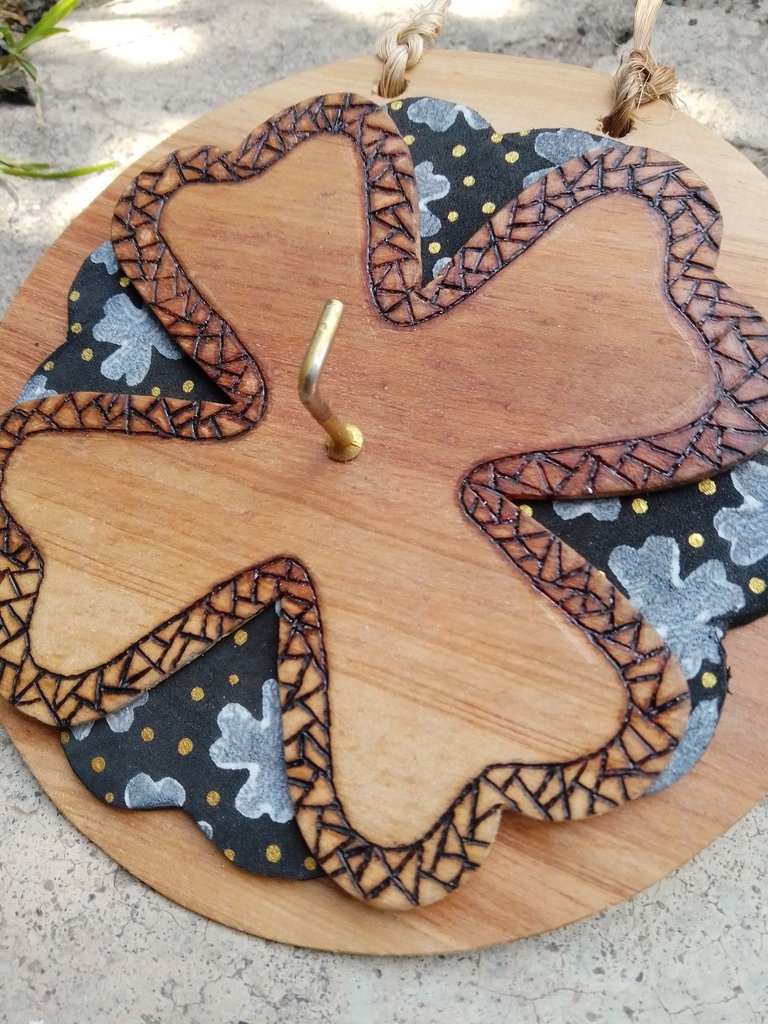
Y bueno, aunque parece un trabajo un poco largo, ha valido la pena. Espero que te guste y te animes a trabajar la creatividad haciendo cositas para la casa.
Nos leemos luego, ¡gracias por visitarme en mis soliloquios de creatividad jeje, te deseo un bonito día.🐝
P.D. En septiembre les contaré si se siguen perdiendo o no, las llaves de mi mamá.😉

Créditos
Traducido en DeepL.
Fotos editadas en IbisPaint X.
Separador hecho por mí en Adobe Illustrator.


English
Greetings, hivediy friends. Today we continue with the second part of crafts that I'm making to give to my mom for her birthday.
Again I make use of the shamrock as a central theme, but it's not just because, what happens is that my mom believes in good and bad luck, she likes what it means and also has a tattoo of a shamrock, she always tells me about it and I think they are good reasons, she also likes Candy Candy and Menudo, but that inspiration is more difficult to materialize 😅
Today's shamrock, it will be part of a nice key holder, let's see if with this my mom's keys stop getting lost.
And since I work with what I know how to do, today I wanted it to be different and I went for the use of a tool that is used to engrave designs on wood by means of current, a pyro-engraver. As I don't have much command of the technique, I will make an easy design to avoid making mistakes, because here it is true that you can't erase a mistake.
You also have to be very concentrated, it is very easy to burn your fingers when you are a beginner.
We will need:
Pyrographer.
Wood of 5mm.
White and gold cold paint.
Compass.
Pointer (pointer tool)
Hook for hanging keys.
Clover stamp, made in the previous publication.
Scissors.
Sandpaper.
Thick Foami.
Cabuya of cocuiza.
Drill.
Hacksaw.


Step 1
We draw a shamrock on paper, cardboard or your favorite material to make molds. Although I made a disposable mold because I will make only one key holder. This mold will be transferred to the wood and then cut using the hacksaw.


With the clover in hand, the next piece is taken out, but on the thick foami to cut it out.

The third piece is a circle, this is made by measuring the shamrock with the compass and adding a few centimeters, so the shamrock will be left with a small margin around it.


Step 2
It is necessary to sand the clover and the circle to have a better job aesthetically, first the coarse sandpaper and then the fine sandpaper.


Step 3
I think you need to put a podcast or a series first, because this part takes a bit of time. But before using the pyrographer you have to draw a boundary, as well as you see in the mold.


Now yes, with patience and with attention not to burn yourself and also not to burn the wood too much. It's ok if resin comes out, it can be removed by scraping.


Lines in several directions, it's a simple design and looks great.

An eternity later (voice of SpongeBob French) 😅

I recommend wearing a mask to avoid breathing in the smell of smoke and burnt resin all the time. It took me 4 hours, if you noticed, the tip I used was not the right one, but it was improvised, that tip actually had another shape. Everything has a solution.

Step 4
Let's present the pieces to get an idea of how the final result will be.
Now follows the stamping part with the clover stamp, a little white paint and gold dots on the foami are giving more personality to this. It's almost ready.


At this point it's time to make a decision, you can use silicon/shoe glue to glue the pieces together or if you have a long enough hook that will pass through all three pieces, that may be the other way and so no glue is necessary. That was my case, so with just the hook to hang the key it was all in place. The last thing would be to mark where the holes will be made to open with the drill and hang it on the wall.


And well, although it seems a little long work, it was worth it. I hope you like it and I encourage you to work creativity making things for the house.
See you later, thanks for visiting me in my creativity soliloquies hehe, I wish you a nice day 🐝.
P.S. In September I will tell you if my mom's keys are still missing or not 😉.

Credits
Translated at DeepL.
Photos edited in IbisPaint X.
Separator made by me in Adobe Illustrator.
Posted Using InLeo Alpha
This is a beautiful gift for your mom, I'm sure she will like it, you've done a great job.
Thanks for the comment, 😁 I'm looking forward to delivering it.😁
¡Quedó muy hermoso! Los trabajos en madera son mis favoritos y tienes mucho talento para ello
!DIY
😁✌🏼 ¡Gracias! 💃 también me gustan mucho todas las decoraciones en madera, me gusta el color natural de la madera y su estilo rústico
Quedó muy lindo, quiero uno para mí casita 😉 saludos 🫂
Thank you for your witness vote!
Have a !BEER on me!
To Opt-Out of my witness beer program just comment STOP below
View or trade
BEER.Hey @marile21, here is a little bit of
BEERfrom @isnochys for you. Enjoy it!Did you know that <a href='https://dcity.io/cityyou can use BEER at dCity game to buy cards to rule the world.
Gracias! 🤗 Bueno @marile21 si algún día pasas por Barquisimeto, con gusto te obsequio uno 😁✌🏼 feliz noche!
Wow que delicado trabajo, aunque he tenido la dicha de ver el proceso in situ, de verdad muy bien logrado, ¡¡que viva la creatividad y los regalos!! ✌️❤️🌹🔨🧠
¡Abrazo y amor! 🤭✌🏼
You can query your personal balance by
!DIYSTATS🤗🤗
Wow this is what we called creativity. Thank God for this comunity ooo
what a nice comment, I too am amazed to see all that hivers create every day! A hug 🤗 thanks for stopping by. 🐝
You are welcome
Hola amiga, por aquí estoy viendo tu porta llaves, de verdad que me encantó, y el dibujo que hiciste con el pirograbador me encantó, de verdad que fué un magnífico y lindo trabajo.
Felicitaciones y gracias por compartirlo...
¡Gracias gracias! Es muy bonito lo que se puede hacer con el pirograbador pero de verdad hay que practicar mucho para mantener el pulso 😅
¡Feliz noche!🤗🍀
Wooo que chulada,me encanta la creatividad que tuviste para hacerlo.
!HUESO
Click on this banner, to be directed to the Virtual World Discord and learn more about the curation project.
!LUV
Ay gracias gracias! Agradecida por el comentario 🤗✌🏼 saludos! 😁
Definitivamente soy fan de tus trabajos de tréboles✨ un excelente resultado amiga, me encantó el detalle de las líneas dispersas por todo el perímetro☺️ seguro tu mami ya no perderá sus llaves solo para ver el bonito trébol cada vez que las vaya a colgar 🤭💖
Gracias querida @mavilan30 🤗 me gustó mucho el resultado final porque tiene un aire como de medallón místico 🤭 no me esperaba que quedara asi 😱. Muchas gracias por tus palabras ✌🏼🤗