La vida no es un problema que debe ser resuelto sino un misterio que debe vivirse.
Anónimo
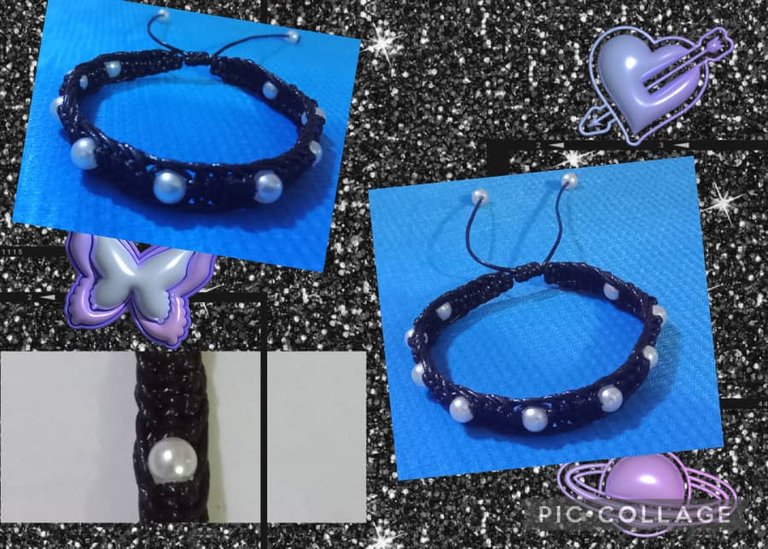
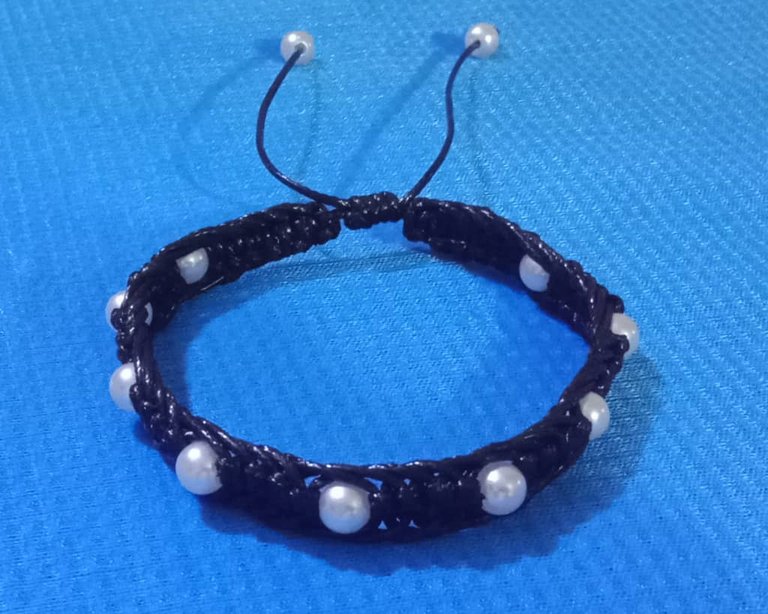
Bendiciones eternas y abundantes para todos los miembros de esta fabulosa comunidad #hivediy. Encantado en saludarles y desearles mucha salud. Además les deseo una vida de amor , paz y prosperidad en todo lo que hagan. En esta ocasión les comparto una hermosa pulsera de color negro y perlas que dan un toque delicado y femenino. Esta joya la hice con la finalidad de regalar como presente a una amiga . Además, aprovecho la ocasión para invitarle a seguir conmigo en esta fascinante aventura.
En esta oportunidad se trata de una pulsera estilo espiga con perlas. Es un tejido muy sencillo de elaborar. Es un nudo plano que vamos a realizar en cada hebra de hilo. Vamos juntos y pongamos manos al hilo.
El tejido plano es muy sencillo de realizar pero queda muy bonito con un estilo muy peculiar que hace de esta pulsera una joya muy especial. Como lo he mencionado en post anteriores para mí tejer es emocionante y muy relajante ya que me ayuda a combatir el estrés y sólo centrarme en mi diseño. Además, como dice nuestro Señor que toda vuestras cosas sean hechas con amor.
Sin más tiempo que perder les invito a acompañarme en esta fascinante creación y poner manos al hilo.
Life is not a problem to be solved but a mystery to be lived.
Anonymous
Eternal and abundant blessings to all members of this fabulous #hivediy community. Delighted to greet you and wish you much health. Also I wish you a life of love , peace and prosperity in everything you do. This time I share with you a beautiful black bracelet with pearls that give a delicate and feminine touch. I made this jewel to give as a present to a friend. Also, I take this opportunity to invite you to follow me in this fascinating adventure.
This time it is a herringbone style bracelet with pearls. It is a very simple weaving to make. It is a flat knot that we are going to make in each strand of thread. Let's get together and put our hands to the thread.
The flat weave is very simple to make but it looks very nice with a very peculiar style that makes this bracelet a very special jewel. As I have mentioned in previous posts for me weaving is exciting and very relaxing as it helps me to combat stress and just focus on my design. Besides, as our Lord says, may all your things be made with love.
Without more time to waste I invite you to join me in this fascinating creation and put your hands to the thread.

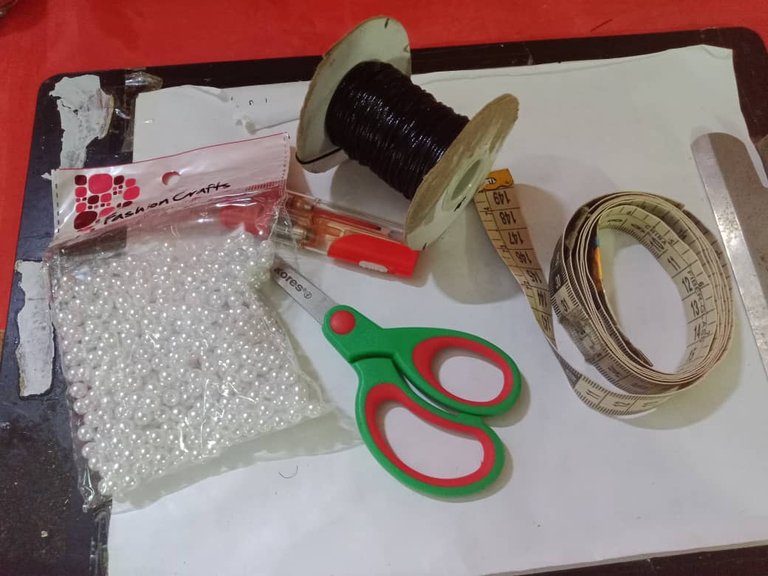
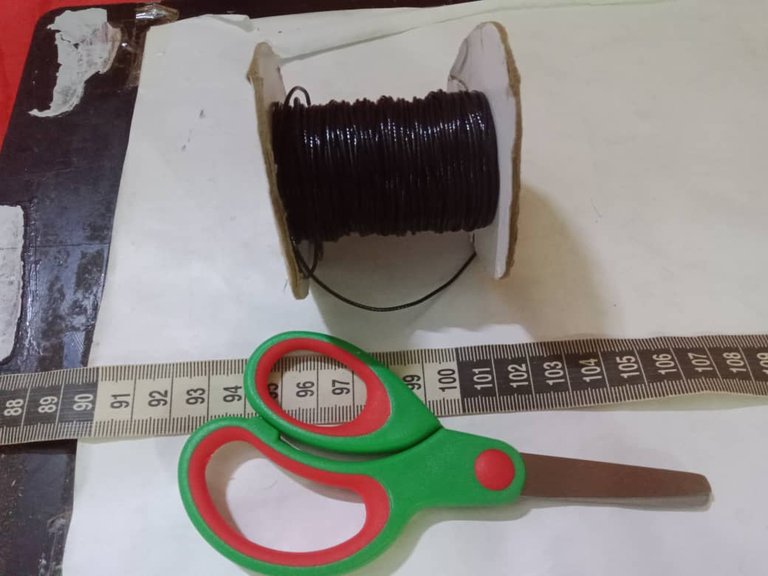
Los materiales que utilicé para realizar esta hermosa pulsera son los siguientes, a saber:
Hilo piel de serpiente
Tijera
Encendedor
Cinta métrica
Cinta adhesiva
Perlas
The materials I used to make this beautiful bracelet are as follows, namely:
Snakeskin thread
Scissors
Lighter
Measuring tape
Adhesive tape
Beads
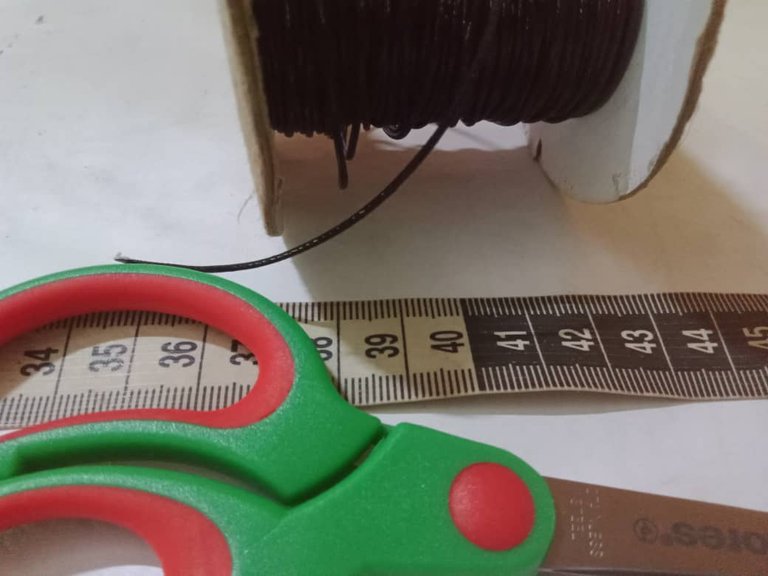
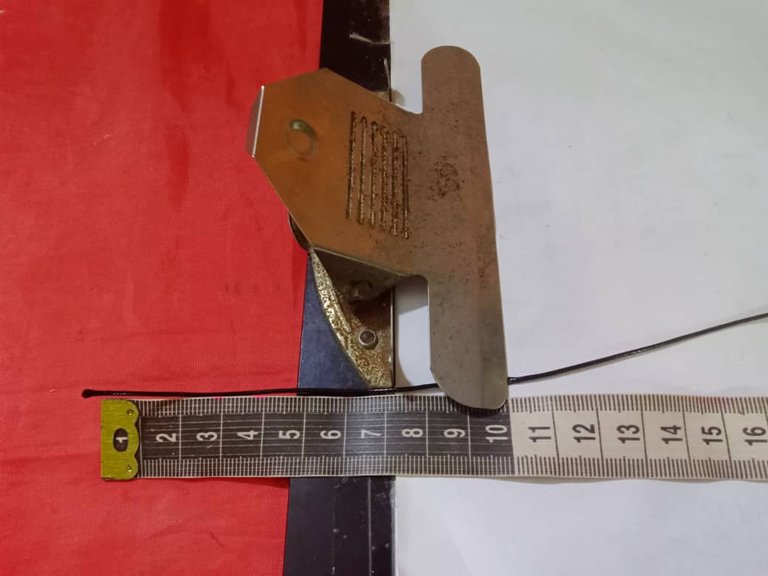
Para comenzar esta hermosa joya inicié cortando una hebra de hilo de 40cm el cuál utilizaré como base para nuestra pulsera.
To begin this beautiful jewelry I started by cutting a 40cm strand of thread which I will use as the base for our bracelet.
I then cut three 100cm strands of yarn that I will use to make the flat weave.

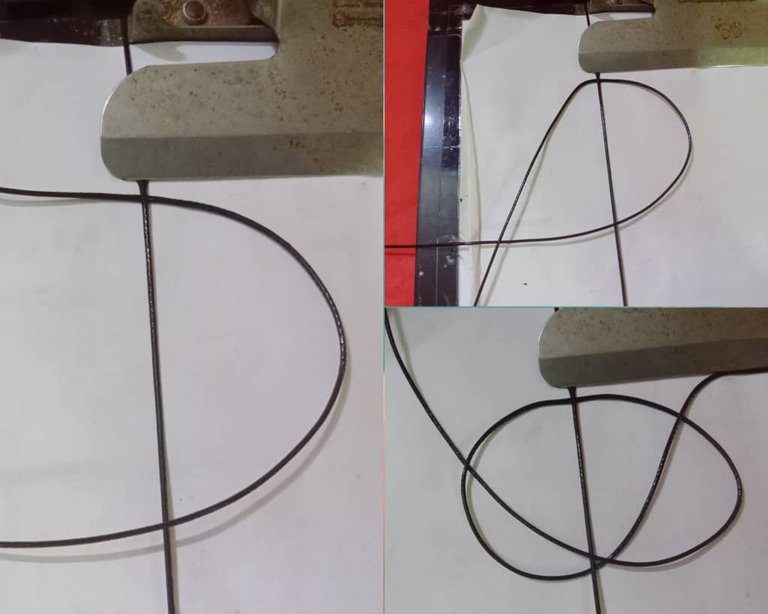
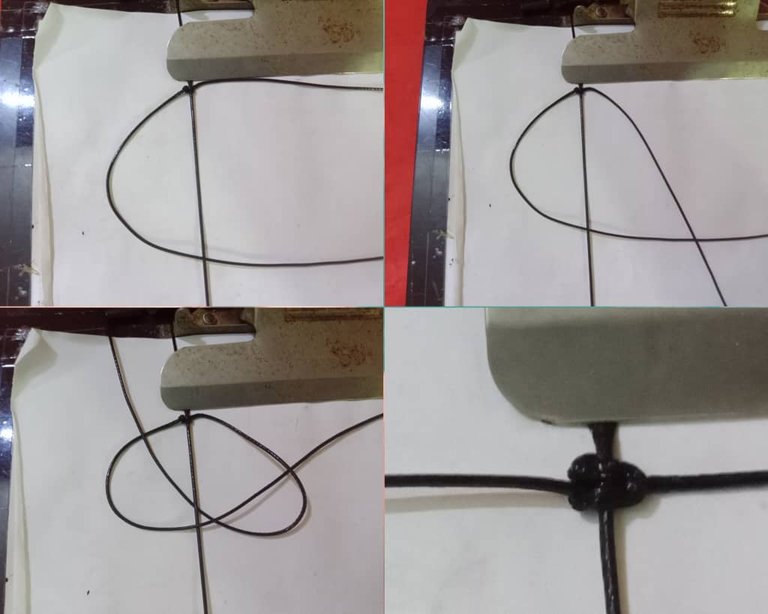
Después coloqué la segunda hebra de hilo por debajo del hilo base y realicé el mismo nudo plano que el hilo anterior.
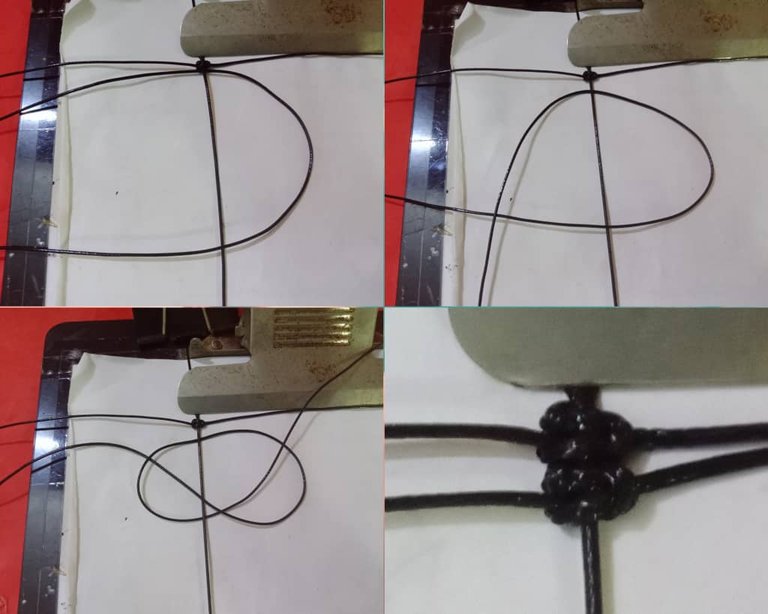
Then I placed the third strand of yarn and performed the same procedure.
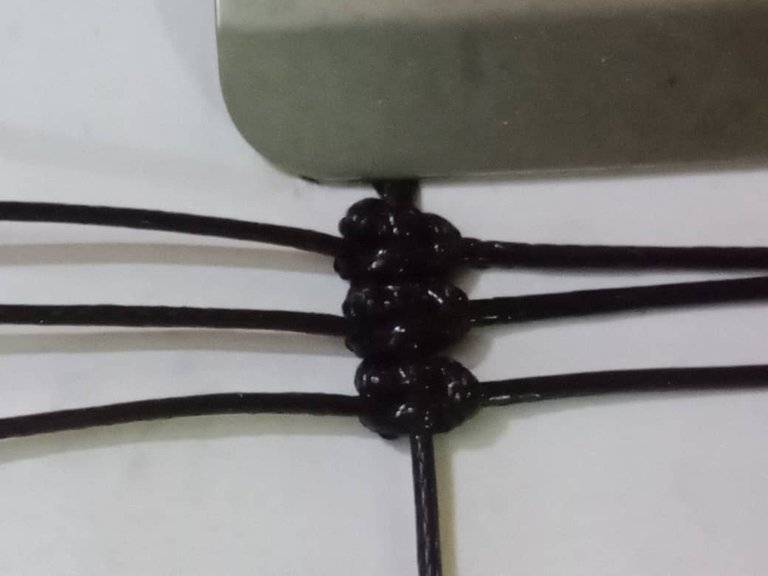
Now I took the first strand of yarn and passed it over the two strands of yarn and tied a complete flat knot. Then I repeated the same procedure with the second and third strands of yarn.
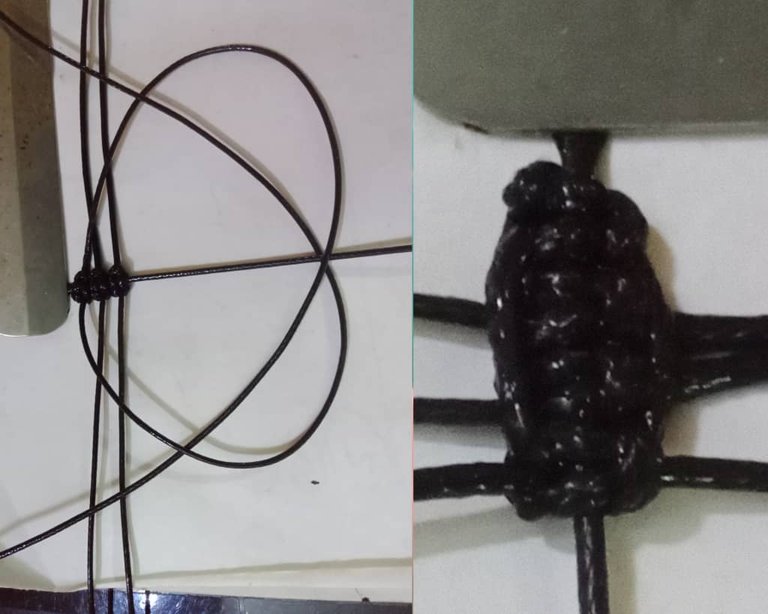
Seguí realizando el mismo procedimiento.
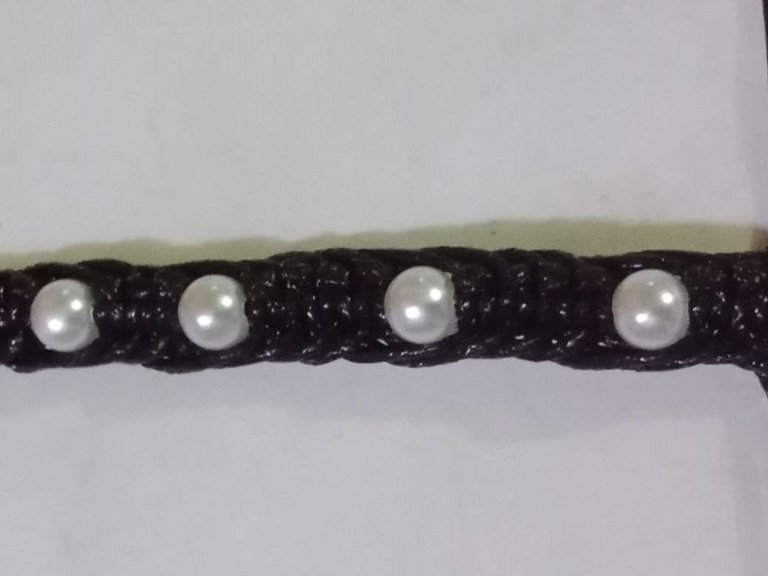
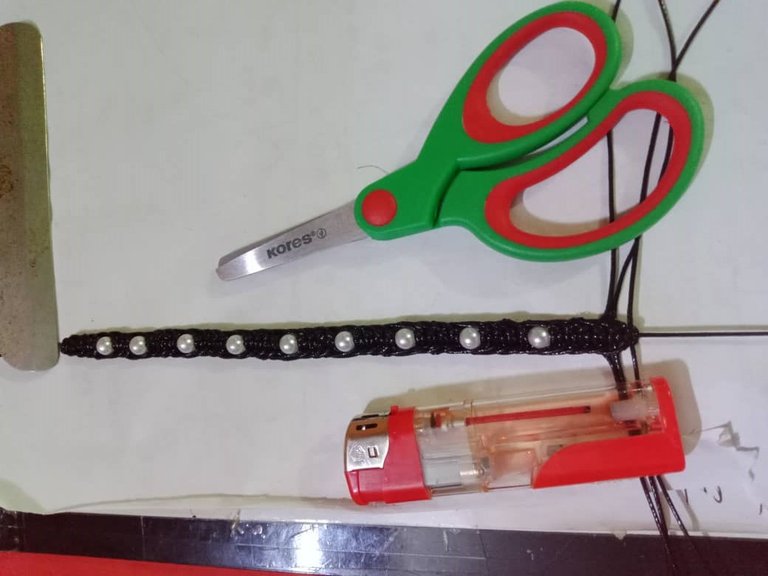
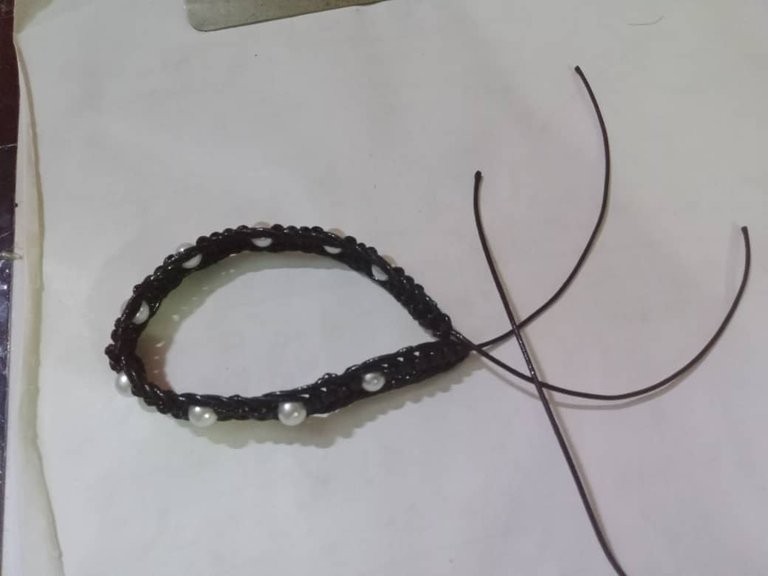
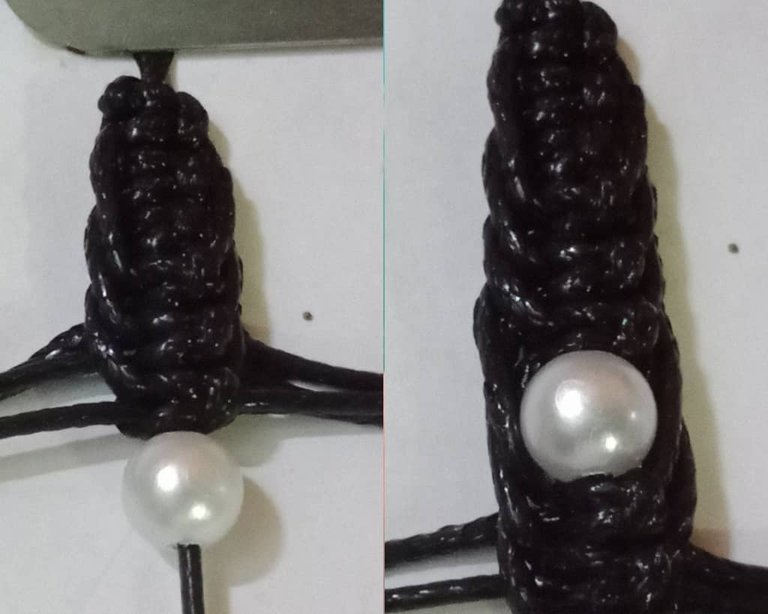
This is how this beautiful herringbone style bracelet looks like.
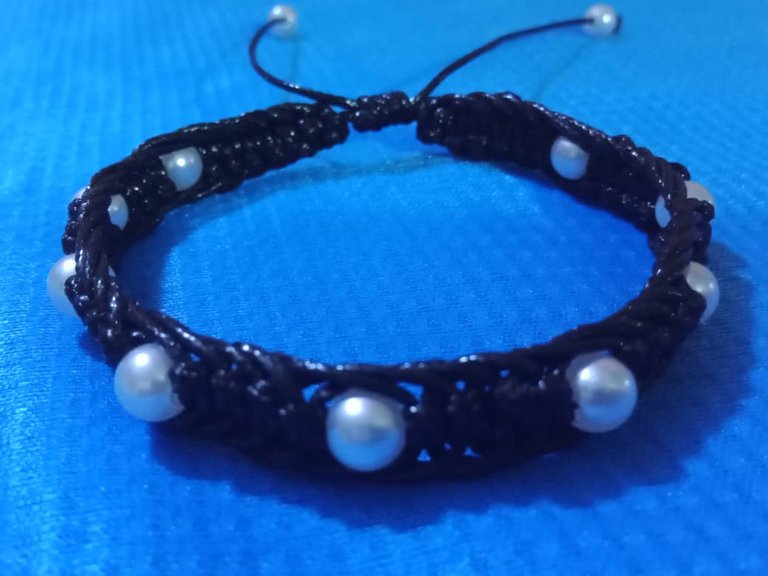

Translated with https://www.deepl.com/translator
                  All images are my own, dividers courtesy of @kattycrochet.


             Todas las imágenes son de mi autoría, divisores cortesía de @kattycrochet.
Esta pulsera estilo espiga te ha quedado genial! Yo soy muy fan de las perlas, así que de verdad me ha gustado mucho tu creación de hoy☺️
Bendiciones!! Muchas gracias por tus amables palabras. Es grato saber que ye gustó. Bendecida noche.
@virgilio07 te ha quedado muy bien esa pulsera.
Saludos!!
Hola amigo. Bendiciones! Muchas gracias por pasar y apoyar mi contenido. Todas las cosas si la hacemos con amor quedan bien . Gracias
Your white pearl beads makes it so outstanding and beautiful
Certainly the pearls provide a beautiful look. Thank you very much for stopping by and supporting. Have a prosperous day.
Sending Love and Ecency Curation Vote!
 Follow Eceny's curation trail to earn better APR on your own HP. : )
Tenía la impresión de que estas pulseras eran un poco más difíciles de hacer, pero veo que no, por lo que has explicado. Me encanta y espero en algún momento tener la oportunidad de seguir tu tutorial y practicar para hacer una. Gracias!
Amiga solo es cuestión de aprender el nudo básico (plano) el cual es muy sencillo y desde allí todo es más fácil.
Gracias por pasar y comentar