¡Bienvenidos amigos creativos!👩🎨
🙋♀️ ¡Hola gente bonita y creativa! Espero que se encuentren súper bien y hayan tenido días llenos de gratos momentos. Por este lado de la pantalla todo bien gracias a Dios feliz de estar una vez más aquí, en esta oportunidad mostrándoles el paso a paso de cómo realice a Mario Bros en foami.
Este mes quiero hacerlos parte del proceso que llevaré a cabo en cuánto al cumpleaños número 5 de mi pequeño sobrino Jael, espero ir por parte con cada detalle y por supuesto servir de ayuda por si en algún momento hacen una temática de Mario. Considero que hacer las cosas uno mismo demanda más tiempo que comprarlas lista, es por ello que yo he comenzado desde ya para prepararme y tener todo listo aunque sea sencillo lleva muchos detallitos que ameritan tiempo. La razón suficiente porque no mandarlas hacer es que amo crear y de cierta forma económicamente se puede ahorrar un poquito más. En post anteriores les mostré las flores del reino champiñón y en esta oportunidad al protagonista de este reino, pero sin más a que hacer referencia…
Este mes quiero hacerlos parte del proceso que llevaré a cabo en cuánto al cumpleaños número 5 de mi pequeño sobrino Jael, espero ir por parte con cada detalle y por supuesto servir de ayuda por si en algún momento hacen una temática de Mario. Considero que hacer las cosas uno mismo demanda más tiempo que comprarlas lista, es por ello que yo he comenzado desde ya para prepararme y tener todo listo aunque sea sencillo lleva muchos detallitos que ameritan tiempo. La razón suficiente porque no mandarlas hacer es que amo crear y de cierta forma económicamente se puede ahorrar un poquito más. En post anteriores les mostré las flores del reino champiñón y en esta oportunidad al protagonista de este reino, pero sin más a que hacer referencia…
Welcome creative friends!👩🎨
🙋♀️ Hey pretty, creative people. I hope you're super right and have had days full of pleasant moments.On this side of the screen everything well thanks to God happy to be here once again, on this occasion showing them the step by step of how do you make Mario Bros in foami.
This month I want to make them part of the process I will carry out on my little nephew Jael's 5th birthday, I hope to go on the part in every detail and of course serve as an aid in case at some point they do a Mario theme. I think doing things yourself requires more time than buying them list, that's why I've started from now on to get ready and have everything ready even if it's easy it takes many details that merit time. The reason enough for not sending them to do is that I love creating and in a way economically you can save a little more. In previous posts I showed the flowers of the mushroom kingdom and on this occasion to the protagonist of this kingdom, but without any more to refer...
¡Llegó la hora de crear! / It's time to create! 🍄.
|
|---|
¿Cuál es el proceso?/ What is the process?⬇️
🍄 Paso 1 / Step1
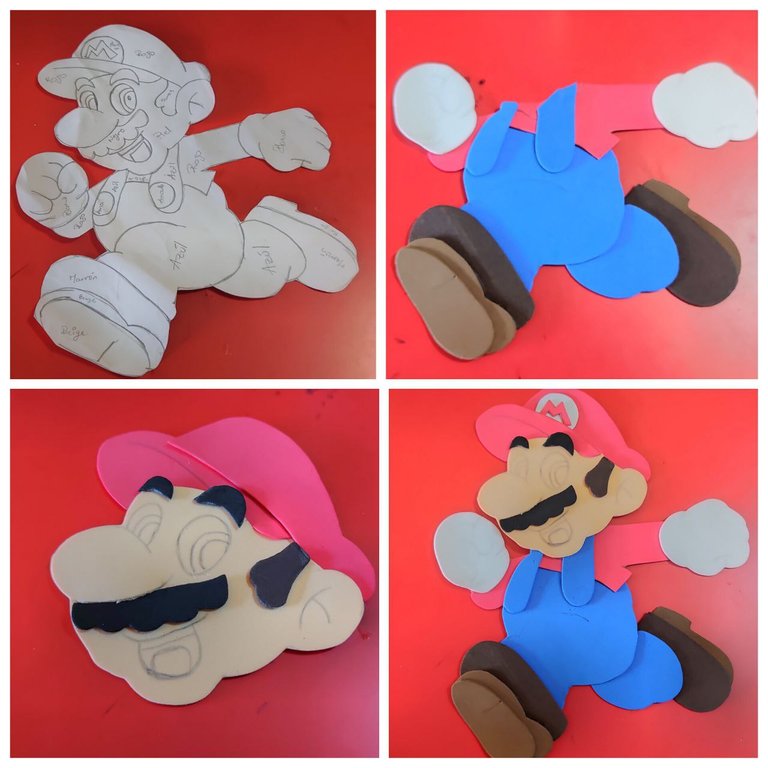
Es primera vez que realizó a Mario en foami, así que de cierta forma no sabía por dónde empezar luego de tener el dibujo en hoja blanca, como les he mencionado cuando son partes de varios colores me gusta identificarlos para no confundirme así que de tener eso listo decidí empezar por la parte superior de Mario, es decir los zapatos para ello use los colores más parecidos del personaje real use dos tonos de marrón simulando la suela del zapato en tono más claro al de la forma del zapato por la parte de arriba.
It is the first time I made Mario in foami, so in a way I did not know where to start after having the drawing on a white sheet, as I mentioned when they are parts of various colors I like to identify them so as not to get confused so having that ready I decided to start with the upper part of Mario, that is the shoes for it I used the most similar colors of the real character I used two shades of brown simulating the sole of the shoe in a lighter tone to the shape of the shoe on top.

🍄 Paso 2 / Step 2
medida que fui haciendo las partes en foami a su vez iba pegando, de esta forma se me hace mucho más fácil ubicar cuando hay muchos detallitos. Para hacer el efecto del bigote por debajo de la nariz de Mario con la ayuda de un corta exacto o bisturí realice una pequeña ranura y en ella inserte el bigote. Listo todo esto ya tenía a Mario Bros hecho en foami.
As I was making the parts in foami I was gluing them together, this way it is much easier to locate when there are many little details. To make the effect of the mustache below Mario's nose with the help of an exacto cutter or scalpel make a small groove and insert the mustache in it. Ready all this already had Mario Bros made in foami.
🍄 Paso 3 / Step 3
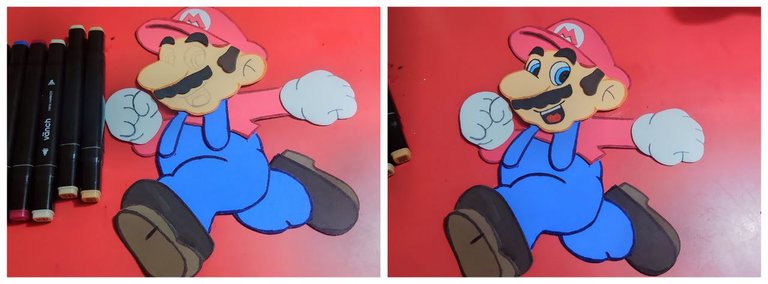
Y como les he mencionado el hecho de delinear los bordes y las expresiones en el rosto sin duda le dan una vida total a cualquier diseño en foami. Y eso fue lo que hice con Mario, con pintura al frío pinte ojos y boca. Con marcadores realice delineado en todos los bordes.
And as I mentioned the fact of outlining the edges and expressions on the face certainly give a total life to any foami design. And that's what I did with Mario, with cold paint I painted eyes and mouth. With markers I outlined all the edges.
🍄 Paso 4 / Step 4
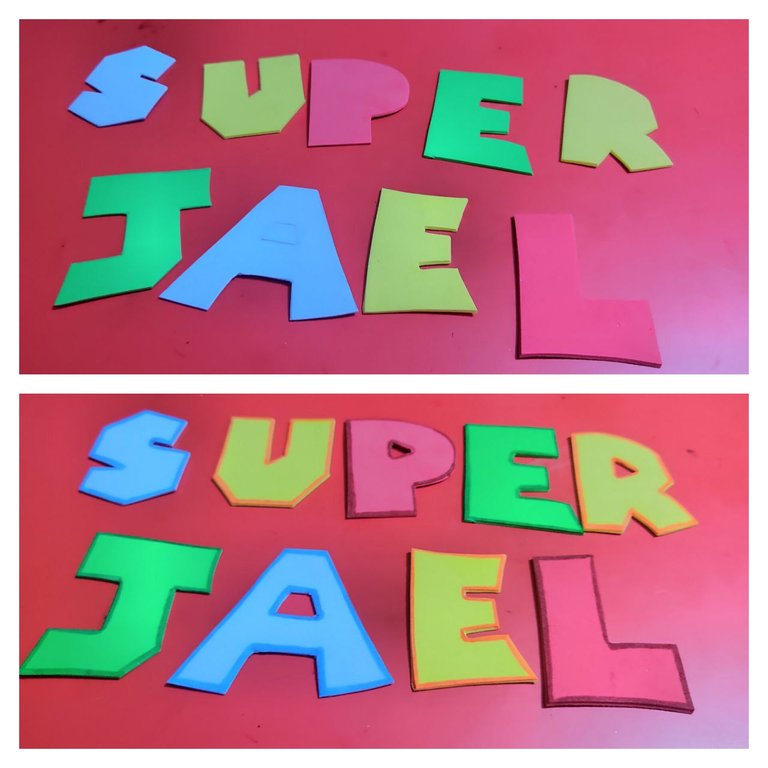
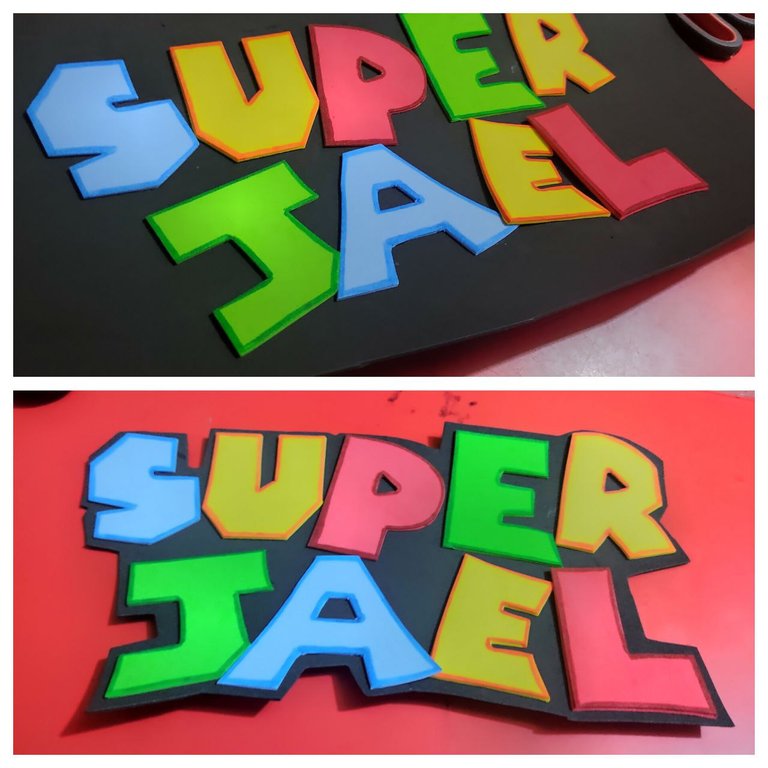
Por otro lado, en foami realice las palabras “Súper Jael”, en colores parecidos a los que se ve en Mario. De igual forma realice delineado por todo el alrededor de los bordes.
On the other hand, in foami I made the words “Super Jael”, in colors similar to those seen in Mario. In the same way, outline all around the edges.
🍄 Paso 5 / Step 5
Como último plus para resaltar y hacer los colores más vivos de las letras las pegue sobre un foami color negro trate de hacerlo en forma curva y algunas un poco más arribas que otras.
As a last plus to highlight and make the colors of the letters more vivid, glue them on a black foami, try to do it in a curved shape and some a little higher than others.
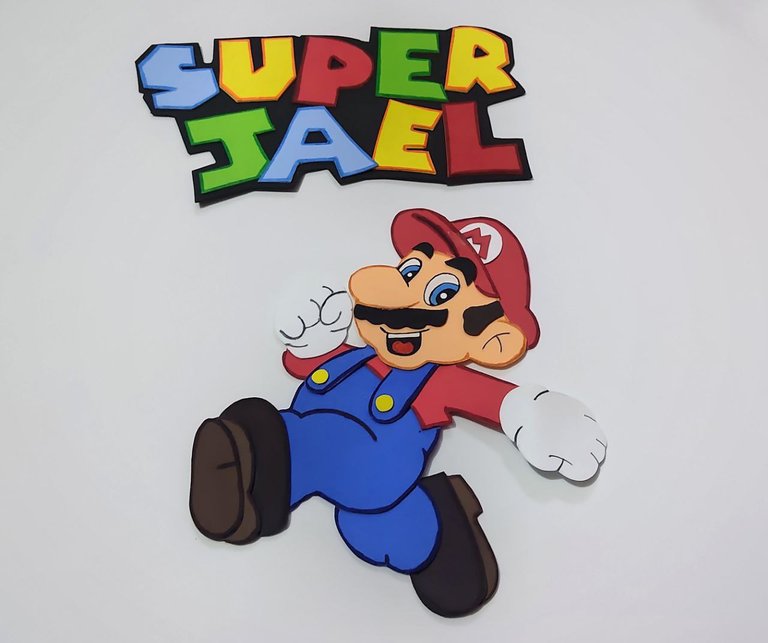
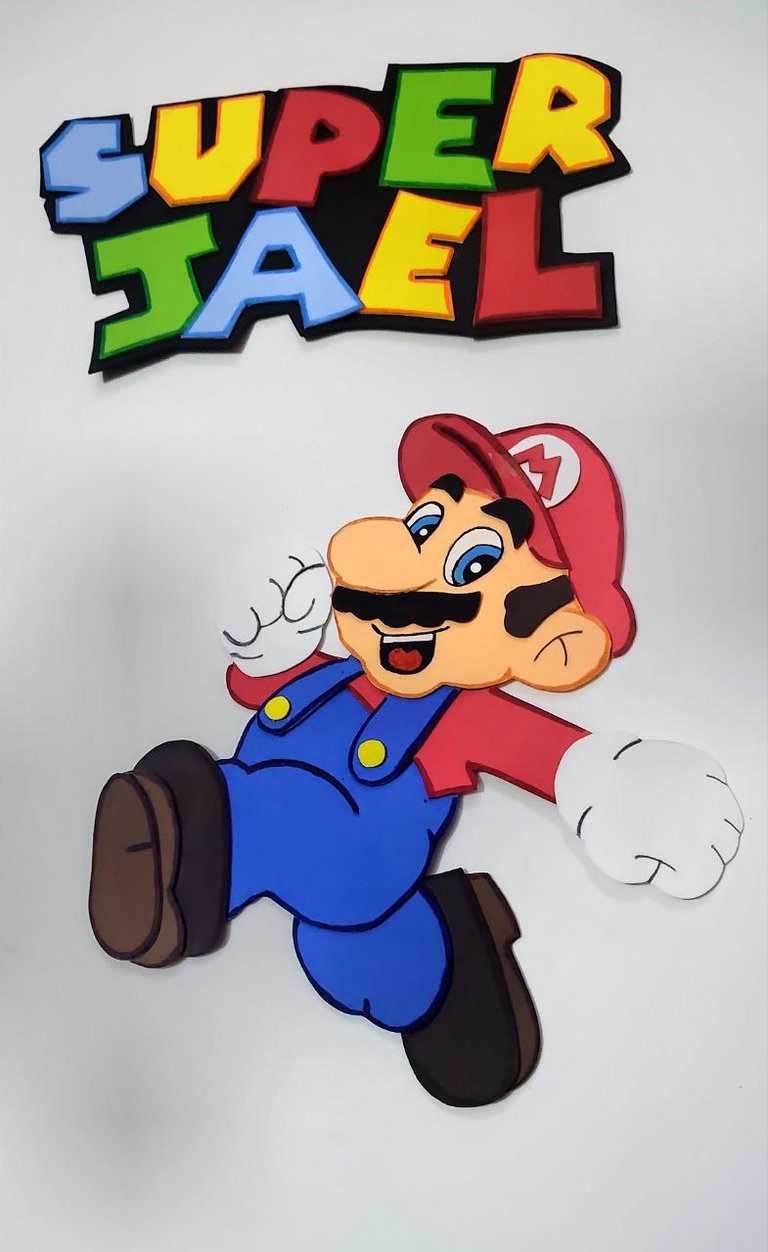
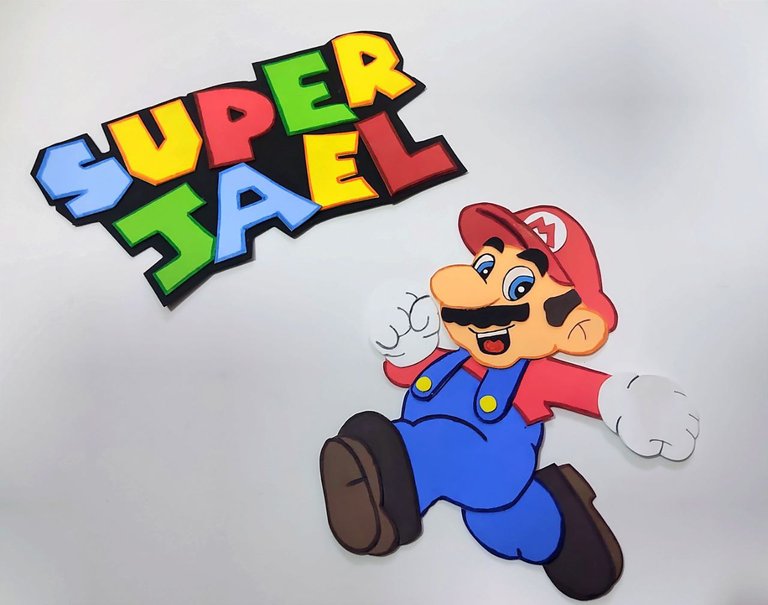
Creación finalizada / Creation completed⬇️
¡Y de esta forma ya tengo listo a Mario Bros y las letras en foami!🍄
Poco a poco he ido avanzando para la decoración del cumpleaños de mi sobrino, me encanta hacerlos parte del proceso, y claro que estoy dispuesta a recibir cualquier idea que sea útil. Estos detallitos son perfectos para decorar cualquier ocasión. Espero que les haya gustado tanto como a mí.
And this way I already have Mario Bros and the foami letters ready!🍄
Little by little I've been making progress for my nephew's birthday decoration, I love to make them part of the process, and of course I'm willing to receive any idea that is useful. These little details are perfect for decorating any occasion. I hope you liked them as much as I did.
See you in a new creation👩🎨
Mil gracias por leerme una vez
Nos vemos en una próxima publicación.
Muchas bendiciones y abrazos digitales🤗
Thank you very much for reading me once
See you in an upcoming post.
Many blessings and digital hugs🤗
👩🏼💻 Edición: Inshot y Canva / Edition: Inshot and Canva
✨ Traducción: DeepL.com / Translation: DeepL.com

This is such an impressive craft. A a perfect depiction of the character. It brings back so many memories. Well done
This is a character that undoubtedly leaves us with memories from generation to generation.
Thank you very much for your support.
🤗
Que bonito @yagelybr, yo ayer mismo subí un post de un Mario que hice con Clay, pero parece que no gusto mucho l!!!
Esas letras y creación te quedaron espectacular 😊👏
@ibarra95 Acabo de ver tu post y te quedó super increíble.
Gracias por pasar y comentar❤️✨
Gracias ☺️
Quedó muy lindo, gracias por el tutorial ☺️
Gracias bella❤️
𝐵𝑑𝑛̃𝑒𝑟𝑟𝑜 𝑞𝑢𝑒𝑑𝑎𝑟𝑜𝑛 𝑓𝑖𝑛𝑎𝑠
Gracias linda✨
Te quedó espectacular Mario, es un personaje simpático admirado por niños y adultos, gracias por la explicación detallada para su elaboración.
Saludos!
Muchas gracias @belkyscabrera, me alegro mucho que te gustará❤️
Bendiciones!!
Excelente paso a paso Yage! Te quedó muy bonito, me gustaron los detalles, pues son los que hacen la diferencia 💕
Muchas gracias ami❤️
Demasiado bellos, están geniales @yagelybr Lograste no solo al personaje y su personalidad, también esos colores tan vibrantes.
Gracias linda por el apoyo❤️✨.