Hello, dear friends who love crafts, today I want to show you how to make a birthday hat for pets. This hat I made especially for a friend's pet, whose name is Milo, and she turns two years old. It turns out that last year, when he turned one, my dog Kempashi, we made him a birthday hat to take some pictures and as my friend's was turning two years old, two months later I gave it to her so she could wear it to celebrate her pet's birthday.
This year, I didn't celebrate my pet's birthday, as unfortunately he was sick on that date. The poor thing had pneumonia and didn't feel much like partying, he hardly ate. A few days ago my friend called me and asked me about the hat for birthday number 2, because Milo's birthday was coming up and I told her what happened, but I told her not to worry that I would make one for him. And so I did, here I show you how I made it, very fast and with easy to get materials. Below, I show you the materials I used and the step by step of the creative process.
Hola, queridos amigos amantes de las manualidades, hoy quiero mostrarte cómo hacer un gorro de cumpleaños para mascotas. Este gorro lo hice especialmente para la mascota de una amiga, que se llama Milo, y cumple sus dos años. Resulta que el año pasado, cuando cumplió el primer año, a mi perro Kempashi, le elaboramos un gorro de cumpleaños para hacerle unas fotos y como el de mi amiga cumplía años dos meses después, se lo regalé para que pudiera usarlo en la celebración de su mascota.
Este año, no celebré el cumpleaños de mi mascota, pues desgraciadamente se encontraba enferma en esa fecha. El pobre tenía neumonía y no tenía muchas ganas de fiesta, apenas comía. Hace unos días me llamó mi amiga y me preguntó por el gorro del cumpleaños número 2, porque se acerca la fecha del cumpleaños del Milo y le conté lo sucedido, pero le dije que no se preocupara que yo le hacía uno. Y así fue, aquí te muestro cómo lo hice, muy rápido y con materiales fáciles de conseguir. A continuación, te muestro los materiales que utilicé y el paso a paso del proceso creativo.
🎉Materials // Materiales🎉

- Cardboard / Cartulina
- Blue paint / Pintura azul
- Brush / Pincel
- Pencil / Lápiz
- Scissors / Tijera
- Blue, black and silver Foami / Foami azul, negro y plateado
- Silicone / Silicona
- Decorative holiday necklace / Collar decorativo de fiestas
🎉Step by step // Paso a paso🎉
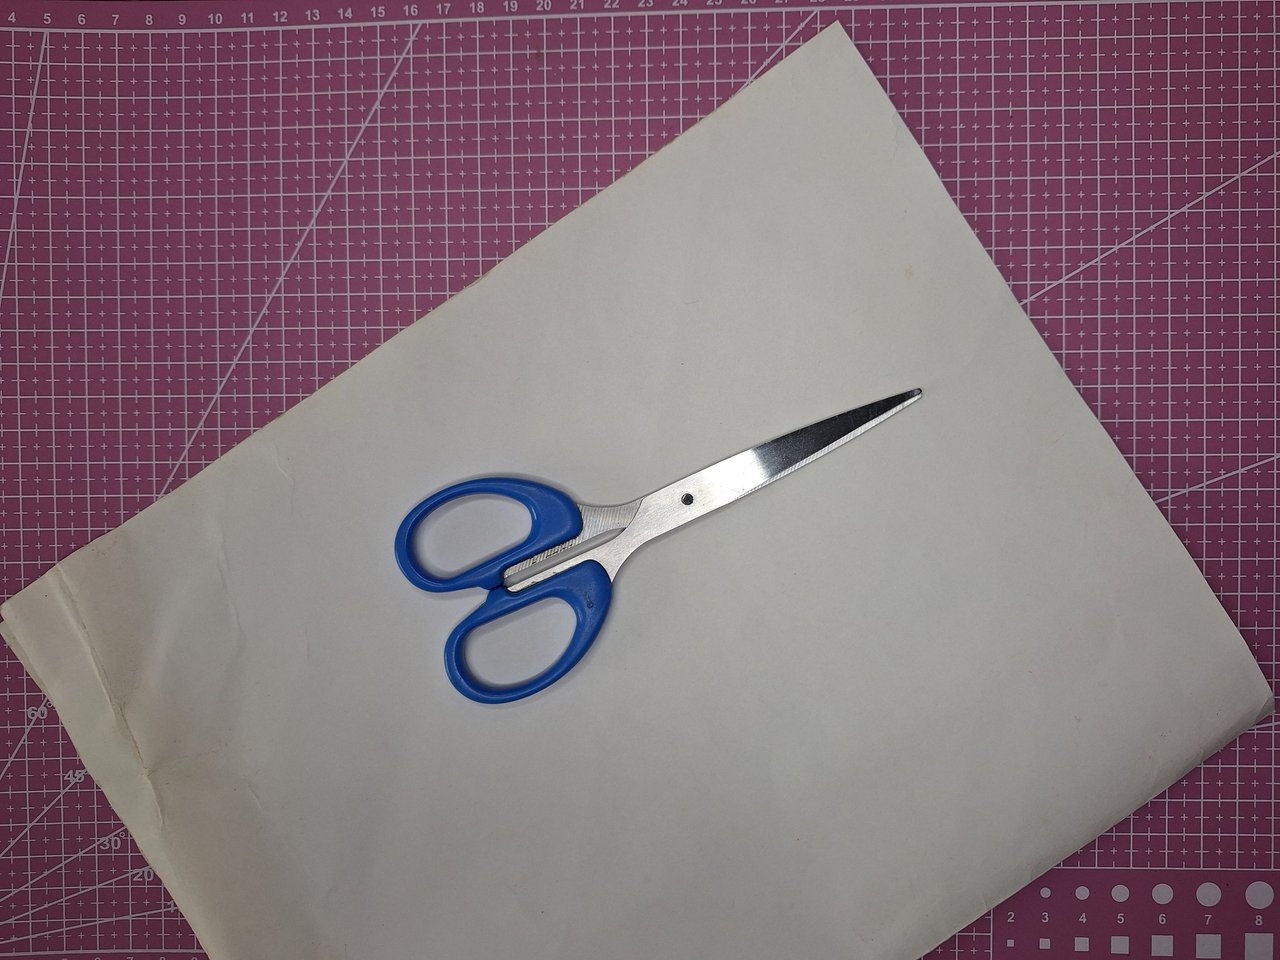 | 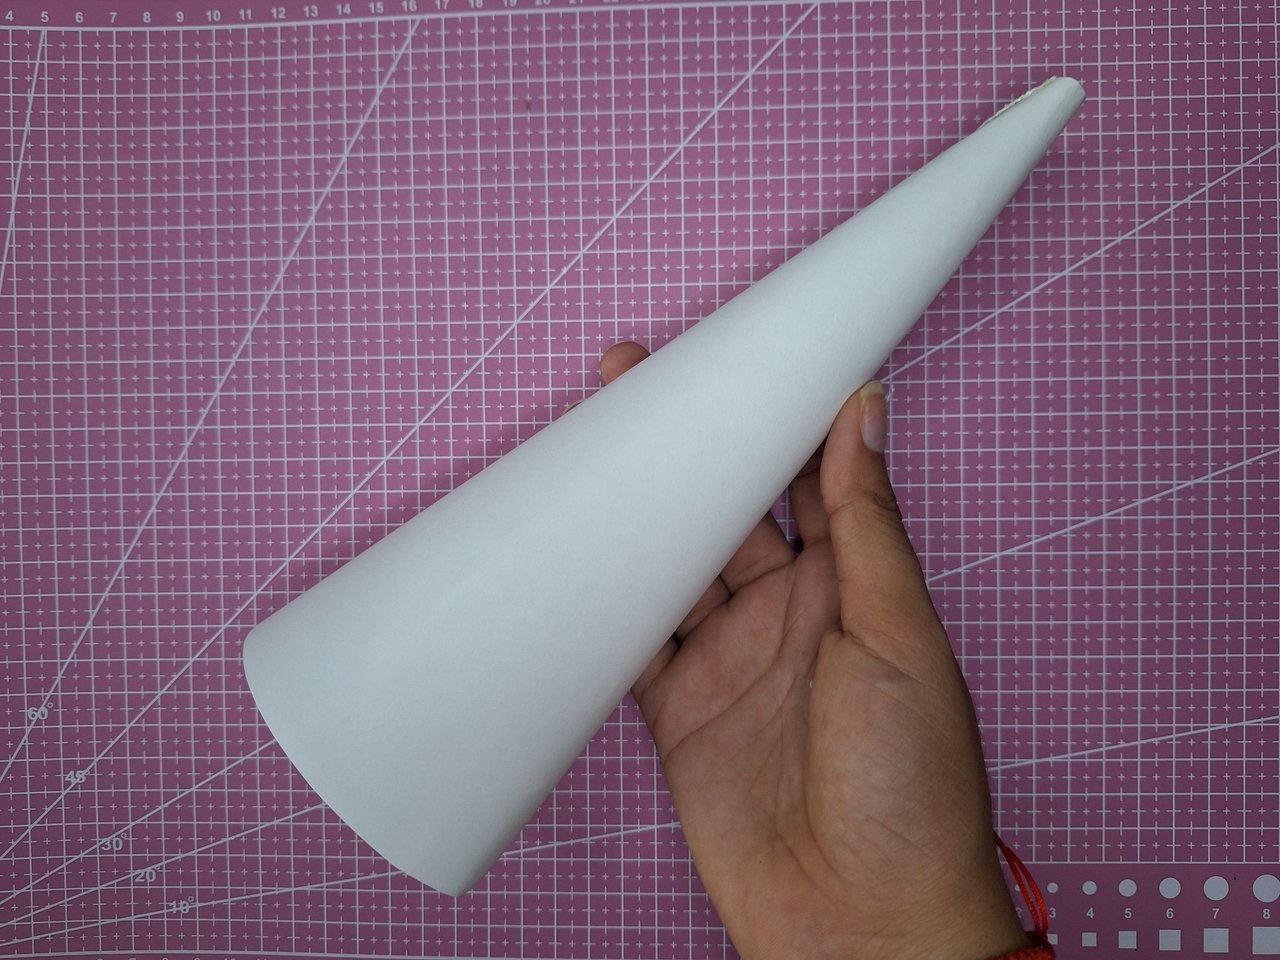 |
To make the cone shape of the hat, I used a white cardboard, which I twisted to form the cone with measures of 25 cm high and 8 cm in diameter of the circumference. As you can see, the part that is placed on the head is not very wide because it is a small Pekingese puppy.
Para hacer la forma en forma de cono del gorro, utilicé una cartulina de color blanco, la cual fui enroscando hasta formar el cono con unas medidas de 25 cm de alto y 8 cm del diámetro de la circunferencia. Como ven, no es muy ancho la parte que se coloca en la cabeza porque es un perrito pequeño pequinés.
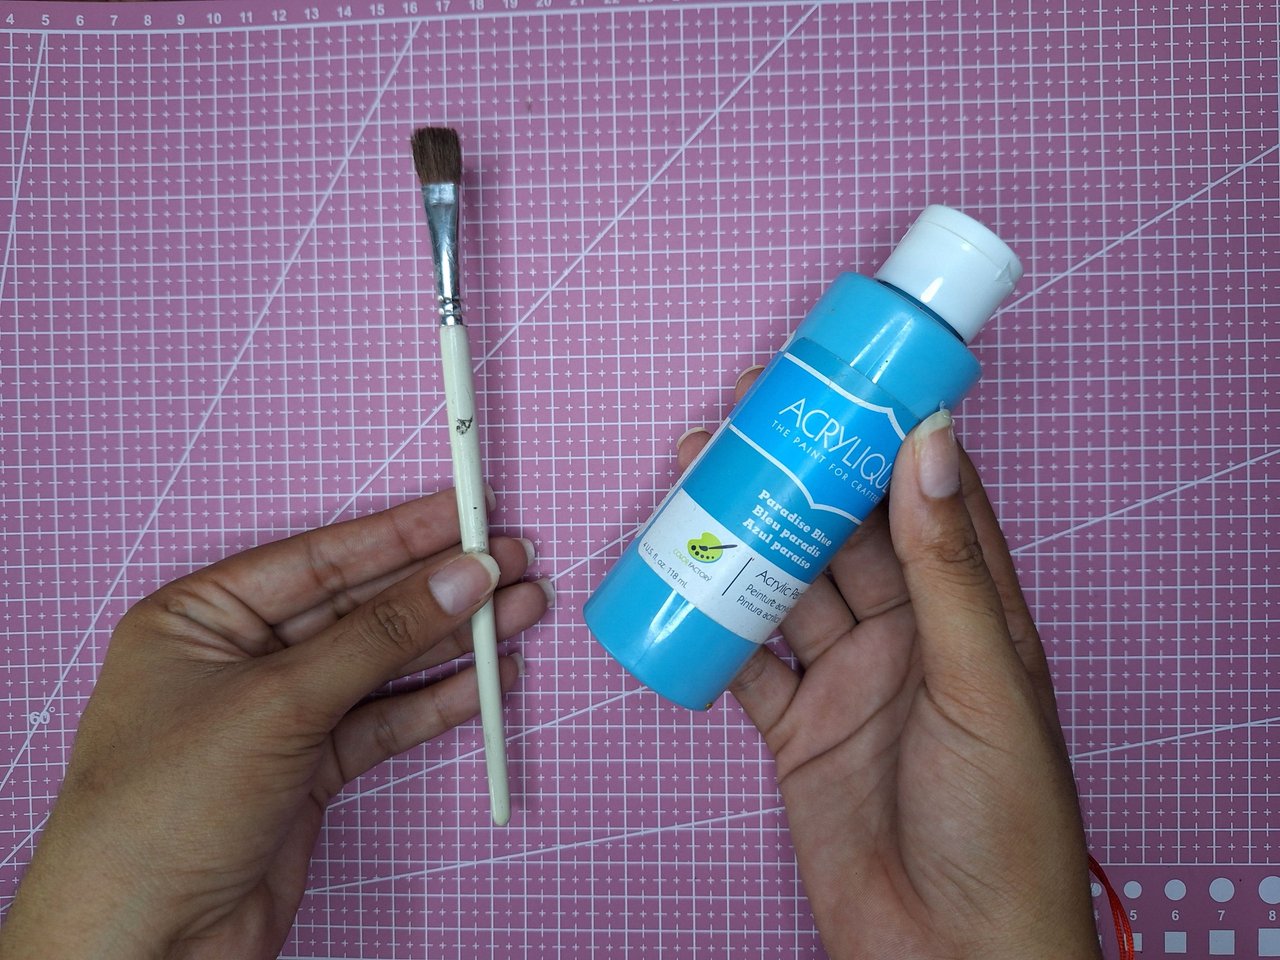 | 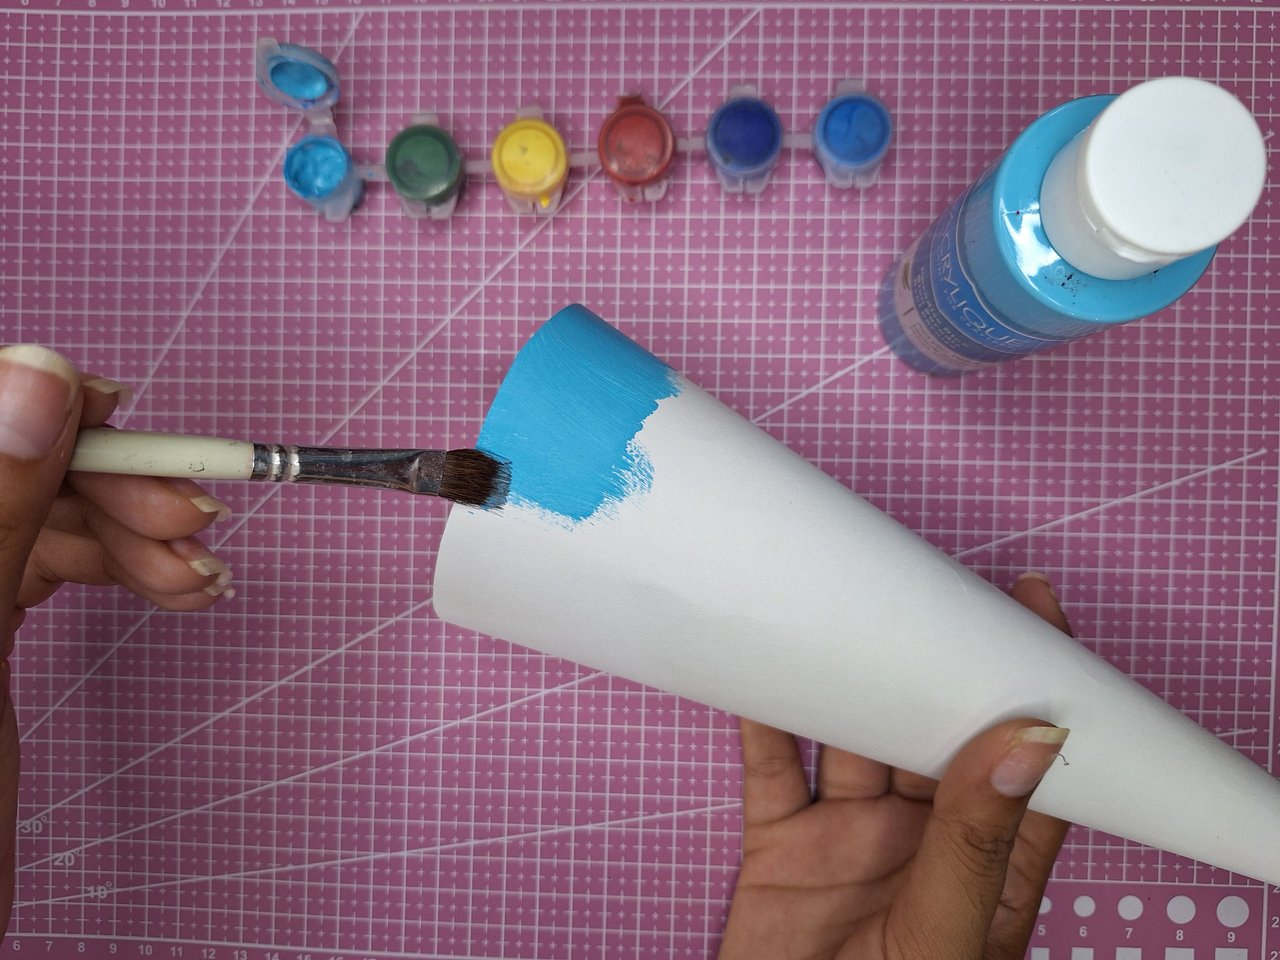 | 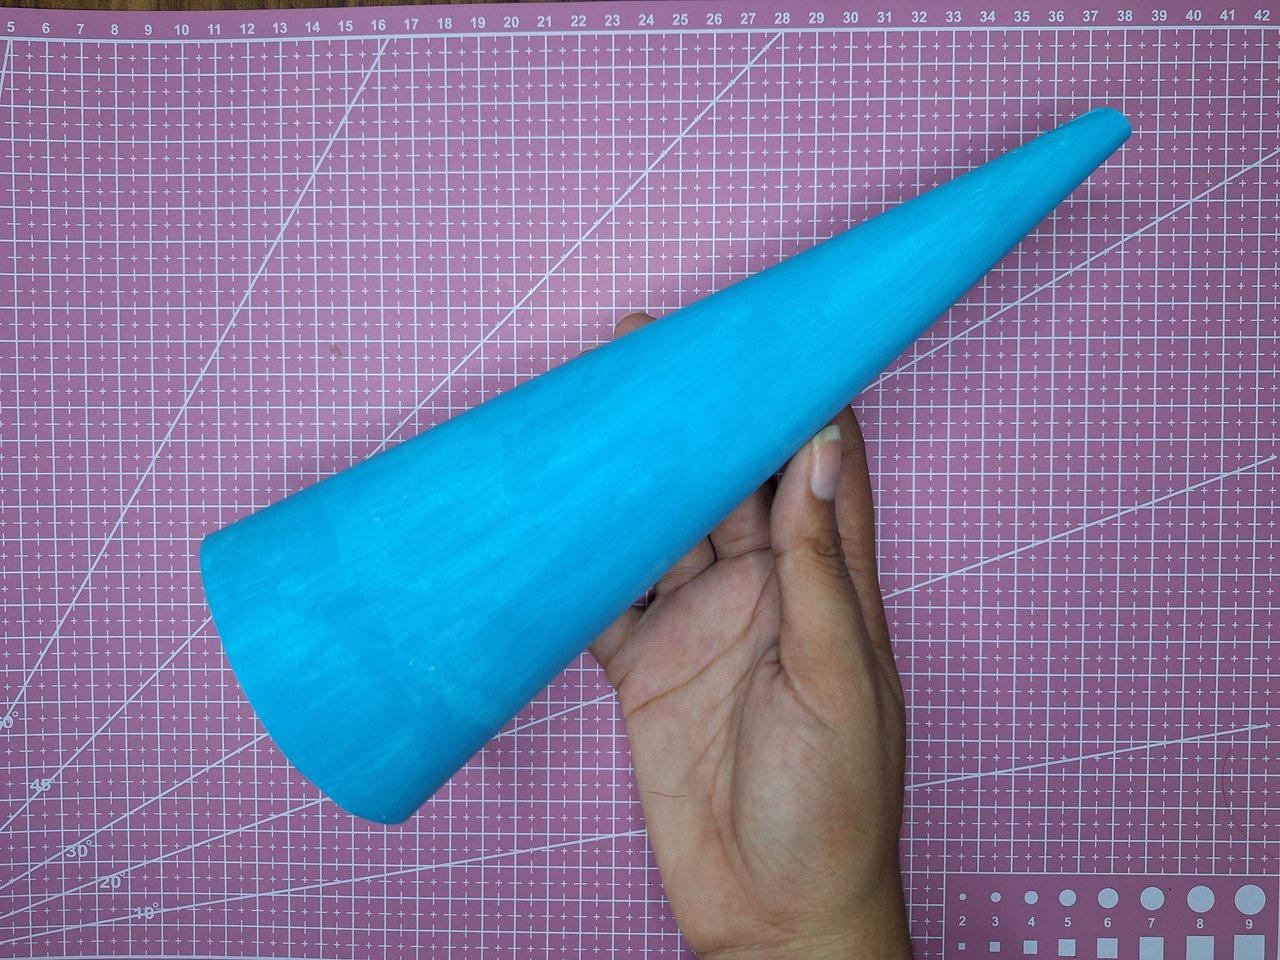 |
With blue acrylic paint I painted the entire surface, since the materials for the decoration had most of these blue tones. I let it dry for a few minutes to dry completely.
Con pintura acrílica azul pinté toda la superficie, ya que los materiales para la decoración tenían la mayoría de estos tonos azules. Dejé secar por unos minutos para que se secara completamente.
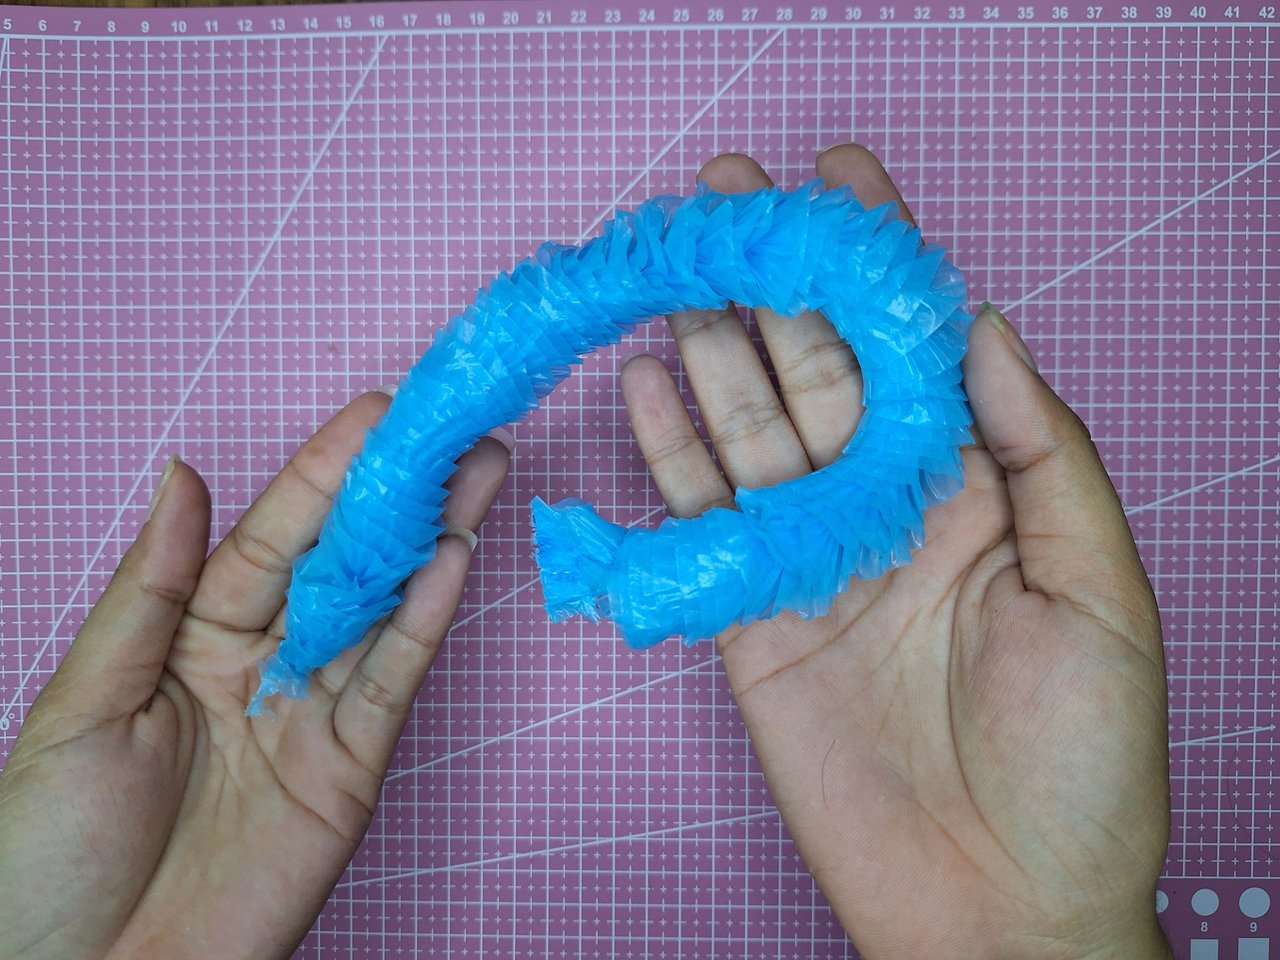 | 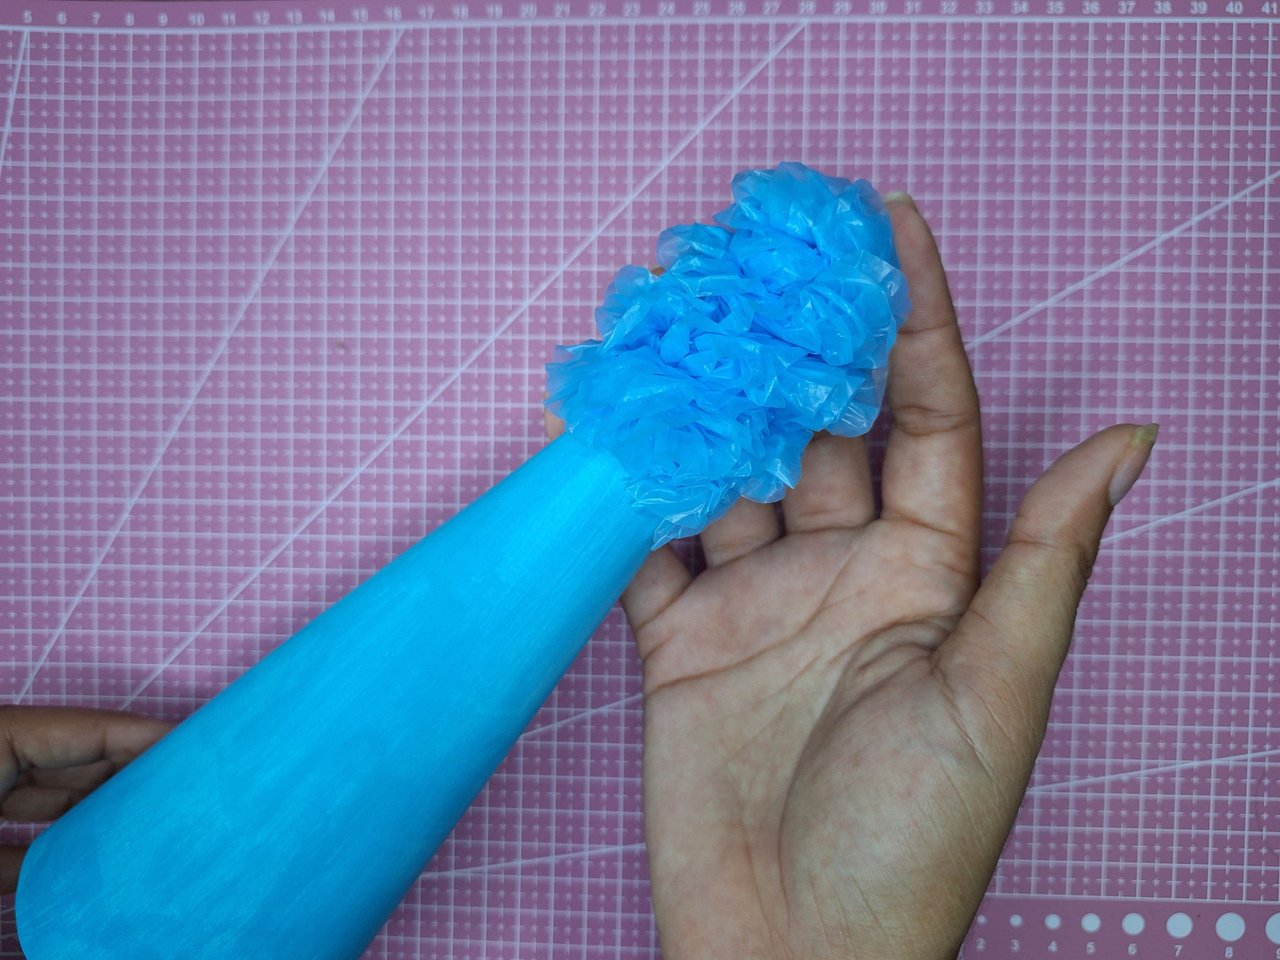 |
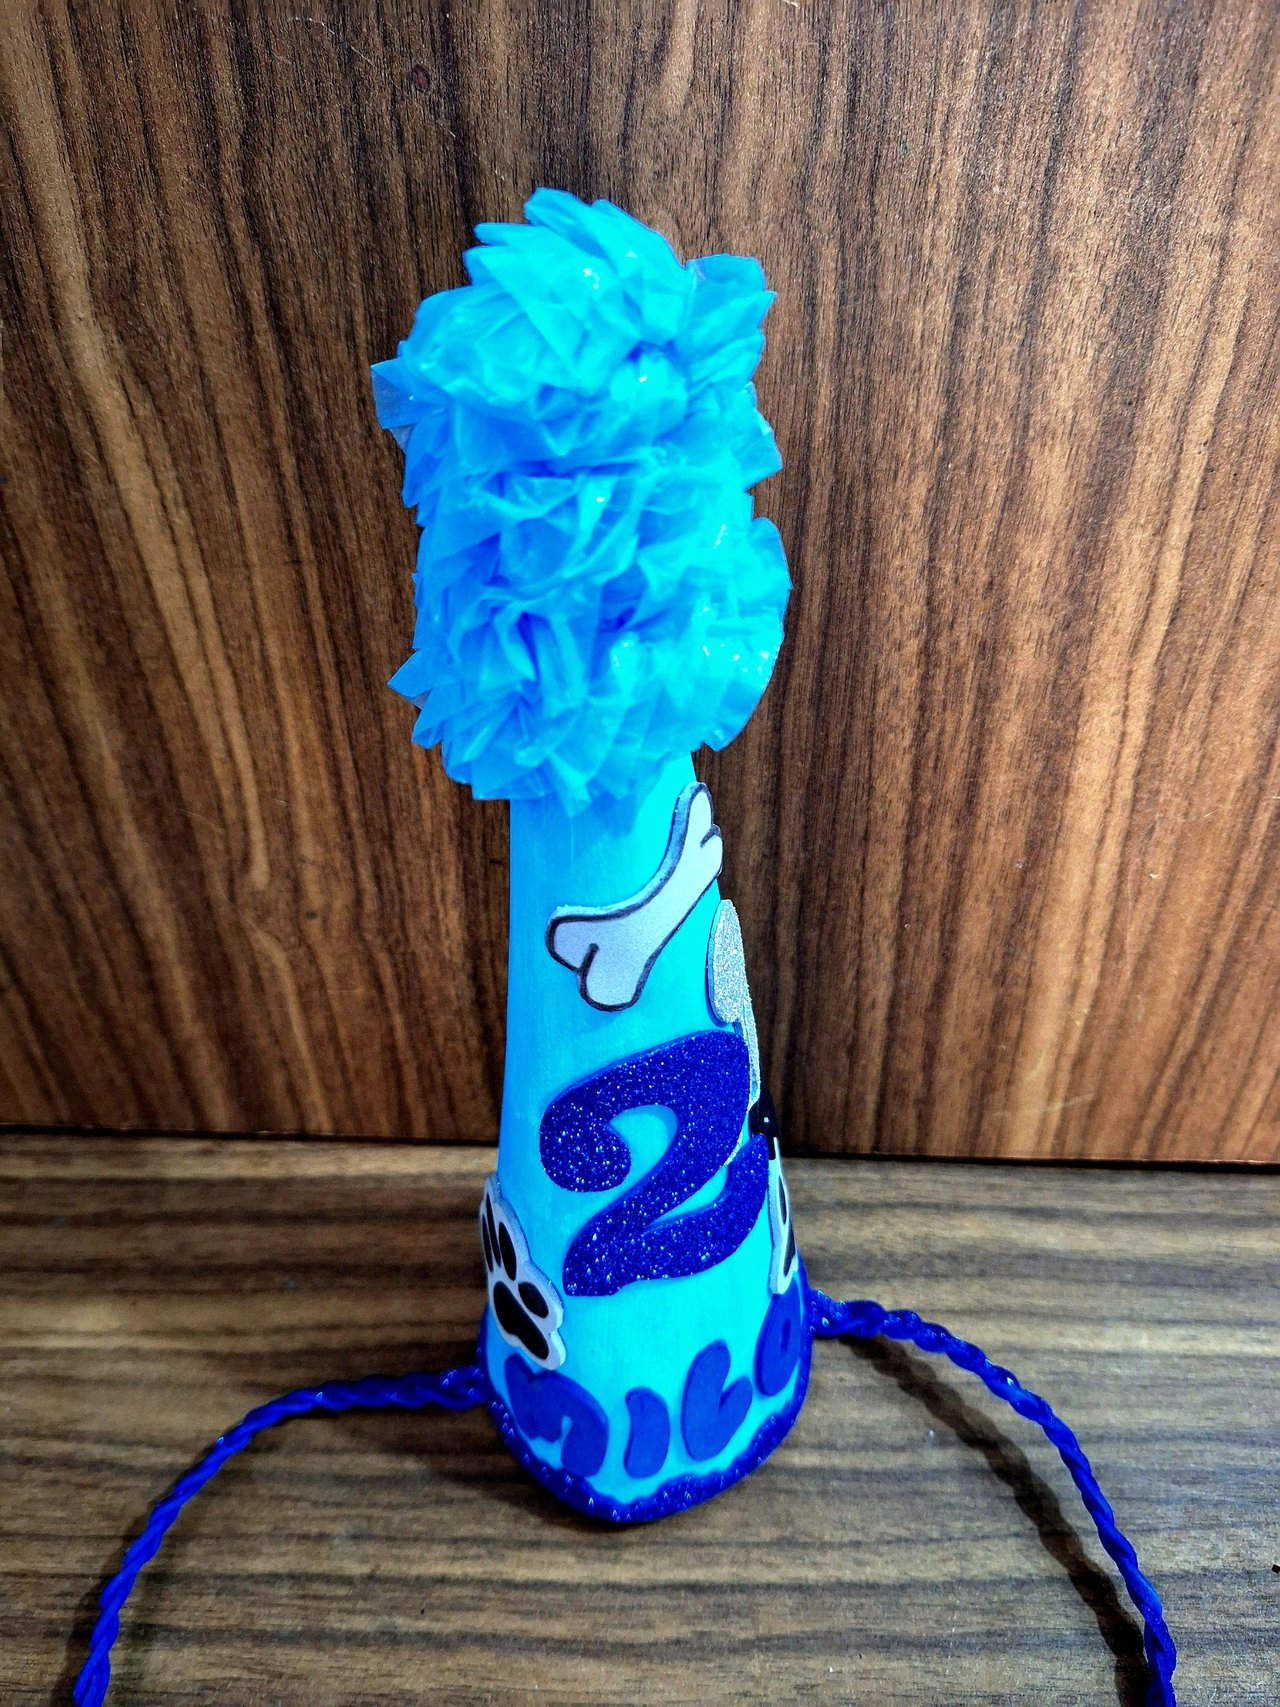
I used one of those decorative necklaces used at parties to make the pompom at the tip of the hat. I glued one end and rolled it until it was nice and even. Then I glued the tip to the bottom.
Utilicé un collar de esos decorativos que se utilizan en las fiestas para hacer como el pompón de la punta del gorro. Pegué un extremo y lo fui enrollando hasta que quedara bien parejo. Luego pegué la punta en la parte inferior.
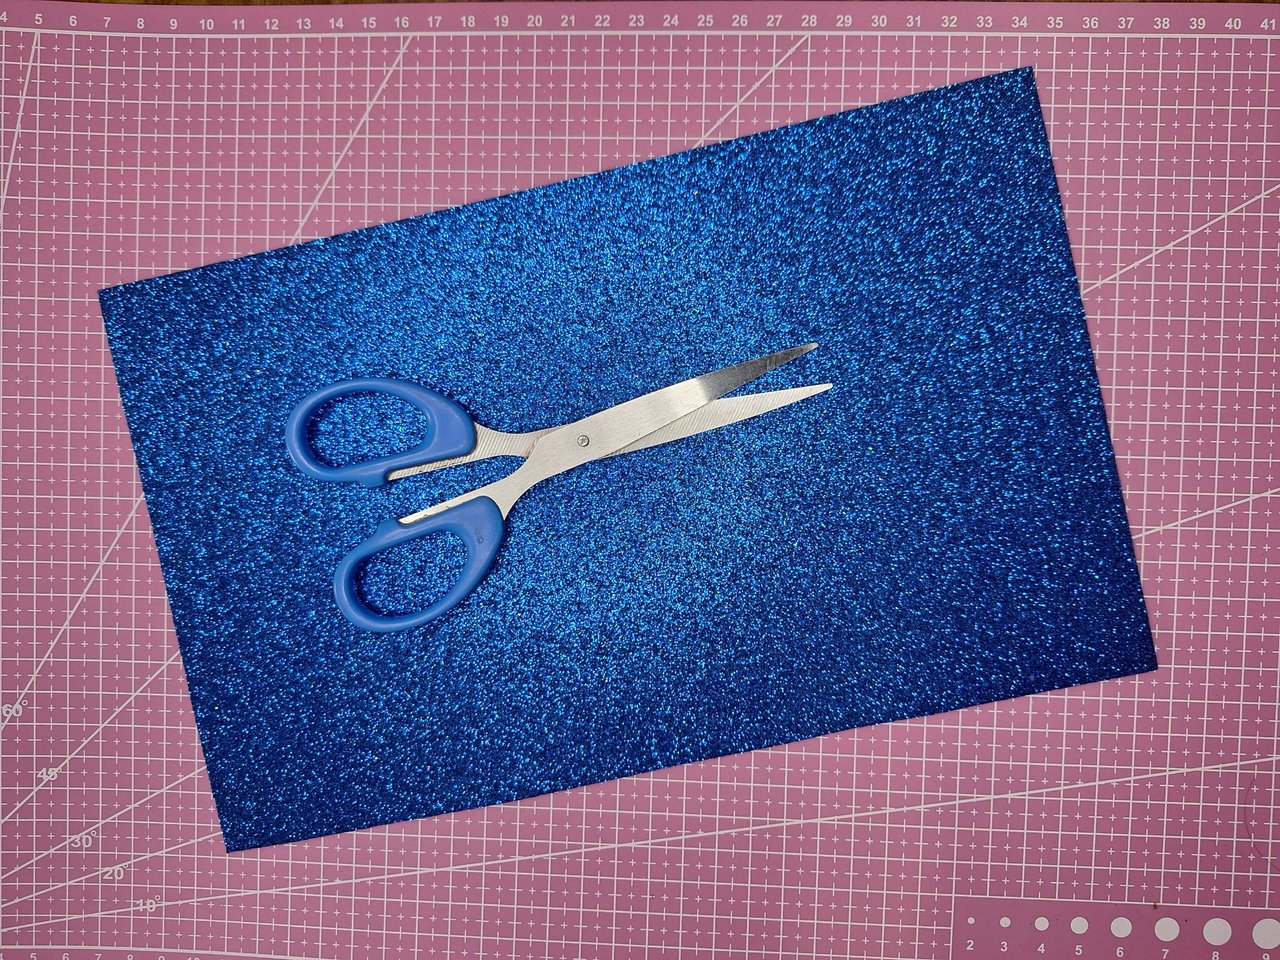 | 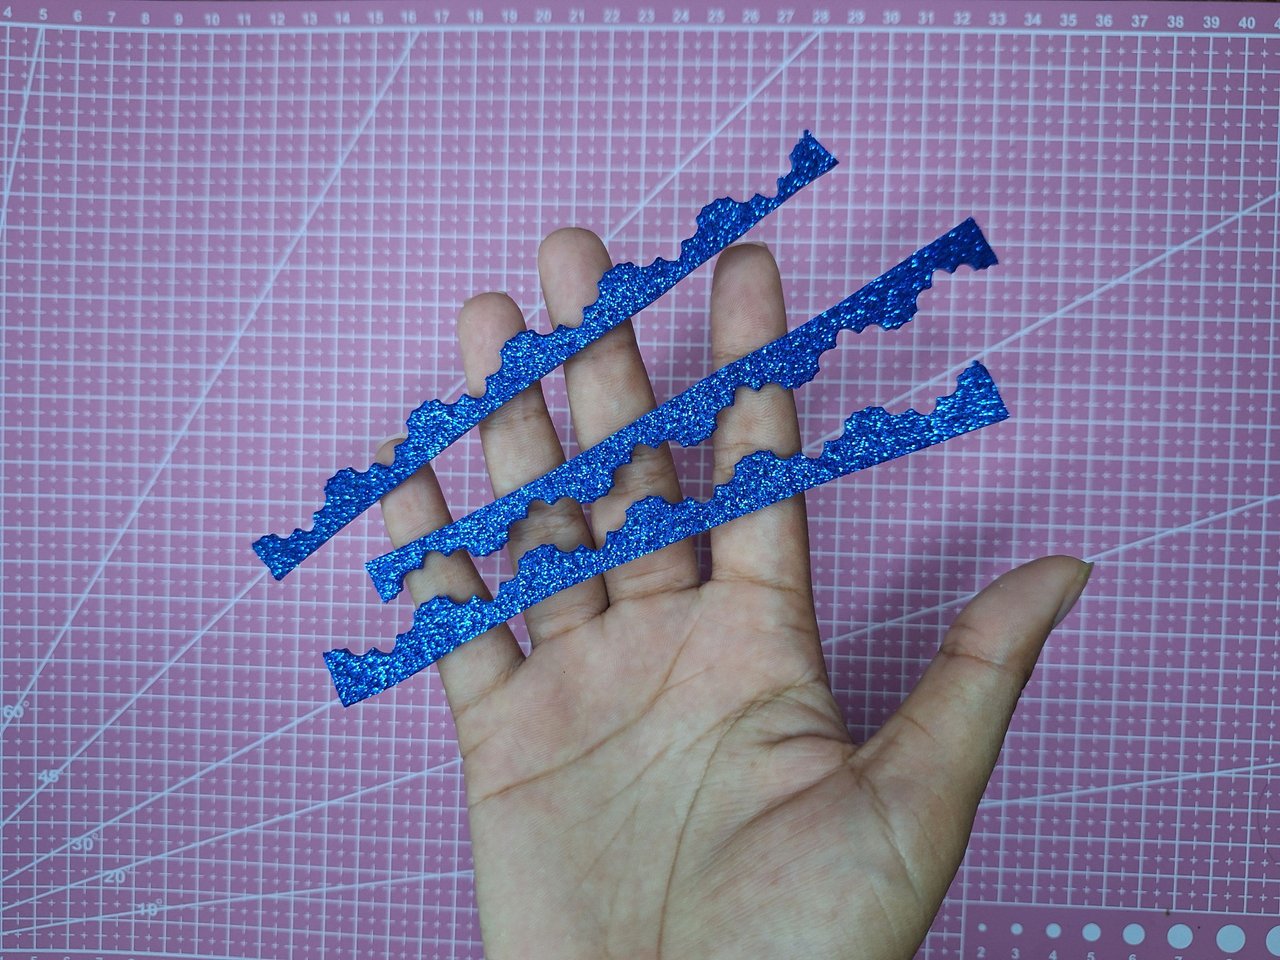 | 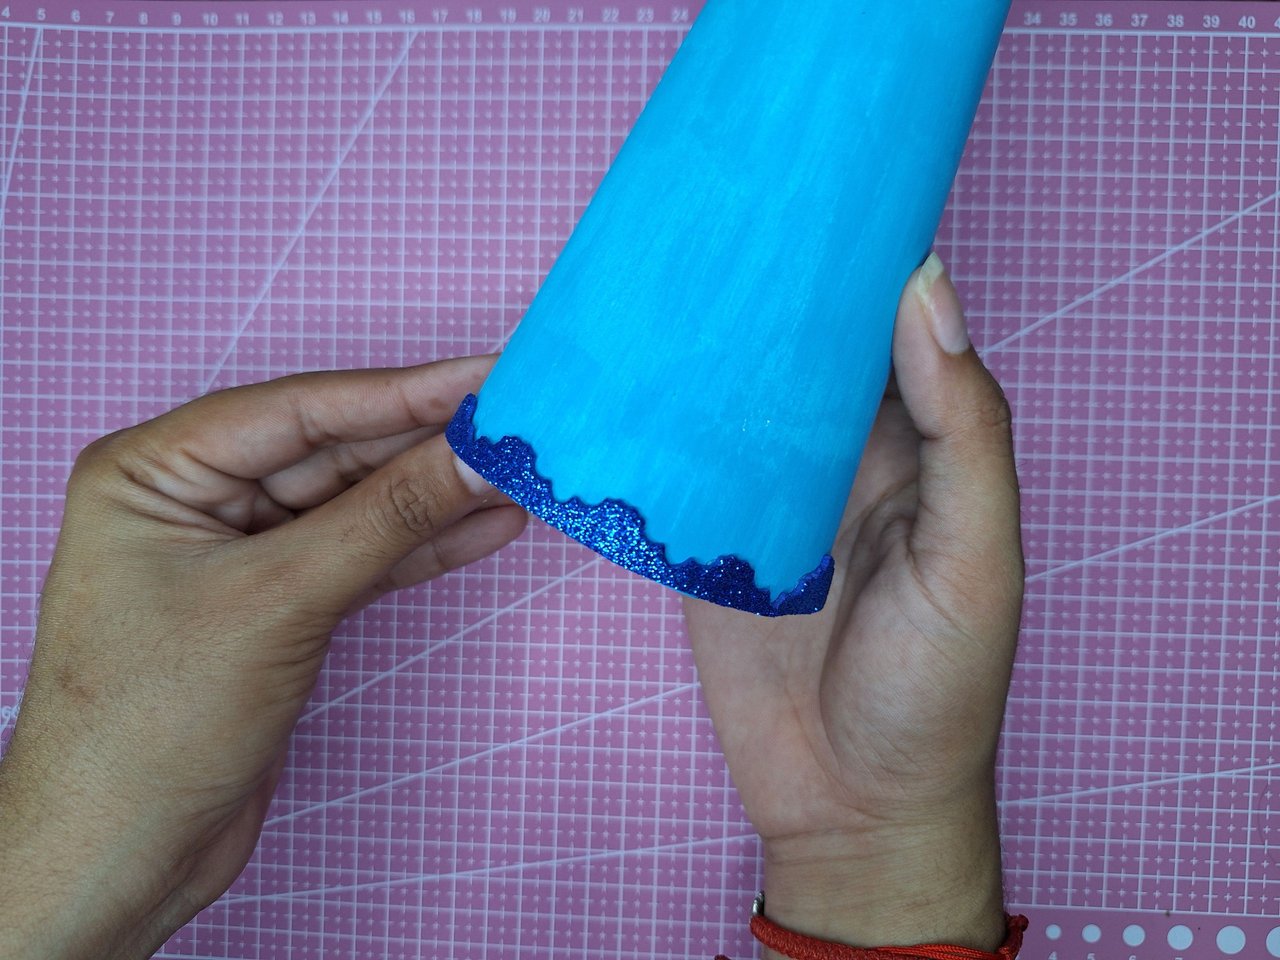 |
With blue frosted foami I made some decorative strips to glue on the bottom of the hat.
Con foami azul escarchado hice unas tiras decorativas para pegarlo en la parte inferior del gorro.
 |  |
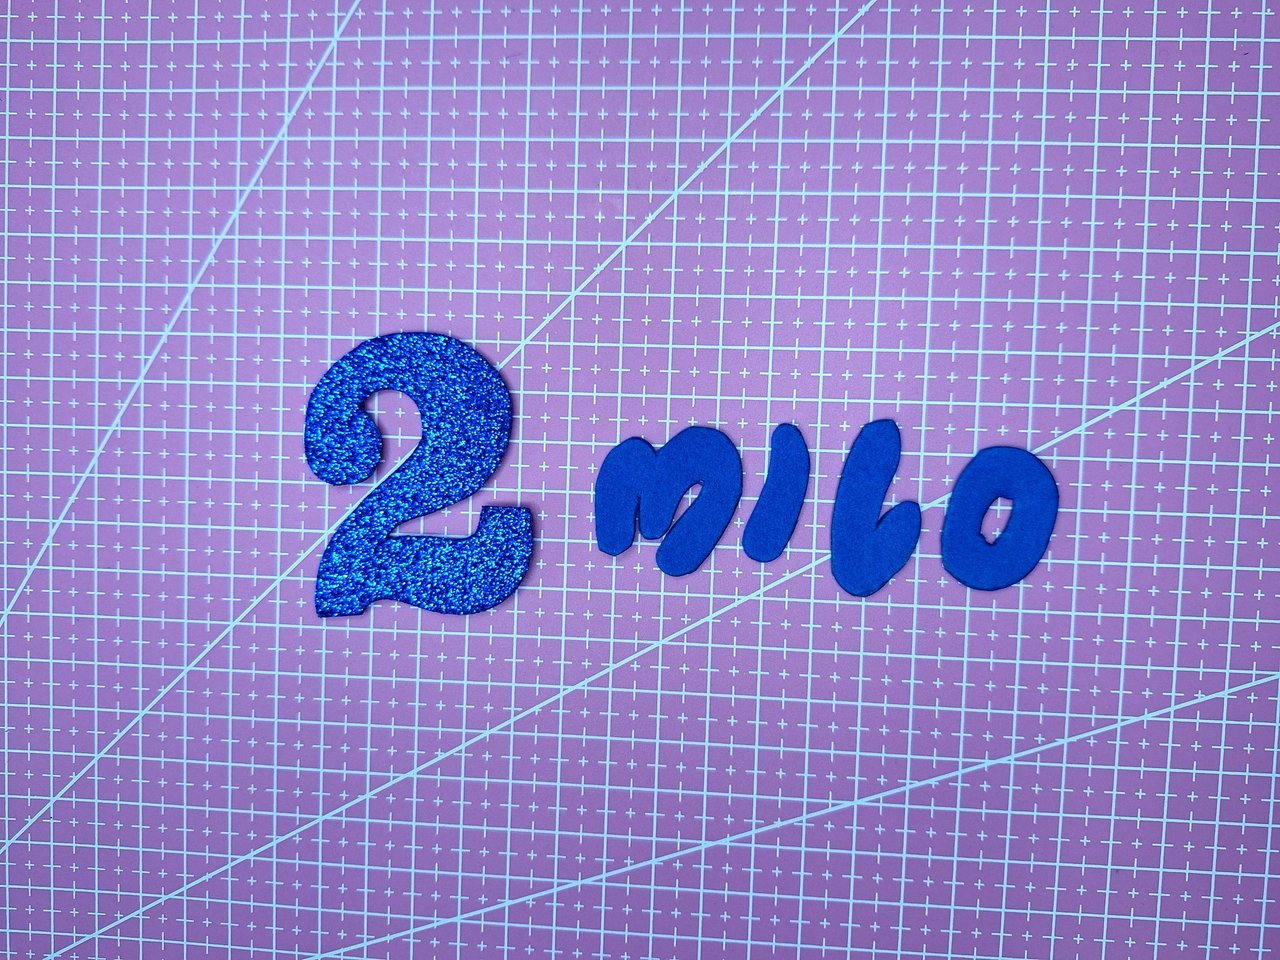 | 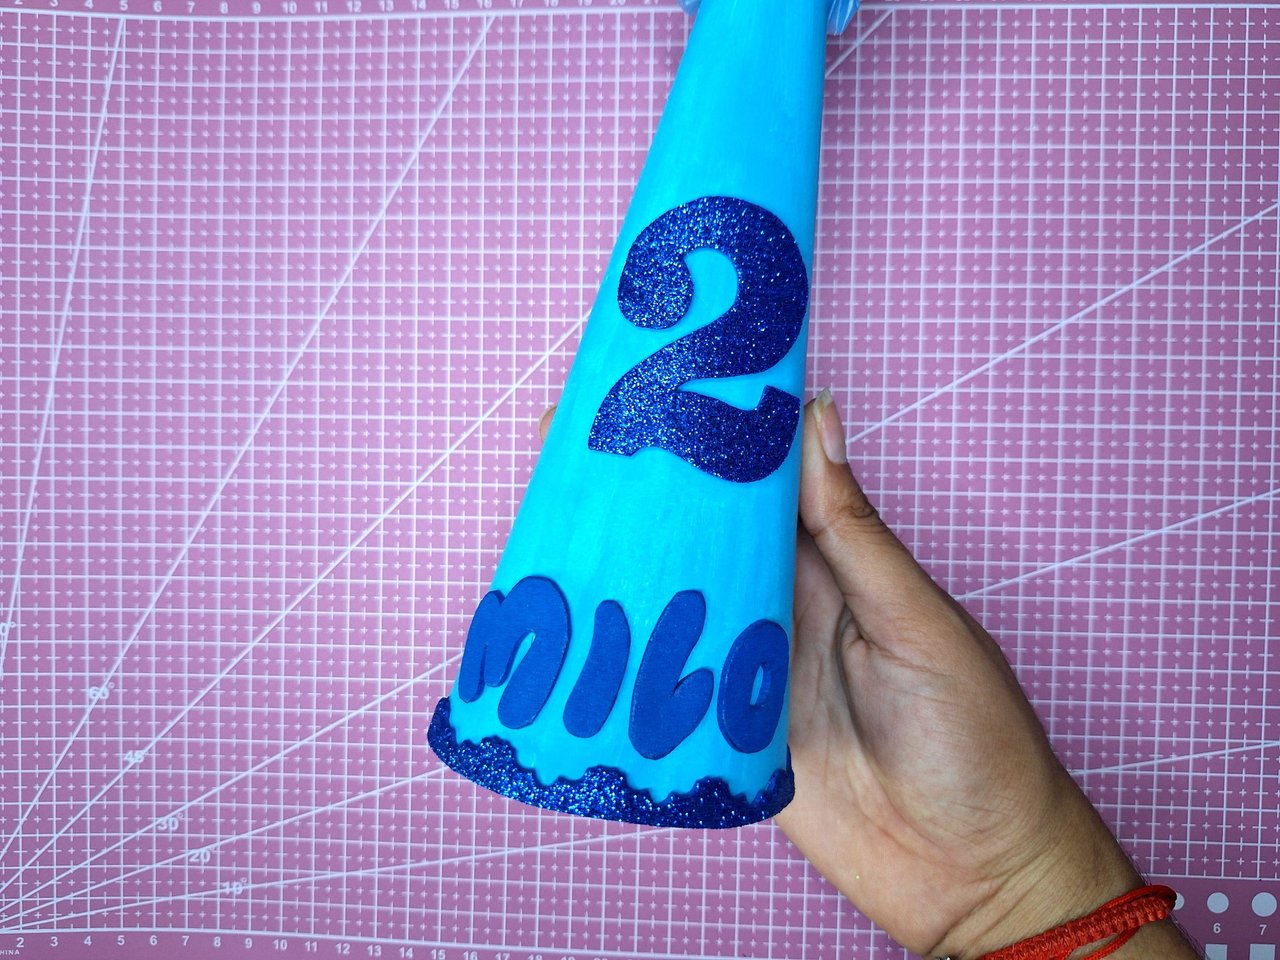 |
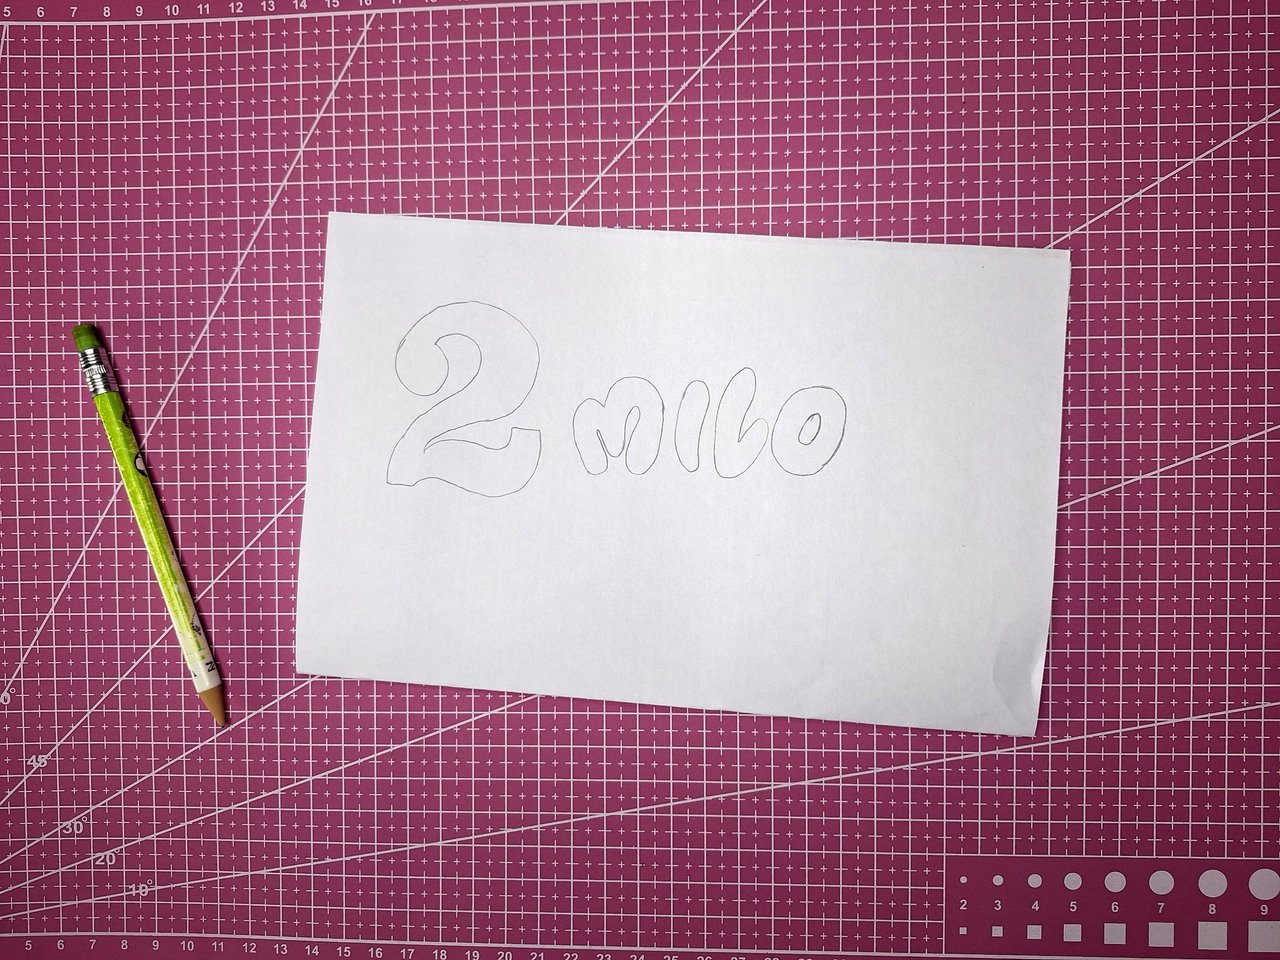
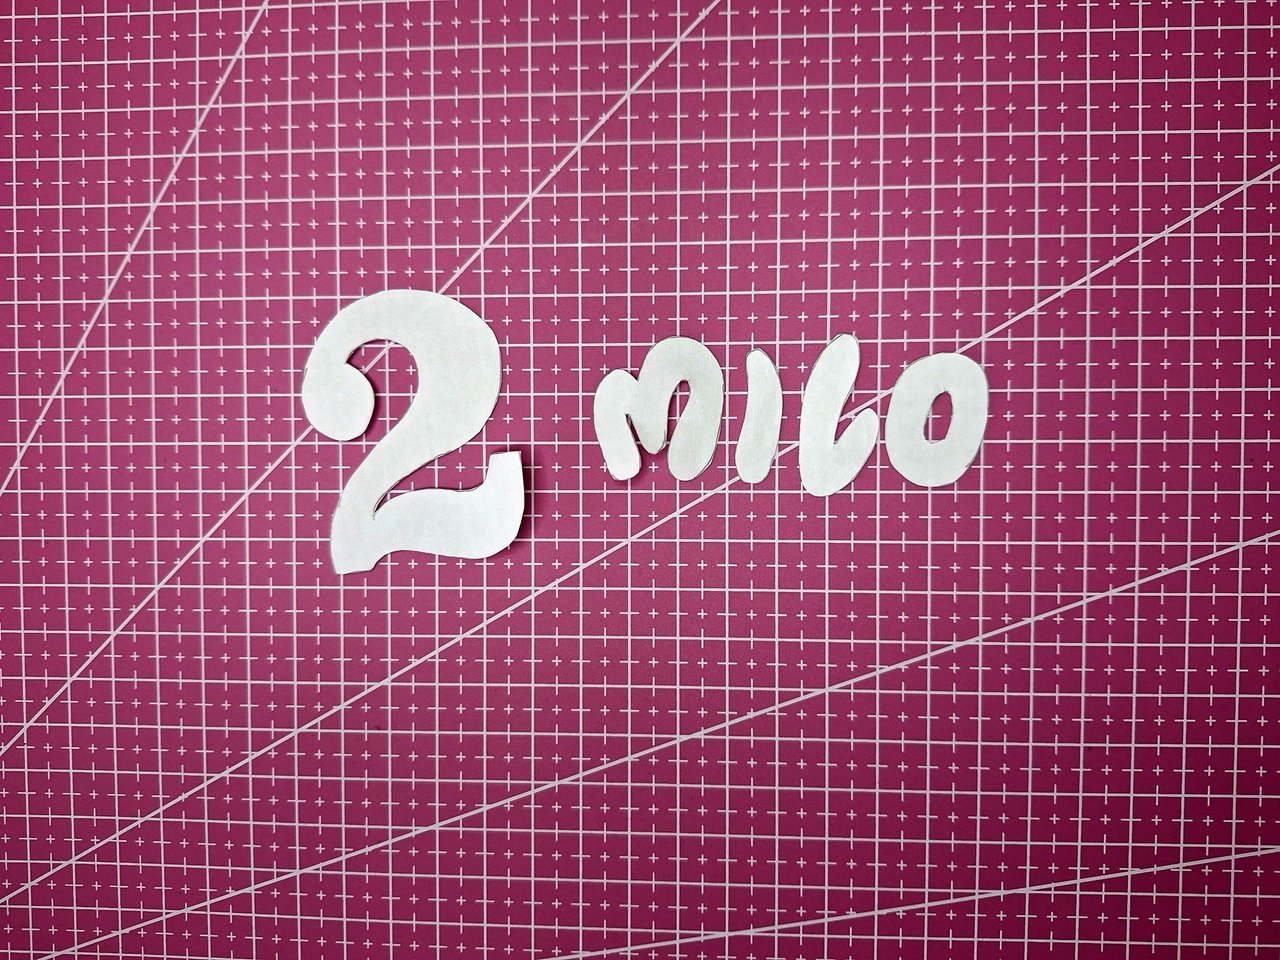
On a sheet of paper I drew the silhouette of the number two and the letters of the name Milo, which is what he is called. I cut out these figures, to use them as a mold, marked them and cut them on the foami. Then I glued them on the hat.
En una hoja de papel dibujé la silueta del número dos y las letras del nombre Milo, que es como se llama. Recorte estas figuras, para utilizarlas como molde, las marqué y recorte en el foami. Luego las pegué en el gorro.
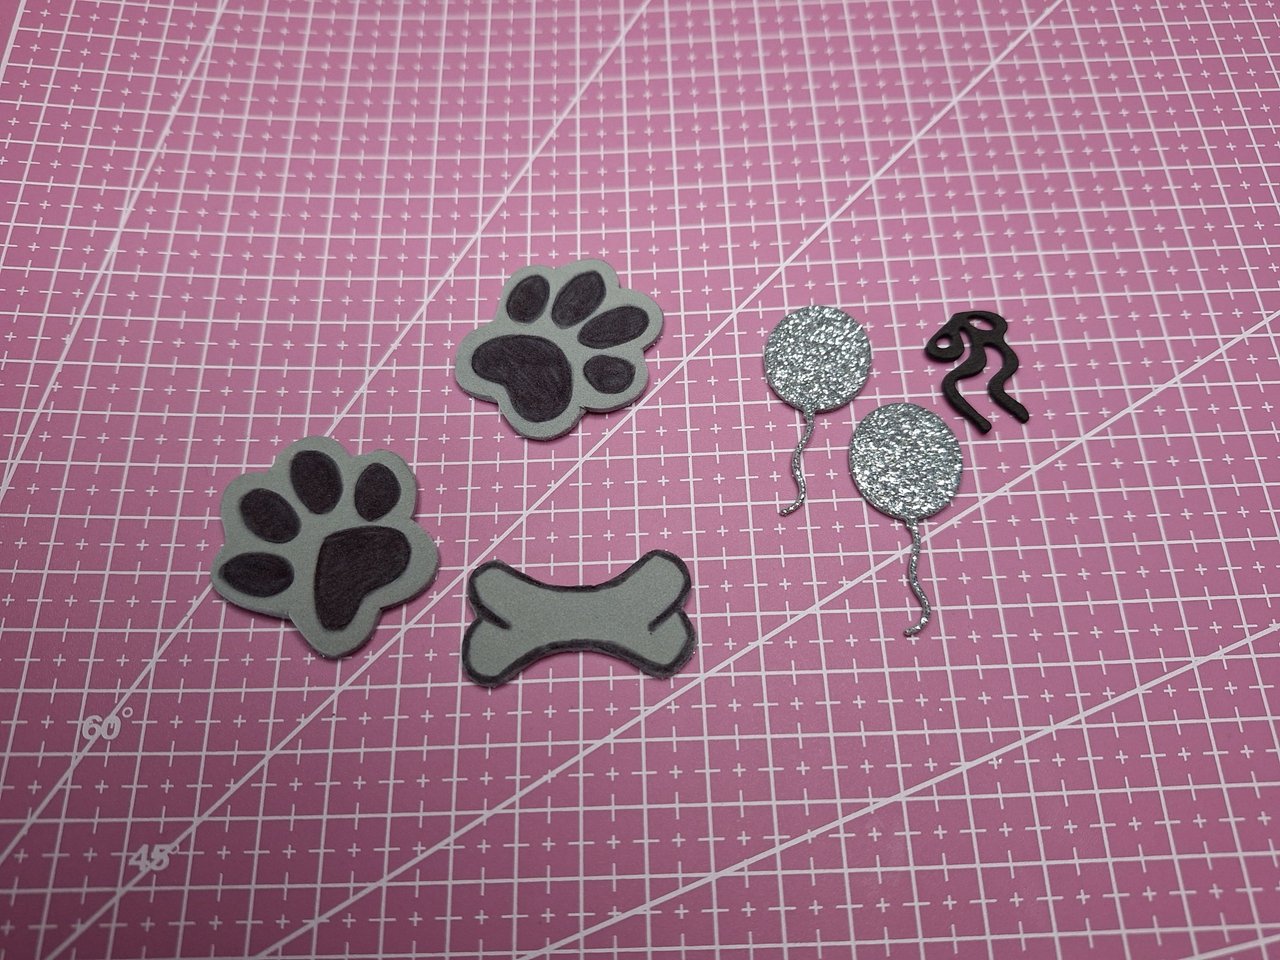 | 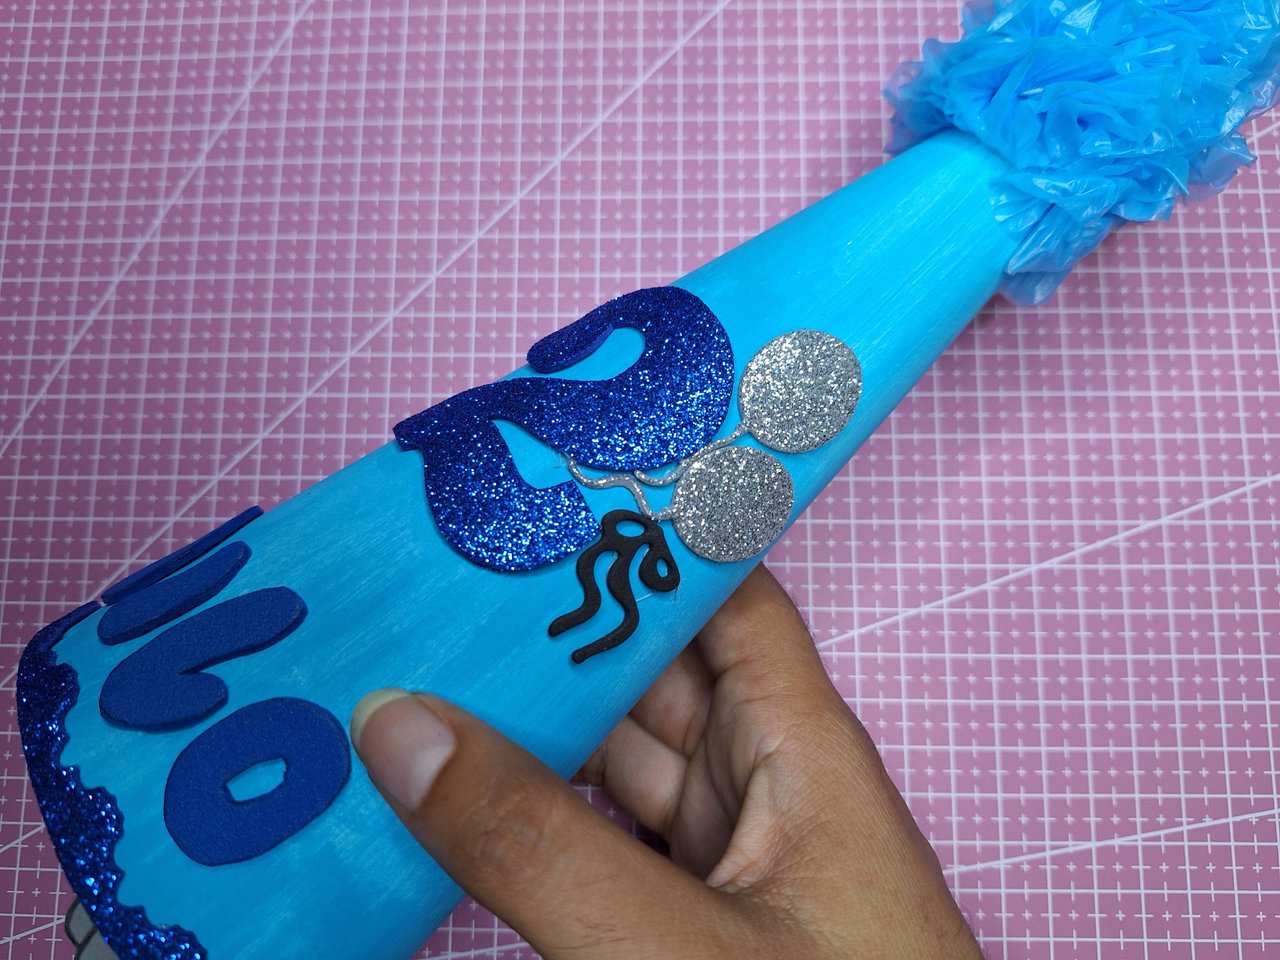 | 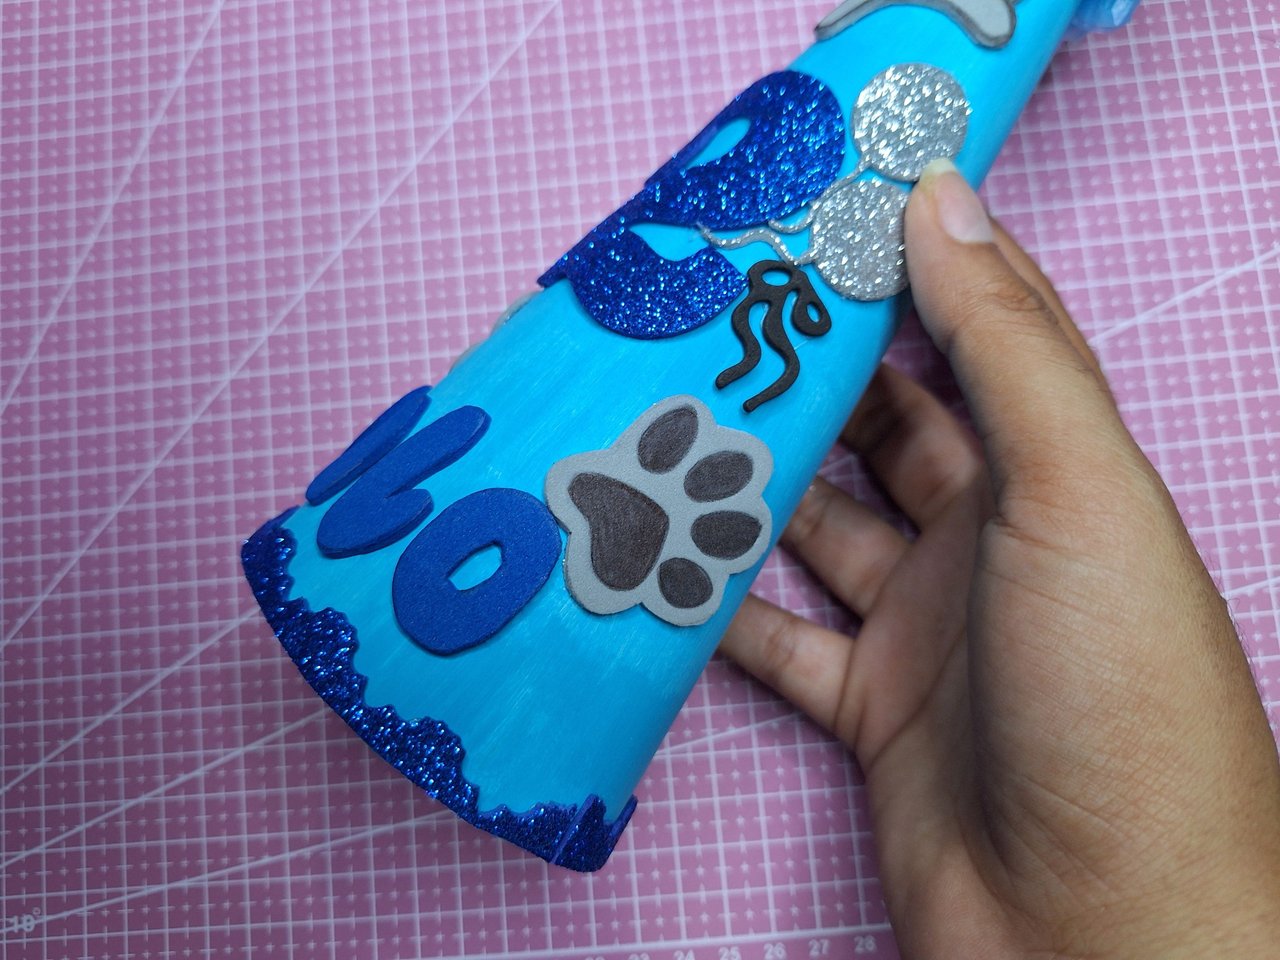 |
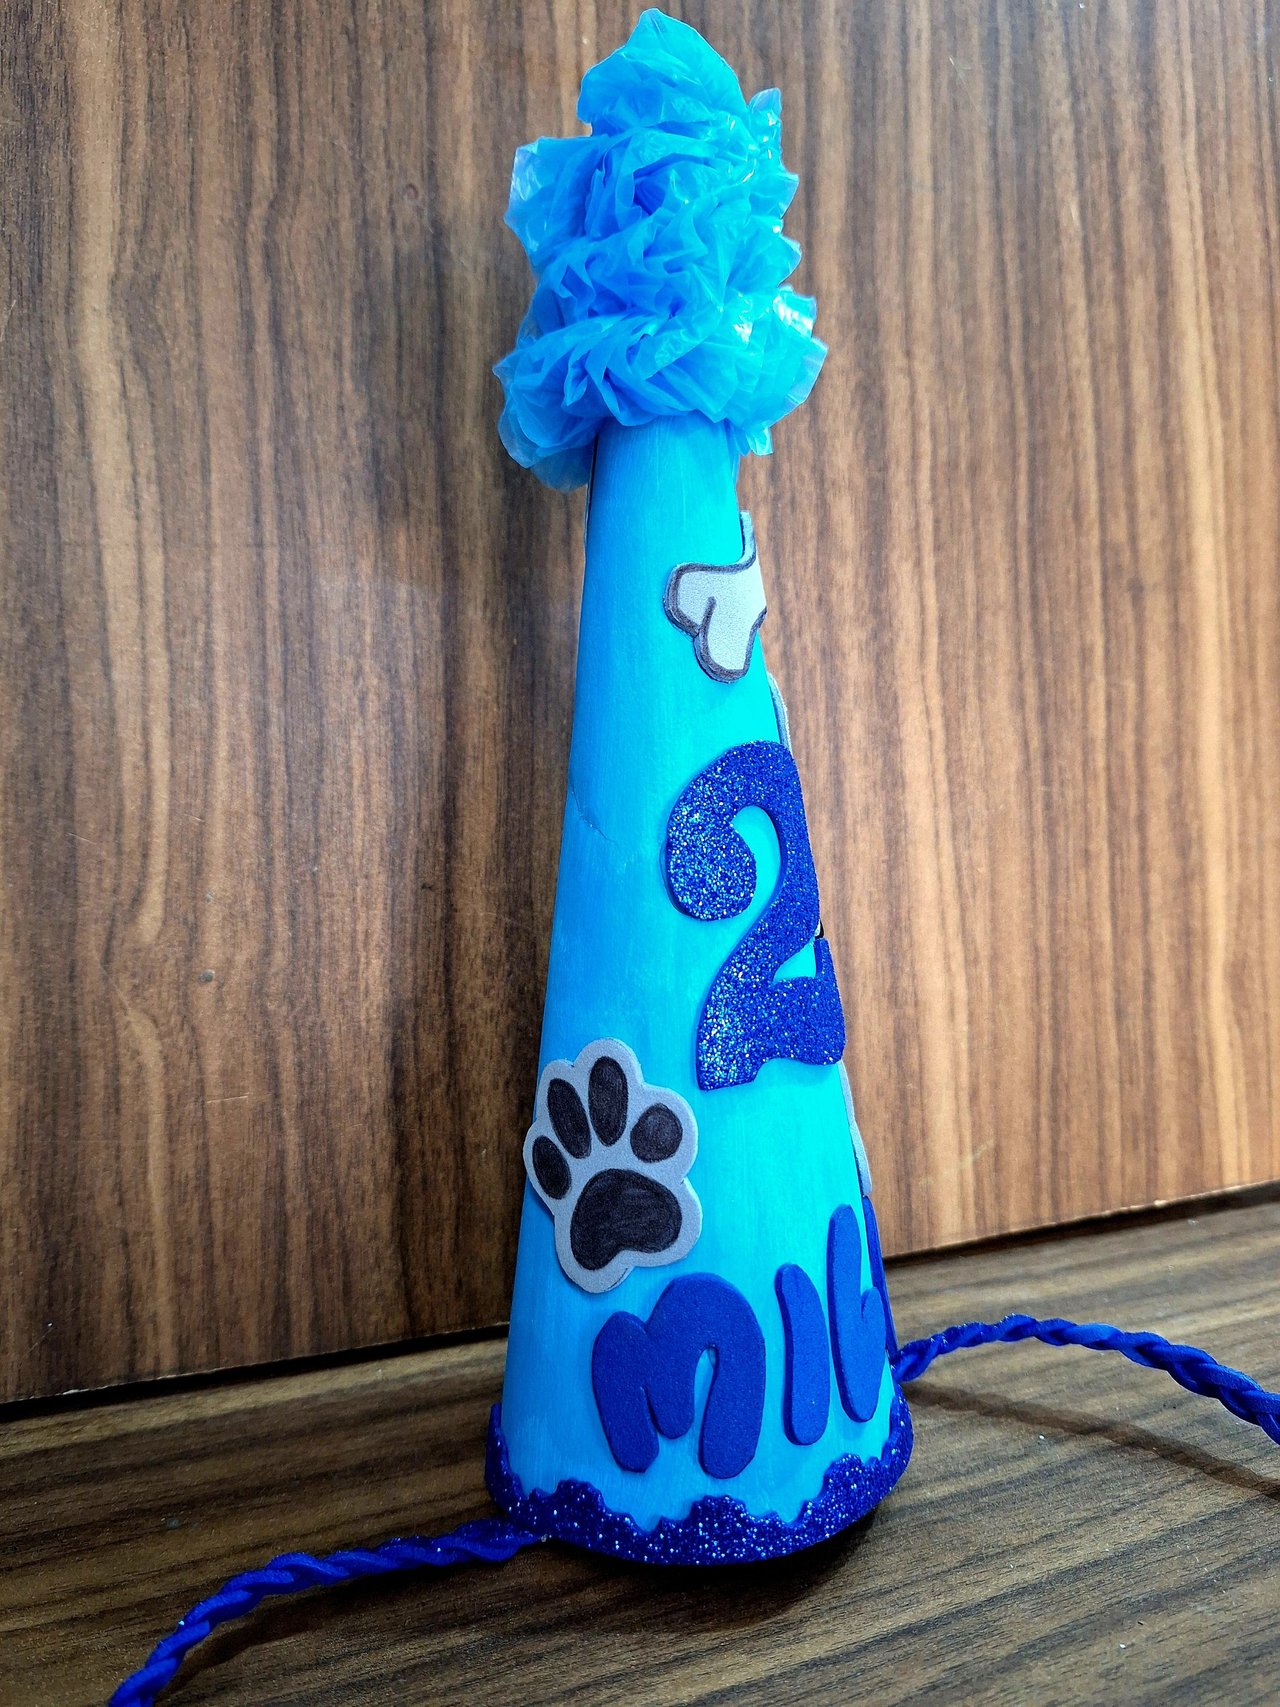
With the same procedure I made other decorations to make the hat look more like a party hat, and dog paws and a little bone, since it is dedicated to these beautiful furry animals.
Con el mismo procedimiento anterior hice otras decoraciones para que el gorro pareciera más de fiesta, y patitas de perro y un huesito, ya que es dedicado a estos hermosos animales peludos.
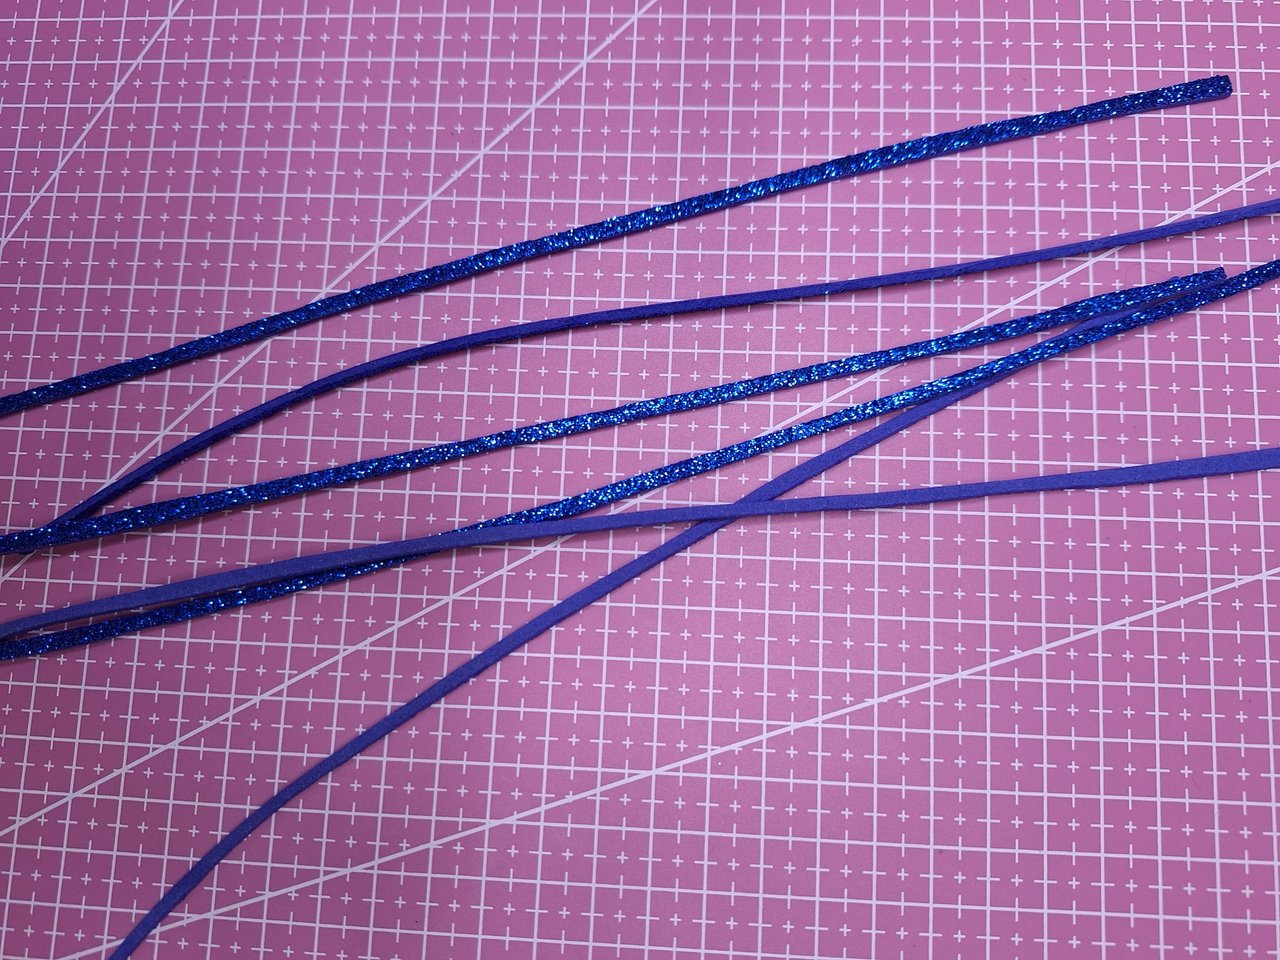 | 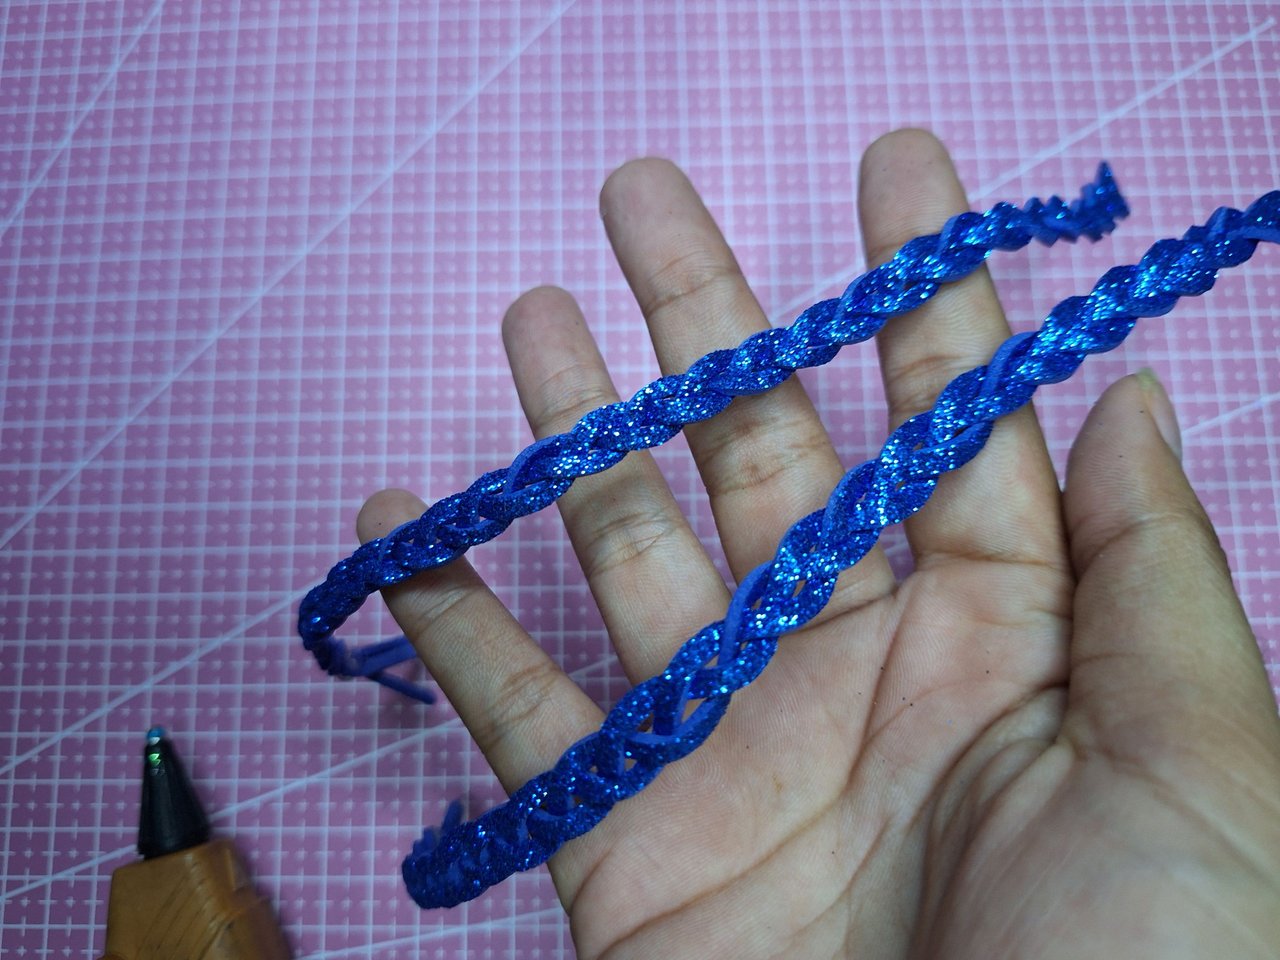 | 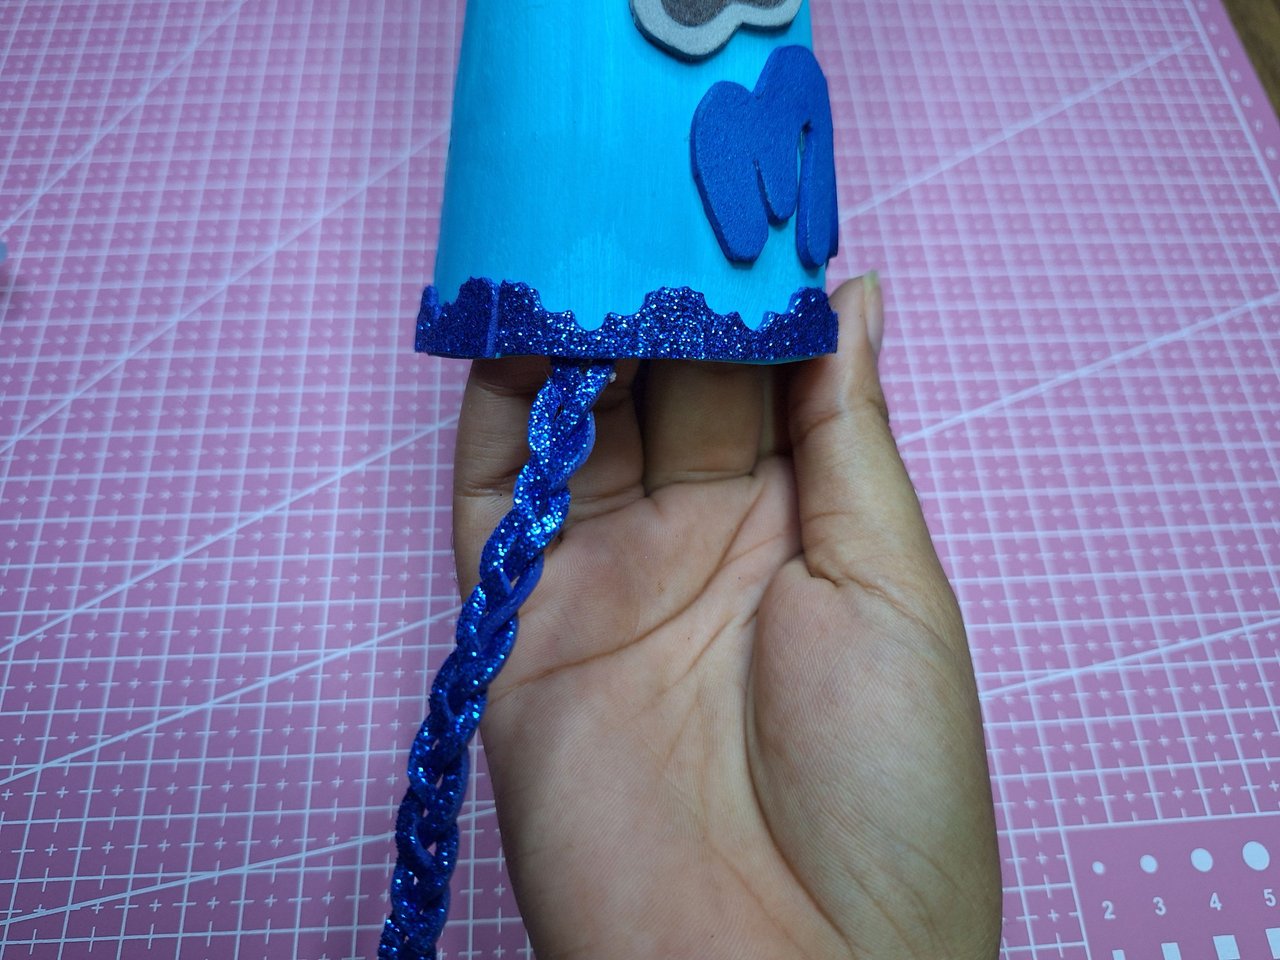 |
I made six very thin strips to make braids and use them as the strings of the hat, so that I could tie it to the head. Then I glued them to the inside of the hat.
Hice seis tiras bien finas para hacer unas trenzas y utilizarlas como los cordones del gorro, para poder amarrárselo a la cabeza. Luego las pegué por la parte interior del gorro.
 |  |
 | 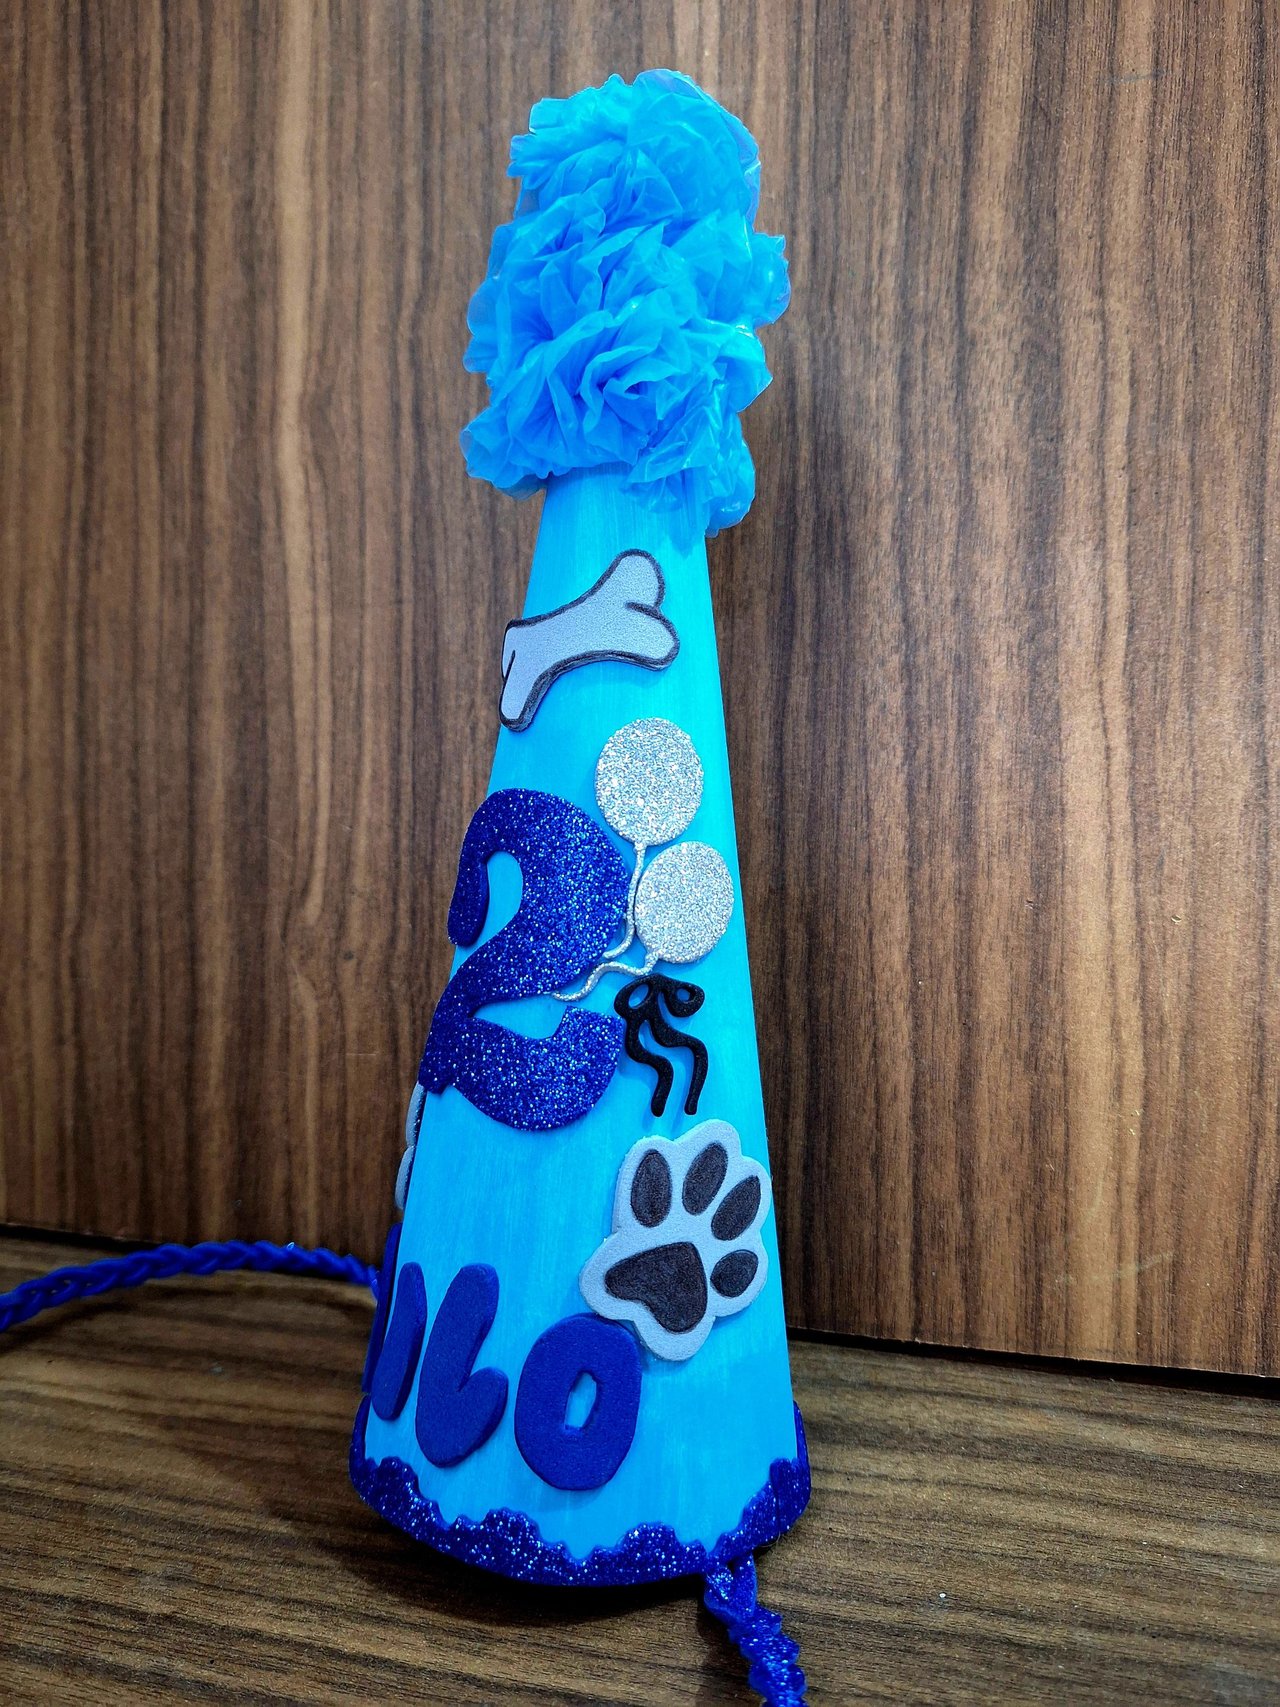 |
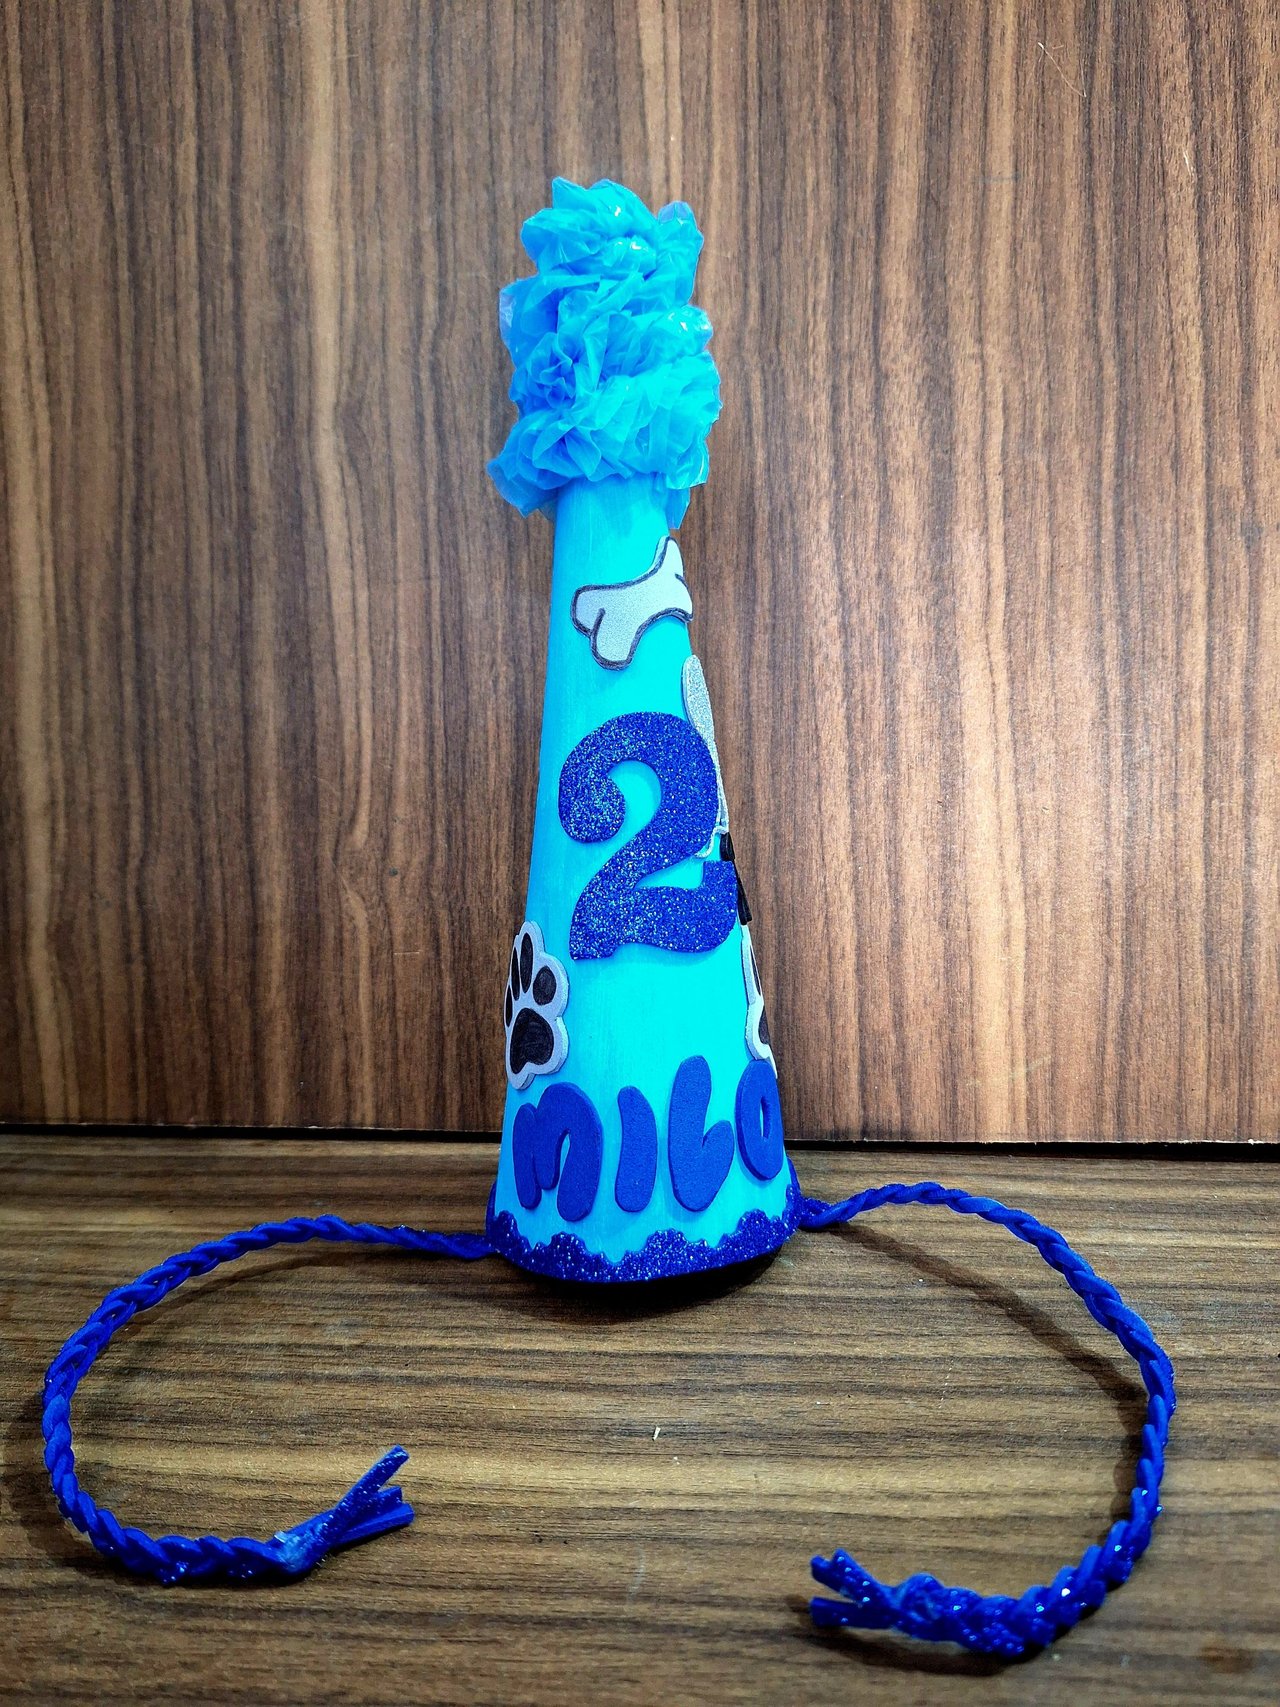
And this is how this birthday hat for Milo the puppy is finished. I loved it, I love how it turned out, I hope my friend likes it too. Dogs are not very fond of wearing caps and hats on their heads, at least mine can't stand them. Well, at least he can stand a little bit so they can take some pictures as a souvenir. Here below I show you some pictures I took of my little dog Kempashi trying on the hat, so I could know if it was the right size, because he and Milo are both the same size and very similar, but mine is black and Milo is alvino. I hope you liked it, you know how easy it is to make a birthday hat for your pets and for us too, since it is the same procedure. Let me in the comments, what you thought and new suggestions. Best regards.
Y de esta forma queda terminado este gorro de cumpleaños para el perrito Milo. Yo lo adoré, me encanta como quedó, espero que a mi amiga también le guste. Los perros no son muy amantes de usar gorras y sombreros en la cabeza, por lo menos el mío no las soporta. Aunque bueno, por lo menos que aguante un poquito para que puedan hacerle algunas fotos de recuerdo. Aquí debajo te muestro unas fotos que le hice a mi perrito Kempashi probándole el gorro, así sabría si había quedado bien de tamaño, pues él y Milo son los dos del mismo tamaño y muy parecidos, lo que el mío es negro y Milo es alvino. Espero que te haya gustado, ya saben lo fácil que le pueden hacer un gorro de cumpleaños a sus mascotas y para nosotros también, ya que es el mismo procedimiento. Déjame en los comentarios, qué te pareció y nuevas sugerencias. Un saludo.
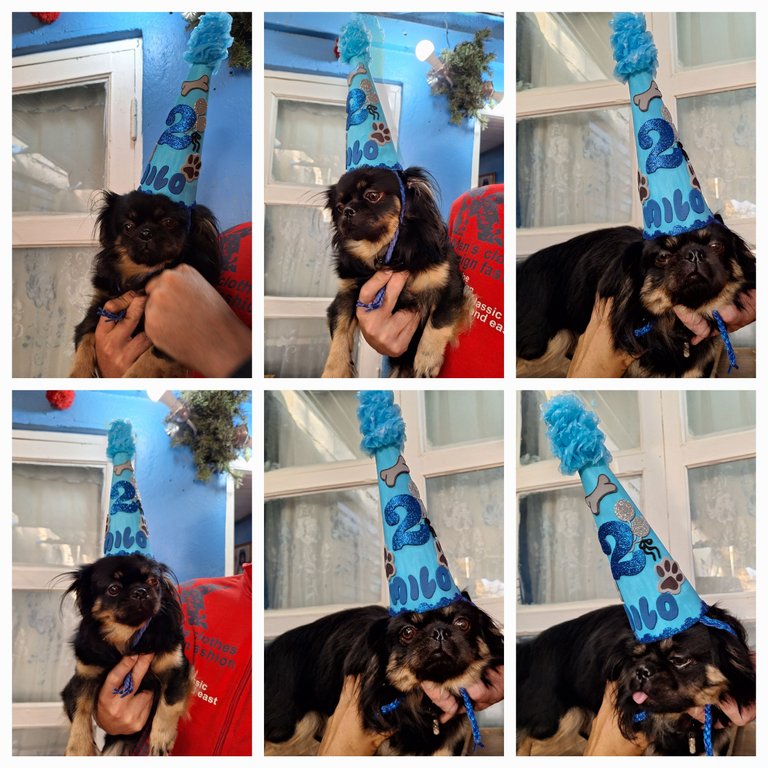
Fotos de mi perro Kempashi probándole el gorro, miren esa cara.
Cover made in Canva
English is not my native language, translated by DeepL
Posted Using INLEO
Demasiado Cuchi 😍 hjajaa se ve lindo Milo
Thank you for your witness vote!
Have a !BEER on me!
To Opt-Out of my witness beer program just comment STOP below
Muchas gracias 🥰
Qué lindo perrito con su gorrito, me gustó mucho esta idea para celebrar el cumpleaños de nuestras mascotas, gracias por compartir , saludos 🥰
Muchas gracias, me alegro de que te haya gustado 🤗