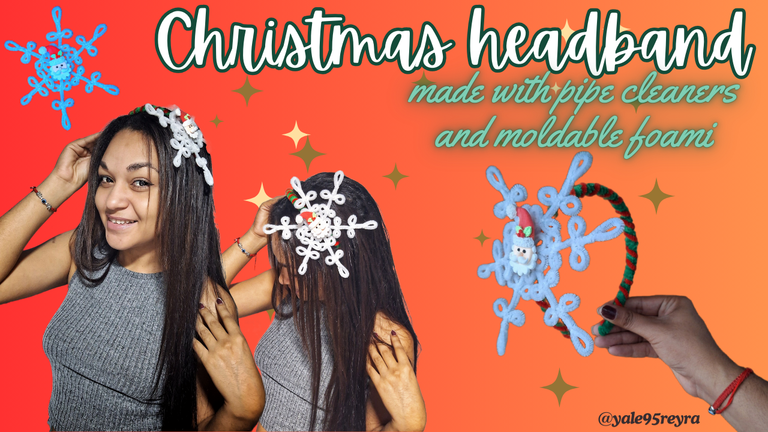
Hello, dear friends, craft lover, every day closer to Christmas and we keep creating new ornaments to decorate our homes and accessories to match our outfits for the holidays. Today I want to show you how to decorate a Christmas themed headband using pipe cleaners and moldable foami, two of the materials that I like to use in my crafts because of the ease with which they work and their textures. I hope you like this new design. Below I show you all the materials needed and the step by step of the creative process.
Hola, queridos amigos, amante de las manualidades, cada día más cerca de la Navidad y seguimos creando nuevos adornos para decorar nuestros hogares y accesorios para combinar con nuestros outfits en las fiestas. Hoy quiero mostrarte cómo decorar una diadema con temática navideña utilizando limpiapipas y foami moldeable, dos de los materiales que más me gusta utilizar en mis manualidades por la facilidad con la que se trabaja y sus texturas. Espero que te guste este nuevo diseño. A continuación te muestro todos los materiales necesarios y el paso a paso del proceso creativo.
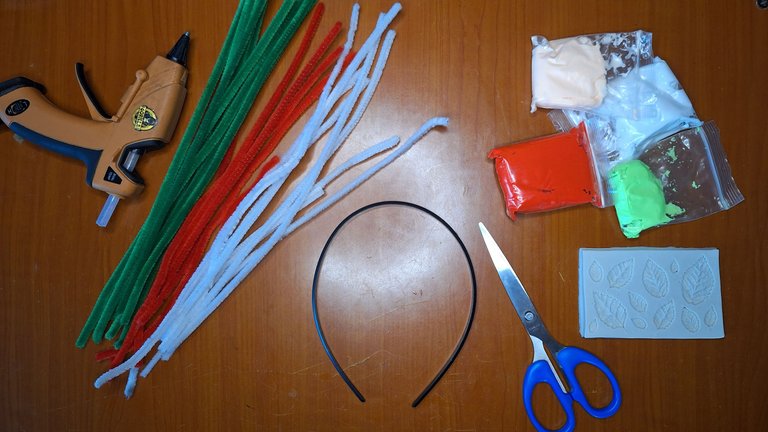
🎅Materials // Materiales🎅
- 7 white pipe cleaners / 7 limpiapipas blanco
- 2 red pipe cleaners / 2 limpiapipas rojo
- 6 green pipe cleaners / 6 limpiapipas verde
- Moldable Foami (red,white,green and skin color) / Foami moldeable (rojo,blanco,verde y color piel)
- Scissors / Tijera
- Silicone / Silicona
- Headband / Diadema
- Leaf mold / Molde de hojas
🎅Step by step // Paso a paso🎅
 |  |  |
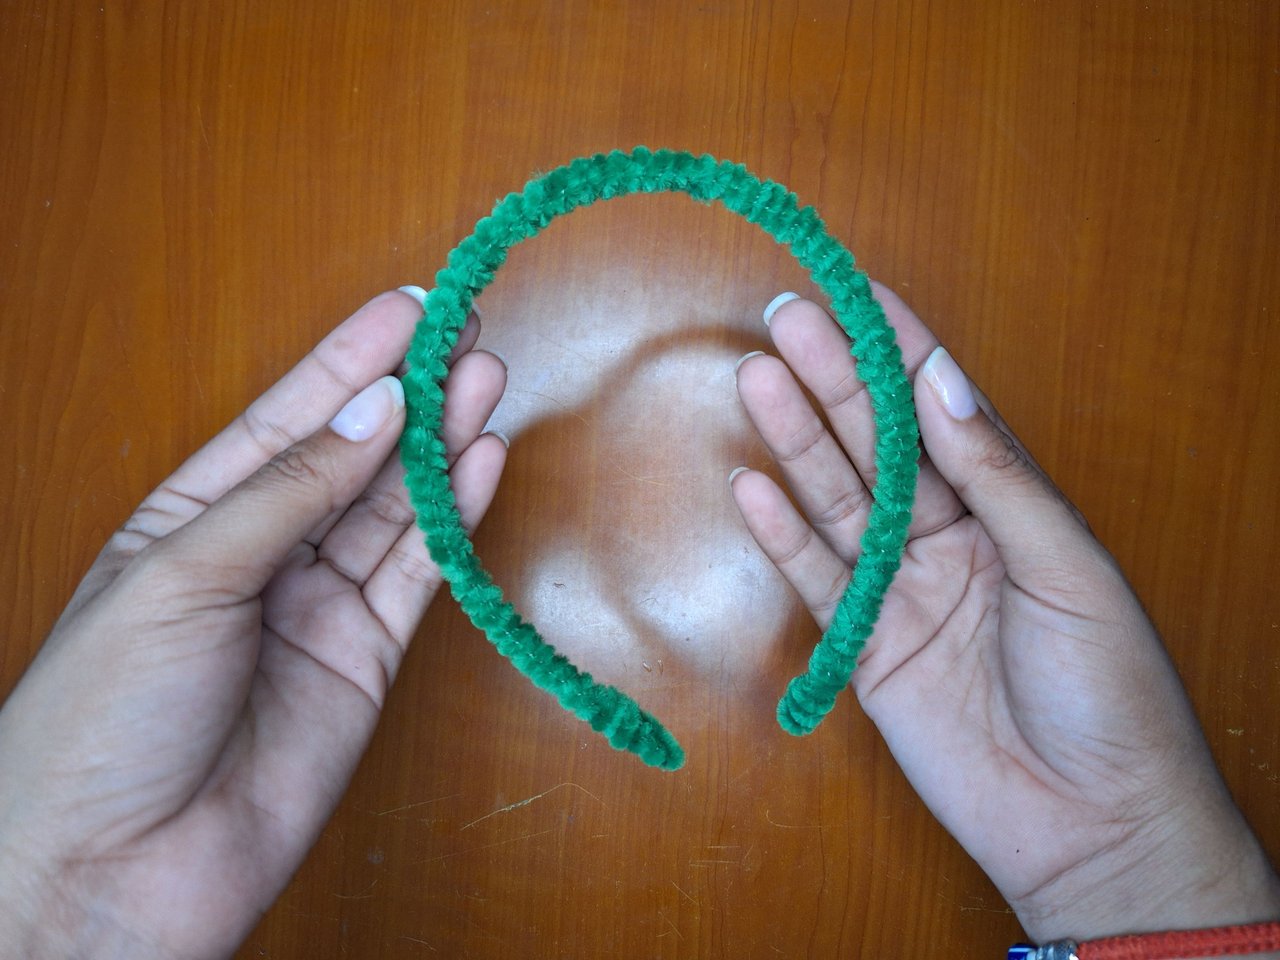 | 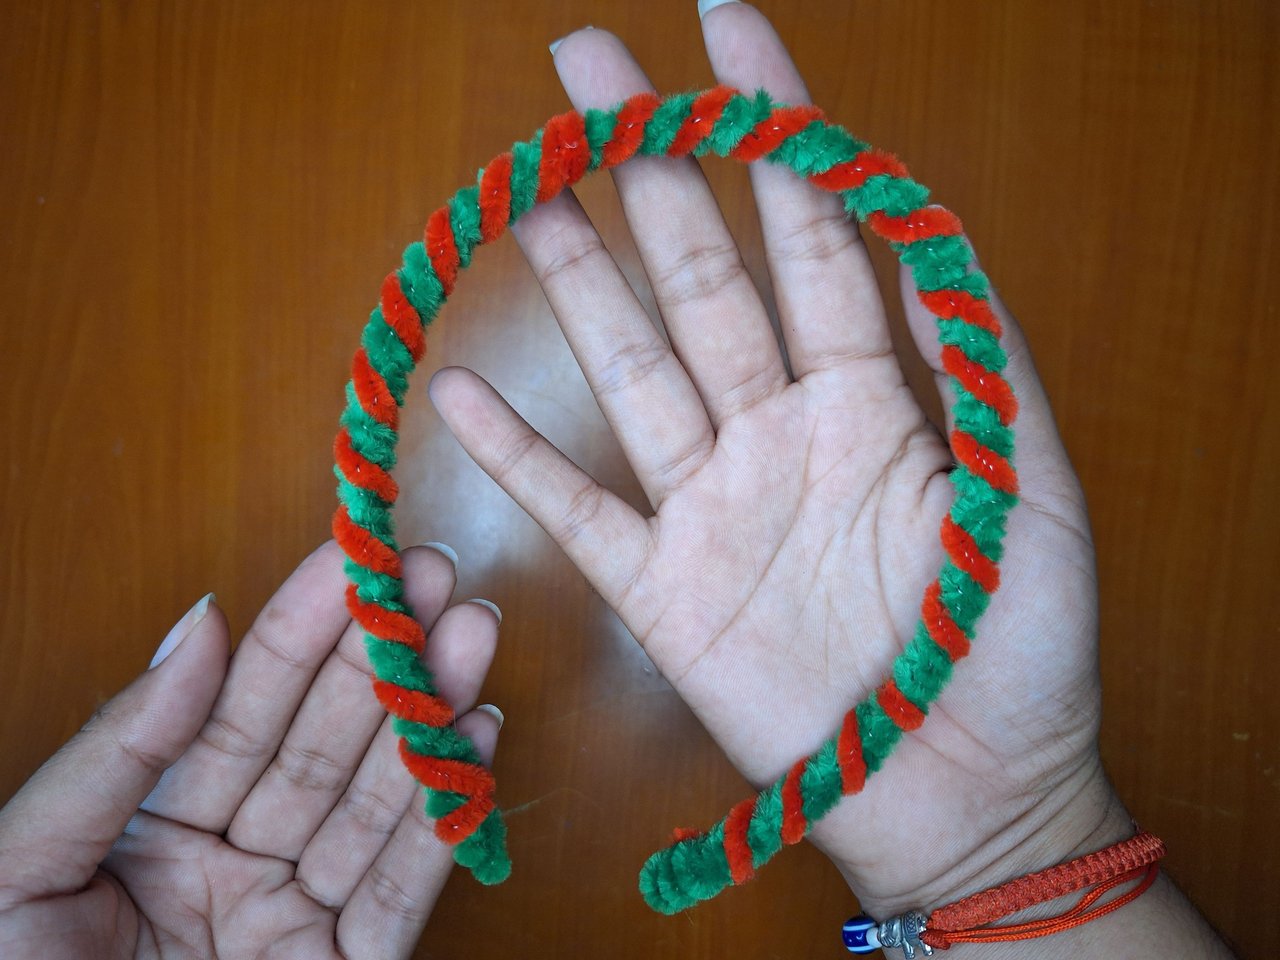 |
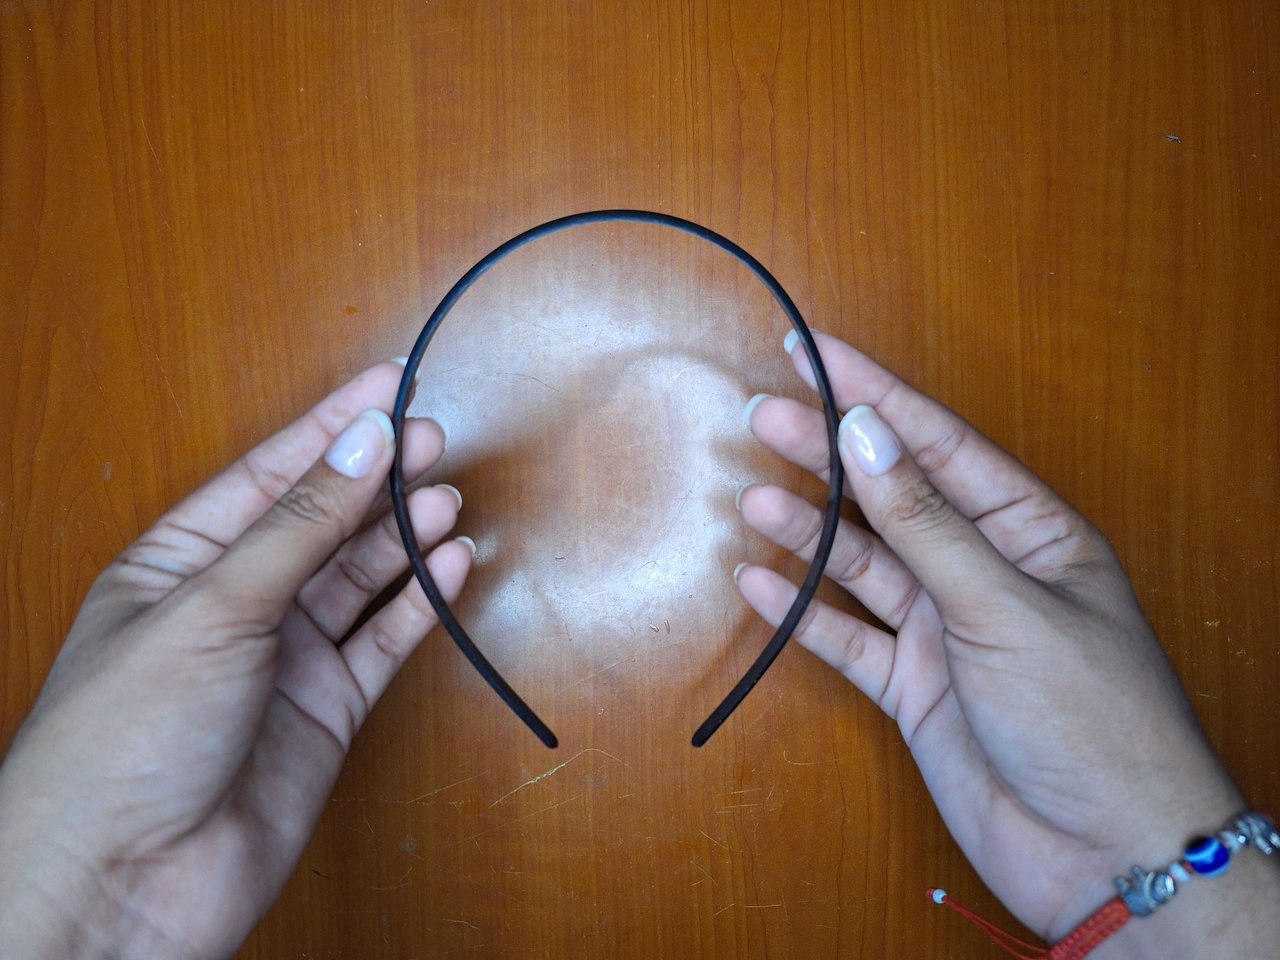
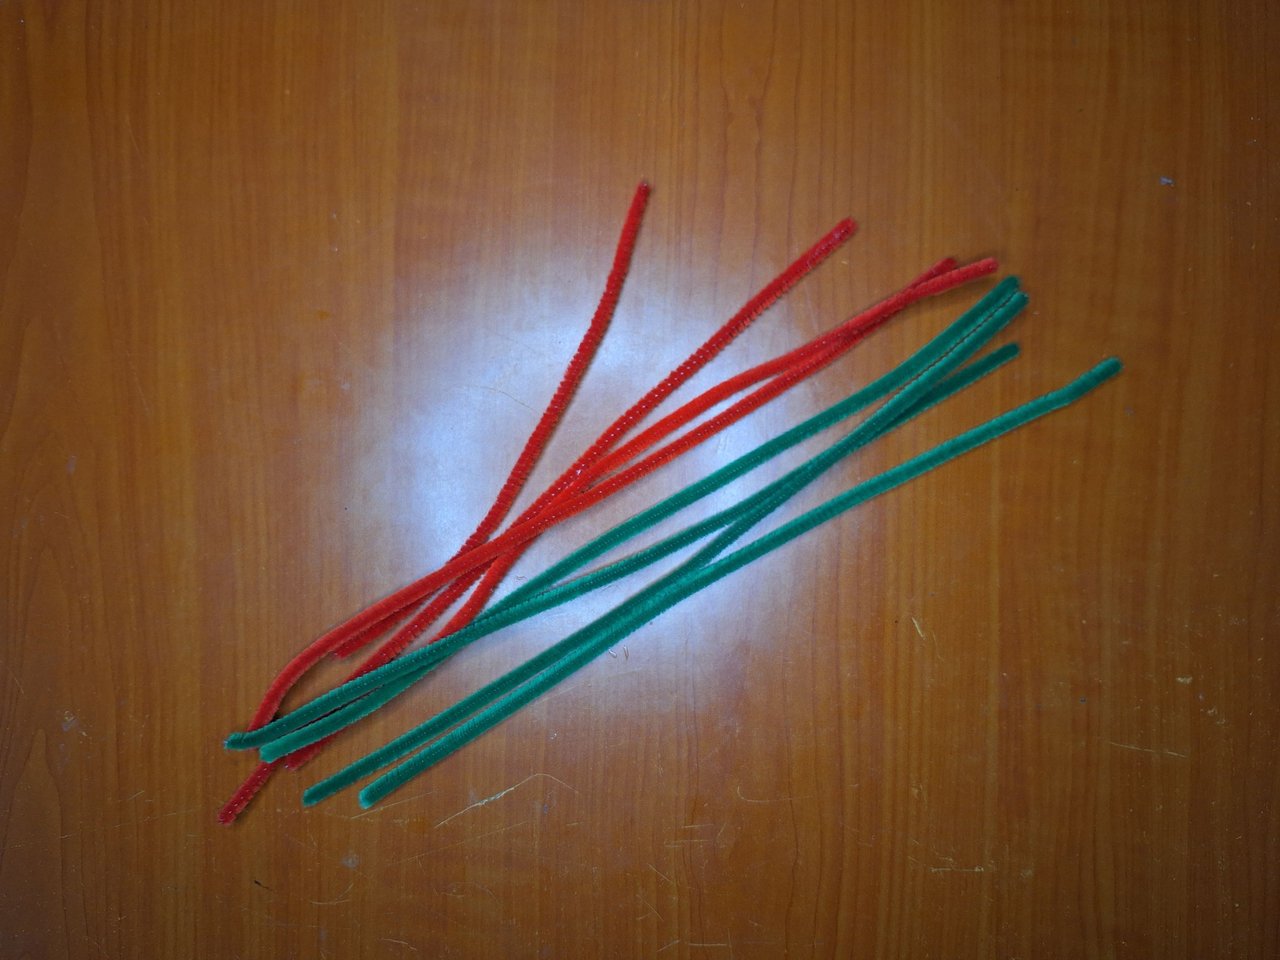
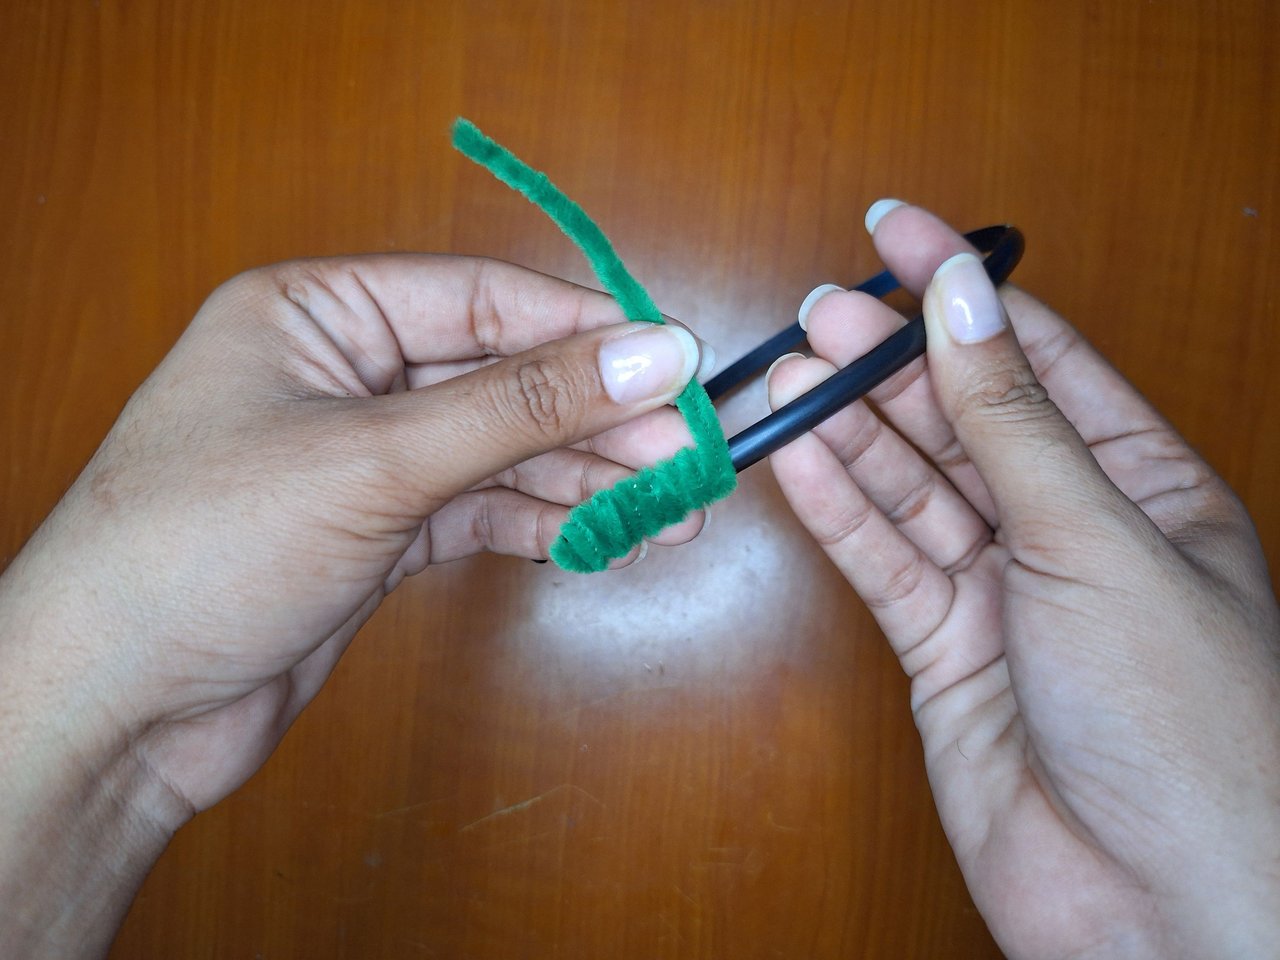
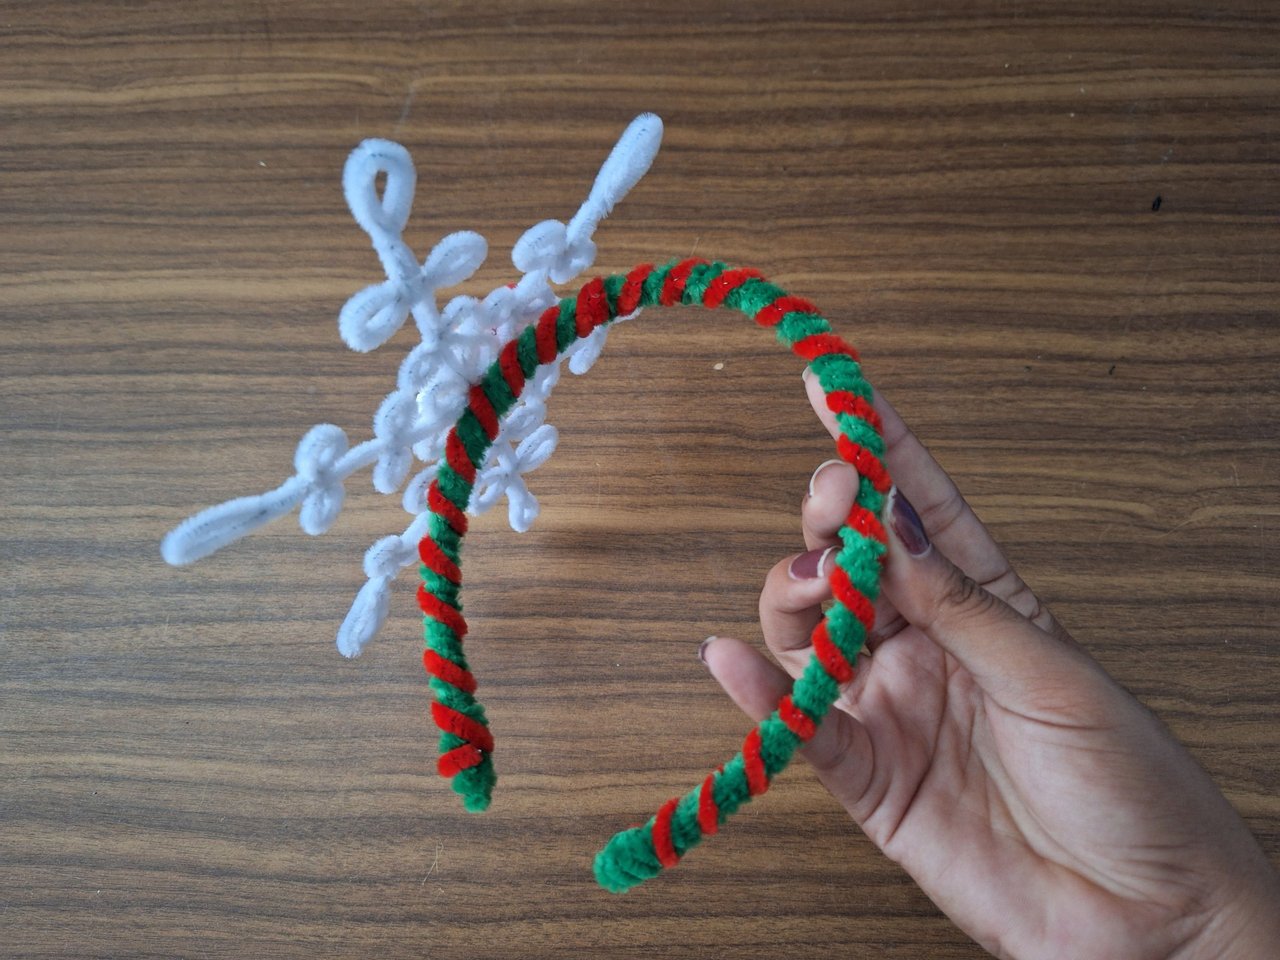
For the elaboration of this headband it is necessary to have a headband, no matter if it is a little old, but without ornaments, because its entire surface is lined with pipe cleaners. This one I used is less than one centimeter wide. Keep in mind that the wider it is, the more pipe cleaners you will have to use. I used 6 green pipe cleaners that I placed as a base and two red pipe cleaners that are rolled 1.5 cm apart. It turned out like a candy cane.
Para la elaboración de esta diadema es necesario una, que no importa que sea un poco vieja, pero que no tenga adornos, pues toda su superficie va forrada con limpiapipas. Esta que utilicé no llega a un cm de ancho. Ten en cuenta que, mientras más ancha sea, más limpiapipas deberás usar. Utilicé 6 limpiapipas verdes que coloqué como base y dos limpiapipas rojos que se van enrollando a 1.5 cm de separación. Quedó como un bastón de caramelo.
 |  |
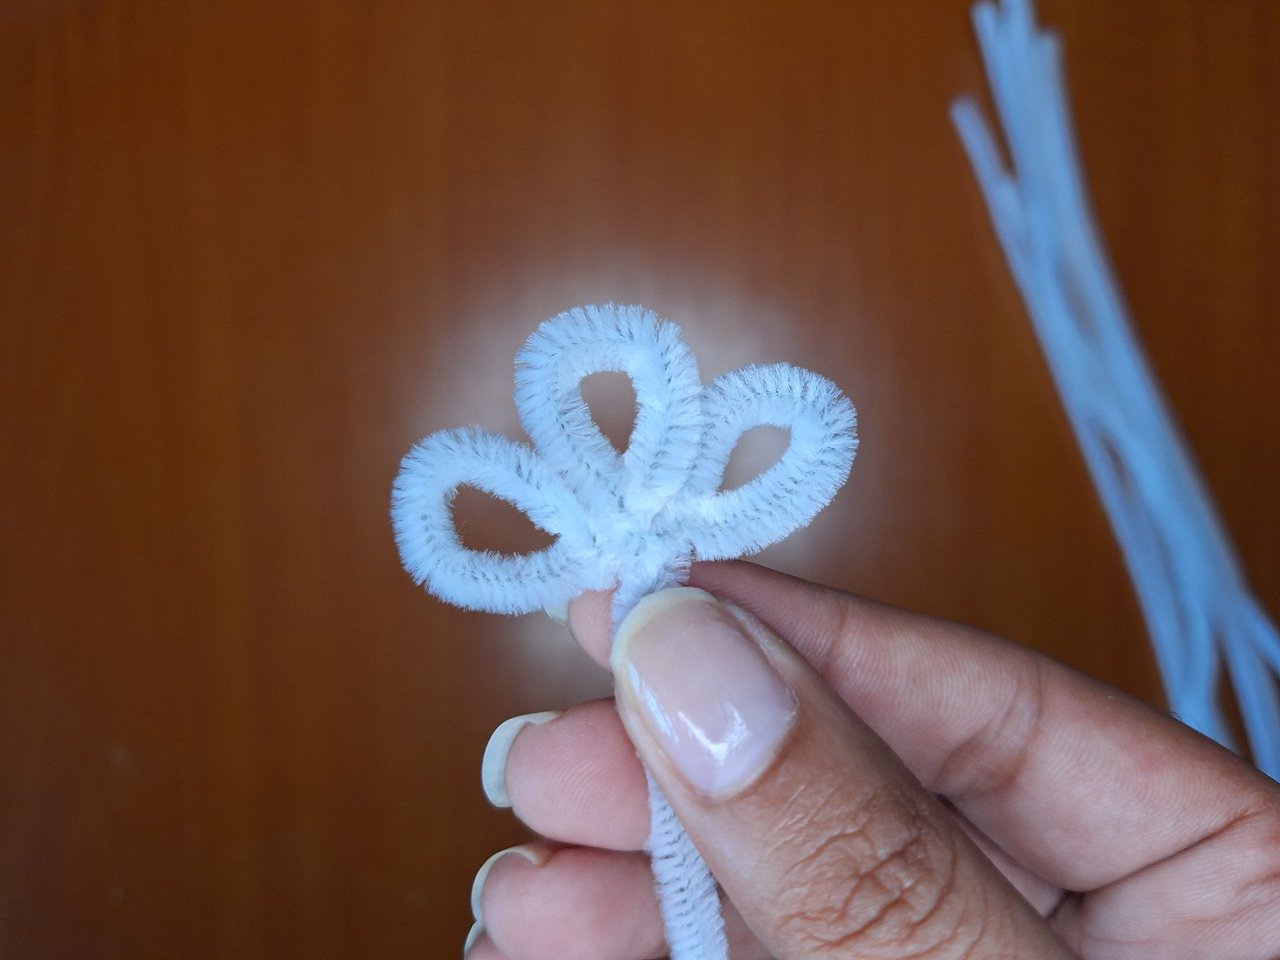 | 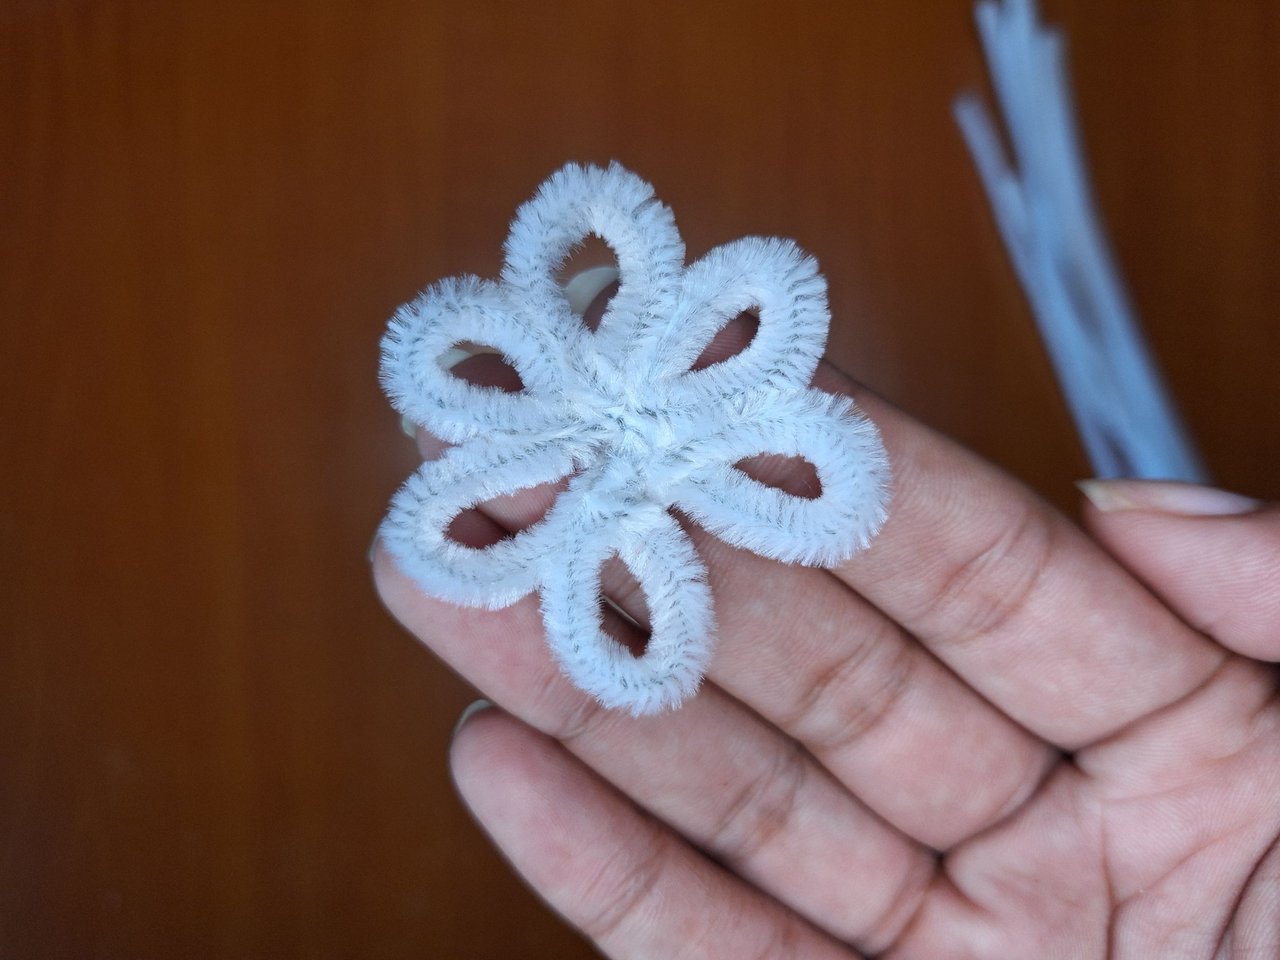 |
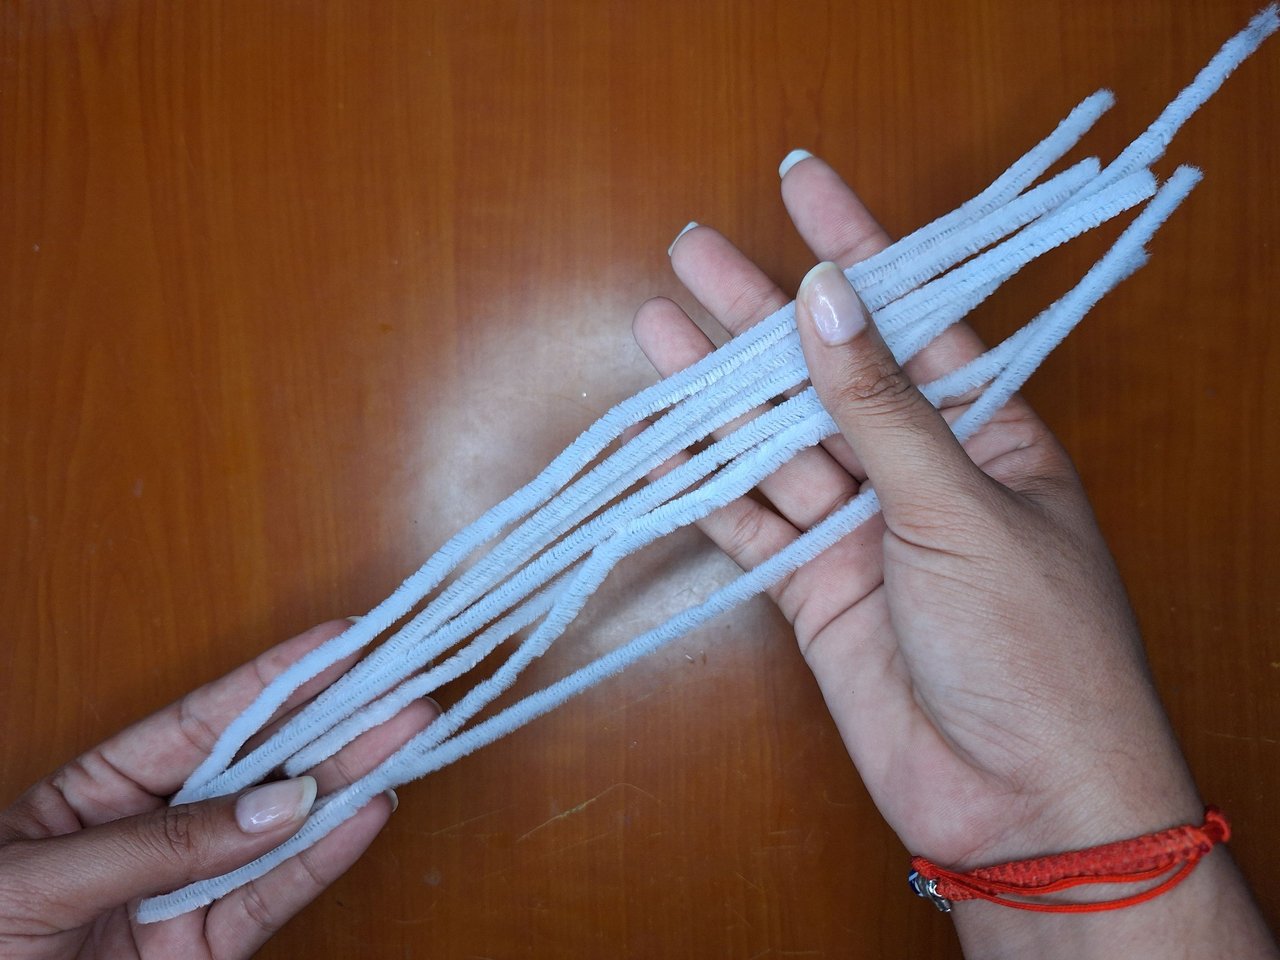
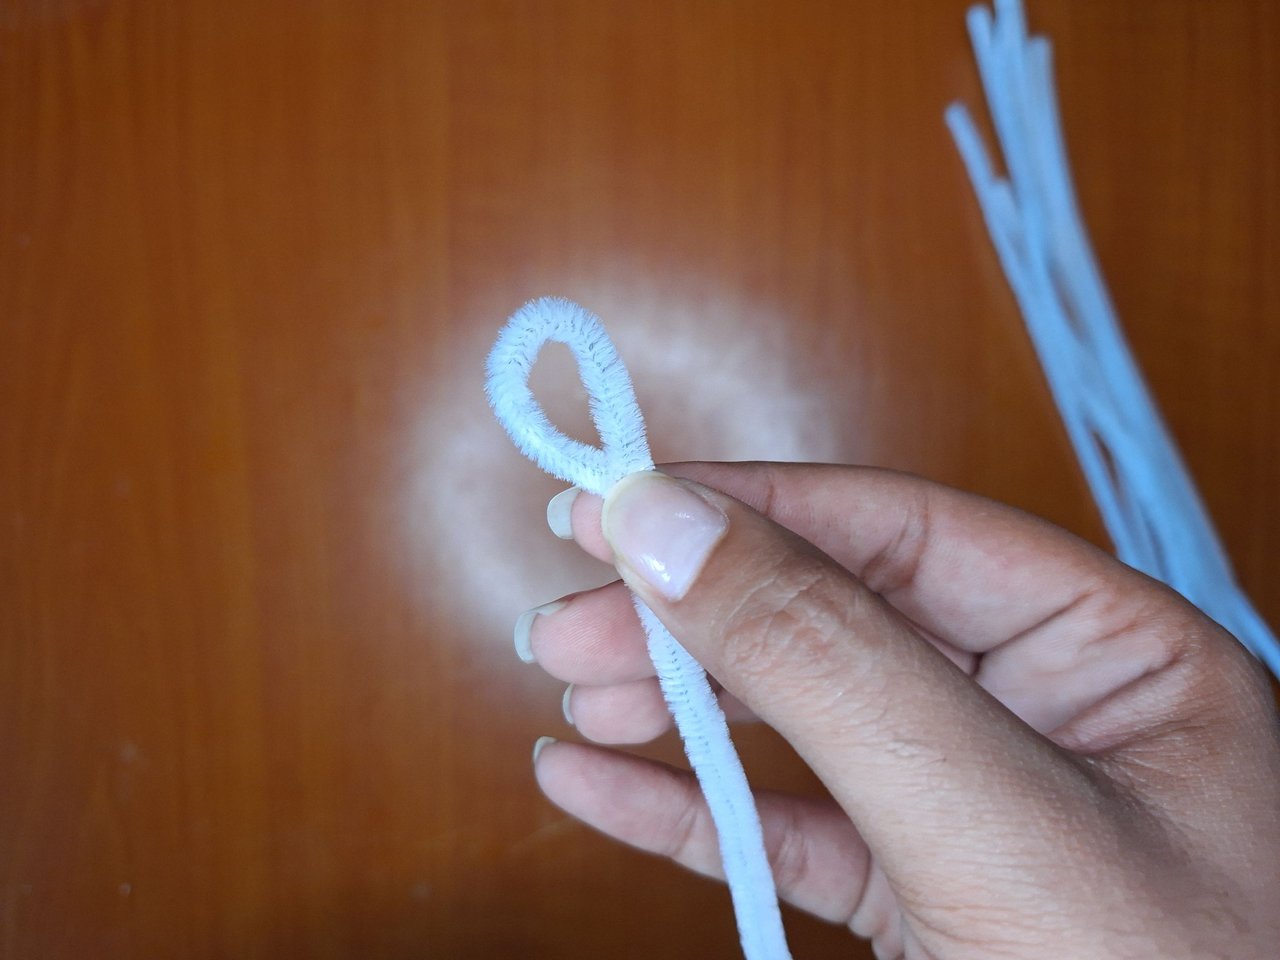
To make the snowflake you need 7 white pipe cleaners. We will take one to make the flower in the center, making a curve in the shape of a drop of water and twist it to keep its shape. In the same way, five more petals are made, one after the other.
Para elaborar el copo de nieve se necesitan 7 limpiapipas blancos. Tomaremos uno para hacer la flor del centro, haciendo como una curva en forma de gota de agua y se tuerce para que mantenga su forma. De la misma forma se van haciendo cinco pétalos más, uno a continuación del otro.
 |  |  |
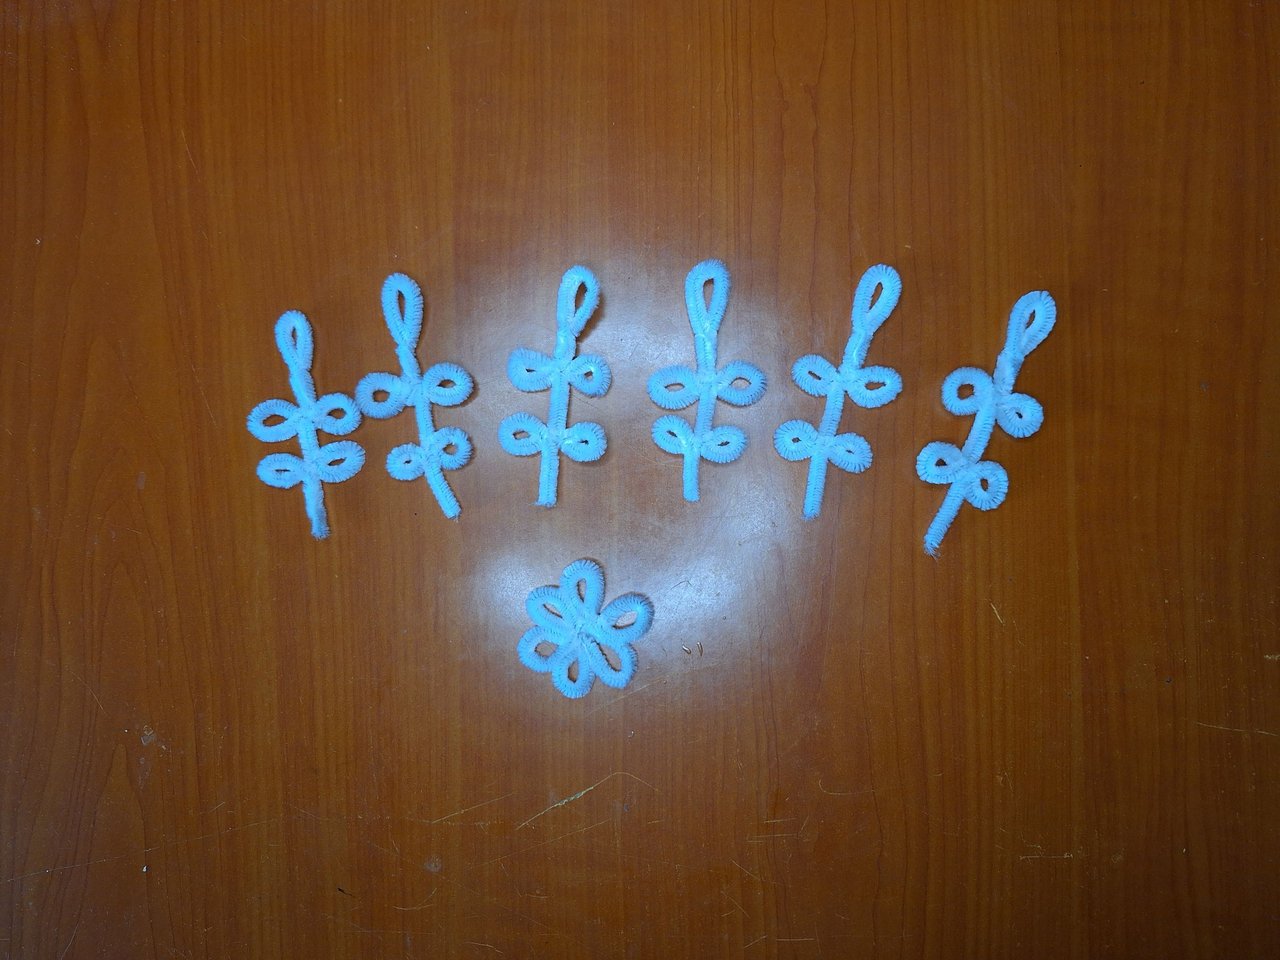 | 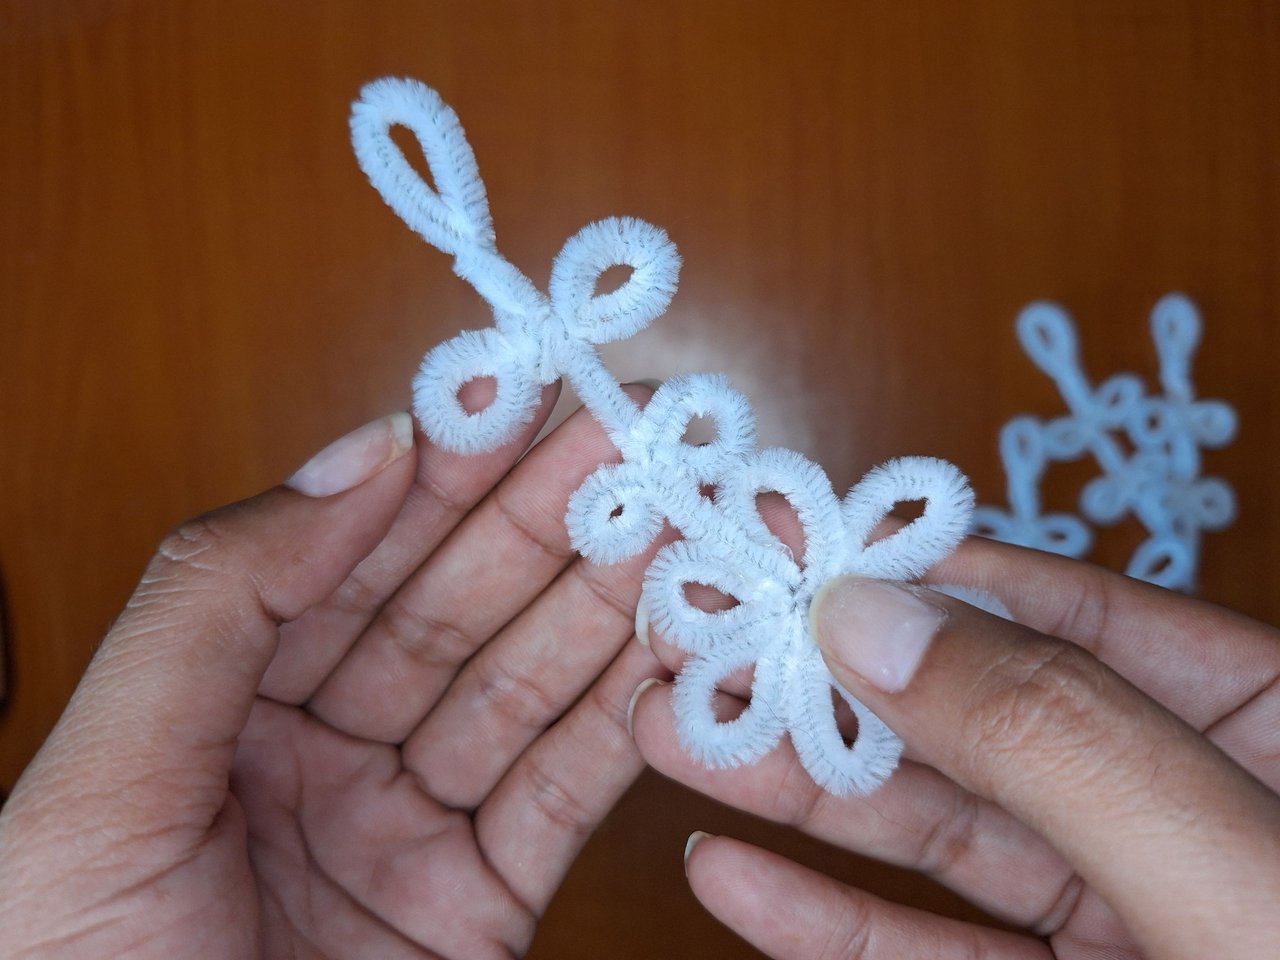 | 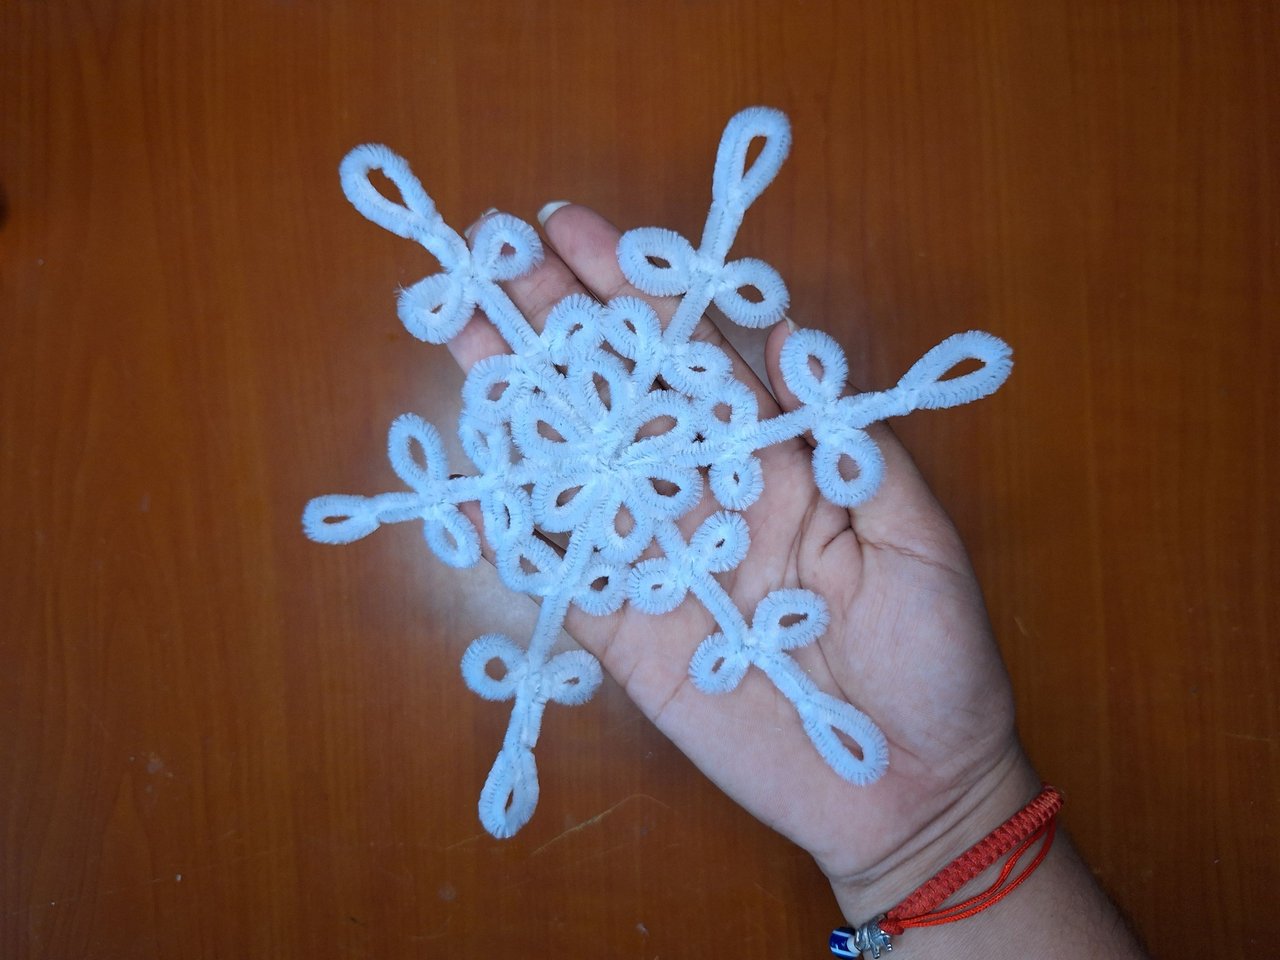 |
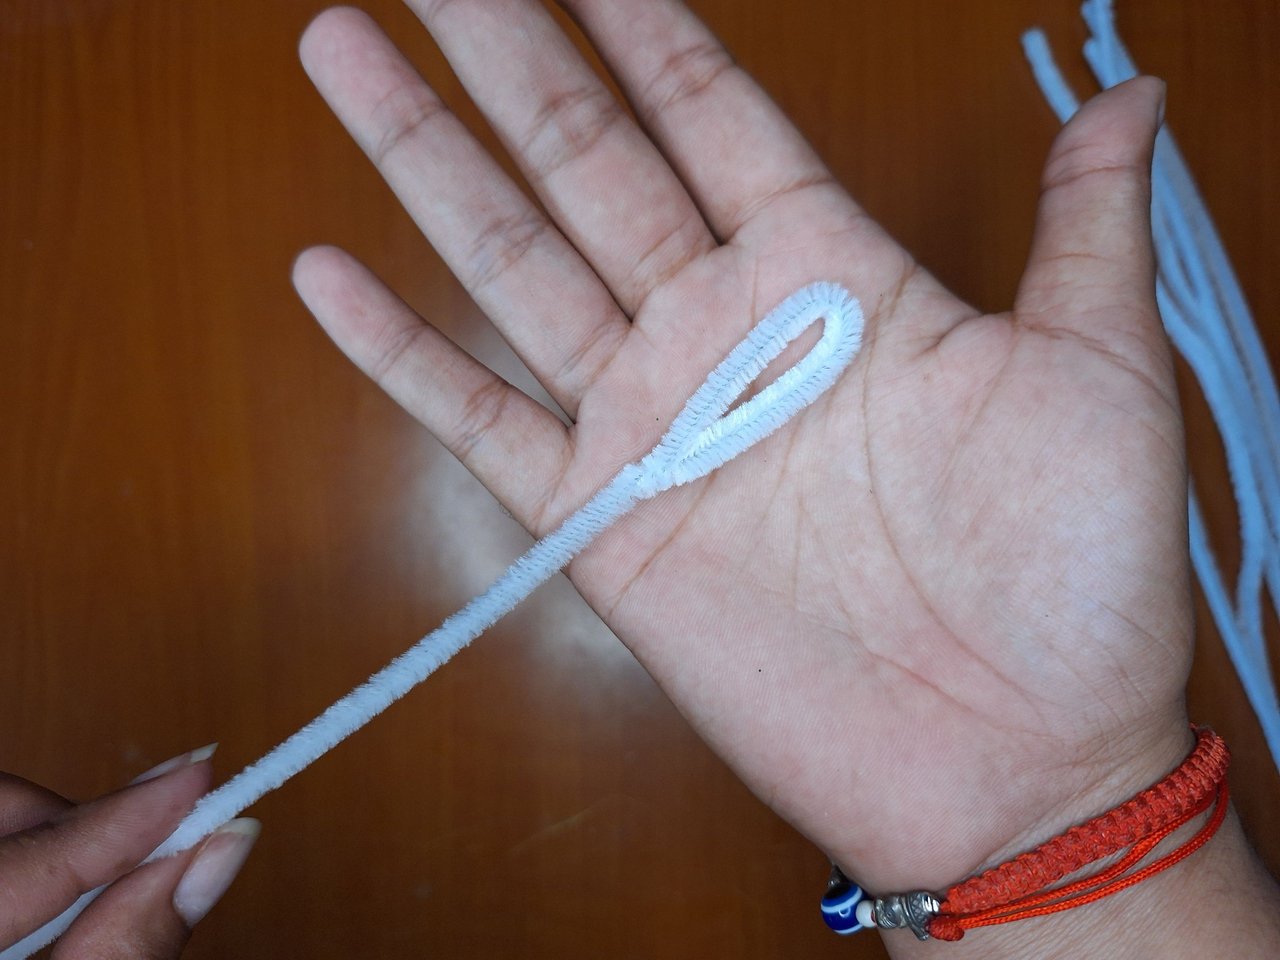
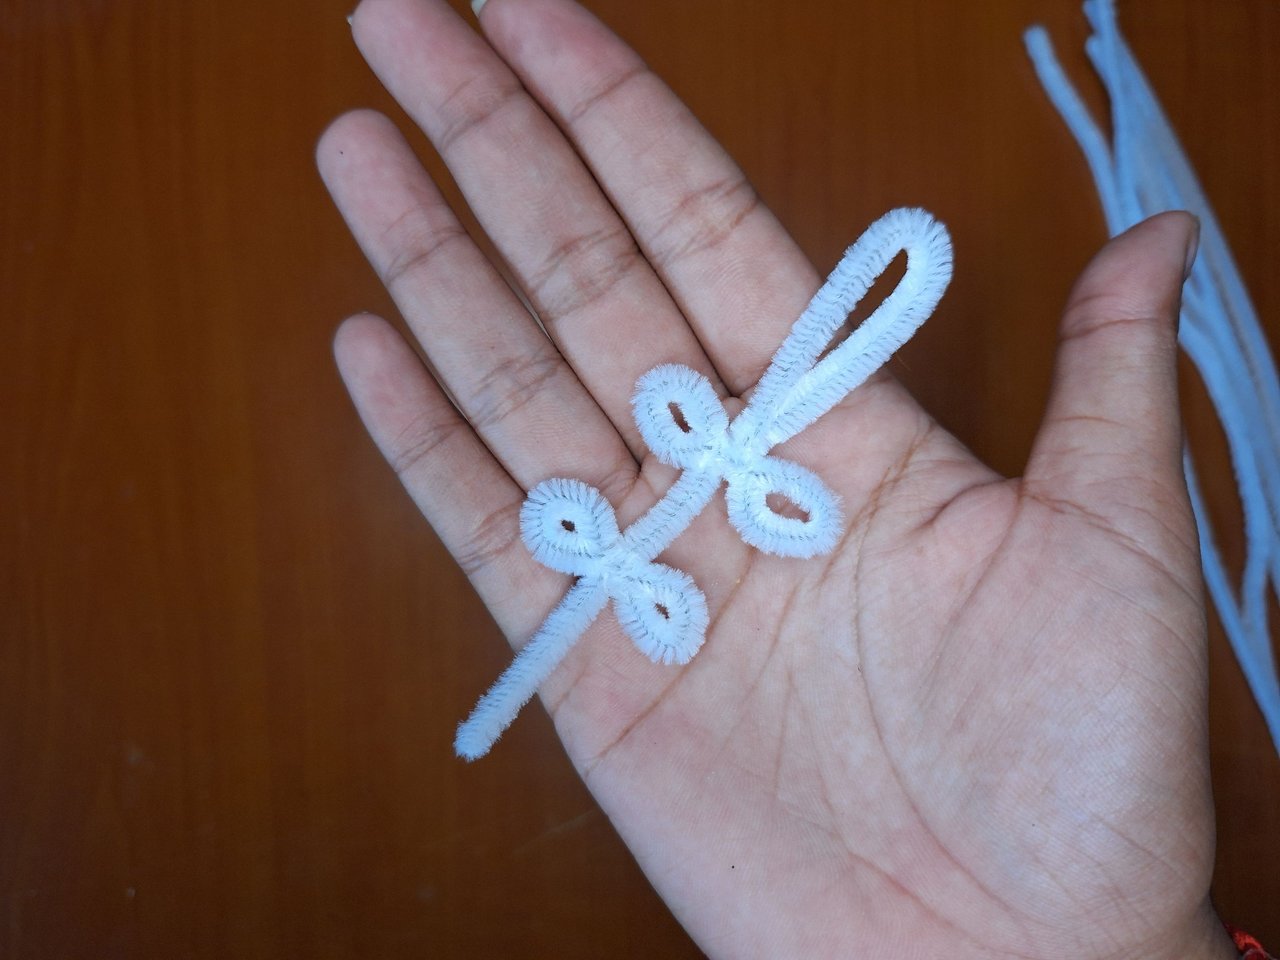
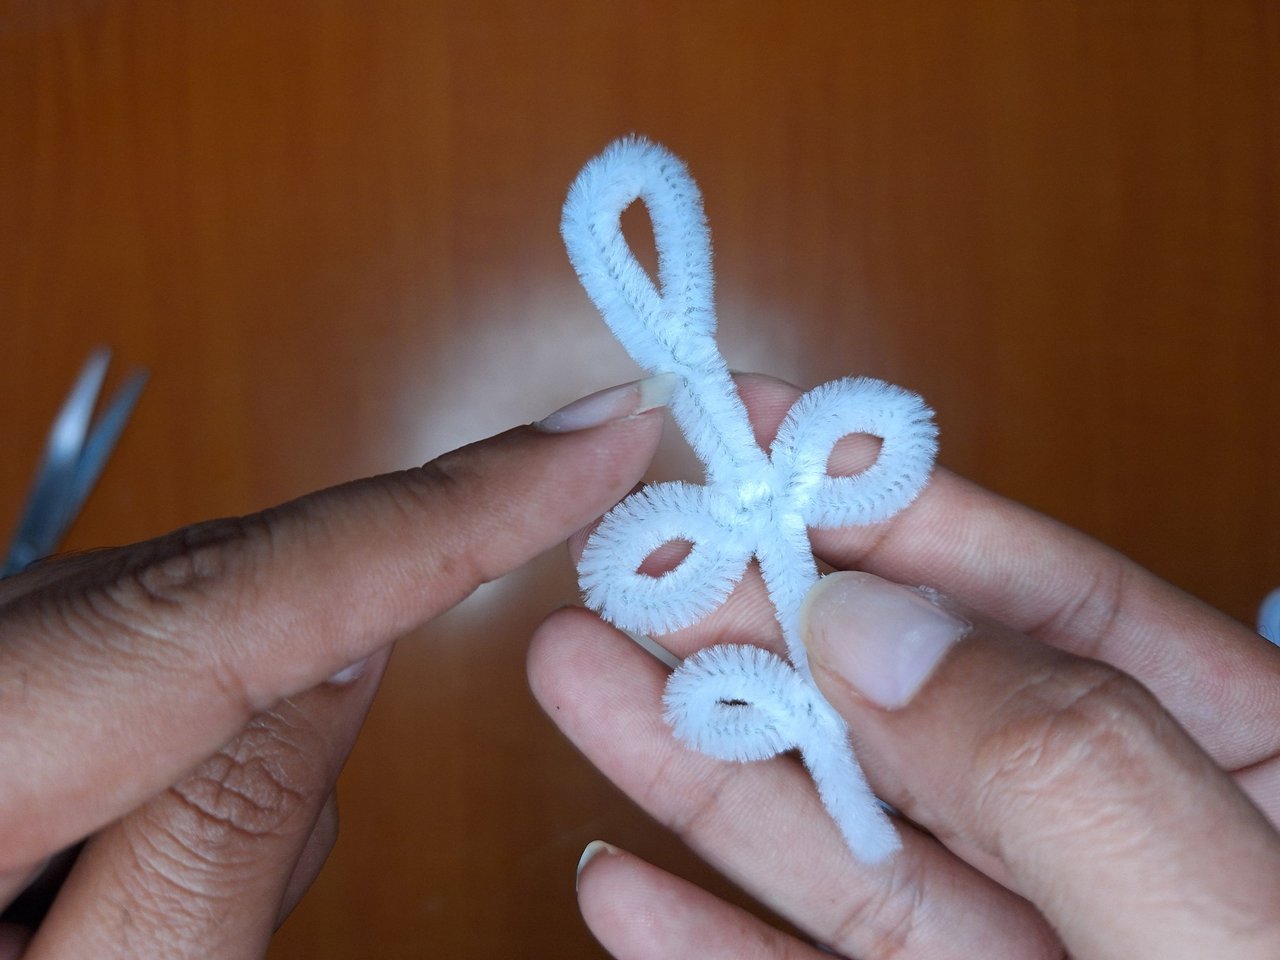
To make the rest of the pieces of the snowflake you need a pipe cleaner for each tip. First you make it like a drop of water and twist it. Right from the twist you make two petals in the same way you made the flower, leave two cm for the bottom and repeat the process. Once the piece is made, twist the big petal in half to make it smaller, I liked it this way, but you can leave it as it was. Make 6 equal pieces. Then glue them with silicone at the joints of the petals of the flower, leaving it like this.
Para hacer el resto de las piezas del copo de nieve se necesita un limpiapipas para cada punta. Primero se hace como una gota de agua y se tuerce. Justo desde la torcedura se hacen dos pétalos de la misma forma que se hizo la flor, dejas dos cm para abajo y repites el proceso. Ya elaborada la pieza, torcer a la mitad el pétalo grande para hacerlo más pequeño, a mí me gustó de esta forma, pero puedes dejarlo tal como estaba. Hacer 6 piezas iguales. Luego se van pegando con silicona en las uniones de los pétalos de la flor, quedando de esta forma.
 |  |  |
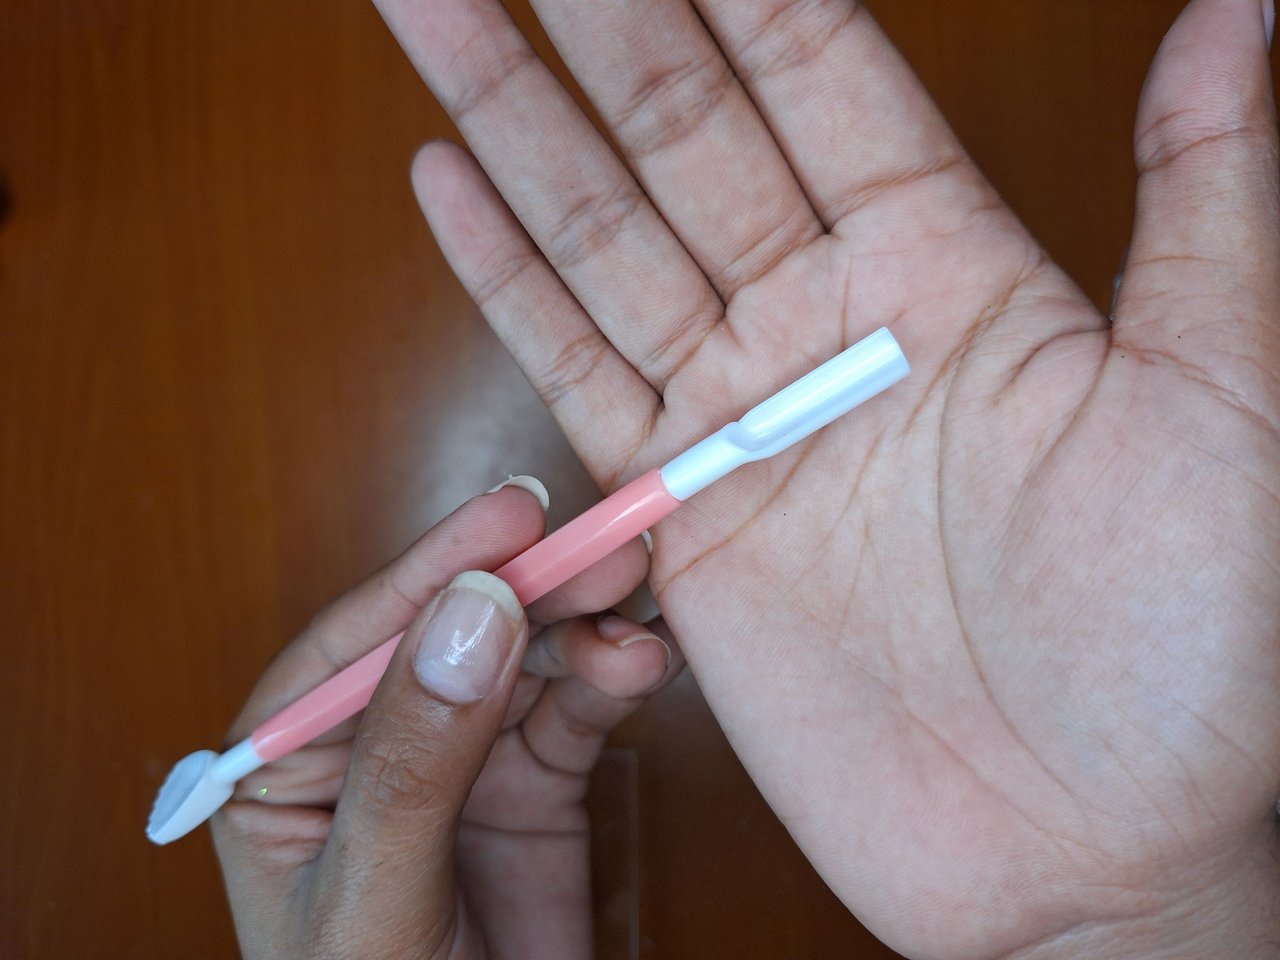 | 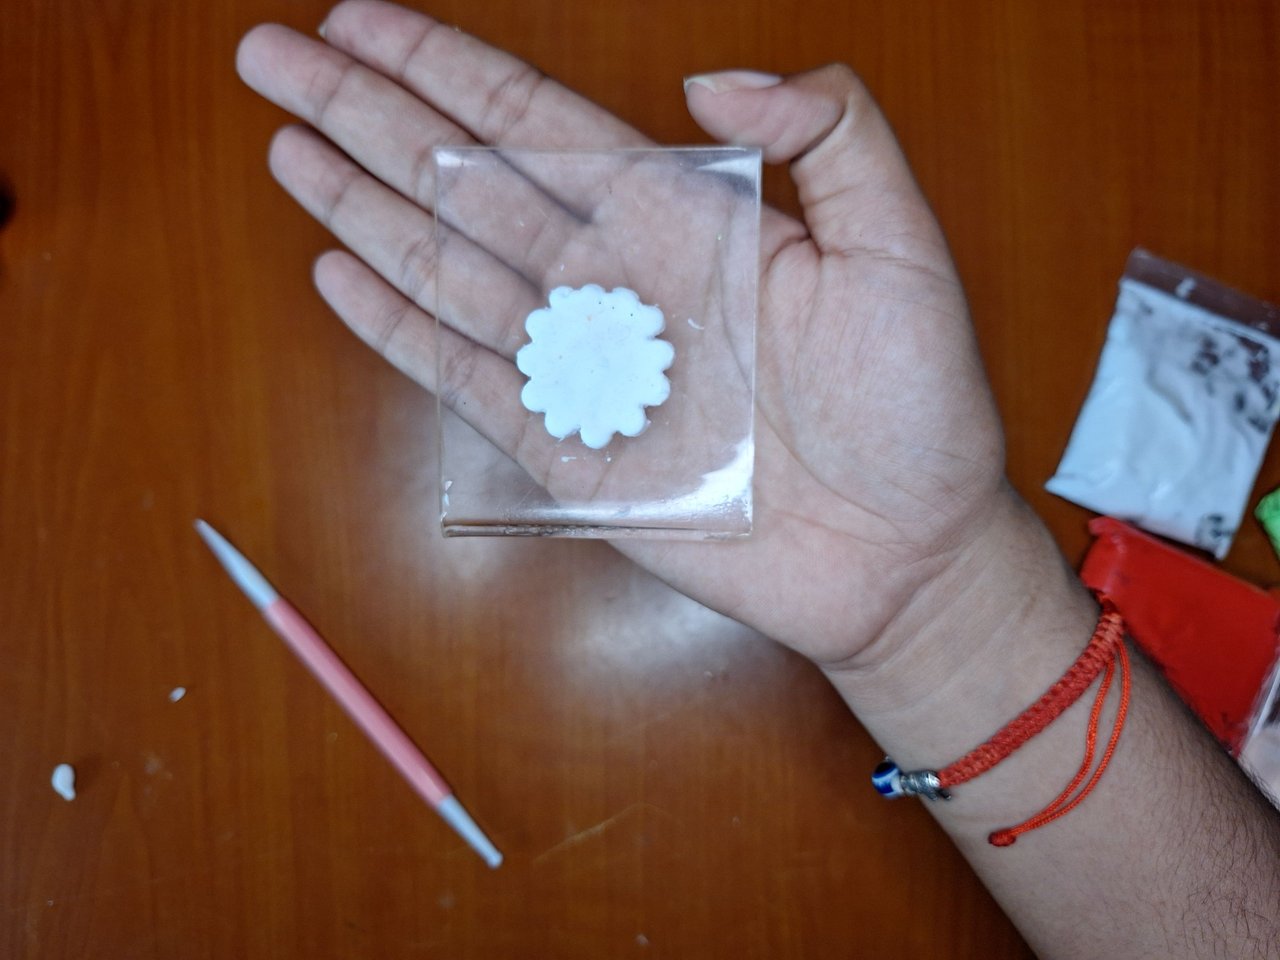 | 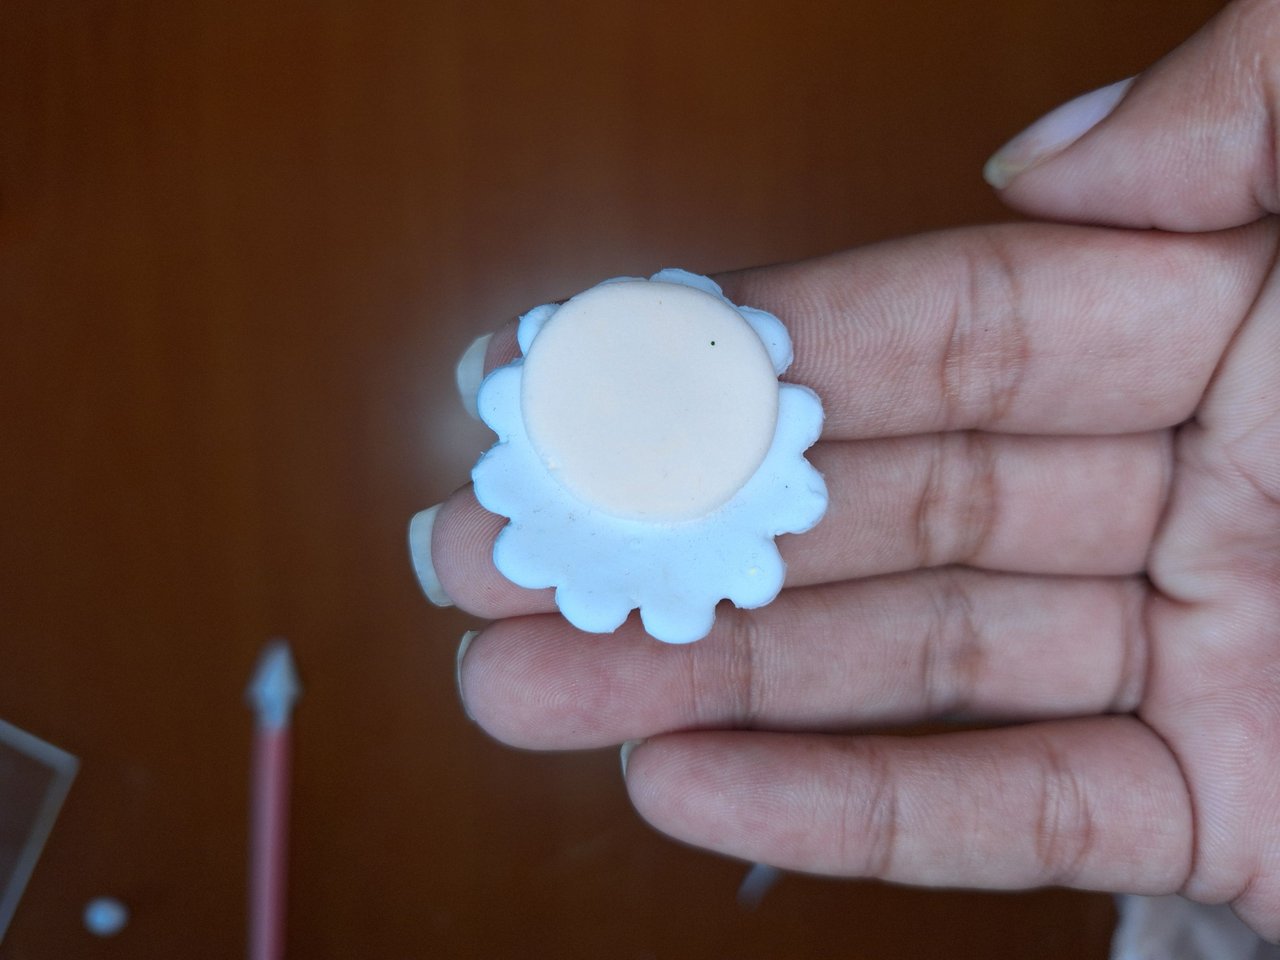 |
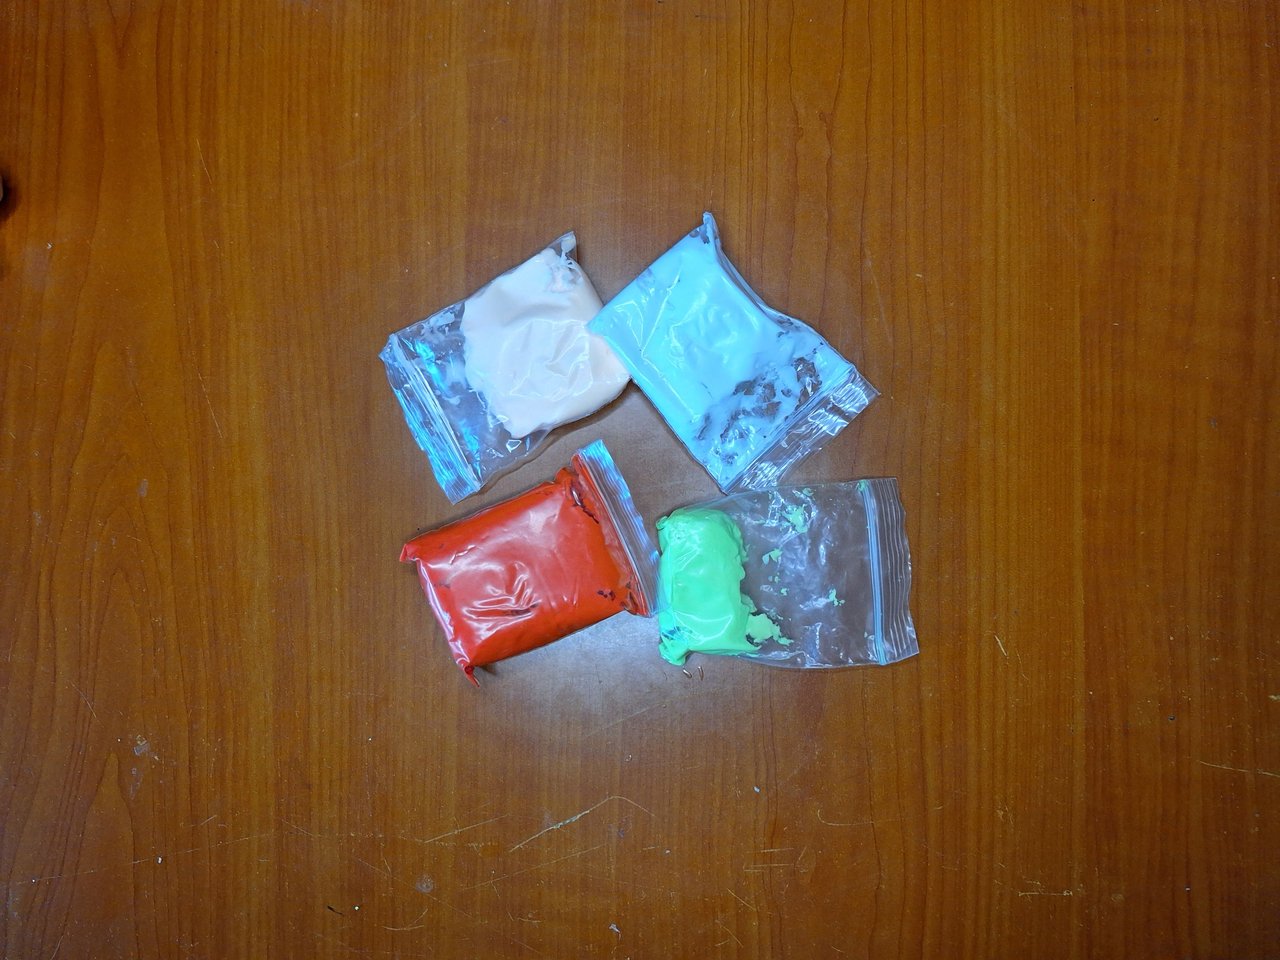
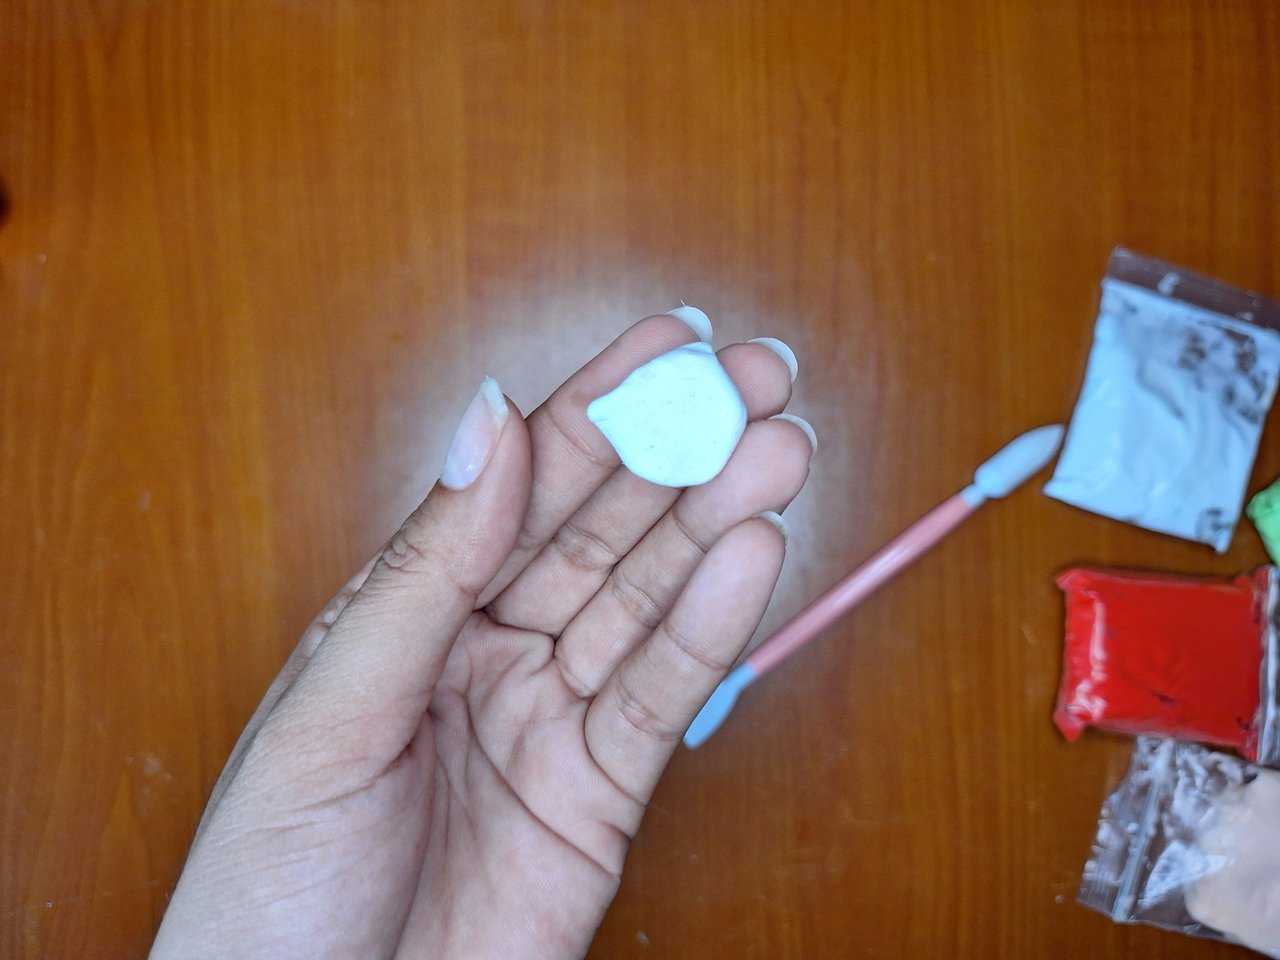
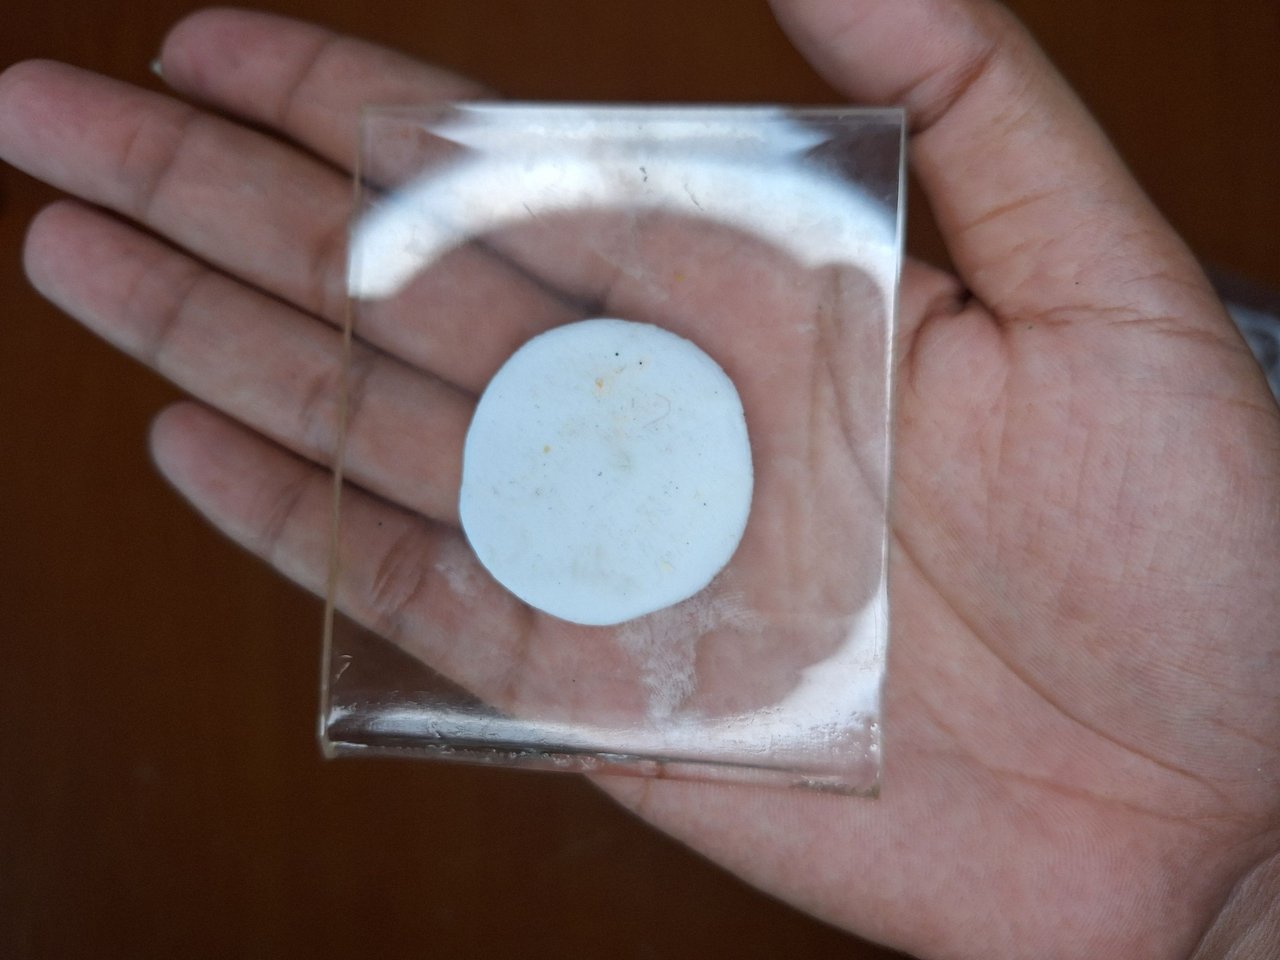
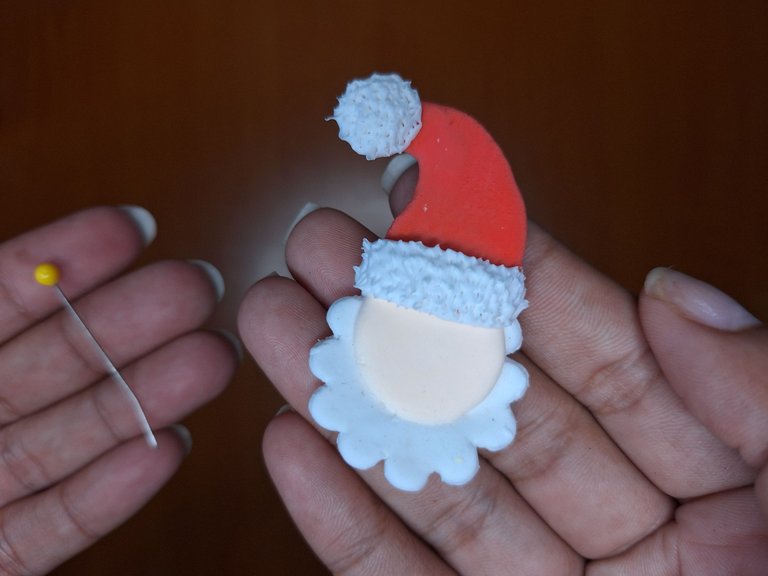
With moldable foami we will make a Santa Claus to place in the center of the snowflake. To do this, take white foami and flatten a ball, obtaining a circle of three or four centimeters. With a stake or a tool in the shape of a semicircle, make the waves of the beard all around the edge. Then make a smaller flattened ball of skin color that will be the face.
Con foami moldeable haremos un Santa Claus para colocarlo en el centro del copo de nieve. Para ello, tomar foami color blanco y aplanar una bola, obteniendo un círculo de tres o cuatro cm. Con una esteca o una herramienta con forma de semicírculo, hacer por todo el borde las ondas de la barba. Luego hacer una bola aplanada más pequeña de color piel que será la cara.
 |  |  |
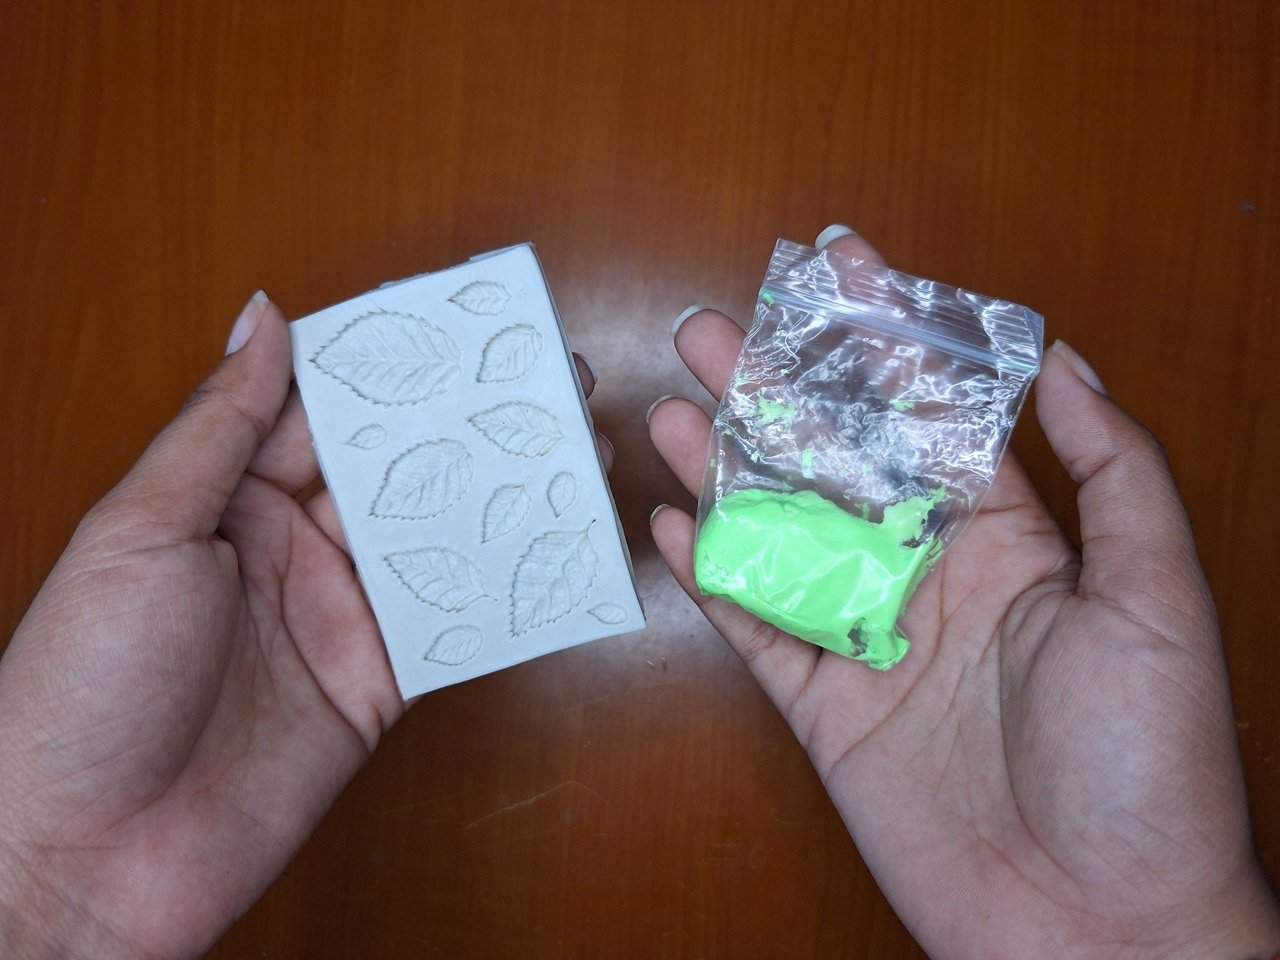 | 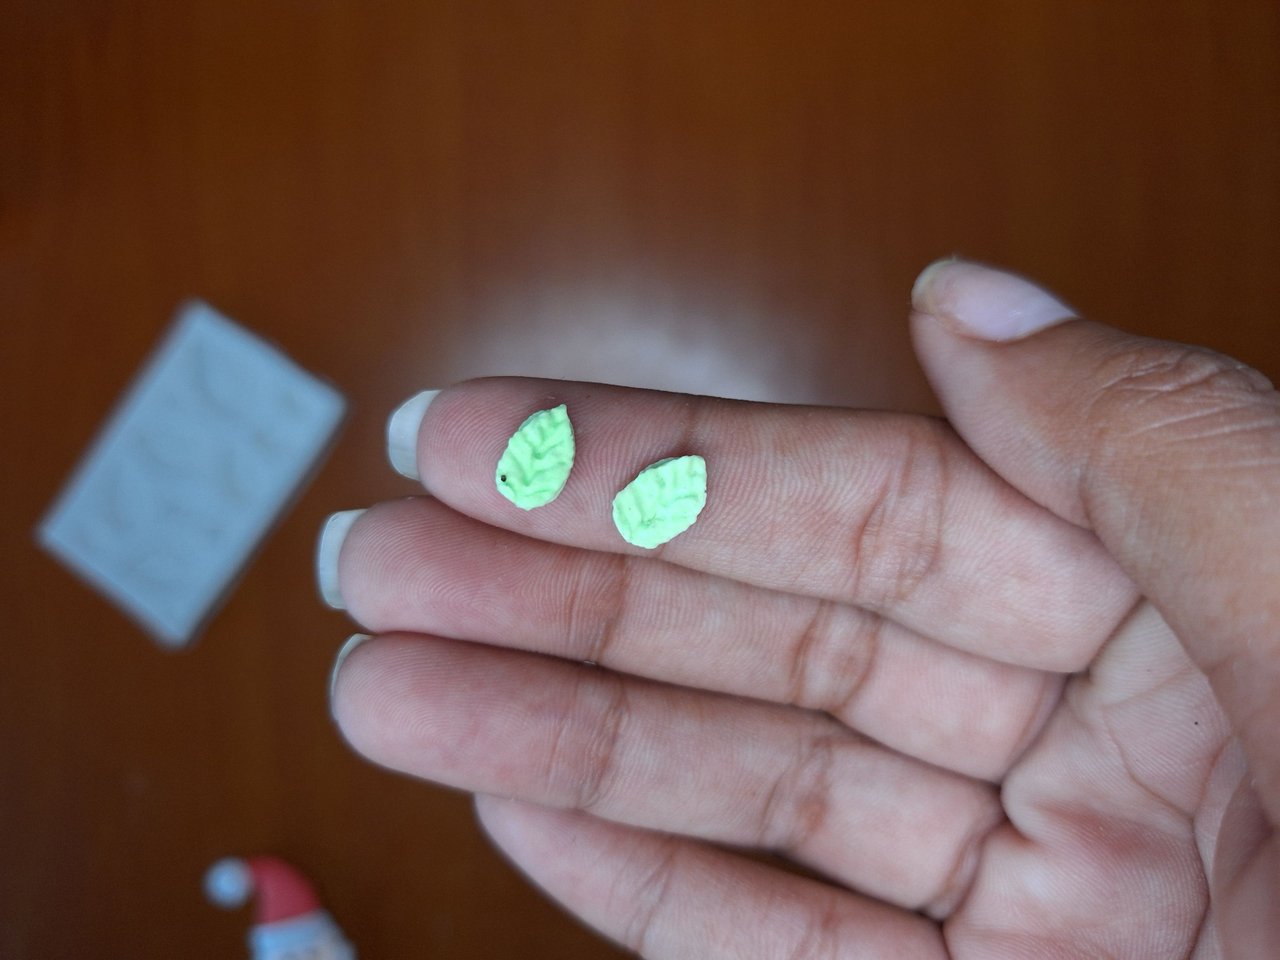 | 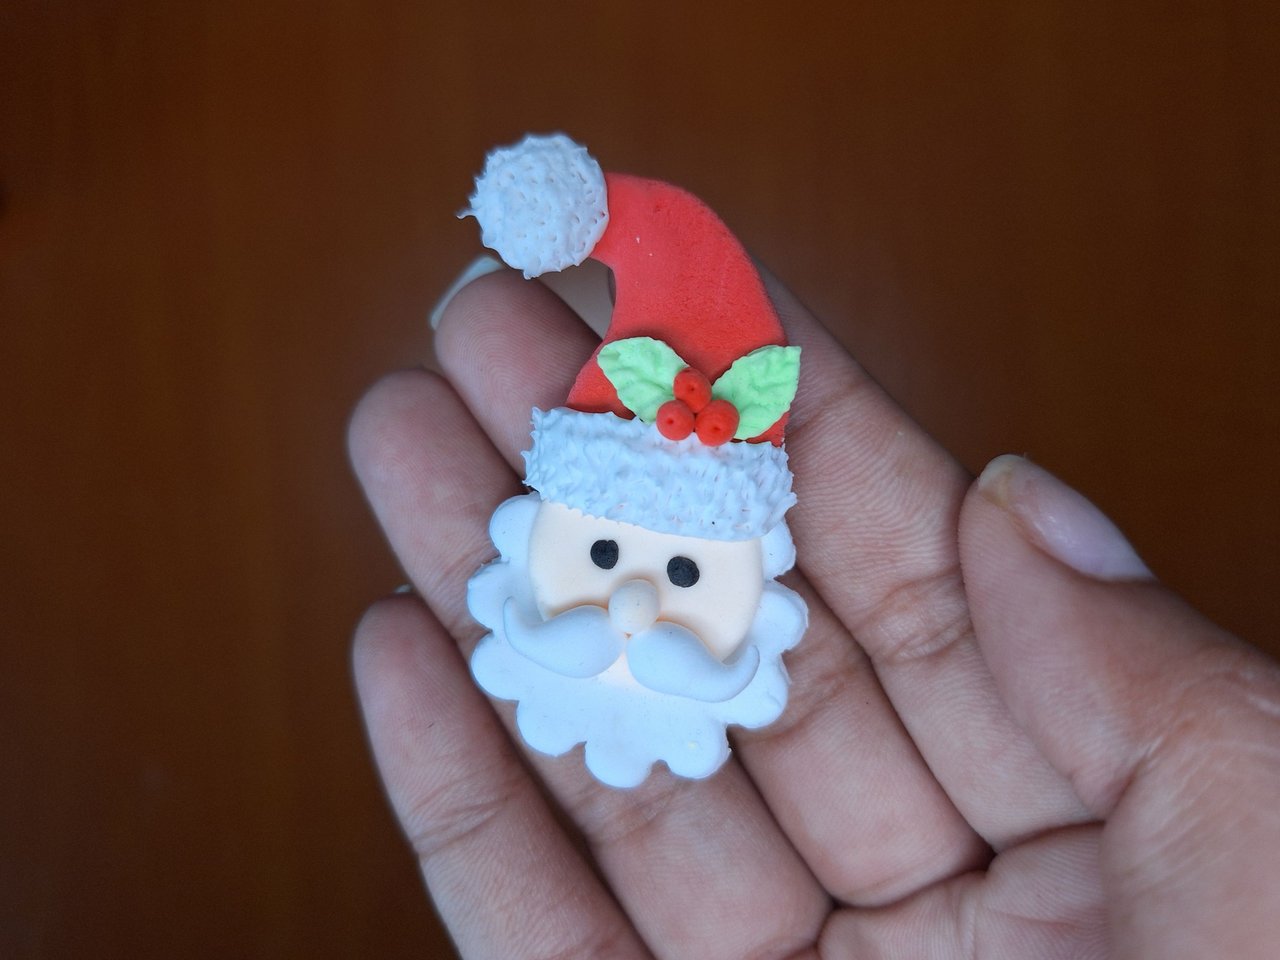 |
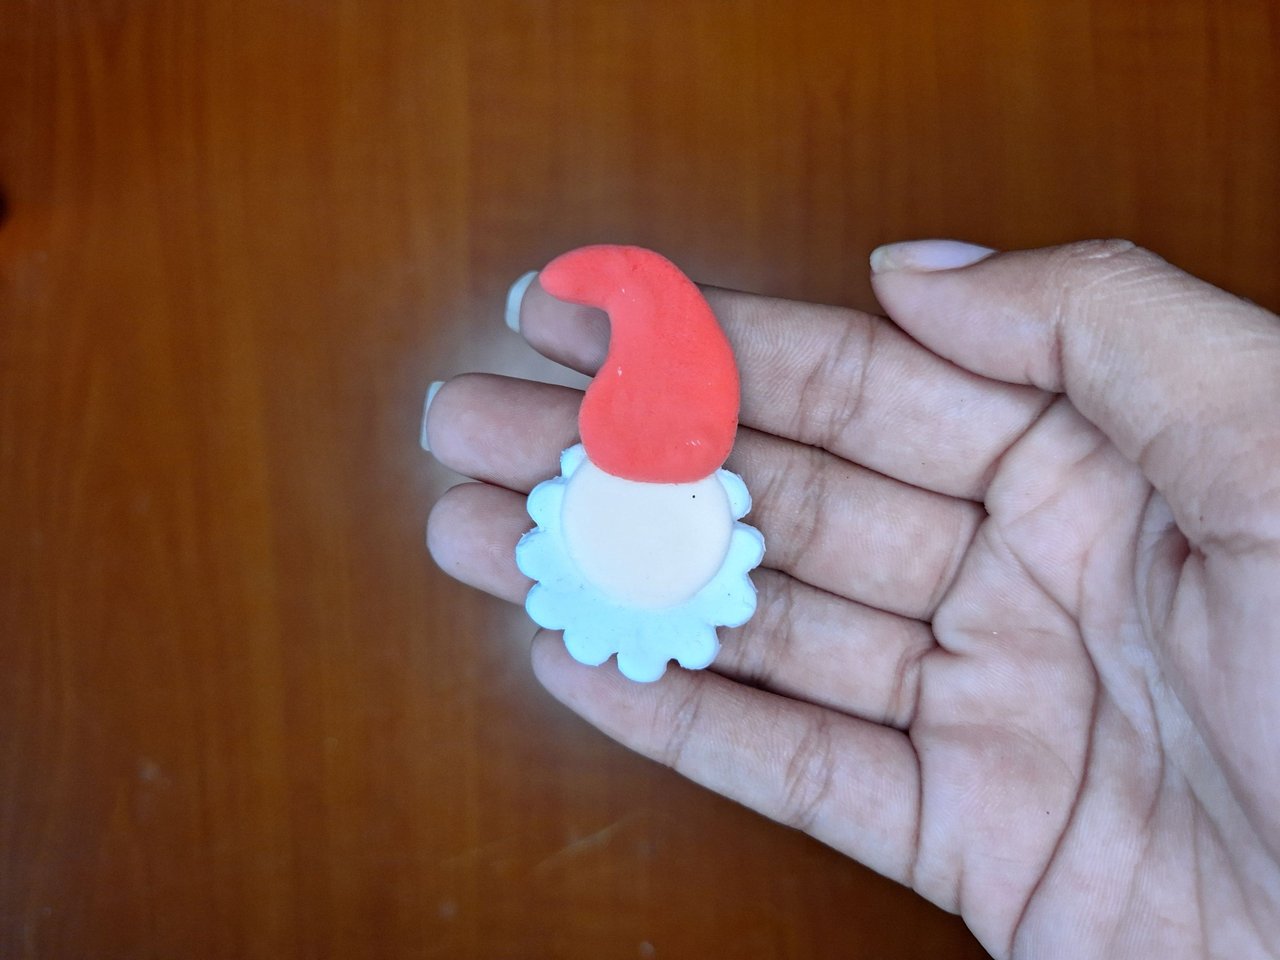
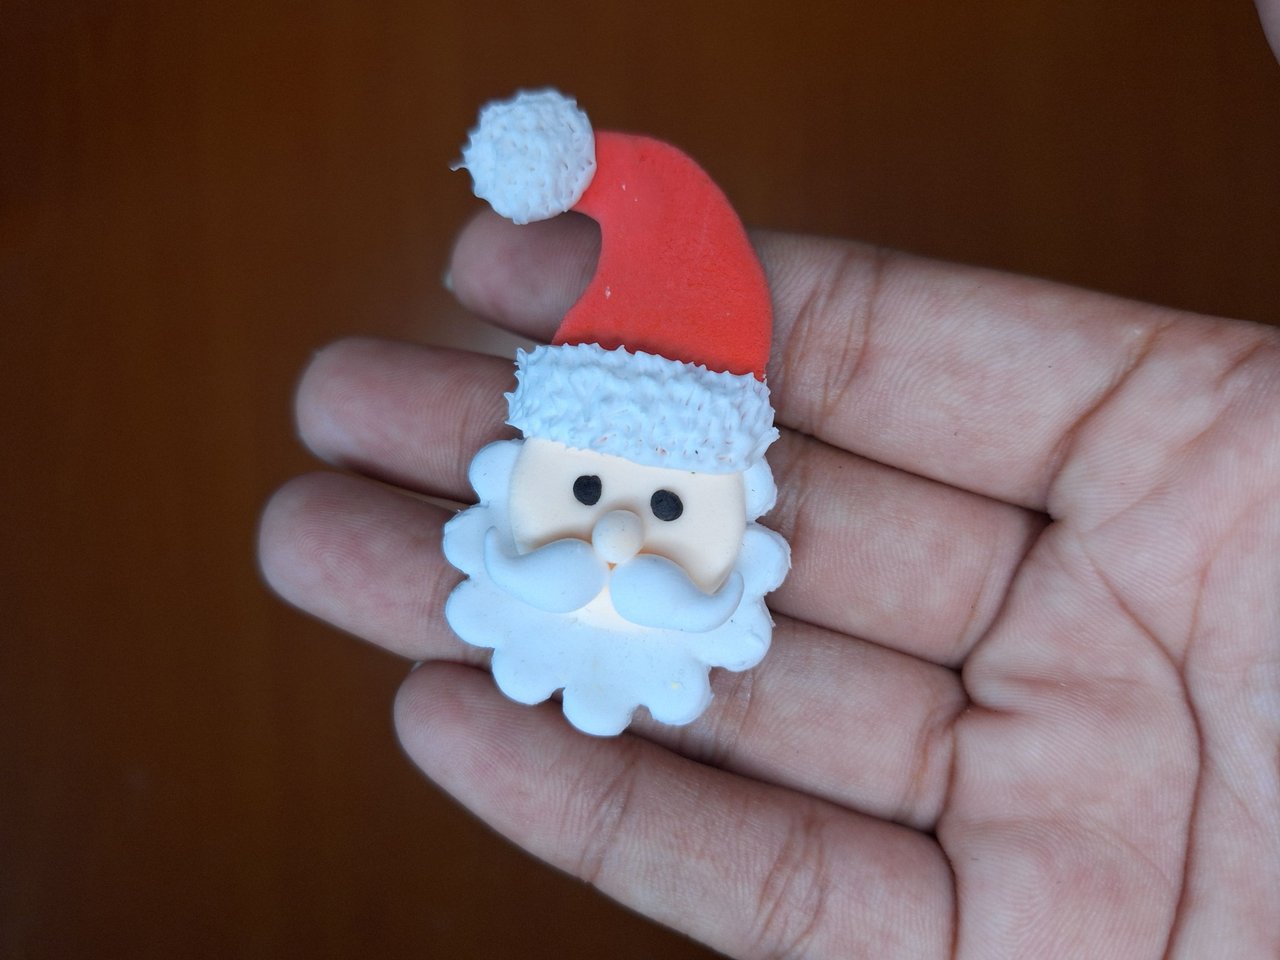
With red and white foami, make the cap. With a sewing pin, touch up the white parts to obtain a plush relief. Then the eyes, nose and whiskers are placed. Using a silicone mold in the shape of leaves, I made two, the smallest ones available. I glued them on top of the hat and placed some little red balls as if it were a mistletoe plant.
Con foami de color rojo y blanco se hace el gorro. Con un alfiler de costura, se dan toques hacia arriba en las partes blancas para obtener un relieve afelpado. Luego se colocan los ojos, la nariz y los bigotes. Utilizando un molde de silicona con forma de hojas, hice dos, las más pequeñas que había. Las pegué encima del gorro y coloqué unas bolitas rojas como si fuera una planta de muérdago.
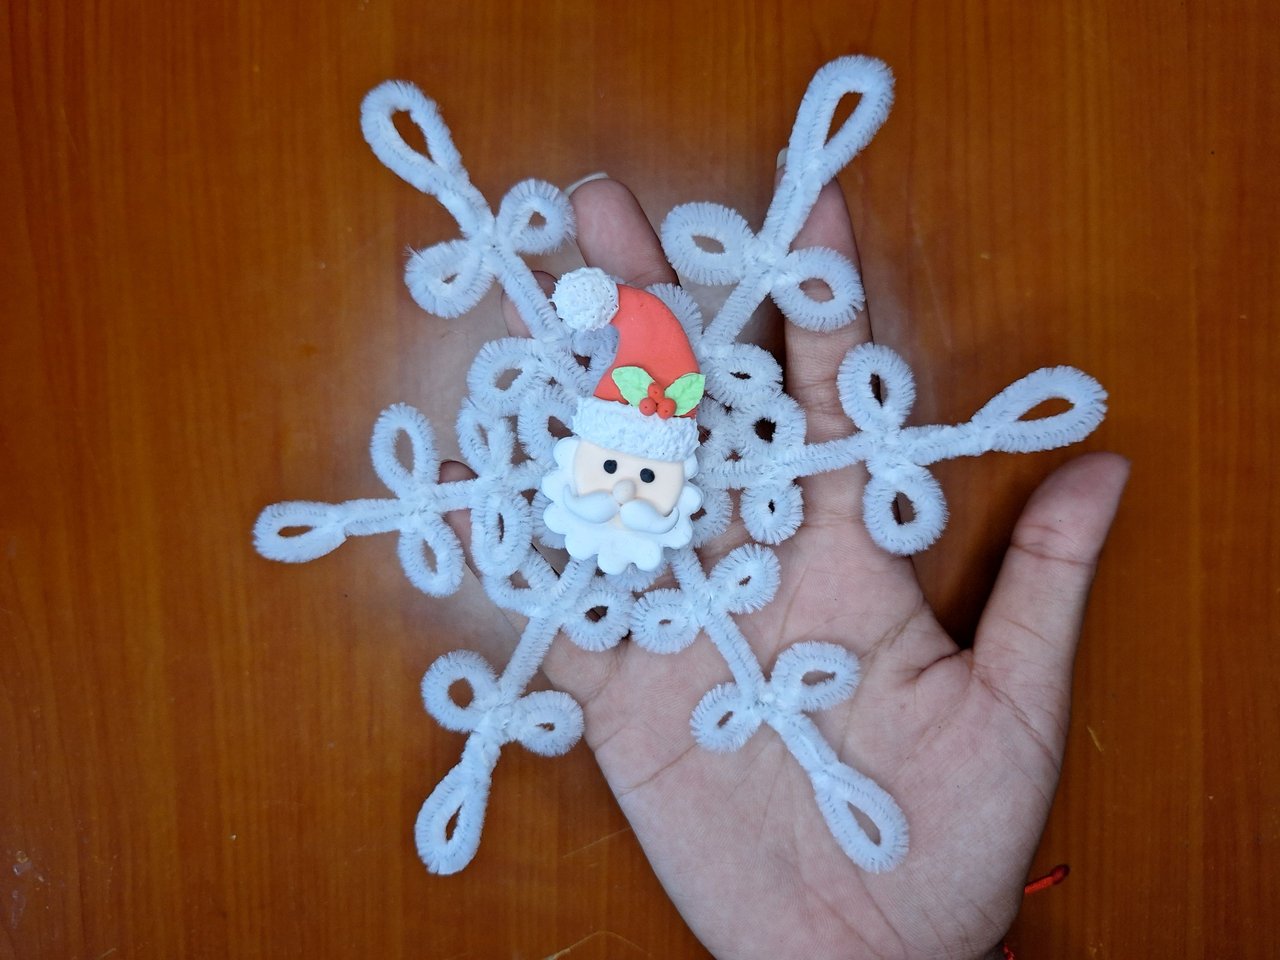 | 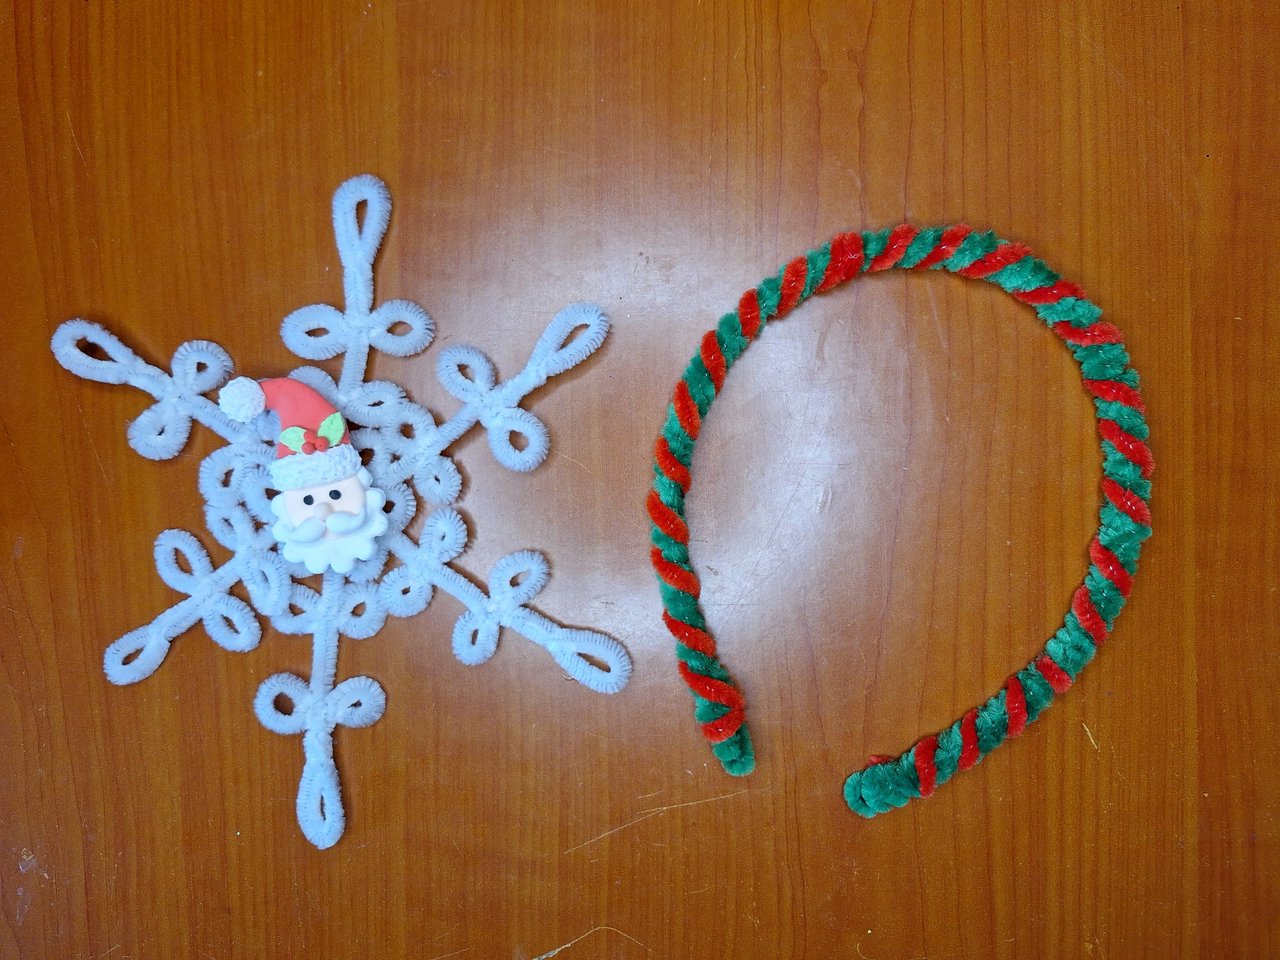 |
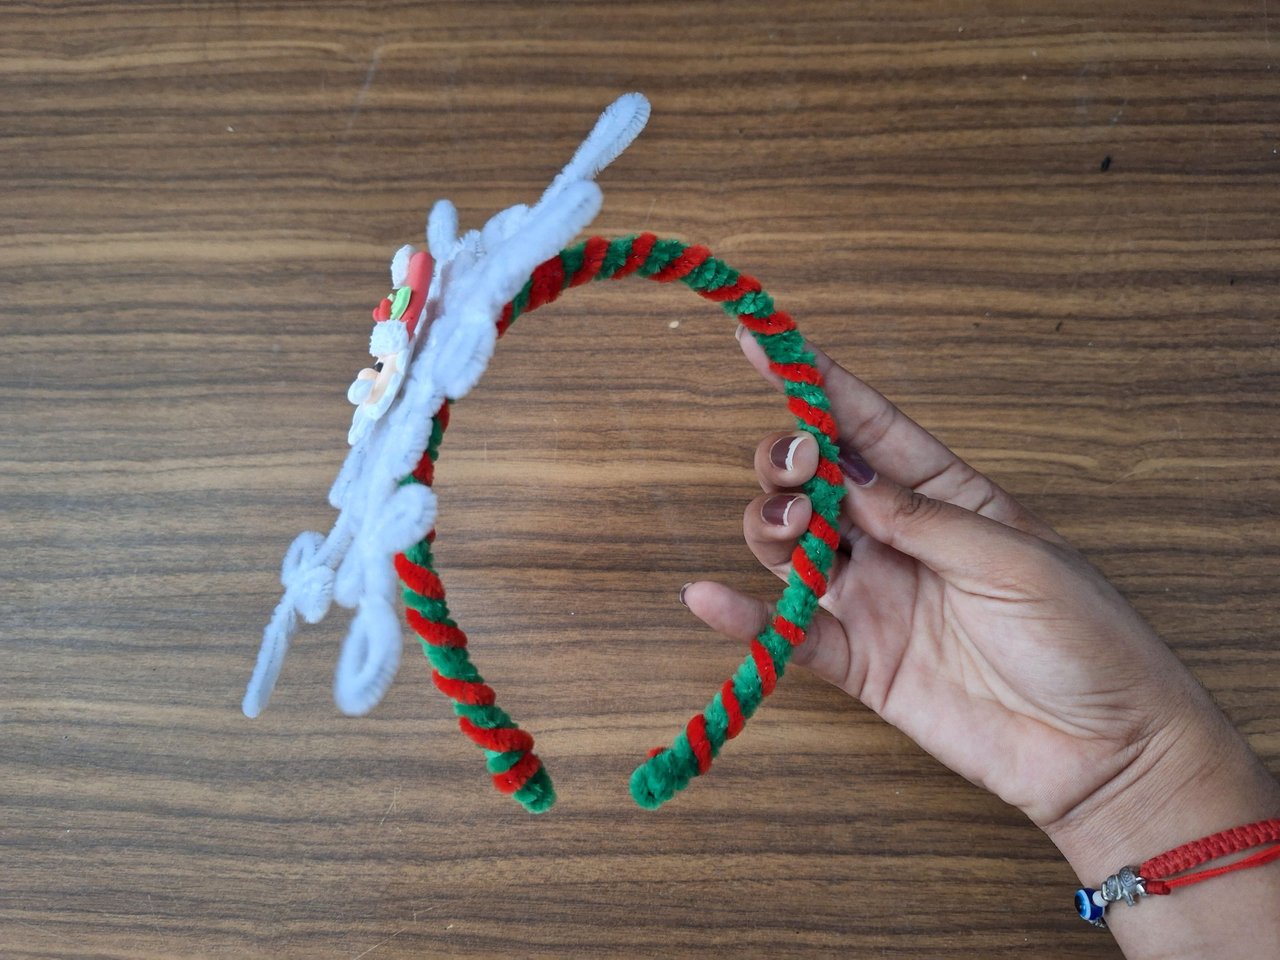
The snowflake and the headband are now ready, all that remains is to join the two pieces.
Ya tendríamos listos el copo de nieve y la diadema, solo queda unir las dos piezas.
 |  |
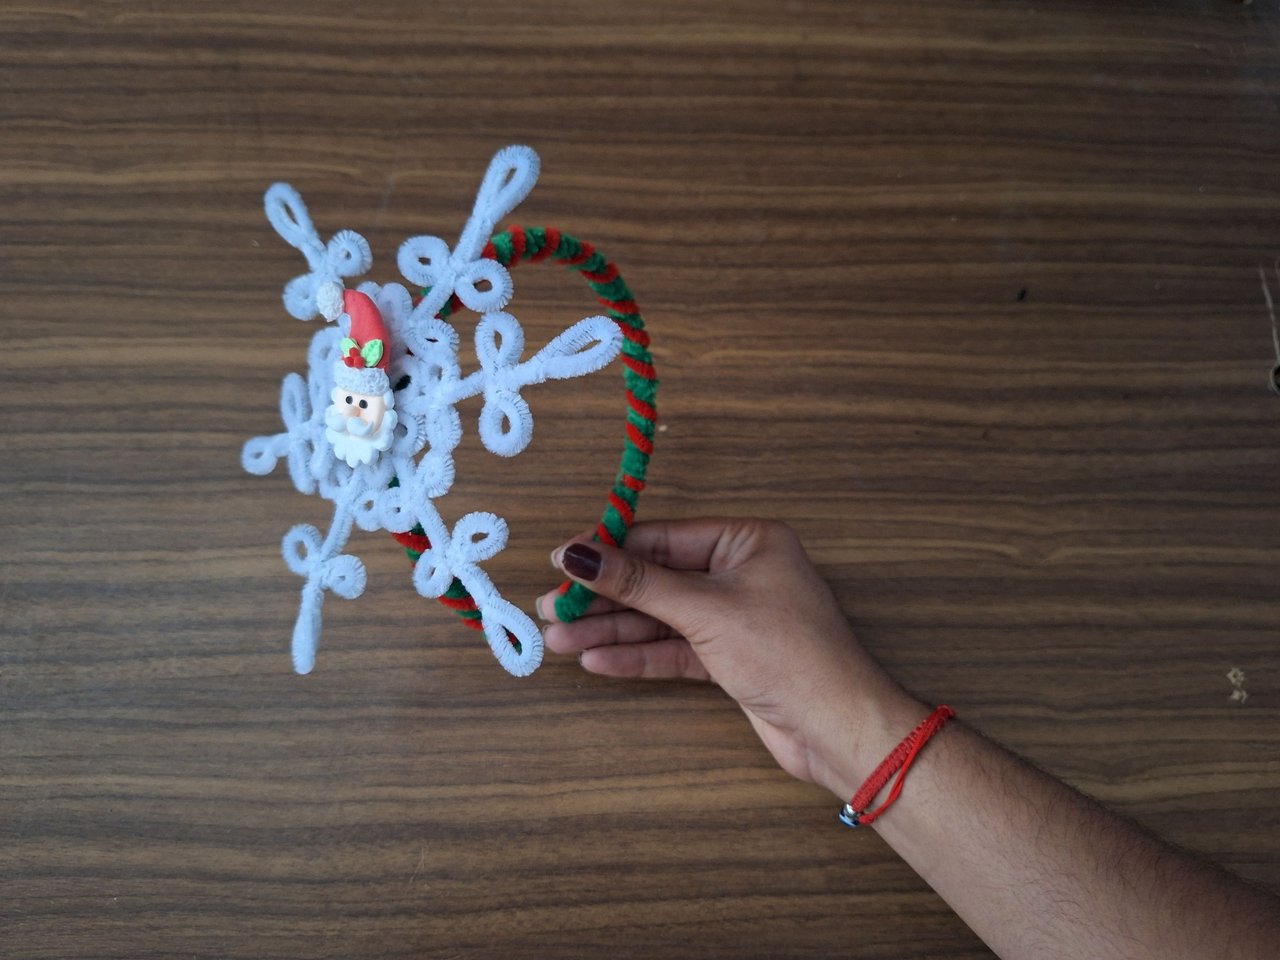 | 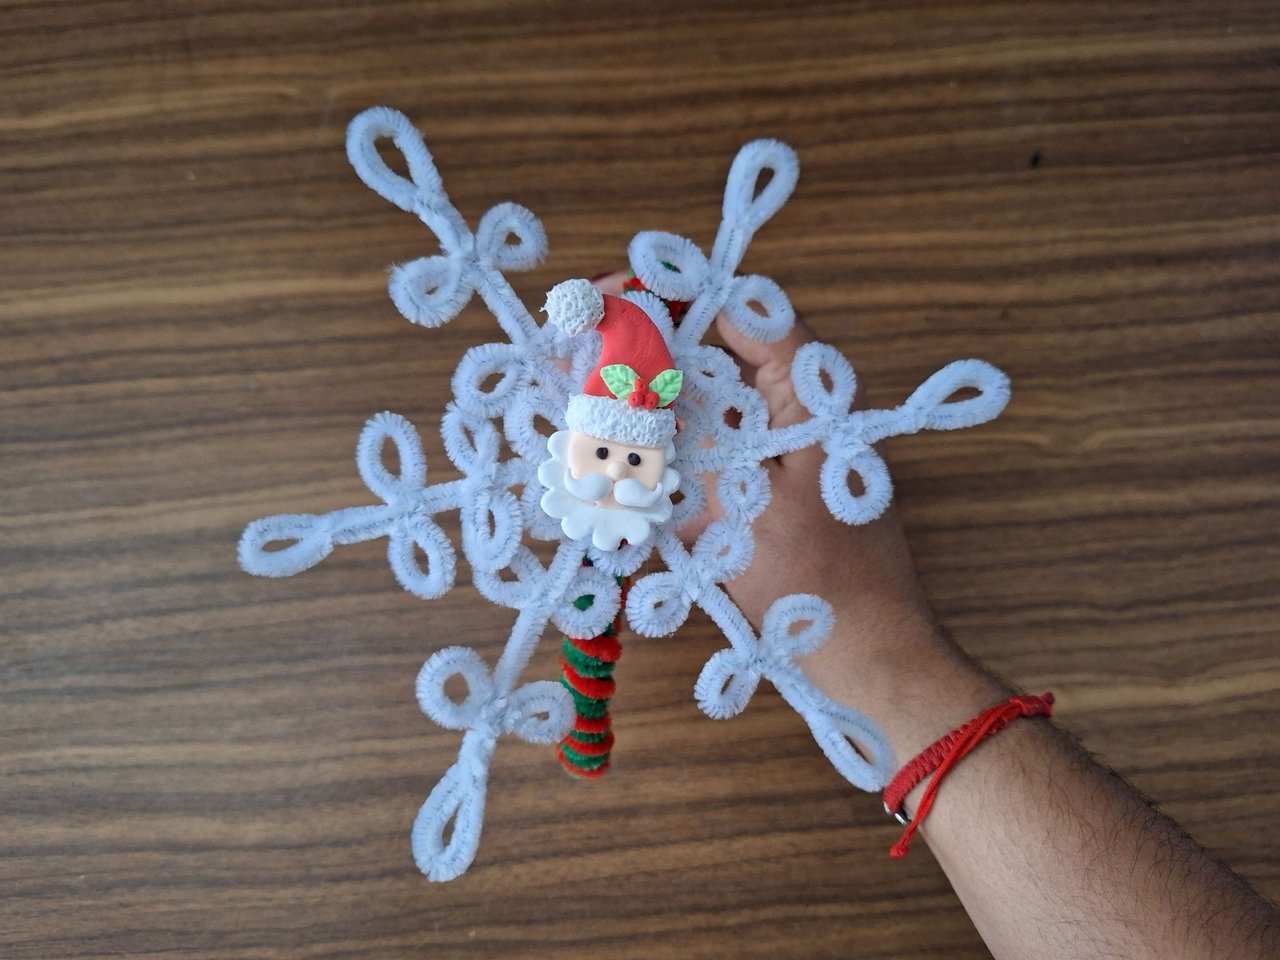 |
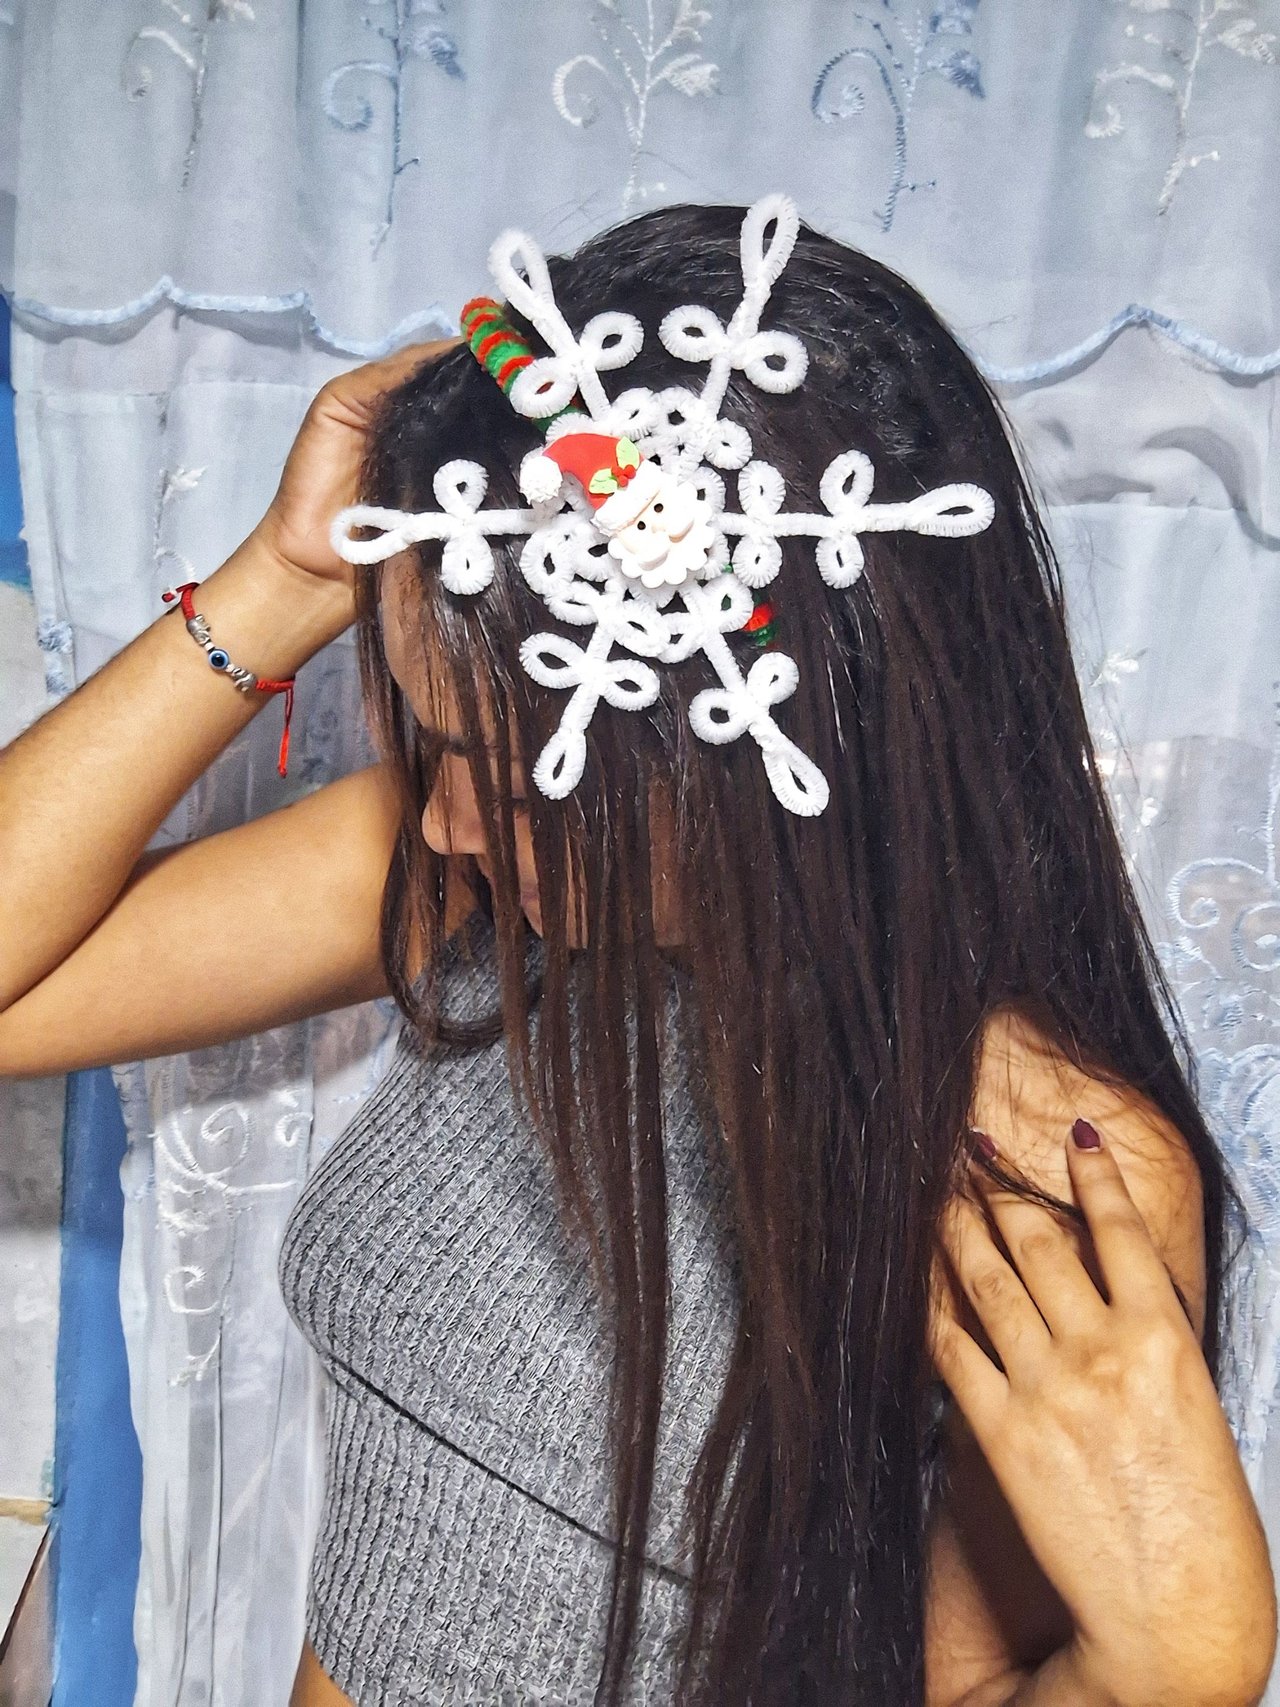
And thus is finished this beautiful headband to wear during the Christmas holidays. It is a fairly easy and quick design to make using these relatively inexpensive materials. The Santa Claus figure can also be made with pipe cleaners, but I didn't have enough to make the beard, so I decided to make it with moldable foami. I loved the result, I hope you liked it. Let me know in the comments, what you thought and new suggestions. Best regards.
@edeyglezsosa, I invite you to participate in this initiative.
Y de esta forma se encuentra terminada esta hermosa diadema para lucirla en las festividades navideñas. Es un diseño bastante fácil y rápido de hacer utilizando estos materiales que son relativamente económicos. La figura de papá Noel también puede ser elaborada con limpiapipas, pero ya no me quedaban suficientes para hacer la barba, por lo que se me ocurrió hacerlo con foami moldeable. Me encantó el resultado, espero que a ti te haya gustado. Déjame en los comentarios, qué te pareció y nuevas sugerencias. Un saludo.
@edeyglezsosa, te invito a participar en esta iniciativa.
 |  |
Cover made in Canva
English is not my native language, translated by DeepL
Posted Using InLeo Alpha
Quedó hermoso, y el color blanco se ve genial en cabello oscuro, resalta muchísimo. También hay que destacar y felicitarte por la combinación de materiales, un excelente post.
Muchas gracias 🥰, combinarlos fue una buena idea, al principio lo iba a hacer solo con limpiapipas, pero tenía pocos blancos y decidí utilizar el foami. Me alegro muchísimo de que te haya gustado 🤗
Te quedo estupendo!!!! Me encanta,es super original, me encantó la alegría con la que presentas tu publicación
Muchas gracias 🥰, hay que derrochar y transmitir alegría para contagiar a todos con el espíritu navideño 😄, me alegro que te guste, 😍. Saludos
Hola muy creativo el diseño, realmente el copo de nieve es imponente, no lo había visto hecho en limpia pipas, yo también lo conozco como shanel, hay que practicar la forma solamente hasta que salga así de hermosa como la tuya. Te felicito realmente muy original.
Muchas gracias, cuando uso limpiapipas suelo hacer vídeos para que se entienda bien porque es difícil explicar el proceso mediante fotos, pero como 3speak no estaba funcionando bien, lo hice tipo blog, espero entiendas un poco el paso a paso. Es muy fácil hacerlo , saludos 🤗
Hermoso fíjate que ya está andando 3speak yo subí la semana pasada un tutorial. Igual se entiende con las fotos perfectamente 🧡
Te quedo linda. Muy ben explicado el paso a paso.
Saludos @yale95reyra
Muchas gracias 🥰, saludos 🤗
Estos cintillos están muy lindos y se han puesto muy de moda. Es un excelente trabajo el que hiciste, además de que es muy creativo.
Muchas gracias, para las fiestas venideras no pueden faltar, ya tengo varias para lucirlas las mujeres de la familia 😄