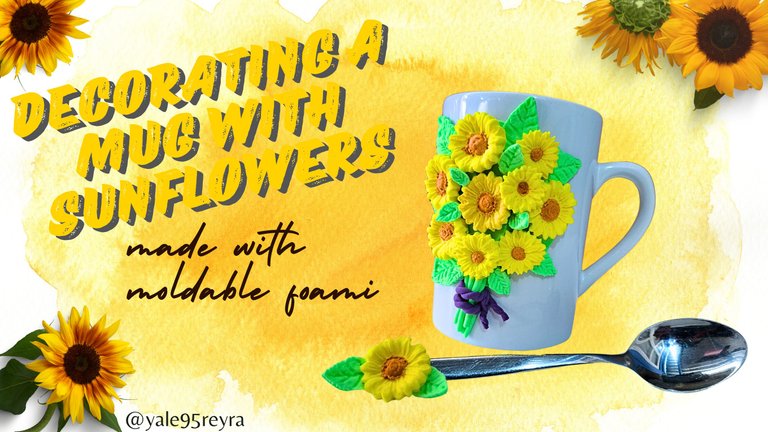
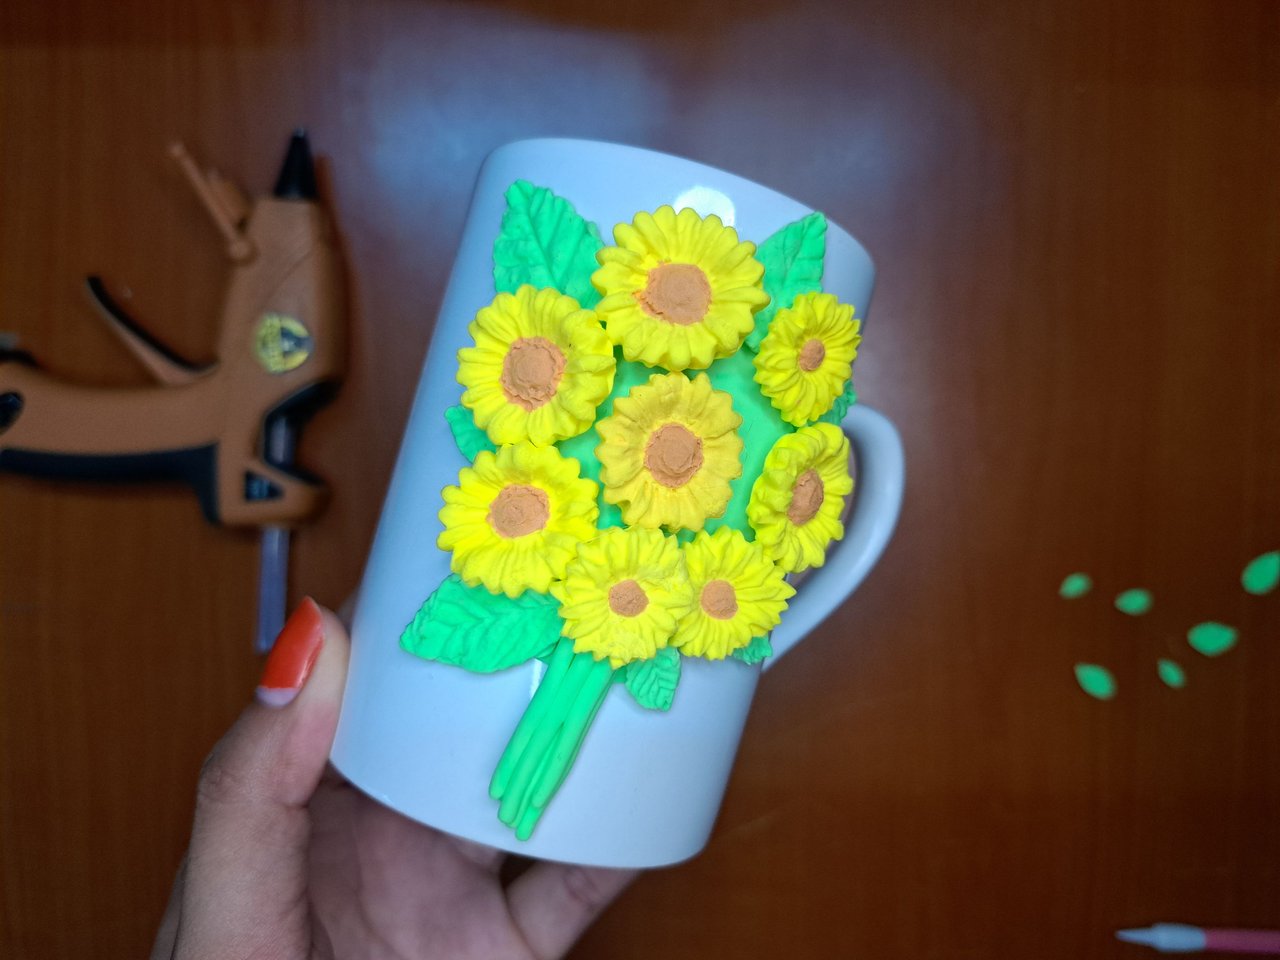
Hello dear friend, sunflowers have become a trend lately here where I live, imagine, you go out to the street and you can see several women wearing blouses, dresses or any garment with sunflower prints. I've even seen sunflower themed sheets and bedspreads for sale. As I know my sister loves these flowers, I decorated her milk cup with a nice bouquet of sunflowers and I made the sugar spoon to match, so she is also fashionable and has a unique piece with added value, as her sister decorated it with her own hands. For the elaboration I used moldable foami, this material I have worked with many times and I love it. Only at the end you have to give it a coat of varnish or epoxy resin to strengthen it, this will allow the water will not harm it and we can wash it. Below, I show you the materials I used for the decoration and the step by step.
Hola querido amigo amante de las manualidades, los girasoles se han vuelto tendencia últimamente aquí donde vivo, imagínate,que sales a la calle y puedes ver a varias mujeres lo mismo con blusas, vestidos o cualquier prenda de vestir con estampados de girasoles. Incluso, he visto vendiendo sábanas y colchas con esta temática. Como sé que a mi hermana le encantan estas flores, le adorné su taza de tomar leche con un lindo ramo de girasoles y le hice a juego la cuchara para el azúcar, así también está a la moda y tiene una pieza única y con valor agregado, pues su hermana la decoró con sus propias manos. Para la elaboración utilicé foami moldeable, este material que ya he trabajado muchas veces y me encanta. Solo al terminar hay que darle una capa de barniz o resina epóxica para fortalecerla, esto permitirá que el agua no le haga daño y podamos lavarla. A continuación, te muestro los materiales que utilicé para la decoración y el paso a paso.
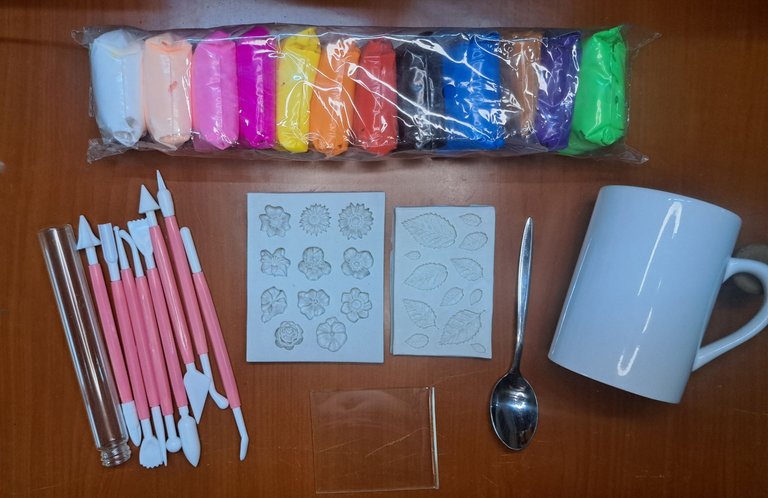
🌻Materials // Materiales🌻
- Moldable Foami / Foami moldeable
- Styrofoam / Estecas
- Roller / Rodillo
- Transparent acrylic plate / Placa de acrílico transparente
- Flower mold / Molde de flores
- Leaf mold / Molde de hojas
- Spoon / Cuchara
- Cup / Taza
🌻Step by step // Paso a paso🌻
 |  |  |
 | 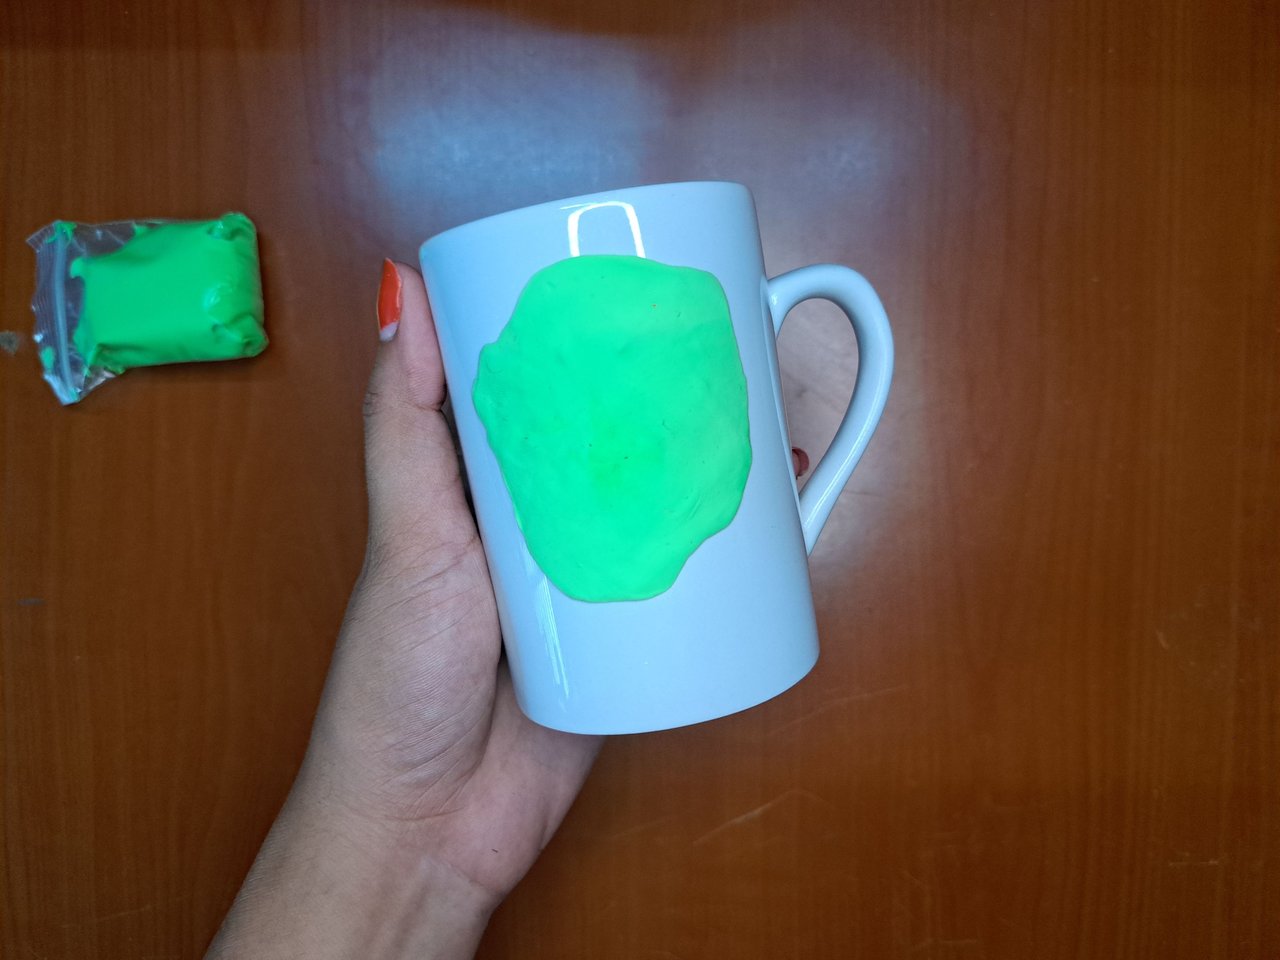 |
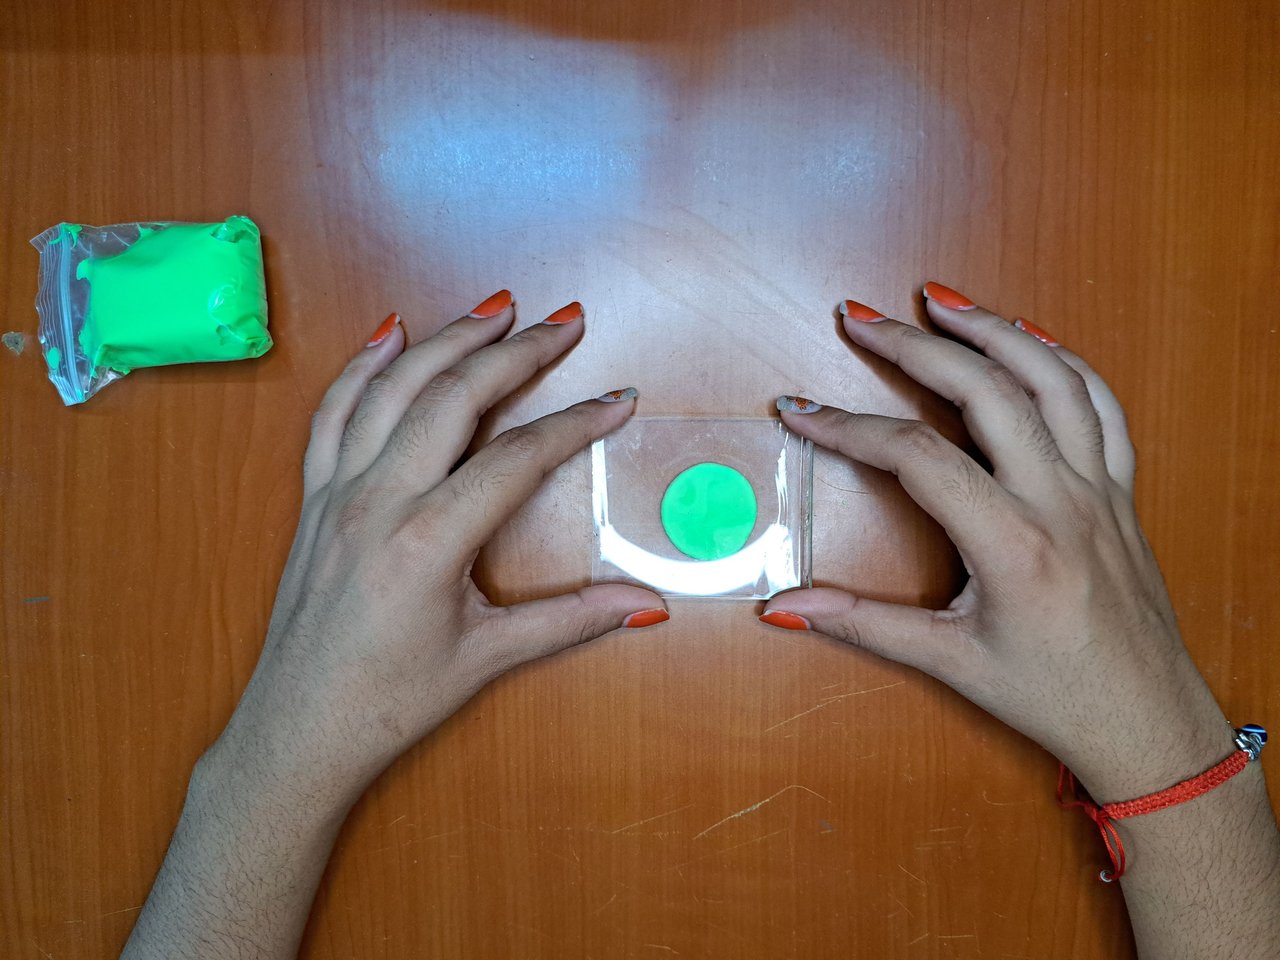
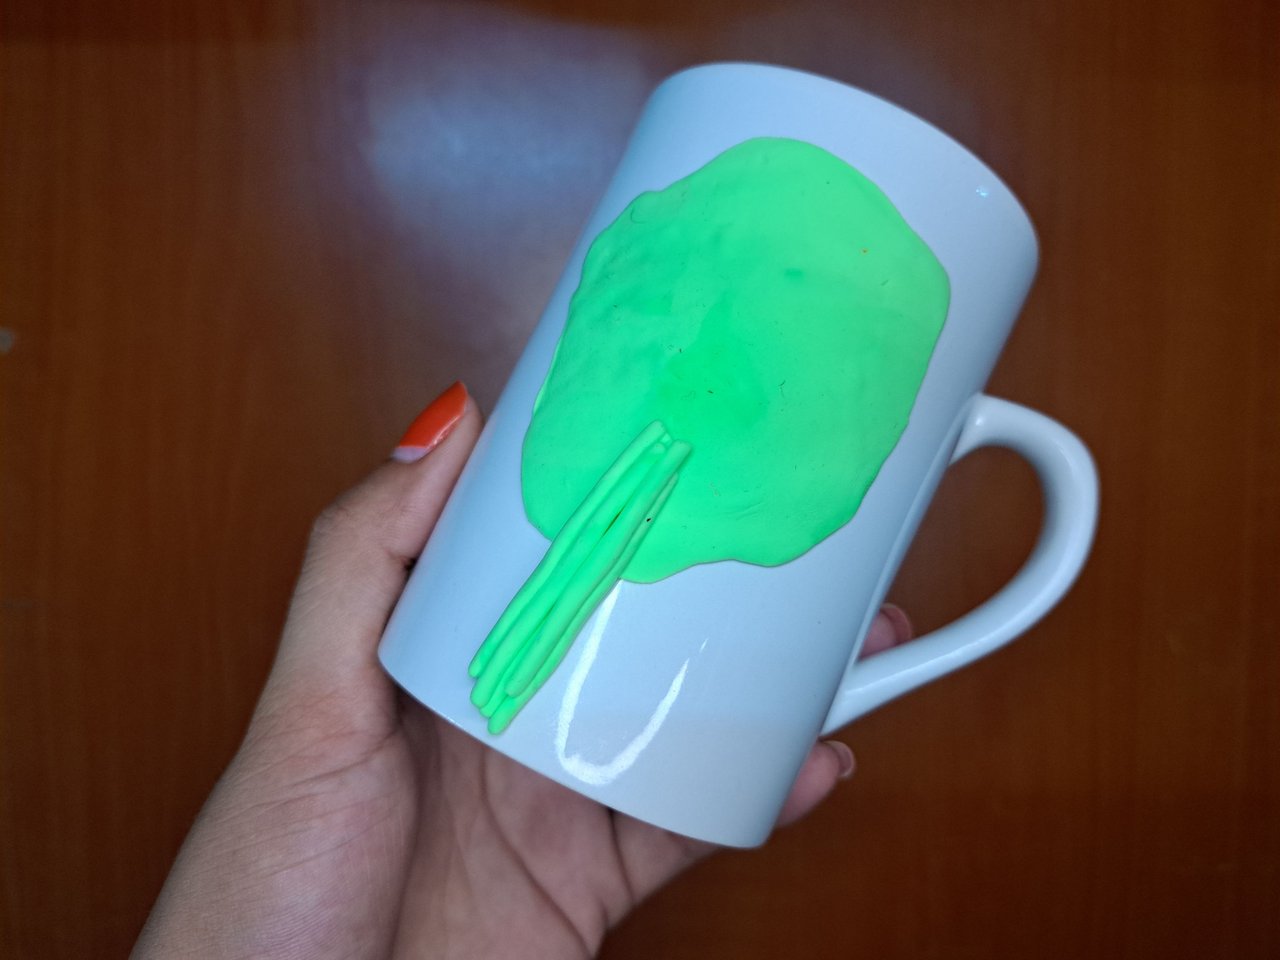
I started with the base, for this I took a portion of green moldable foami and flattened it as much as I could to obtain a thin layer, I glued it on the front of the cup, preferably in full color, you can use quick-drying glue or not, because the moisture of this material allows it to adhere very well to any surface and when dry it does not peel off, it will also be well fixed once it is varnished at the end.
Comencé con la base, para ello tomé una porción de foami moldeable verde y la aplané lo más que pude para obtener una capa fina, esta la pegué en el frente de la taza, que preferiblemente sea color entero, puedes usar pegamento de secado rápido o no, pues la humedad de este material permite que se adhiera muy bien a cualquier superficie y cuando seca no se despega, además quedará bien fijado una vez que sea barnizado al final.
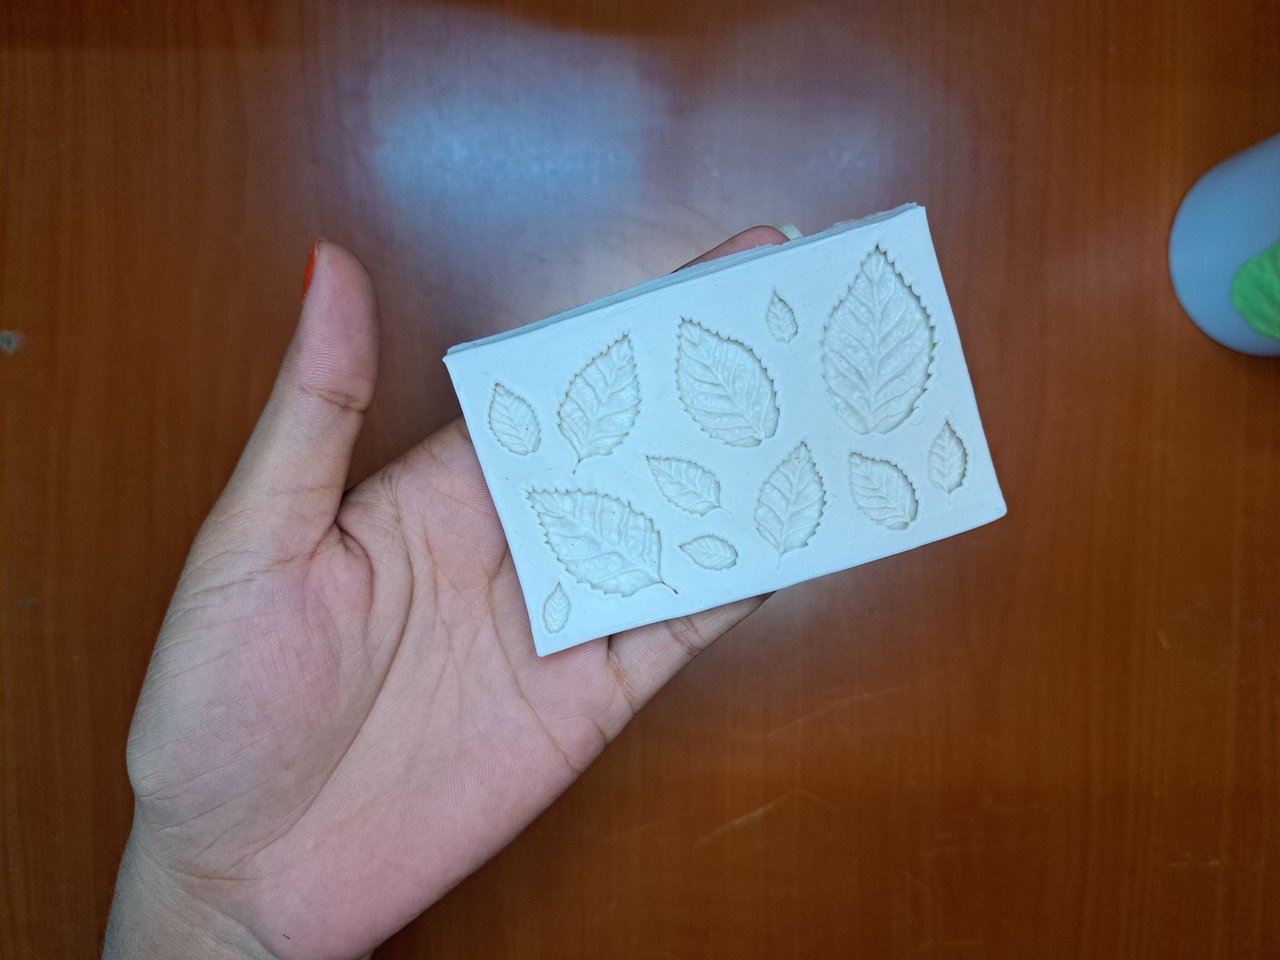 | 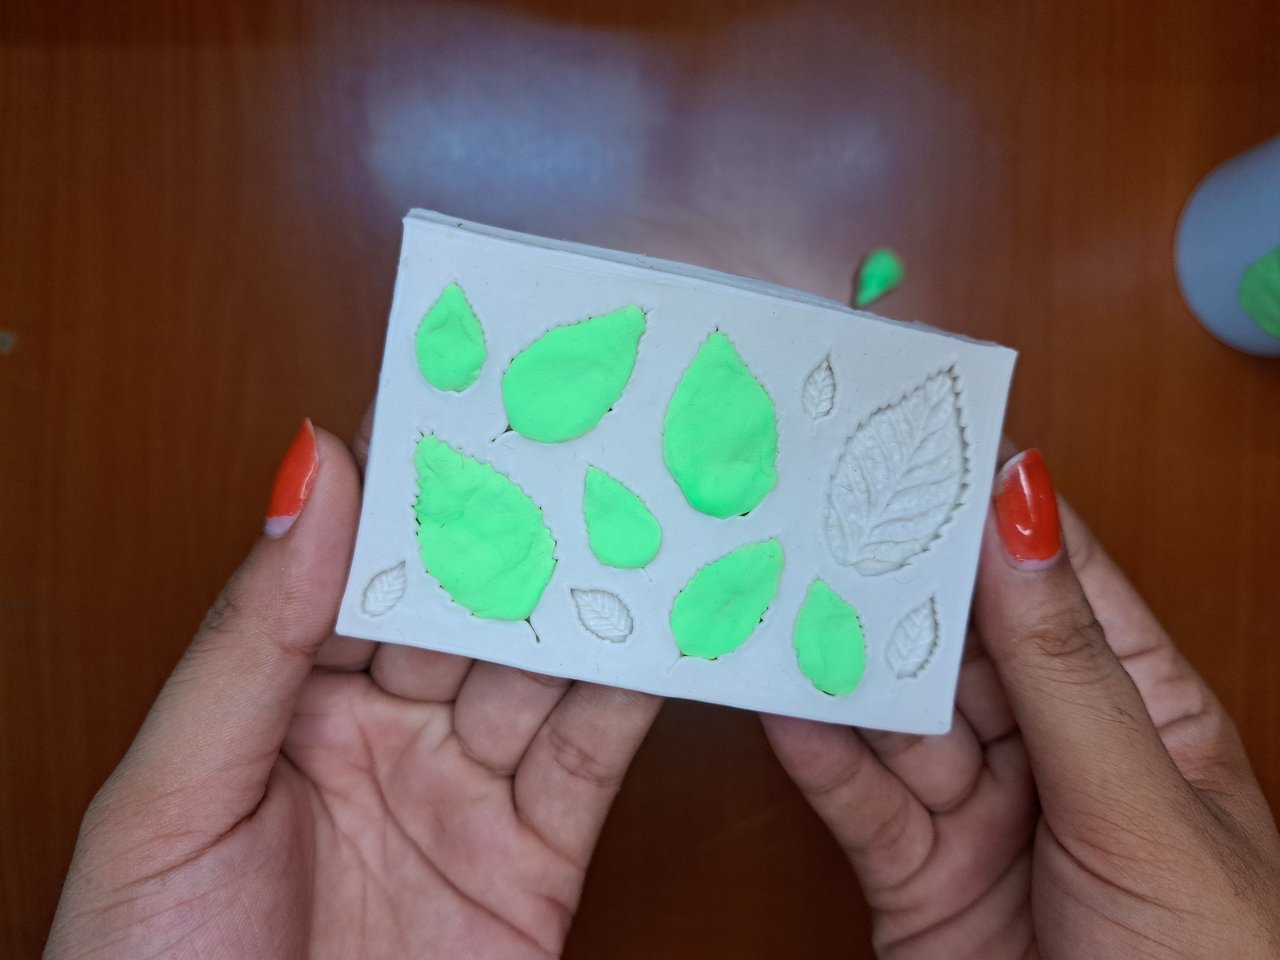 | 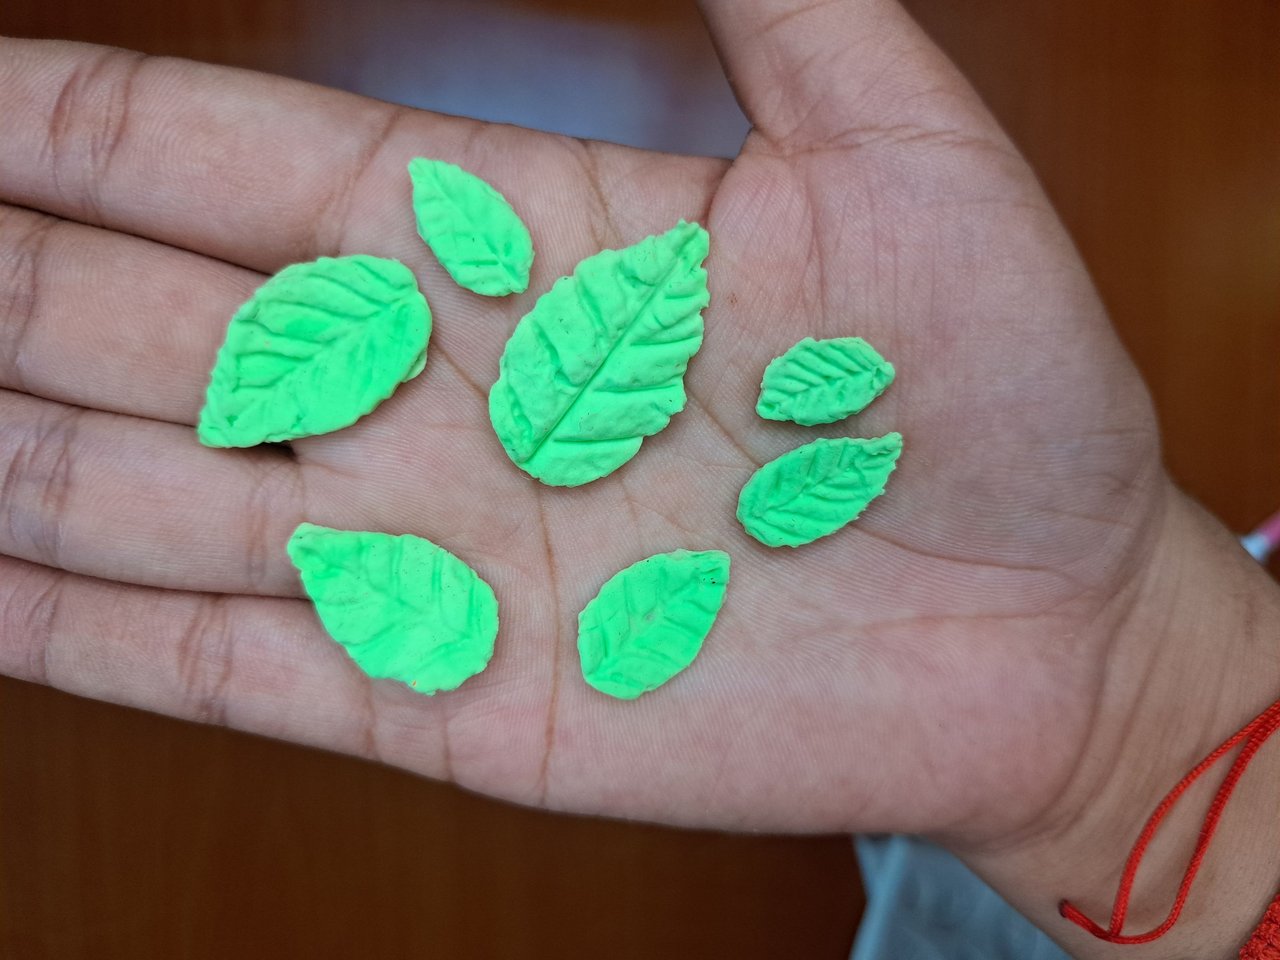 |
I used silicone molds that I have been gradually acquiring that allow me to develop new designs more easily and that save you a lot of time 😄 . I made the leaves in various sizes, we only need to place the moldable foami in the mold and wait for it to dry to unmold it.
Utilicé moldes de silicona que poco a poco he ido adquiriendo que me permitan elaborar nuevos diseños con más facilidad y que te ahorran mucho tiempo de vida 😄 . Las hojas las hice de varios tamaños, solo debemos colocar el foami moldeable en el molde y esperar a que seque para desmoldarlo.
 |  |  |
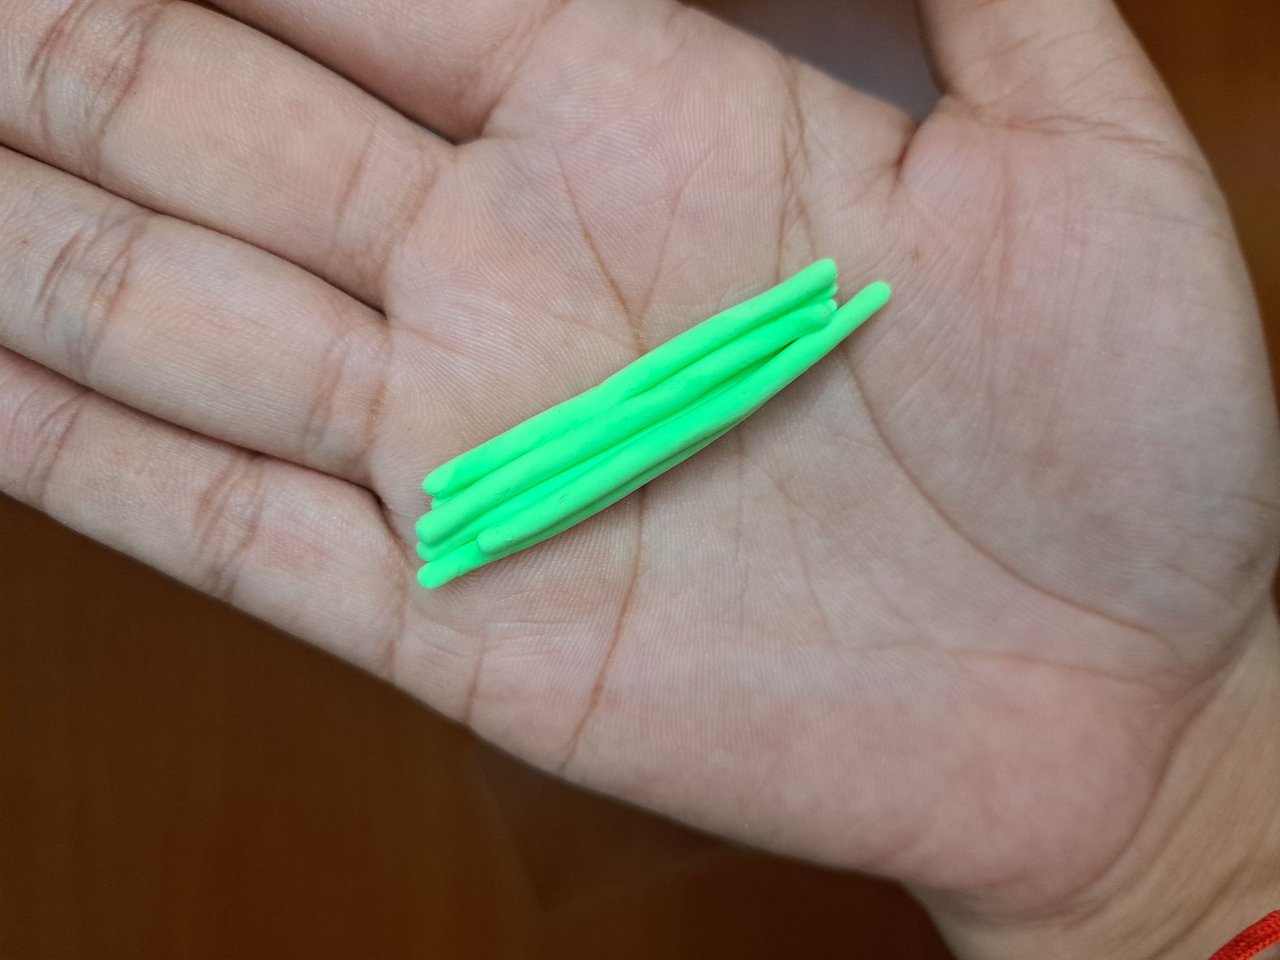 |  |  |
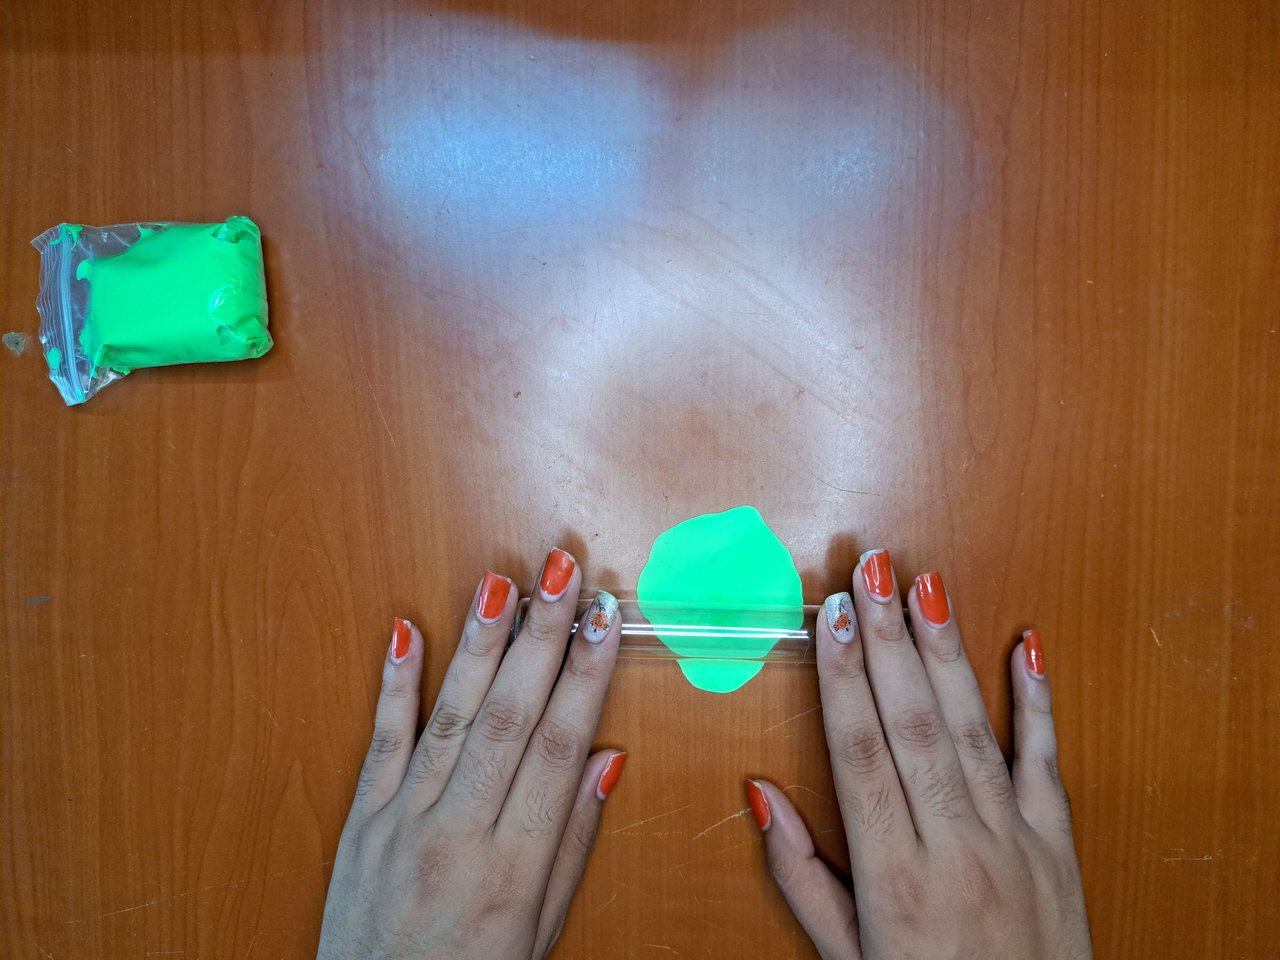
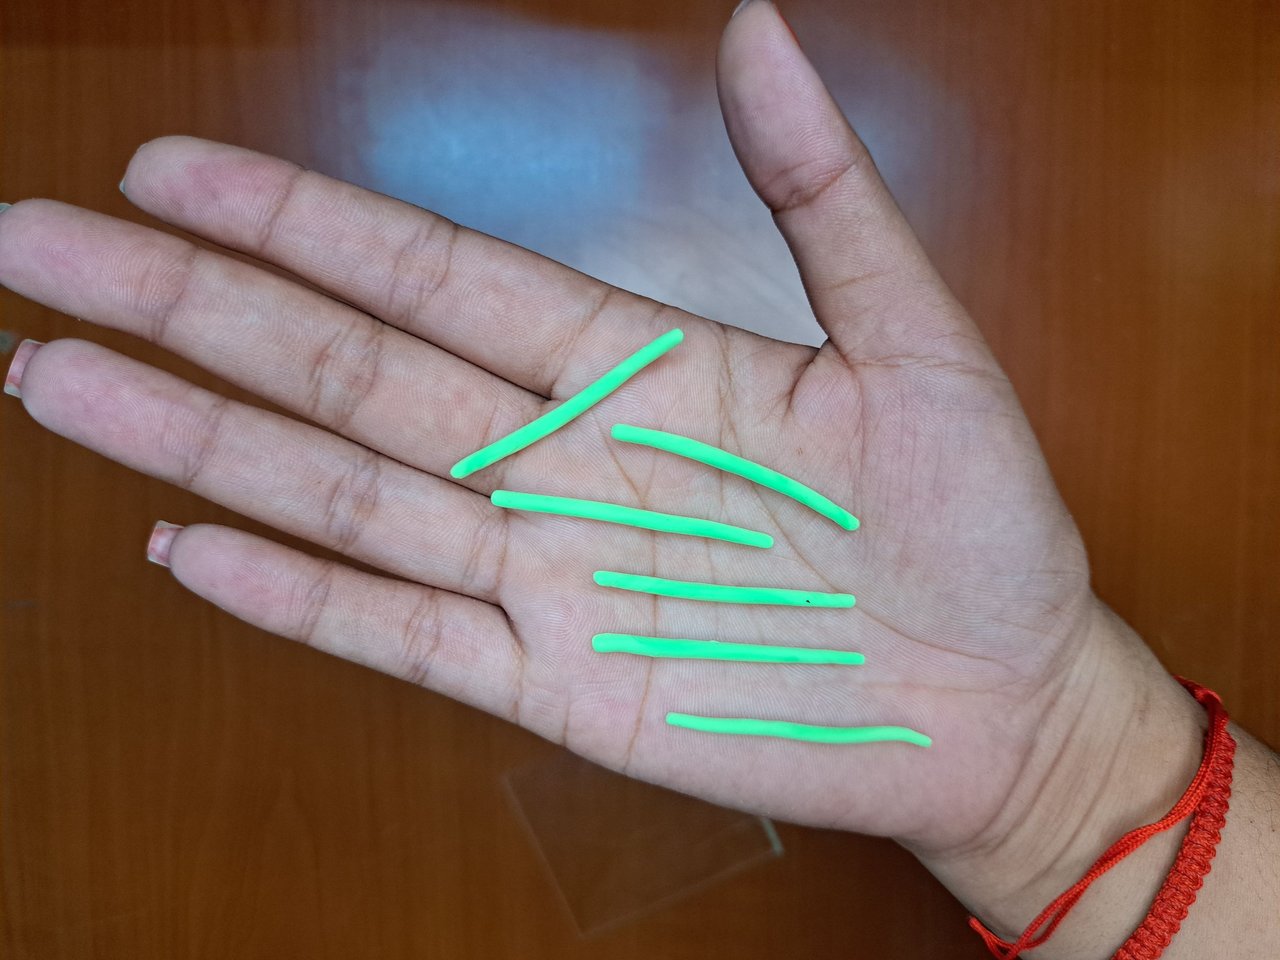
For the stem of the flowers I only took small portions and with the acrylic plate, I moved them from one side to the other so that a thin and uniform strip was left. I made several and then placed them together, which I placed at the bottom of the base. Then, I placed the leaves all around the edge.
Para el tallo de las flores solo tomé porciones pequeñas y con la placa de acrílico, las iba moviendo de un lado a otro para que quedara una tira fina y uniforme. Hice varias para luego colocarlas juntas, las cuales situé en la parte baja de la base. Después, ubiqué las hojas por todo el borde.
 |  |  |
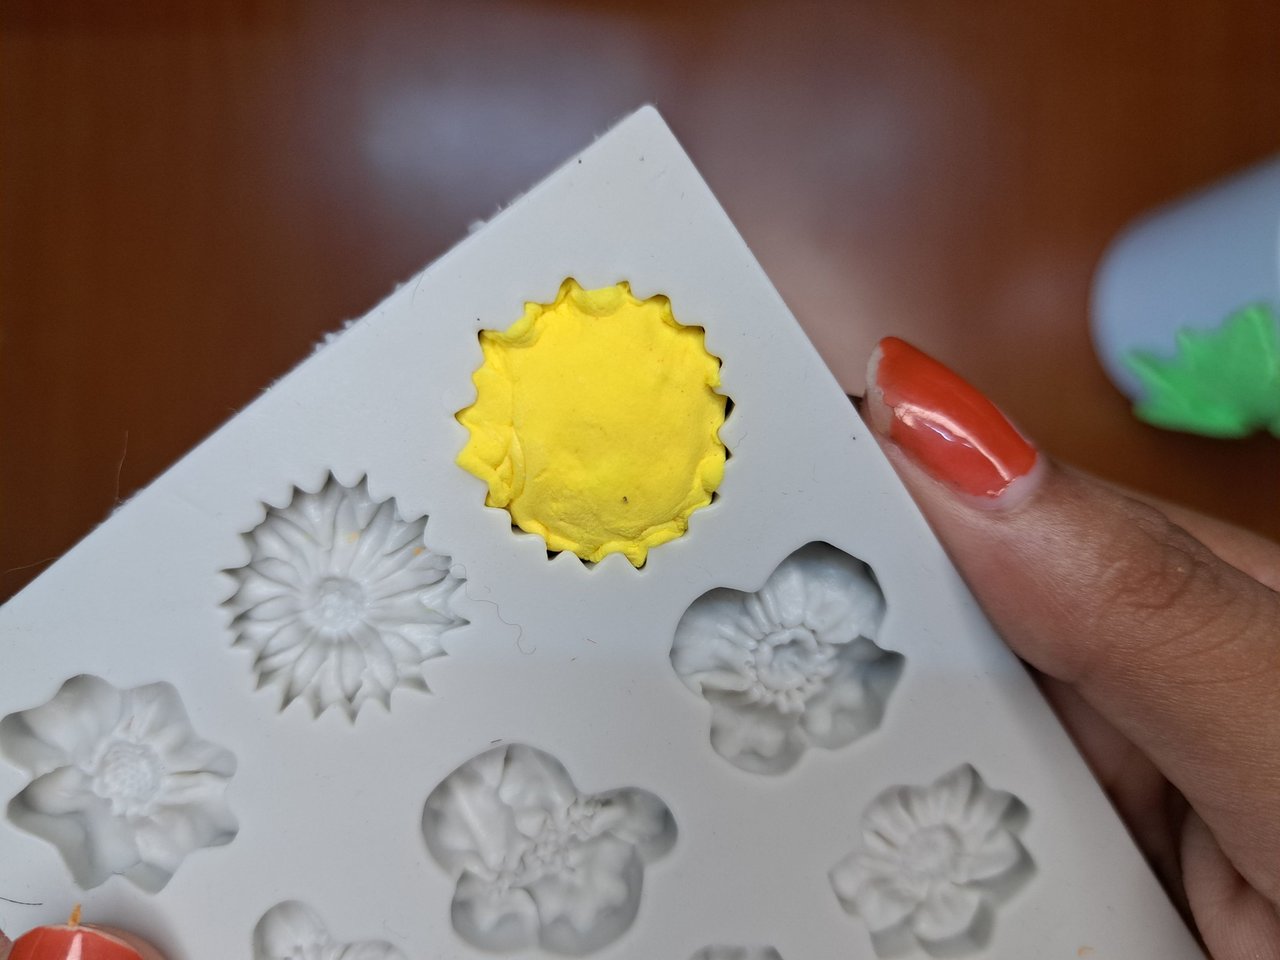 | 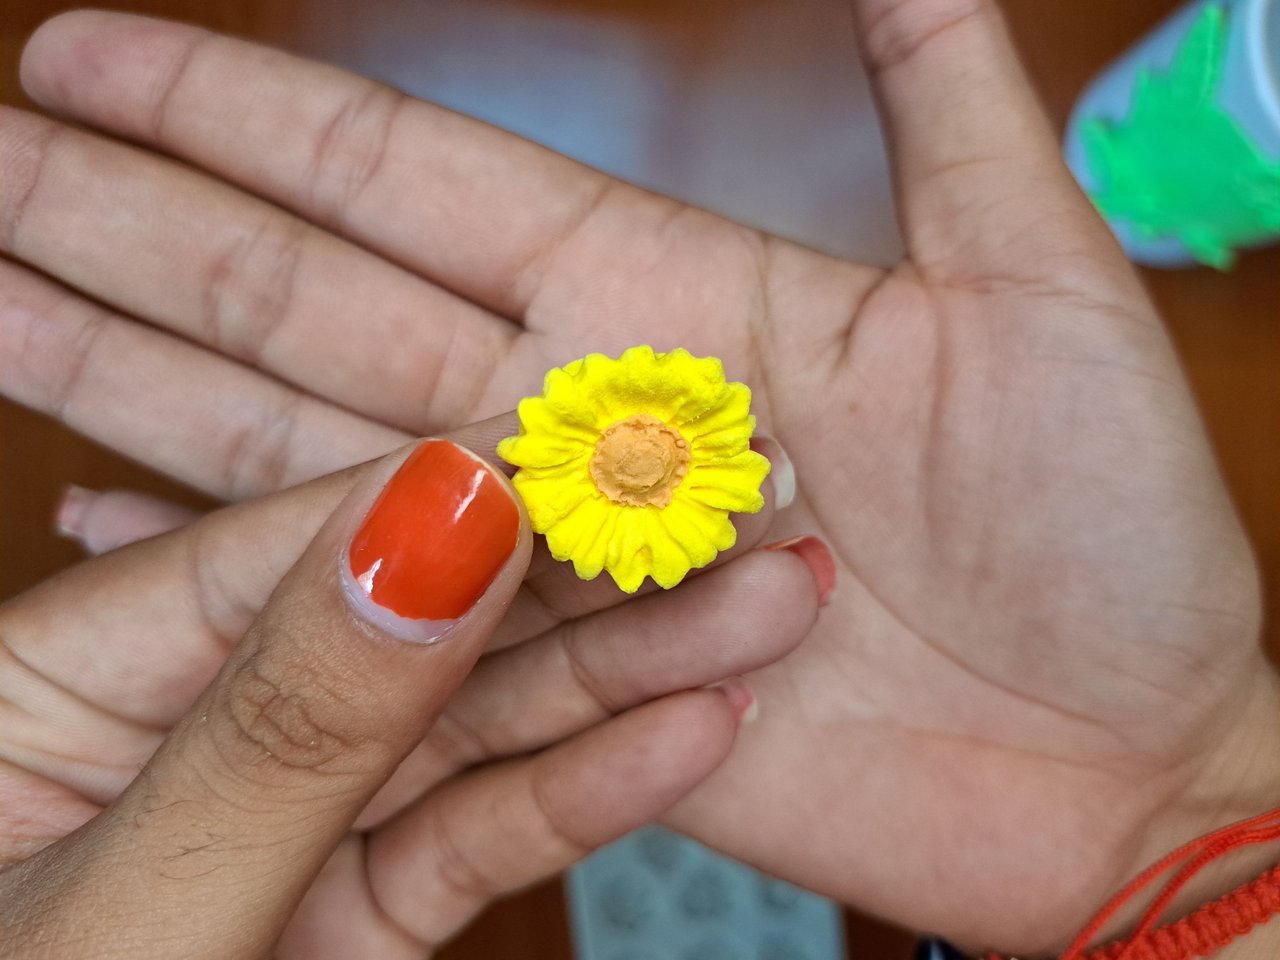 |  |
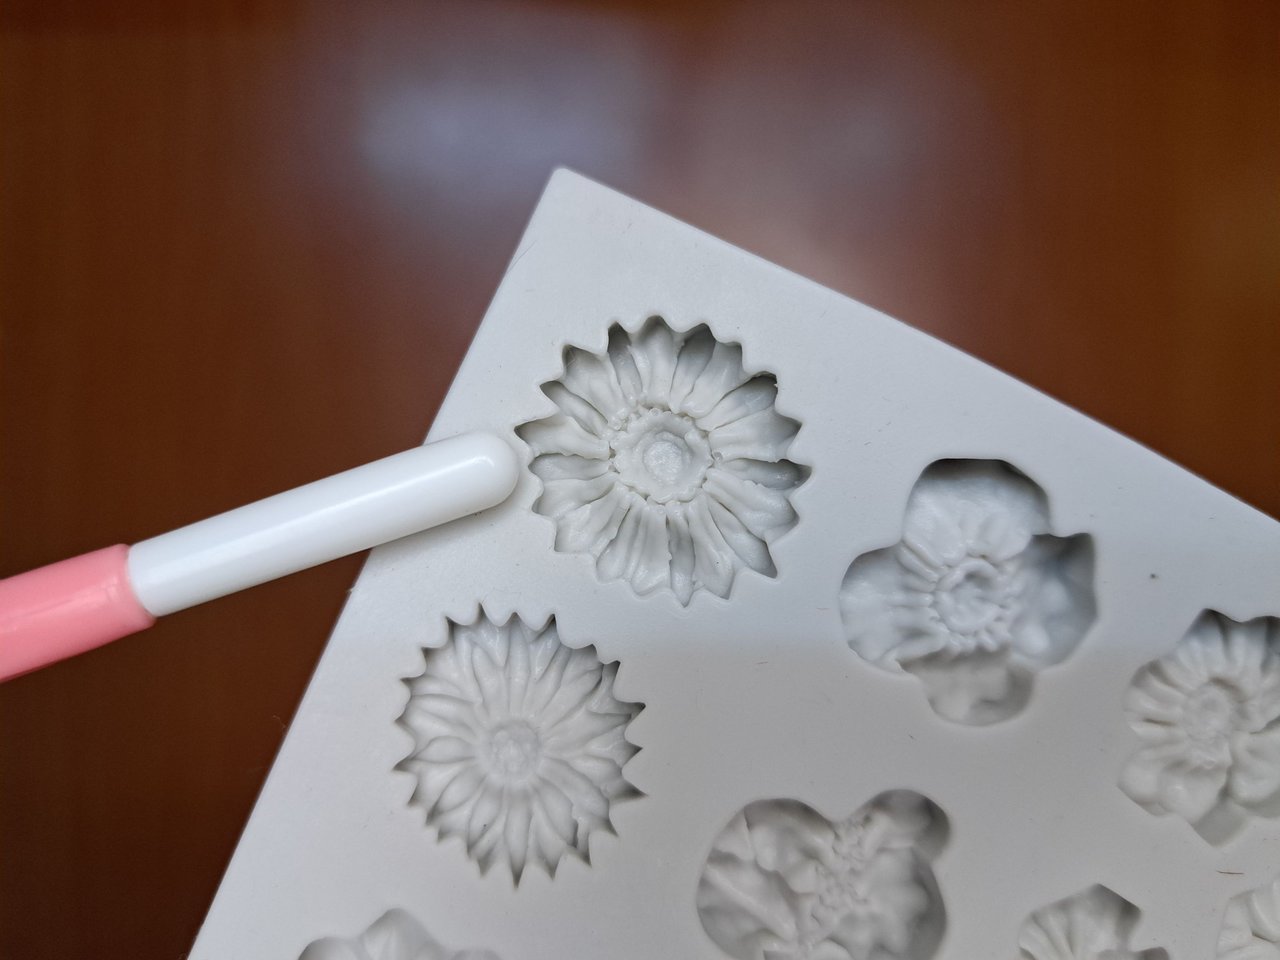
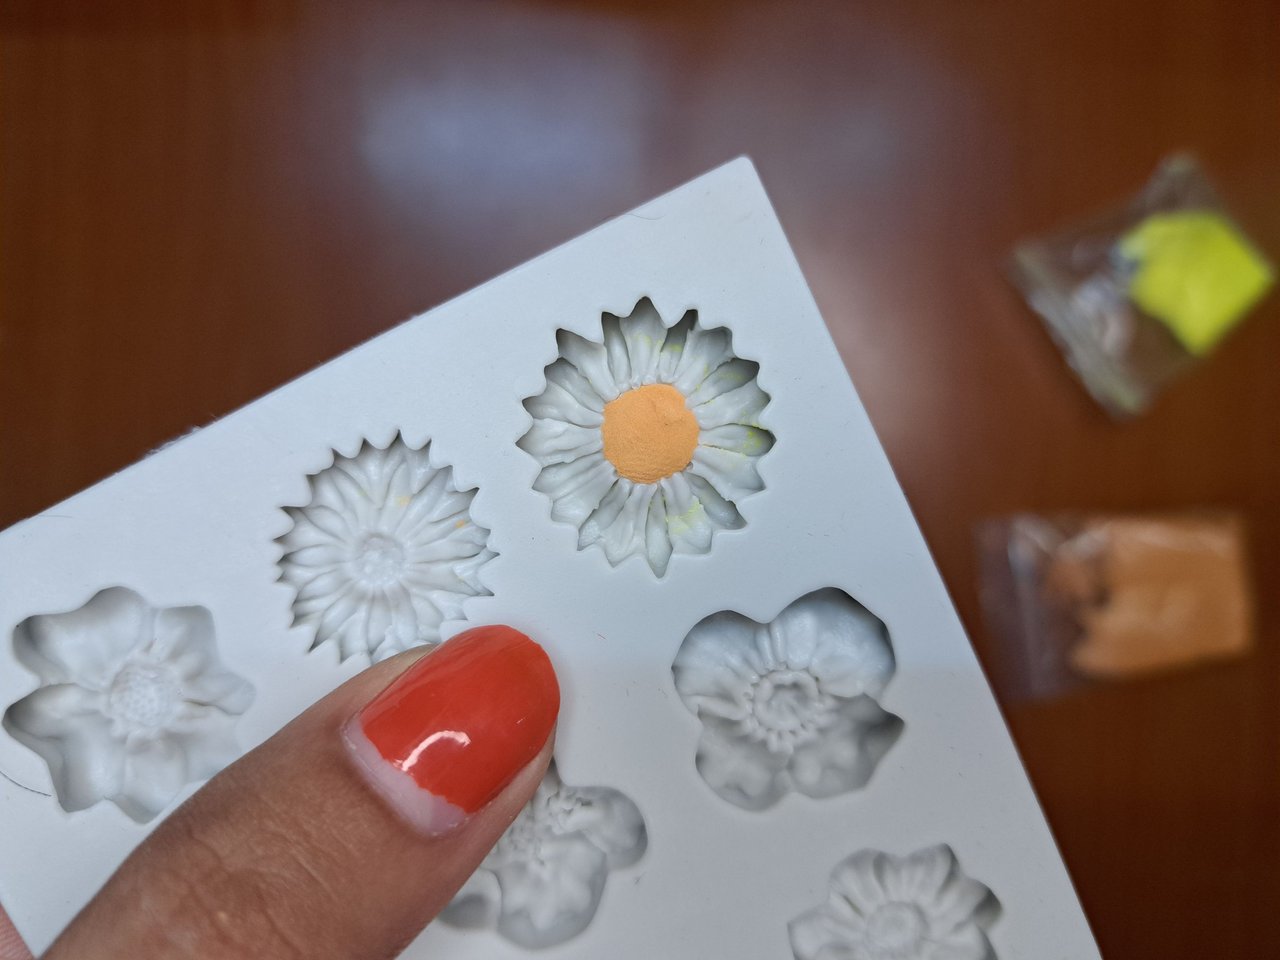
For the sunflowers I also used a mold that I recently acquired and it was my first time using it. This one has 11 different types of flowers, I loved it 😍. So that all the sunflowers were not the same size, I also used the one with the daisies, this one was smaller, and has a similar shape, what varies is the color, instead of white I put yellow, and everything was solved. First, you have to fill the center and let it dry a little and then fill with the yellow, because I tried to do it right away and the carmelite color of the center spread when I pressed the yellow. In this way I made several.
Para los girasoles también utilicé un molde que adquirí recientemente y era mi primera vez utilizándolo. Este cuenta con 11 tipos de flores diferentes, lo adoré 😍. Para que todos los girasoles no fueran del mismo tamaño, usé también el de las margaritas, que este era más pequeño, y tiene una forma similar, lo que varía el color, en lugar de blanco coloqué amarillo, y ya todo resuelto. Primeramente, hay que rellenar el centro y dejar secar un poco para luego rellenar con el amarillo, porque intenté hacerlo acto seguido y se me esparció el color carmelita del centro al presionar el amarillo. De esta forma hice varias.
 | 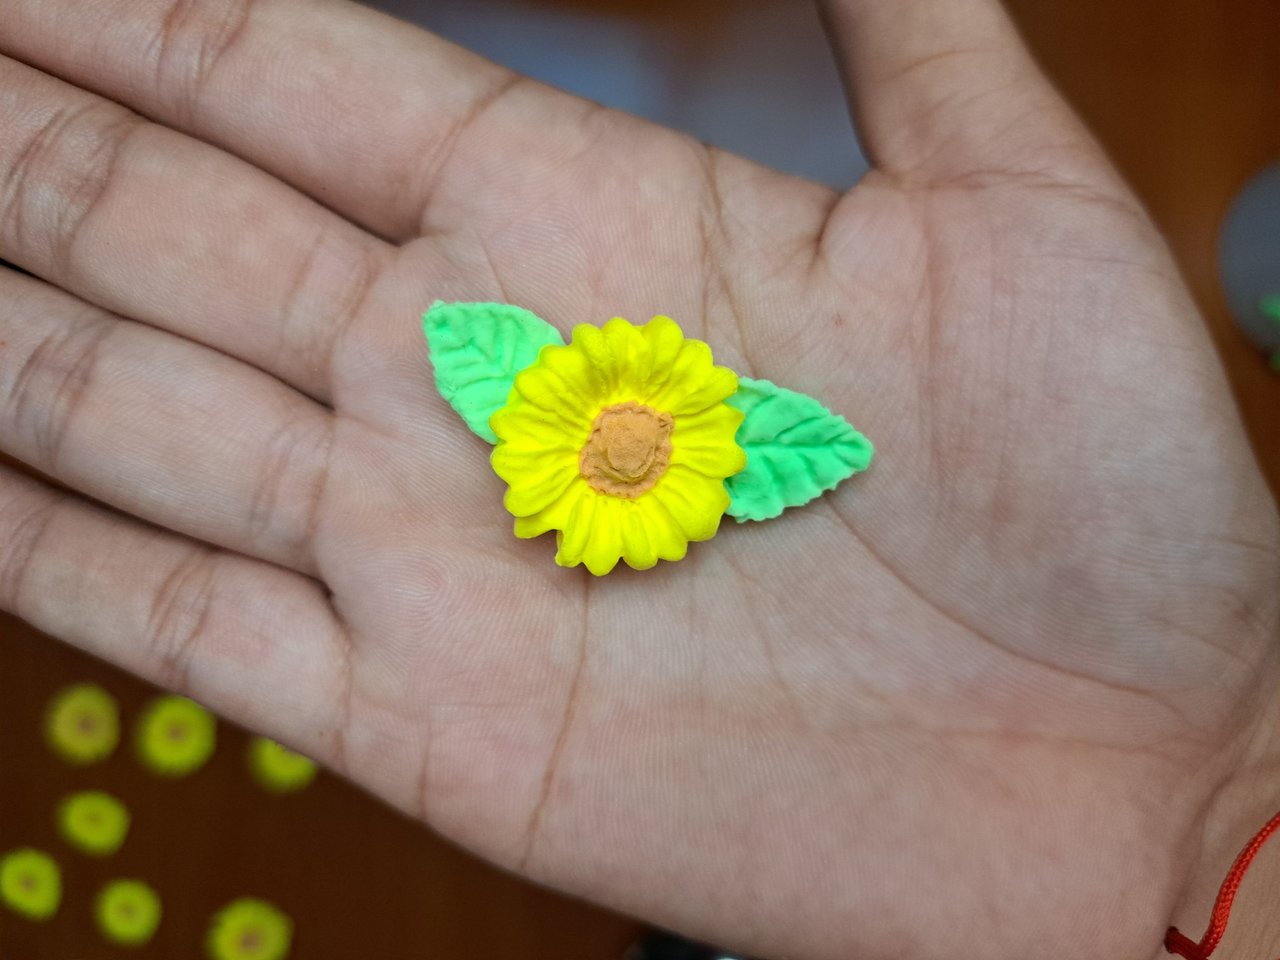 |  |
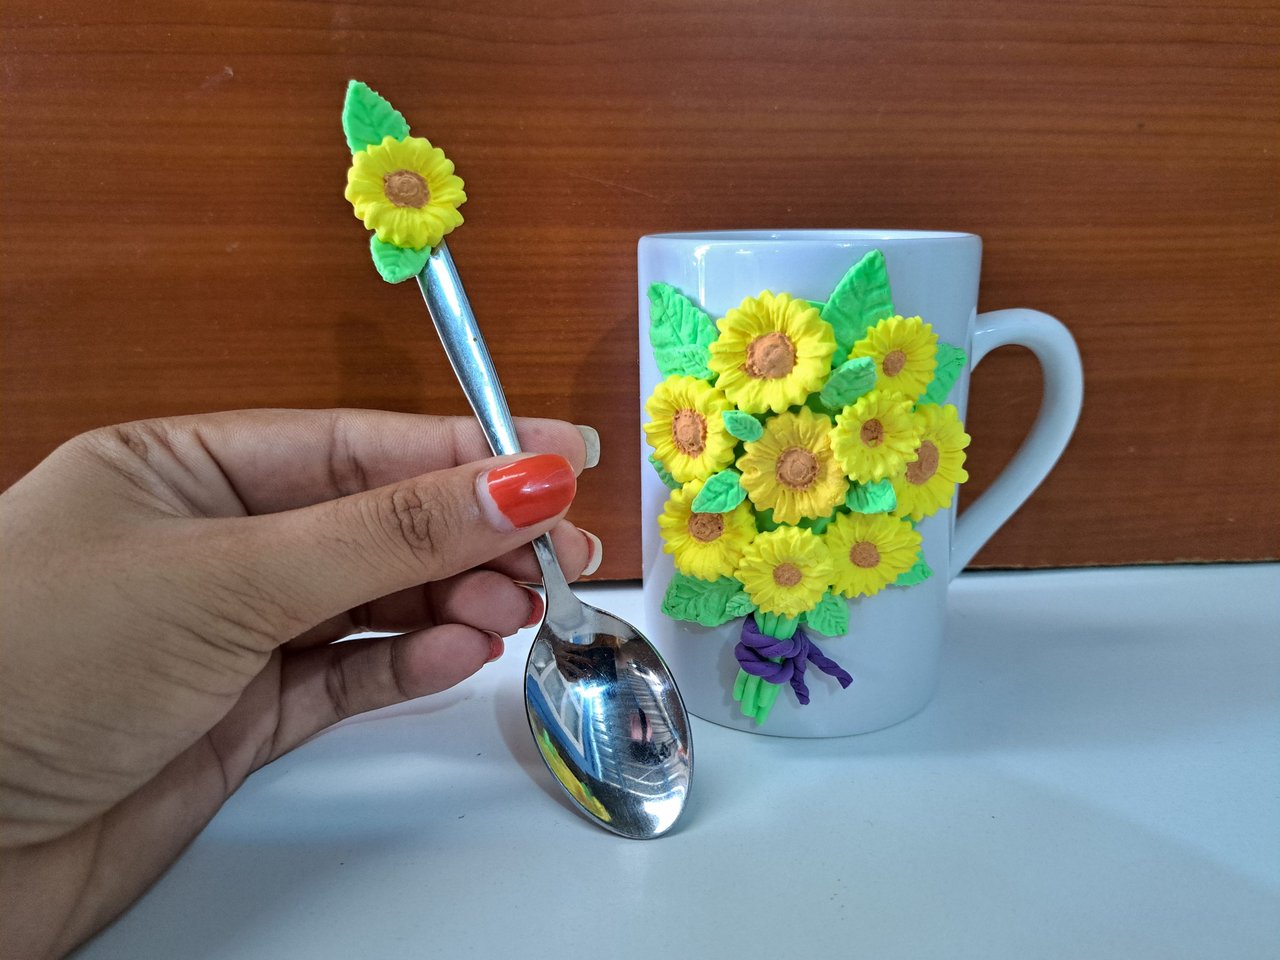
With all the elements ready, I began to place the flowers. For the spoon I only took a sunflower, to which I glued two leaves on the back and then placed at the top of the spoon.
Con todos los elementos listos, comencé a colocar las flores. Para la cuchara solo tomé un girasol, al cual pegué dos hojas por detrás y luego situé en la punta superior de esta.
 |  |
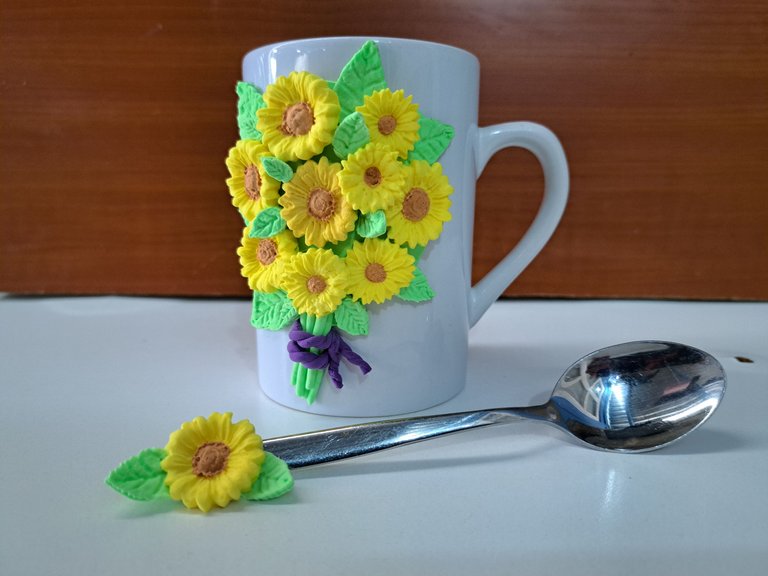
In the cup I placed them in a circular shape and then filled the center with smaller ones and covered the empty spaces with smaller leaves.
En la taza las fui colocando en forma circular y luego rellené el centro con unas más pequeñas y cubrí los espacios vacíos con hojas de menor tamaño.
 |  |  |
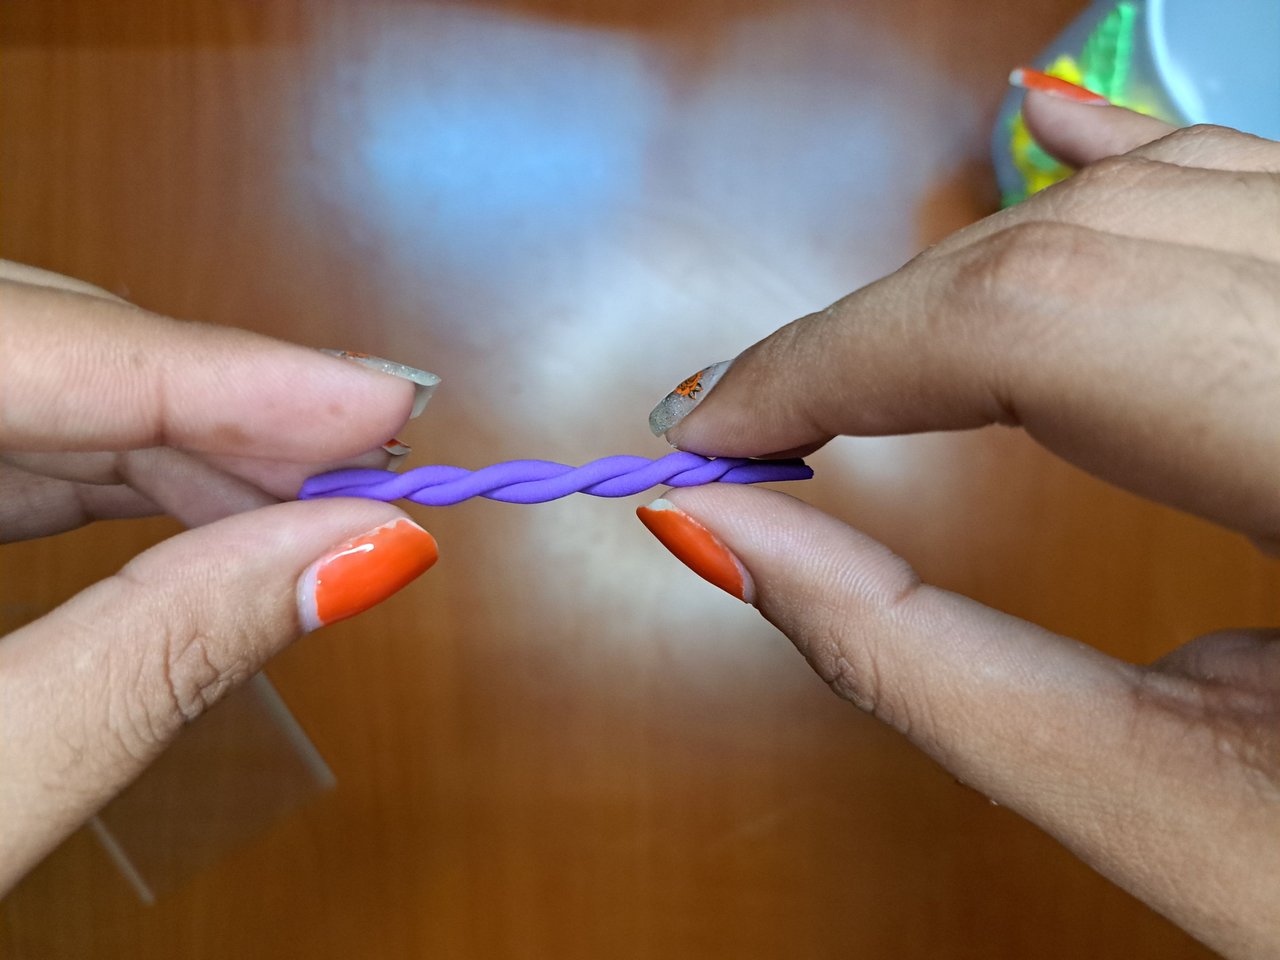 | 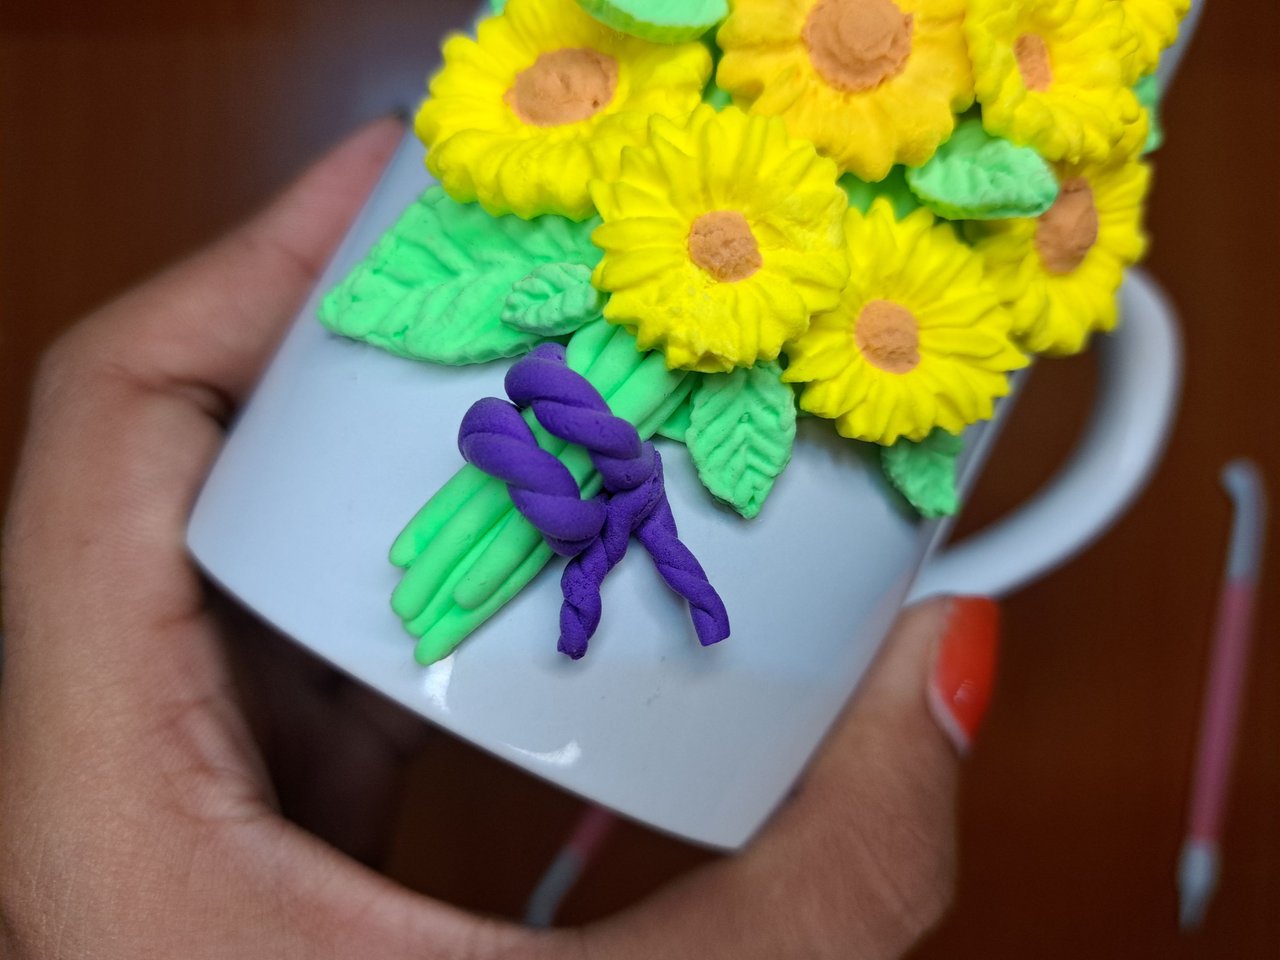 |
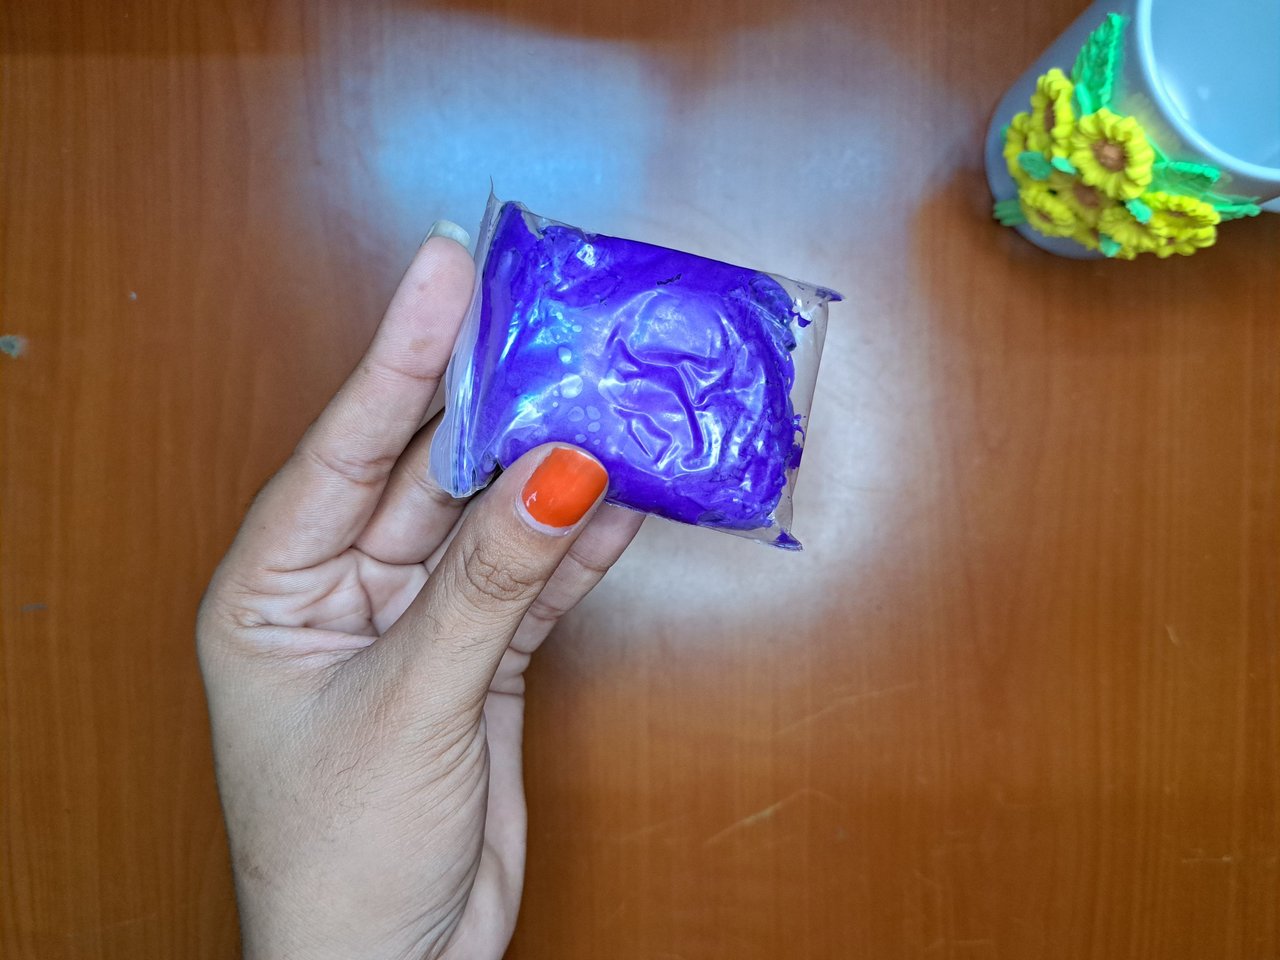
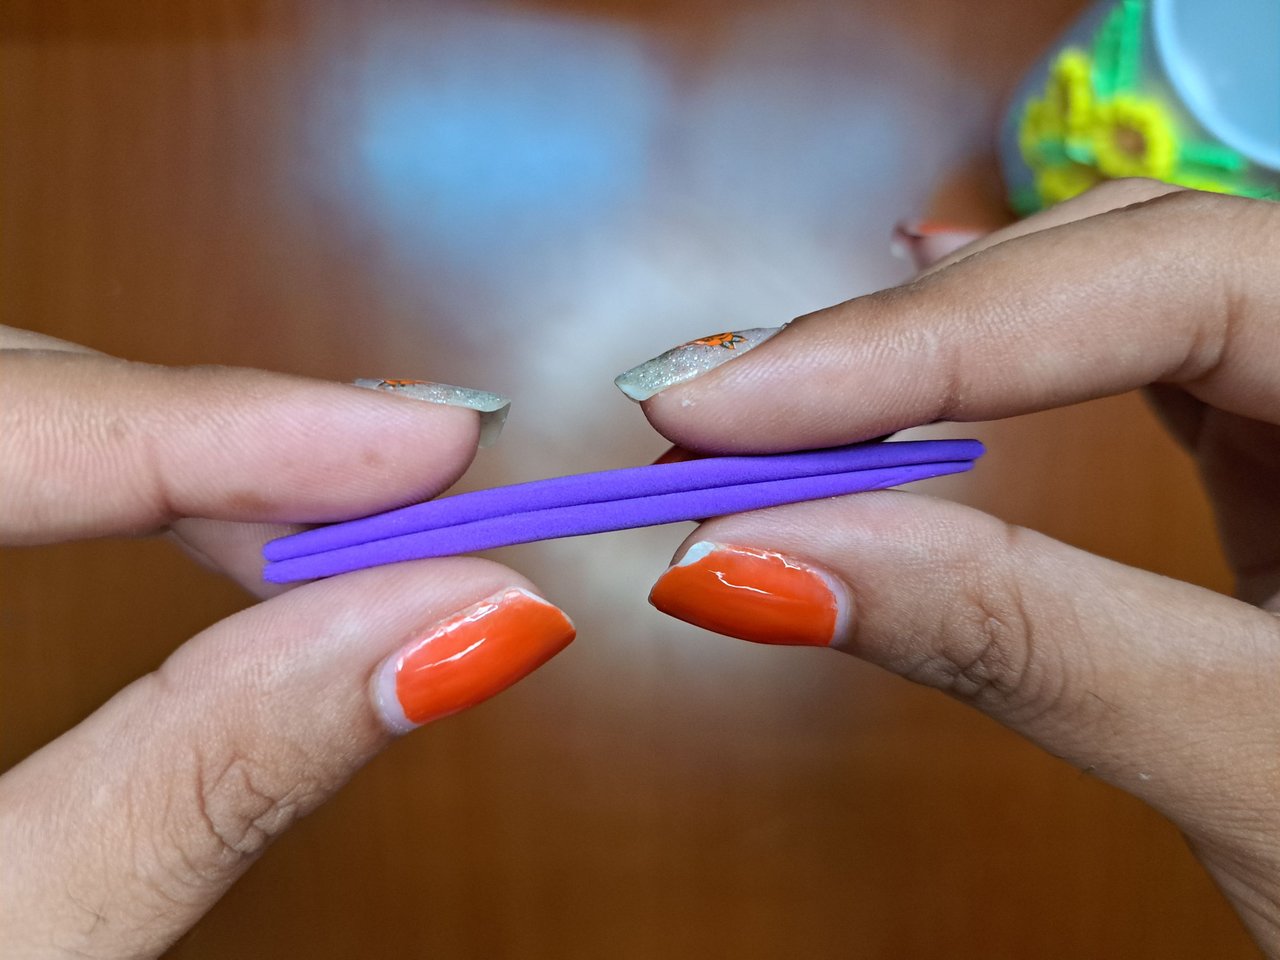
I decorated the bouquet with a purple cord. I took two small portions of violet foami and formed two thin strips that are glued side by side and twisted into this shape. They are then placed on top of the stem giving it a tie-like shape.
El ramo lo adorné con un cordón de color violeta. Tomé dos porciones pequeñas de foami violeta y conformé dos tiras finas que se pegan una al lado de la otra y se tuercen para quedar de esta forma. Luego se colocan encima del tallo dándole una forma como de amarre.
 |  |
 |  |
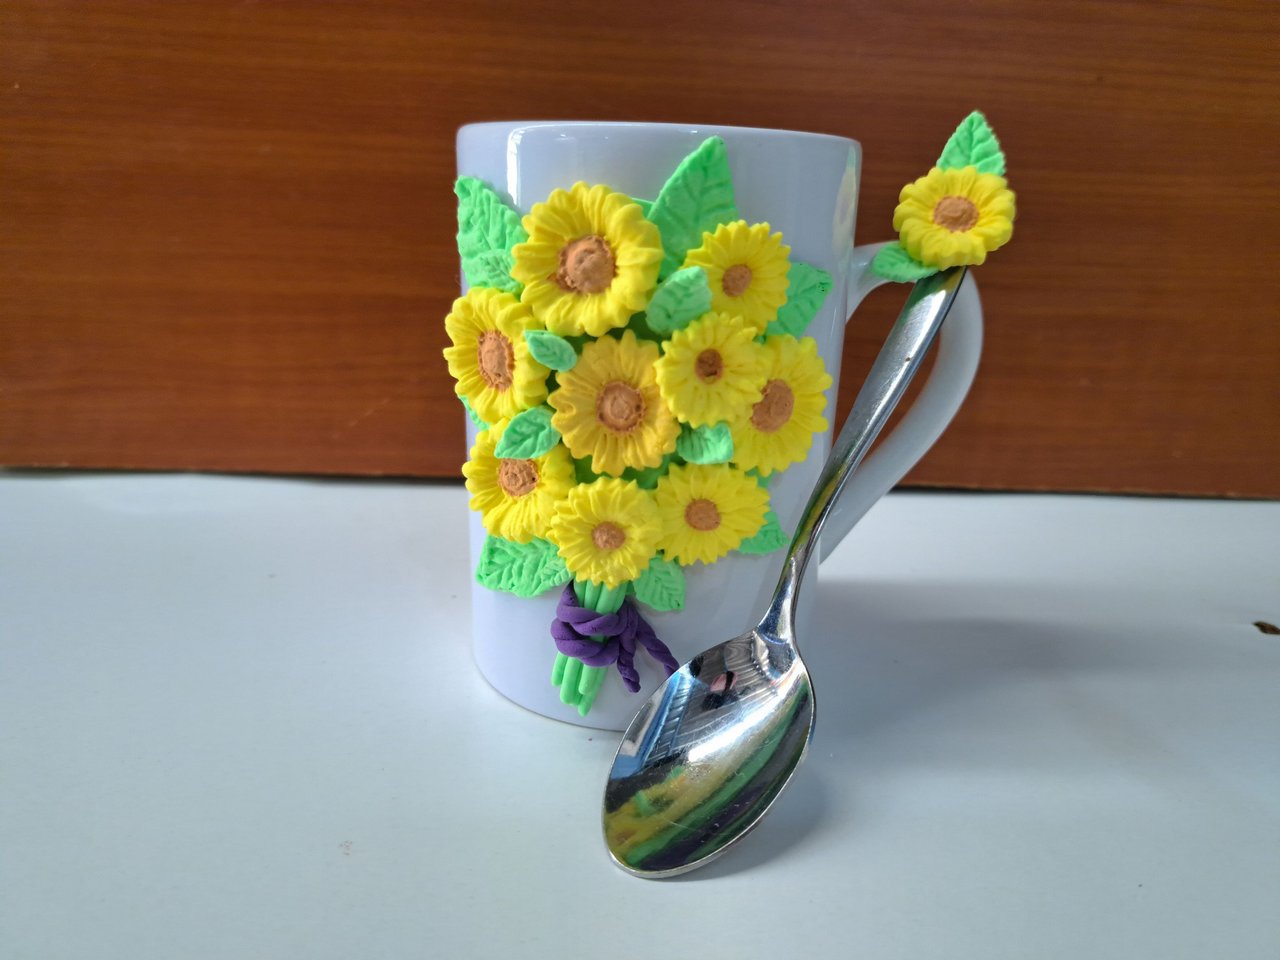
And this way this sunflower decoration is finished. Keep in mind that it can be a beautiful gift for a special occasion. My sister was delighted, remember that if you want to leave it as an ornament it can stay like this but if you are going to get it wet, you should cover it with a layer of varnish or epoxy resin. I hope you liked this tutorial, leave me in the comments what you thought and new suggestions, best regards.
Y de esta forma queda terminada esta decoración de girasoles. Tengan en cuenta que puede ser un hermoso obsequio para una ocasión especial. Mi hermana quedó encantada, recuerda que si quieres dejarla de adorno se puede quedar así pero si vas a mojarla, debes cubrirla con una capa de barniz o resina epóxica. Espero les haya gustado este tutorial, déjame en los comentarios que te pareció y nuevas sugerencias, un saludo.
Cover made in Canva
English is not my native language, translated by DeepL
Posted Using InLeo Alpha
Te quedó muy bonita. La adoré 😍😍😍
Muchas gracias 🥰, cuando quieras una me avisas, que yo te la hago con gusto 😘
Yaliemny, happy afternoon. My admiration for your creations never stops. Everything you do is so beautiful and you present it with exemplary quality in the community. Thank you for always giving the best of yourself... I would love to gift a mug like this one to my wife, made by myself 😅
Muchas gracias por tus halagos, lo aprecio muchísimo 🥰, esforzándome cada día para dar lo mejor de mí. Estamos muy lejos, sino te hacía una para que se la regalaras 😁, pero puedes intentarlo y hacerla tu mismo, así le gustará más por tu esfuerzo.
Your content for Hive is an example to follow. We admire every detail of your artwork and the way you highlight it through your posts, bravo!.
Thank you very much 🥰, I feel a lot of satisfaction knowing that you like it and I make an effort to make it look good 🤗.
Muy muy bellas. Las ame.
Muchas gracias 🥰
Hola, me encantó tu trabajo, te felicito.
Muy original y lindo.
Gracias por compartirlo.
Muchas gracias 🥰, me alegro muchísimo que les haya gustado 🤗
Wow its beautiful. I have also some Clay in my house. I must try this.. But for me its much difficult to make anything. With clay.
Thank you very much 🥰, if you have clay you can try to make one, don't miss the opportunity, it doesn't matter if it comes out wrong, you get better with practice.
Es que los girasoles son muy bonitos, con ese color amarillo llenan de alegria la vida de las personas jeje tengo entendido que estan relacionados a la vida o algo asi, y son muy hermosos 🌻
Te quedo hermosa la decoracion ❤️
Muchas gracias, si en realidad los girasoles son flores muy bonitas y algunos son inmensos, no sé que significado tendrán, pero debe ser algo bueno 😁, saludos 🤗
Está bellísima, me encanta 👍
Muchas gracias 🥰