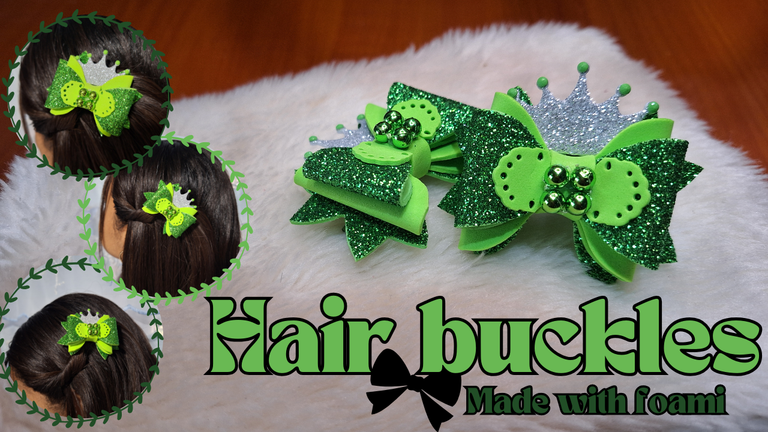
Hello, dear craft lovers. Today I want to share with you a type of craft that I like very much and are those that will be useful for someone. The thing is that a friend of my mother's asked me to make some buckles for a baby, her granddaughter, who will soon be one year old. The only requirement for the buckles was the color, since they had to match a beautiful green dress that had been bought for the occasion, because she could not find one in that color.
Faced with such a beautiful request, I immediately got down to work, because as I said before, I really like this kind of handicrafts, because I know that they will not be gathering dust in some corner of my house, but after the party the baby will be able to continue using the buckles. The color of the dress was light green, so I chose foami as the main material, I had the same color of the dress and I mixed it with frosted foami to make it more colorful. Below I show you all the materials I used and the step by step of the whole creative process.
Hola, queridos amantes de las manualidades. Hoy quiero compartir con ustedes un tipo de manualidad que me gusta mucho y son aquellas que le serán de utilidad para alguien. La cuestión es que una amiga de mi madre me pidió que confeccionara unas hebillas para una bebé, su nieta, la cual próximamente cumplirá un año. El único requisito para las hebillas era el color, ya que estas debía combinar con un hermoso vestido verde que le habían comprado para la ocasión, porque no pudo encontrar de este tono.
Ante tan bella petición, inmediatamente me puse manos a la obra, pues como ya dije anteriormente, este tipo de manualidades me gusta mucho, pues sé que no quedarán acumulando polvo en alguna esquina de mi casa, sino que luego de la fiesta la beba podrá seguir usando las hebillas. El color del vestido era verde claro, así que elegí como material principal el foami, pues tenía del mismo color del vestido y lo mezclé con foami escarchado para hacerlo más vistoso. A continuación, te muestro todos los materiales que utilicé y el paso a paso de todo el proceso creativo.
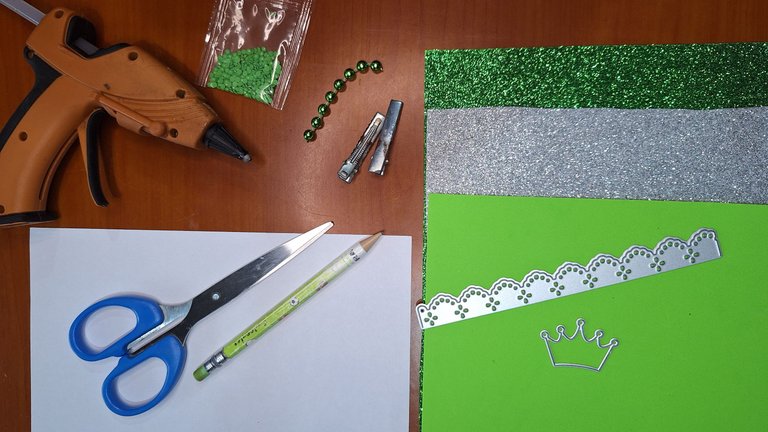
🎀Materials // Materiales🎀
- Light green foami / Foami verde claro
- Frosted, dark green and silver foami / Foami escarchado, verde oscuro y plateado
- Sheet of paper / Hoja de papel
- Pencil / Lápiz
- Scissors / Tijera
- Silicone / Silicona
- Continuous beads / Perlas contínuas
- Green beads / Perlas verdes
- 2 alligator clips buckles / 2 hebillas pinzas caimán
- Crown and lace shaped dies / Troqueles con forma de corona y encaje
🎀Step by step // Paso a paso🎀
 | 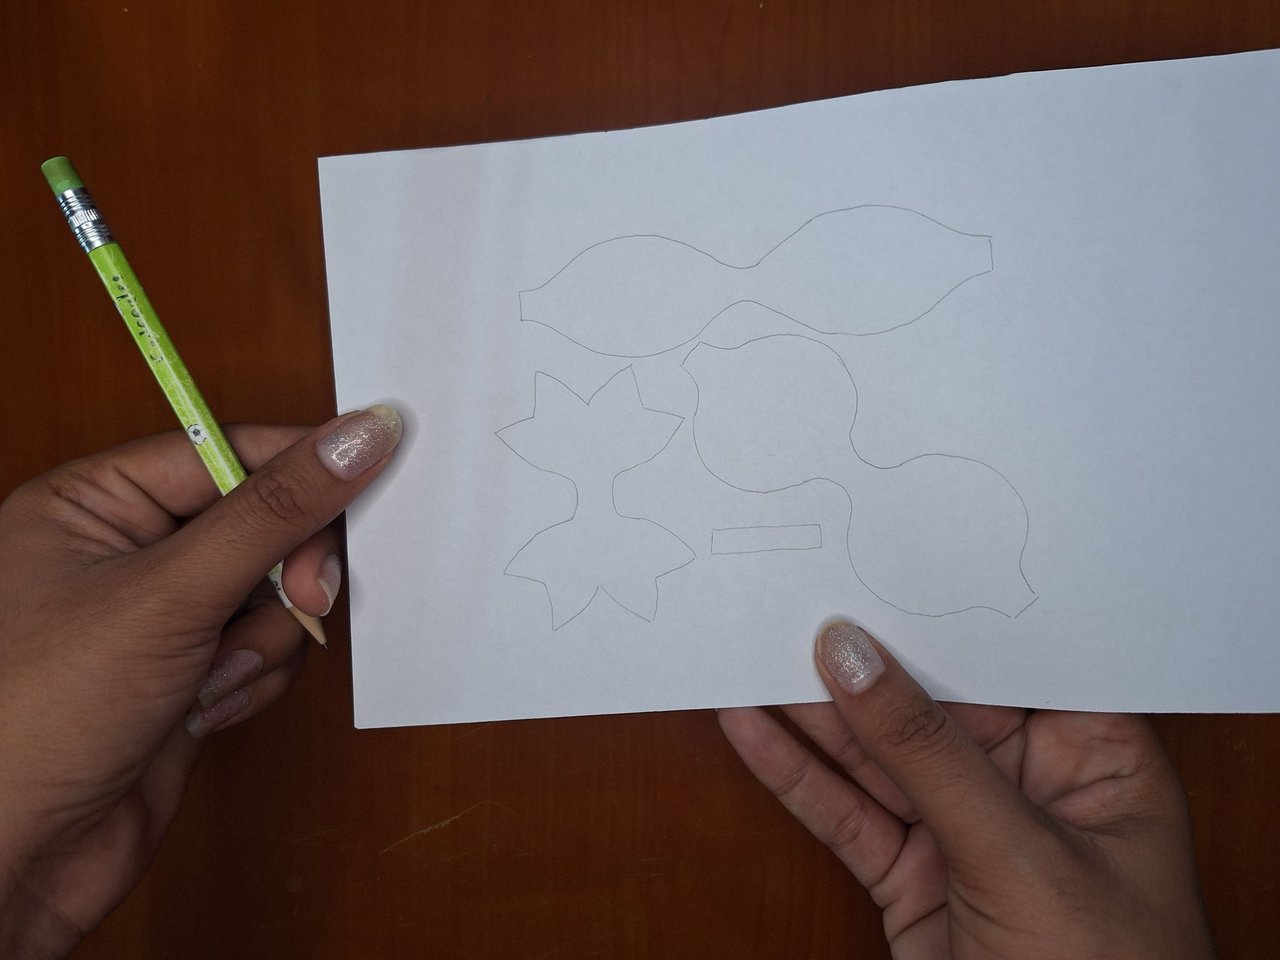 | 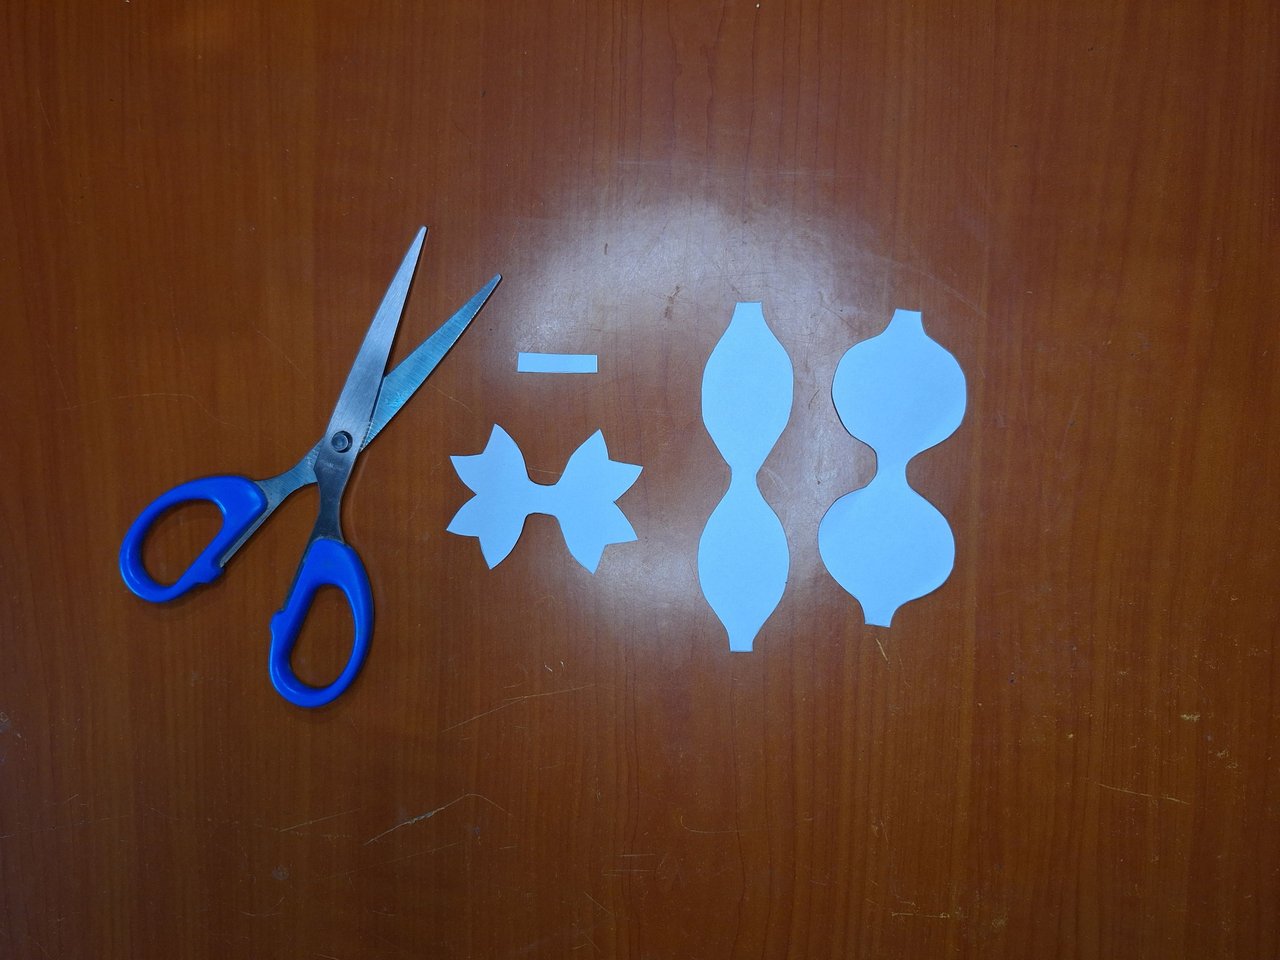 |
On a sheet of paper, mark the silhouettes of the ribbons, I made three types to place them one on top of the other and to give them enough height. Then cut out the molds.
En una hoja de papel, marcar las siluetas de los lazos, hice de tres tipos para colocarlos uno encima de otro y que dieran bastante altura. Luego recortar los moldes.
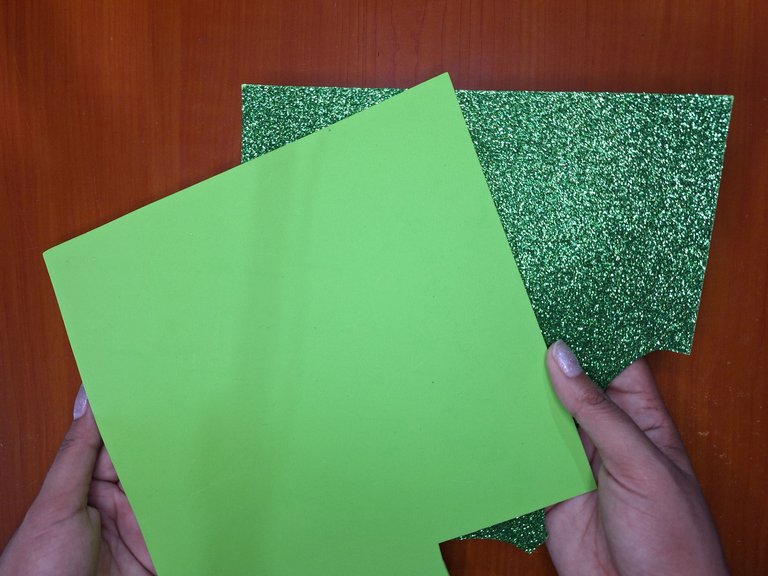 | 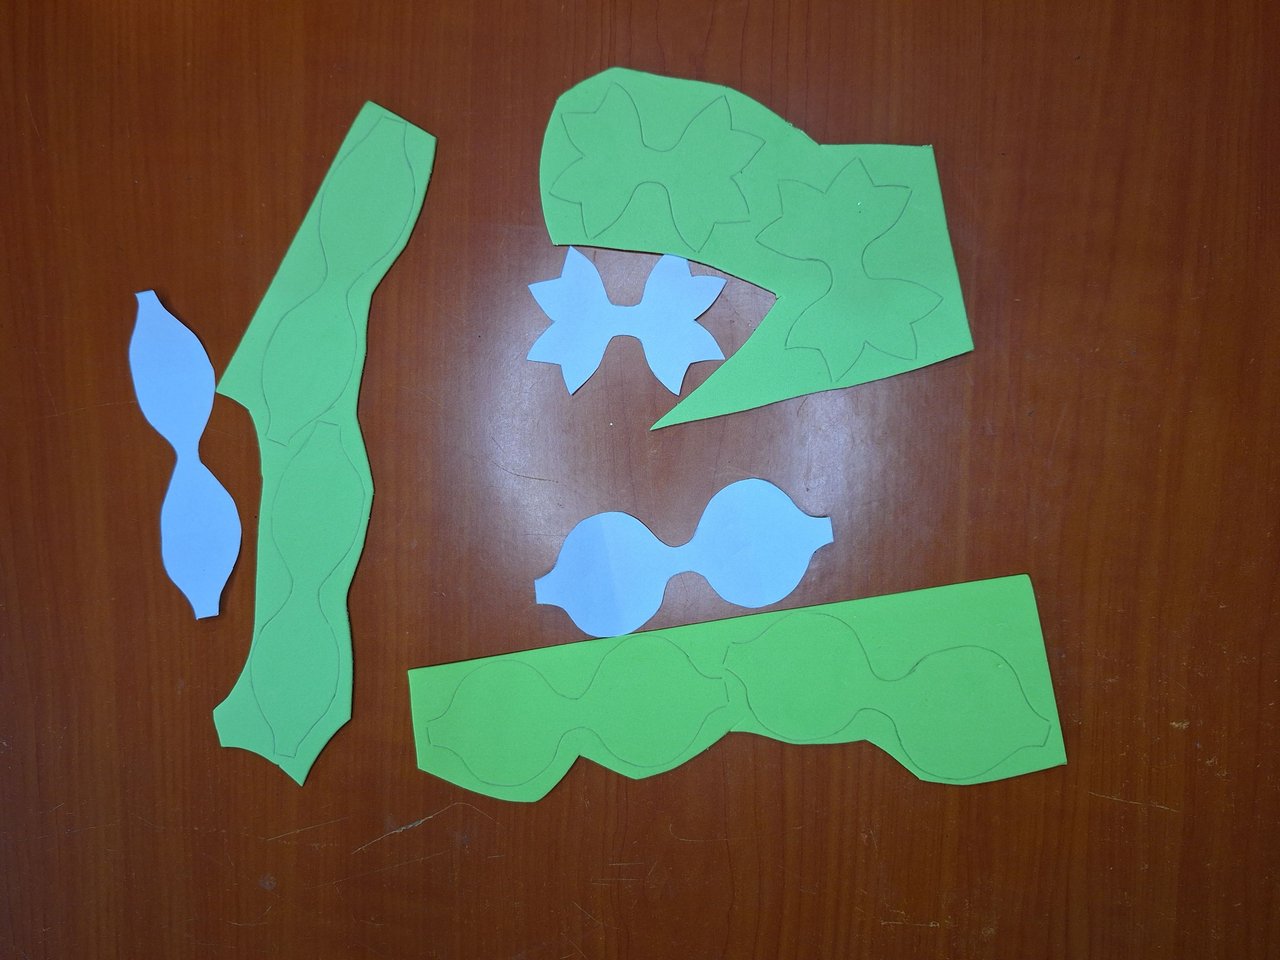 | 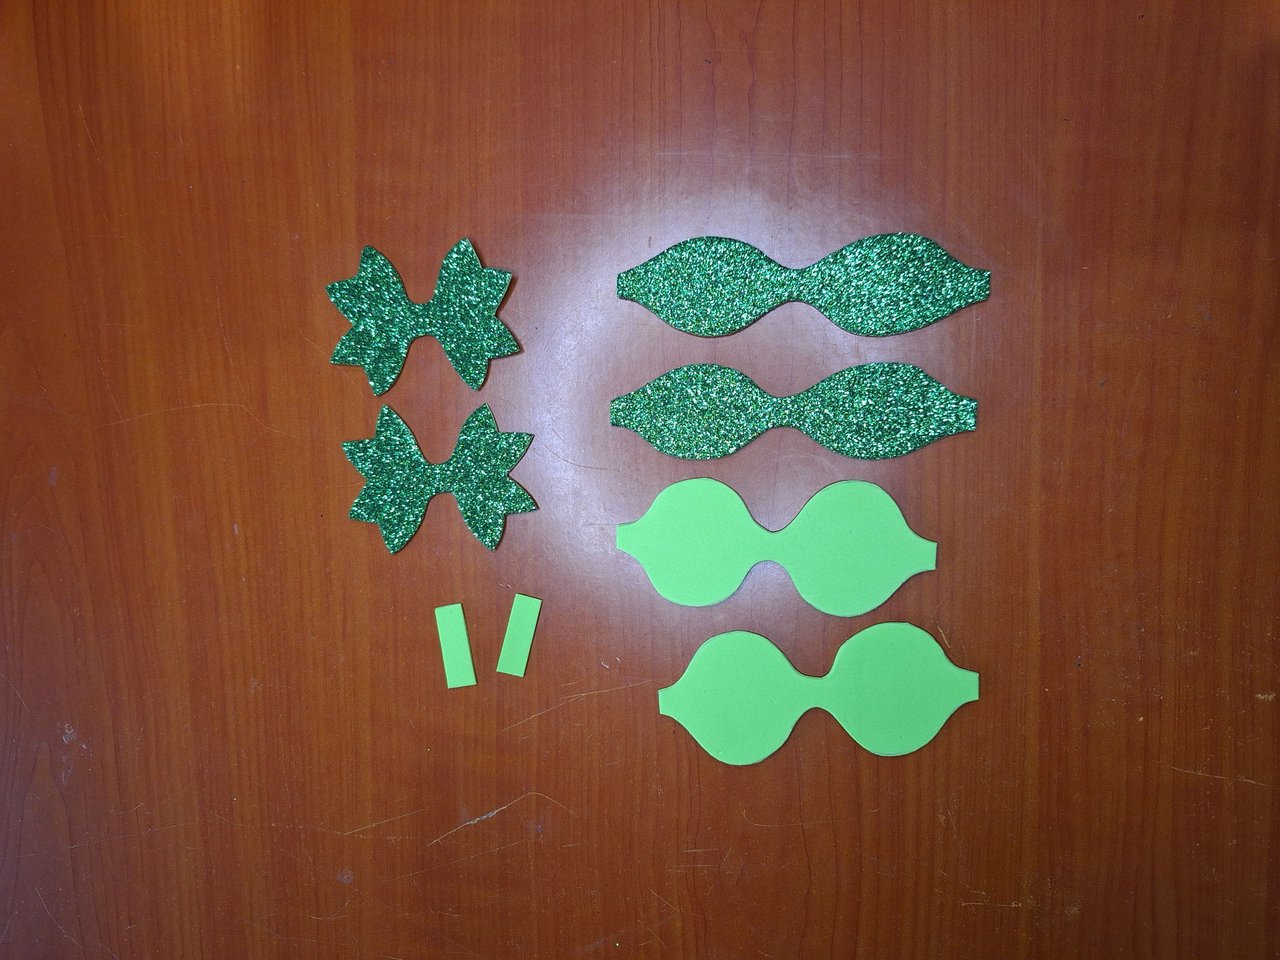 |
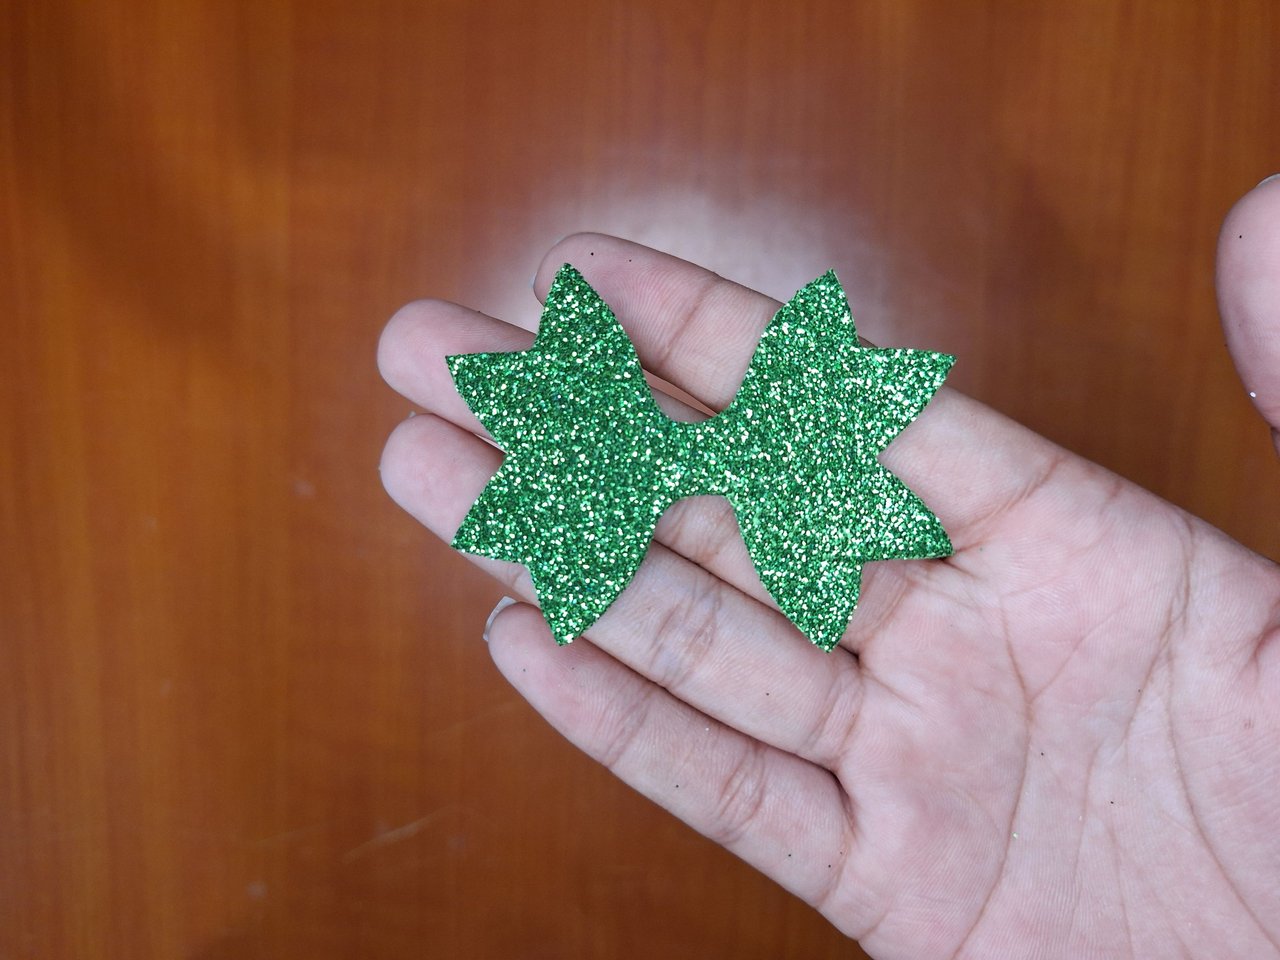
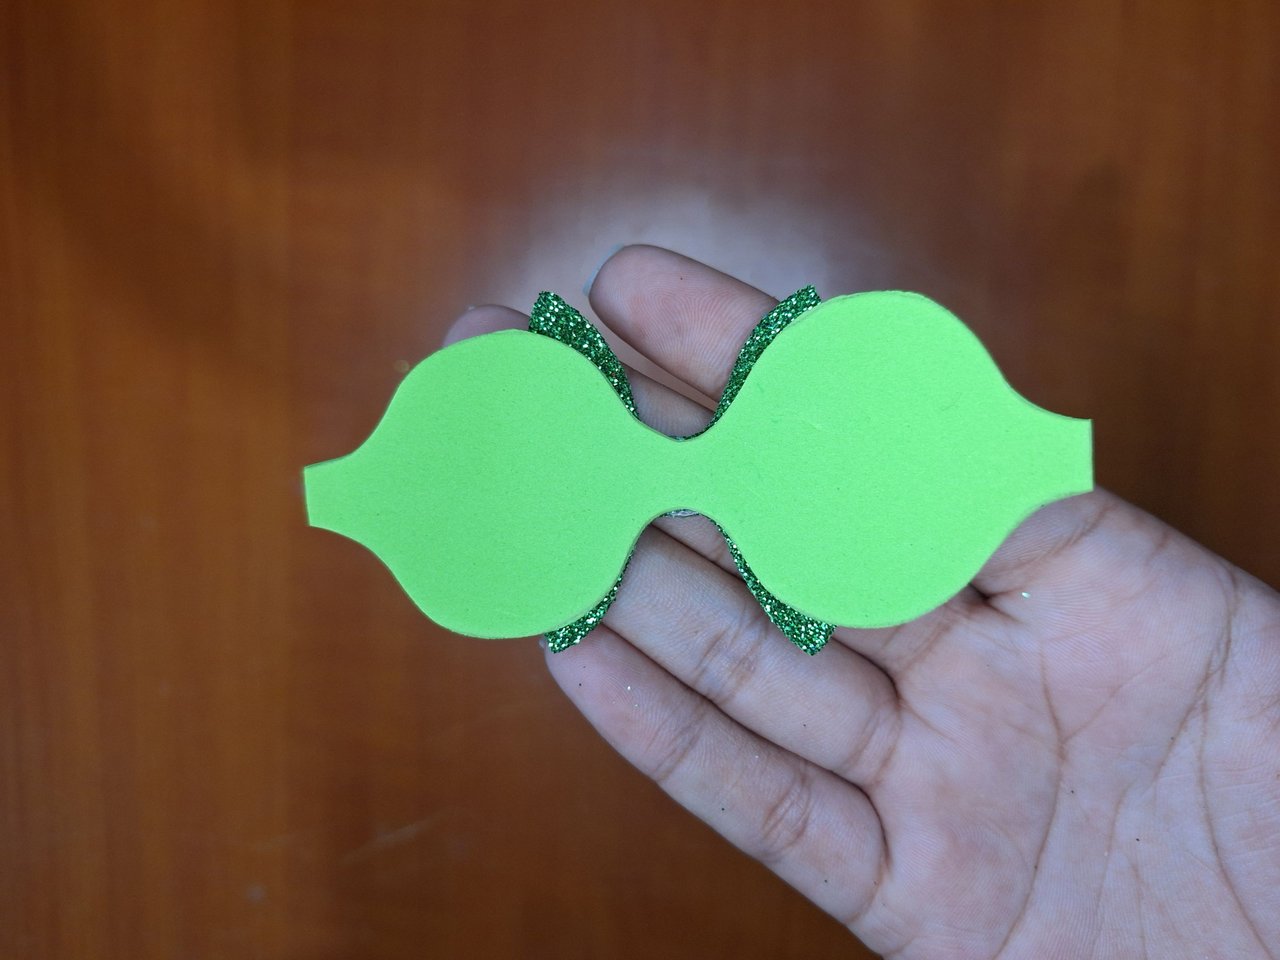
I used light green plain foami and dark frosted foami to make a nice combination and highlight their parts. Mark the silhouettes on the foami with the help of the molds, trace two of each to make a pair. I made the wider and thinner loop with the dark tone, while the remaining one I made with the light tone and then intercalated them.
Utilicé foami verde liso del tono claro y foami escarchado oscuro para hacer una linda combinación y que resaltaran sus partes. Marcar las siluetas en el foami con ayuda de los moldes, trazar dos de cada uno para hacer un par. El lazo más ancho y el fino lo hice del tono oscuro, mientras que el restante lo hice con el tono claro para luego intercalarlos.
 |  |  |
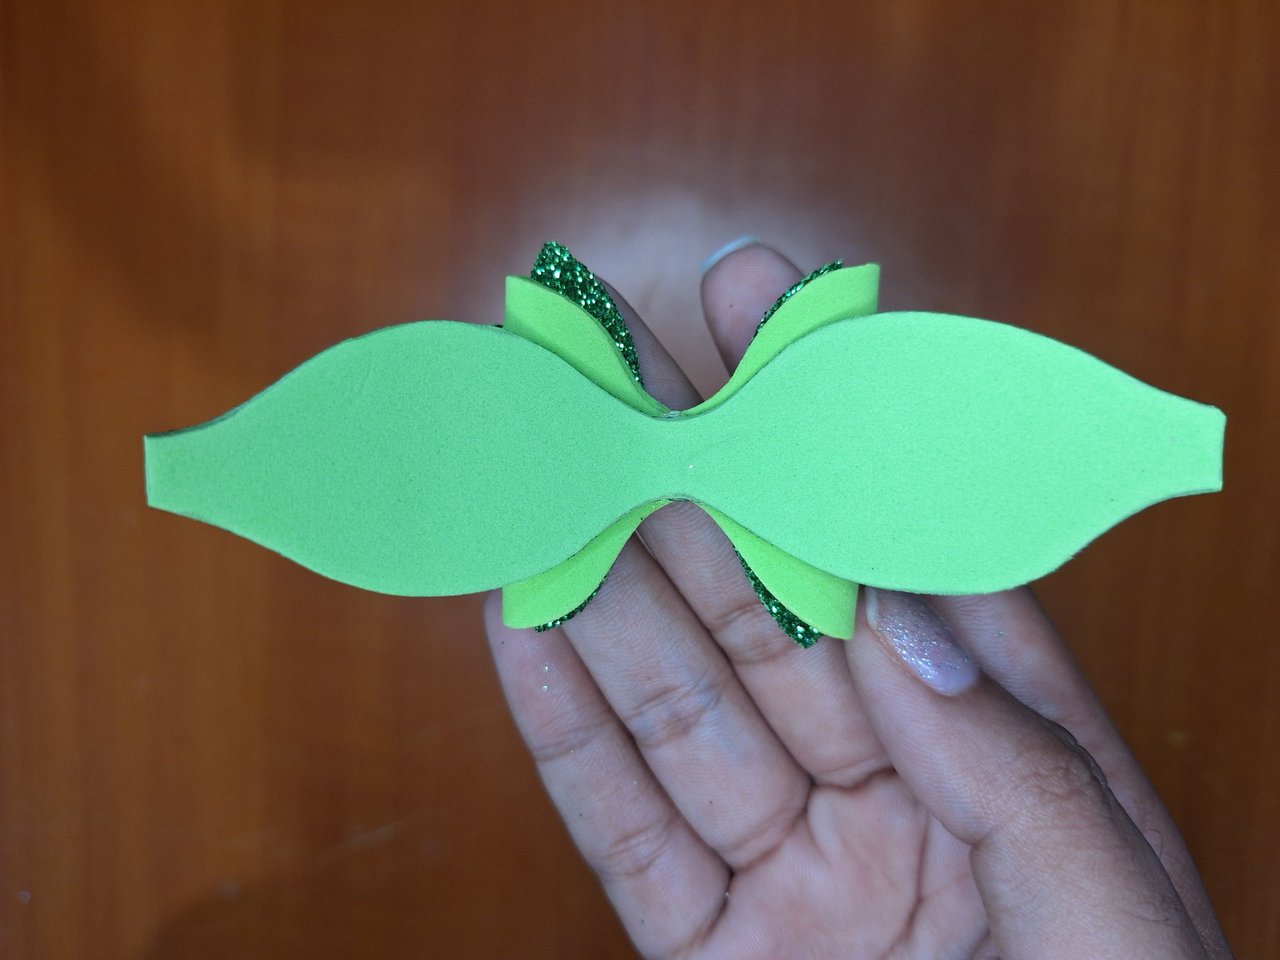 | 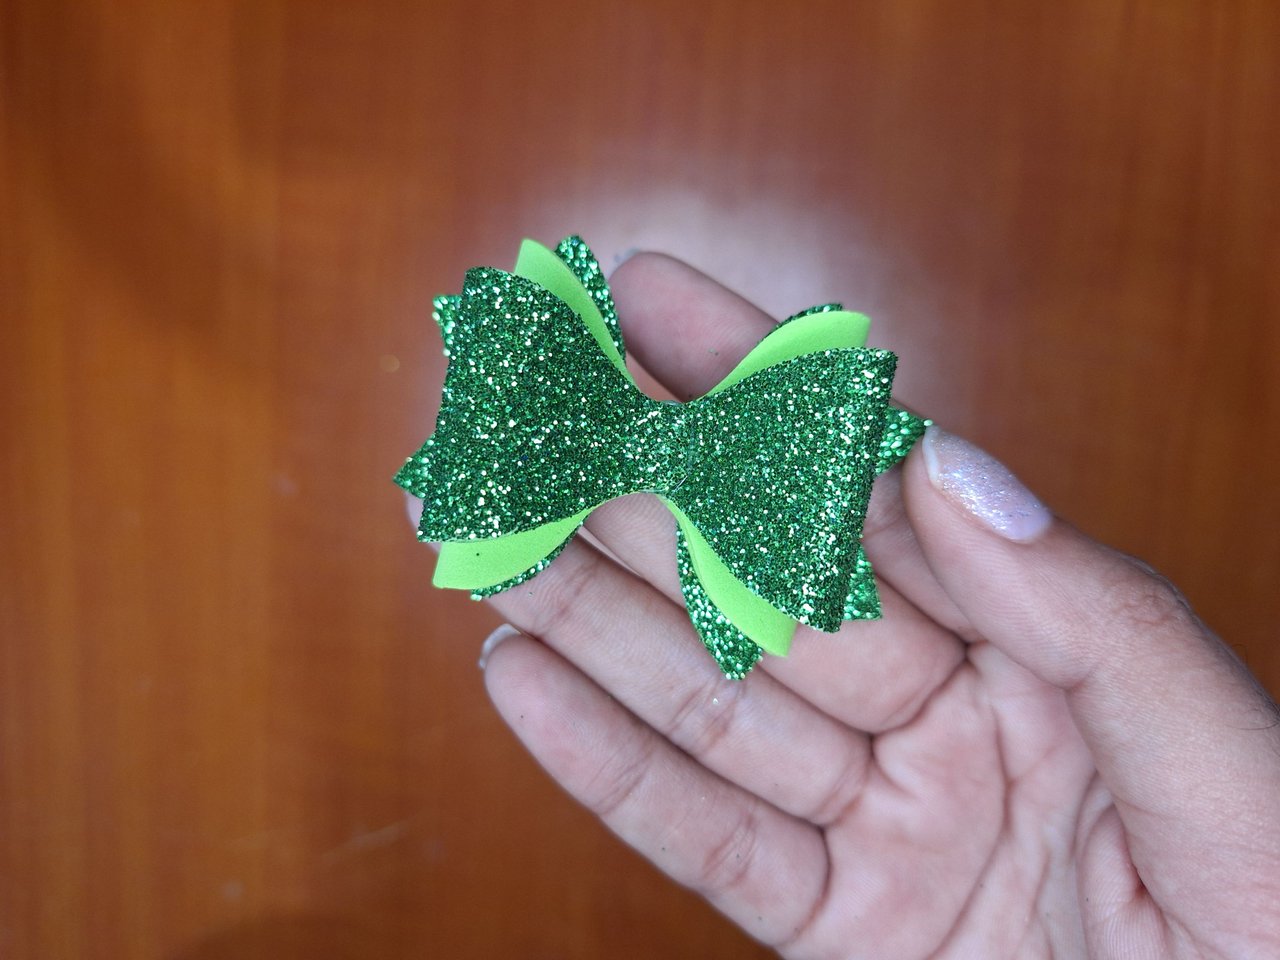 | 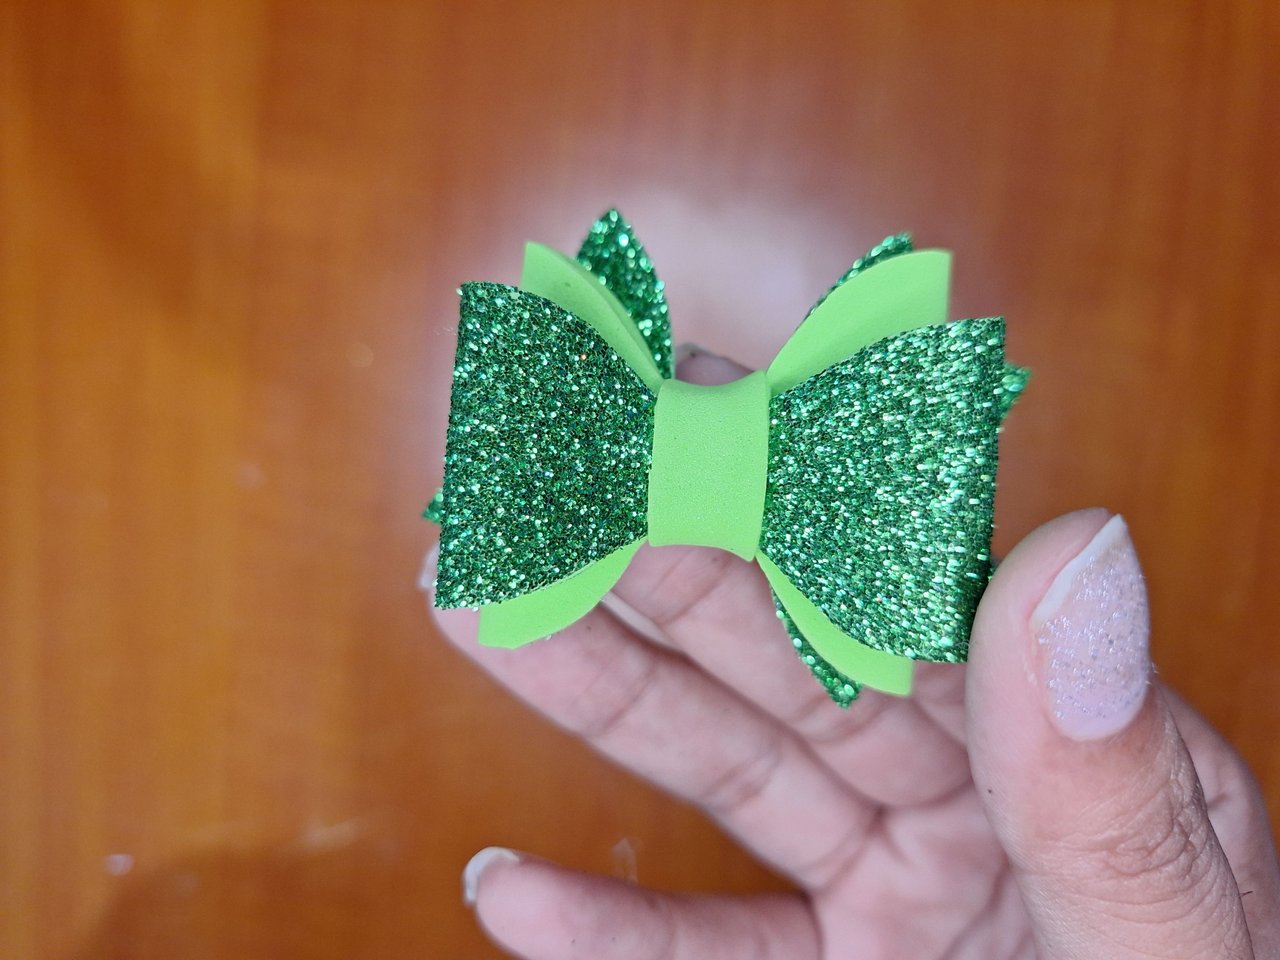 |
With all the pieces cut out, we proceed to join them together. In the lower part I placed the wider ribbon, glue the plain color in the center part and then the other frosted one on top. Finally, place the rectangular strip in the center to strengthen the ribbon and give it a better finish.
Con todas las piezas recortadas, procedemos a unirlas. En la parte inferior coloqué el lazo más ancho, pegar encima el color liso en la parte del centro y luego el otro escarchado. Por último, colocar la tira rectangular en el centro que permite fortalecer el lazo, además de darle un mejor acabado.
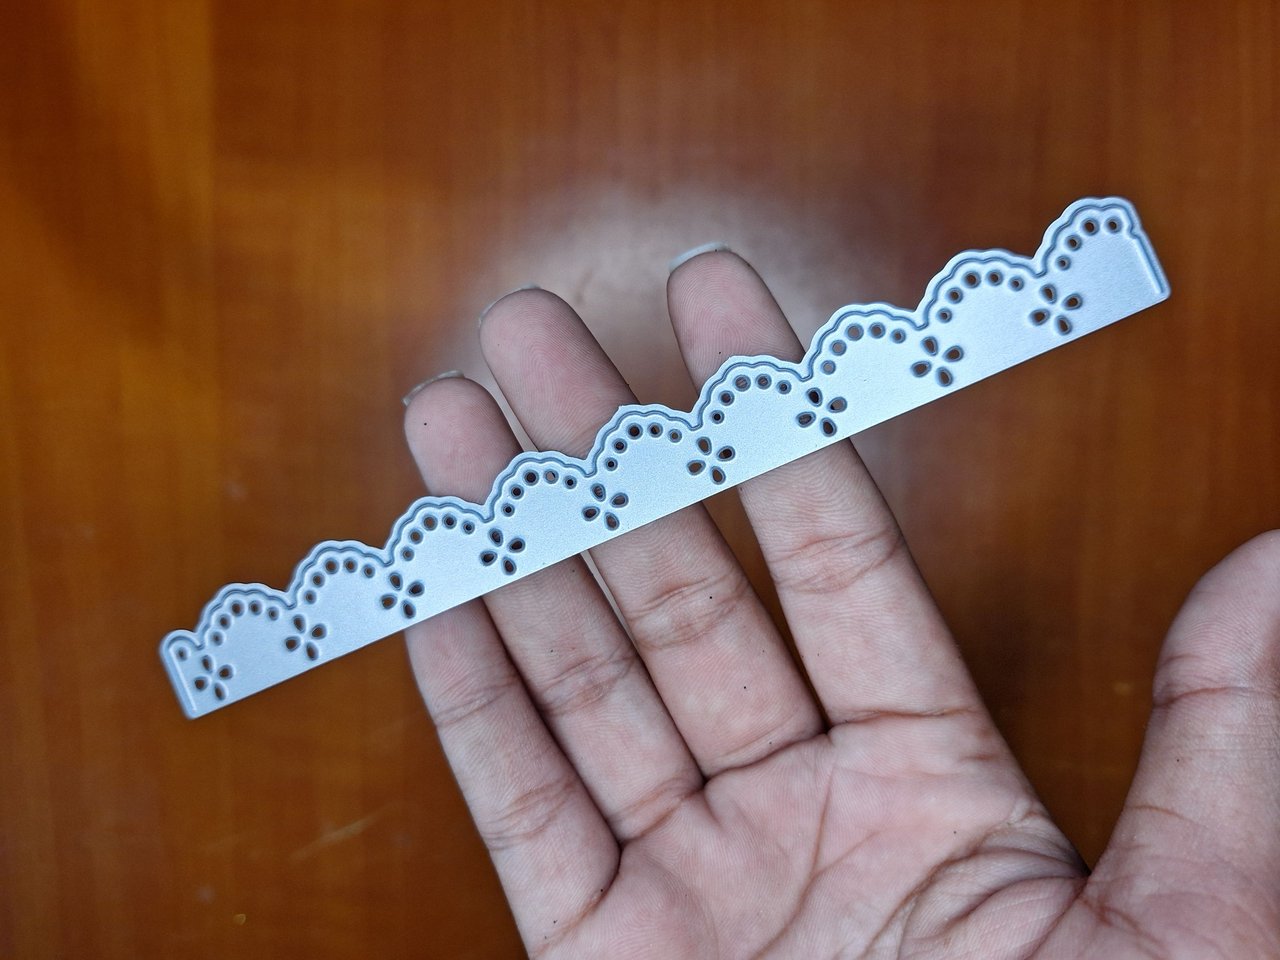 |  |  |
With the help of a lace-shaped die, I made a light green strip to decorate the bow. I separated them into small pieces, as the width of the bow did not allow for larger pieces, and placed them at the top of the center.
Con la ayuda de un troquel con la forma de encaje, hice una tira verde clara para decorar el lazo. Las separé en pequeñas piezas, pues el ancho del lazo no permitía hacerlas más grandes, y las coloqué en la parte superior del centro.
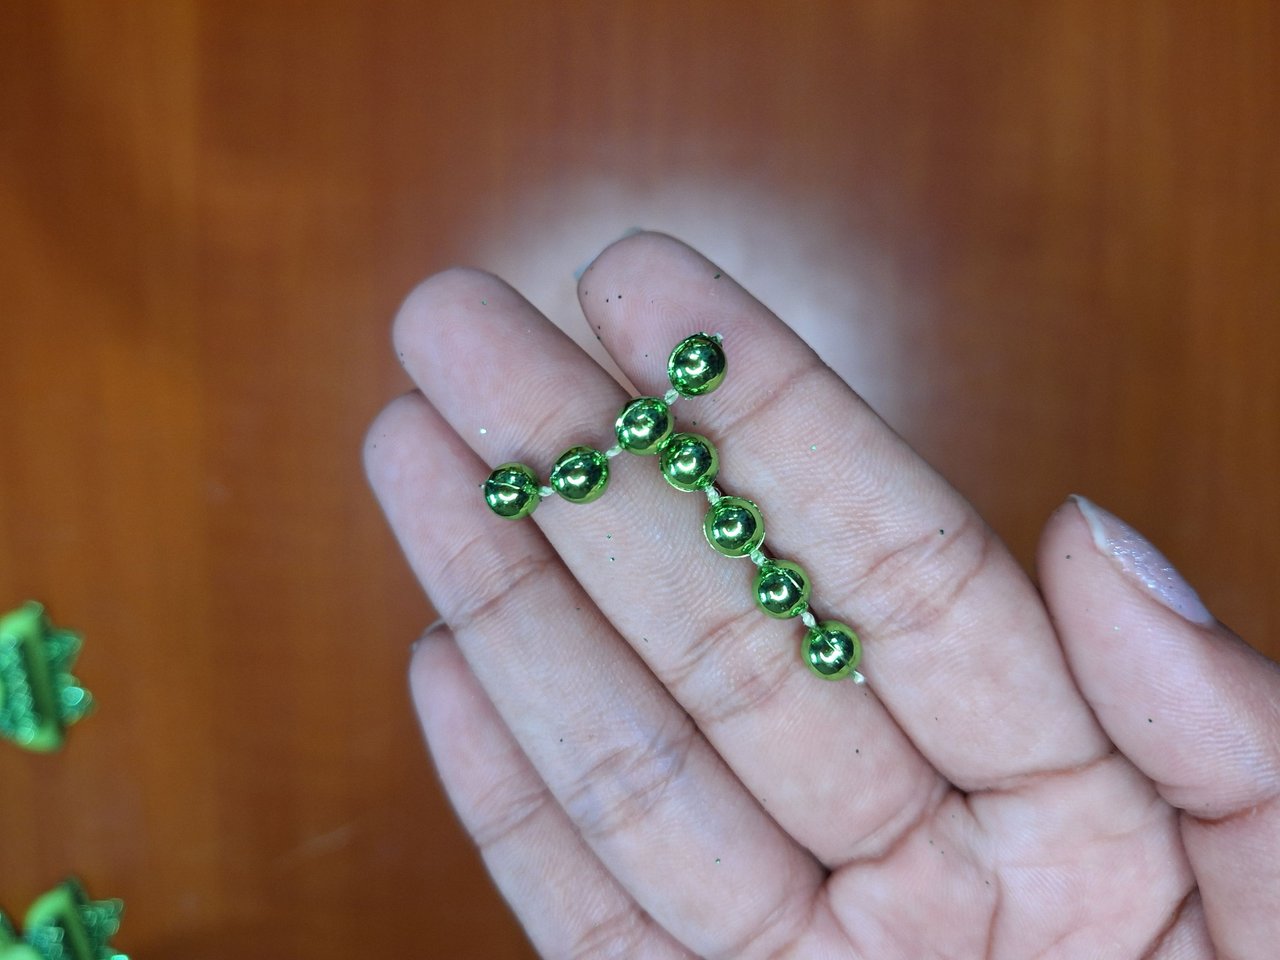 | 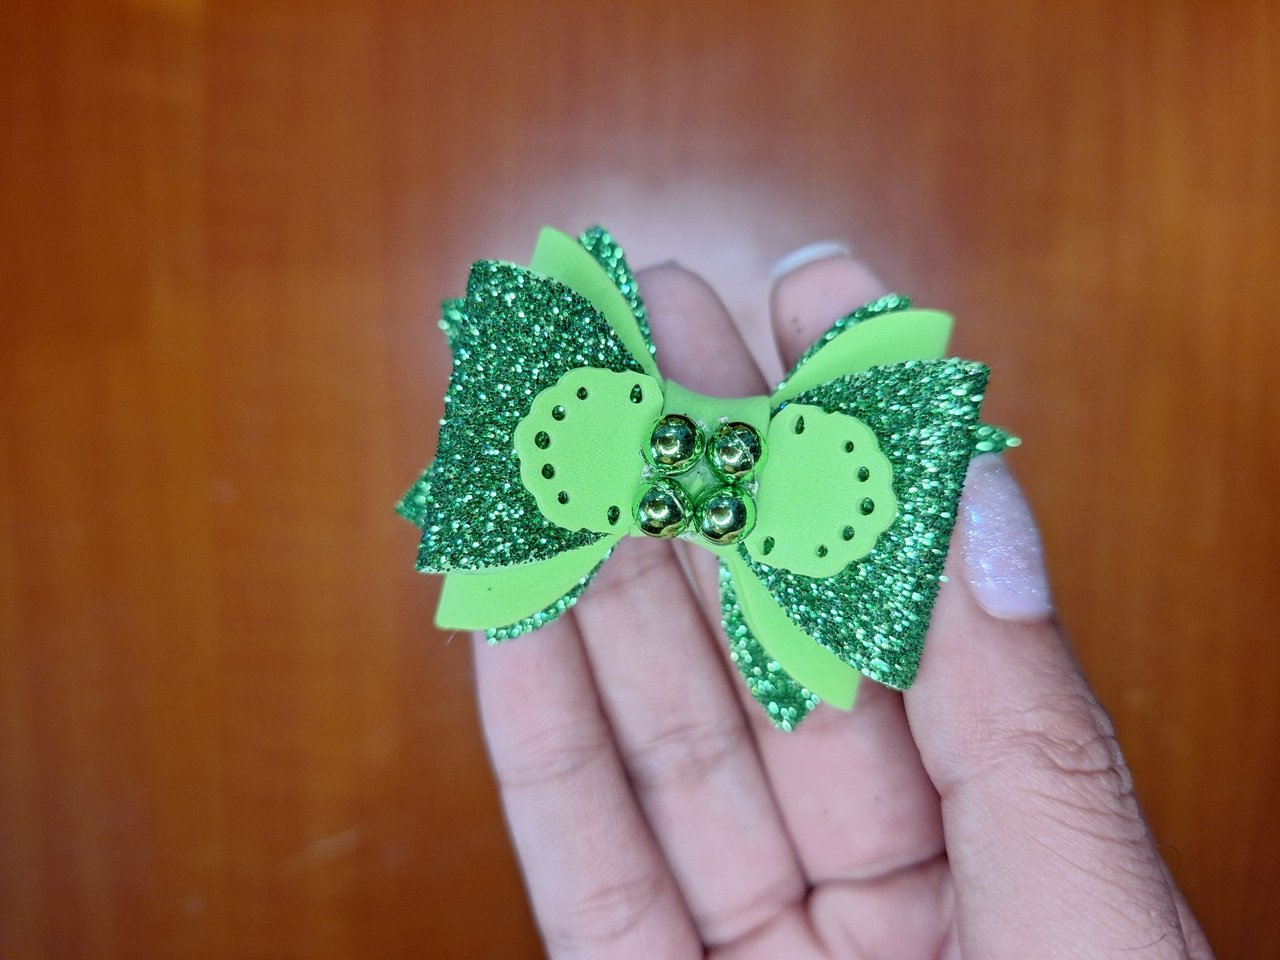 |
With continuous pearls I decorated the center of the bow. You can put stones or pompoms, I used these, as I wanted to keep the green color.
Con perlas continuas decoré el centro del lazo. Puedes poner piedras o pompones, yo utilicé estas, ya que quería mantener el color verde.
 | 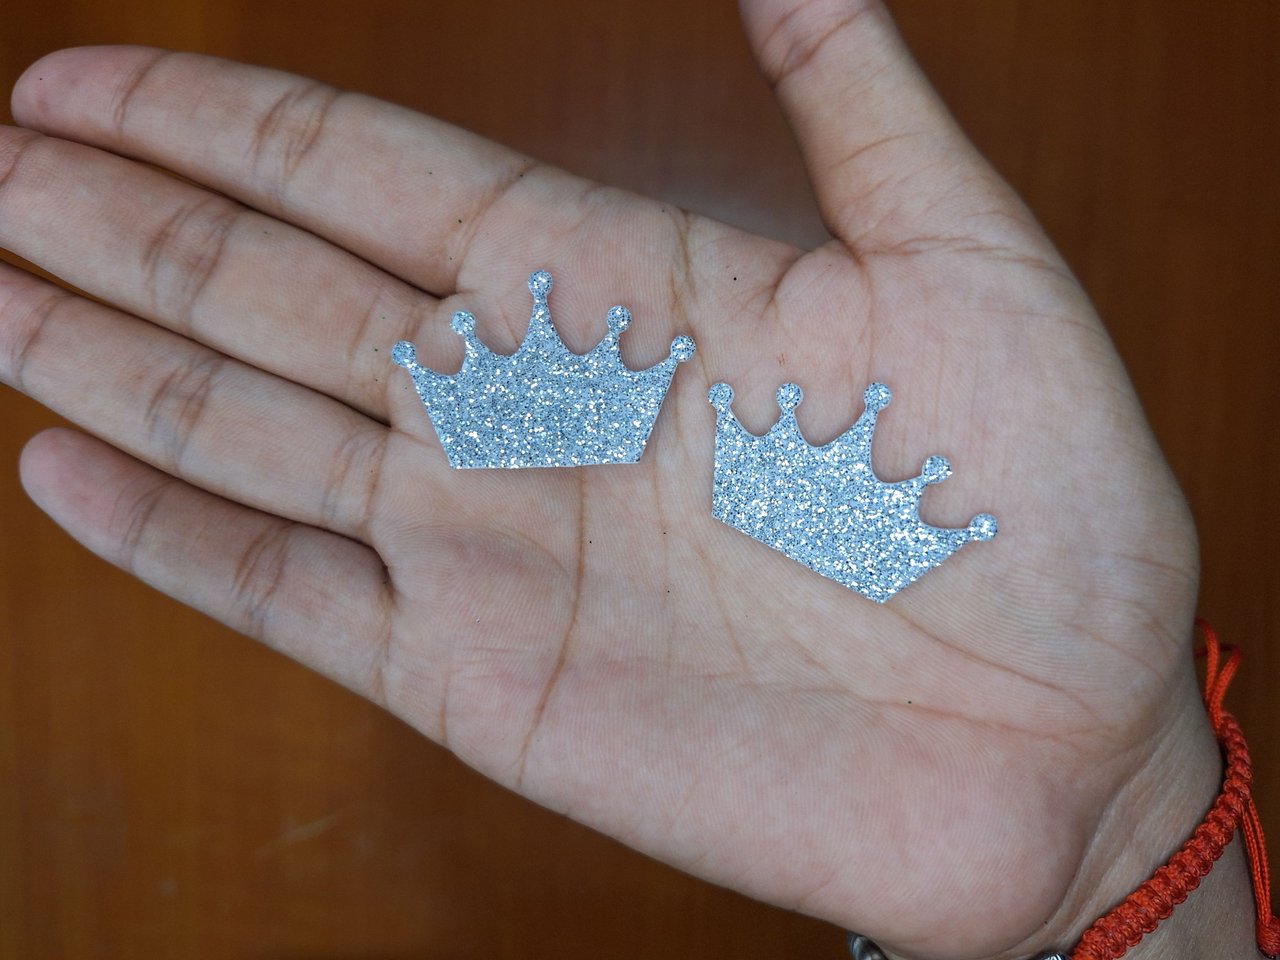 | 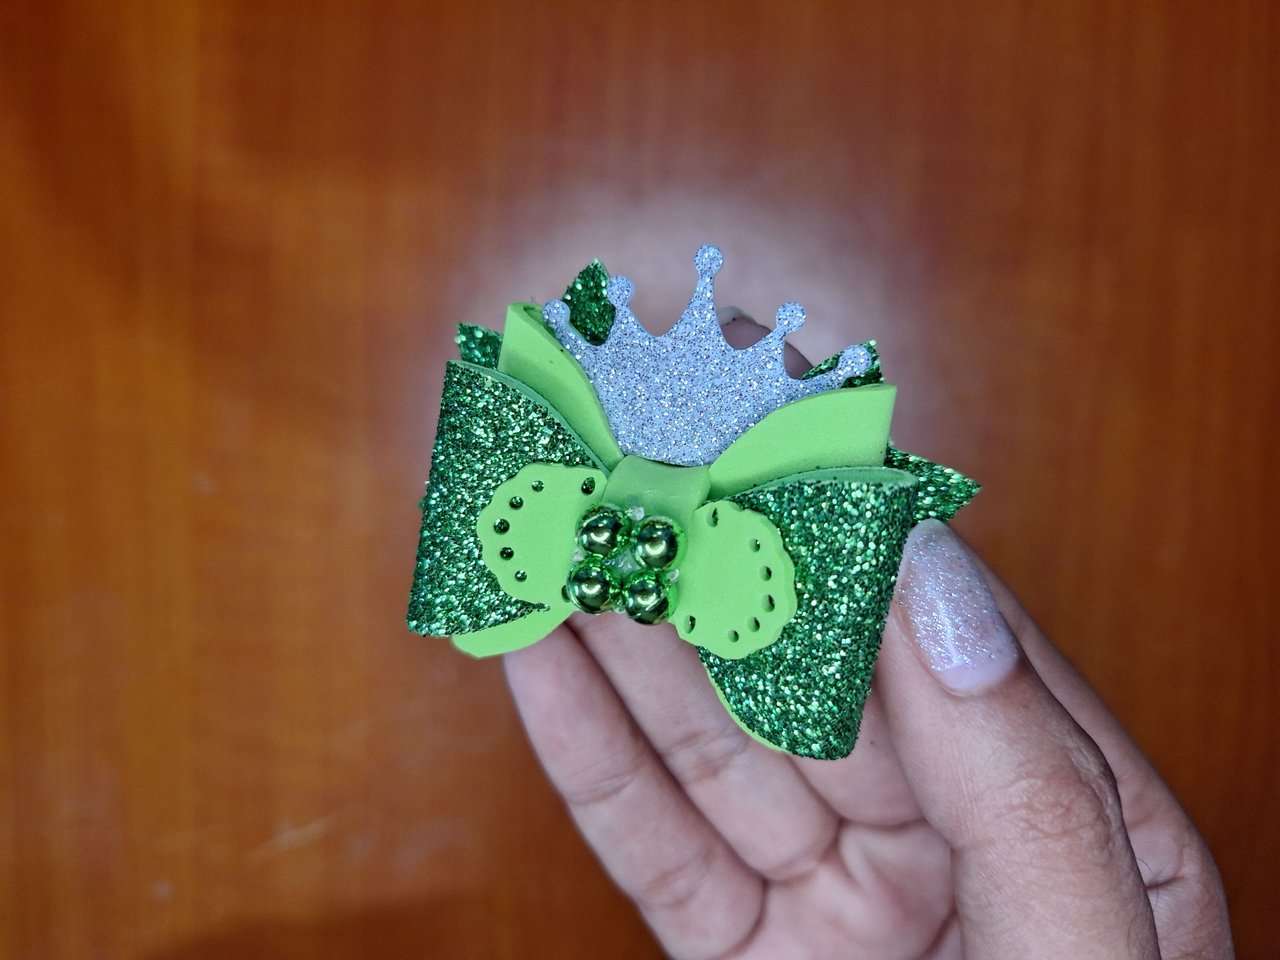 |
Using a die in the shape of a wreath, I cut two pieces of silver frosted foami and placed them inside the middle loop.
Con un troquel con la forma de una corona, corté dos piezas de foami de color plateado escarchado y las situé dentro del lazo intermedio.
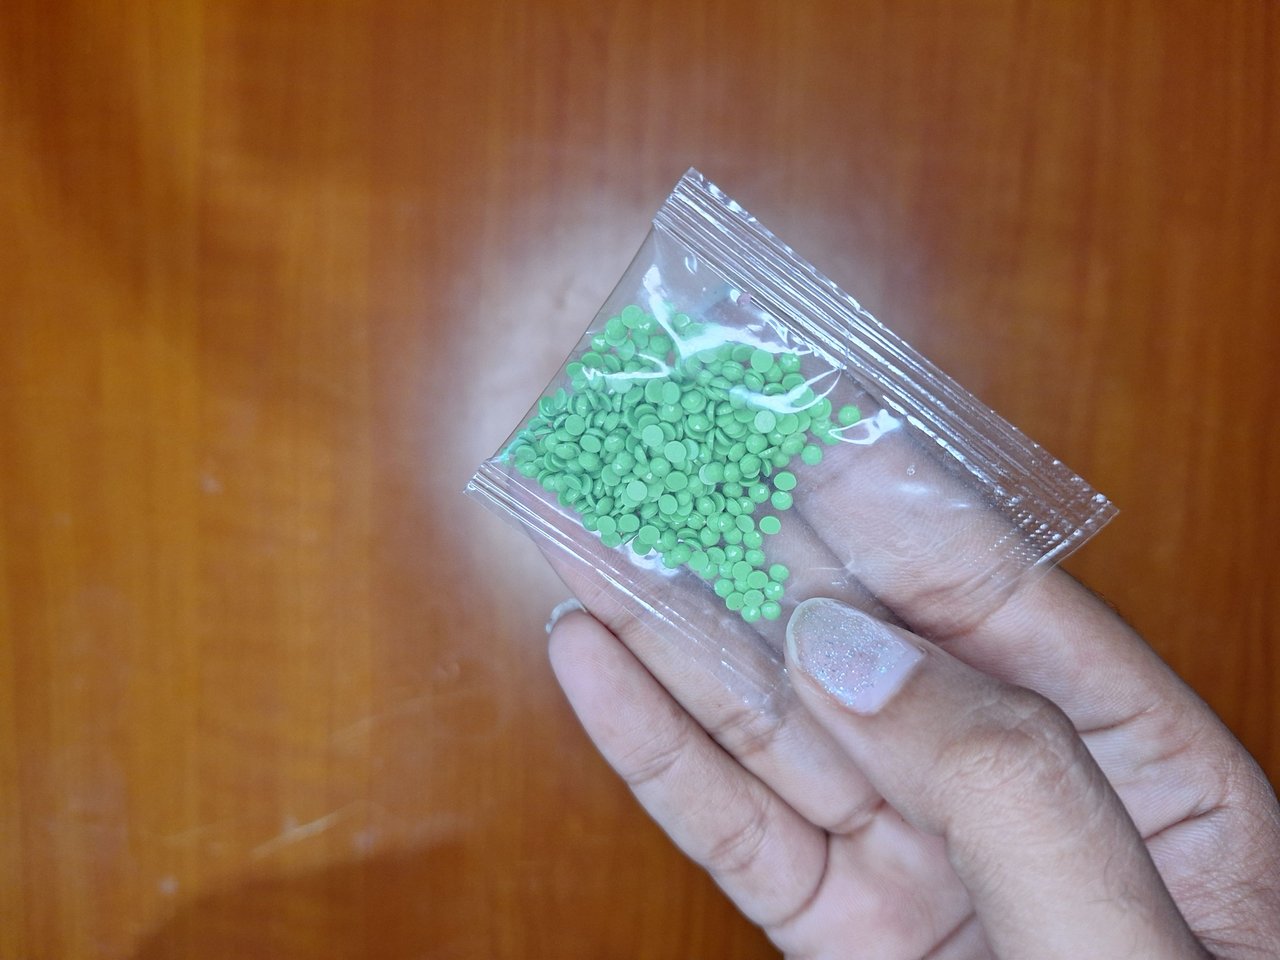 | 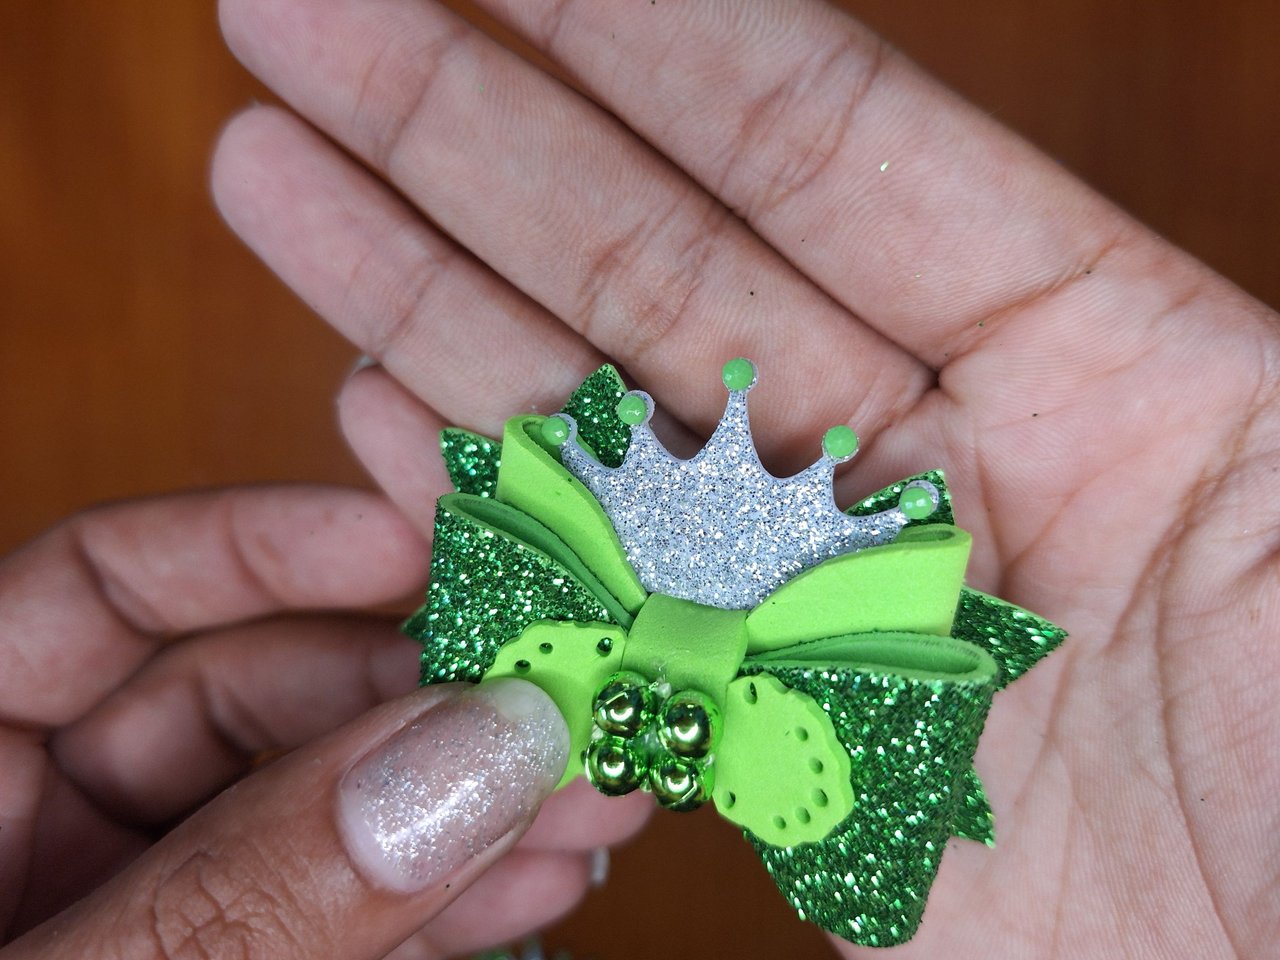 |
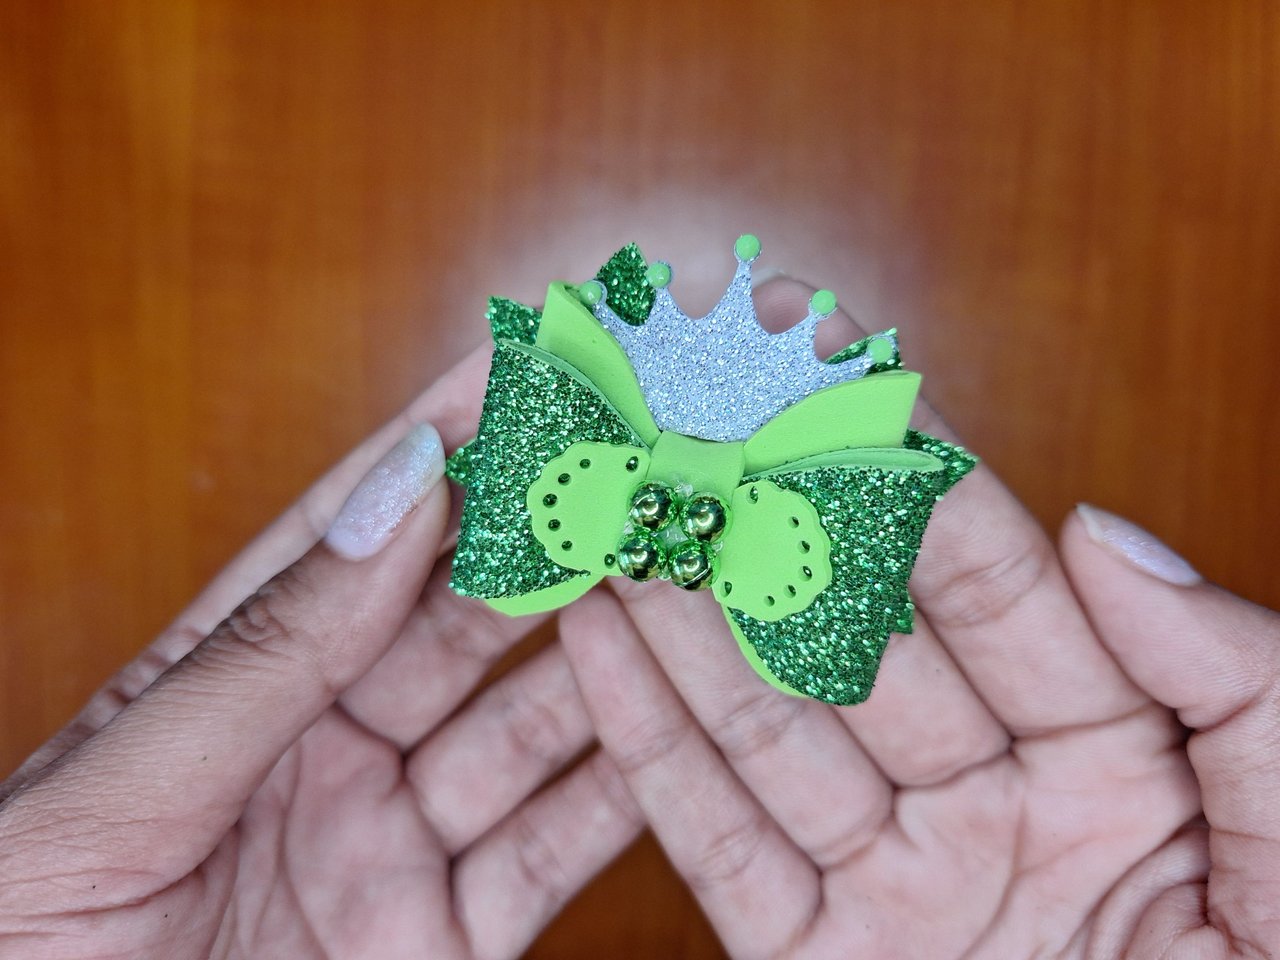
I had small green pearls and, since the wreath had round shaped tips, I thought of placing a pearl on each tip; it looks great.
Tenía perlas pequeñas de color verde y, como la corona tenía las puntas con forma redonda, se me ocurrió colocar en cada punta una perla; se ve muy bien.
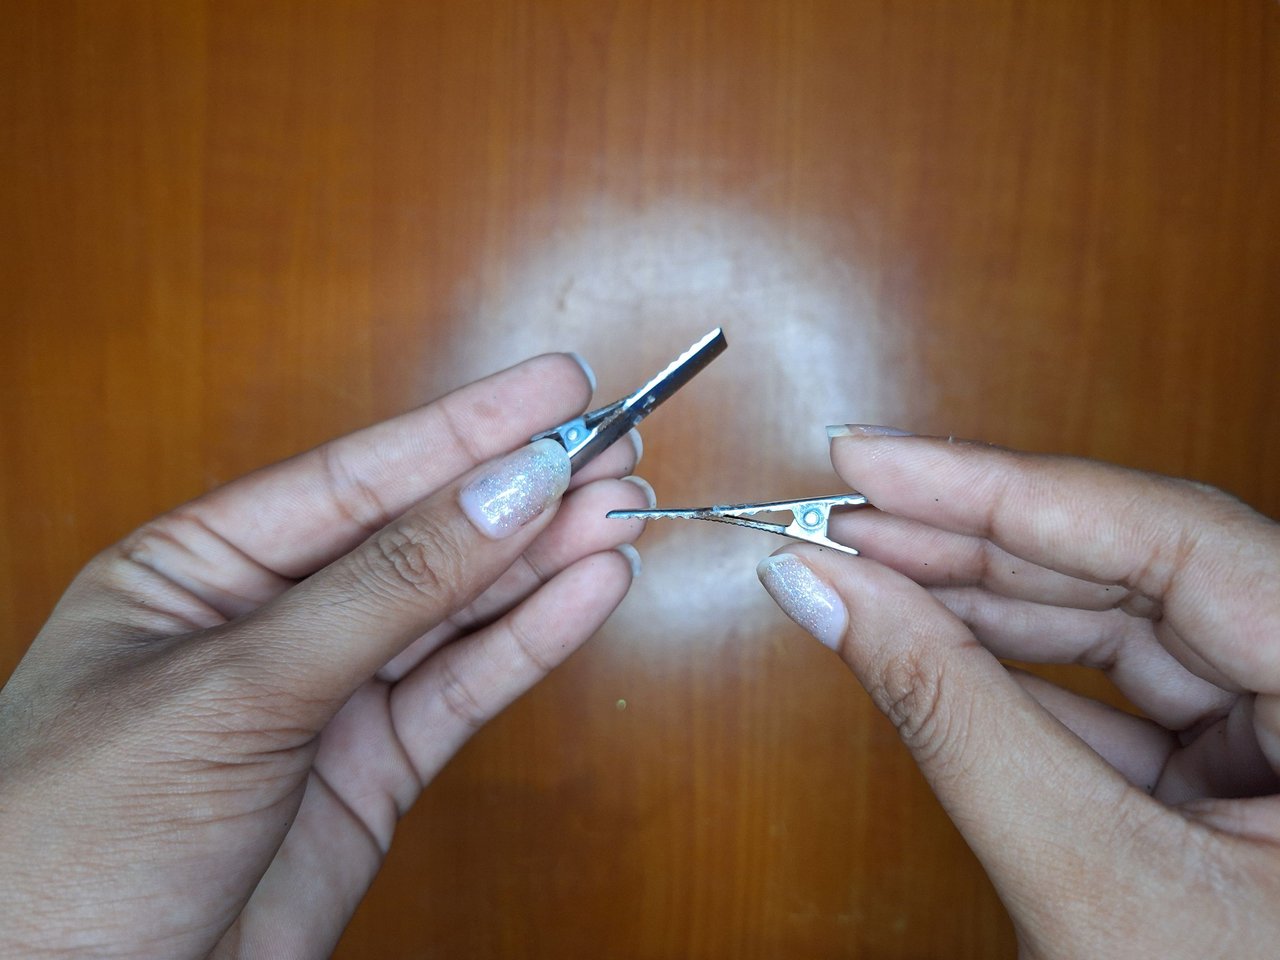 |  |
Finally, glue the alligator clip buckles to the back.
Para concluir, pegar en la parte de atrás las hebillas de pinza caimán.
 |  |
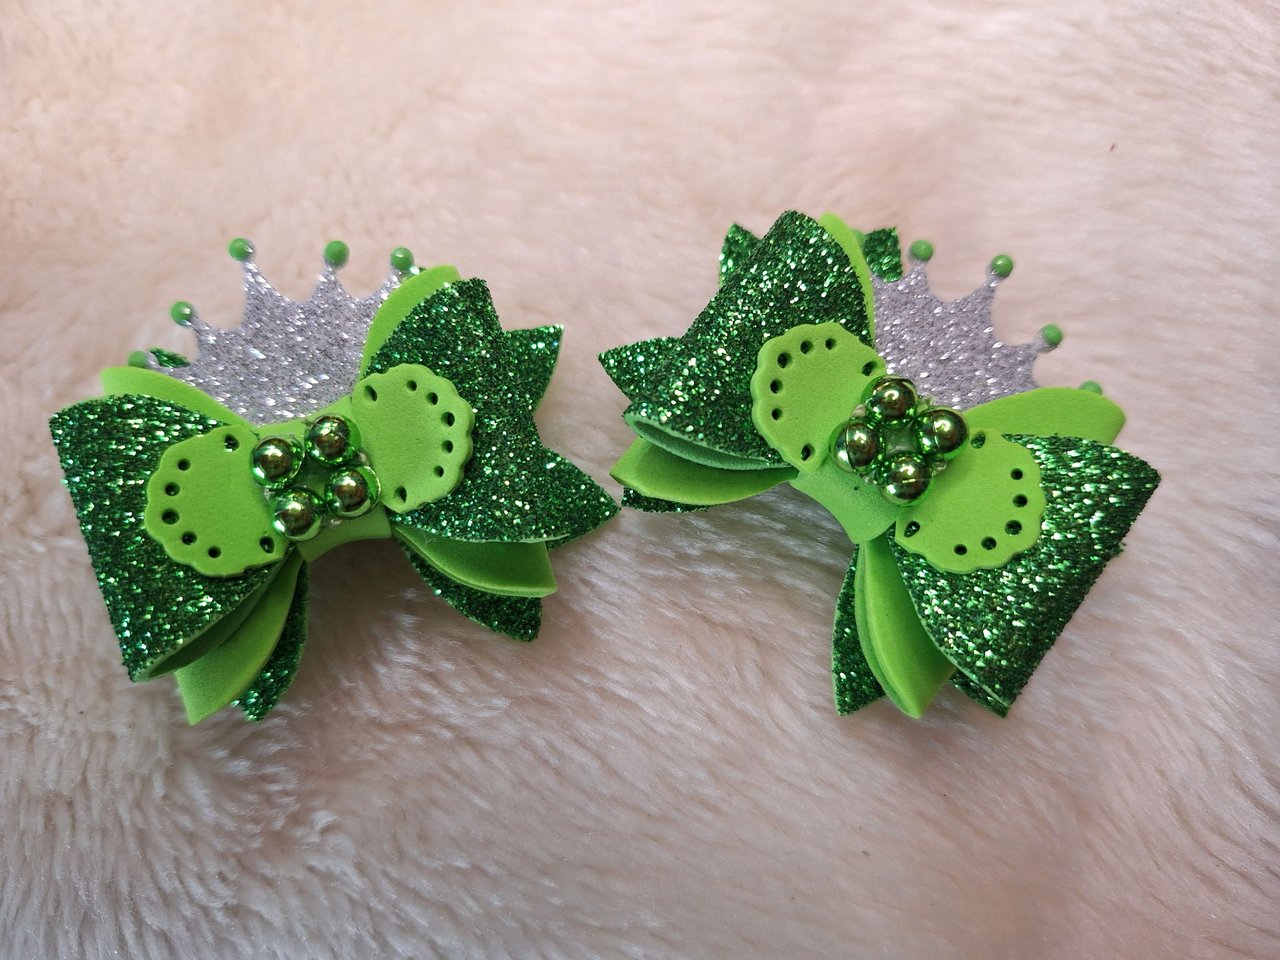 | 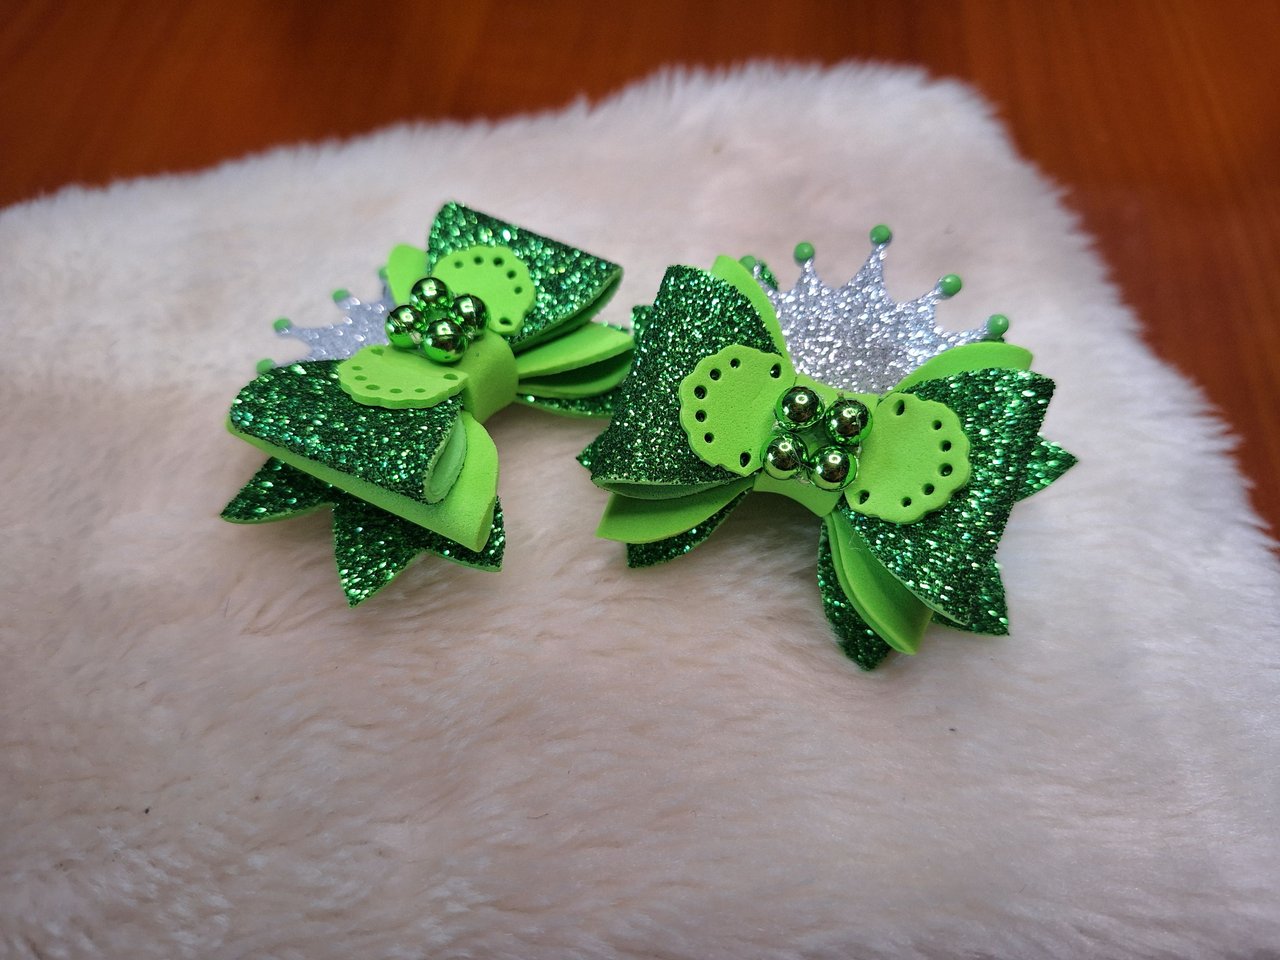 |
And this is how these beautiful green buckles are finished for a little princess, I am sure they will look beautiful combined with the dress that her grandmother bought her. When I showed them to her, she was thrilled and excited for the big day to see her granddaughter wearing the outfit. I really like to please my friends and family, because just seeing their happy faces gives me a lot of satisfaction, besides doing the good deed of the day. I had never made buckles before, and for my first ones I loved them. I hope you liked it and that you find this tutorial useful to make your own. Let me know in the comments, what you thought and new suggestions. Best regards.
Y de esta forma quedan terminadas estas preciosas hebillas verdes para una pequeña princesa, estoy segura de que se les verán hermosas combinadas con el vestido que su abuela le compró. Cuando se las mostré, quedó encantada e ilusionada porque llegara el gran día para ver a su nietecita con el outfit puesto. Me gusta mucho complacer a mis amigos y familiares, pues tan solo con ver su cara de alegría me da mucha satisfacción, además de hacer la buena acción del día. Nunca había hecho unas hebillas, para ser las primeras las adoré. Espero que les haya gustado y que te sirva este tutorial para hacer las tuyas propias. Déjame en los comentarios, qué te pareció y nuevas sugerencias. Un saludo.
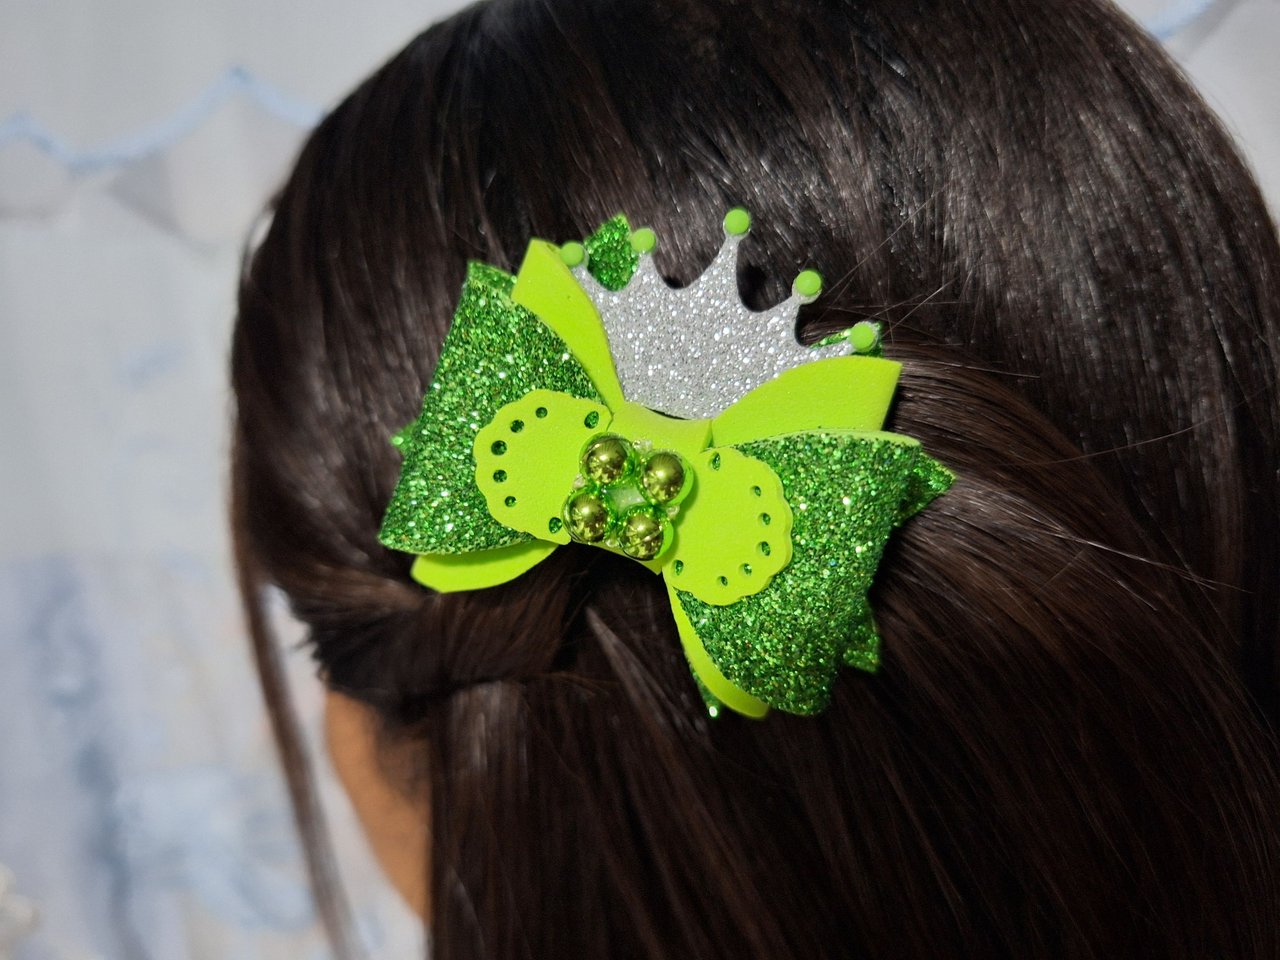 | 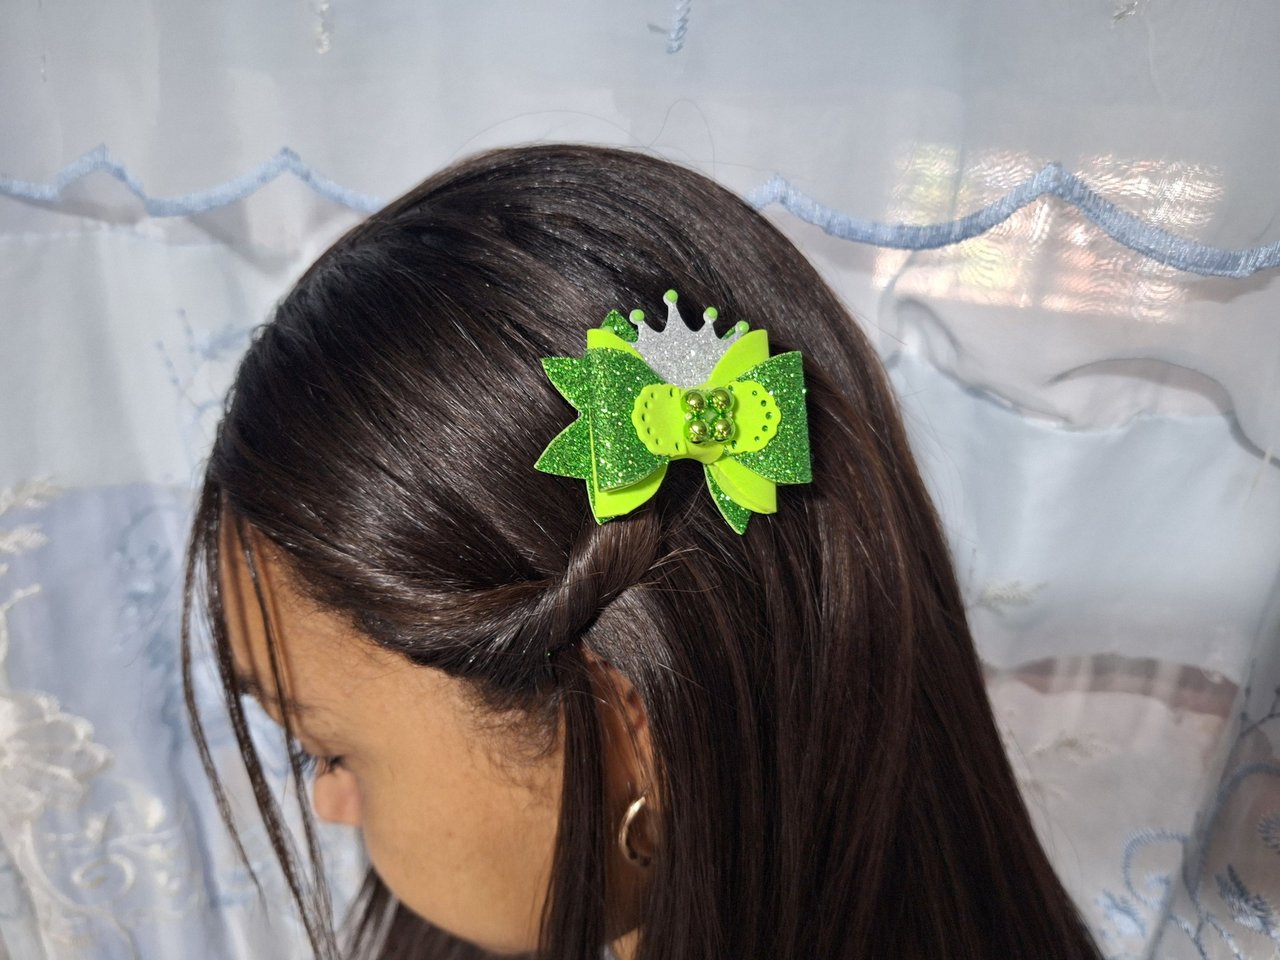 | 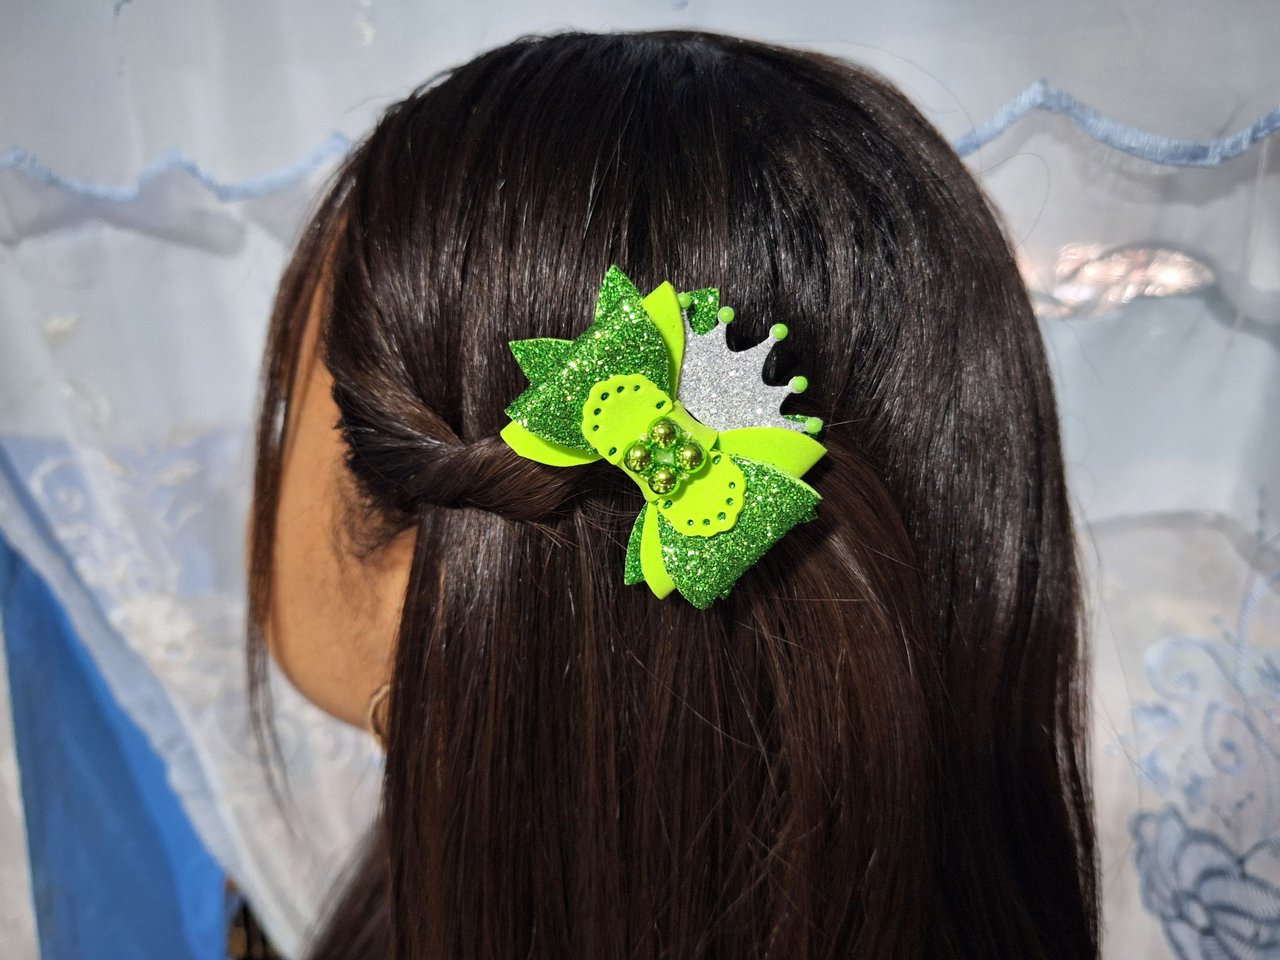 |
Fotos antes de entregarlas para que vean como quedan en el cabello.
Cover made in Canva
English is not my native language, translated by DeepL
Posted Using InLeo Alpha
Bellos ese lazos...
!discovery 35
Muchas gracias 🥰
Hay que hermosas y tiernas decoraciones para el pelo. Bendiciones 🎅
Muchas gracias 🥰
Te quedaron preciosas, me encantaron.
Muchas gracias, a la abuela de la pequeña también le encantaron, hacen un lindo contraste los colores y el brilli brilli 😄
Ho Ho Ho! @yale95reyra, one of your Hive friends wishes you a Merry Christmas and asked us to give you a new badge!
The HiveBuzz team wish you a Merry Christmas!
May you have good health, abundance and everlasting joy in your life.
To find out who wanted you to receive this special gift, click here!
You can view your badges on your board and compare yourself to others in the Ranking
Check out our last posts:
Thank you 🤗
You're well on your way to becoming a Hive legend @yale95reyra! Keep up the fantastic work.
BTW, please support our funding NEW proposal and help us bring more fun and badges to Hive. Together we can make Hive a more exciting place!
Thank you!
This post was shared and voted inside the discord by the curators team of discovery-it
Join our Community and follow our Curation Trail
Discovery-it is also a Witness, vote for us here
Delegate to us for passive income. Check our 80% fee-back Program
Thank you very much for the support 🤗
The first glance, I really interesting to the green color, also cute in shape.
Well, I would love to have it even I am not baby girl again ehehe
Great work!
Thank you so much, that shade of green catches the eye 😍, I would wear them too because I loved them 🤗.
your work is very beautiful👍
Thank you 🤗
Quedaron preciosos y la combinación de los dos verdes con uno de ellos escarchados fue genial.
Muchas gracias, si me encantó la combinación, se ve muy bien.💚
¡Te quedo precioso! Me gusta que esta hecho con foami, porque con cintas sinceramente soy un desastre. Gracias por explicarlo todo <3
Muchas gracias, es un material muy fácil de trabajar, nunca he hecho nada con cintas 😉