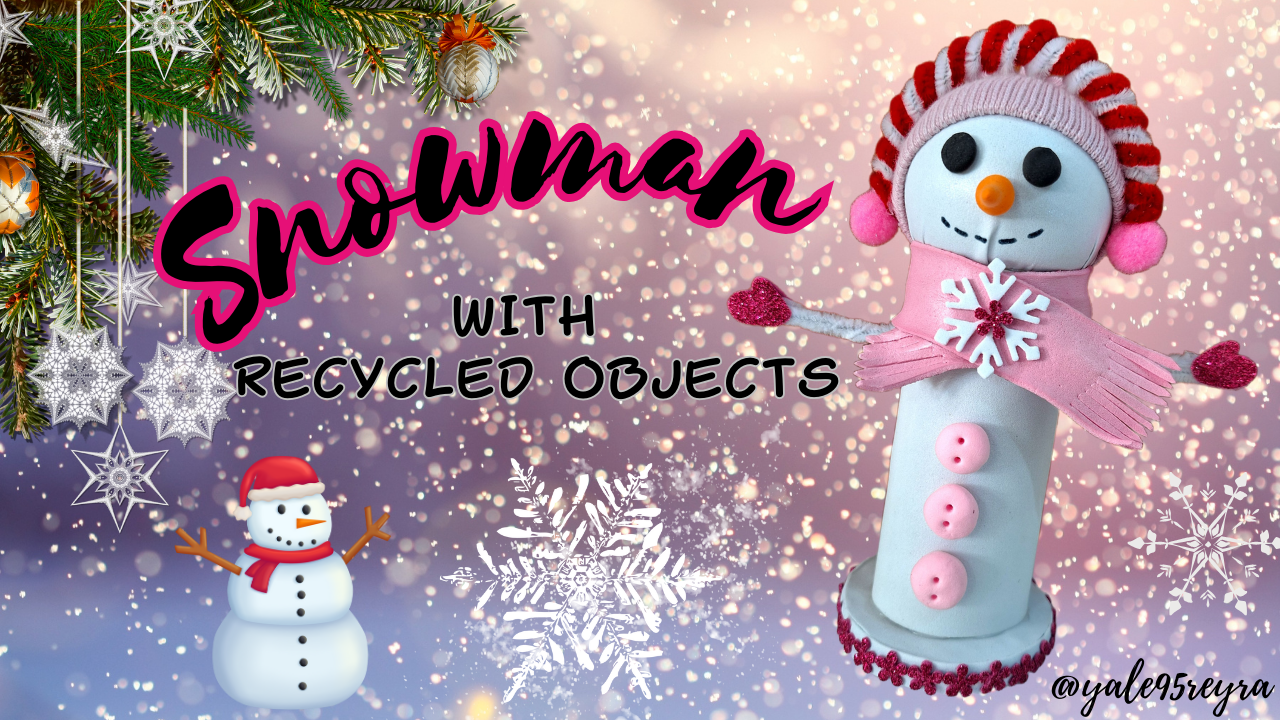
Hello dear artisan friend, Christmas is coming and with it the most beautiful and familiar time of the year. In my country they do not celebrate this date as they should, maybe because we do not have enough resources to decorate and celebrate as in other countries, but some of us always try to do the best we can and not overlook. At home we always set up a Christmas tree and fill it with ornaments, my little nephew gets excited, you have to keep him awake the Christmas spirit.
This time I bring you a tutorial on how to make a snowman with recycled materials, using as a base a toilet paper tube and the bulb of a light bulb. Although I have never seen a real snowman and I don't know if I will ever see one, I wanted to make one, since it is very representative of these dates. I loved how it turned out, I hope you also like it and want to make a similar one. Below, I show you all the materials used and the step by step of the creative process.
Hola querido amigo artesano, se acerca la navidad y con ella la época más bonita y familiar del año. En mi país no celebran esta fecha como se debería, a lo mejor porque no contamos con los recursos suficientes para decorar y celebrar como en otros países, pero algunos siempre intentamos hacer lo mejor que podamos y que no pase por alto. En casa siempre montamos un árbol de navidad y lo llenamos de adornos, mi sobrinito se emociona, hay que mantenerle despierto el espíritu navideño.
En esta ocasión te traigo un tutorial de como hacer un muñeco de nieve con materiales reciclados, utilizando como base un tubo de papel sanitario y el foco de un bombillo. Aunque nunca he visto un muñeco de nieve real y no sé si lo veré algún día, quise hacer uno, ya que es muy representativo de estas fechas. Me encantó como quedó, espero también te gusté y quieras hacer uno parecido. A continuación, te muestro todos los materiales utilizados y el paso a paso del proceso creativo.
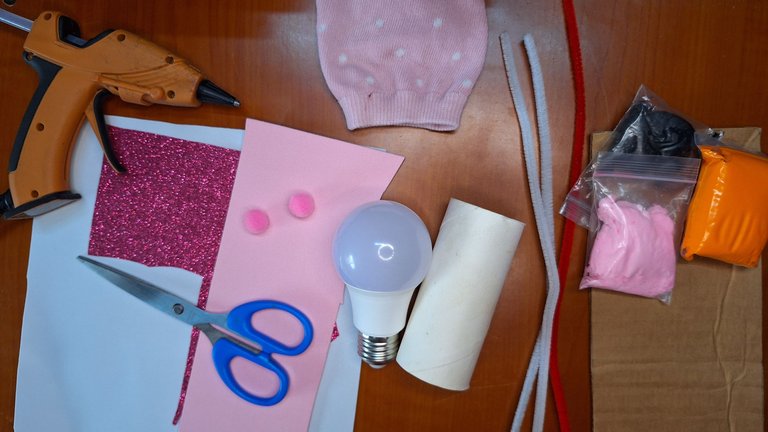
☃️Materials // Materiales☃️
- 1 light bulb / 1 bombillo
- 1 tube of toilet paper / 1 tubo de papel sanitario
- 1 old sock / 1 calcetín viejo
- 2 pompoms / 2 pompones
- scissors / tijera
- white, pink, plain and frosted foami / foami blanco, rosado liso y escarchado
- silicone / silicona
- 2 white pipe cleaners and one red pipe cleaner / 2 limpiapipas blancos y uno rojo
- cardboard / cartón
- black, orange and pink moldable foami / foami moldeable de color negro, naranja y rosado
☃️Step by step // Paso a paso☃️
 |  |  |
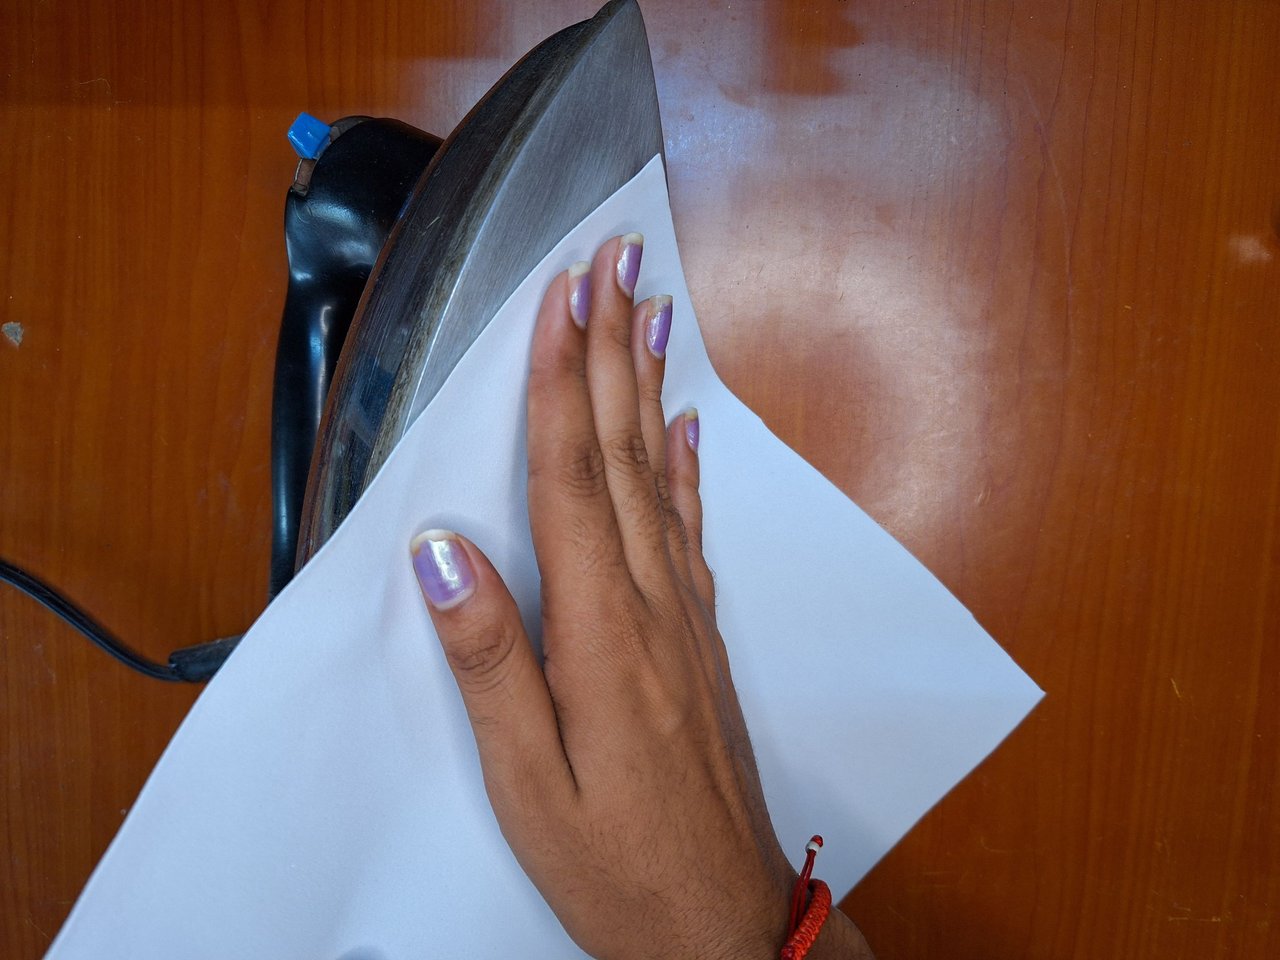 | 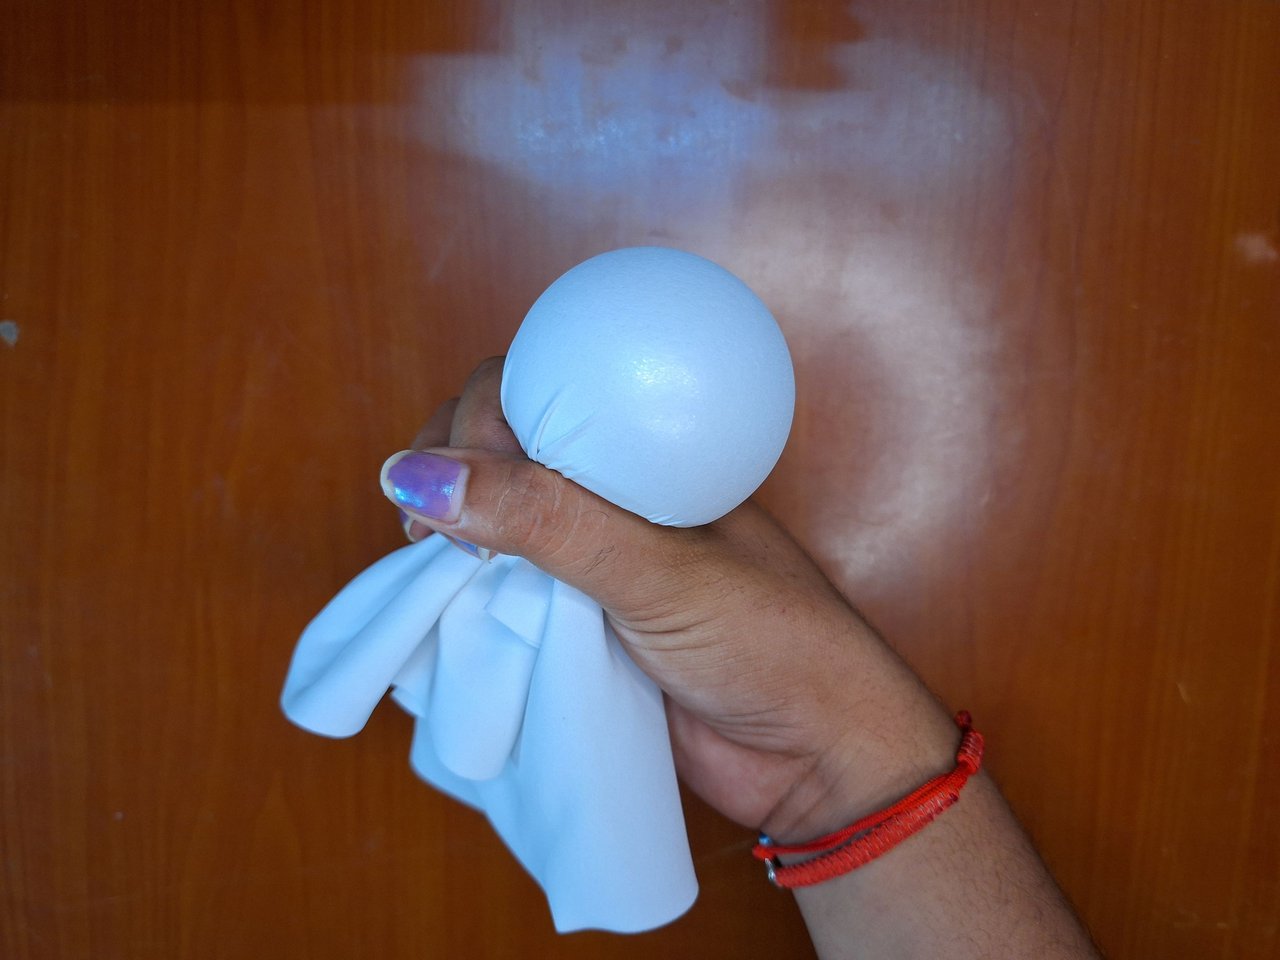 | 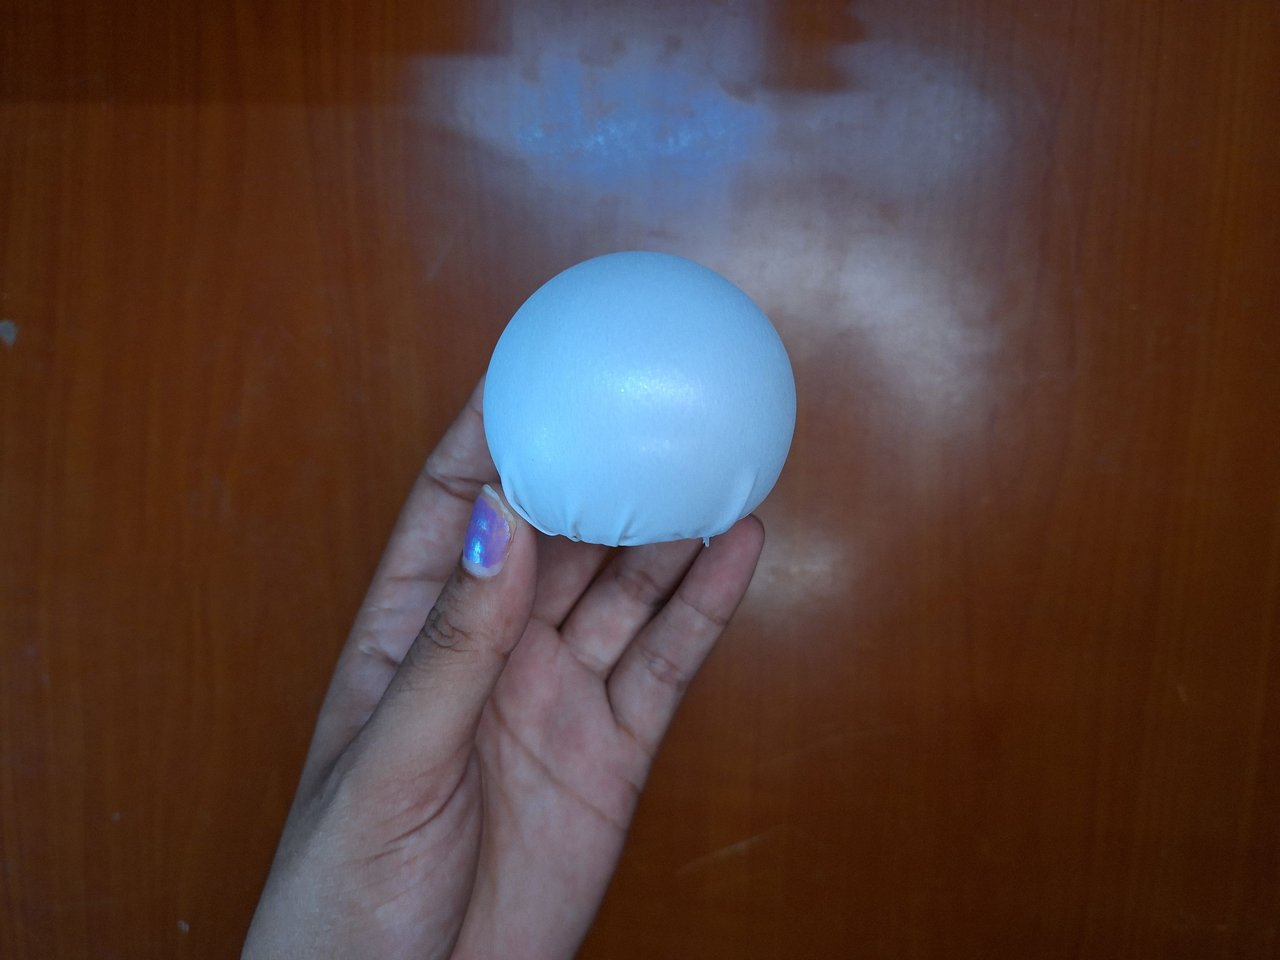 |
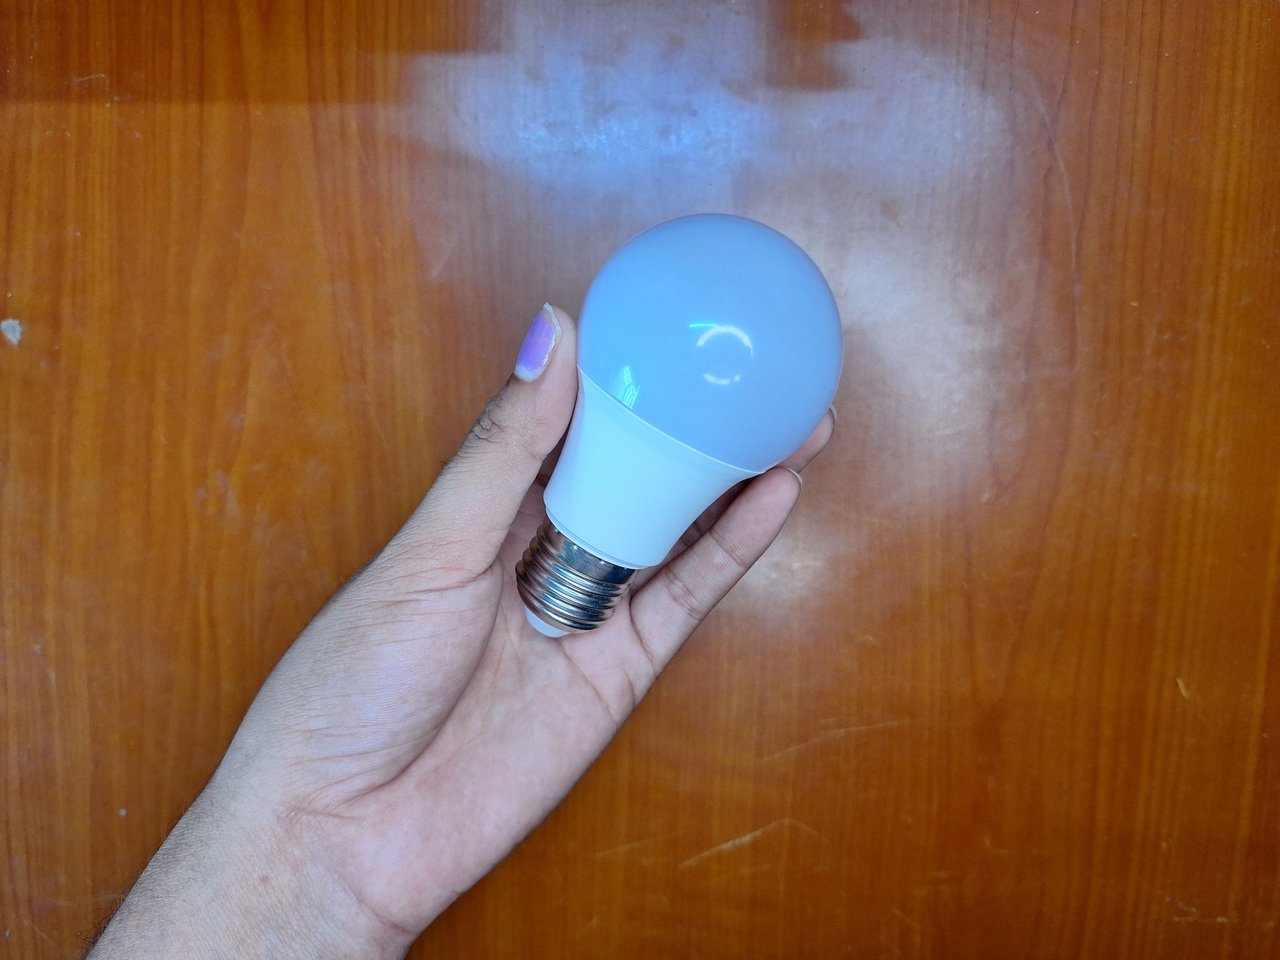
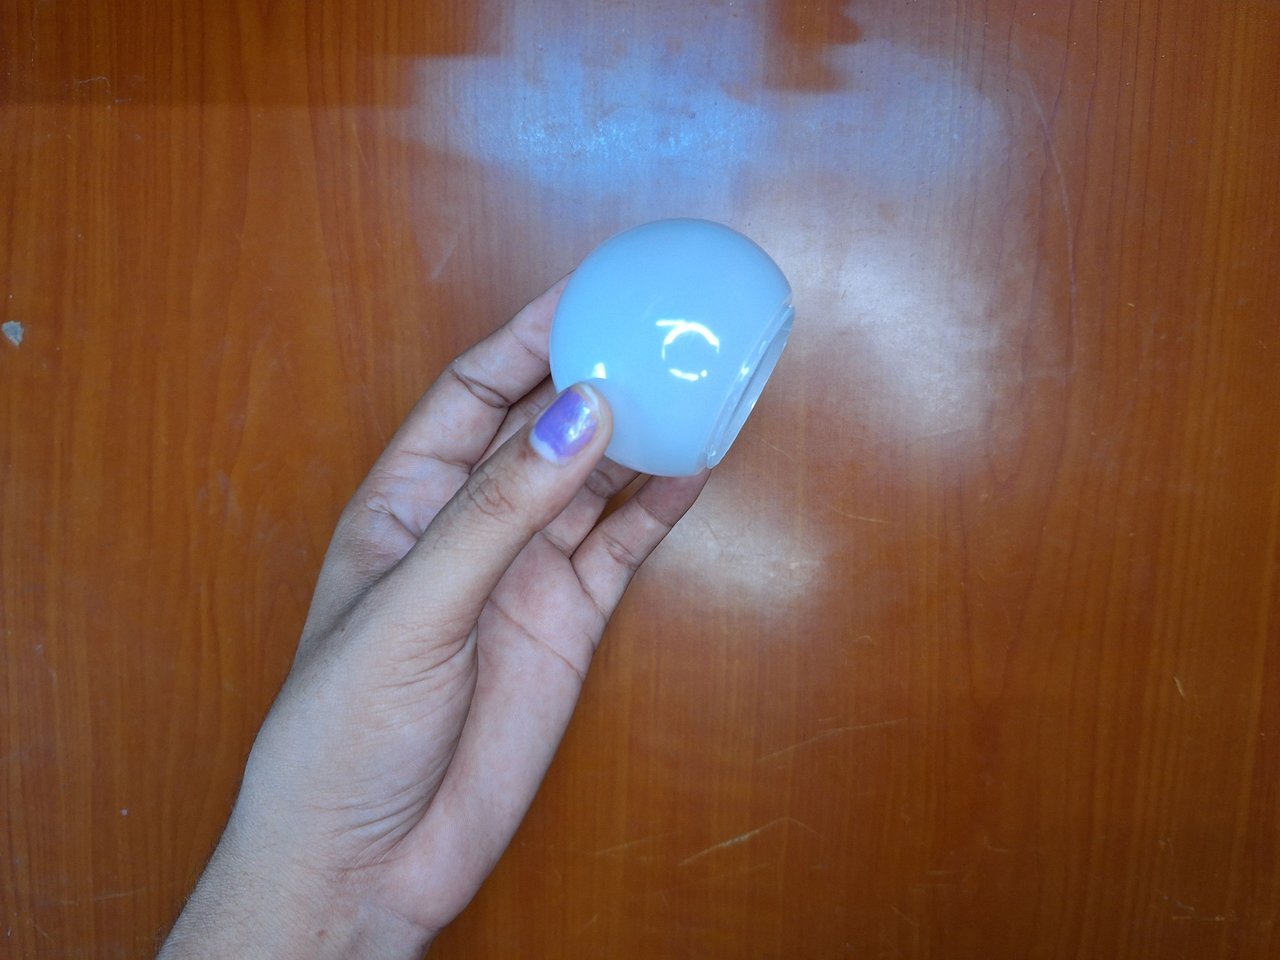
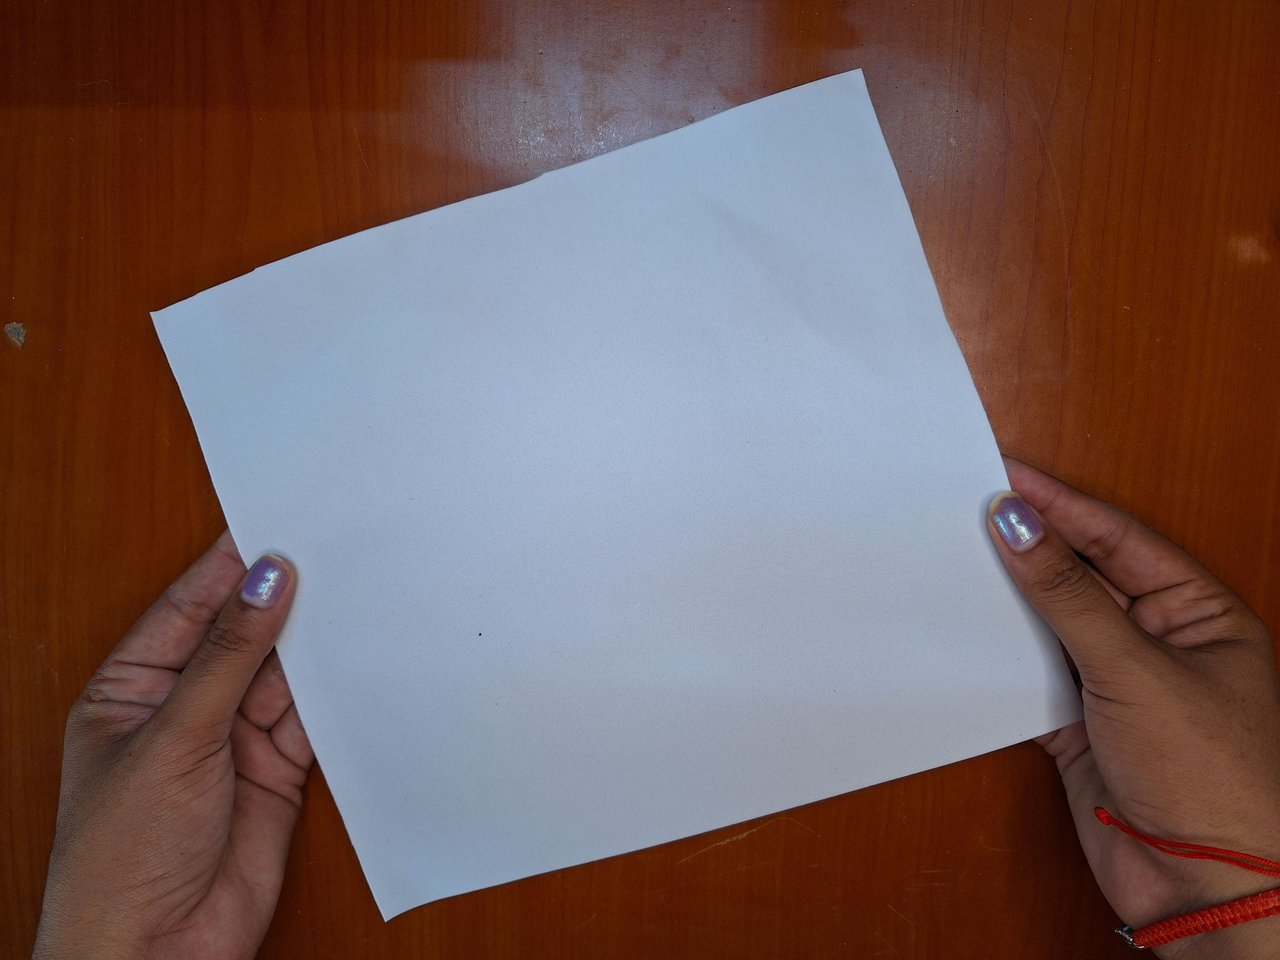
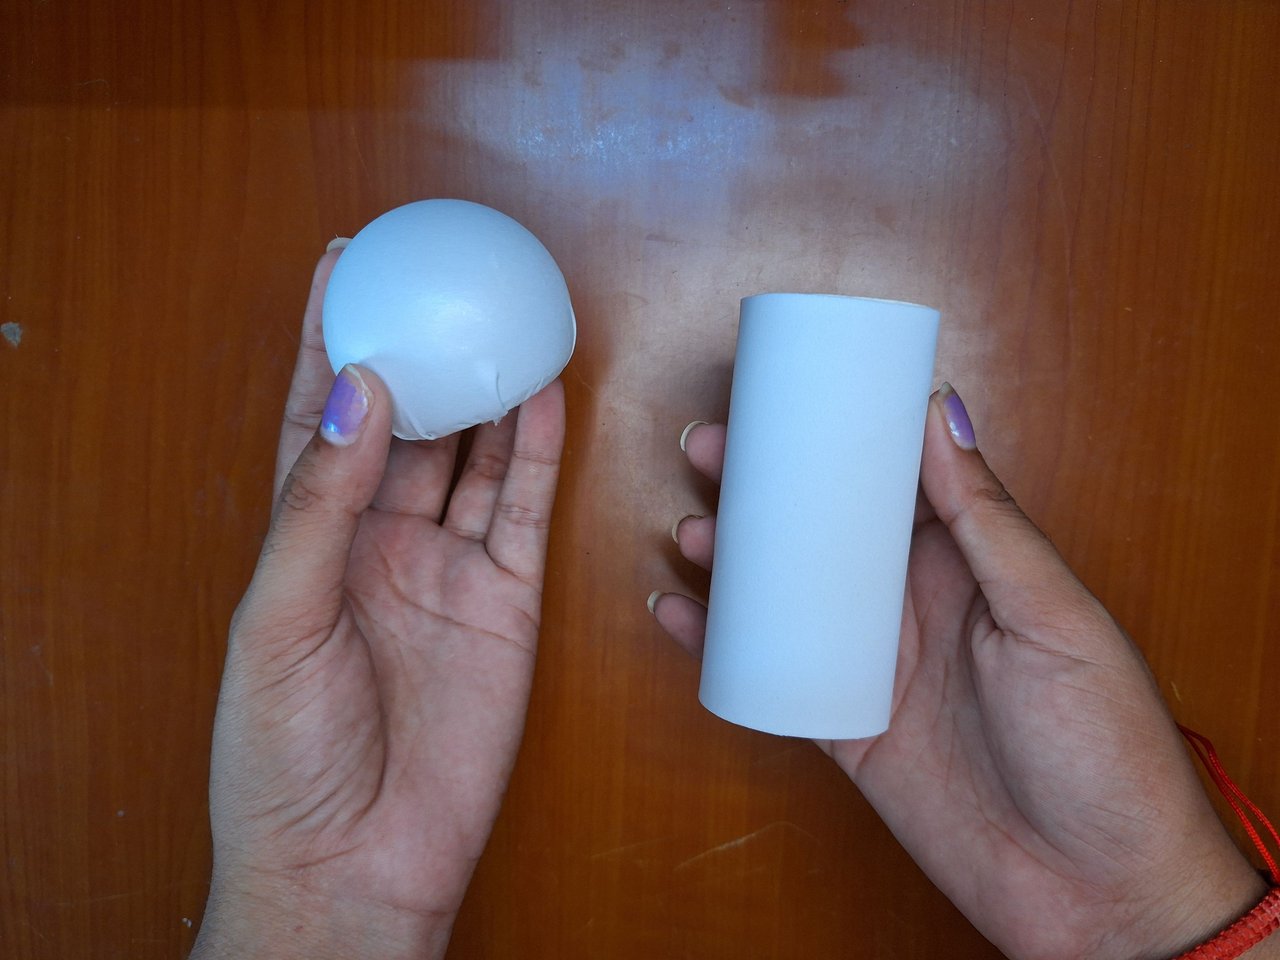
Take a melted light bulb and separate the bulb, this will be the head of the doll. Cover the bulb with white foami, to make it easier, heat the foami in an iron, because the heat makes it more elastic. When it is hot, wrap the whole bulb with the foami stretching it so that it is as smooth as possible and let it cool so that it keeps its shape. Then trim the excess and glue it to the edges.
Tomas un bombillo fundido y separas el foco, este será la cabeza del muñeco. Forrar el foco con foami blanco, para hacerlo más fácil, se calienta el foami en una plancha, pues el calor lo hace más elástico. Cuando esté caliente se envuelve todo el foco con el foami estirándolo para que quede lo más liso posible y se deja enfriar para que mantenga esa forma. Luego se recorta el excedente y se pega en los bordes.
 |  |
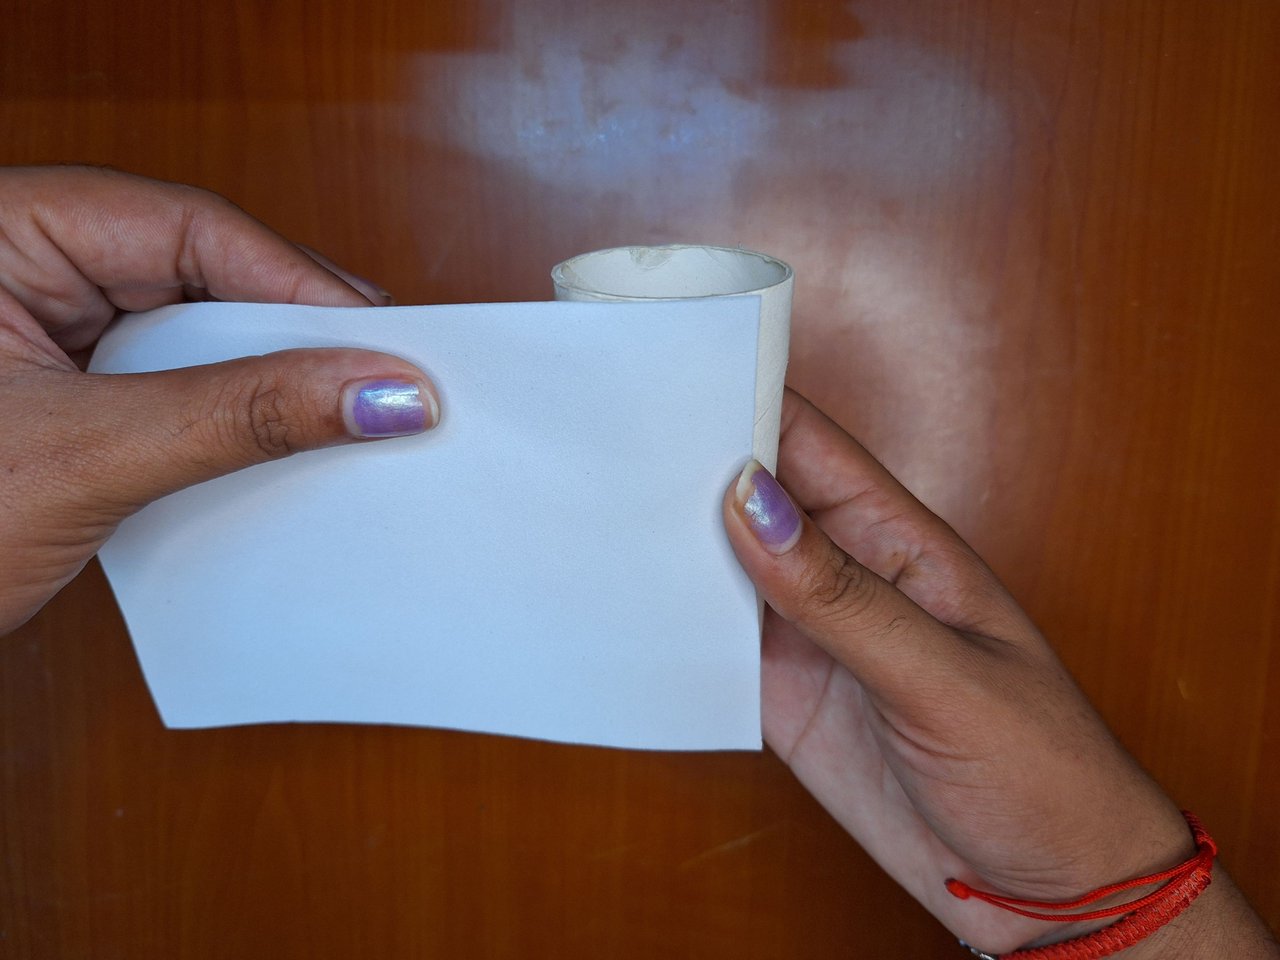 | 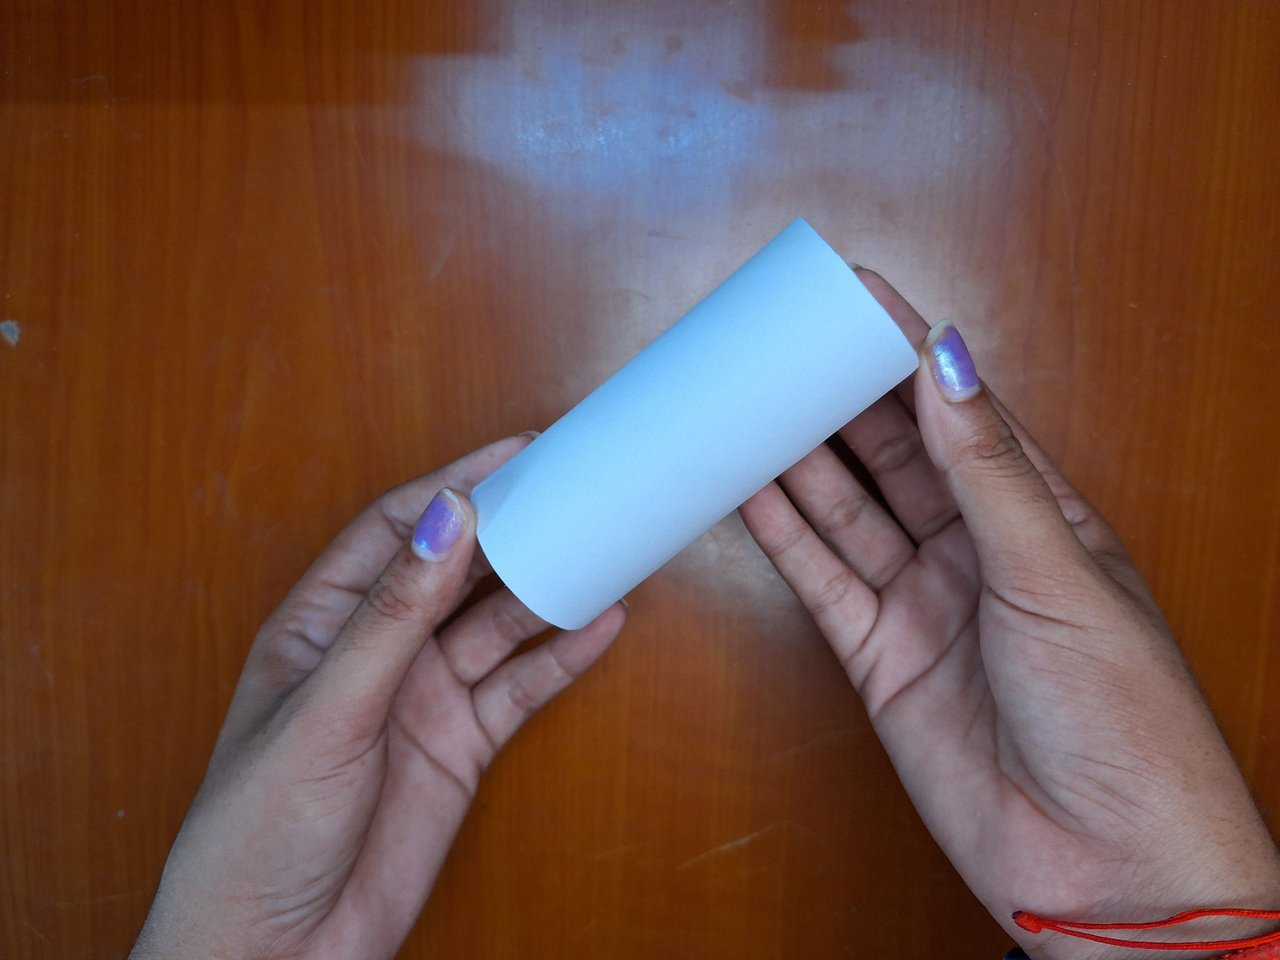 |
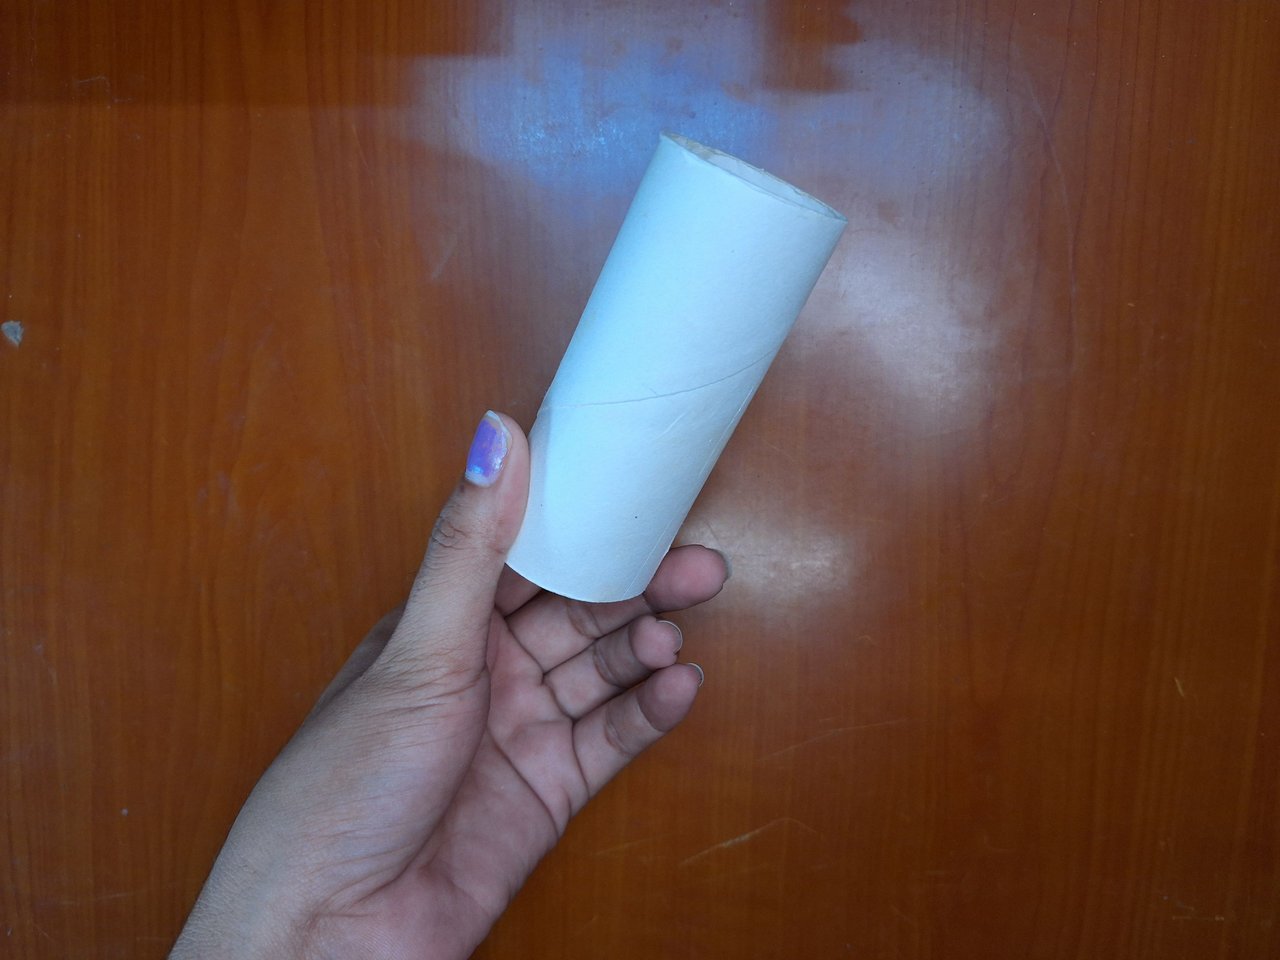
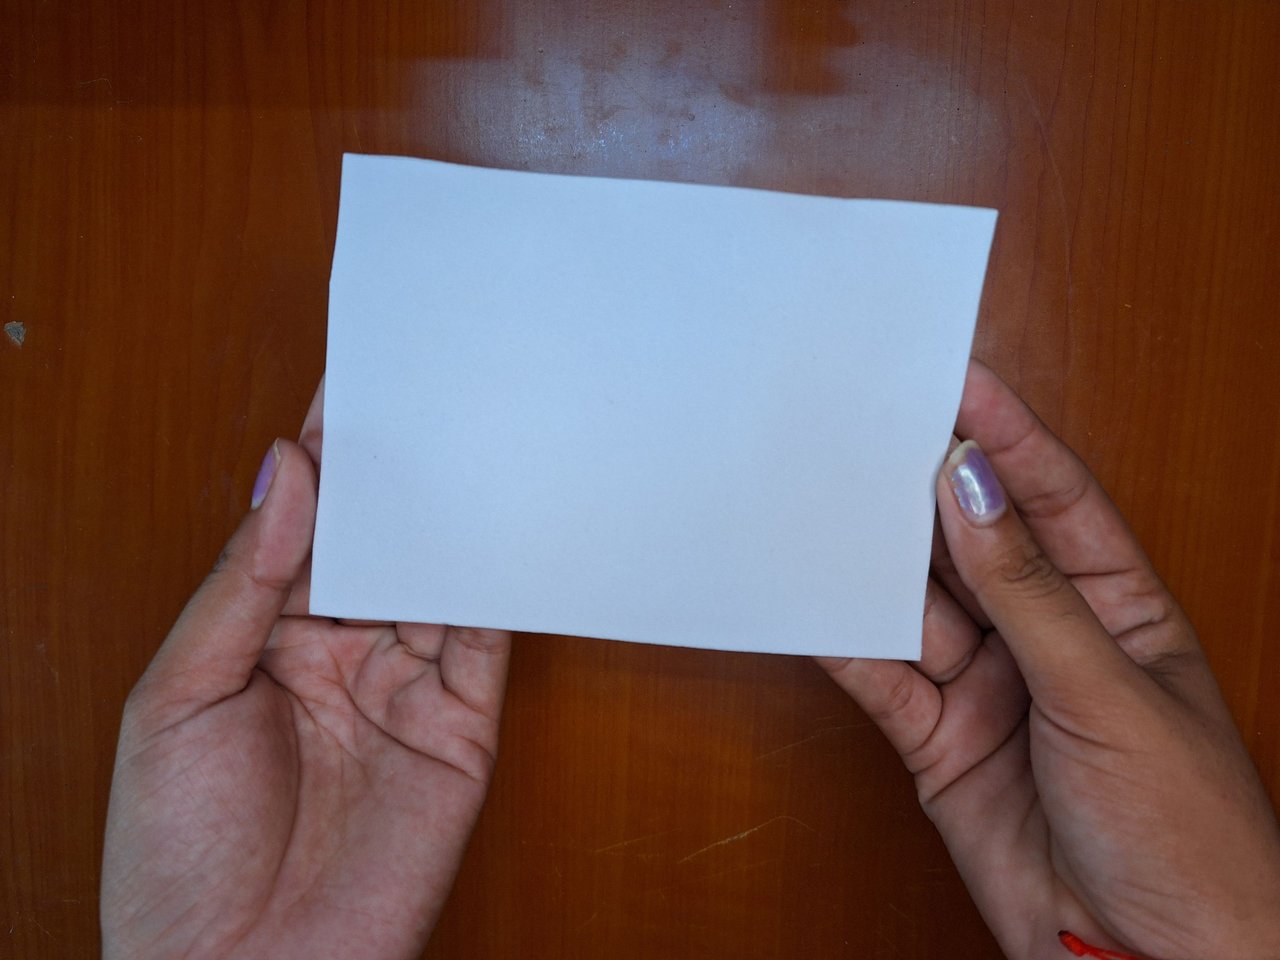
For the body you need a toilet paper tube. This is also lined with white foami, just take the measurements according to the tube you use and glue.
Para el cuerpo se necesita un tubo de papel sanitario. Este también se forra con foami blanco, solo hay que tomar las medidas según el tubo que utilices y pegar.
 | 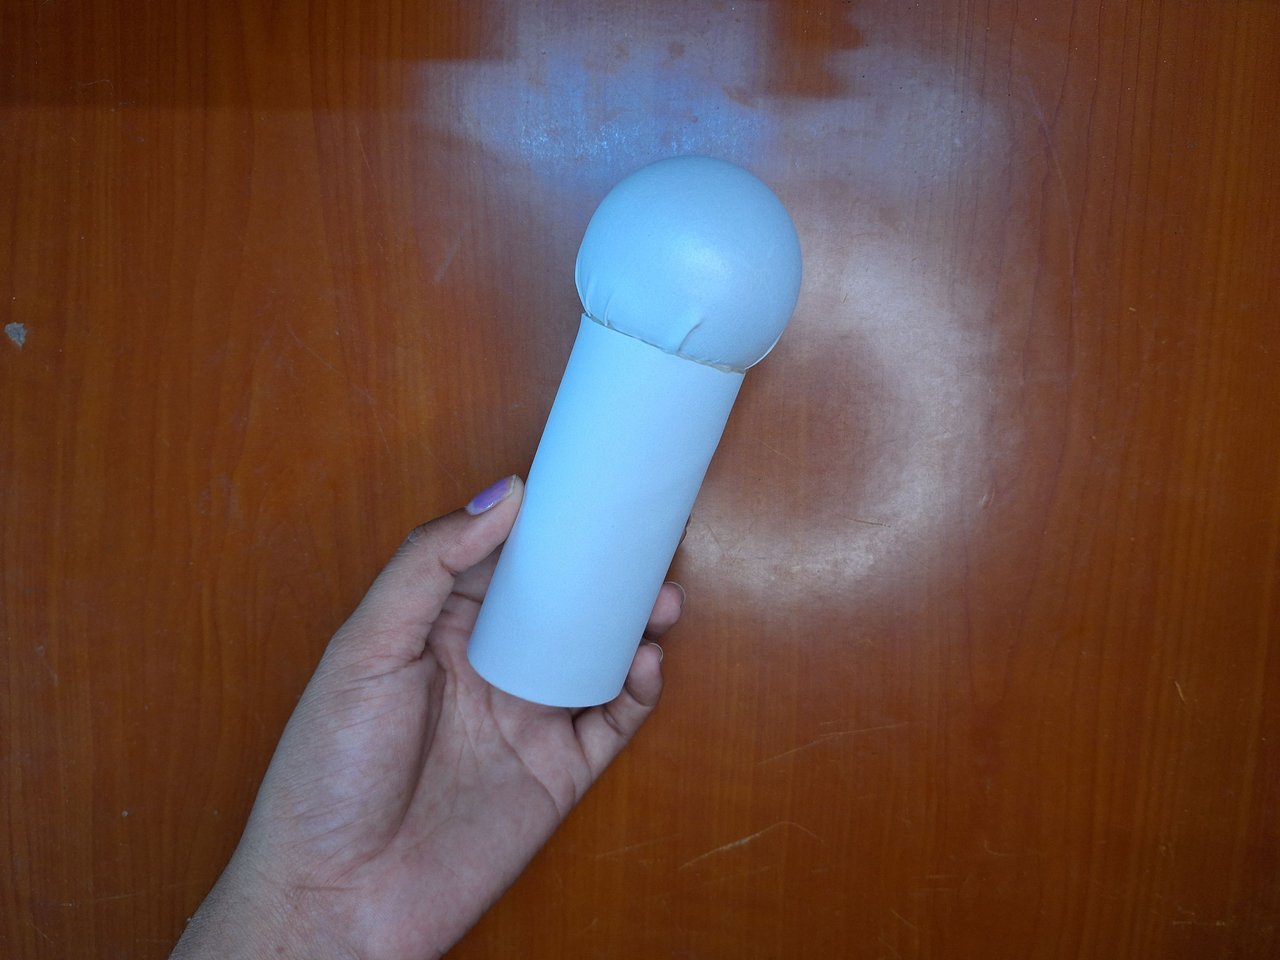 |
Join the two pieces, the head and the body.
Unir las dos piezas, la cabeza y el cuerpo.
 |  |
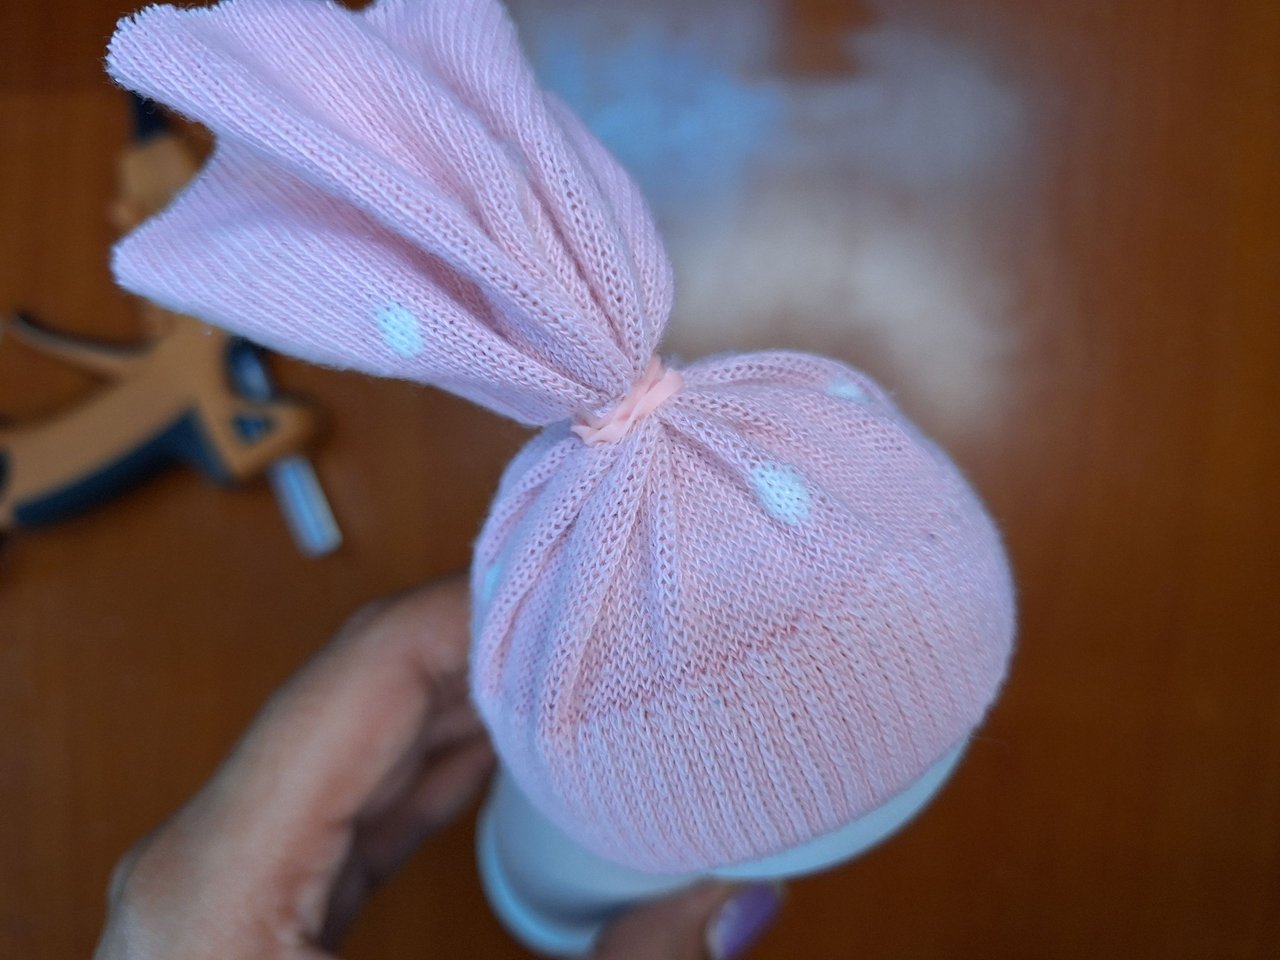 | 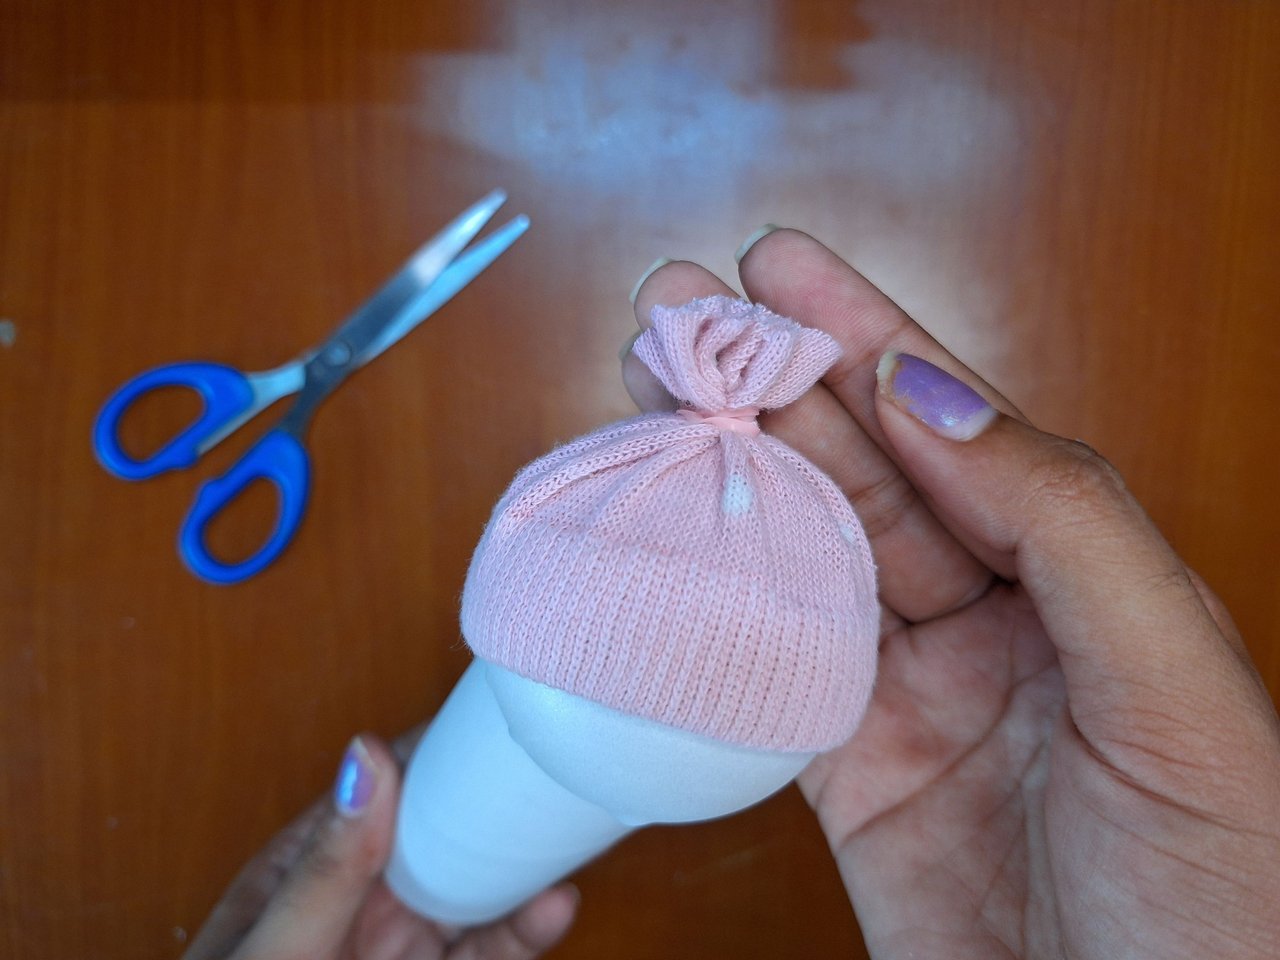 |
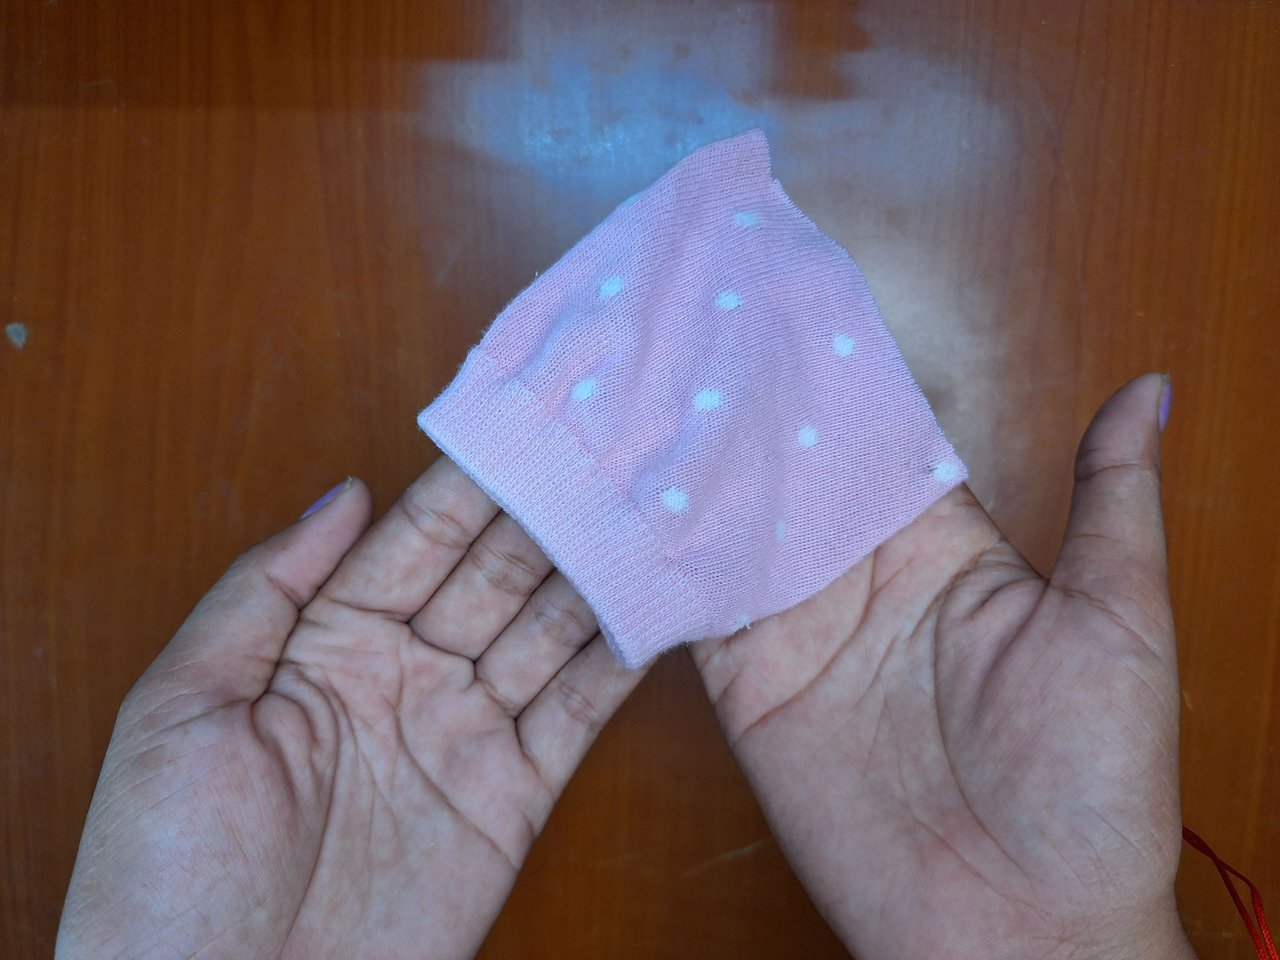
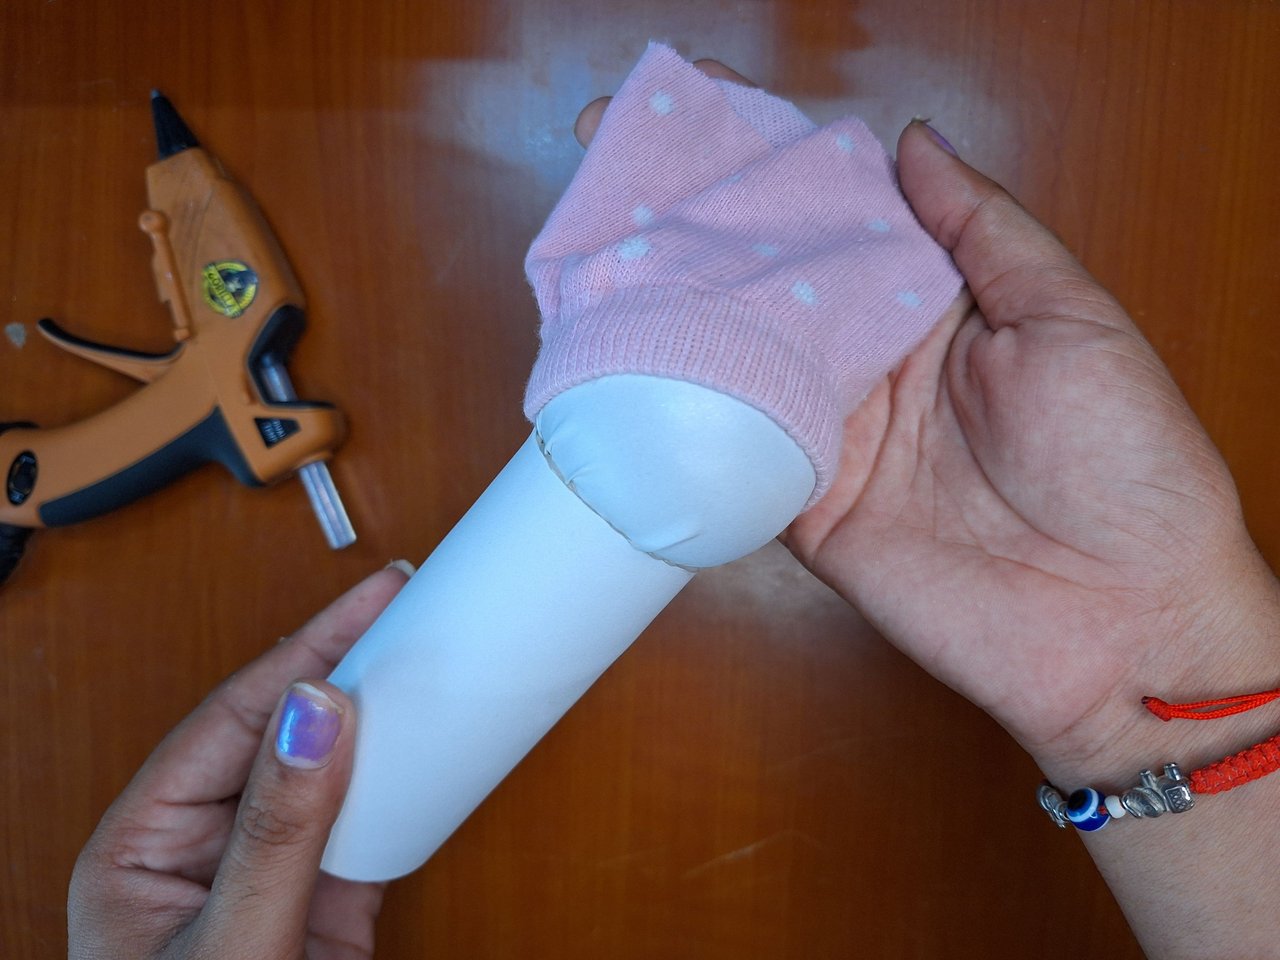
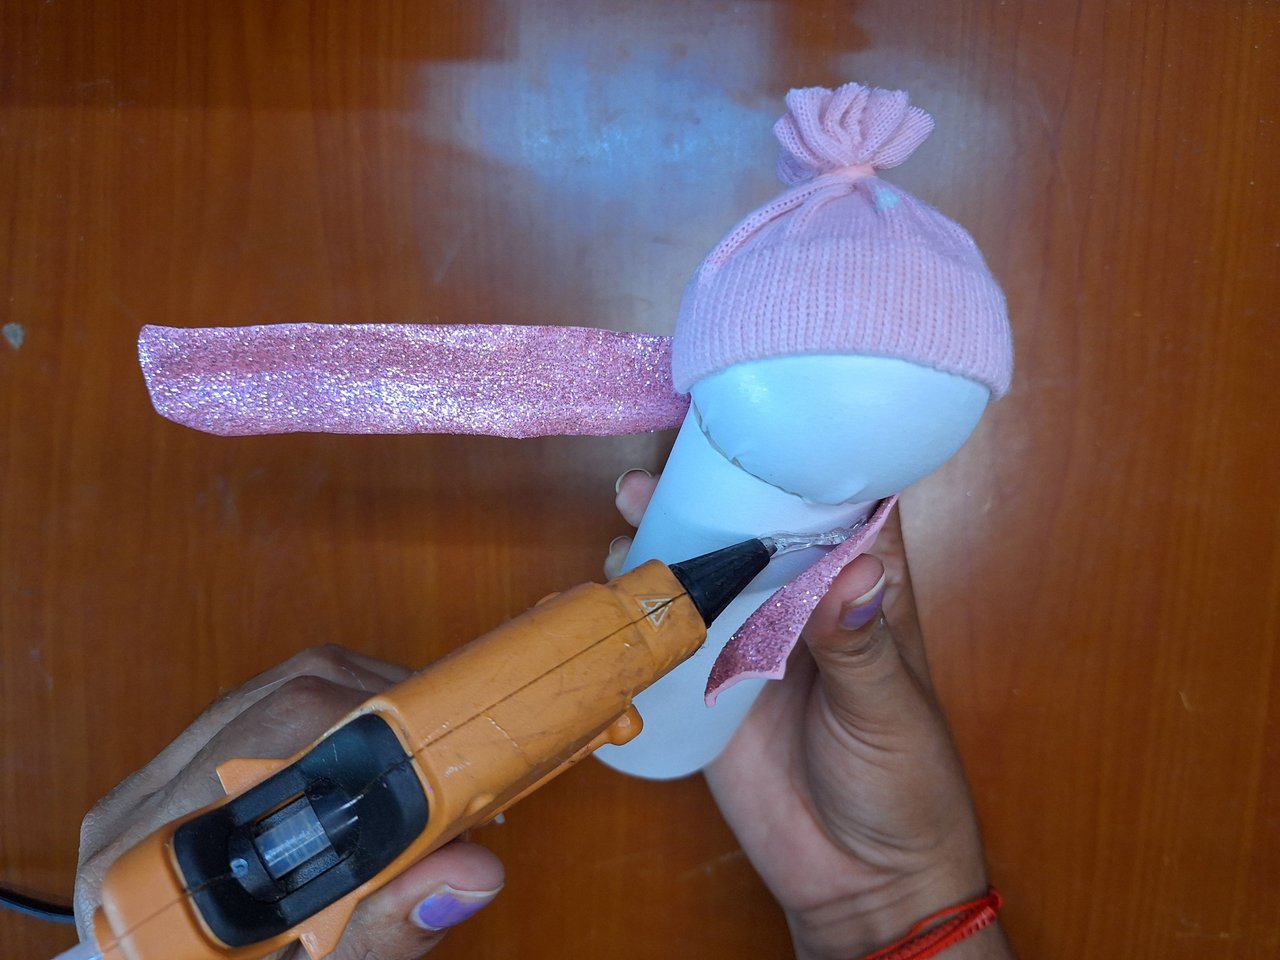
With a sock that you no longer use, make the doll's hat. To do this, chop the top part of the sock, place it on the head and glue all around the edge so that it does not slip. Take a hair tie or a thread and tie it. Then trim the excess leaving only one cm.
Con un calcetín que ya no utilices se elabora el gorro del muñeco, para ello se pica la parte superior del calcetín, se coloca en la cabeza y se pega en todo el borde para que no se resbale. Tomar una liga para el cabello o un hilo y amarrar. Luego se recorta el excedente dejando solo un cm.
 |  |  |
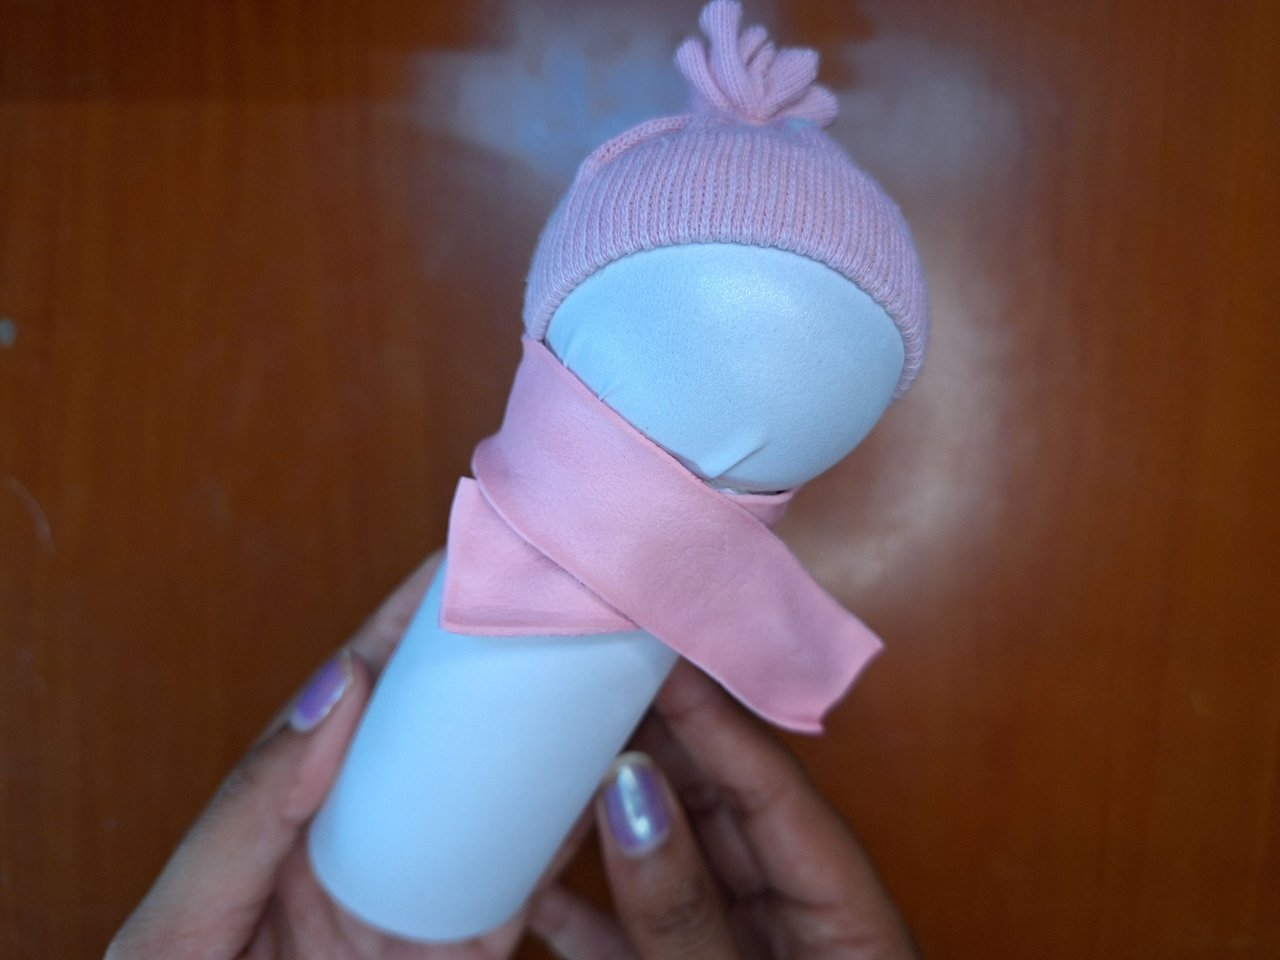 | 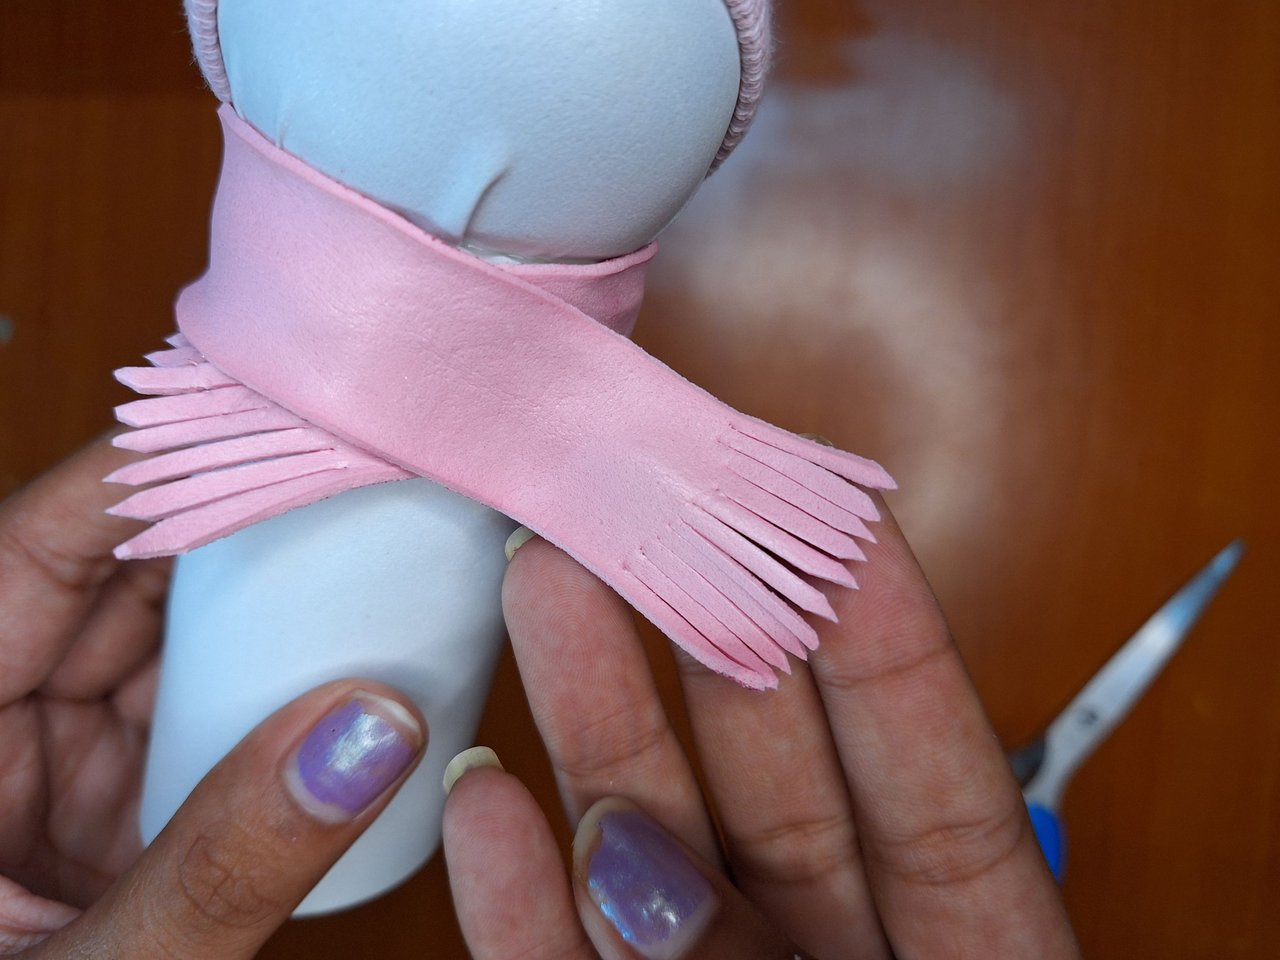 |
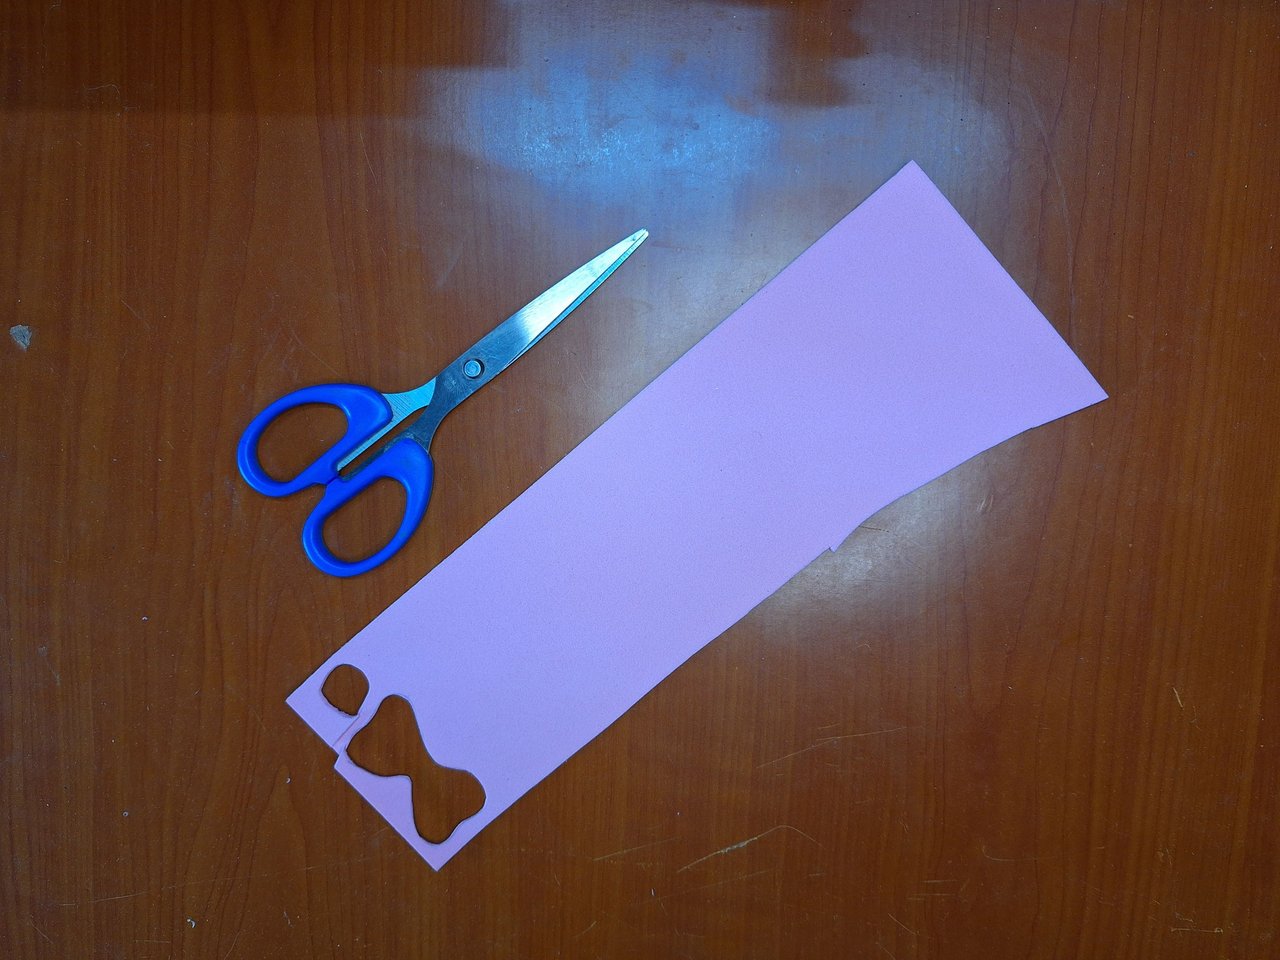
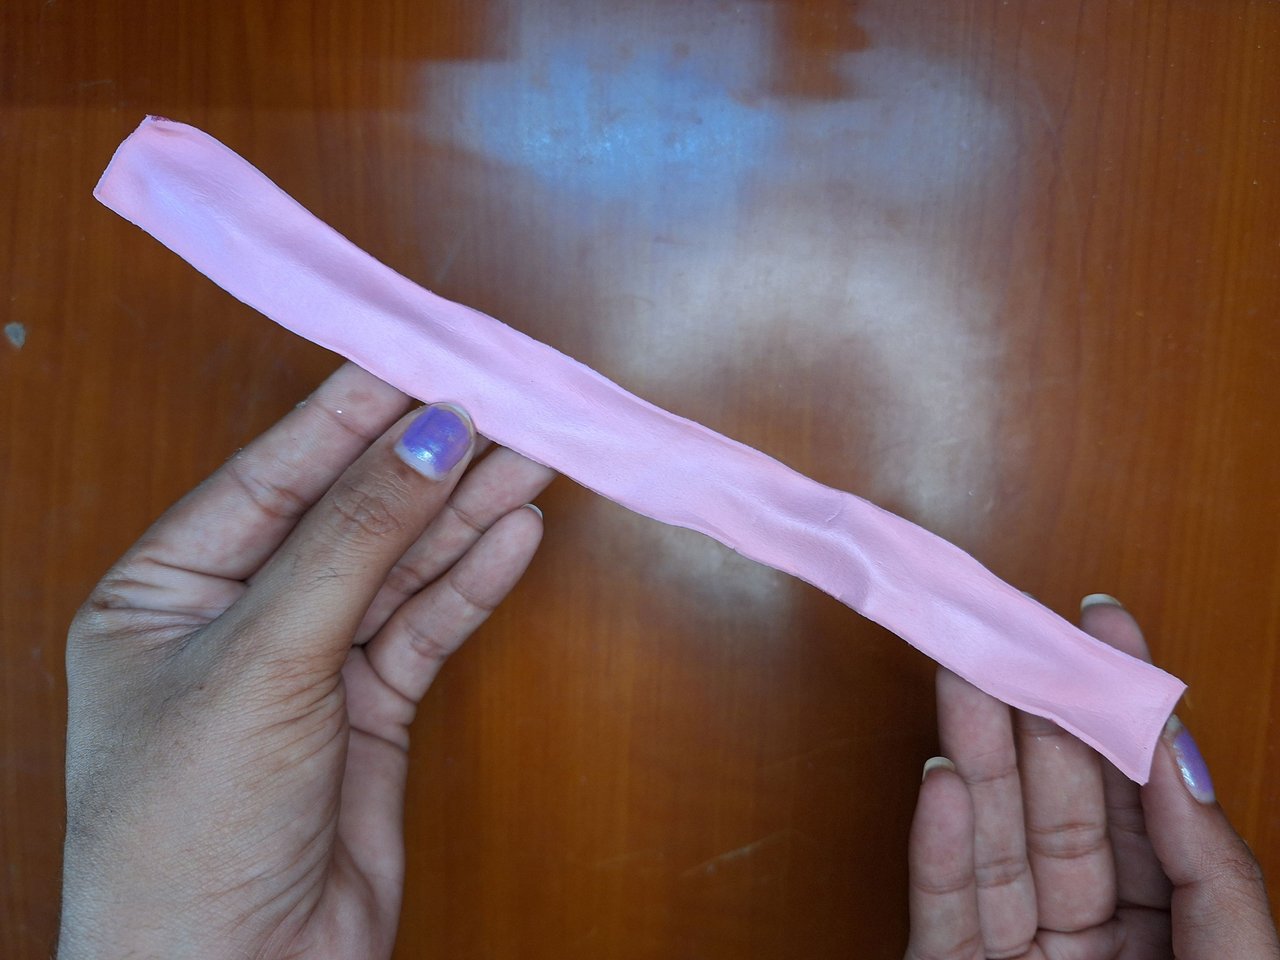
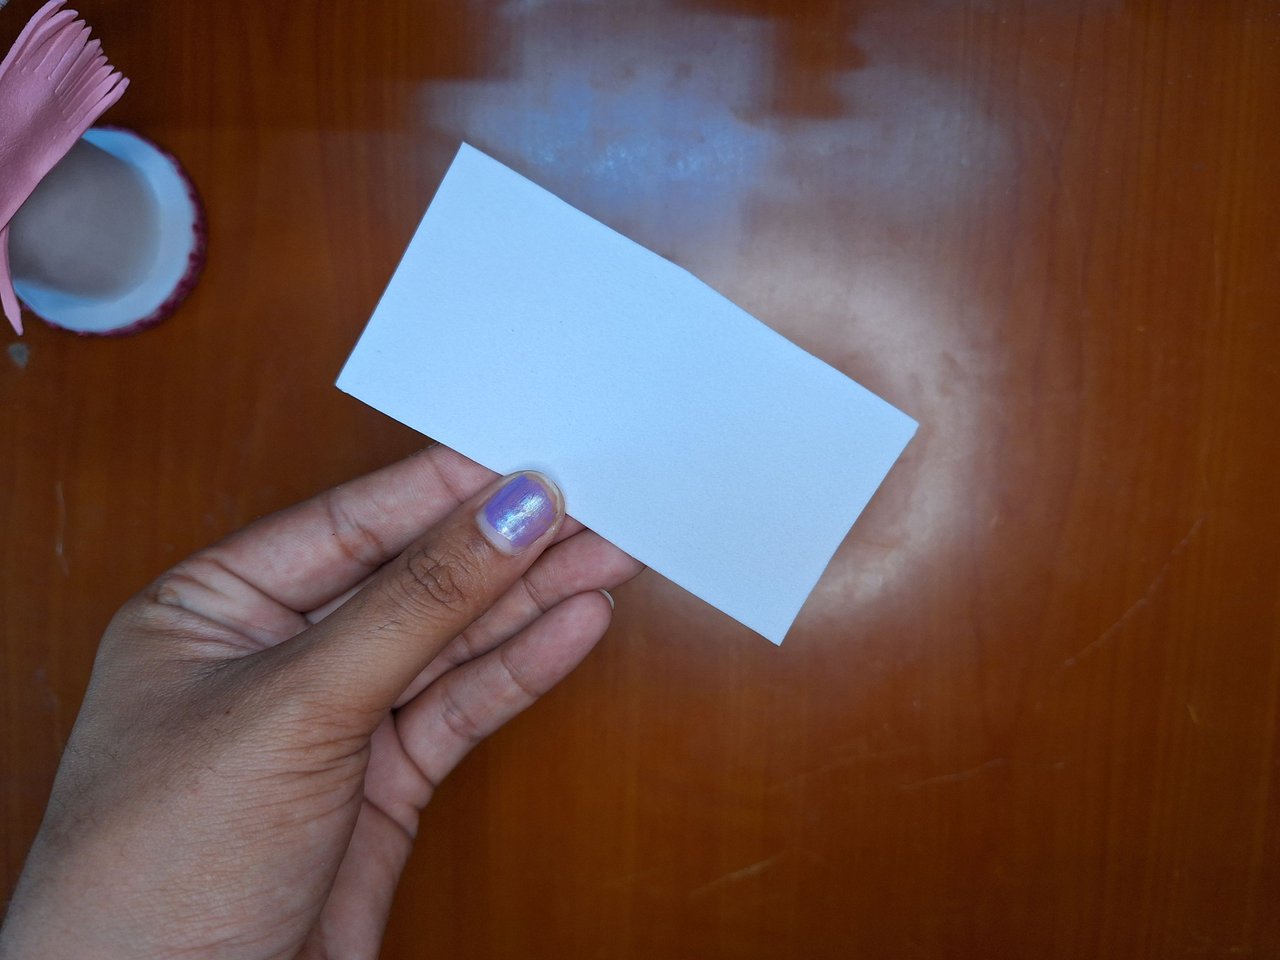
For the scarf you need a thin rectangle of foami, you can use any color you want, I used pink to match the hat. After gluing around the neck, pinch the ends to give it similarity with the threads that hang on the scarves.
Para la bufanda se necesita un rectángulo fino de foami, puedes utilizar los colores que desees, yo utilicé el color rosa para que combinara con el gorro. Luego de pegar alrededor del cuello, picar las puntas para darle similitud con los hilos que cuelgan en las bufandas.
 |  |  |
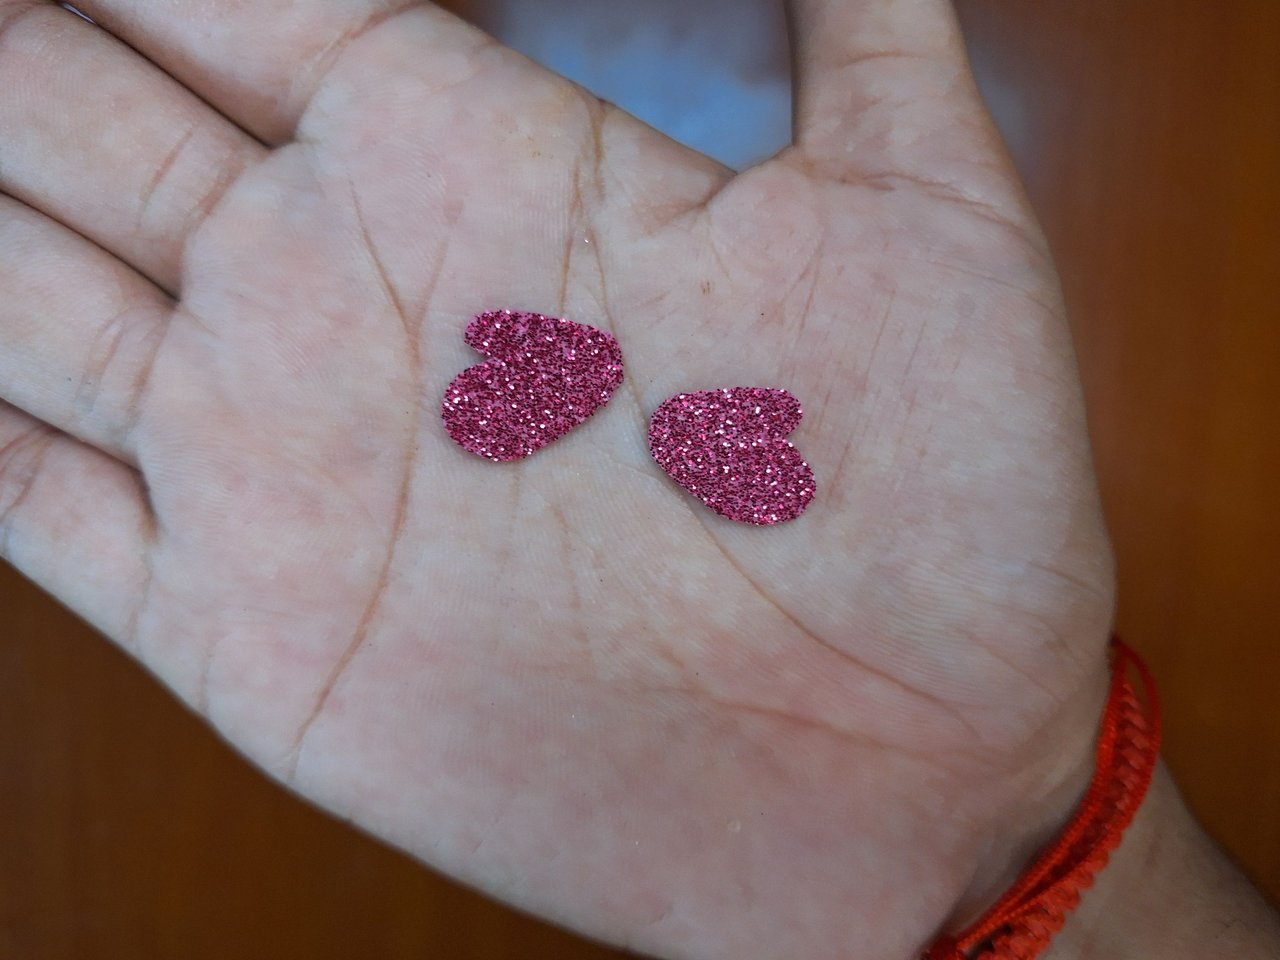 | 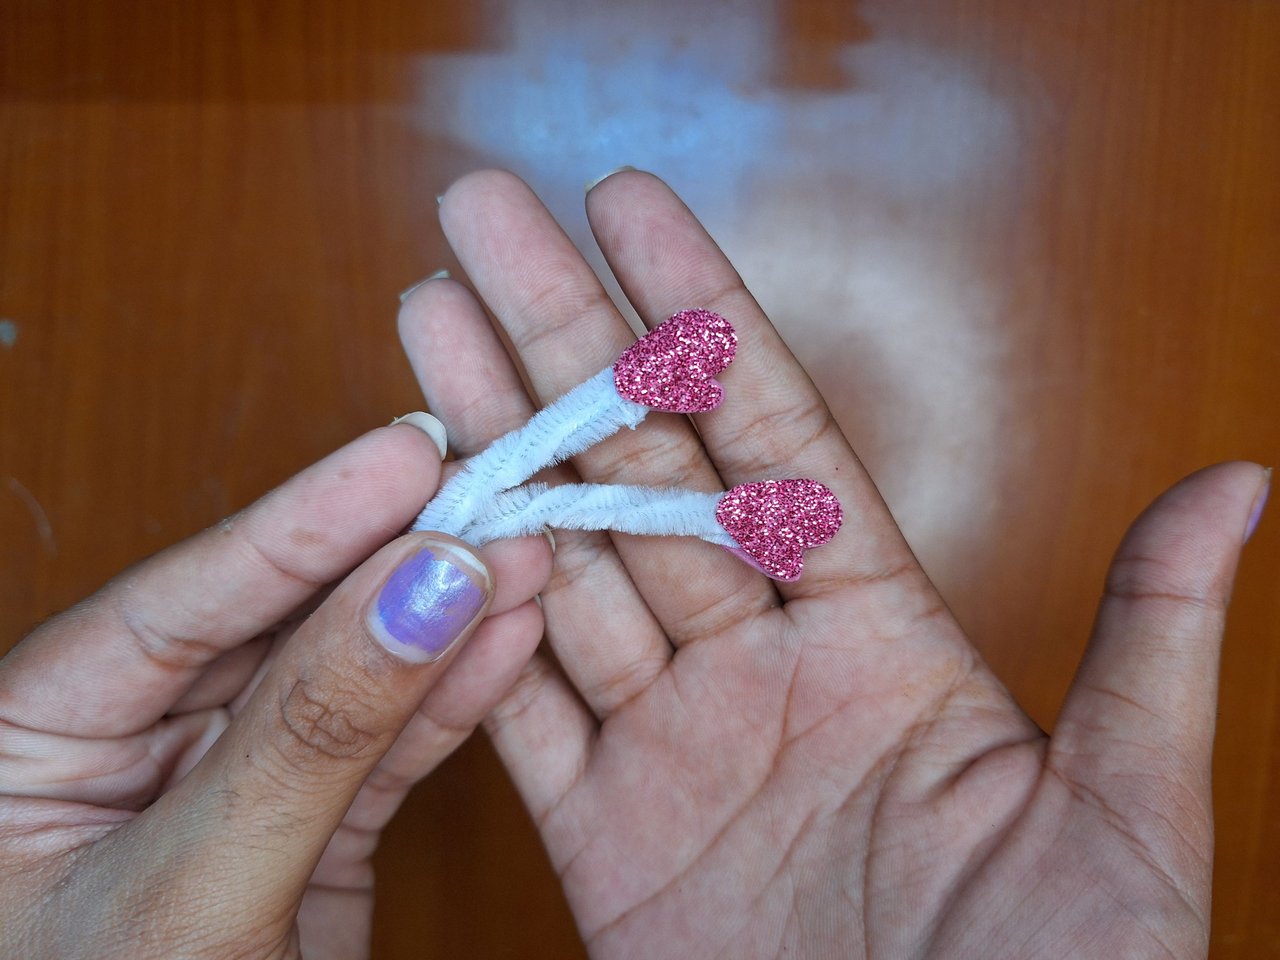 | 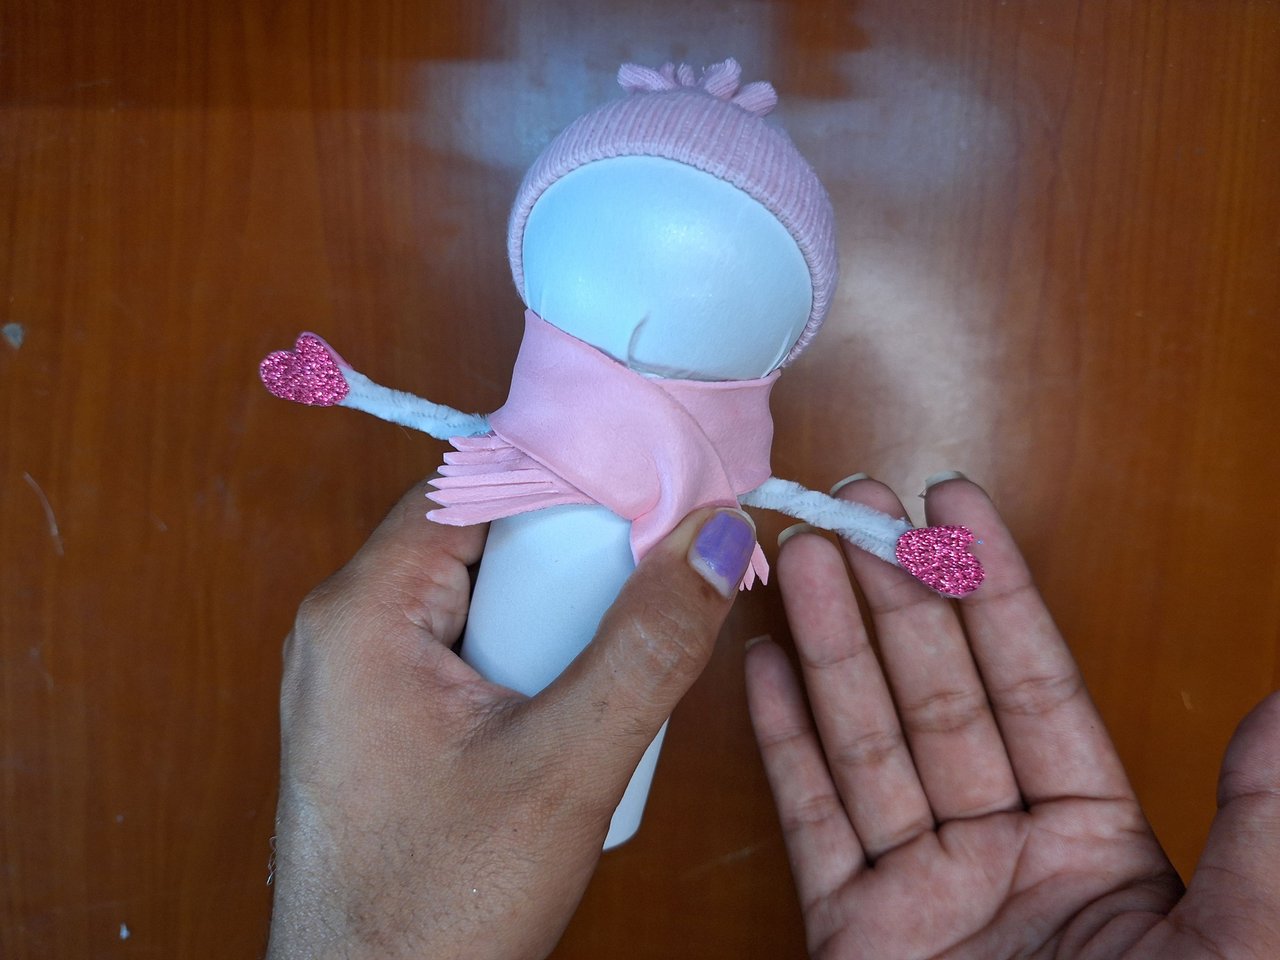 |
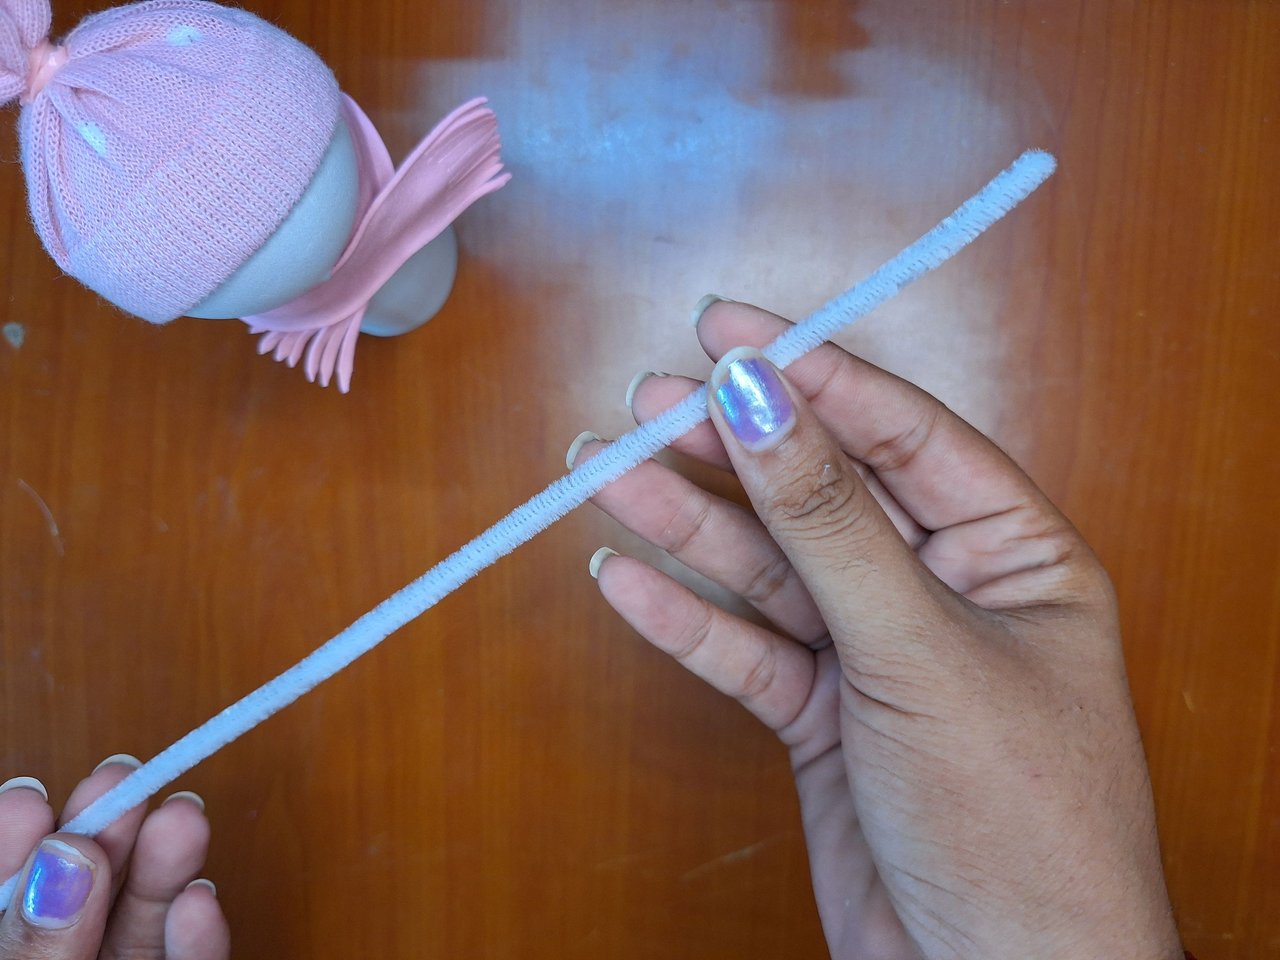
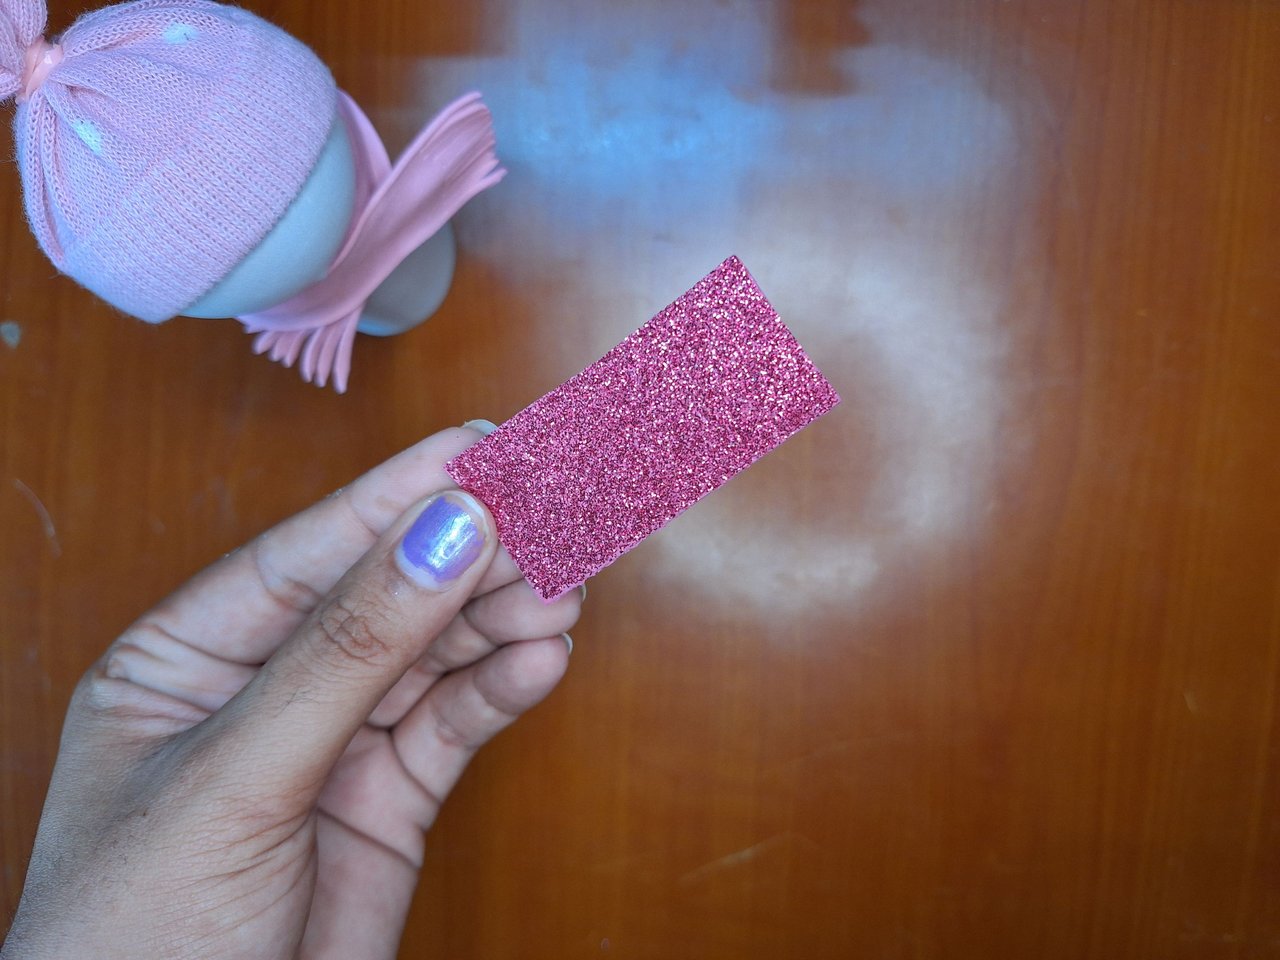
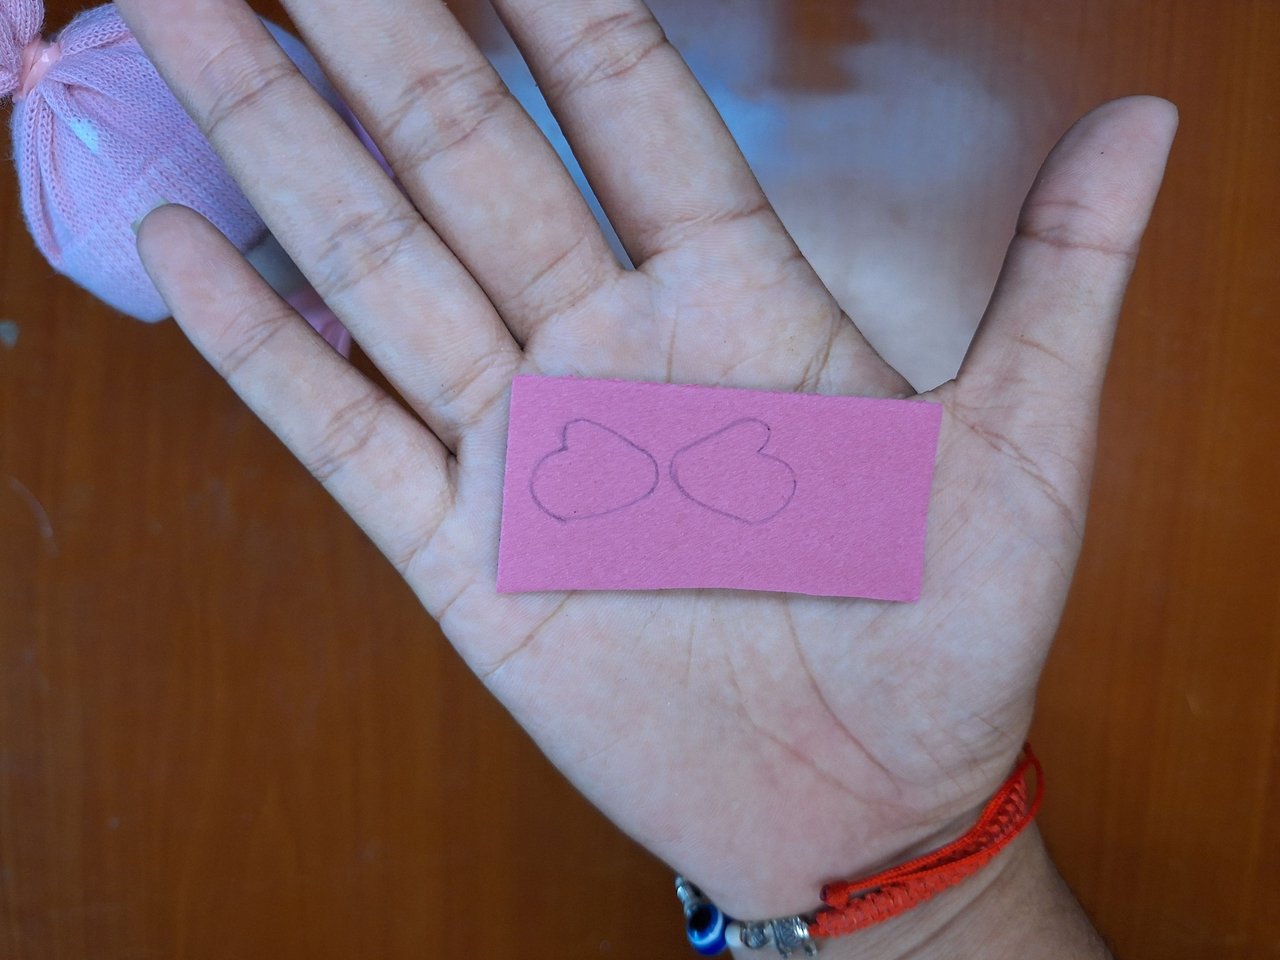
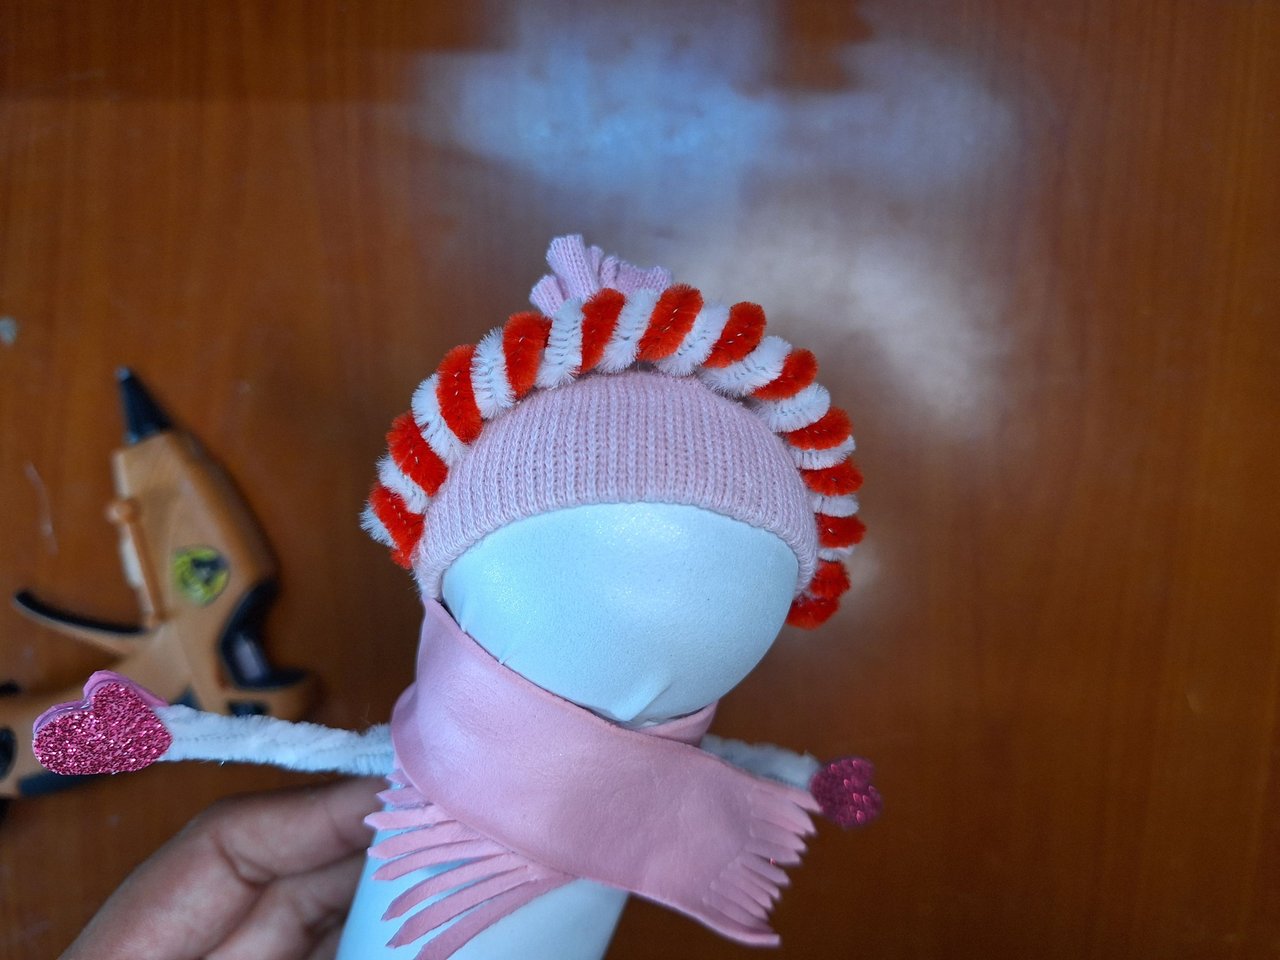
The arms are made with a white pipe cleaner, cut into 5 cm pieces, I put them double so that they have more thickness, that is, I cut 10 cm and folded in half. With pink frosted foami draw the little hands, cut out and glue.
Los brazos se hacen con un limpiapipa blanco, se cortan en piezas de 5 cm, yo las puse dobles para que tuvieran mayor grosor, o sea, corté 10 cm y doblé por la mitad. Con foami escarchado rosa dibujar las manitos, recortar y pegar.
 |  |  |
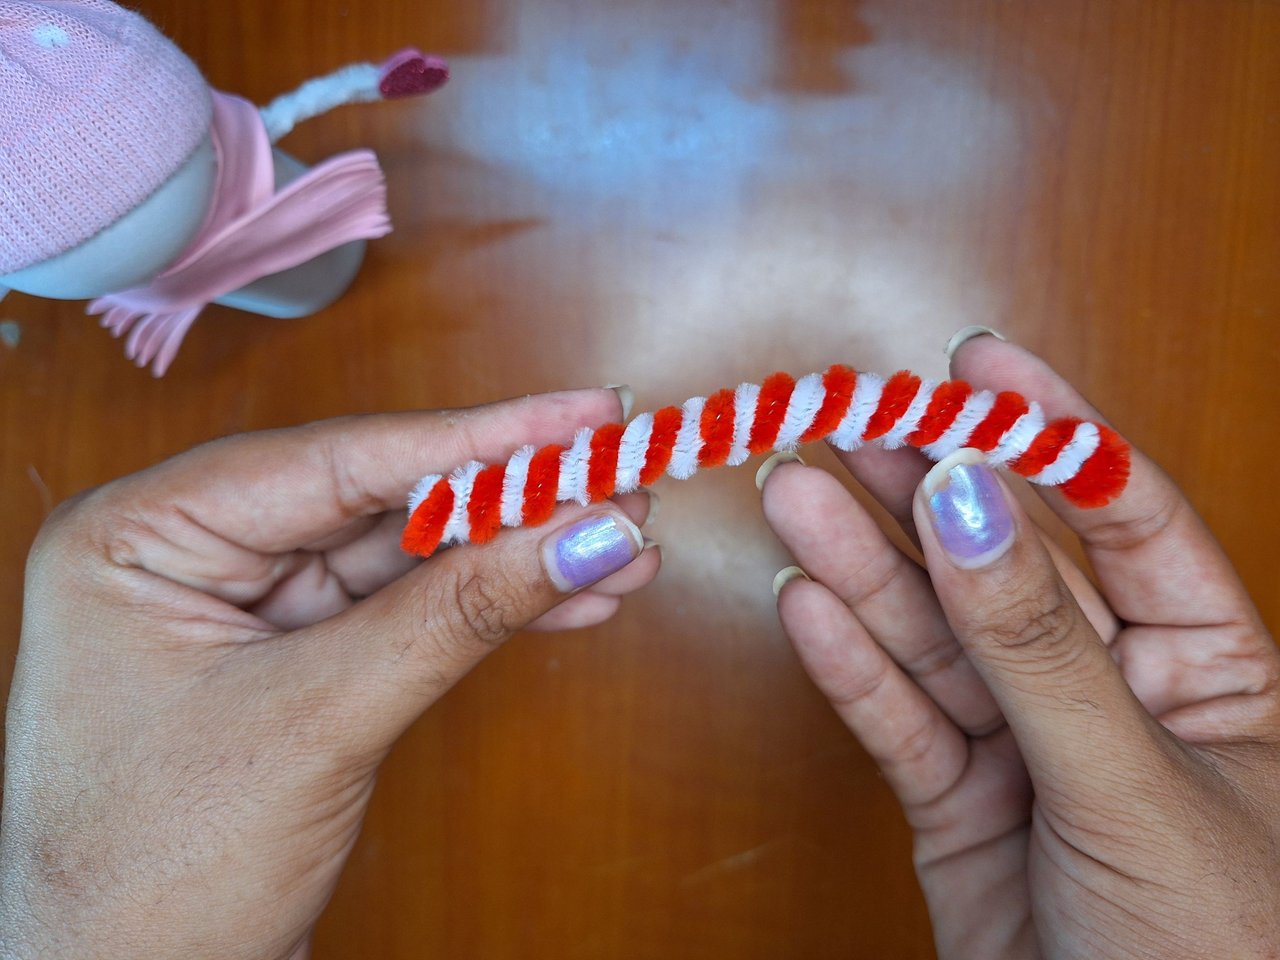 |  | 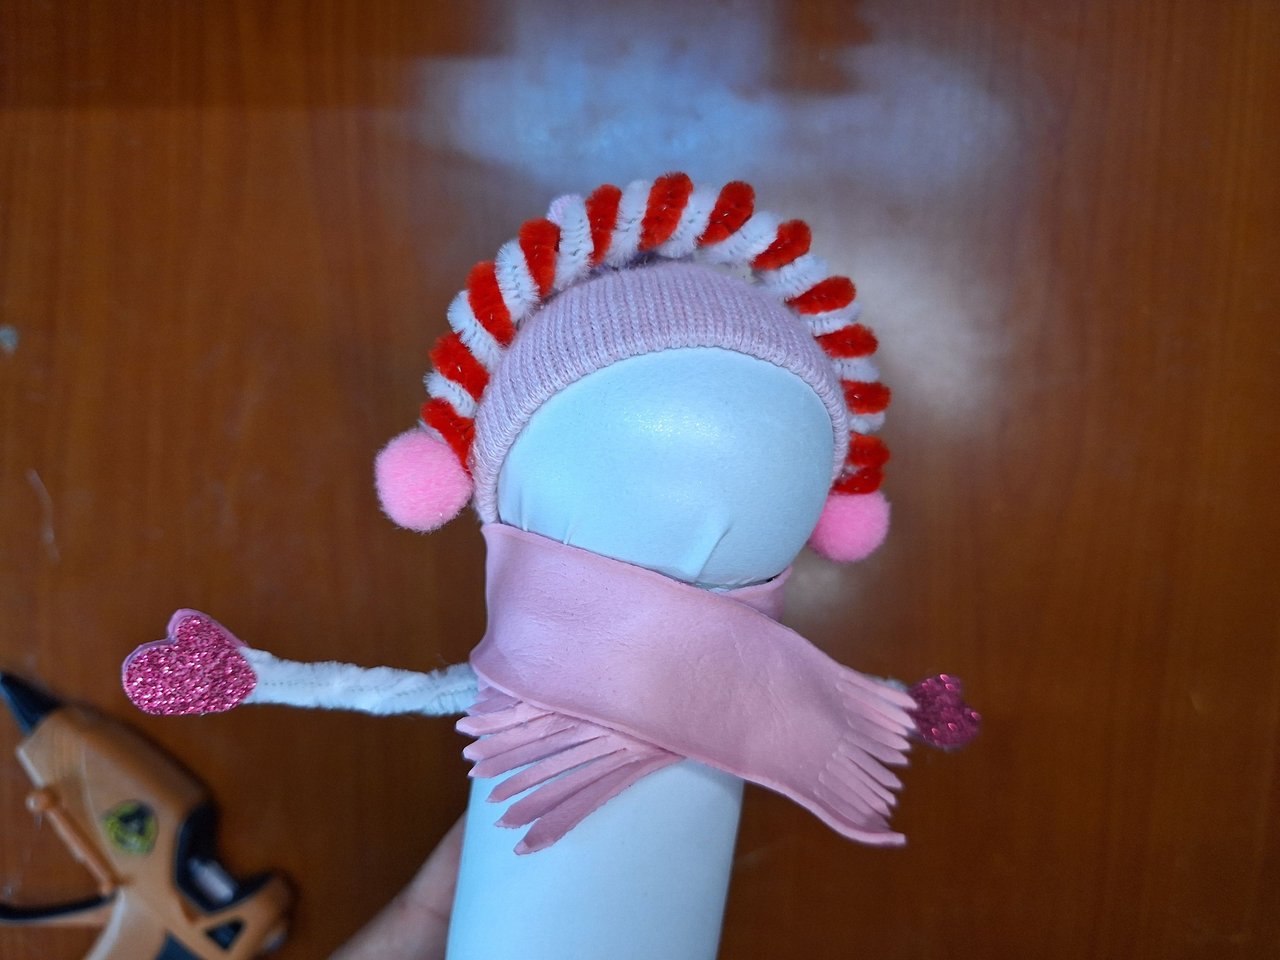 |
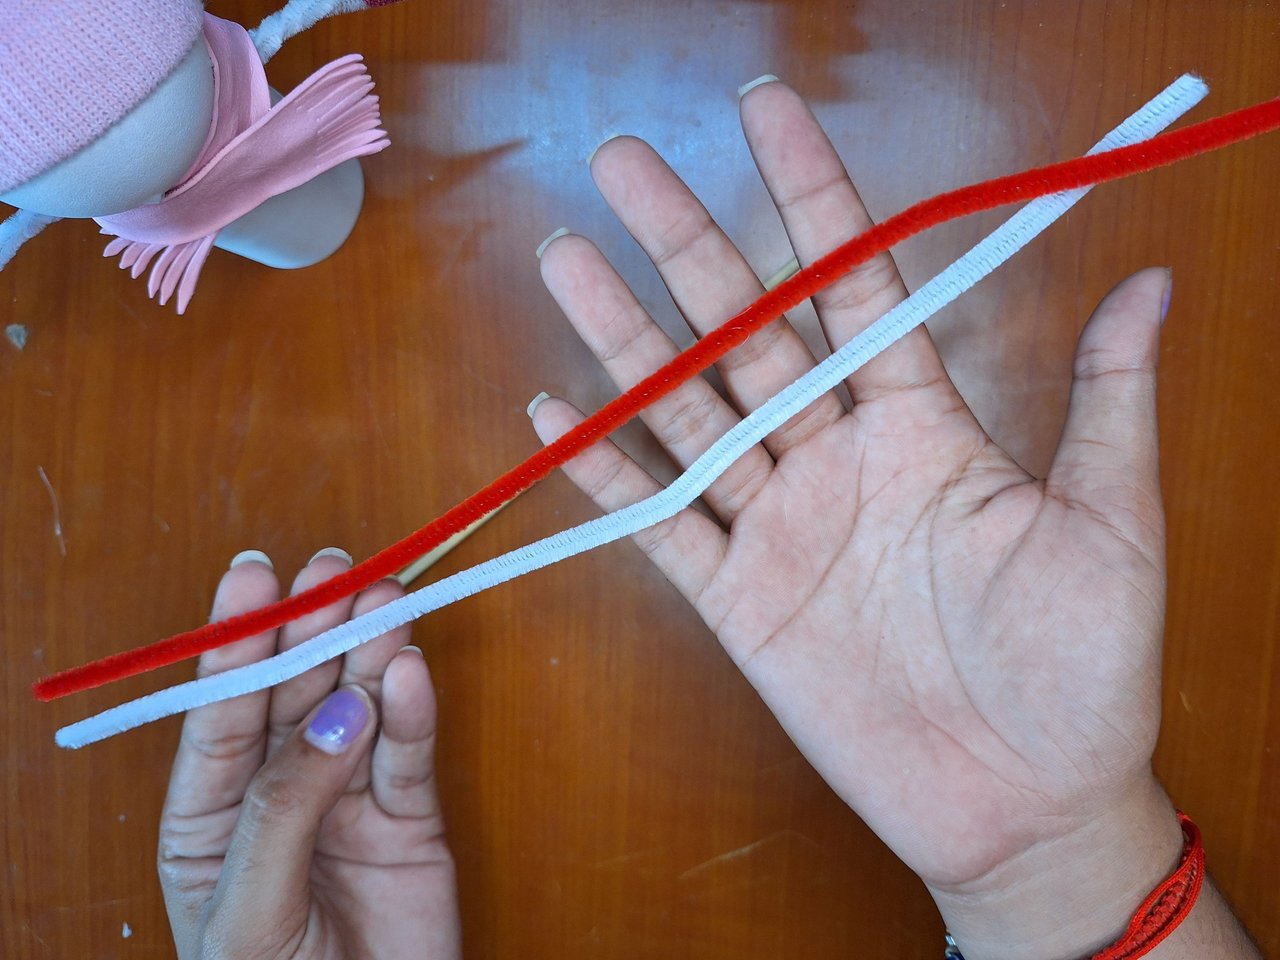
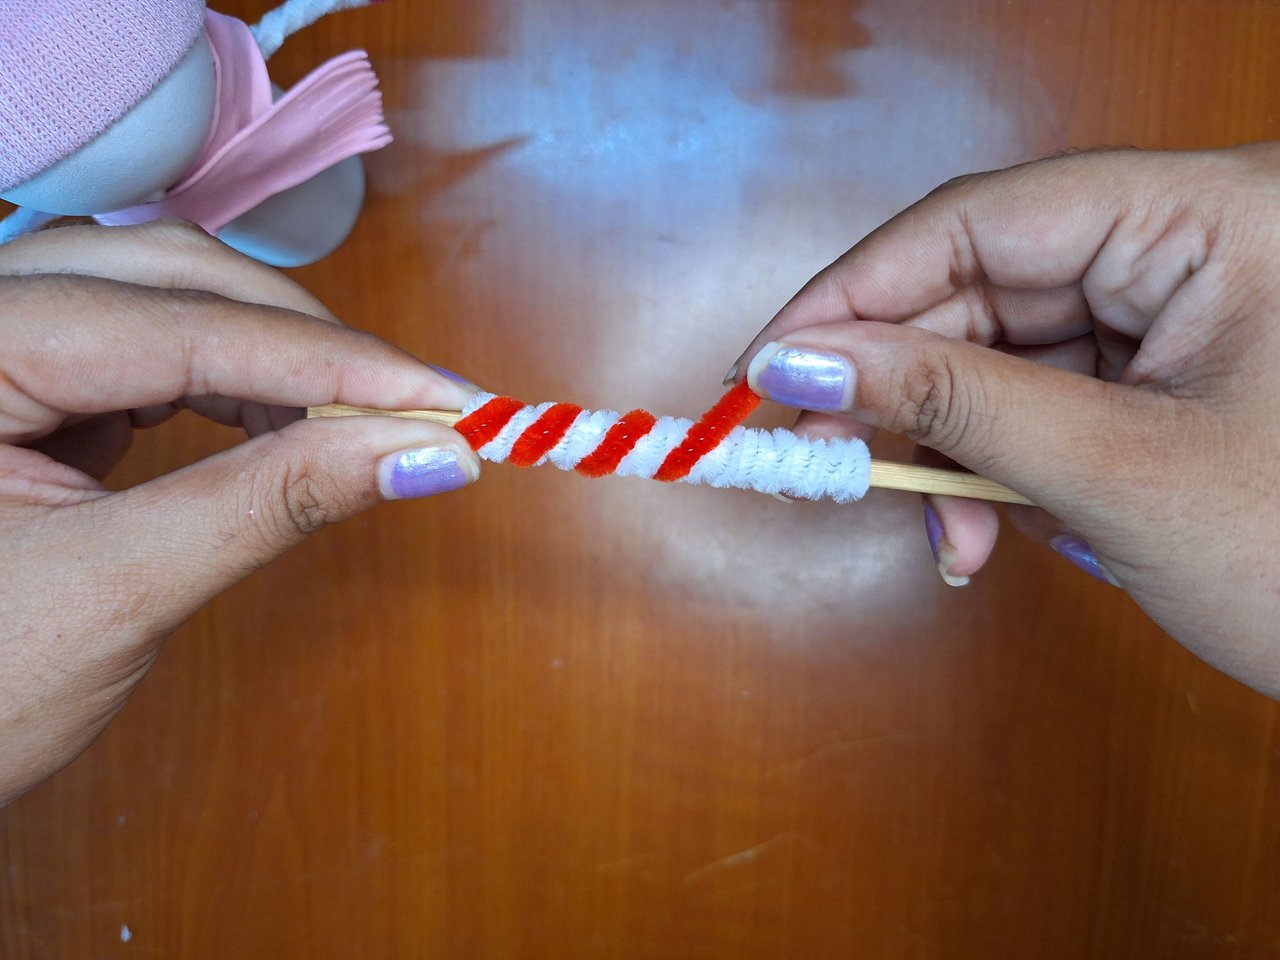
The ear muffs are very easy, they are made with 2 pipe cleaners and 2 pompoms. Take one pipe cleaner and wrap it around a skewer stick, then wrap the other one on top but further apart. Glue on top of the hat and place the pompoms on the ends.
Las orejeras son muy fáciles, se elaboran con 2 limpiapipas y 2 pompones. Tomar un limpiapipa y envolver en un palito de brocheta, luego el otro se envuelve encima pero más separado. Pegar encima del gorro y colocar los pompones en los extremos.
 |  |
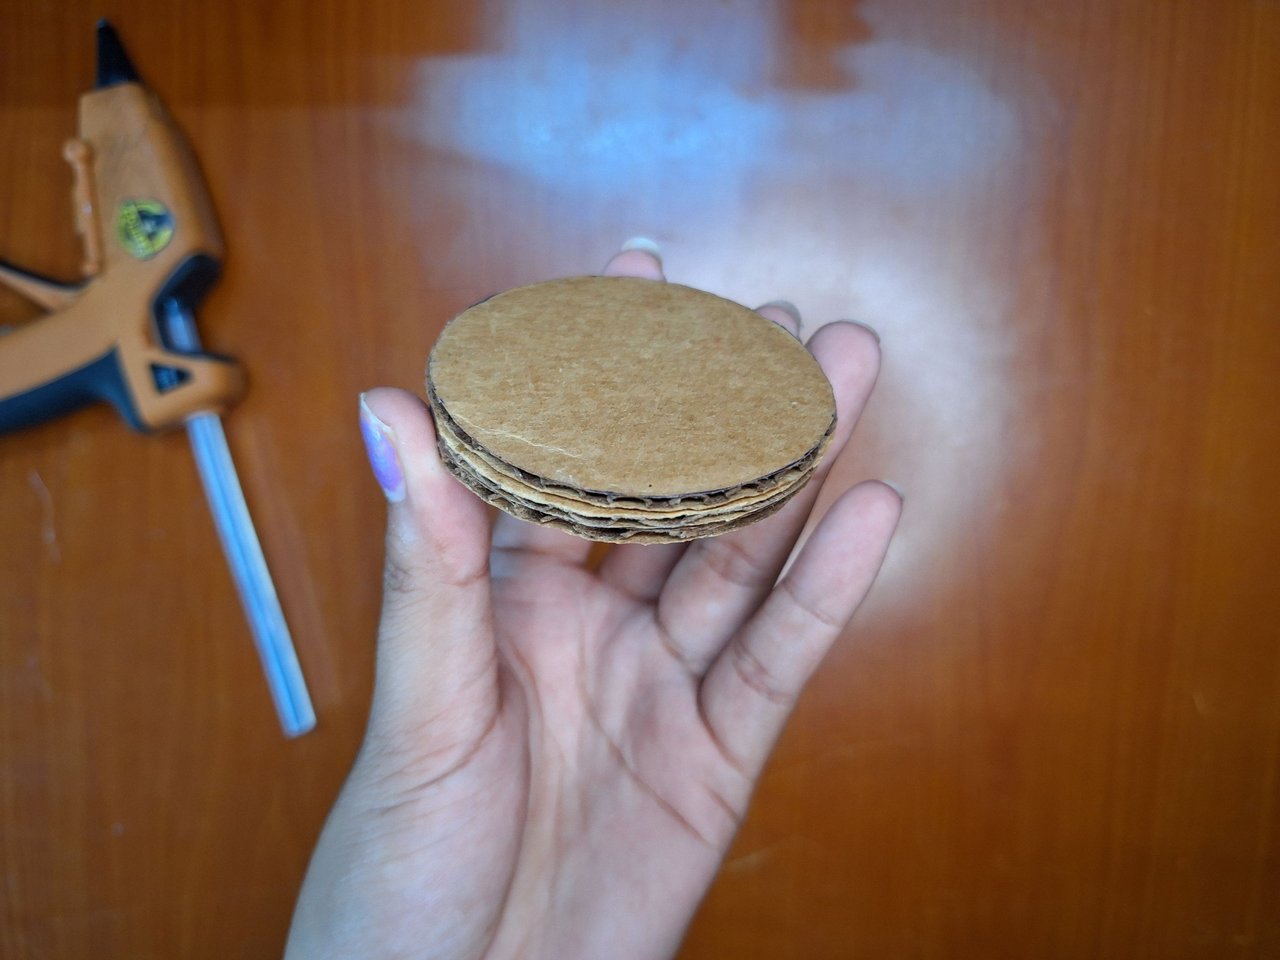 | 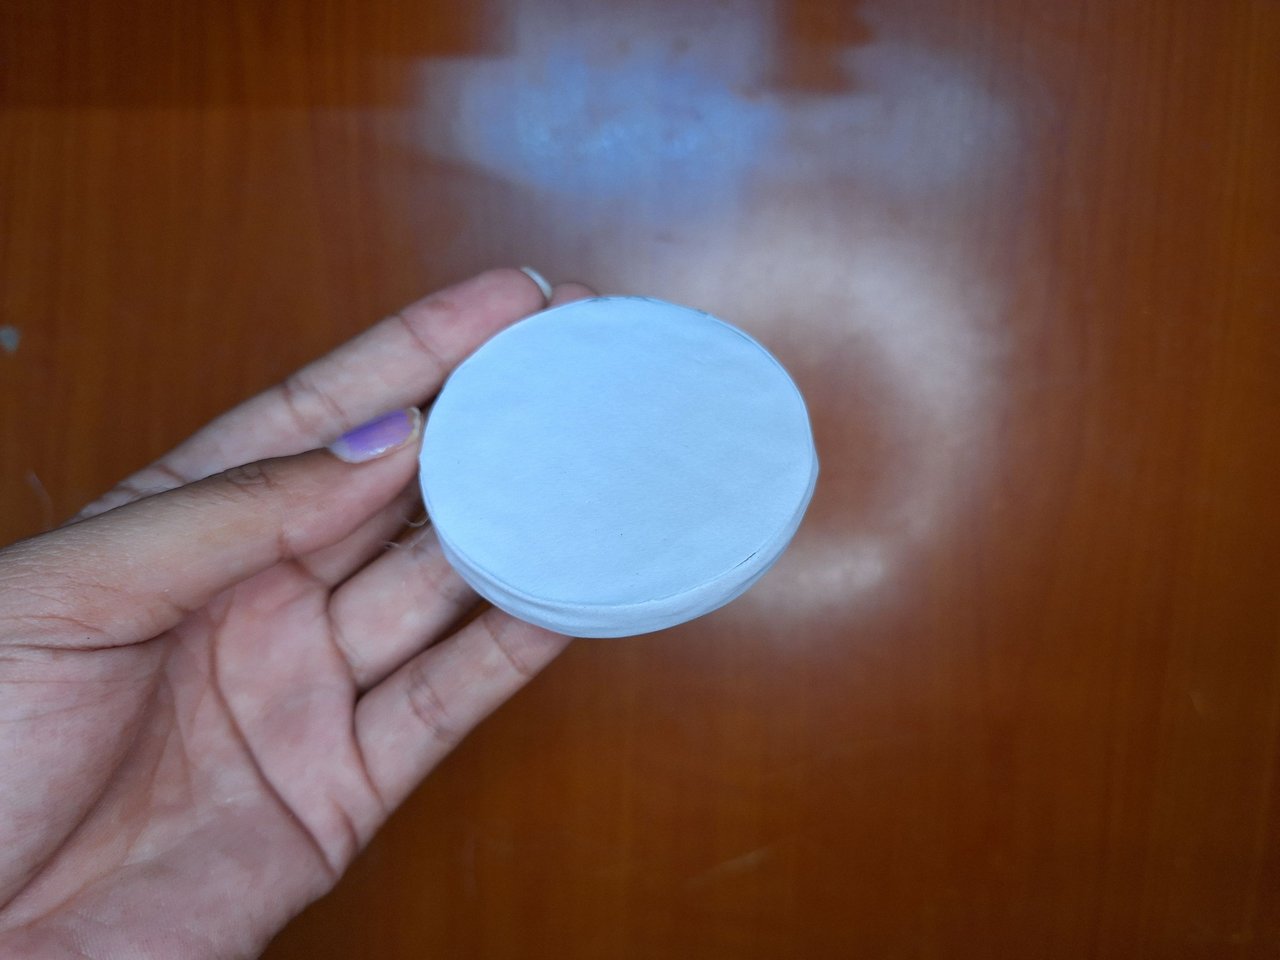 |
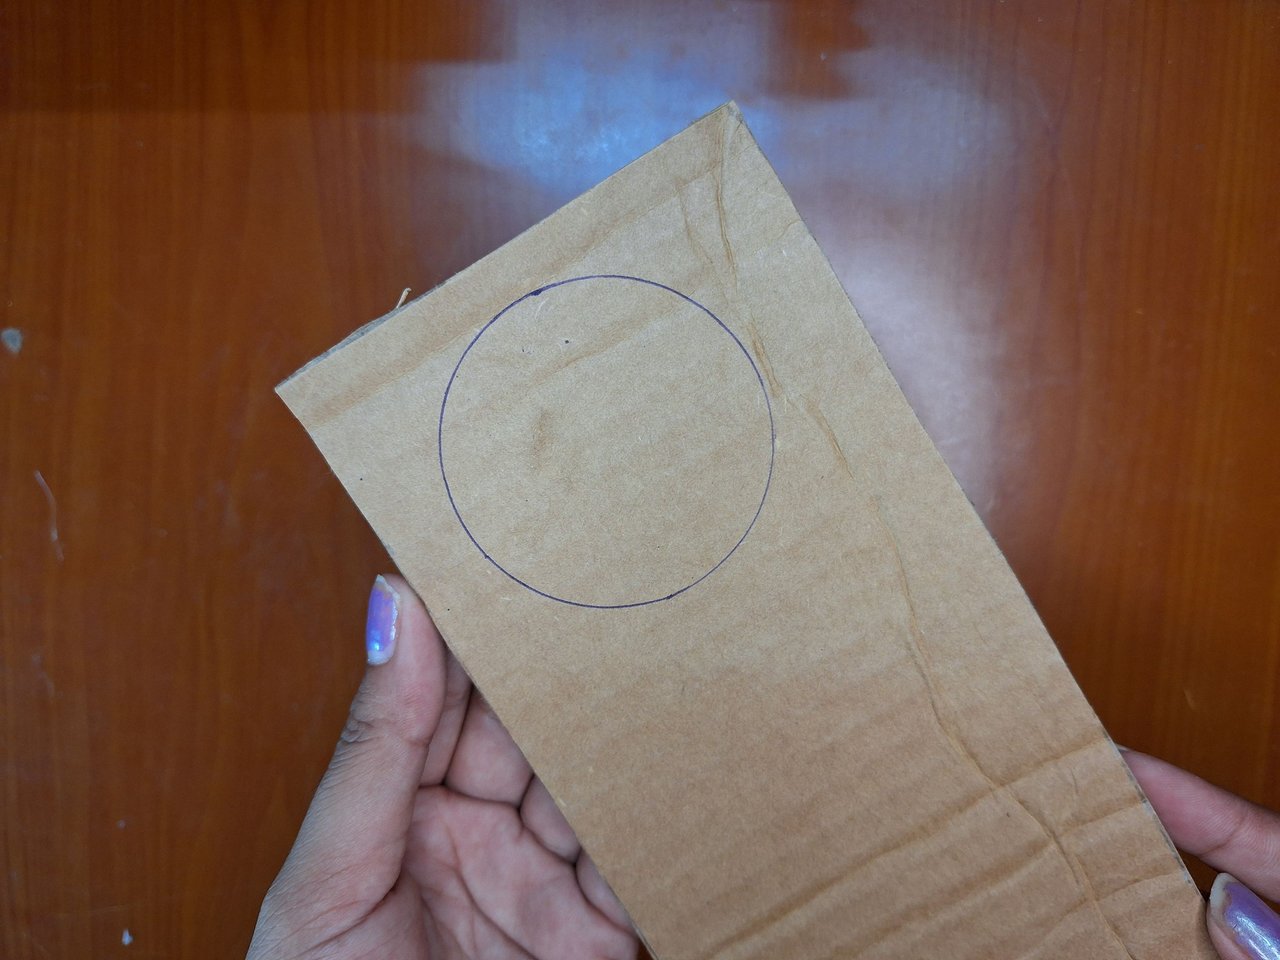
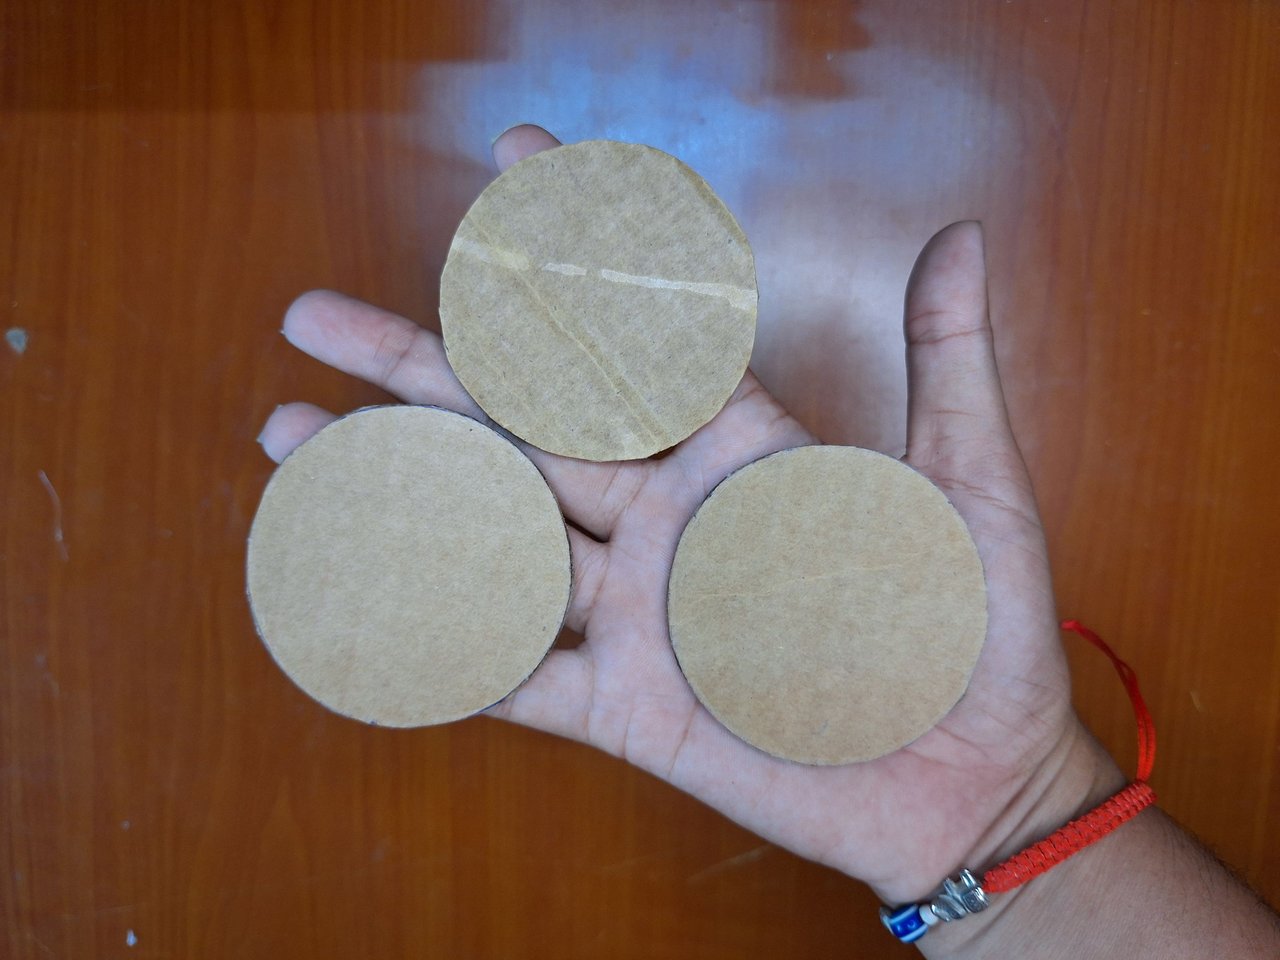
For the base, mark a circle on thick cardboard, make three identical replicas and glue one on top of the other to give it more height. Then cover it with white foami.
Para la base marcar en un cartón grueso un círculo, hacer tres réplicas iguales y pegar una encima de otra para darle más altura. Luego forrarla con foami blanco.
 |  |
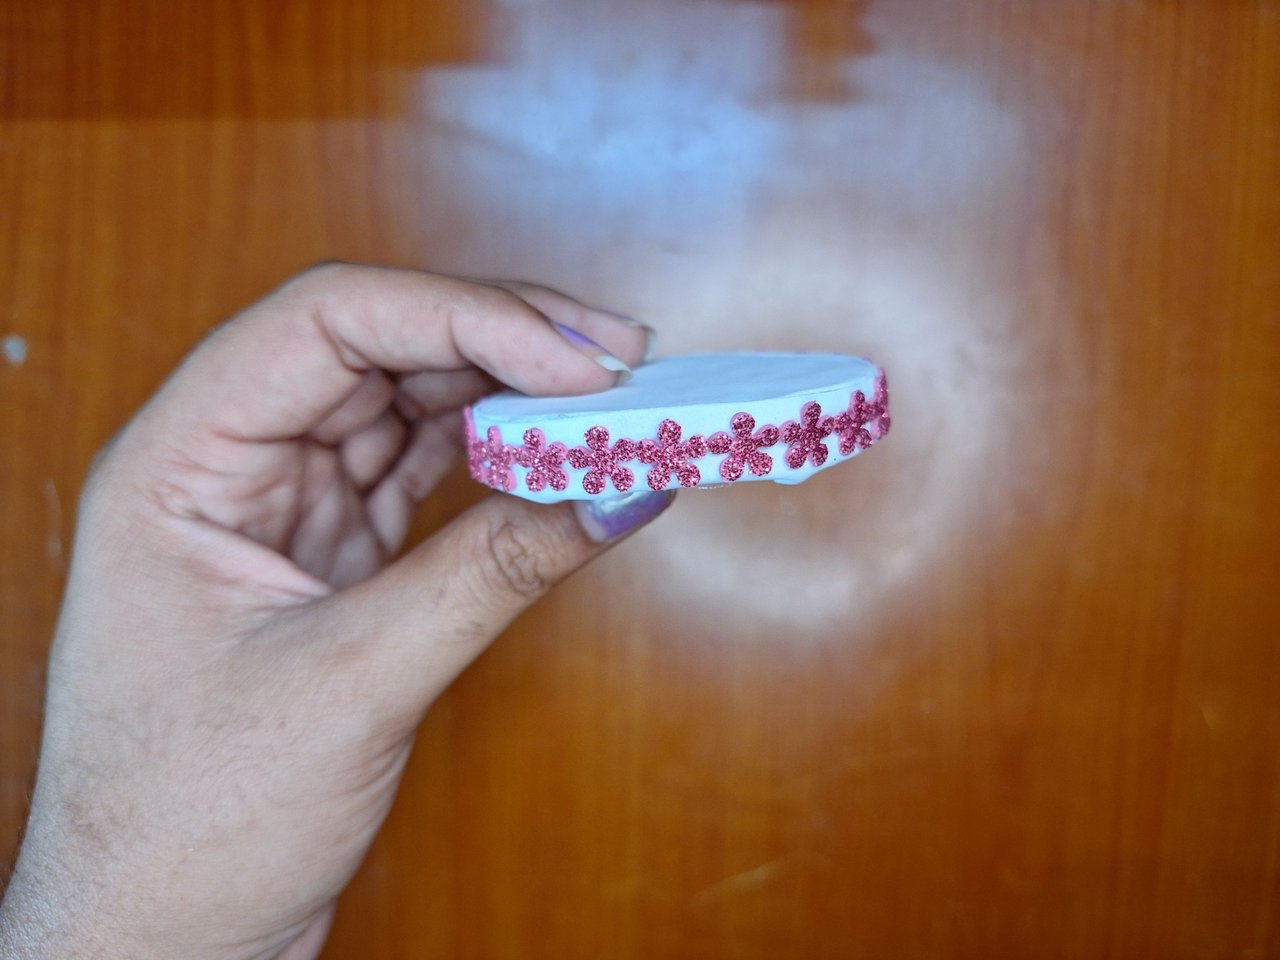 | 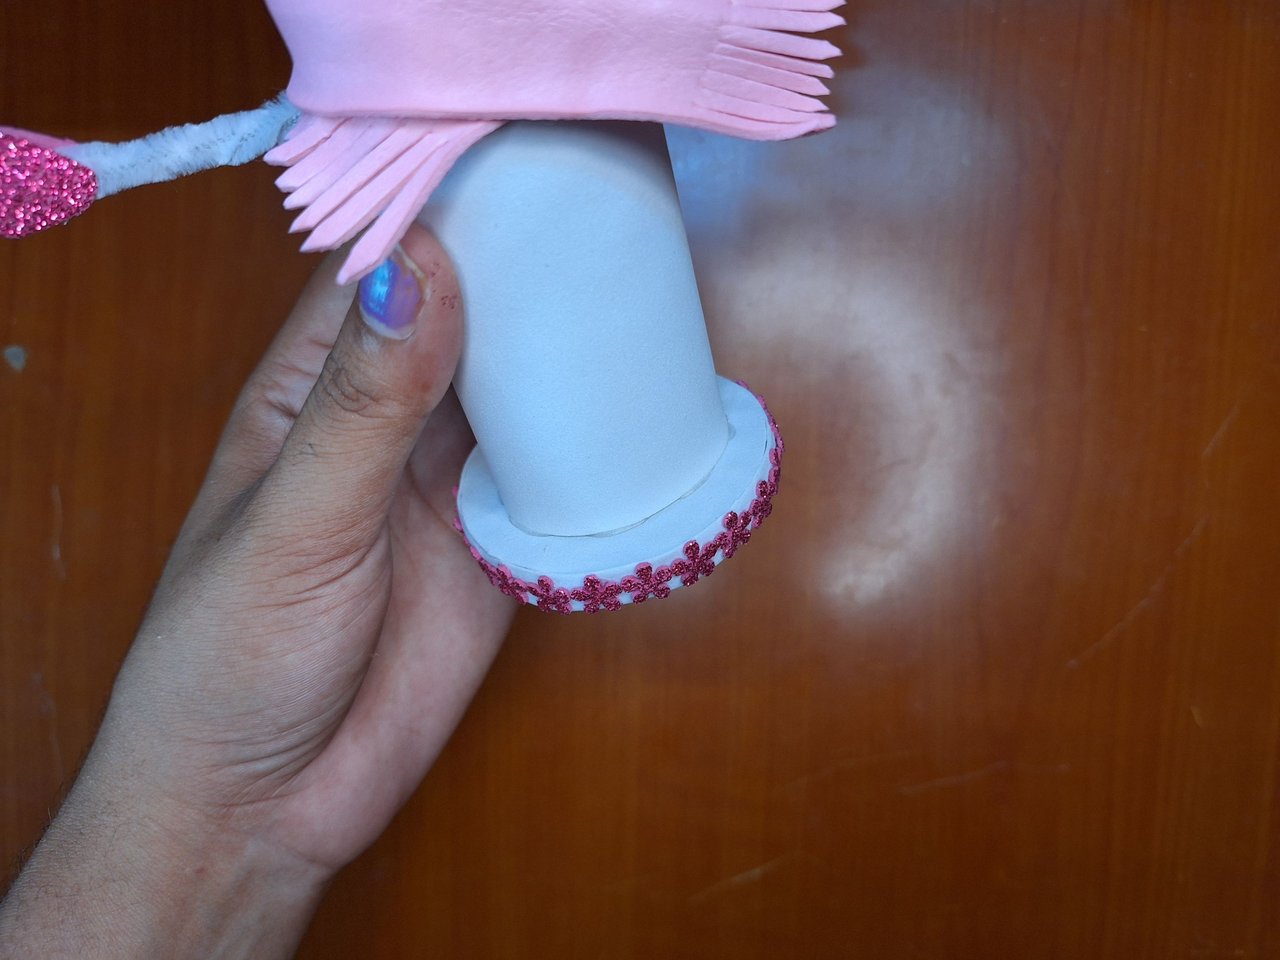 |
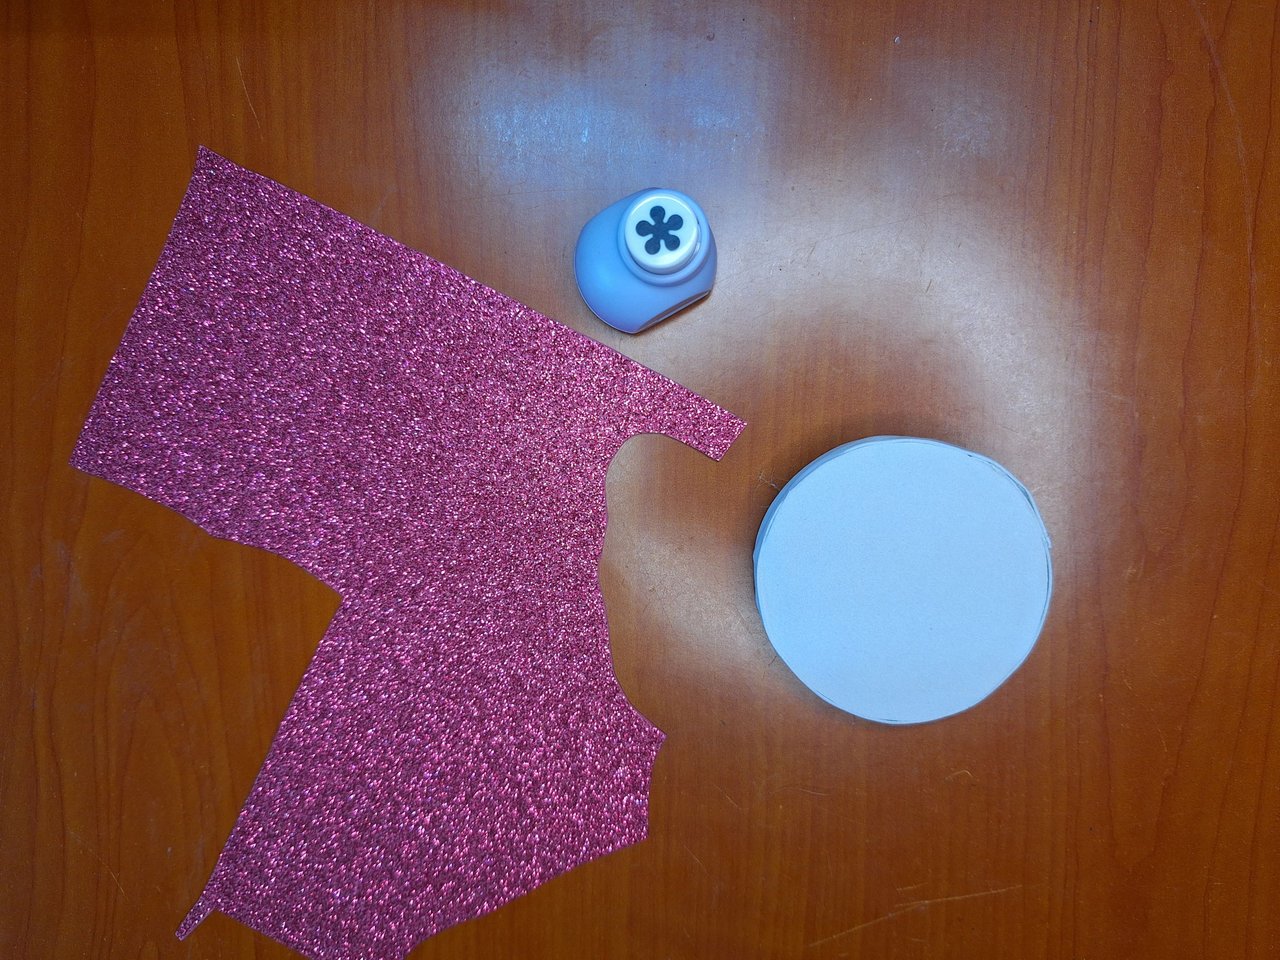
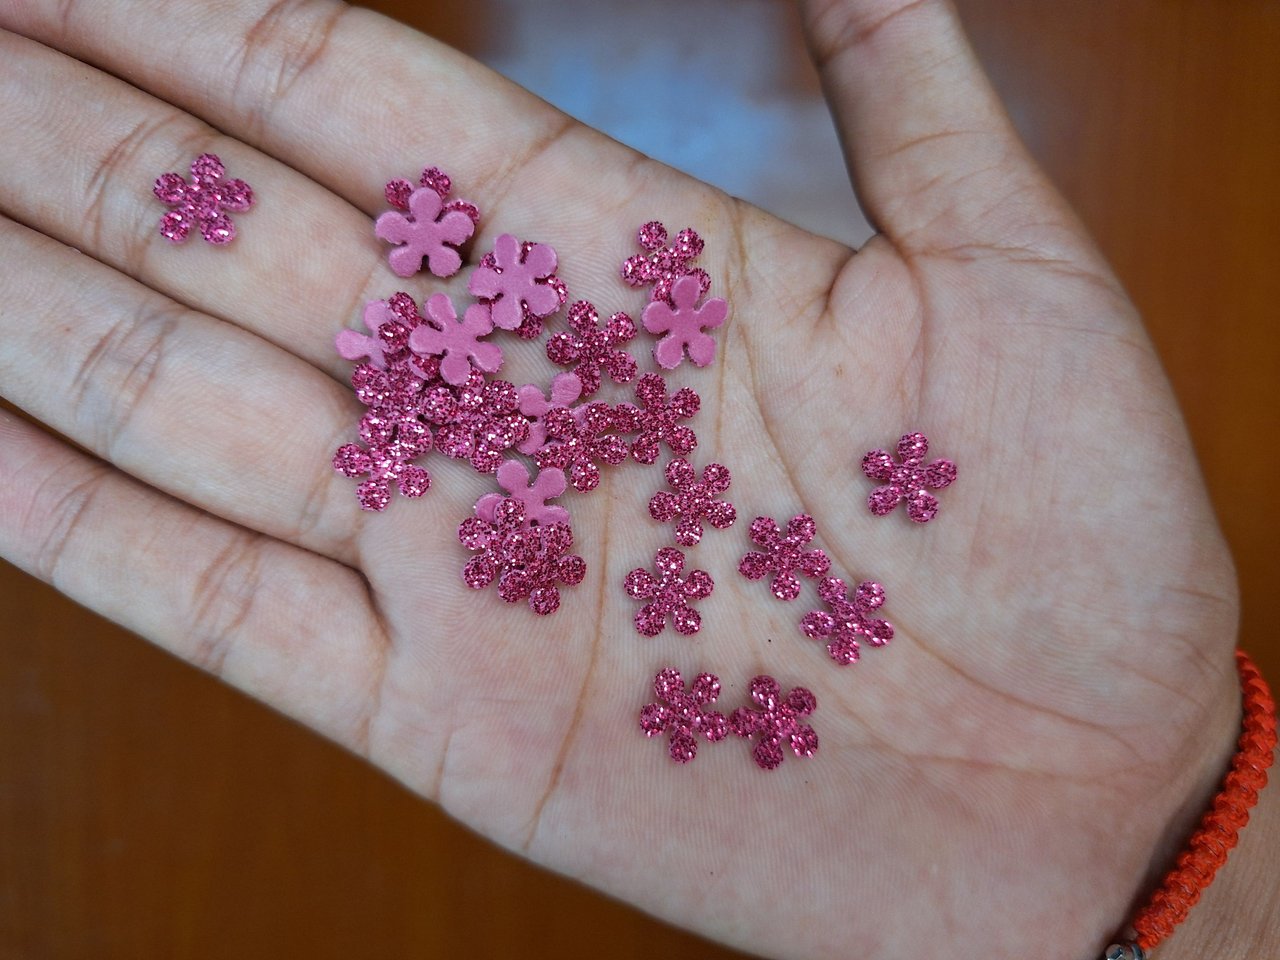
To decorate the base I used a flower-shaped punching machine and pink frosted foami. Then I placed the flowers one after the other bordering the entire base.
Para decorar la base utilicé una ponchadora en forma de flor y foami rosado escarchado. Luego coloqué las flores una a continuación de la otra bordeando toda la base.
 |  |  |
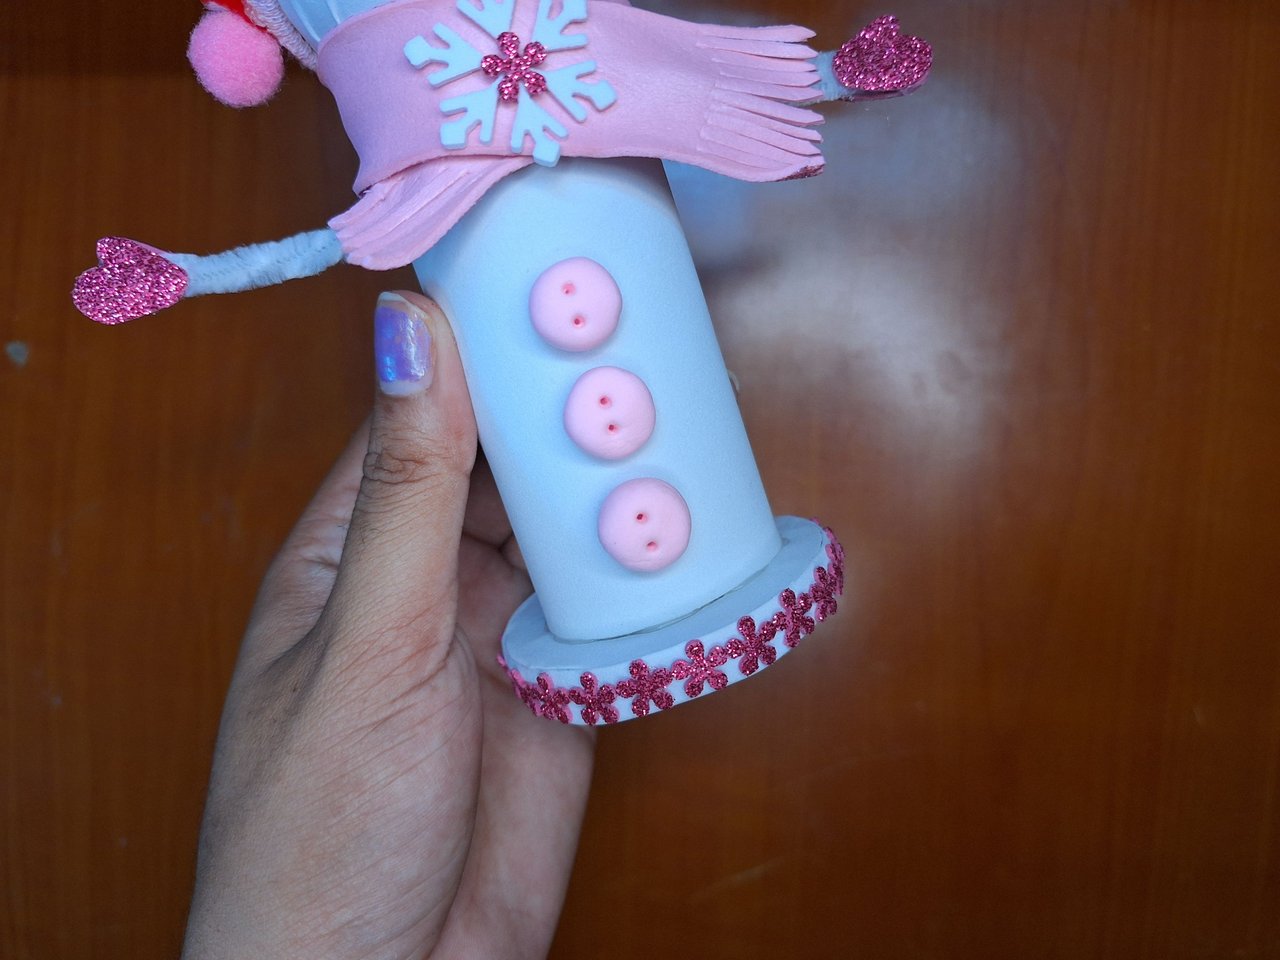 | 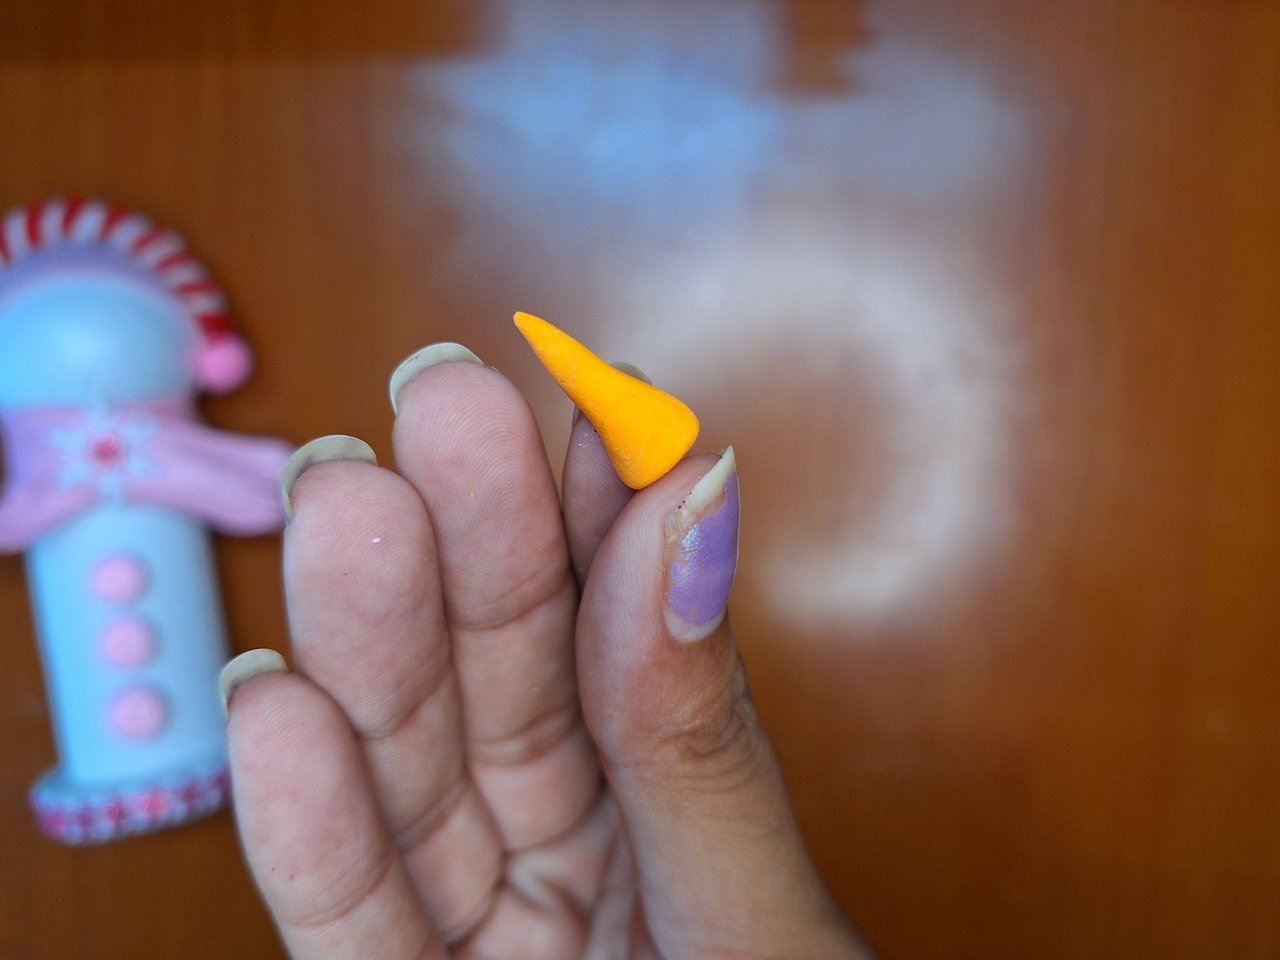 | 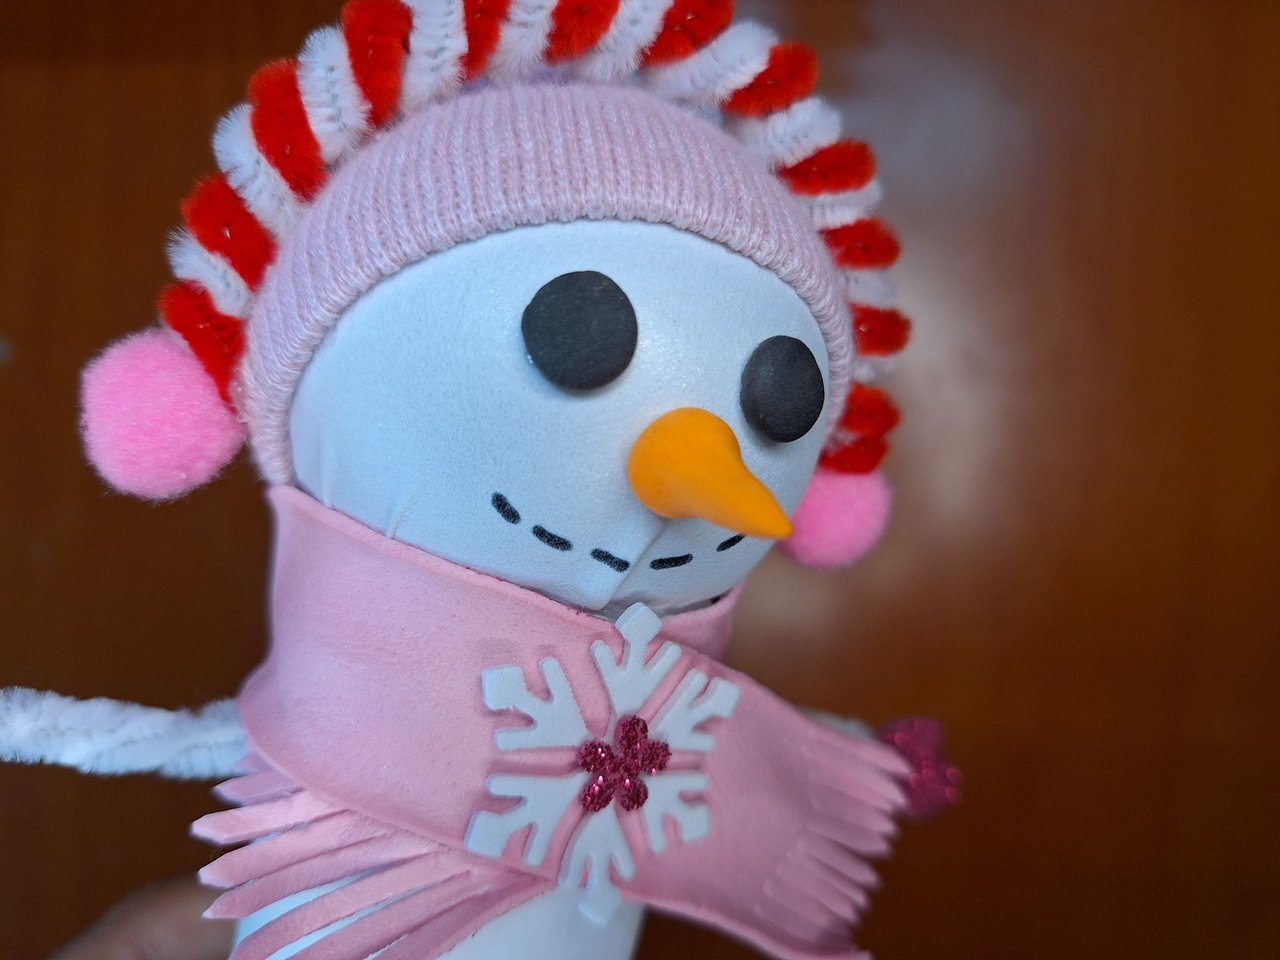 |
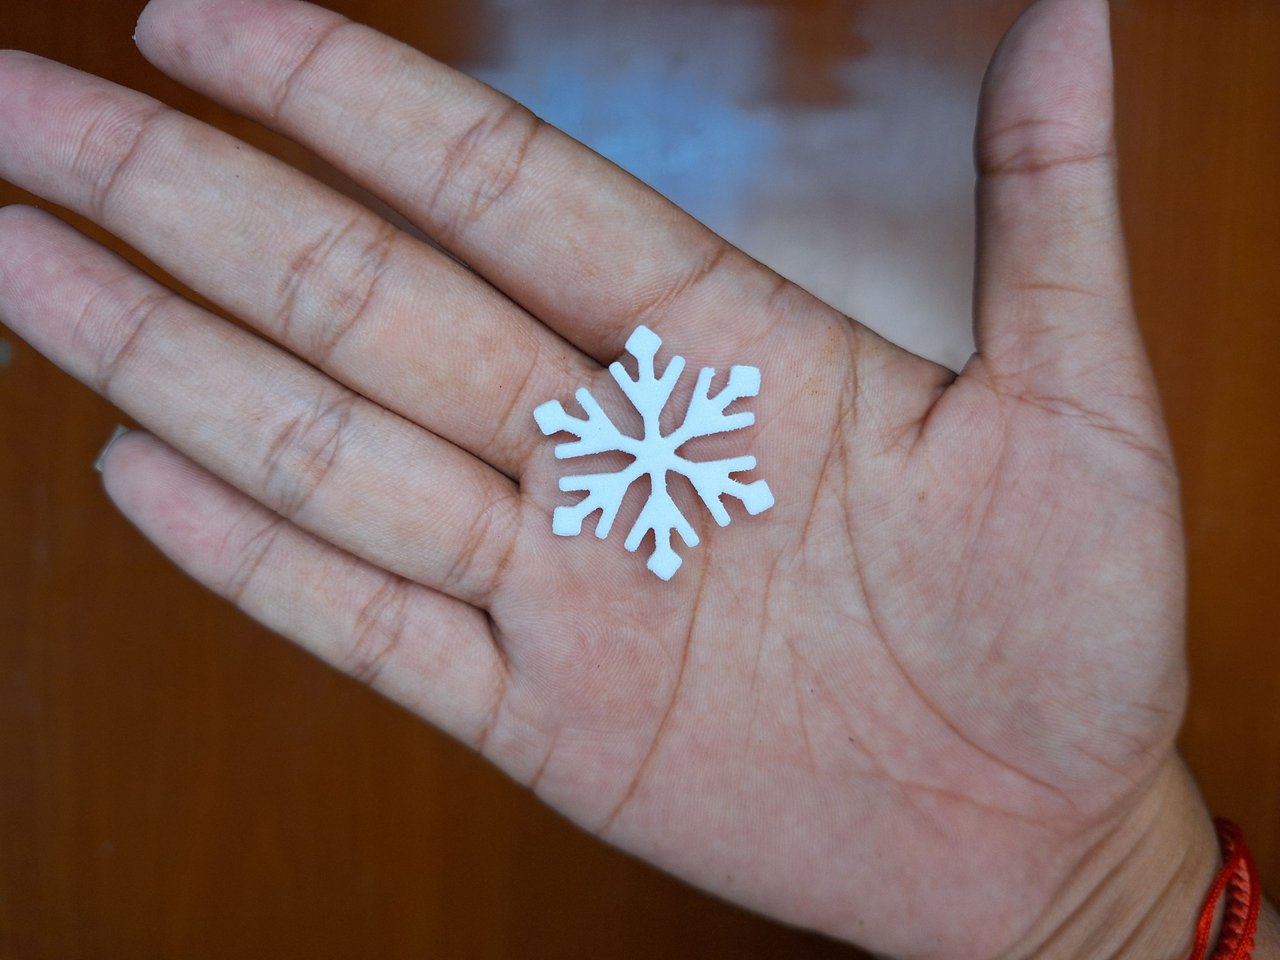
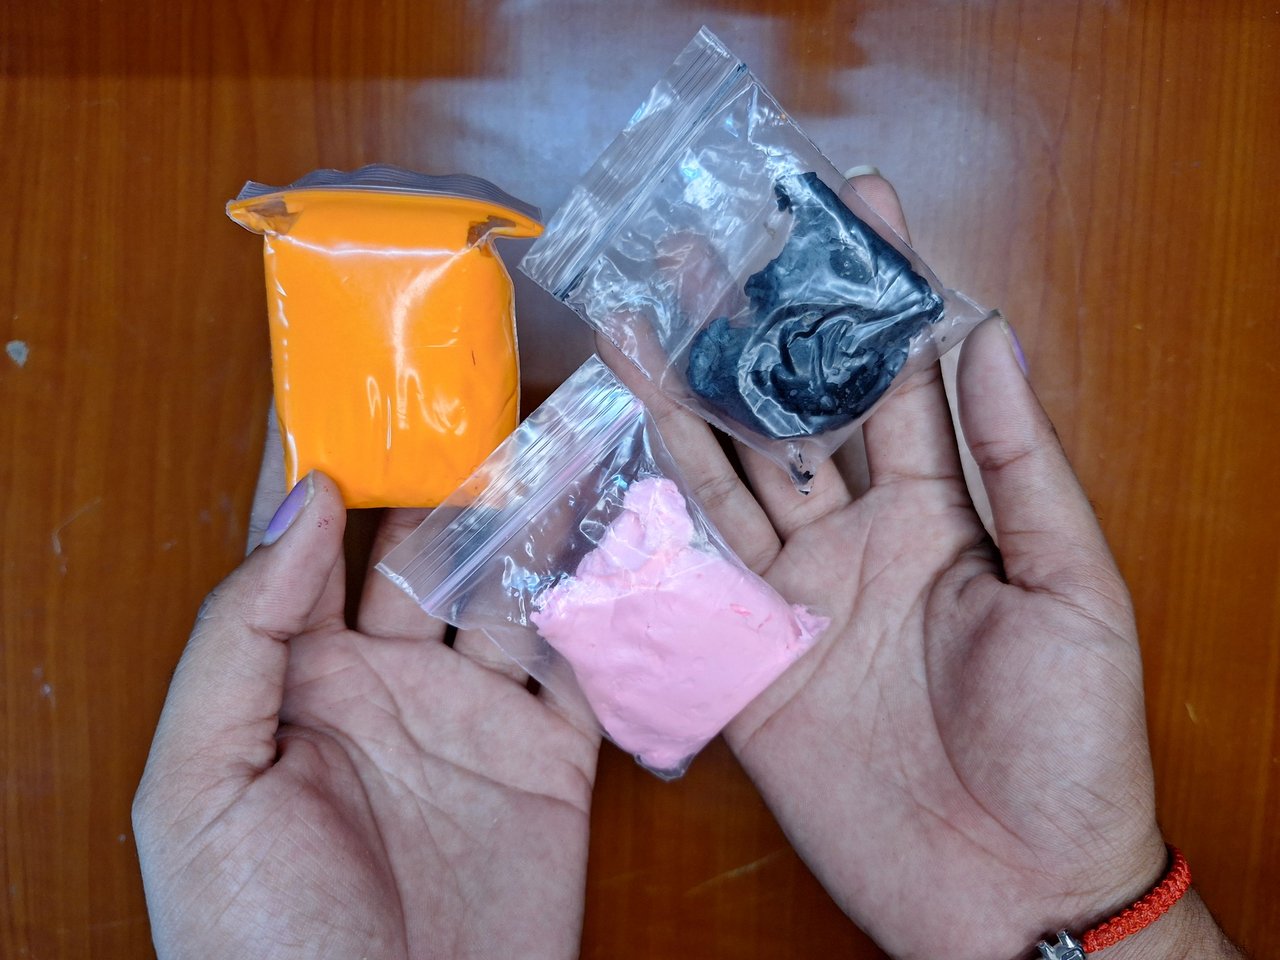
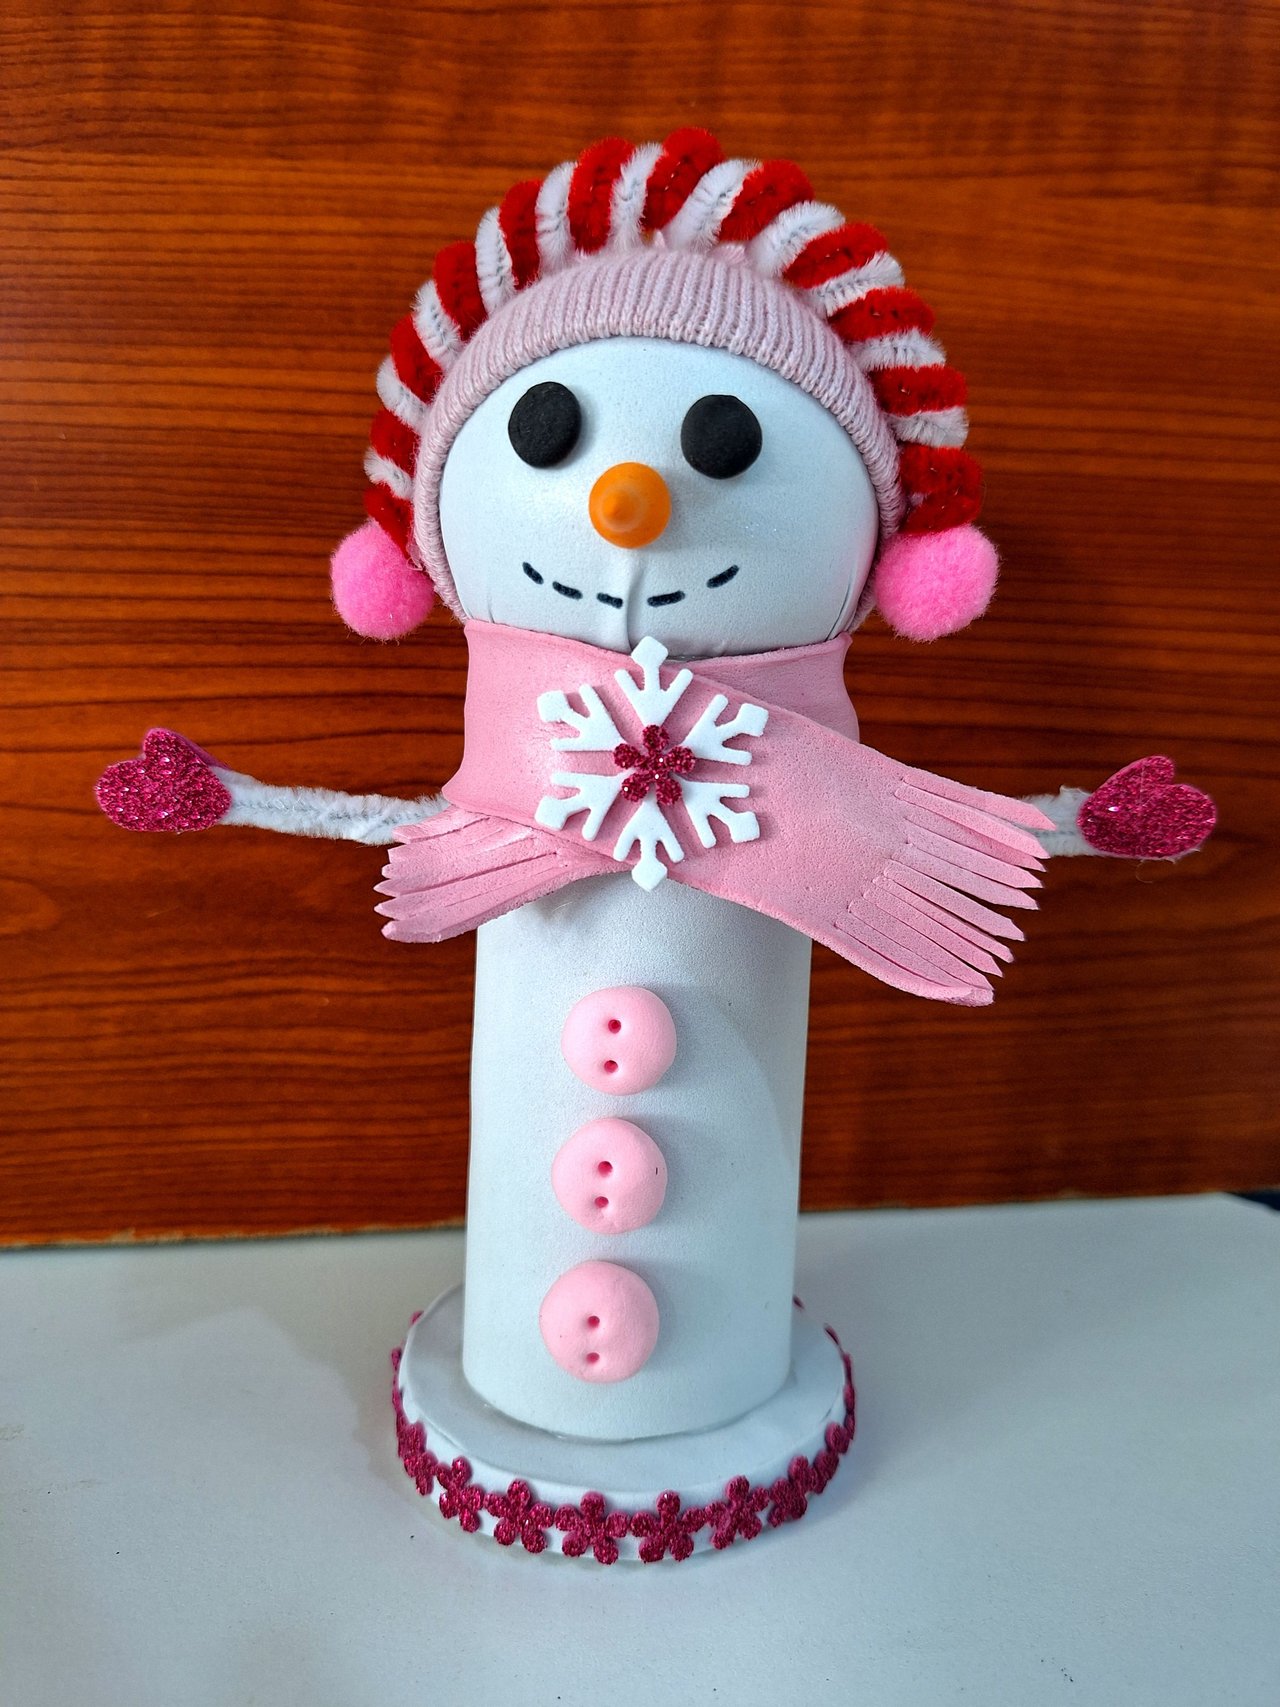
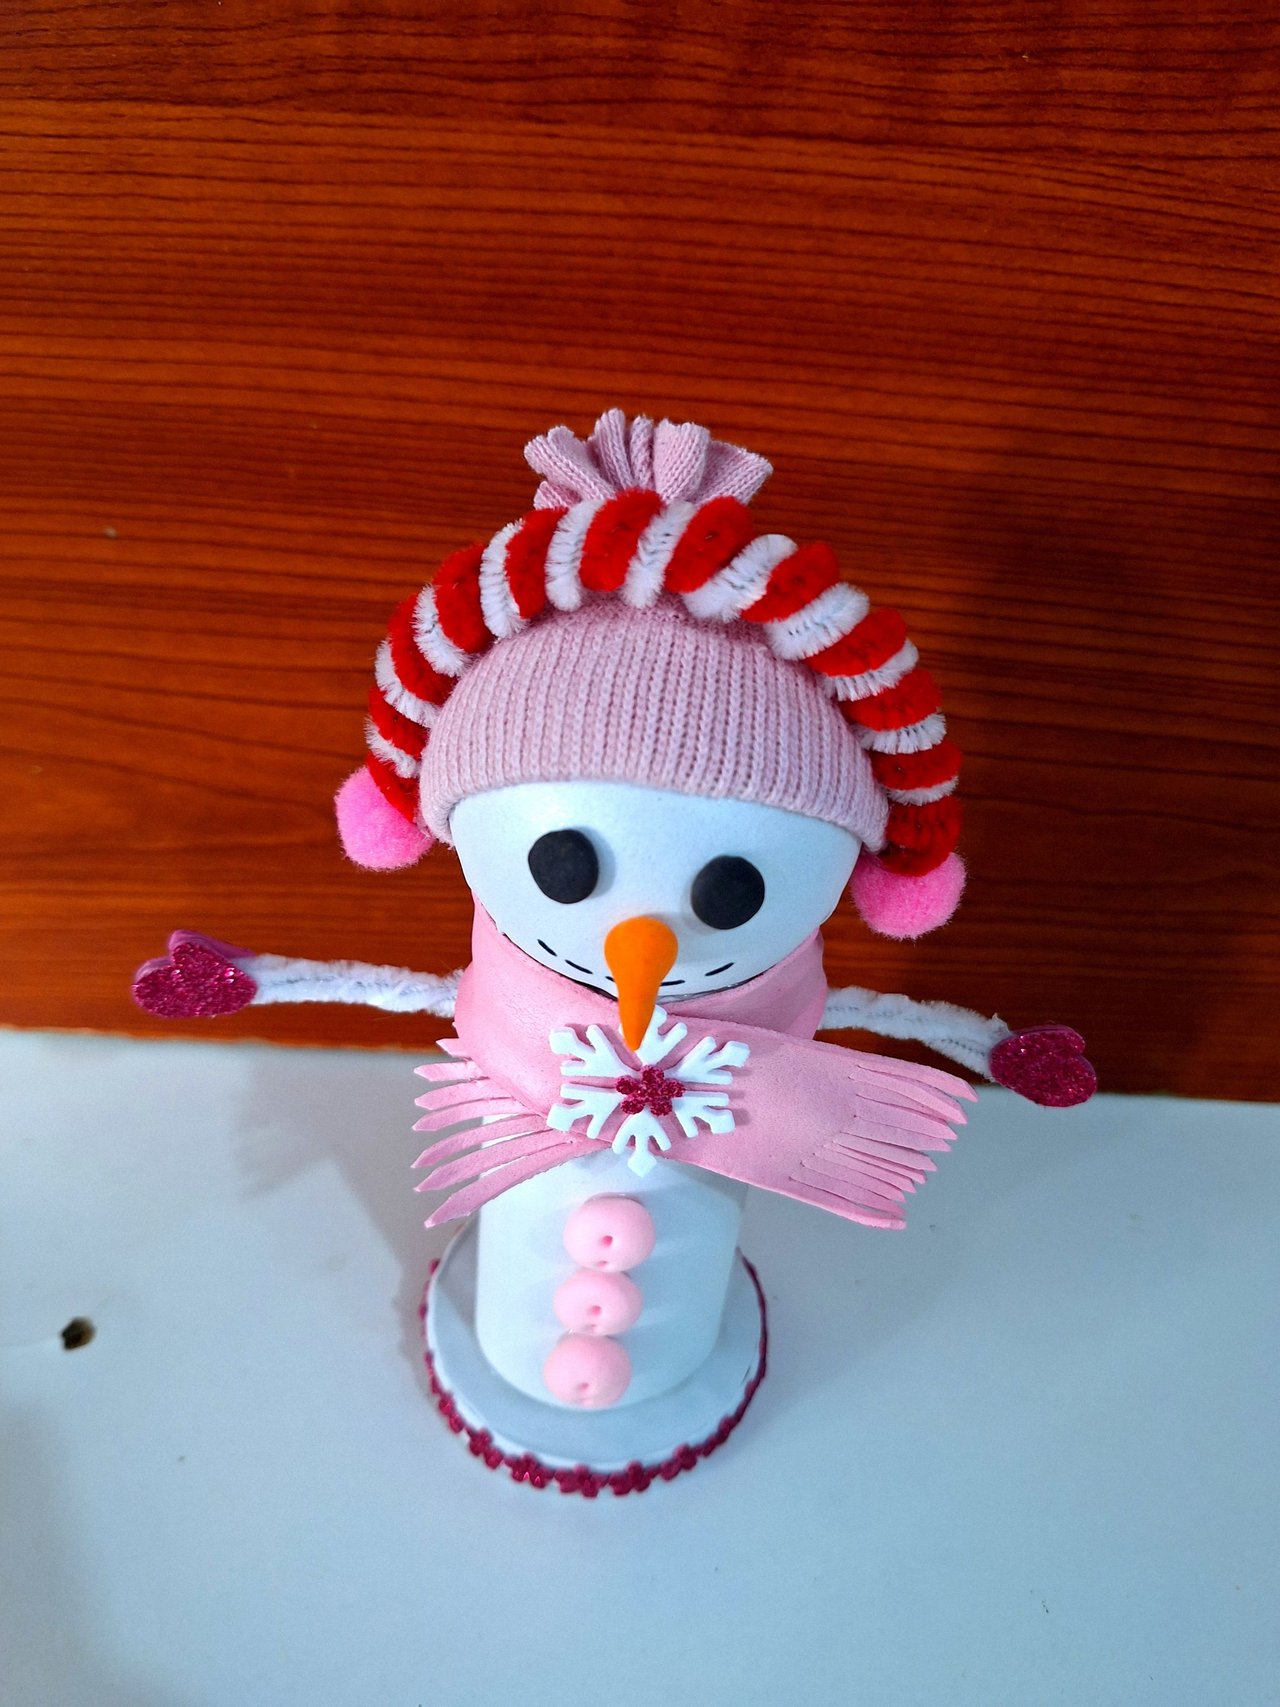
To give the final details, use white foami to make a snowflake, which you place in the center of the scarf. With moldable foami make the eyes, the nose and the buttons that are placed in front. If you have three of the same buttons, you can use them. I didn't have any, but I liked using moldable foami because I made them in the same color as the scarf.
Para dar los últimos detalles utilizar foami blanco para hacer un copo de nieve, el cual colocas en el centro de la bufanda. Con foami moldeable se elaboran los ojitos, la nariz y los botones que se colocan al frente. Si tienes tres botones iguales puedes utilizarlos, yo no tenía, de igual forma, me gustó utilizar foami moldeable pues los hice del mismo color de la bufanda.
 |  |
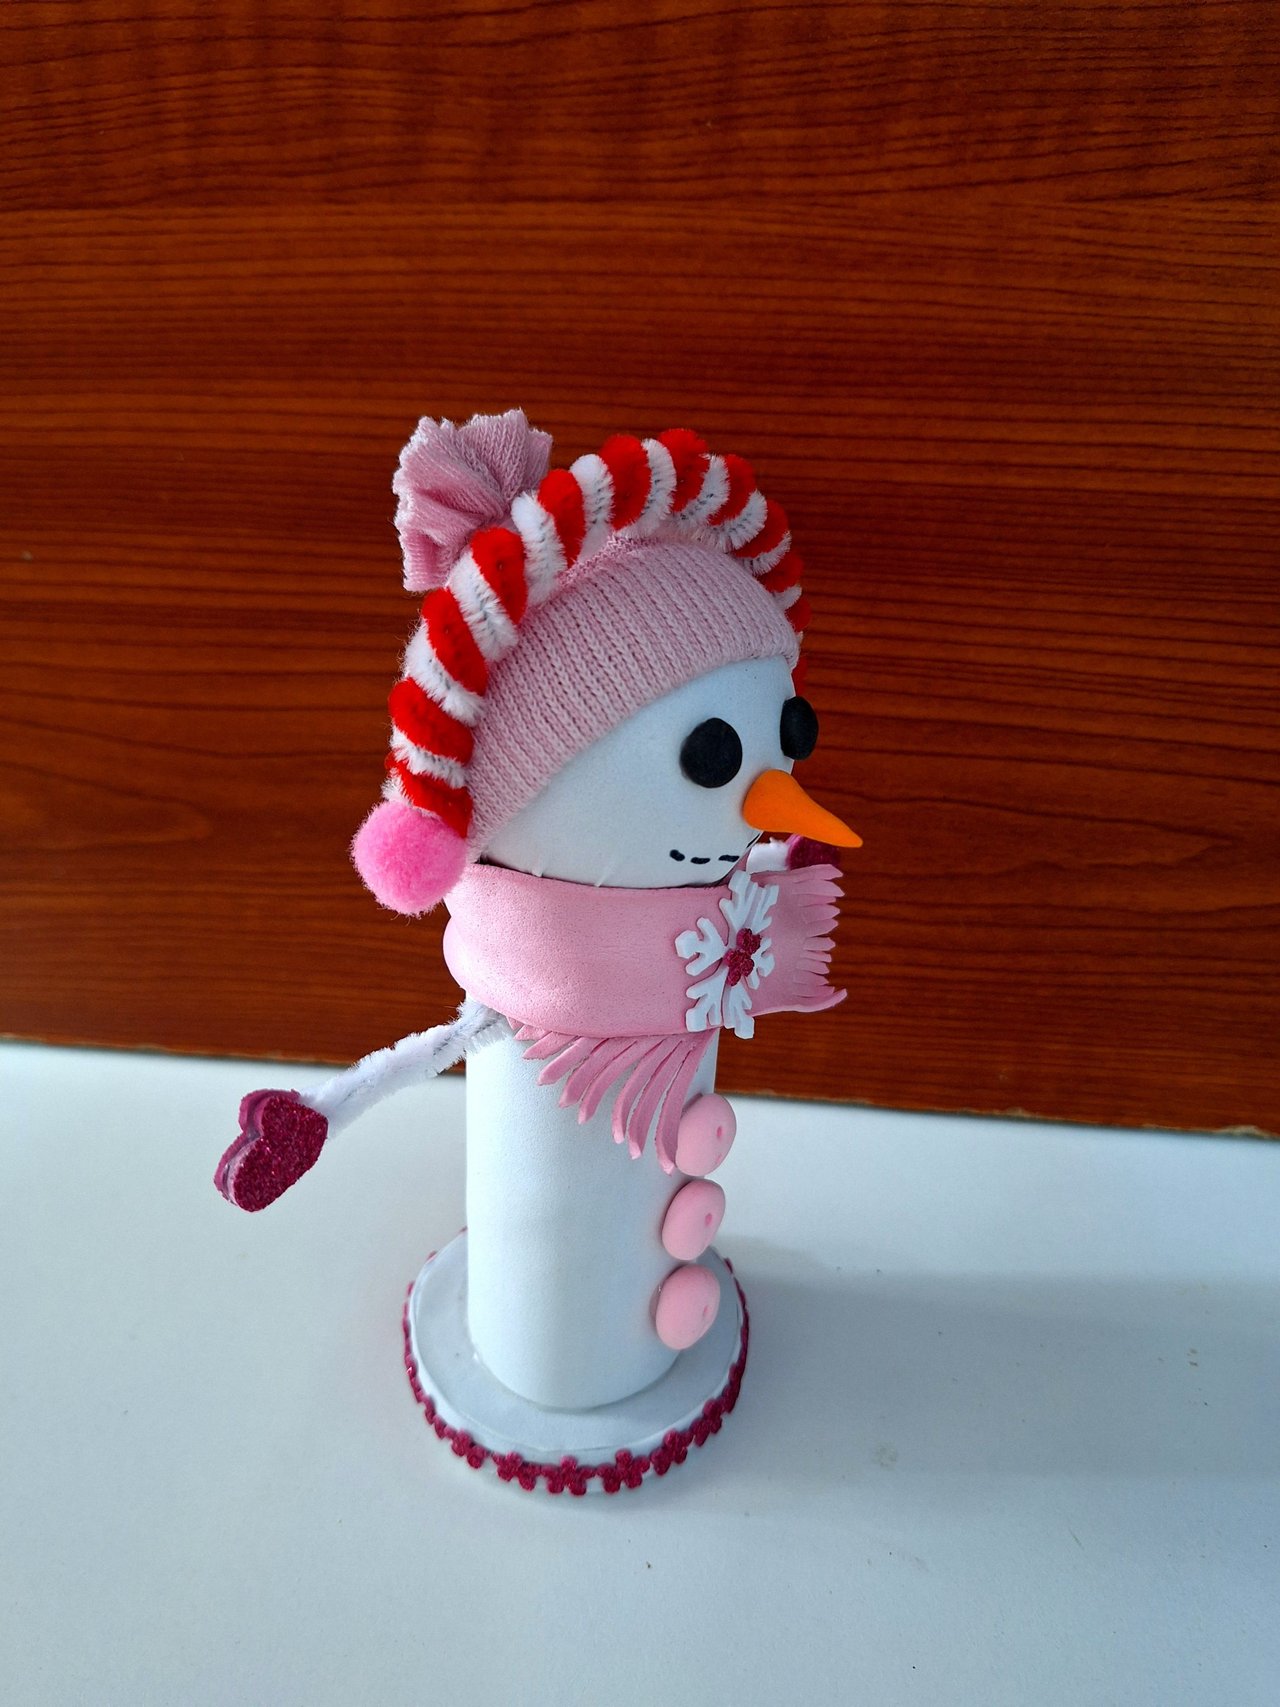 | 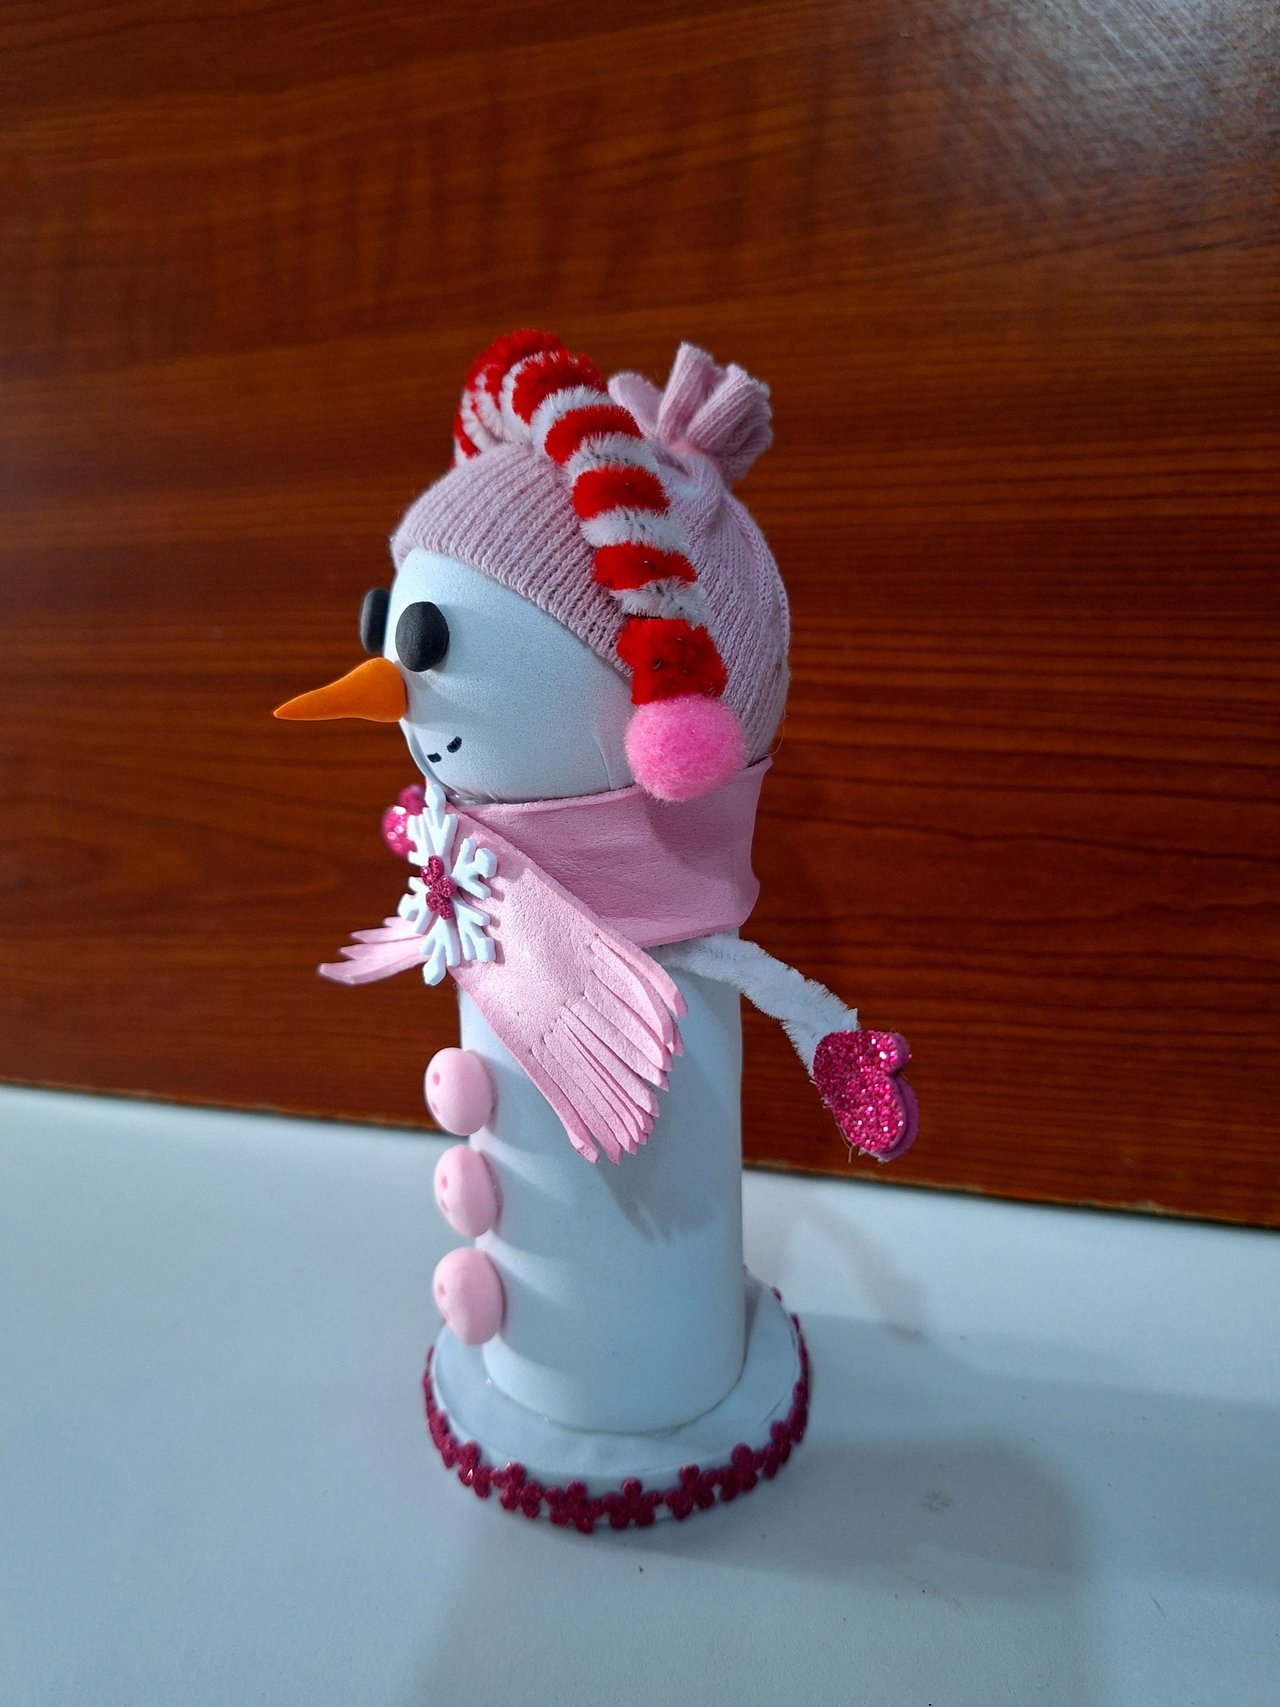 |
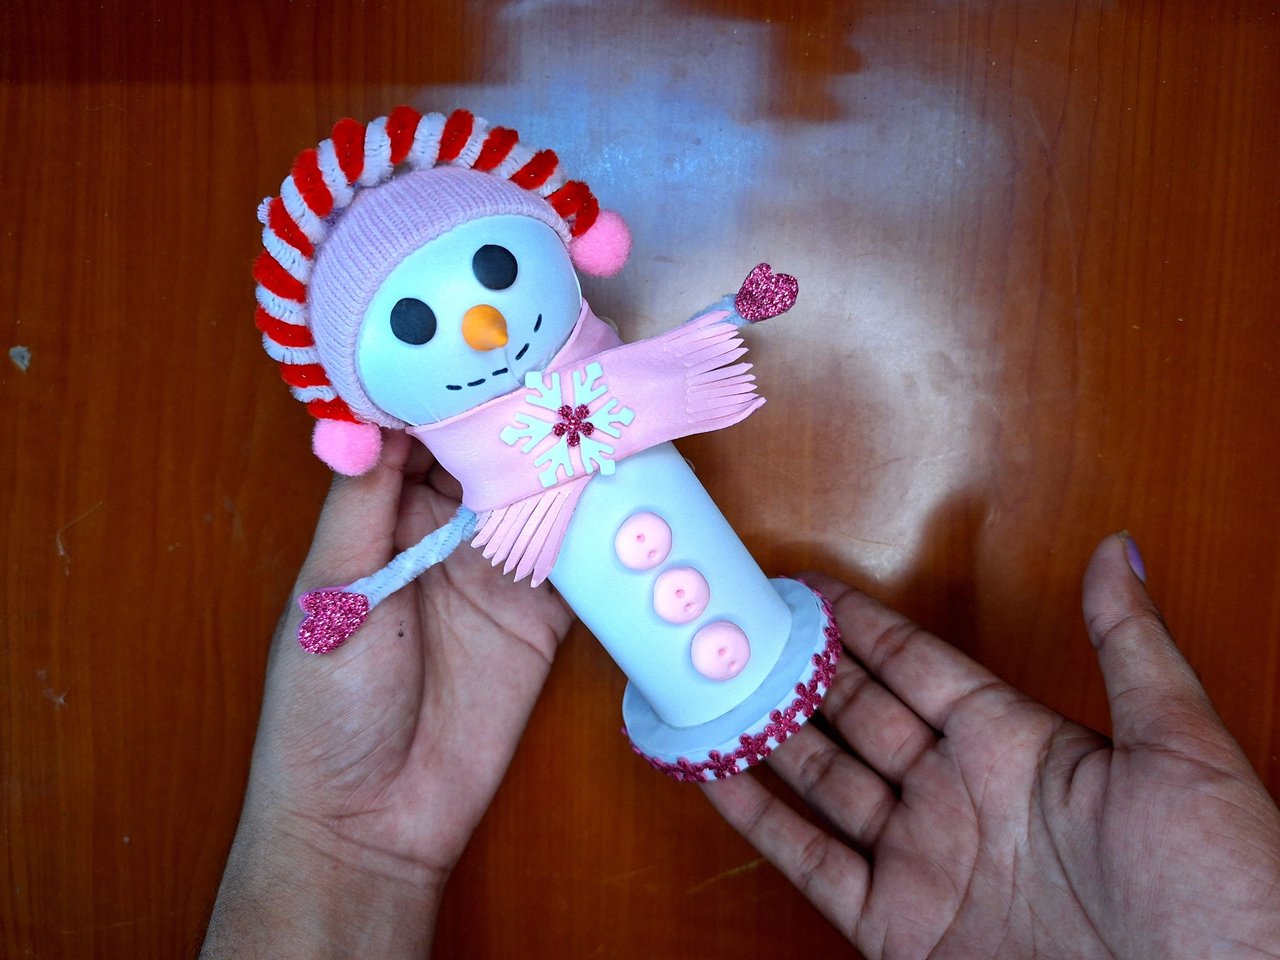
And thus is finished this beautiful snowman, a nice ornament to decorate our homes for Christmas. I am going to put this one under the tree. It is a very simple and easy craft and with relatively inexpensive and mostly recycled materials. I would have liked to have some bigger pom poms, they would have looked better, but I still loved the result. I hope you liked it, leave me in the comments what you thought and new suggestions. Best regards. I take this opportunity to invite @edeyglezsosa to share her Christmas decorations with us.
Y de esta forma se encuentra terminado este precioso muñeco de nieve, un lindo adorno para decorar nuestros hogares para navidad. Este lo voy a colocar debajo del árbol. Es una manualidad muy simple y fácil y con materiales relativamente baratos y la gran mayoría reciclados. Me hubiese gustado tener unos pompones un tilín más grandes, se verían mejor, igual me encantó el resultado. Espero les haya gustado, déjame en los comentarios que te pareció y nuevas sugerencias. Un saludo. Aprovecho para invitar a @edeyglezsosa para que nos comparta sus decoraciones navideñas.
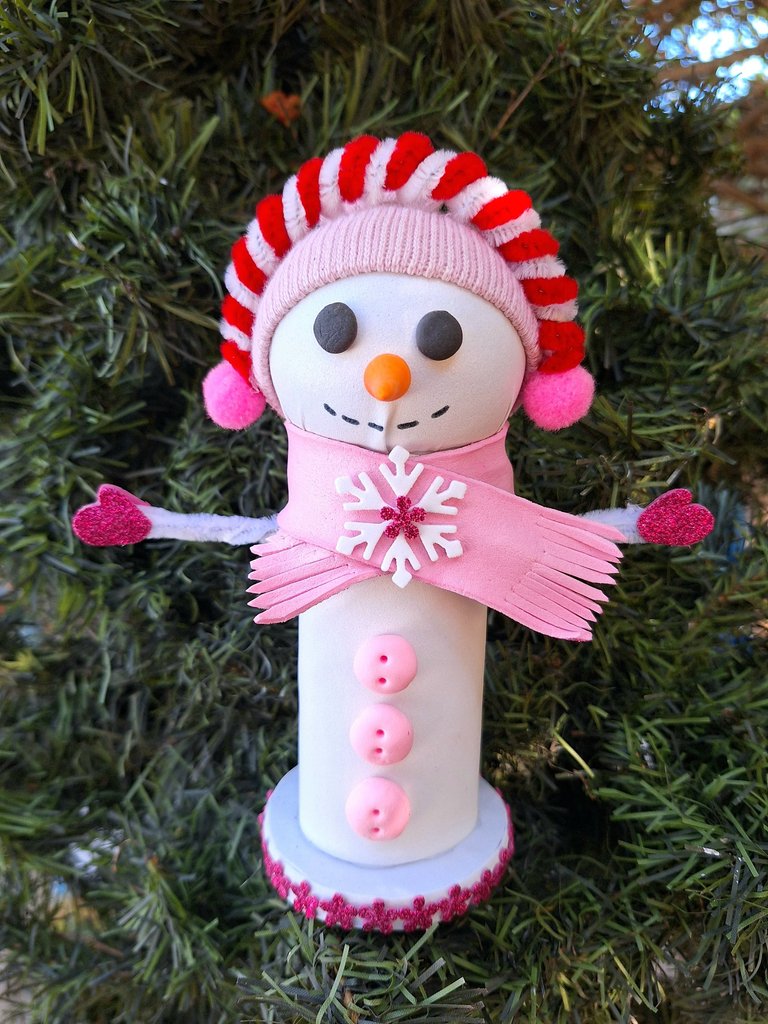
Cover made in Canva
English is not my native language, translated by DeepL
Posted Using InLeo Alpha
Ay que lindura 😍 Felicidades, te quedó hermoso 👏
Muchas gracias 🥰, yo lo amé 🤗
Lovely tutorial of snowman with recycled material. Very creative.
Thank you very much, glad you liked it 🤗.
Te quedó precioso 🤗🤗🤗
Muchas gracias 🥰
¡Te quedó muy muy bonito! ☺️👌🏼 le diste un nuevo a uso a varias cosas que uno siempre tiene en casa.
Muchas gracias, si, una linda forma de utilizar esos objetos que generalmente van a la basura, así le damos una nueva oportunidad de ser útiles.
Congratulations @yale95reyra! You have completed the following achievement on the Hive blockchain And have been rewarded with New badge(s)
Your next target is to reach 7000 upvotes.
You can view your badges on your board and compare yourself to others in the Ranking
If you no longer want to receive notifications, reply to this comment with the word
STOPThank you 🤗
That's great @yale95reyra! We're excited to see your progress on Hive! We can't wait to see you achieve this next one!
Aww, what a cute little snowman ❤️
Thank you very much 🤗
Congratulations, your post has been curated by @dsc-r2cornell. You can use the tag #R2cornell. Also, find us on Discord
Felicitaciones, su publicación ha sido votada por @ dsc-r2cornell. Puedes usar el tag #R2cornell. También, nos puedes encontrar en Discord
Thank you very much for the support 🥰
Awe, this is such a beautiful snowman. I like that you're already preparing for Christmas decorations, I also think it's best to start preparing in time before the month gets busy. !DIY
You can query your personal balance by
!DIYSTATSThank you 🤗
Que hermosa idea y además para reciclar los bombillos. Saludos ☺️
Muchas gracias, si el foco se puede usar en muchas cosas, saludos 🤗