
Hola queridos amigos de hive espero que todos se encuentren bien. Les mando muchos éxitos y bendiciones y felicitaciones por tan excelente trabajo de cada unos de ustedes en esta hora les voy a hablar un poco de un un divertido conjunto de collar y Zarcillos de pitillos de colores en formas de diamantes tan solo con poco material Reciclado una de las cosas que me gusta mucho es reutilizar las cosas que tengo en casa como en este caso mis pitillos de colores que sirvieron para una buena idea como lo es el conjunto de collar y Zarcillos que pueden utilizar todas las personas, bueno en este caso lo está utilizando mi hermana menor Daya ella quedó tan encantada con el conjunto que me dijo oye seré tu modelo y pues aquí con ella les presento mi creación.
Los Materiales utilizados en este conjunto de collar y Zarcillos fueron los siguientes
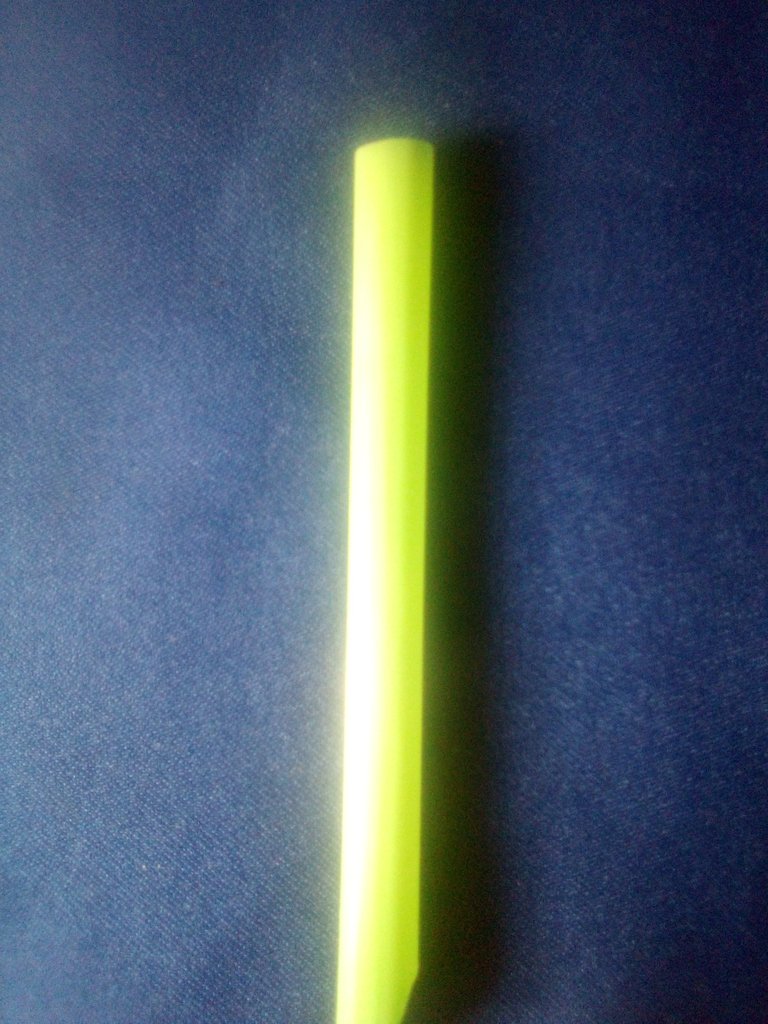
Pitillos de colores seleccionar minino como 20 pitillos
Perlas blancas
Piedras transparente
Alambre de cobre
Una cadena reutilizada
Una piqueta
Tijera
Aguja
A continuación les voy a estar explicando el paso a paso de cada uno
Pasó 1
Seleccionar varios pitillos de diferentes colores y ponerlos juntos todos en fila
Pasó 2
Con la tijera recortar los pitillos en formas de diamantes y todos de diferentes tamaños unos largos y otros cortos así para poder poner en forma cada uno dándole una vista de diamantes también se les puede hacer fácil como yo lo hice con una escuadra tomar ciertas medidas y es más fácil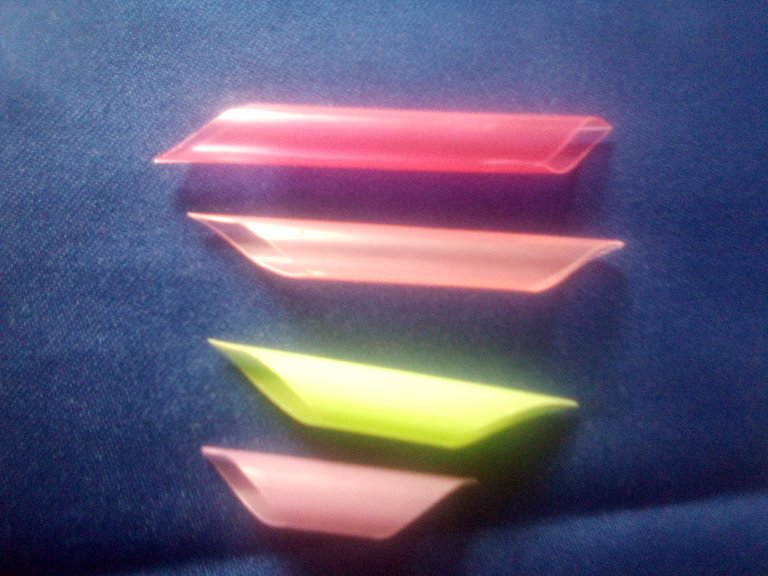
Pasó 3
Con una aguja abrir pequeños agujeros en la parte de arriba así para que pueda pasar la parte del cobre 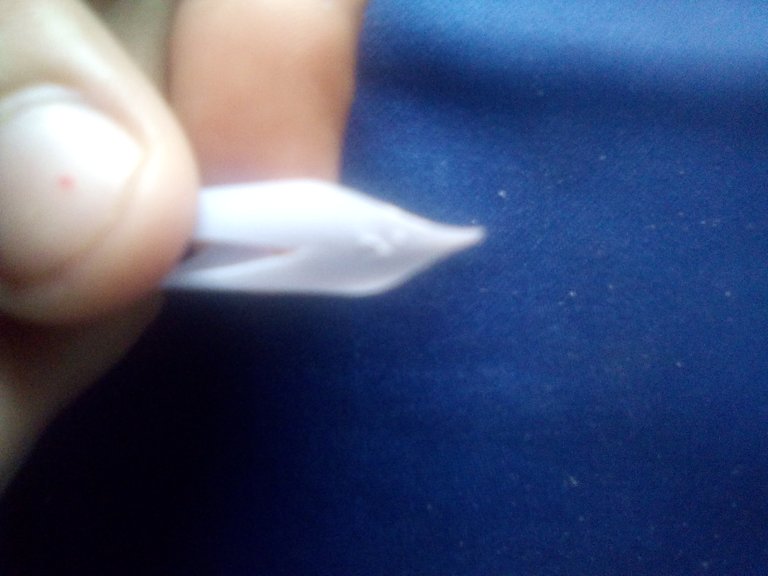
Pasó 4
Se agarra el cobre y se van haciendo unos pequeños círculos con el cobre eso es para cuando se vallan agregando a la cadena tenga como correr y no detenerse
Pasó 5
Se selecciona tres piedras transparente cada una después de poner los pequeños Pitillos así le va dando un toque clásico y elegante .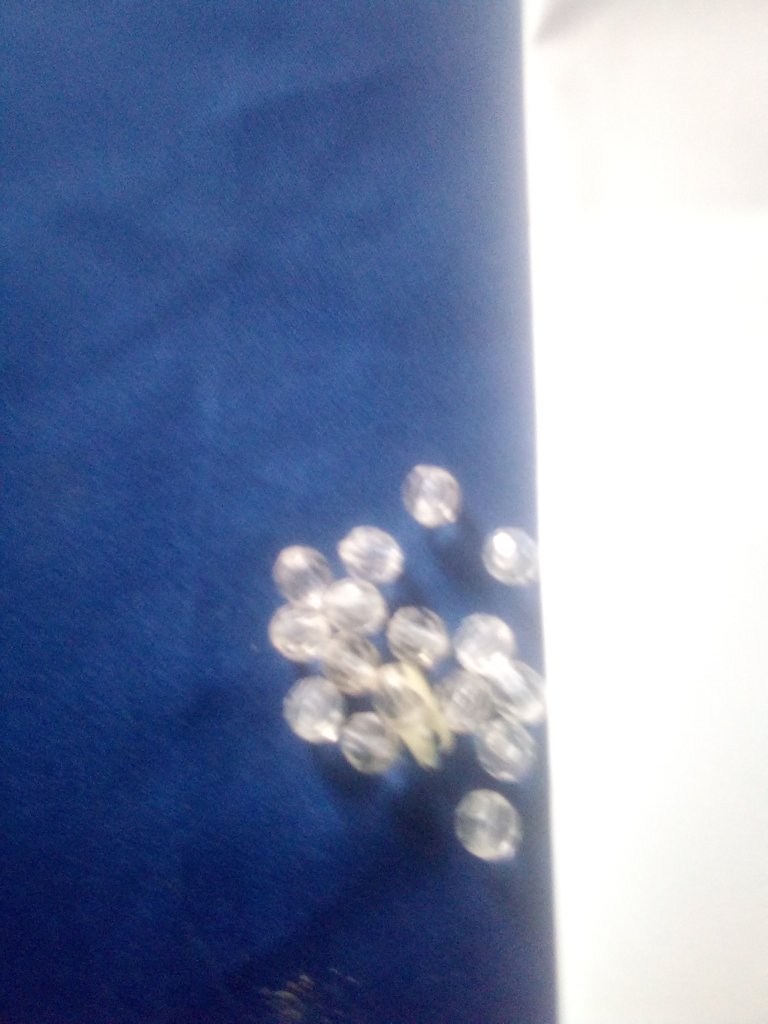
Pasó 6
Se agarra la cadena y se utiliza el más pequeño de los pitillos se agrega a la cadena y se va poniendo una piedra muestras se van agregando cada uno 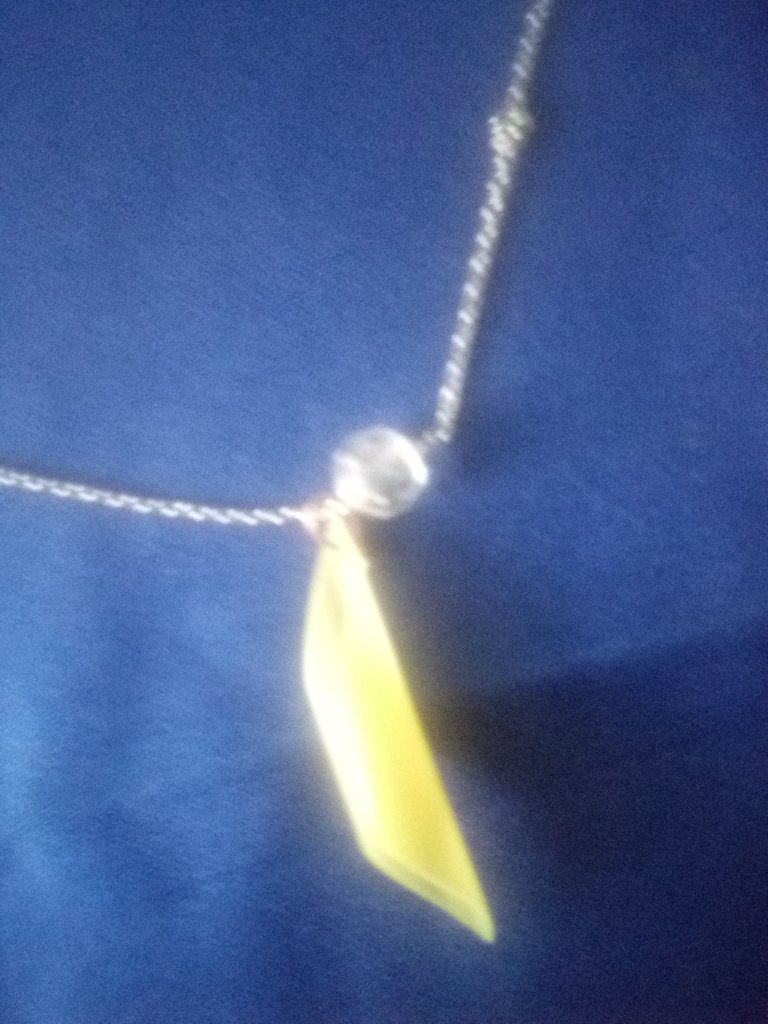
Pasó 7
Lo siguiente es que ya una vez cuando estén todos incluidos va agarrando forma el collar de Pitillos
Pasó 8
Con la parte de los Zarcillos se seleccionan 5 Pitillos recortados en forma de diamantes unos pequeños y otros más largos
Pasó 9
Con la piqueta ir cortando poco a poco medio 1/1 CM de cobre y con una ya cortada sacar la forma por allí y es más fácil y un poco más rápido ![]
Pasó 10
Con el cobre se va metiendo poco a poco por los agujeros y después agarrar y cortar amarrando por un doble de dos giros 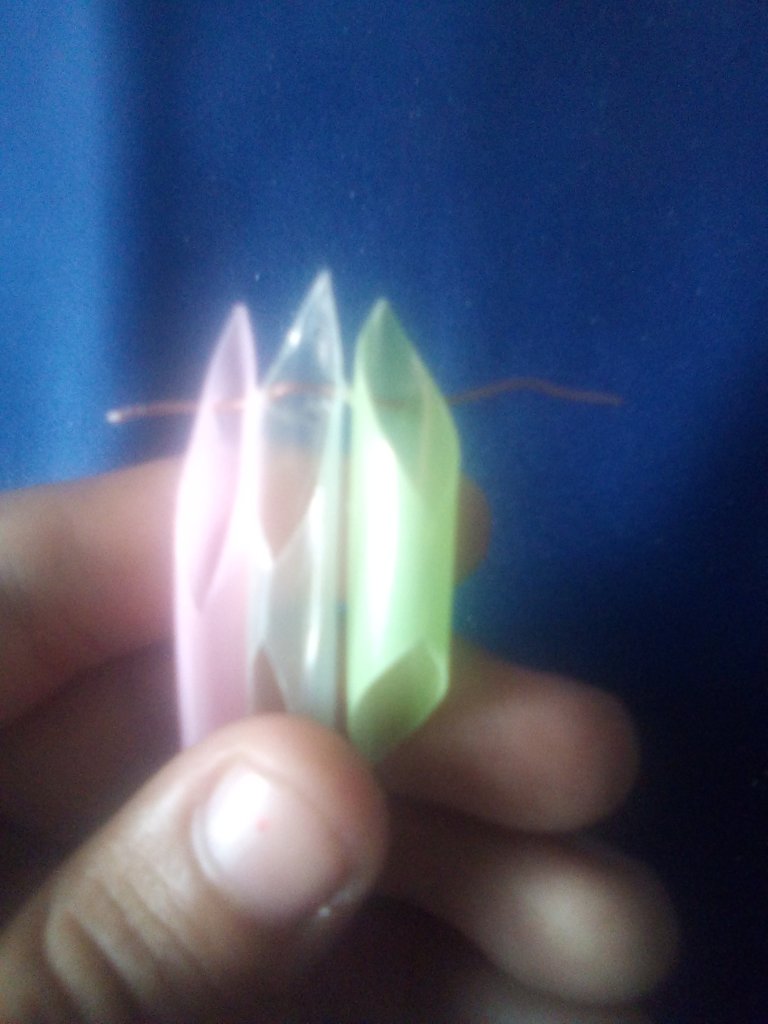
Pasó 11
Se hace el mismo procedimiento con el otro zarcillo tenemos que estar pendiente que siempre todo tenga las misma medidas así no queda disparejo los zarcillos 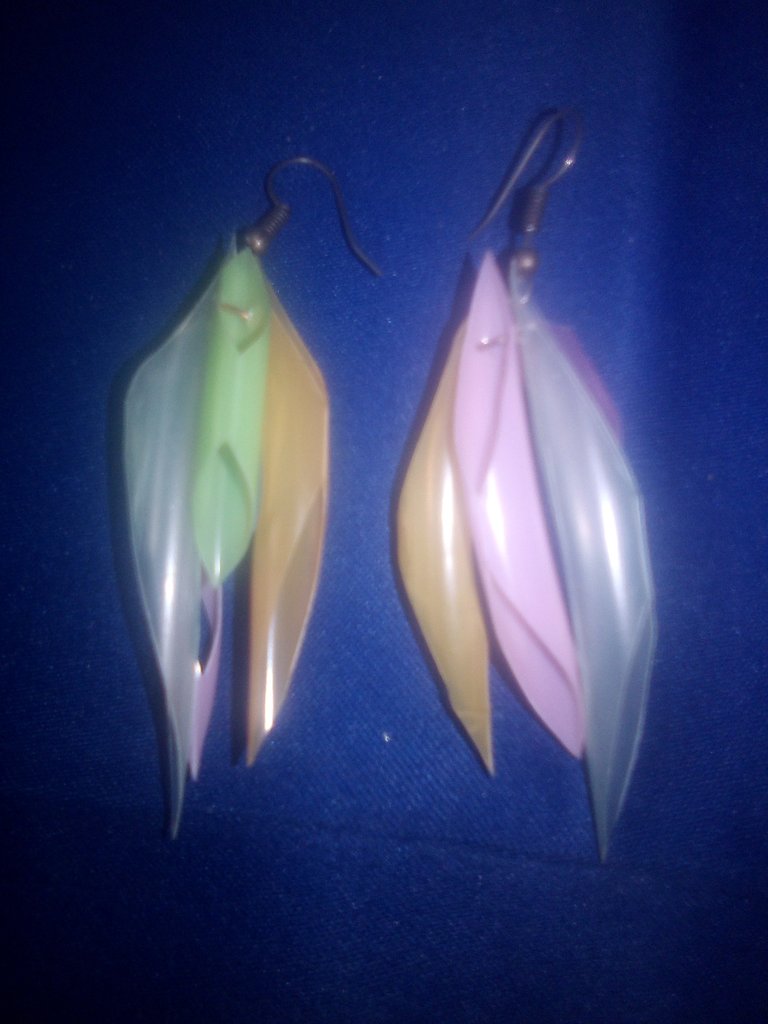
Pasó 12
Con las manos se van agarrando cada pitillo de los Zarcillos y se van aplastando y si bien gustan pueden colocarlos acostados y aplastarlos con un vaso o tabla que tengan en casa .
Las imágenes son de mi autoría y fueron tomadas por mi tlf Alcatel 1.
Traductor utilizado: Deepl
Las edición de las fotos las realice mediante la aplicaciónes de editor de fotos polish Y los separadores se editaron en canva
Hello dear hive friends I hope you are all well. I send you many successes and blessings and congratulations for such excellent work of each of you in this hour I am going to talk a little of a fun set of necklace and tendrils of colored straws in diamond shapes only with little recycled material one of the things that I like a lot is to reuse the things I have at home as in this case my colored straws that served for a good idea as it is the set of necklace and tendrils that can use all people, Well in this case my younger sister Daya is using it, she was so delighted with the set that she told me hey I will be your model and so here with her I present my creation.
The materials used in this set of necklace and earrings were the following.
Colored straws, select at least 20 straws.
White pearls
Transparent stones
Copper wire
A reused chain
A pickaxe
Scissors
Needle
Below I will be explaining the step by step of each one.
Step 1
Select several straws of different colors and put them all together in a row.
Step 2
With the scissors cut the straws in diamond shapes and all of them in different sizes, some long and some short, so that you can shape each one giving it a diamond view. You can also make them easy as I did it with a square to take certain measurements and it's easier![]
Step 3
With a needle open small holes in the top so that you can pass the copper part
()
Step 4
The copper is grabbed and small circles are made with the copper so that when they are added to the chain it has to run and not stop.
Step 5
Three transparent stones are selected each one after placing the small Pitillos, giving it a classic and elegant touch.
Step 6
Grab the chain and use the smallest of the pebbles and add it to the chain and place a stone on it. You will add each one
7** Passed Passed 7
The next thing is that once they are all included, the necklace of Pitillos will take shape.
Step 8
With the part of the tendrils we select 5 Pitillos cut in the shape of diamonds, some small and others longer.
Step 9.
With the pickaxe go cutting little by little half 1/1 CM of copper and with one already cut take out the form over there and it is easier and a little faster ![[]
Passed 10
With the copper go little by little through the holes and then grab and cut by tying a double of two turns
Passed 11.
The same procedure is done with the other tendrils, we have to make sure that everything always has the same measurements so that the tendrils are not uneven.
Step 12
With your hands, grab each straw of the tendrils and crush them and if you like you can place them lying down and crush them with a glass or a board that you have at home.
The images are of my authorship and were taken by my tlf Alcatel 1.
Translator used: Deepl
The editing of the photos was done using the polish photo editor application and the separators were edited in canva.
Está hermoso y además muy fácil de hacer 🤗
Que bonito trabajo, es muy original y super divertido. Me encanta!
Son muy llamativo...impresionante lo fácil que es hacerlo y lo mucho que aportan porque de verdad llaman mucho la atención...un excelente trabajo manual.