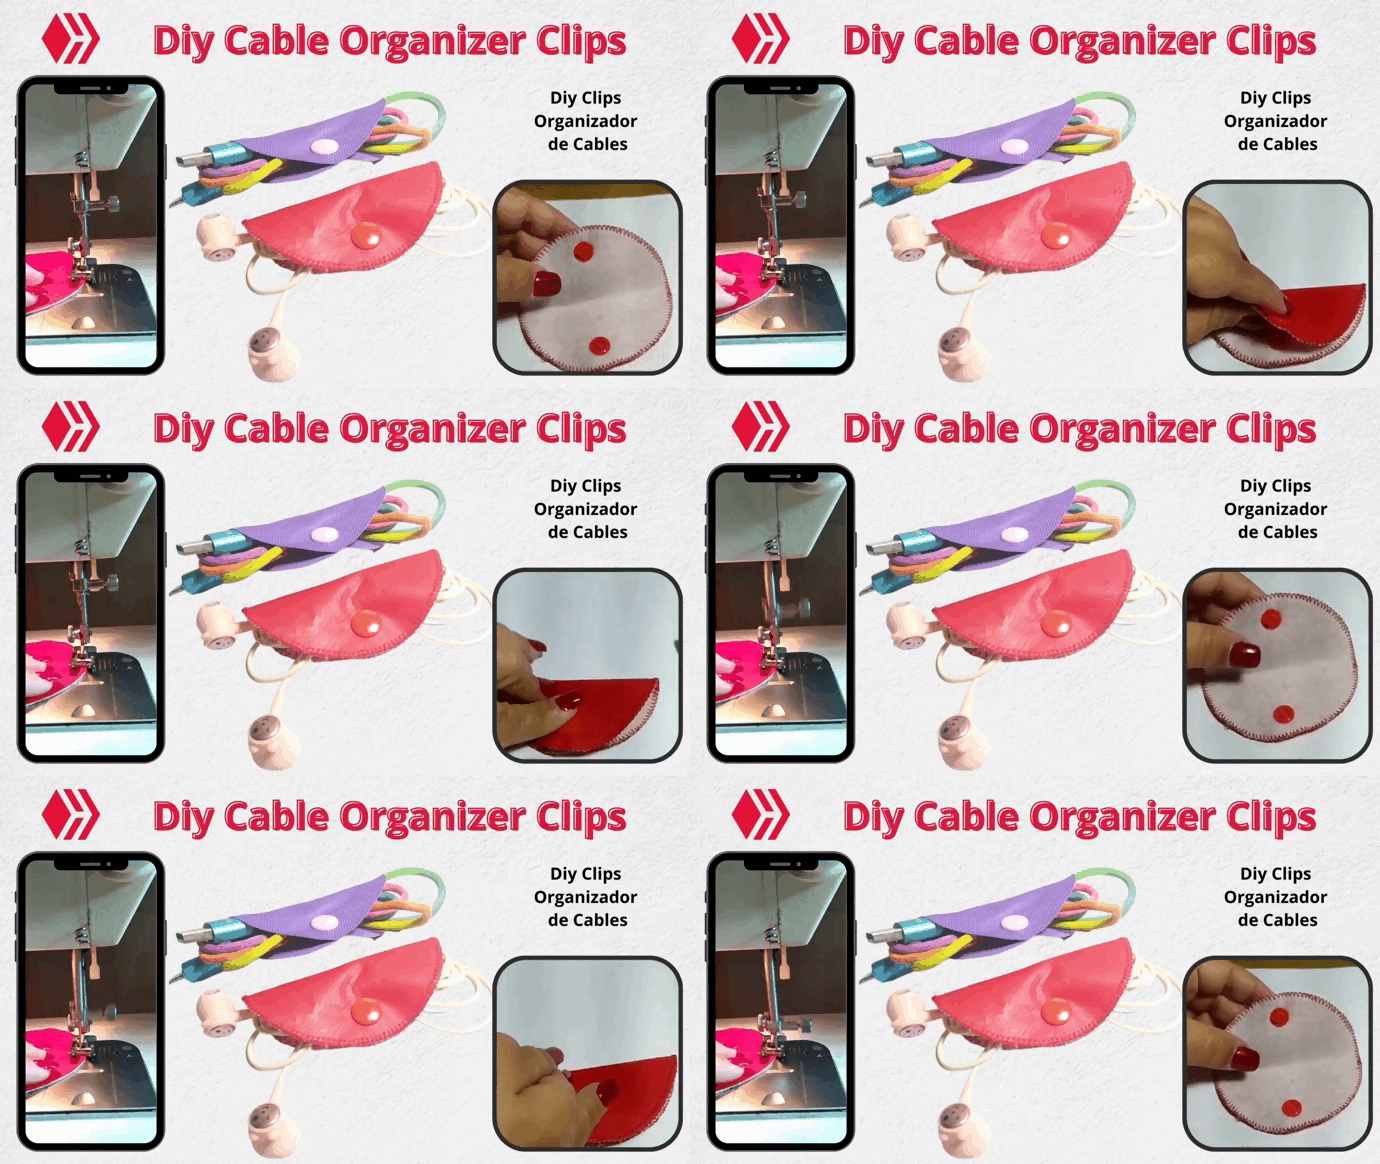
We are going to organize the cables of our headphones, chargers, camera cable, we will no longer have them tangled and messy, as this contributes to damage them faster.
This project is so easy and quick, I made several in a very short time, with different designs and simply gave them as gifts to some neighbors and my daughters, they were all happy and immediately used it.
Vamos a organizar los cables de nuestros audífonos, cargadores, cable de cámara, ya no los tendremos enredados y desordenados, ya que esto contribuye a que se dañen más rápido.
Este proyecto es tan fácil y rápido, que hice varios en muy poco tiempo, con diferentes diseños y simplemente los regalé a unas vecinas y a mis hijas, todas estaban felices e inmediatamente lo usaron.

I invite you to see this Tutorial or Diy that is a lot of fun... After you make one, you will want to make many ❤️❤️
Te invito a ver este Tutorial o Diy que es muy divertido... Luego que haces uno, quieres hacer muchos ❤️❤️


- Sky canvas, semi-leather or any other fabric you have available
- Plastic snaps with their tools: awl and pliers
- Sewing machine, thread and scissors
- Sheet of paper and pen
- Loneta Sky, semicuero o cualquier otro género que dispongas
- Broches plásticos con sus herramientas: punzón y alicate
- Máquina de coser, hilo y tijera
- Hoja de papel y bolígrafo

I made a circle on the sheet of paper considering the size I wanted my Cable Organizer Clip to be, and I took as a reference a mug I was using at the time. Now that I am writing this post I just measured it and it is 9cms in diameter and then I cut out this template or mold.
I drew this circle on the back of the sky canvas or semi leather I used, so I could cut it out as well.
Yo hice un círculo en la hoja de papel considerando el tamaño que quería que tuviera mi Clip Organizador de Cables, y tomé como referencia una taza que estaba usando en ese momento. Ahora que estoy escribiendo la publicación lo acabo de medir y tiene de diámetro 9cms y entonces recorté esta plantilla o molde.
Dibujé este círculo en el reverso de la loneta sky o semicuero que usé, para igualmente recortarlo también.
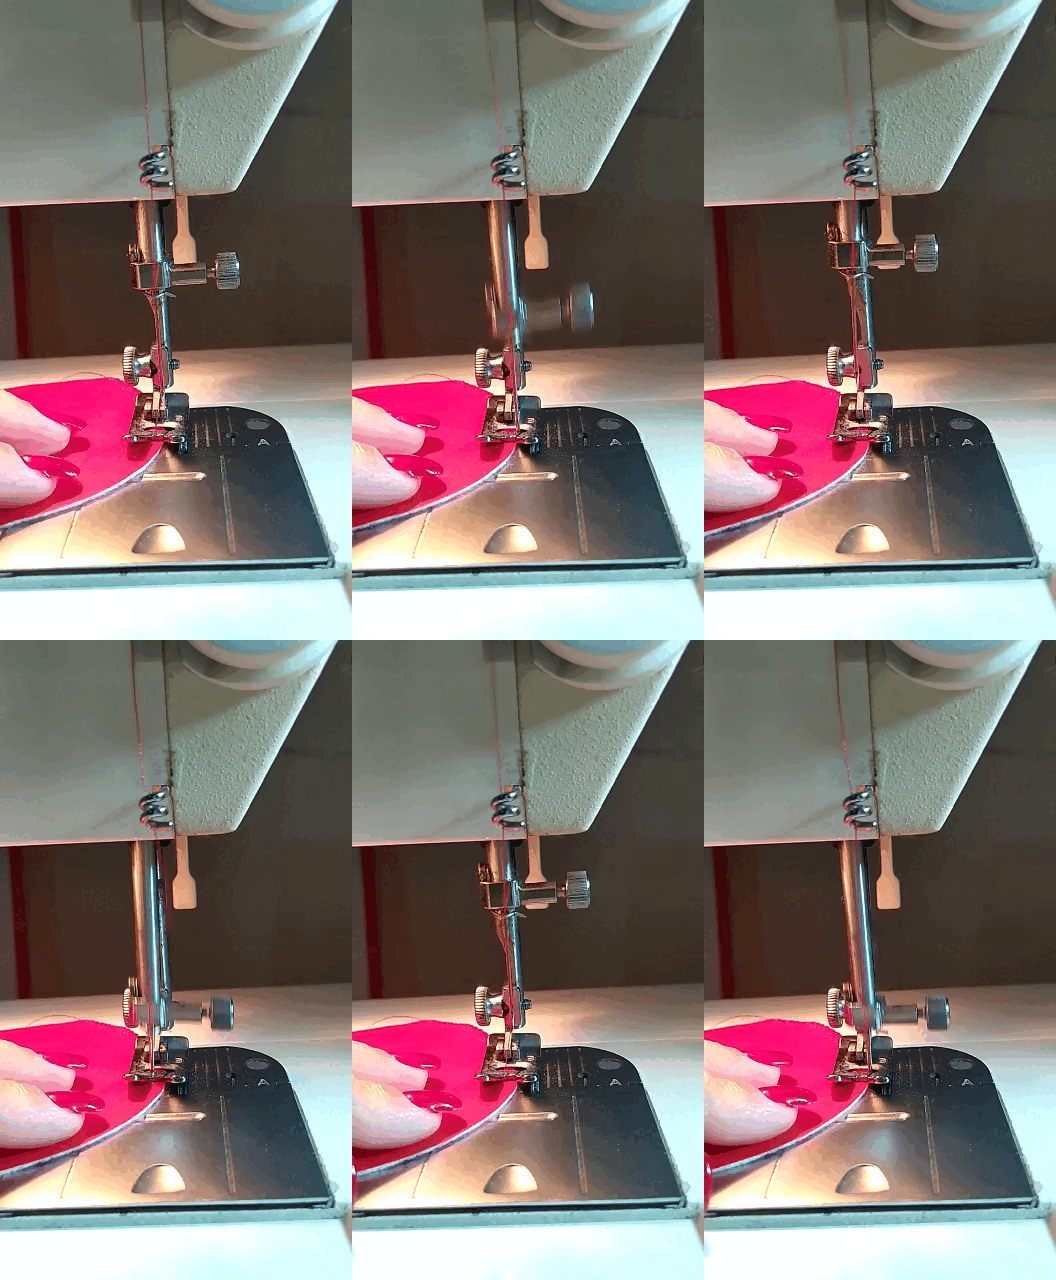
I love sewing it's so relaxing the sound of the sewing machine, for me it's the sound of a creation ❤️❤️ Well, I zig zag stitched all around the edge of my semi leather or canvas sky circle and with matching or contrasting thread, whatever you want. You can really use any fabric to make them.
Amo coser es tan relajante el sonido de la máquina de coser, para mí es el sonido de una creación ❤️❤️ Bueno, hice una costura de zig zag por todo el borde del círculo de mi semicuero o loneta sky y con hilo que combine o contraste, lo que quieras. Realmente puedes usar cualquier género para hacerlos.

That's how it looked, I see it as beautiful. In every project it is important the materials that we use so that the product looks beautiful or more beautiful, and that it can reach the appearance or commercial quality that is the most important in quality standard.
This is all the sewing that we are going to do... As I said, it is very quick to make.
Así quedó, yo lo veo tan bello. En todo proyecto es importante los materiales que usemos para que el producto se vea bonito o más bonito, y que pueda alcanzar la apariencia o calidad comercial que es lo más importante en estándar de calidad.
Esta es toda la costura que vamos a realizar... Como te digo es muy rápido de confeccionar.

Now I incorporate the closing system, which in my case I use again the beloved Plastic Snaps, but you can use other options for closing such as buttons, magic clasp or velcro.
I fold the piece, mark the center, open with the punch on both sides, and make sure that the holes I just made are well done to continue with the placement of the snaps.
Ahora le incorporo el sistema para cerrar, que en mi caso uso de nuevo los amados Broches Plásticos, pero puedes usar otras opciones para cerrar como botones, cierre mágico o velcro.
Doblo la pieza, marco el centro, abro con el punzón en ambos lados, y me aseguro que los orificios que acabo de hacer queden bien hechos para seguir con la colocación de los broches.

Each side of the piece is going to have a piece of the brooch, which is a piece that has a tip, that one places it in the inward direction, and the other piece that is going to fuse with the tip. In the following way:
Cada lado de la pieza va a tener una pieza del broche, que es una pieza que tiene una punta, esa la ubica en dirección hacia adentro, y la otra pieza que va a fusionarse con la punta. De la siguiente forma:

Now I just use my snap pliers for the snaps, squeeze and one side is ready.
Ahora solo uso mi alicate de presión para los broches, apretando y ya quedaría listo un lado.

This is what it looks like after pressing it, as you can see the tip is no longer noticeable, since it was pressed and closed on that side. This is how the mechanics of this snap pliers work, it is very easy to use.
Así luce luego de presionarlo, como puedes ver la punta ya no se nota, ya que se presionó y cerró ese lado. Así funciona la mecánica de este alicate para broches, es demasiado sencillo de usar.

At the other end I do the same, with another piece of tip that will merge with another internal piece that has another shape since it will fit on the other side.
This is the whole Cable Organizer Clip.
En el otro extremo hago lo mismo, con otra pieza de punta que se va a fusionar con otra pieza interna que tiene otra forma ya que va a calzar del otro lado.
Ya este es todo el Clip Organizador de Cable.

This kit and its tools cost only 20$ in a previous opportunity I did the Publication Unboxing My Plastic Clasps Kit, I acquired it with Hive's resources and I highly recommend it, you will see all the projects you can embellish with this tool.
Este equipo o Kit de Broches y sus herramientas costó solo 20$ en una oportunidad anterior hice la Publicación Unboxing Mi Ki de Broches Plásticos, lo adquirí con los recursos de Hive y te lo recomiendo altamente, verás todos los proyectos que puedes embellecer con esta herramienta.

Since this project was so easy and quick, I made several to give away, all with the same process. I even used a material that because of its shape and characteristics I knew it would not fray, so I didn't even apply the edge stitching, but I only do that if I notice that the material will not lose its shape with continued use.
Al ser tan fácil y rápido este proyecto hice varios para regalar todos con el mismo proceso. Incluso utilicé un material que por su forma y característica ya sabía que No se iba a deshilachar, así que ni siquiera le apliqué la costura del borde, pero eso solo lo hago si noto que el material no va a perder su forma con el uso continuo.

I tell you I have enjoyed the process, the different designs, I love to see the cables organized, and I want to give them to my family and friends because we really use them, they are very useful.
Te digo que he disfrutado el proceso, los diferentes diseños, adoro ver organizados los cables, y quiero regalarlos a mis familiares y amigo porque realmente los usamos, son muy útiles.

I hope you liked them and that you are encouraged to replicate them or make your own version, because the creativity of each one of us is our personal seal.
I invite you to my next publication... Best regards 🤗🤗
Deseo que les haya gustado y que se animen a replicarlos o a hacer su propia versión, porque la creatividad de cada uno es nuestro sello personal.
Los invito a mi próxima publicación... Un abrazo 🤗🤗
---------- ❤️❤️❤️❤️ ----------
I took the photos with my Redmi Note 8 phone
Apps I used:
Canva for the Cover
Inshot for the Collage
Online-convert.com for Gifs
I used Deepl Translate
My social networks:
Discord: YennysYaneth#0189
Twitter: @yennysferm
Instagram: @yennysyaneth
---------- ❤️❤️❤️❤️ ----------
Las fotos las tomé con mi teléfono Redmi Note 8
Apps que utilicé:
Canva para la Portada
Inshot para los Collage
Online-convert.com para los Gif
Utilicé el Traductor Deepl
Mi redes sociales:
Discord: YennysYaneth#0189
Twitter: @yennysferm
Instagram: @yennysyaneth

That is a good idea as cables, chargers are always all over the place. I'm traveling a lot during summer, there's always a bunch of cables in my bag, do one of these would help. Congrats as it's a good idea.
I think it happens to all of us that cables are a problem. The good thing is that they are a problem that we can solve ourselves with some ingenuity. I'm glad you liked it.
Thanks for stopping by 🤗🤗
~~~ embed:1621396770579222528 twitter metadata:MTU3NzExNzU2NzcyMTgxNjA2OHx8aHR0cHM6Ly90d2l0dGVyLmNvbS8xNTc3MTE3NTY3NzIxODE2MDY4L3N0YXR1cy8xNjIxMzk2NzcwNTc5MjIyNTI4fA== ~~~
The rewards earned on this comment will go directly to the people( @tere.alv ) sharing the post on Twitter as long as they are registered with @poshtoken. Sign up at https://hiveposh.com.
Un lindo trabajo, sencillo y tan útil en estos tiempos. Me gustó mucho.
!LADY
View or trade
LOHtokens.@tere.alv, you successfully shared 0.1000 LOH with @yennysferm71 and you earned 0.1000 LOH as tips. (1/1 calls)
Use !LADY command to share LOH! More details available in this post.
Hey, esto está genial... Es muy práctico... Yo soy súper desordenado
Está muy cute este organizador :3
Es maravilloso como cada día aprendemos cosas nuevas, me encantó su idea ya que siempre tenemos los cables regados sobre todos los cargadores, es una excelente manera para organizarlos, gracias por compartirnos tu excelente idea, me gustó mucho el implemento que tienes para colocar los broches, espero tengas un excelente día 🤗
I have never touched a sewing machine 😦, I have done everything by hand, and I confess that now I need an organizer, I am one of those who leaves cables very messy, I admit it.😂
Qué accesorios tán útiles y bonitos!! Viendo este post me doy cuenta que necesito un par de estos. Gracias por compartir esta idea🌺🌺
Wow, this is so beautiful and very handy too. Such creativity.
With this our our cables, cords will be well kept. Thanks for sharing.