Feliz inicio de mes y de semana para todos los amigos creativos que hacen vida en esta grandiosa comunidad; bienvenidos a mi blog!
Acabo de leer que esta hermosa comunidad está de aniversario! si señor, ya son 3 años en blockchain, y mis deseos son que siga creciendo cada dia, mucha vida y salud para todo el equipo administrador, y que sigan las iniciativas y los proyectos para los usuarios! Feliz Cumpleaños #hivediy
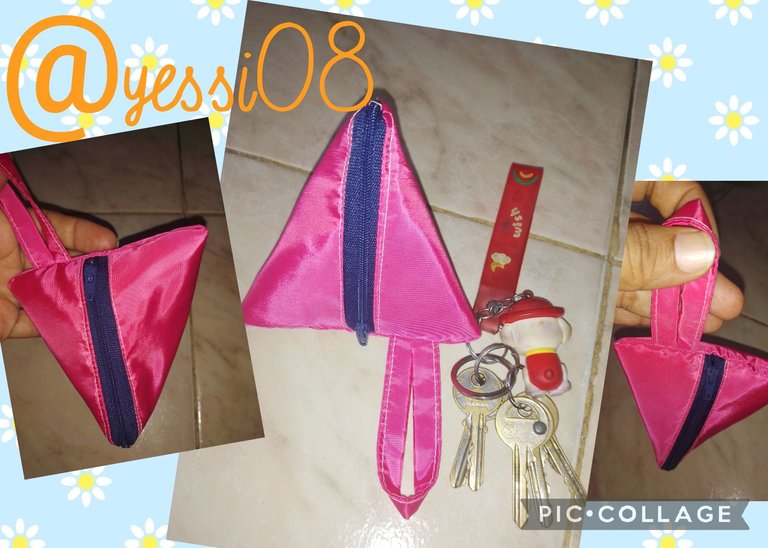
Hoy, les quiero compartir el #tutorial para la elaboración de un lindo bolsa de mano triangular, una amiga me llamó y me dijo: vi un tutorial de un lindo bolso en forma de triángulo, te atreves a hacerme uno?, bueno nunca lo he hecho, pero si me pasas el video, guiandome por el paso a paso , de seguro lo puedo hacer, jejejej
Les confieso que tuve que ver el tutorial varias veces, porque la ultima parte me confundia un poco, y me puse manos a la obra, hasta que lo hice! le envie a mi amiga fotos del producto terminado, y, le encanto! todavia no se lo he entregado, porque se lo voy a enviar cuando una persona viaje a Puerto Ordaz, pero me dijo que lo está esperando que es para llevarlo en su cartera y guardar allí la llave, o usarlo a veces cuando sea una salida rápida y no quiera llevar cartera, sino solo resguardar la llave!
Veamos el paso a paso:
Happy start of the month and of the week to all the creative friends who make life in this great community; welcome to my blog!
I just read that this beautiful community is celebrating its anniversary! yes sir, it's already 3 years in blockchain, and my wishes are that it continues to grow every day, lots of life and health for all the admin team, and that the initiatives and projects for the users continue! Happy Birthday #hivediy
Today, I want to share with you the #tutorial for the elaboration of a nice triangular mana bag, a friend called me and told me: I saw a tutorial of a nice triangle shaped bag, do you dare to make me one, well I've never done it, but if you pass me the video, guiding me through the step by step, for sure I can do it, heheheheheh.
I confess that I had to watch the tutorial several times, because the last part confused me a little, and I got down to work, until I did it! I sent photos of the finished product to my friend, and she loved it! I haven't given it to her yet, because I will send it to her when a person travels to Puerto Ordaz, but she told me that she is waiting for it, it is to carry it in her purse and keep the key there, or use it sometimes when it is a quick trip and she doesn't want to carry a purse, but just to keep the key!
Let's see the step by step:

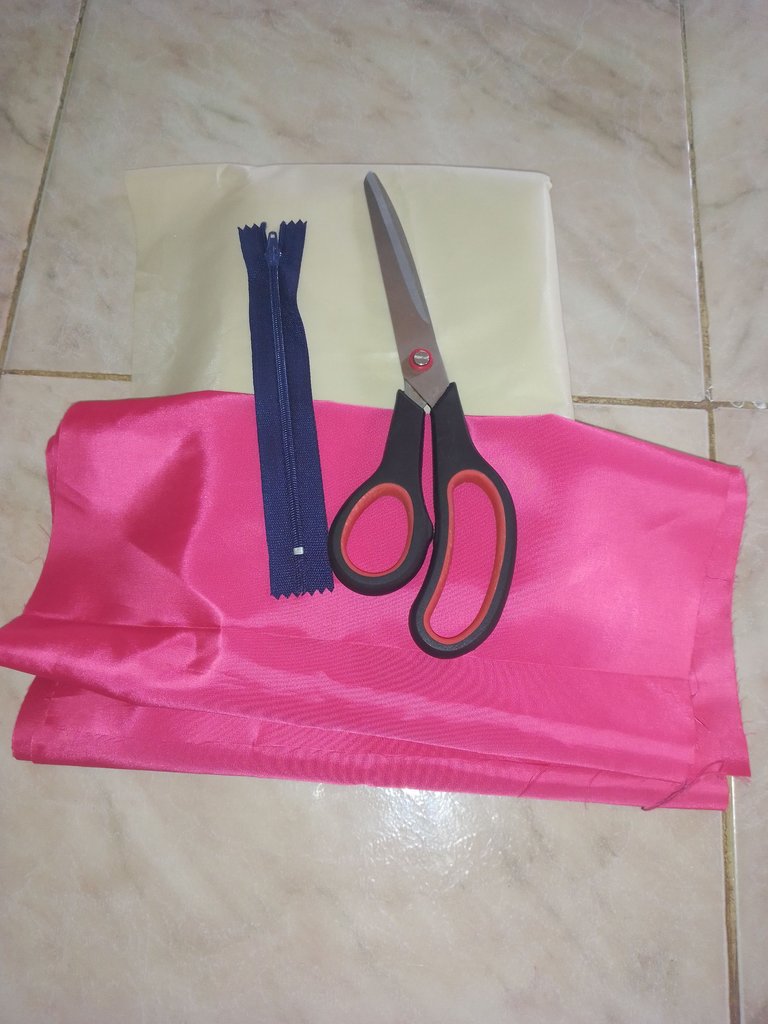
taffeta color rosa
taffeta impermeable para el forro
tijera
cierre de 15cm
maquina de coser.
pink taffeta
waterproof taffeta for lining
scissors
15cm zipper
sewing machine
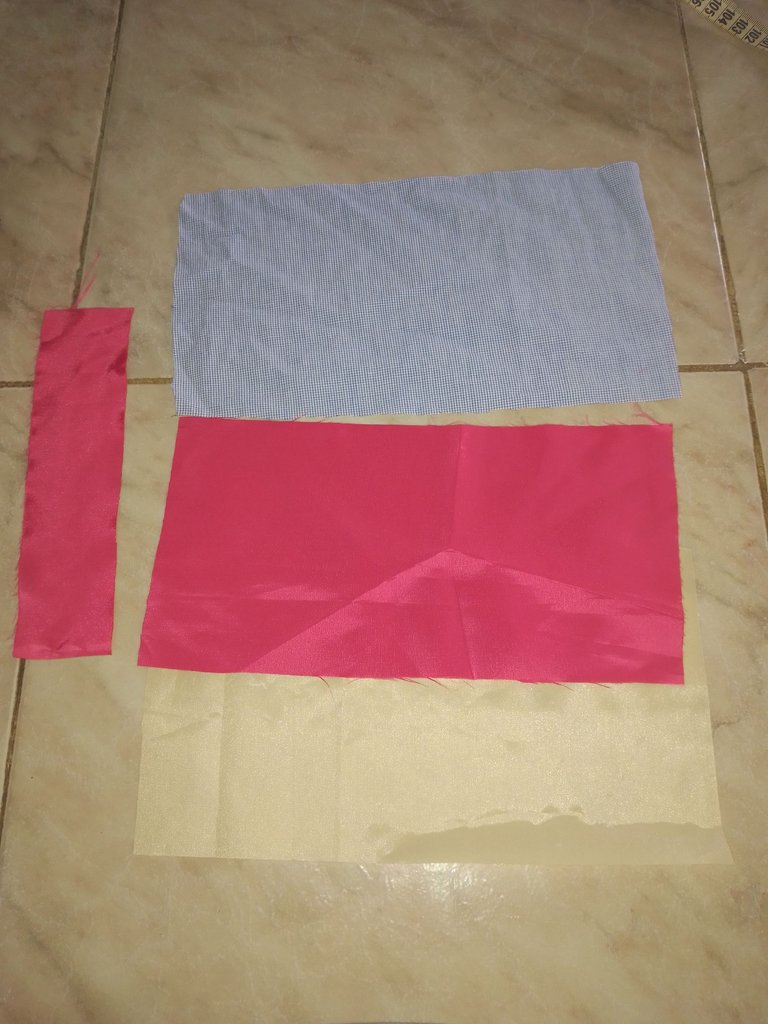
Lo primero fue cortar 3 rectángulos de 12cm x 24cm, y uno de 8cm x 3cm para la tira del bolso.
The first thing was to cut 3 rectangles of 12cm x 24cm, and one of 8cm x 3cm for the strip of the bag.
Hice un pespunte uniendo la tafeta rosa y la impermeable, colocando primero la tela de forro, luego el cierre y después la tafeta, hice un pespunte para pegar el cierre.
I made a backstitch joining the pink taffeta and the waterproof, placing first the lining fabric, then the zipper and then the taffeta, I made a backstitch to glue the zipper.
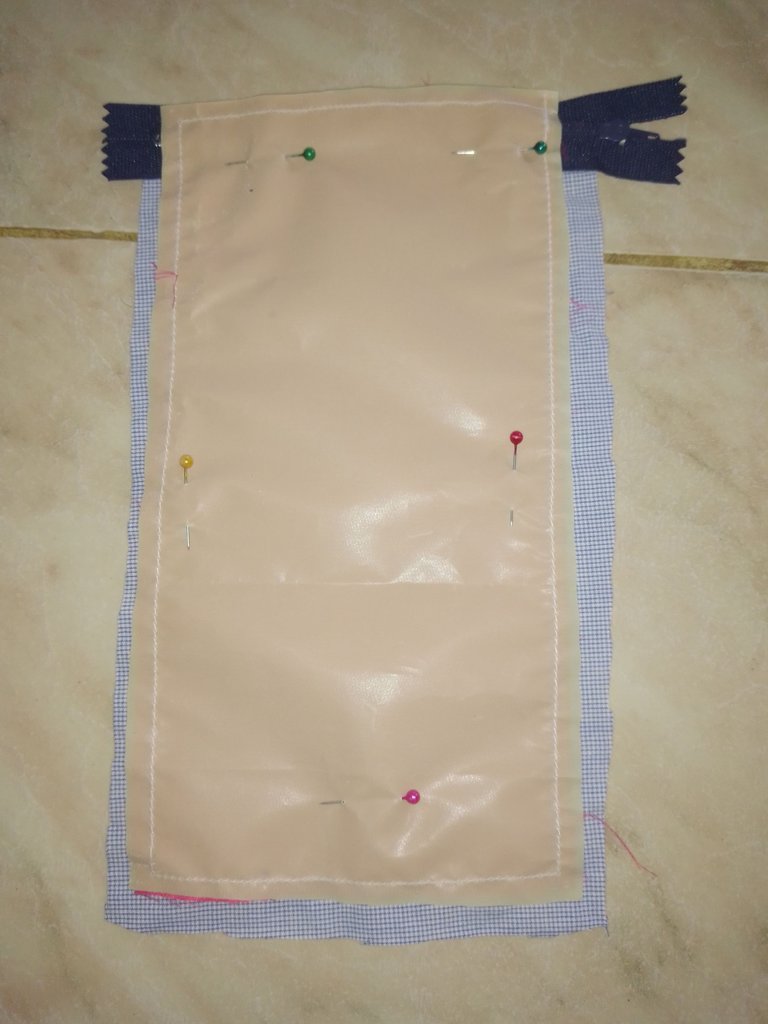
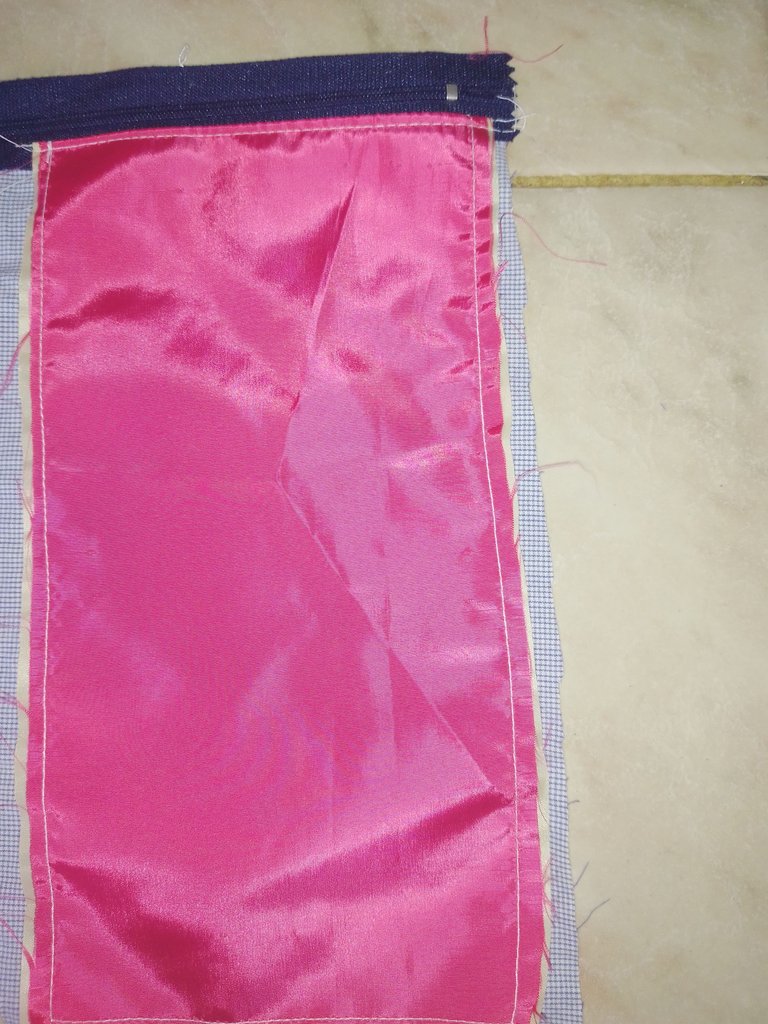
Colocando la tafetán por el lado derecho, hice un doblez hacia arriba en ambas telas, y las cosí a la otra parte del cierre, voltee e hice un pespunte.
Ubique la tira en el extremo donde termina el cierre, di vuelta, y coloque el cierre en el centro y pase un pespunte.
Placing the taffeta on the right side, I made a fold up on both fabrics, and sewed them to the other side of the zipper, turned and backstitched.
Place the strip at the end where the zipper ends, turn over, and place the zipper in the center and backstitch.
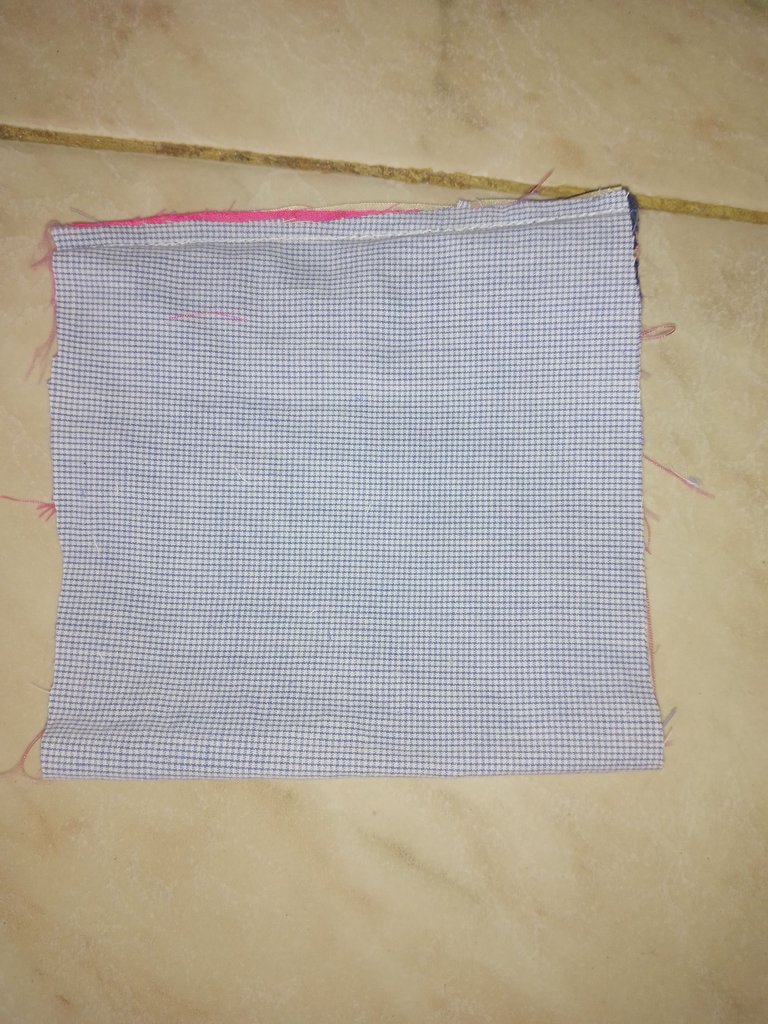
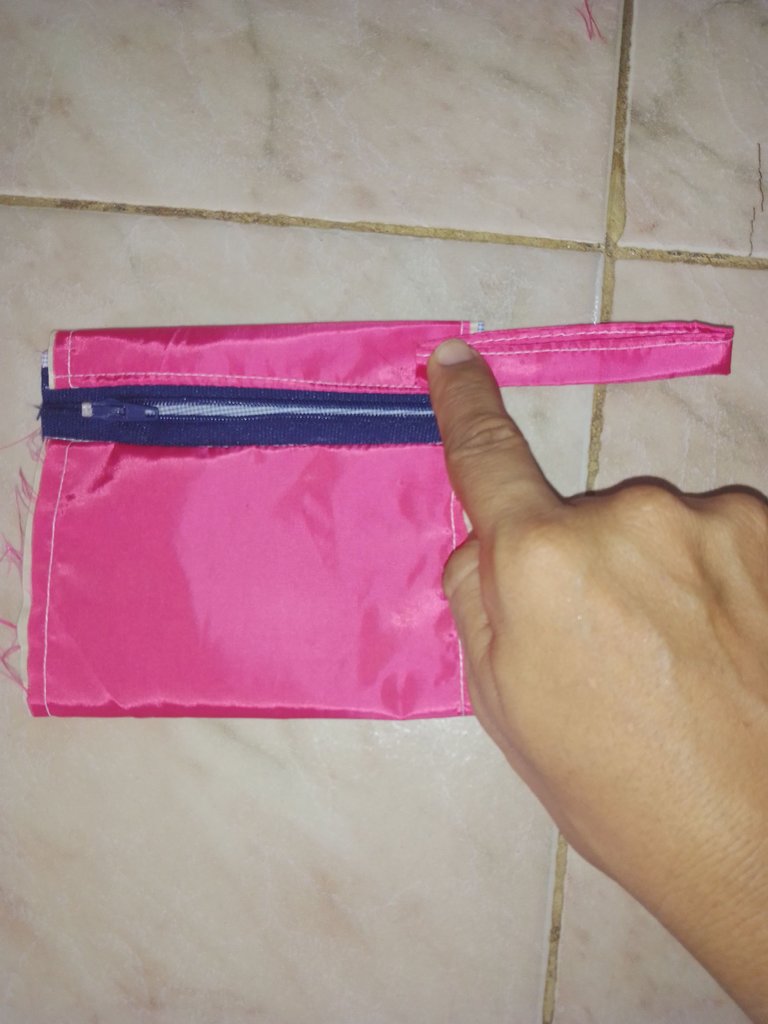
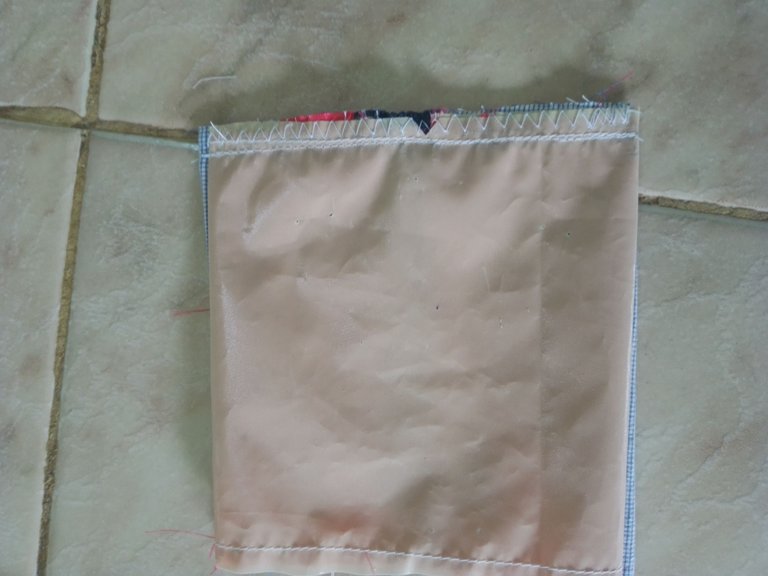
El otro extremo se separa doblandolo en forma de triángulo, y se hace un pespunte, dejando un espacio sin coser en la tela de forro, para luego dar vuelta, cuidando de marcar bien las puntas.
The other end is separated by folding it in the shape of a triangle, and a backstitch is made, leaving a space without sewing in the lining fabric, and then turning it over, taking care to mark the ends well.
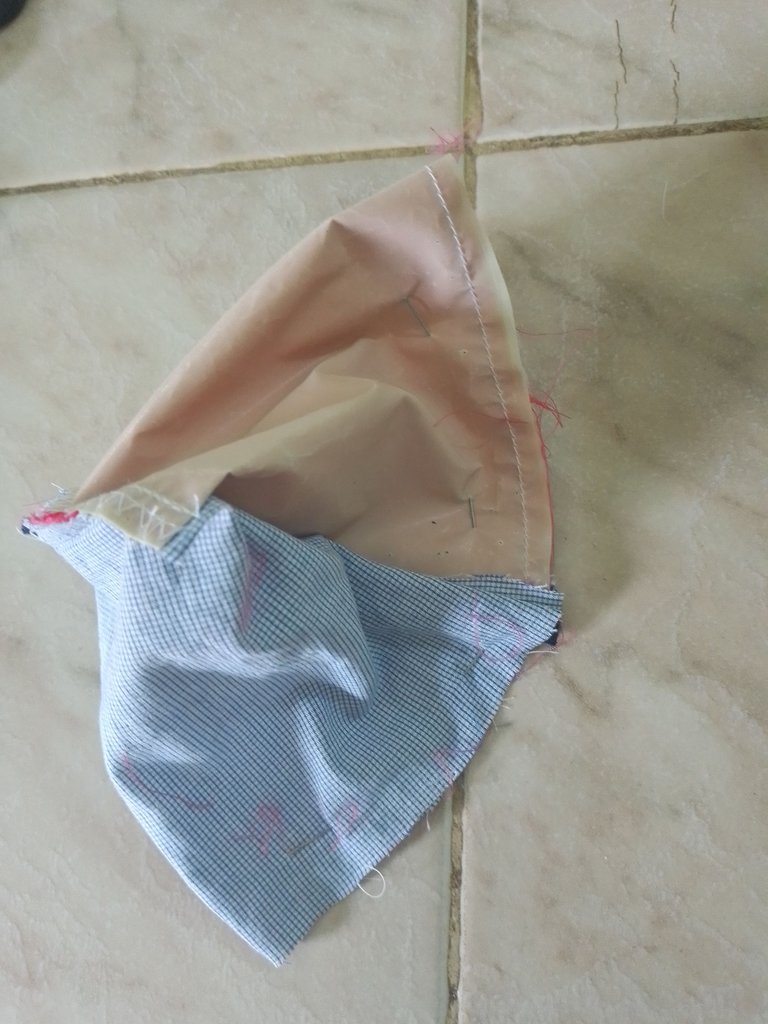
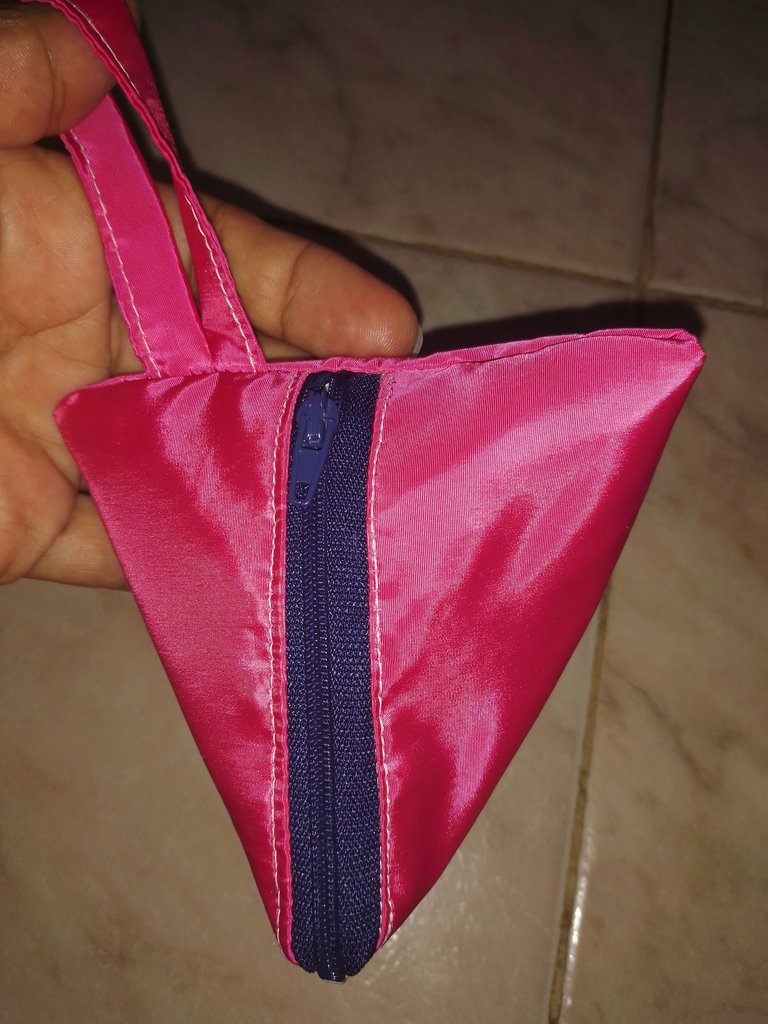
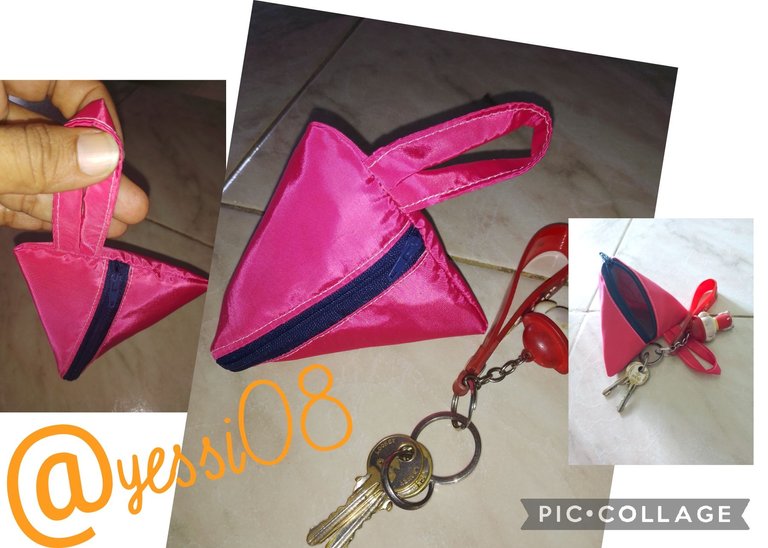
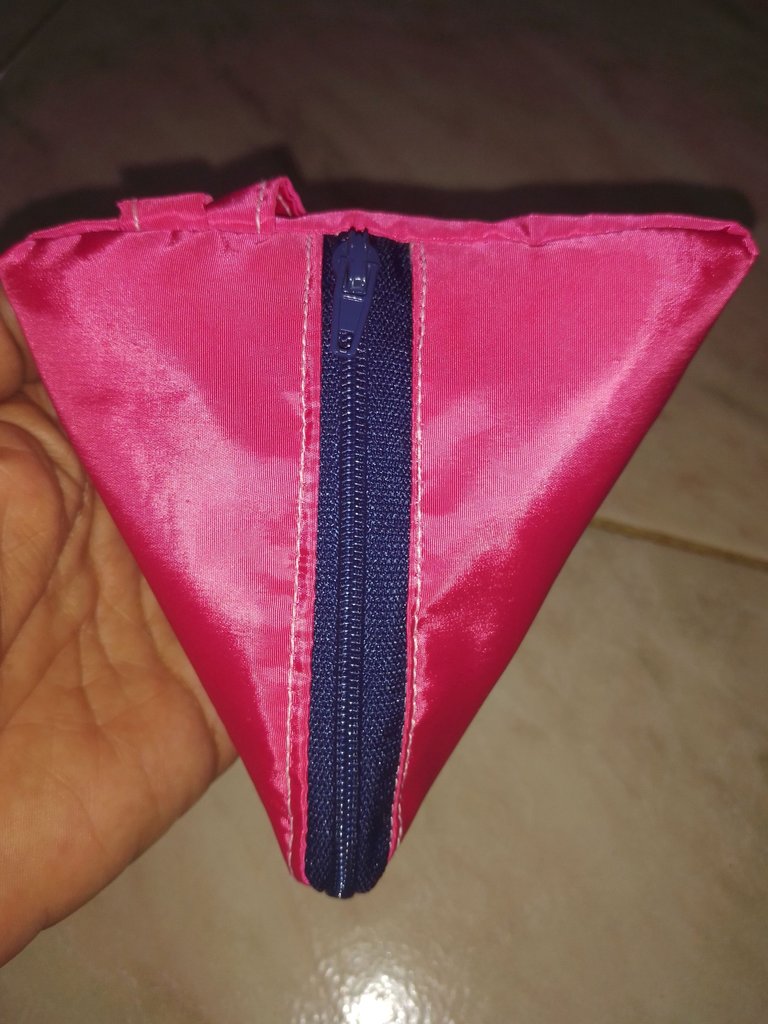
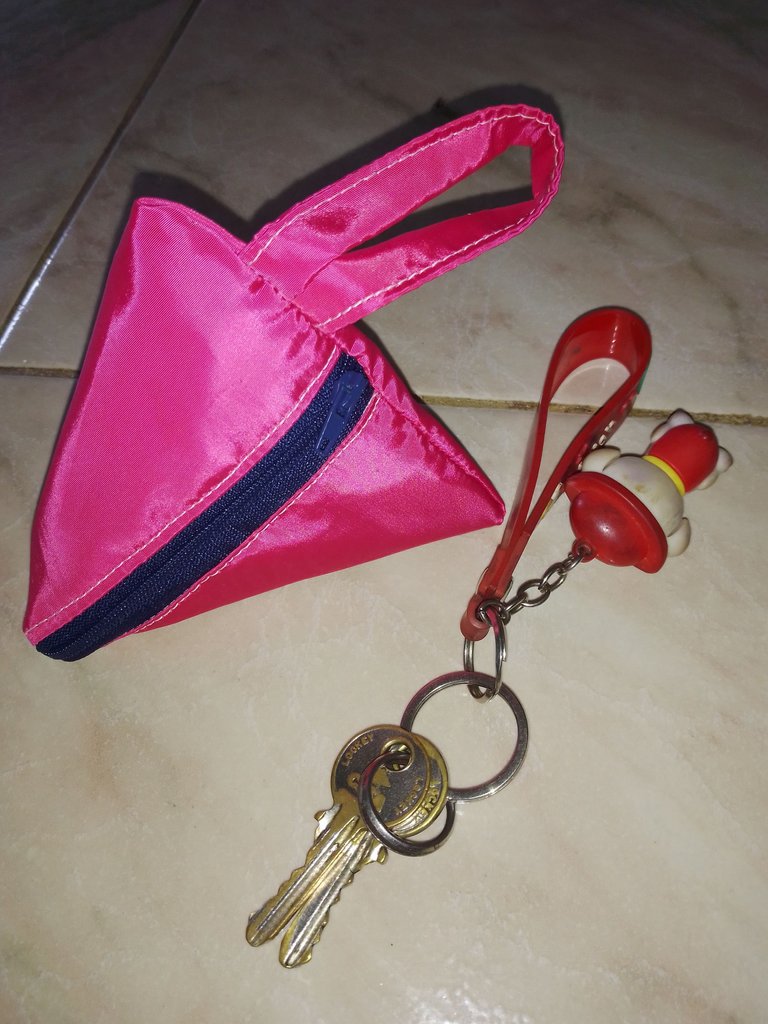
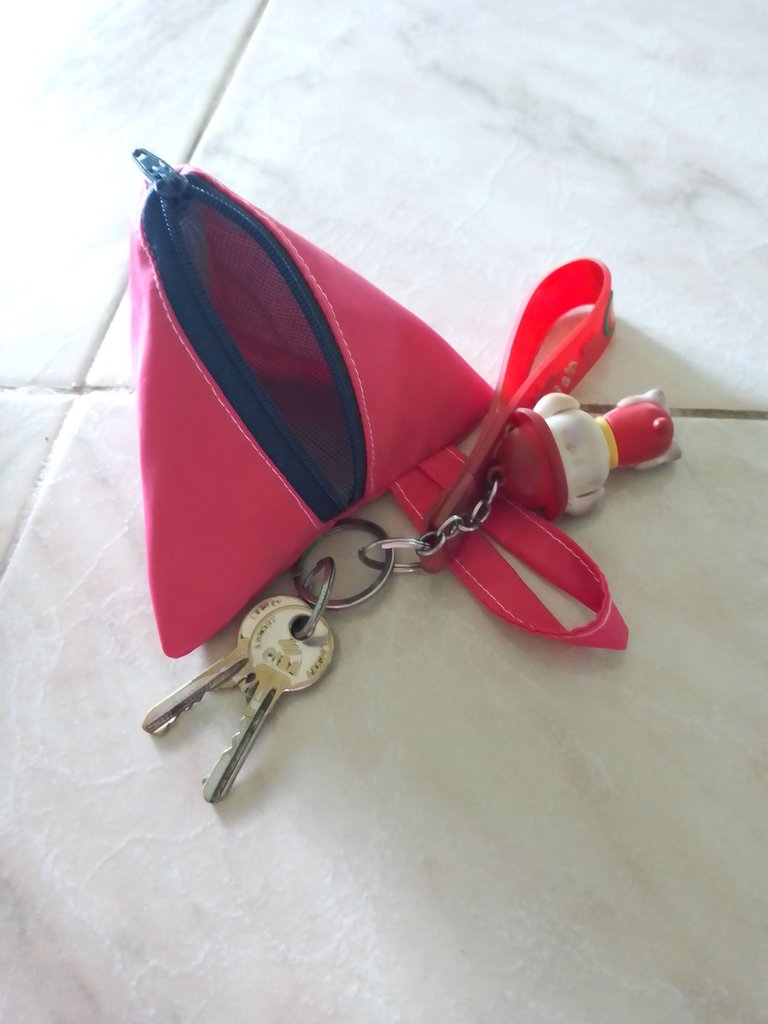
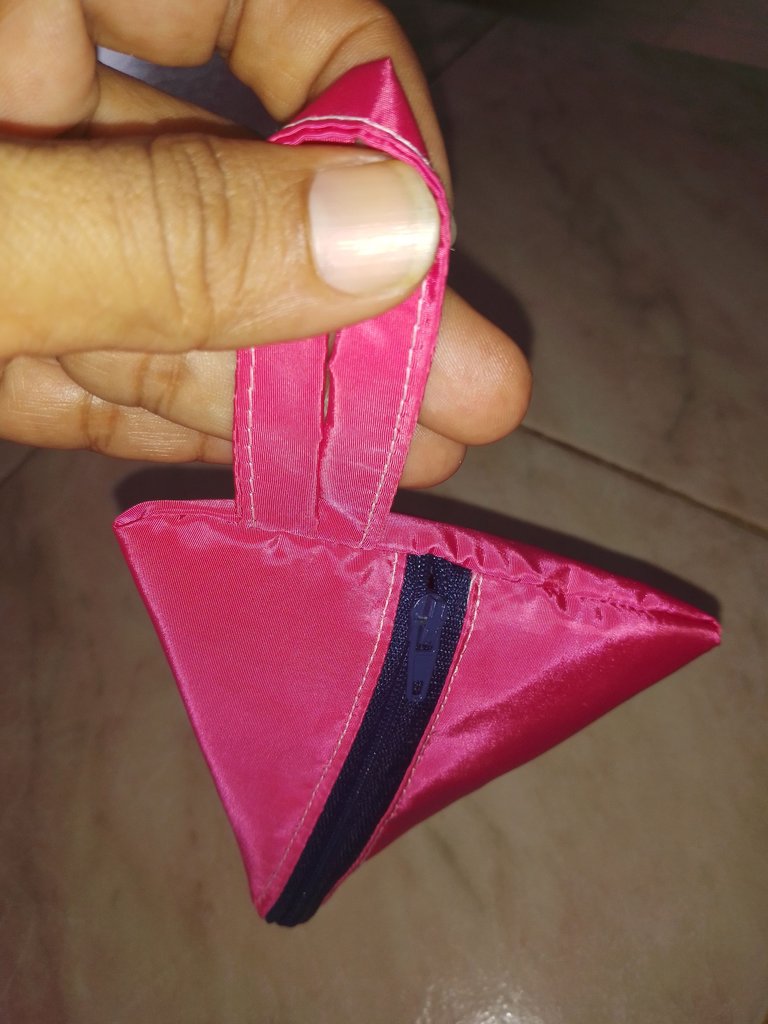
Asi quedo el lindo bolso triangular, espero que a mi amiga le guste tanto como a mi!
Gracias por pasar!
Dios te bendiga!
This is how the triangular bag turned out, I hope my friend likes it as much as I do!
Thanks for stopping by!
God bless you!
      Todas las imágenes son de mi autoría, capturadas con mi teléfono ZTE.

   All images are my own, captured with my ZTE phone.
Agradecida por el apoyo y valoración de mi contenido!
Bendiciones!
Encantador bolsito, se ve muy simpático!
!discovery 45
Muchas gracias 🙏
This post was shared and voted inside the discord by the curators team of discovery-it
Join our Community and follow our Curation Trail
Discovery-it is also a Witness, vote for us here
Delegate to us for passive income. Check our 80% fee-back Program
Agradecida 🙏
a community encouraging first-hand content, and each individual living their best life.
Gracias por el apoyo 🙏