Hola creativos, un gusto estar entre ustedes compartiendo un tutorial para realizar un alfiletero muy práctico y seguro de usar al momento de realizar cualquier trabajo de costura en casa, no es necesario ser una modista, ni la mejor diseñadora para usarlo, es útil como para hacer un remiendo a cualquier prenda de vestir hasta para usarlo en extrovertidos diseños .
Hello creatives, a pleasure to be among you sharing a tutorial to make a very practical and safe pincushion to use when doing any sewing work at home, it is not necessary to be a seamstress, nor the best designer to use it, it is useful to make a patch to any article of clothing even to use it in outrageous designs.
Mi iniciativa nace porque hace unos días comencé un curso de corte y costura en donde conocí lo útil de estas herramientas para practicar el oficio de la costura.
My initiative was born because a few days ago I started a cutting and sewing course where I learned how useful these tools are to practice sewing.
Para realizar el alfiletero no necesitan gastar dinero, lo pueden realizar con cualquier prenda de vestir o retazo de tela que no utilicen.
To make the pincushion you do not need to spend money, you can do it with any article of clothing or scrap of cloth that you do not use.

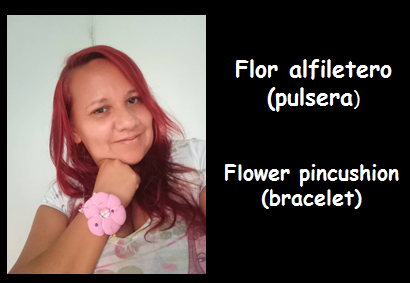
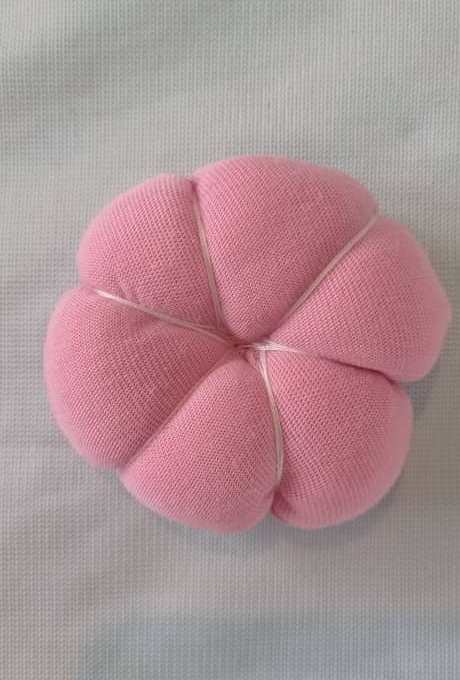
Resultado final / Final score
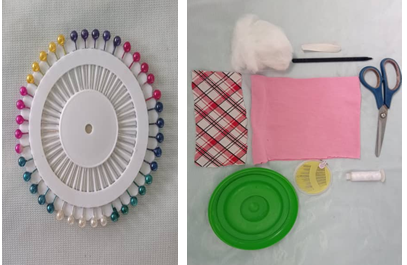
Los materiales:
The materials:
- Tela unicolor rosada (medidas 16 cm por 20 cm.)
- Solid pink fabric (measures 16 cm by 20 cm.)
- Tela estampada (medidas 12cm por 8 cm)
- Printed fabric (measures 12cm by 8 cm)
- Alfileres.
- Pins.
- Agujas.
- Needles.
- Lapicero.
- Pencil.
- Tijera.
- Scissors.
- Relleno (guata).
- Filling (wadding).
- 1 Tapa de 15 cm de radio.
- 1 Lid with a radius of 15 cm.
- Goma gruesa (7 cm).
- Thick rubber (7 cm).
- Hilo blanco.
- White thread.
Paso a paso.
Step by Step.
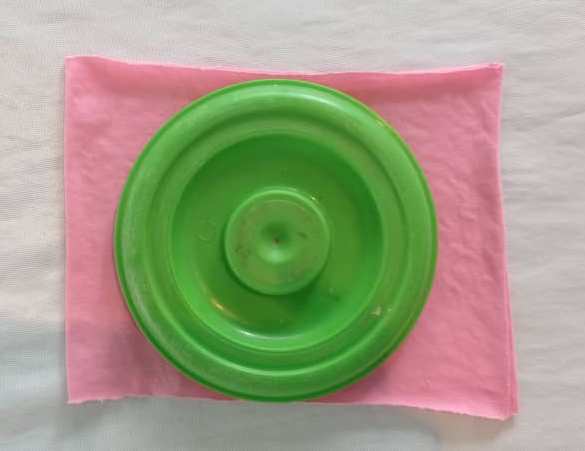
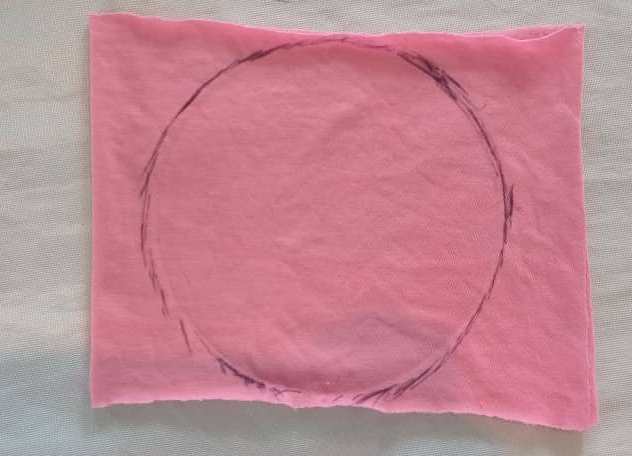
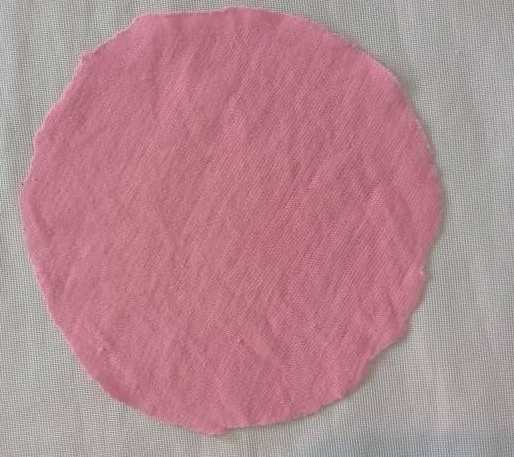
Paso 1: Elaboración de la flor.
Step 1: Making the flower.
To make the flower we will use the pink fabric, we will place the lid or the 15-centimeter circumference on it and mark with the pen, then cut it out.
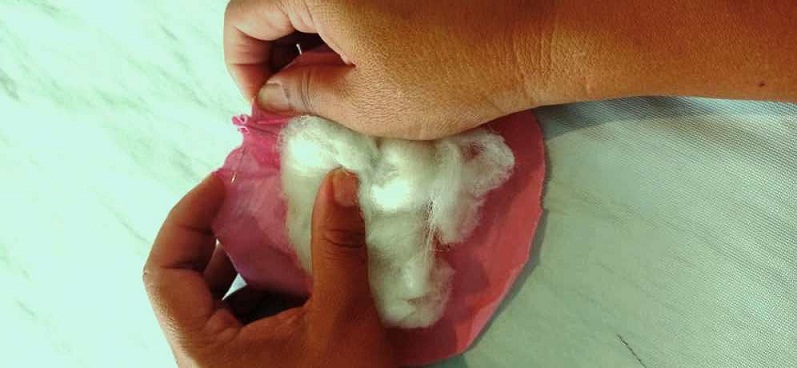
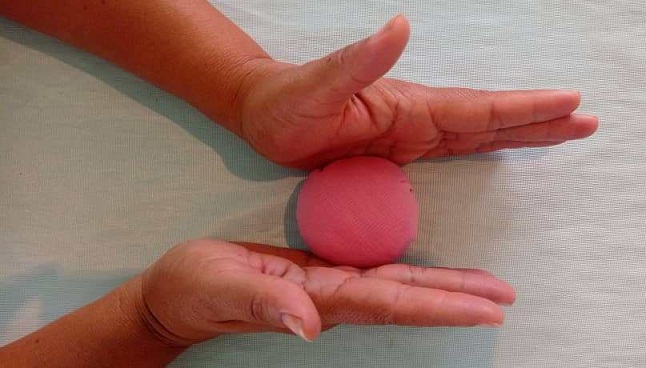
Colocamos el relleno en el centro comenzamos a coser por la orilla de la tela, la manera de introducir la aguja será meter sacarla en forma de acordeón para que luego la podamos arruchar.
We place the filling in the center and begin to sew along the edge of the fabric. The way to insert the needle will be to insert it and remove it in the form of an accordion so that later we can crumple it up.
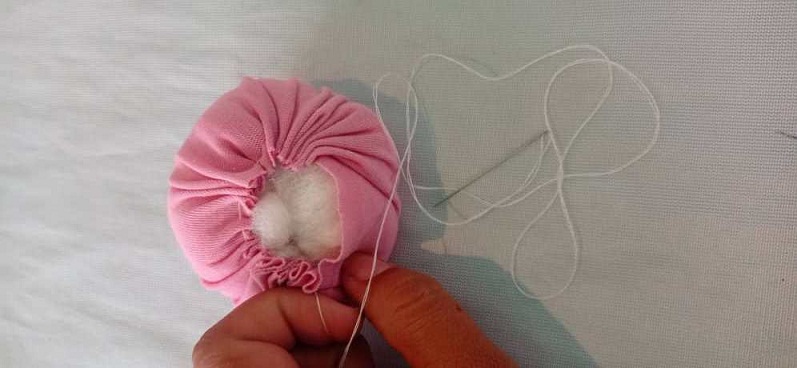
Moldearemos con ayuda de las manos, de la siguiente manera.
We will mold with the help of our hands, as follows.
Paso 2: Decoración de la flor.
Step 2: Flower decoration.
En este procedimiento formaremos los pétalos de la flor, los cuales lo haremos utilizando hilo blanco y un aguja grande.
In this procedure we will form the petals of the flower, which we will do using white thread and a large needle.
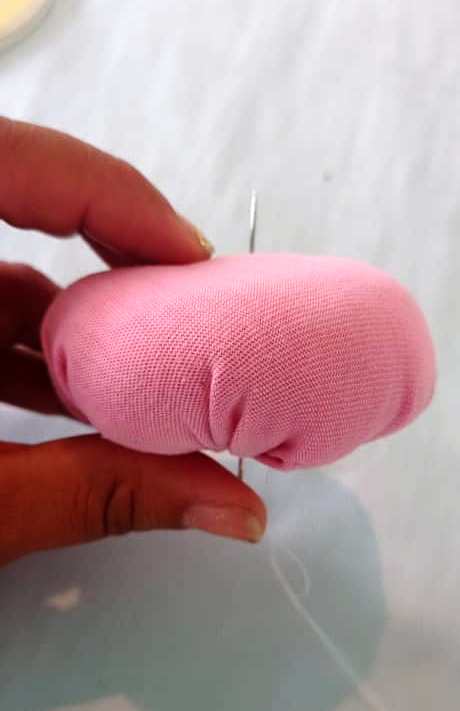
En el centro de la flor por lo que será la parte inferior de la misma introducimos la aguja con suficiente hilo blanco, lo haremos como se observa en la fotografía.
In the center of the flower, so it will be the lower part of it, we insert the needle with enough white thread, we will do it as seen in the photograph.
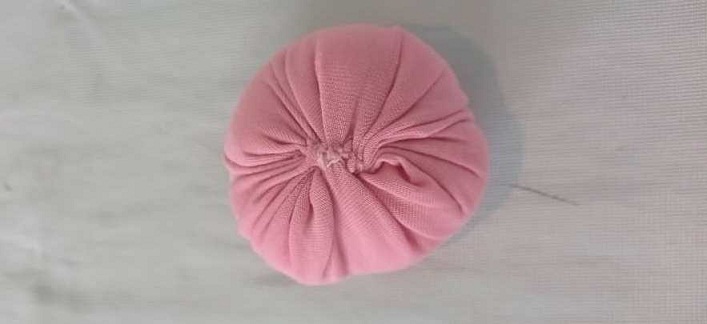
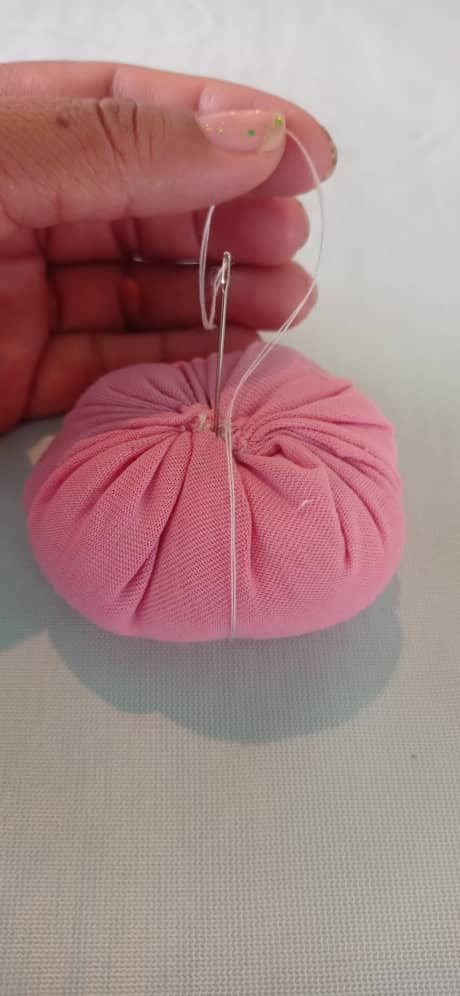
Seguidamente pasaremos el hilo desde el centro hacia el inferior de la flor, de esta manera.
Then we will pass the thread from the center to the bottom of the flower, in this way.

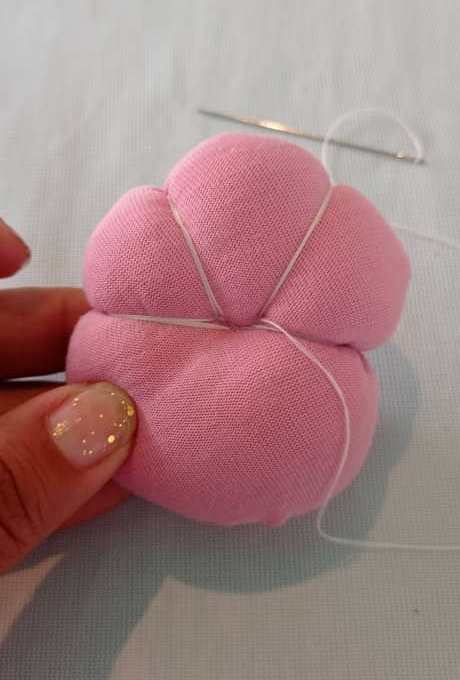
Este paso lo repetimos de acuerdo a la cantidad de pétalos que desee hacerle a la flor.
We repeat this step according to the number of petals you want to make to the flower.
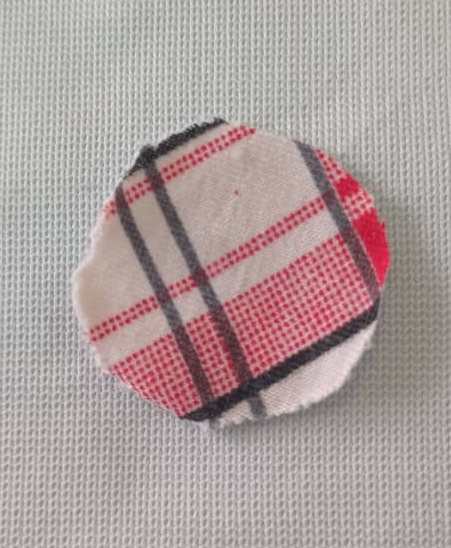
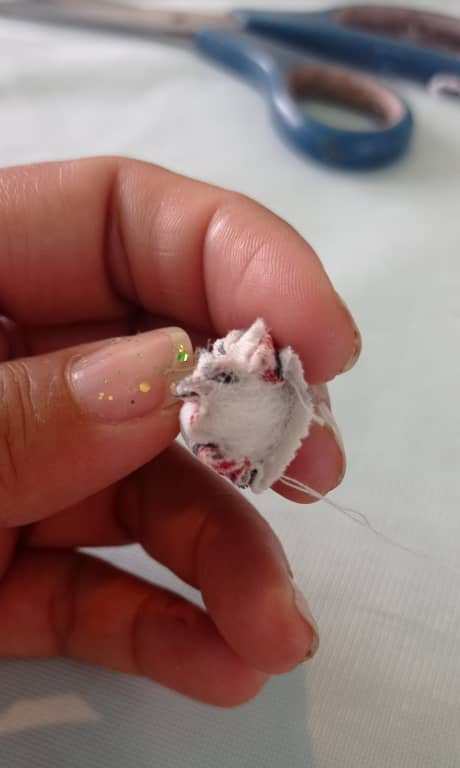
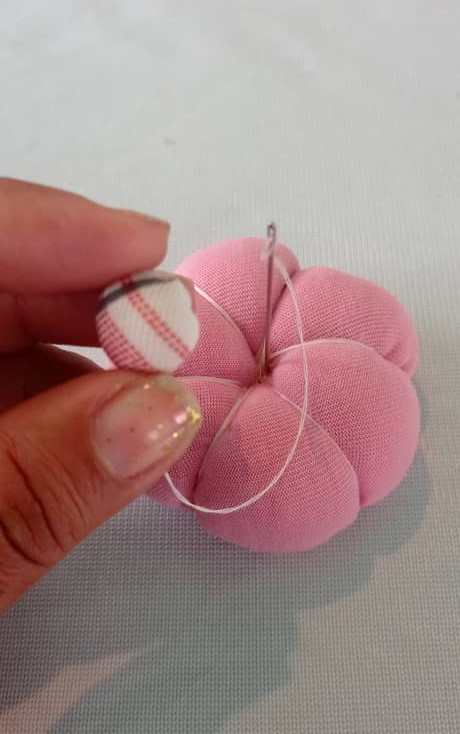
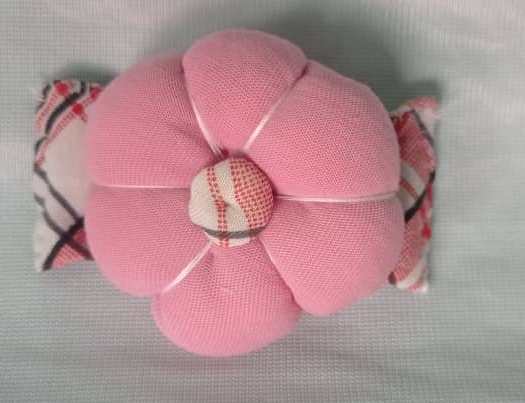
En el centro de la flor para tapar la costura, colocaremos un botón, para realizarlo usaremos de la tela estampada, haremos una circunferencia pequeña, colocamos el relleno, cosemos de la misma manera que cosimos la flor, colocando la aguja en forma de acordeón.
In the center of the flower to cover the seam, we will place a button, to do it we will use the printed fabric, we will make a small circumference, we place the filling, we sew in the same way that we sewed the flower, placing the needle in the form of an accordion.
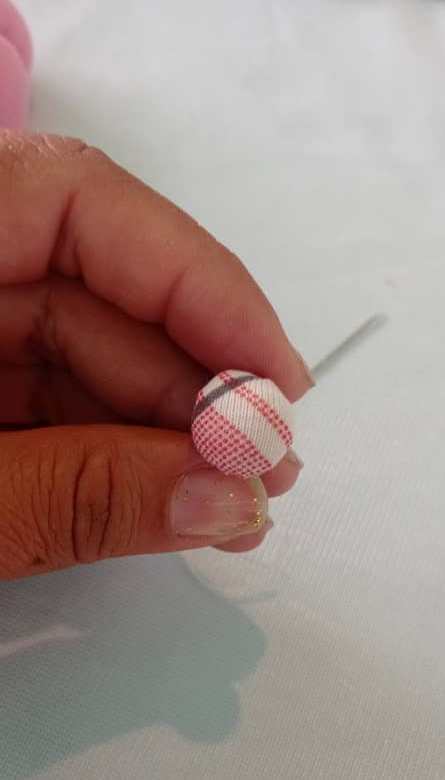
Con este último paso tenemos lista la flor, para luego comenzar a elaborar la pulsera donde la colocaremos.
With this last step we have the flower ready, to then start making the bracelet where we will place it.

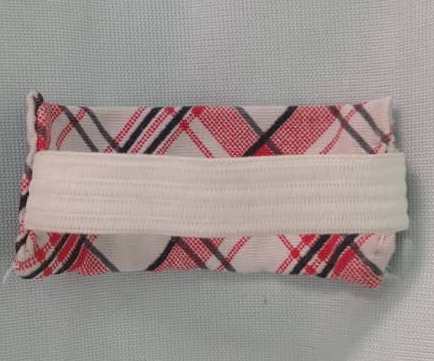
Paso 3: Elaboración de la pulsera.
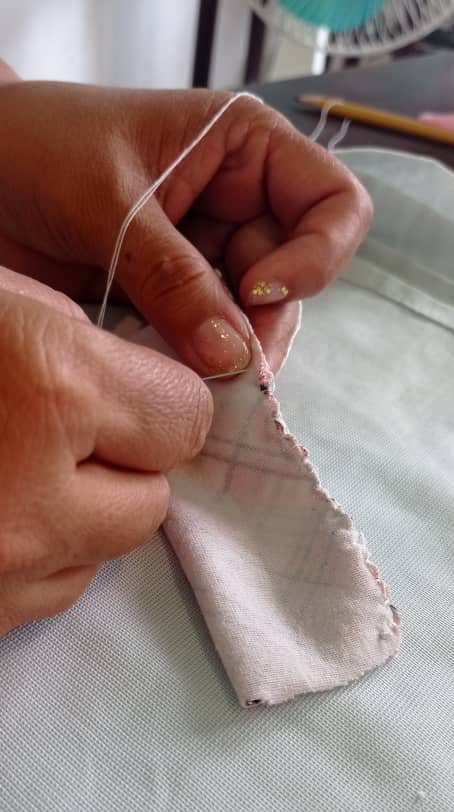
La pulsera la haremos con la tela estampada, la colocamos del lado al revés doblamos a la mitad cosemos solamente el lado más largo, las puntas las dejamos sin costura.
We will make the bracelet with the printed fabric, we place it on the wrong side, we fold it in half, we sew only the longest side, we leave the ends without sewing.
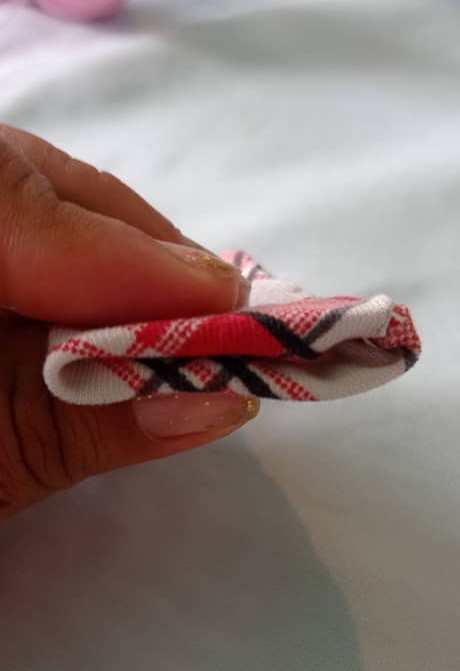
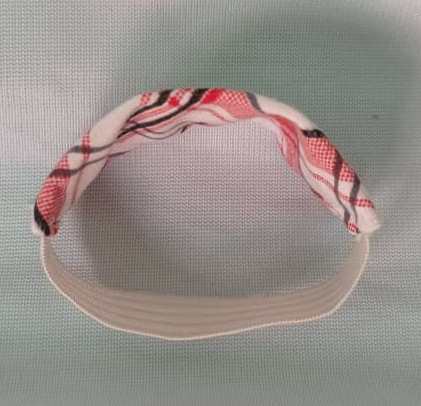
Al terminar de coser colocamos la pieza por el lado derecho dándole la vuelta desde adentro de la costura, uniremos las puntas doblando un centímetro hacia dentro el centro colocamos un extremo de la liga.
At the end of sewing we place the piece on the right side turning it from inside the seam, we will join the ends by folding a centimeter inwards the center we place one end of the garter.
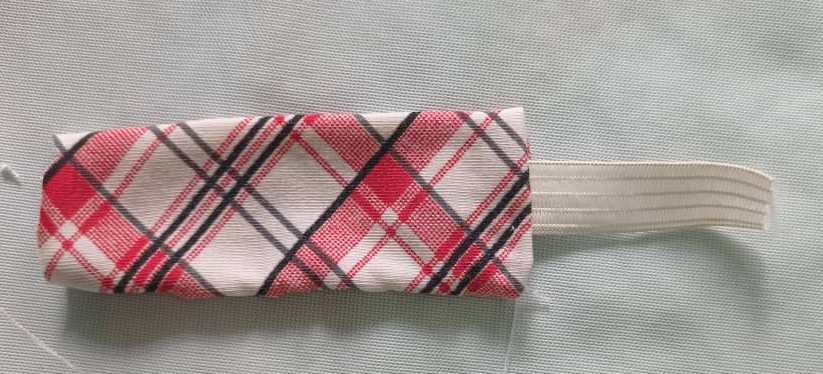
Este paso lo haremos igual en las dos puntas.
We will do this step the same on both ends.
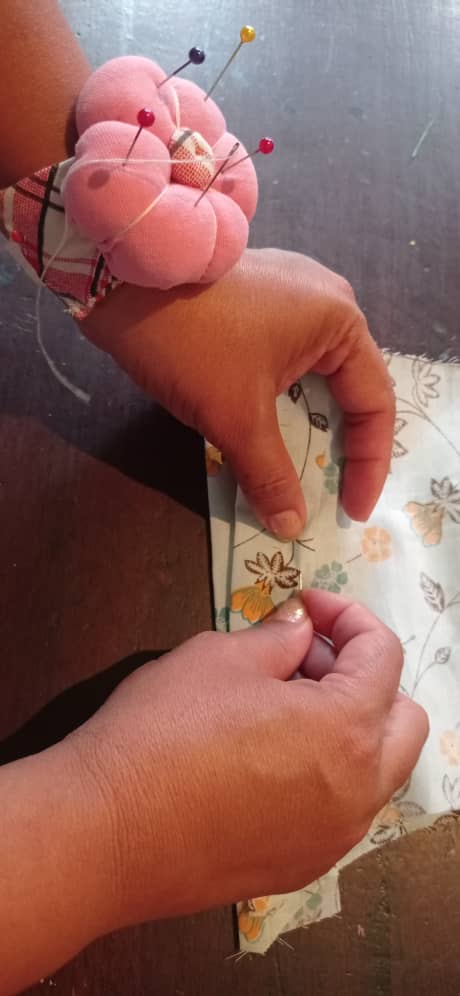
Paso 4: Unificar las piezas.
Step 4: Unite the pieces.
Con el último paso unificaremos el alfiletero colocando la flor sobre la pulsera por medio de la costura.
With the last step we will unify the pincushion by placing the flower on the bracelet by means of the seam.
Pegamos con varios puntos fuertes para que sea resistente.
We paste with several strong points to make it sturdy.
Con la aplicación de todos estos pasos logramos un lindo seguro alfiletero, ya disfrutaran lo cómodo que será usarlo al momento de usarlo.
With the application of all these steps we achieve a nice safe pincushion, you will enjoy how comfortable it will be to use it when using it.

Espero mi post sea útil para quienes les gusta el arte de corte costura.
I hope my post is useful for those who like the art of cutting sewing.
