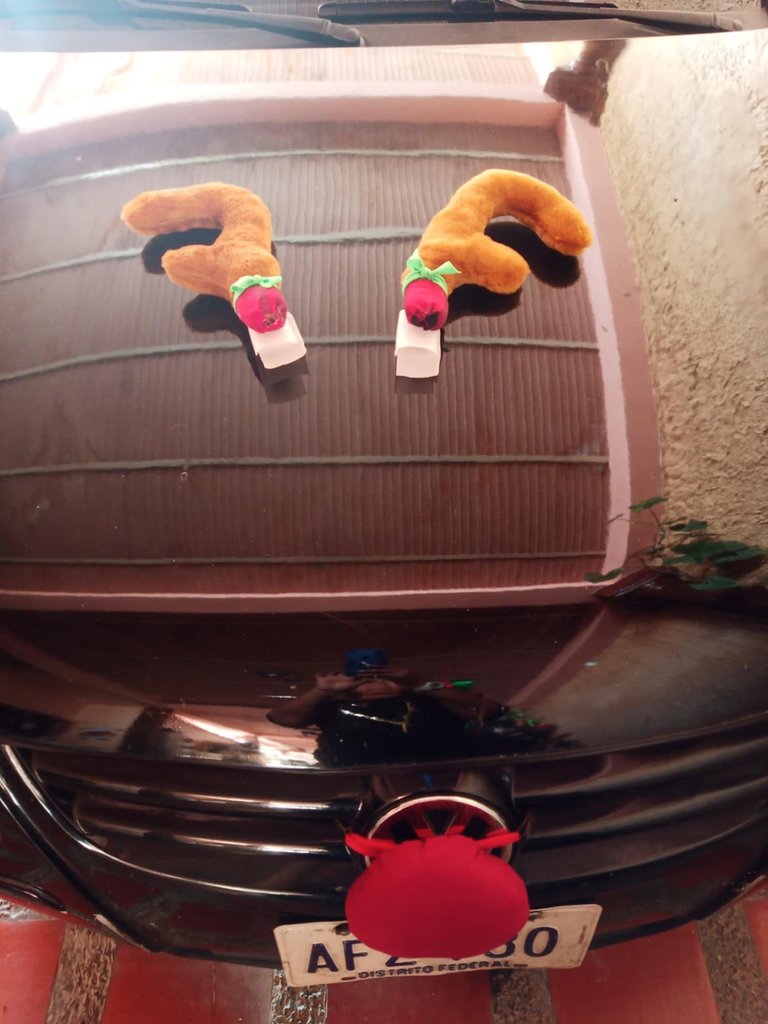

Greetings dear friends of #HiveDiy, Christmas is approaching and today I bring you a tutorial to continue decorating our home. For several years I have been seeing that there are stores where they sell these decorations and they put reindeer antlers on the cars and even Rudolph's nose, I love that idea, let's not say more, let's get to work to put the cart in tune with the most beautiful time of the year. With just a few materials you can achieve this task that will give an air of joy to your car or even as a gift to someone who likes to decorate everything for Christmas. I hope you like this very original idea and personal taste.
Saludos queridos amigos de #HiveDiy, ya se acerca la navidad y hoy les traigo un tutorial para seguir decorando nuestro hogar. Desde hace varios años estoy viendo que hay tiendas donde venden estos adornos y le colocan cuernos de renos a los carros y hasta nariz de rodolfo, esa idea me encanta, no se diga mas, manos a la obra para poner el carrito a tono con la época más linda del año. Con pocos materiales se puede lograr esta labor que le dará un aire de alegría a tu carro o hasta para un obsequio a alguien que le guste decorar todo en navidad. Espero les guste esta idea muy original y al gusto personal.

Material / Materiales:
Material / Materiales:
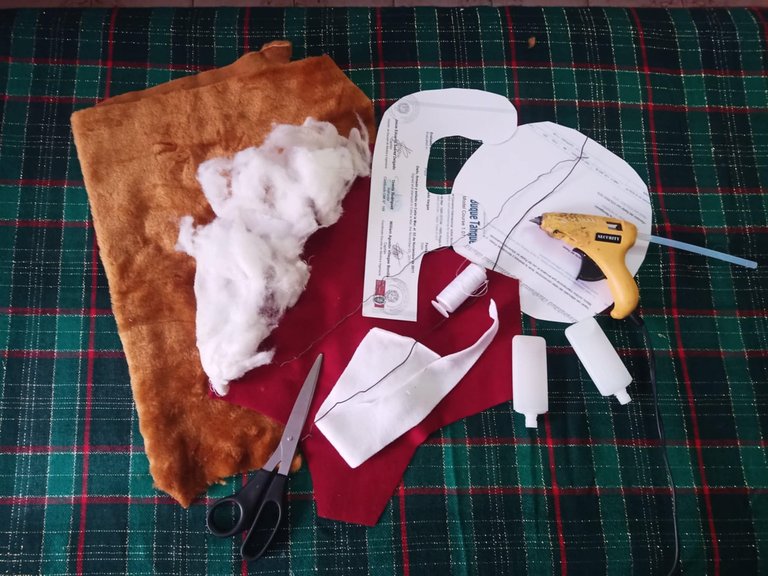
1/2 meter of brown plush fabric for the horns, 1/4 meter of wine red or red fabric for the nose, acrylic filling, scissors, needle, thread, silicone bar, 2 wires of 25 centimeters, 2 non-rigid moldable plastic containers, horn pattern, pattern for the nose (circumference of 50 centimeters).
1/2 metro de tela felpuda marrón para los cuernos, 1/4 de metro de tela vino tinto o roja para la nariz, relleno acrílico, tijera, aguja, hilo, silicon de barra, 2 alambres de 25 centímetros, 2 envases plasticos moldeables no rígidos, patrón de cuernos, patrón para la nariz (circunferencia de 50 centímetros).

Process / Procedimiento:
Process / Procedimiento:
Place the antlers pattern on the brown shaggy fabric.
Colocar el patrón de los cuernos sobre la tela felpuda marrón.
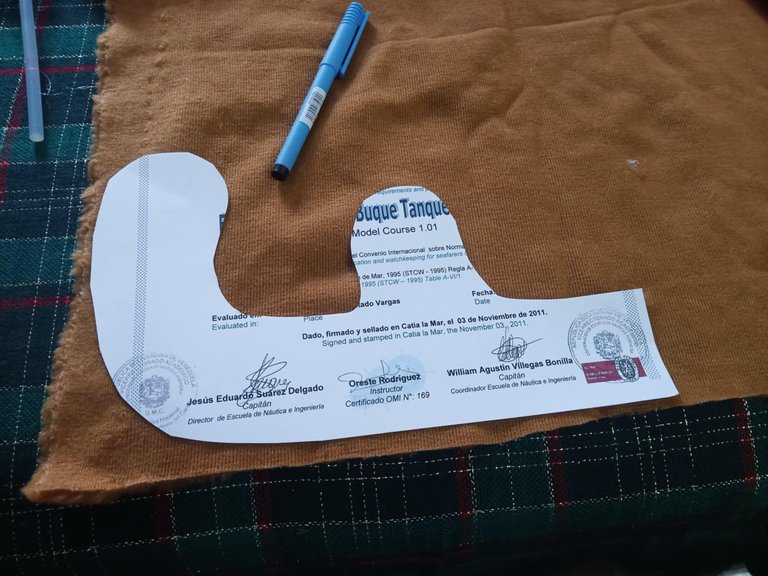
Flip the horn pieces. Mark 4 pieces with a pen on the smooth part of the fabric.
Voltear las piezas de los cuernos. Marcar con un bolígrafo por la parte lisa de la tela 4 piezas.
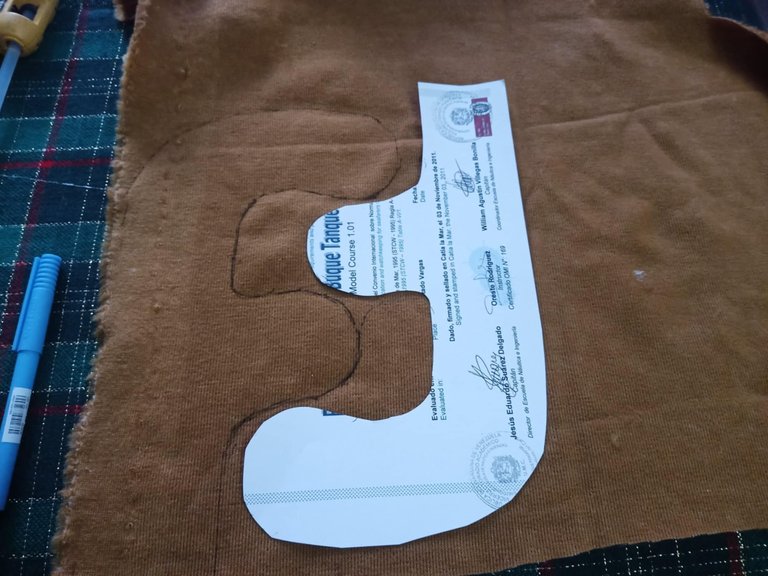
Cut the 4 marked pieces.
Cortar las 4 piezas marcadas.
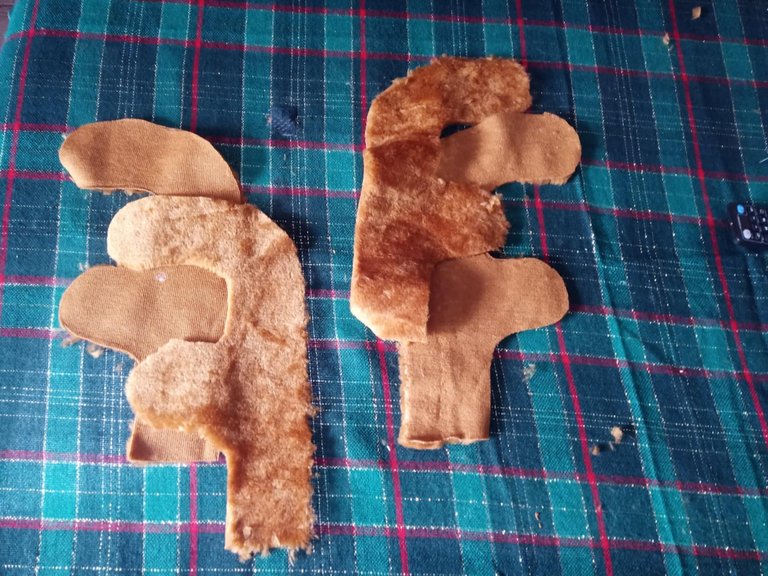
Machine sew the pieces in pairs.
Coser a máquina las piezas en pareja.
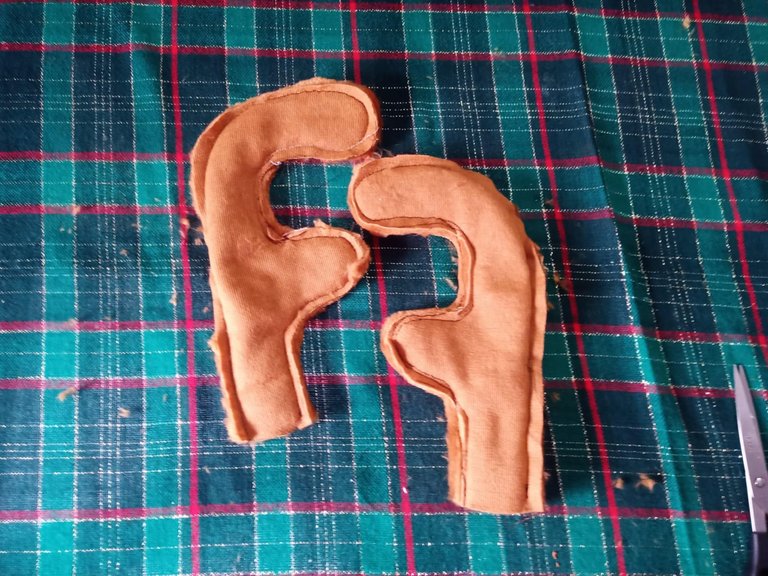
Place the matted part towards the inside and the smooth surface towards the outside.
Colocar la parte felpuda hacia el interior y la superficie lisa hacia la parte exterior.
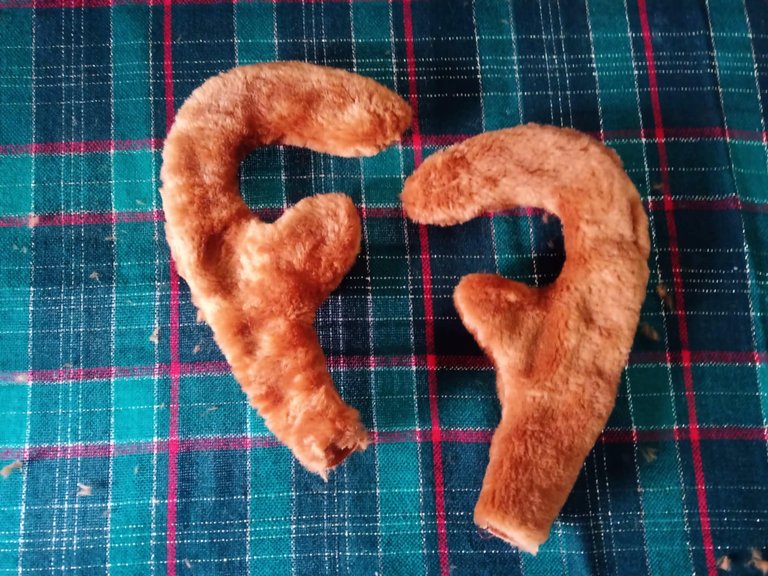
Place the filling, starting at the tip and curved parts, wrap the wire with filling to give it firmness.
Colocar el relleno, comenzando por la punta y partes curvas, envolver el alambre con relleno para darle firmeza.
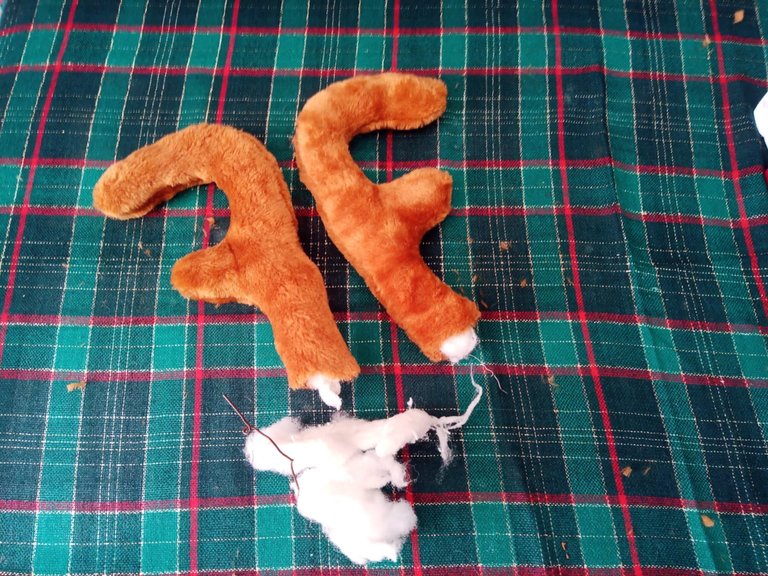
Use silicone to close the opening.
Con silicon cerrar la abertura.
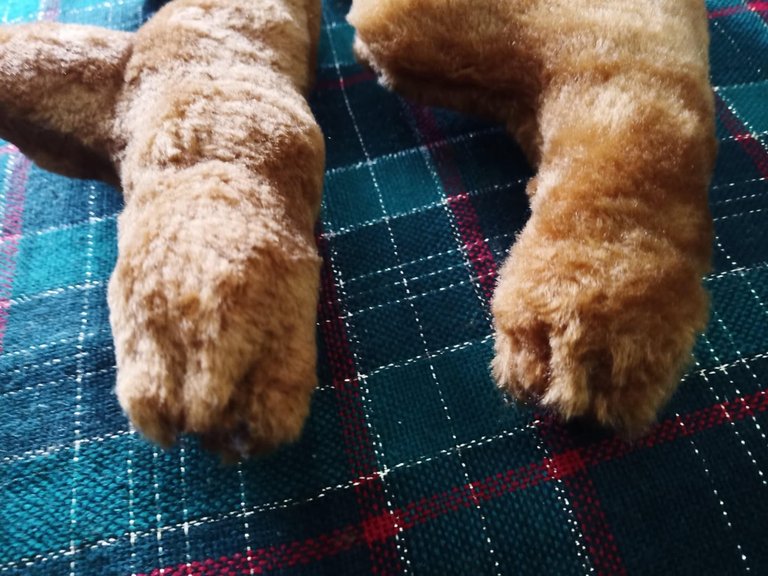
Place a band of red checkered fabric at the bottom and secure it with silicone.
Colocar una banda de tela roja de cuadros en la parte inferior y fijarla con silicon.
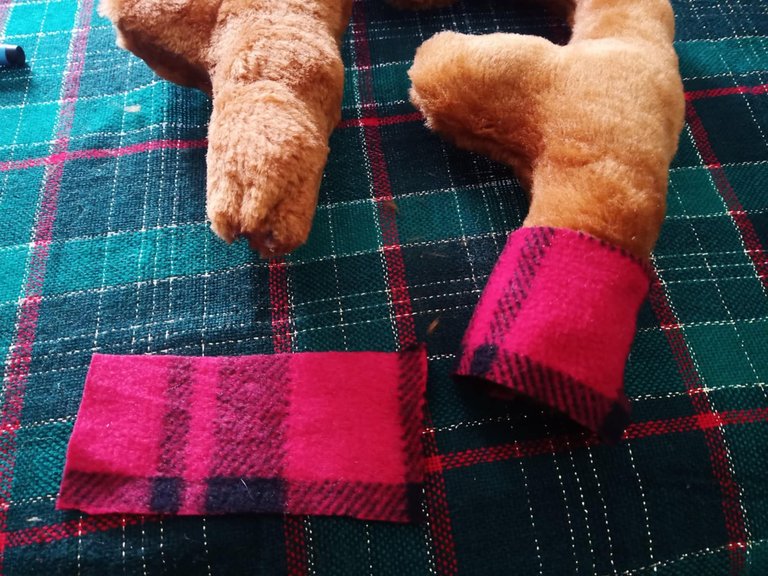
Closing the ends of the checkered fabric with silicone.
Cerrar las puntas de la tela a cuadros con silicon.
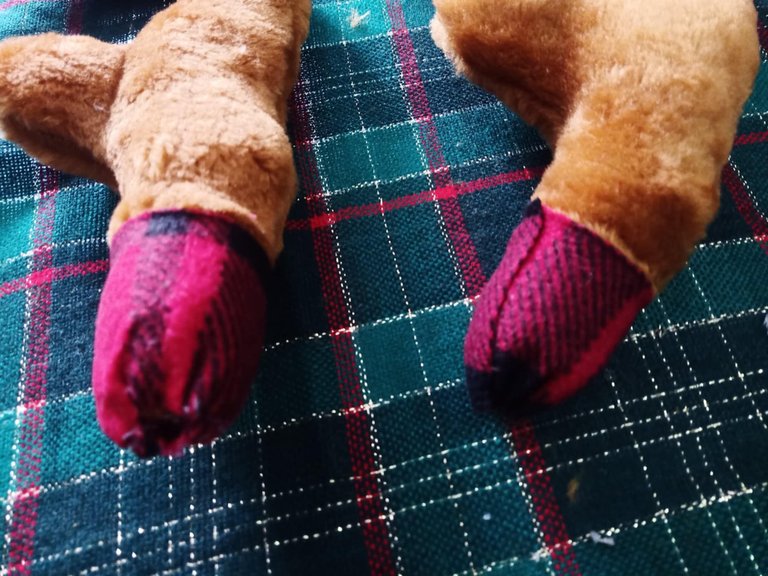
Cut the ends of the containers and make a cut from the sides.
Cortar las puntas de los envases y hacer un corte de los lados.
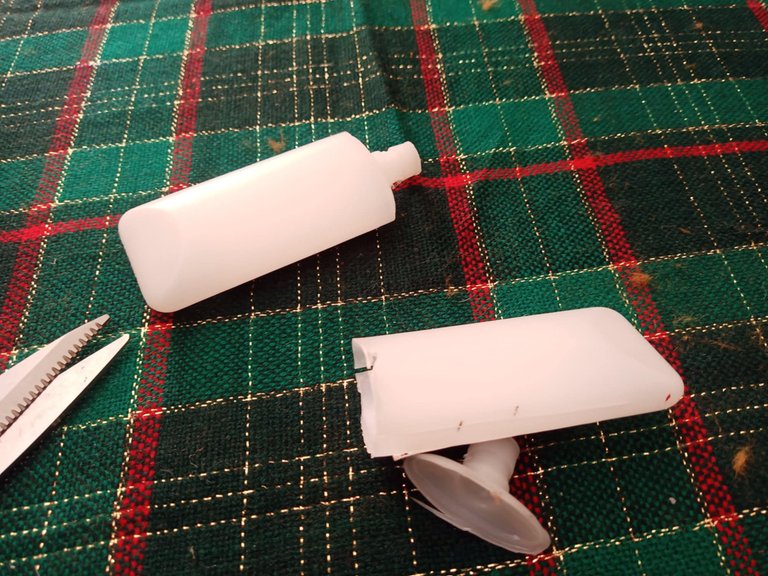
Fix the containers on the horns.
Fijar los envases en los cuernos.
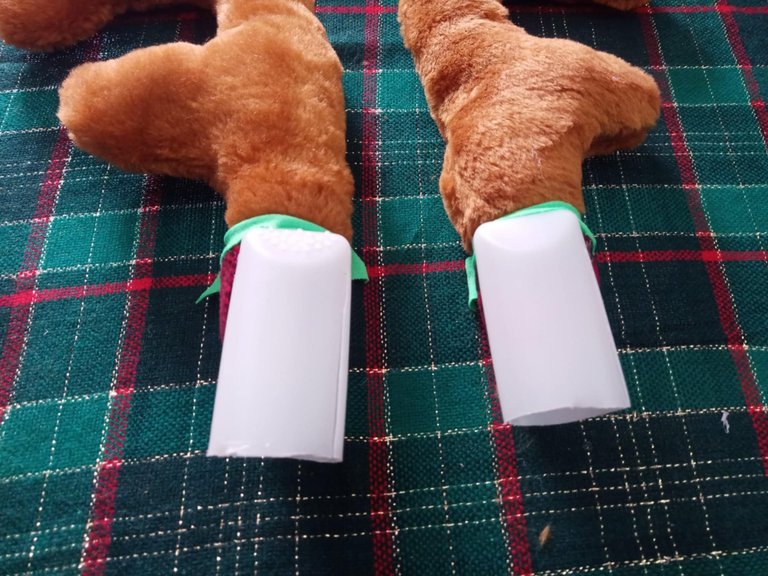
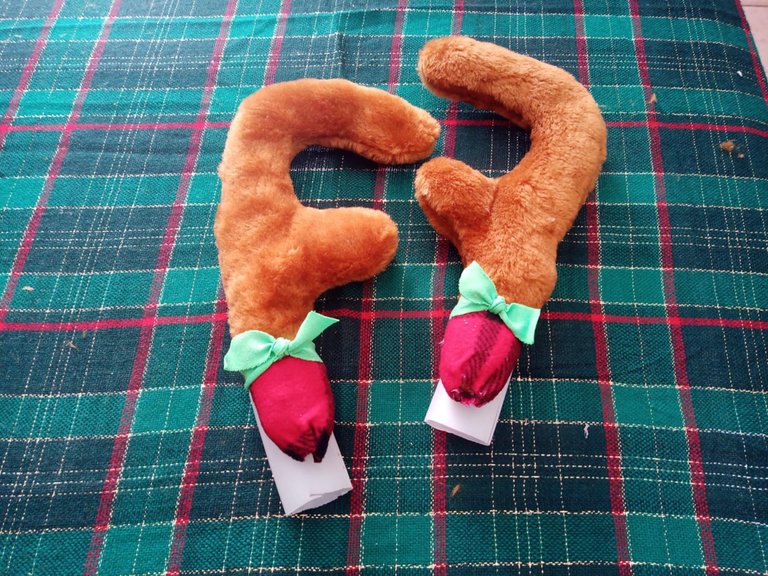
And place the bows on green fabric.
Y colocar los lacitos en tela verde.
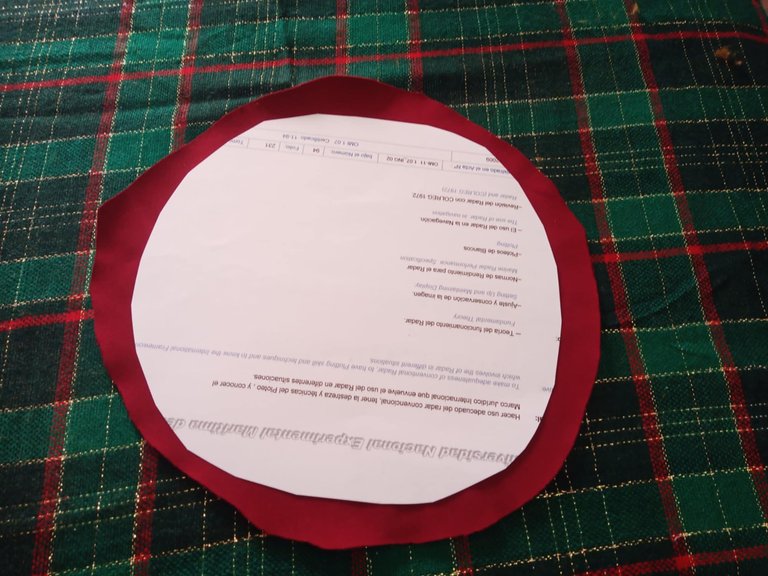
Cut the circumference in the burgundy fabric.
Cortar la circunferencia en la tela vinotinto.
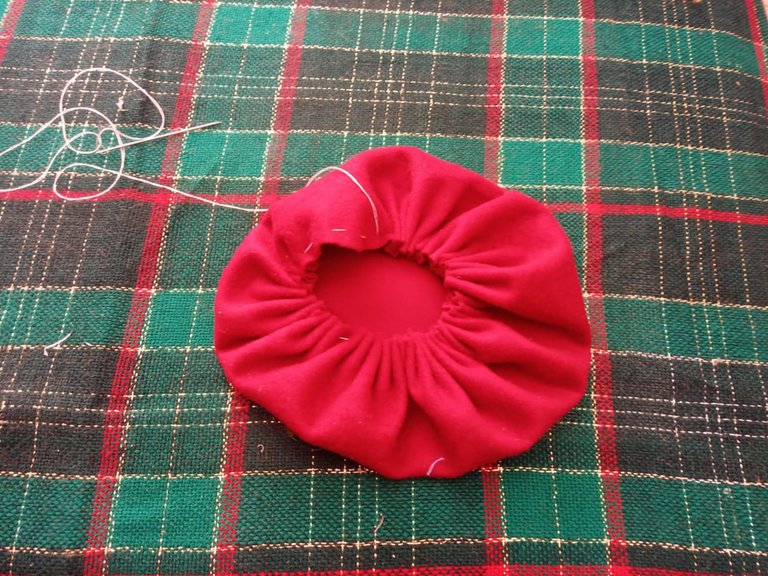
Make some stitches around the circumference and gather.
Hacer unas puntadas alrededor de la circunferencia y fruncir.
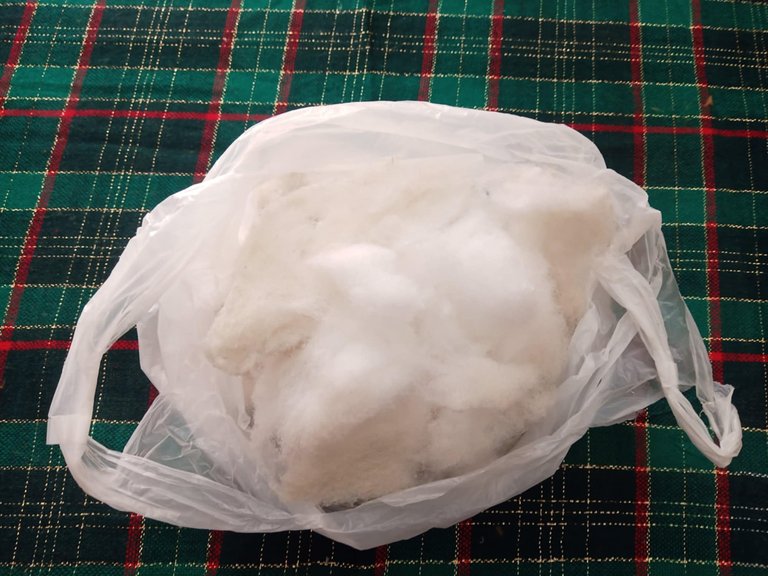
Place the filling in a plastic bag to protect it from rain.
Colocar el relleno en una bolsa plástica para protegerlo de la lluvia.
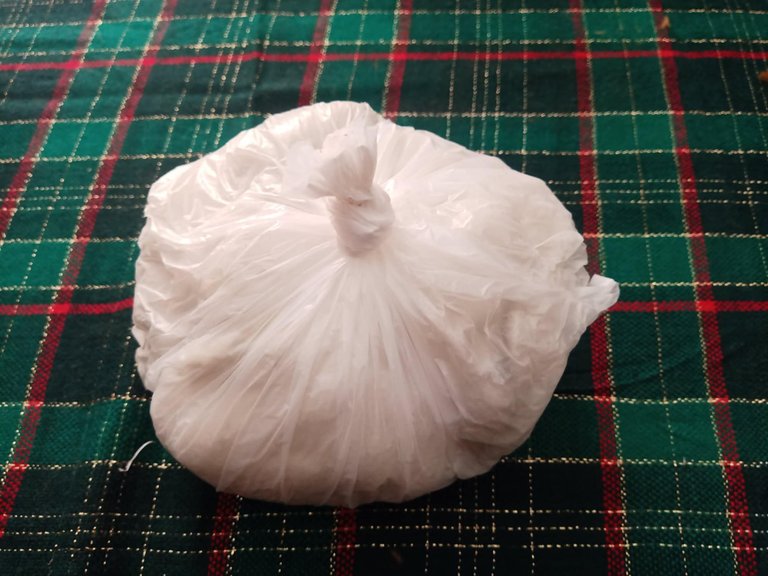
Tie the bag with pressure.
Amarrar la bolsa con presión.
Place the bag inside the gathered piece.
Colocar la bolsa dentro de la pieza fruncida.

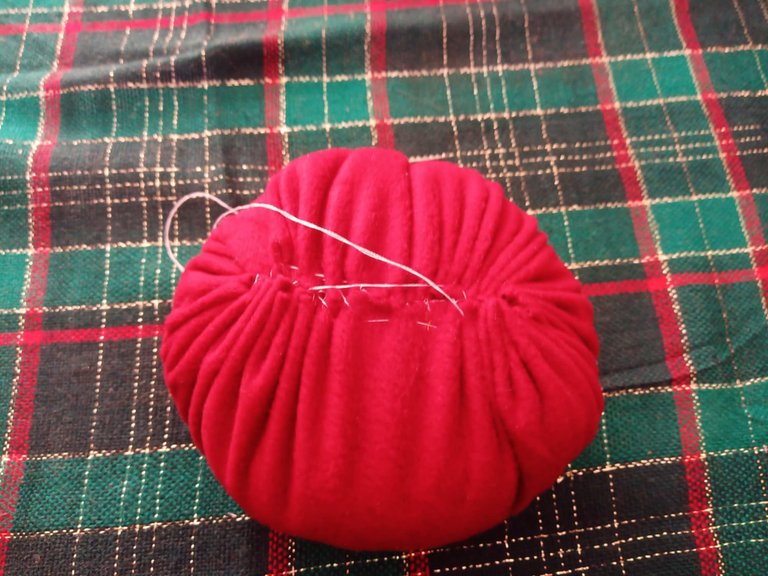
Close the piece with stitches, ensuring it does not come undone.
Cerrar la pieza con puntadas asegurando bien para que no se desate.
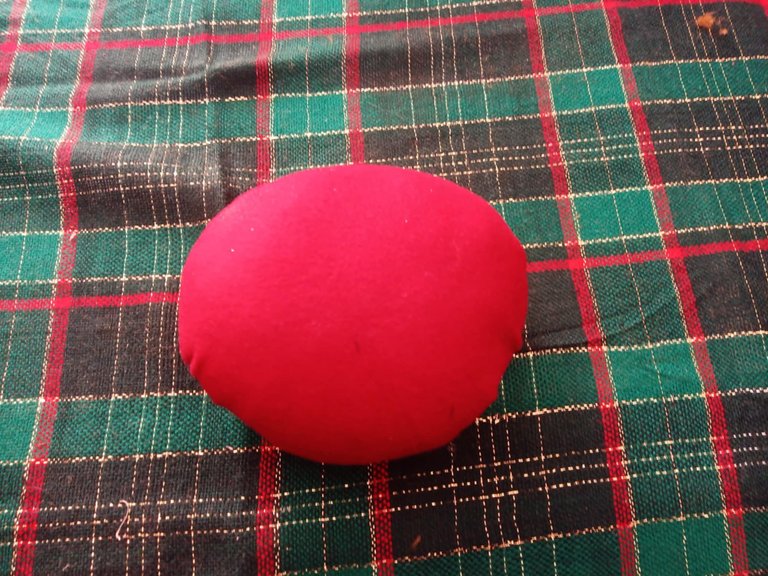
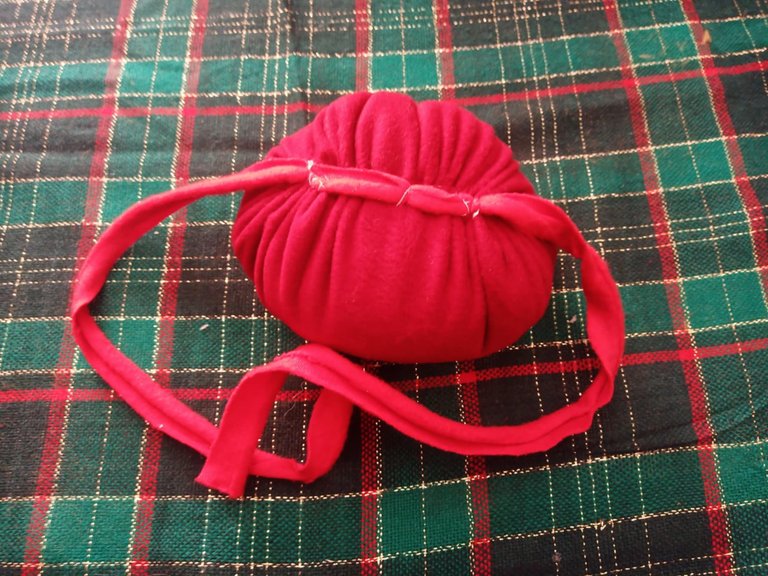
This is how it should be, round and smooth.
Así debe quedar, redonda y lisa.
Place a fabric or elastic band on the back and secure with stitches.
Colocar una banda de tela o de elástica en la parte trasera y asegurar con puntadas.
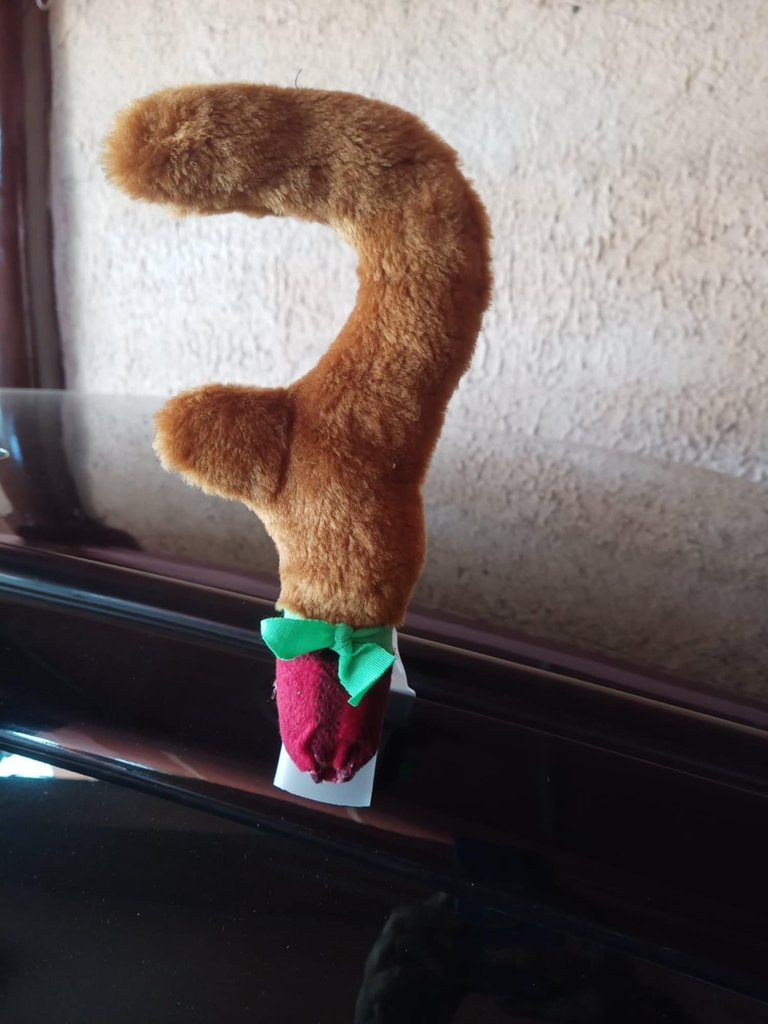
Place the horn on the vehicle door, if it does not fit properly, place a silicone dot.
Colocar el cuerno en la puerta del vehículo, si no ajusta bien colocar un punto de silicon.
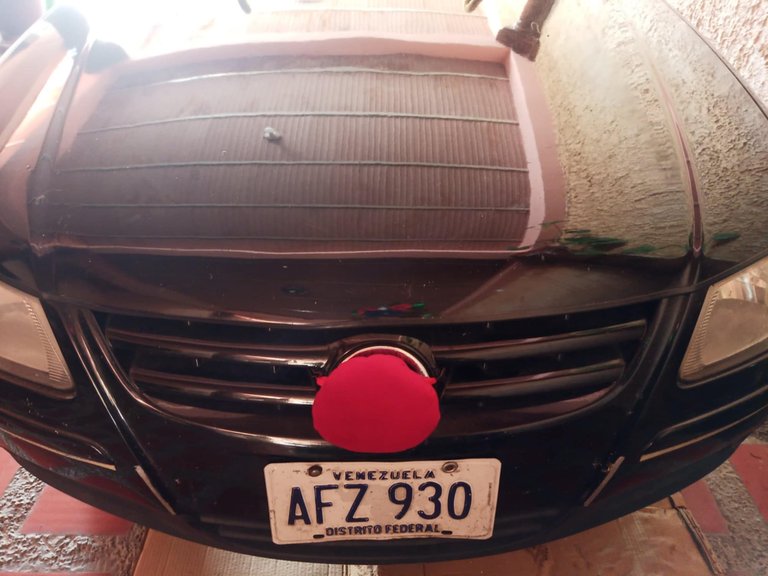
Place the nose well tied.
Colocar la nariz bien amarrada.

This is how cute the Horns are
This is how cute the Horns are
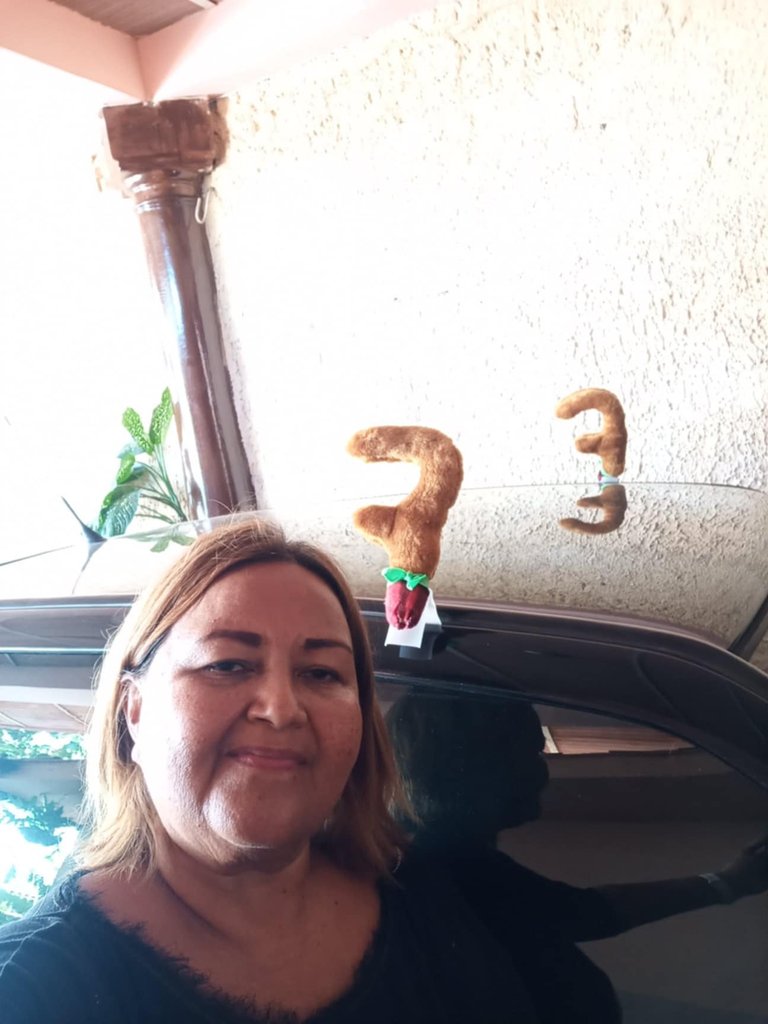
Así de Lindos Quedan los Cuernos
Así de Lindos Quedan los Cuernos

The photos are my property taken with my Blu G60 Smartphones cell phone
100% ORIGINAL CONTENT
@yiobri
.gif)
The gifs were created by the ToonMe.app program and EzGifMaker

Beautiful your christmas decoration for the car, it looks very nice that way. Thanks for leaving us your work and idea.
Thank You very much Friends of @diyhub
Thank You very much for your support Friends of @innerblocks
!discovery 35
This post was shared and voted inside the discord by the curators team of discovery-it
Join our Community and follow our Curation Trail
Discovery-it is also a Witness, vote for us here
Delegate to us for passive income. Check our 80% fee-back Program
Thank You very much Friends of @discovery-it
Congratulations @yiobri! You have completed the following achievement on the Hive blockchain And have been rewarded with New badge(s)
Your next target is to reach 280000 upvotes.
You can view your badges on your board and compare yourself to others in the Ranking
If you no longer want to receive notifications, reply to this comment with the word
STOP