¡Hola hermosa comunidad DiY!
Esta es mi tercer post de este año 2024, que feliz me siento de compartir con ustedes.
En esta oportunidad quiero enseñar cómo logré realizar un hermoso proyecto fácil, rápido, sencillo y sobre todo muy práctico, son estas hermosas tarjeticas ideales para tomar notas y hasta llevarla en tu bolsillo sin que se note.
Antes de iniciar me gustaría contarte que este proyecto nace de las veces que tenía la necesidad de apuntar una nota rápida en una reunión, o cuando me iba de compras al supermercado y yo terminaba usando un trozo de papel. De allí surgió la idea de elaborar estas libretas.
Son tan prácticas que, si no tienes celular, Tablet o tal vez en momentos no quieres andar estresado o estresada con el celular donde también lo usas para anotar todo en el block de notas, entonces también tienes la opción de elaborar tus libretas cómodas para pequeñas reuniones, tomar apuntes de la lista de artículos que vas comprar em el super, mandar un mensaje con alguien que diga algo así como “te quiero” usando una de las hojitas o como la quieras usar para escribir, es tu decisión lo importante es que vas a tener a la mano tu linda libreta llena de hojas.
En este caso se utilizó material de reciclaje, pero también la puedes elaborar con los materiales que puedes adquirir según sea tu presupuesto.

Materiales a utilizar

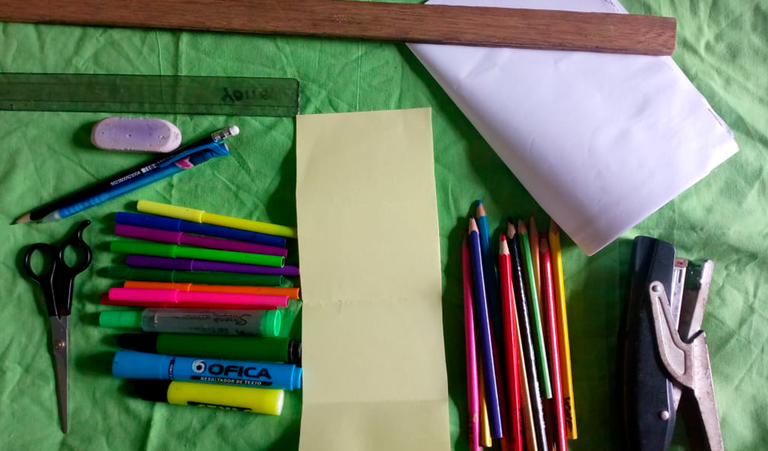
Cartulina de colores
Tijera
Regla
Lápiz
Hojas blancas
Borrador
Marcadores
Fcolores
Engrapadora
Plastico para encuadernar (opcional)
Paso a paso
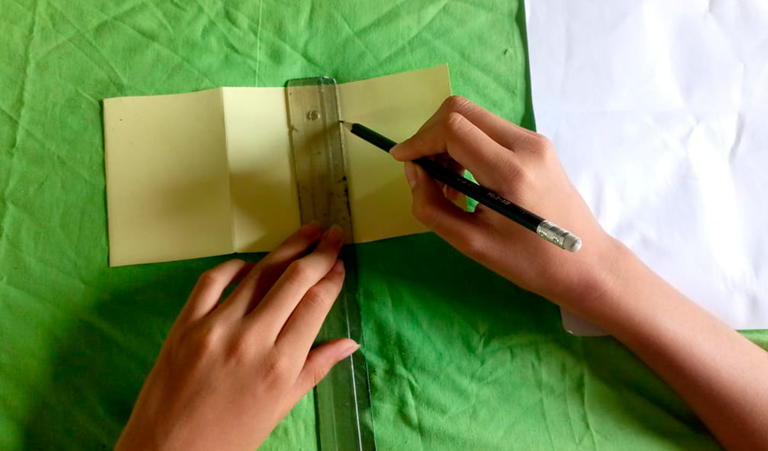
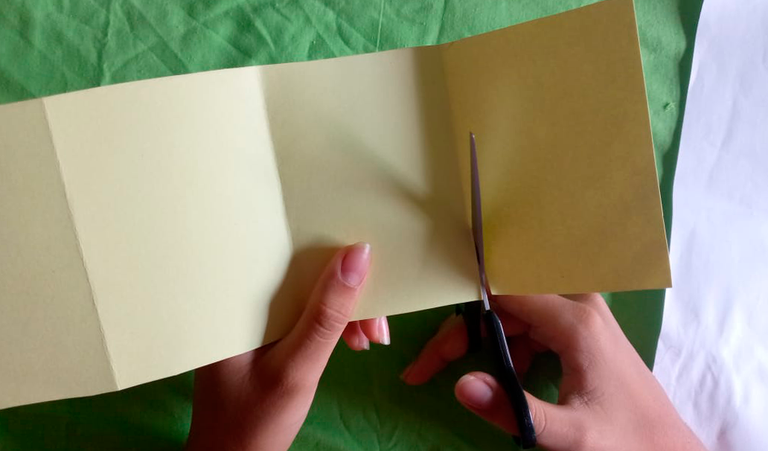
Paso 1: En las cartulinas del color de tu preferencia marcamos 2 rectángulos de 7cm de ancho por 10 cm de largo.
Paso 2:Recortamos los dos rectángulos que van a ser utilizados para cubrir el encuadernado de las hojas blancas de la libreta.
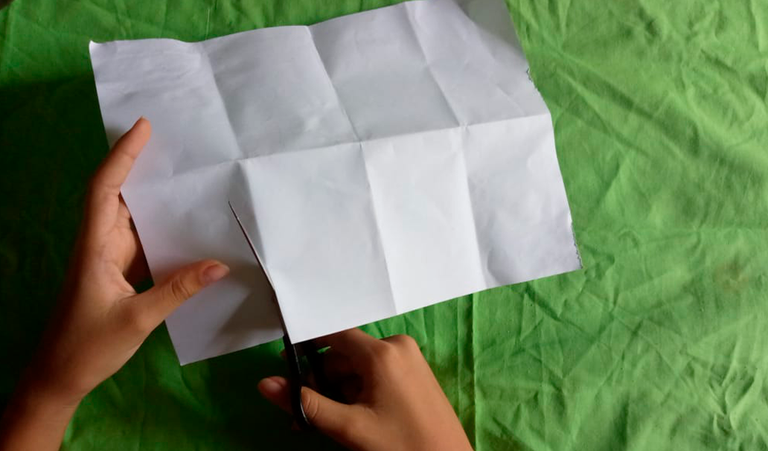
Paso 3: Recortamos una docena de rectángulos con las mismas medias (7cm x 10 cm), pero en esta oportunidad vamos a usar hojas blancas o de reúso.
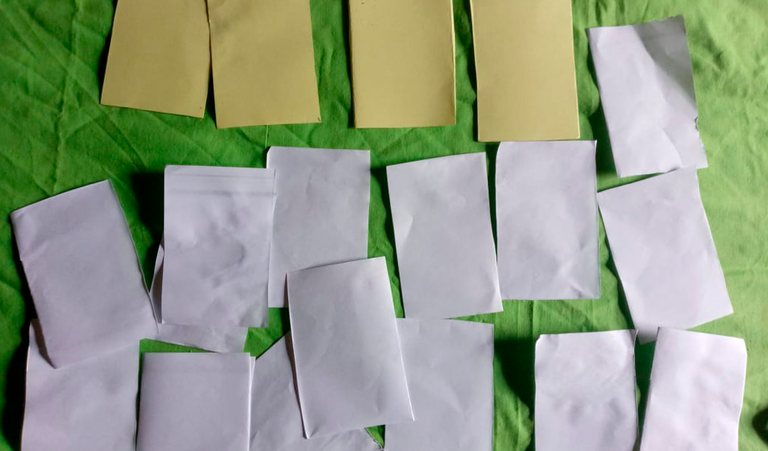
Aquí podemos observar el avance del proyecto. Recortes de los rectángulos.
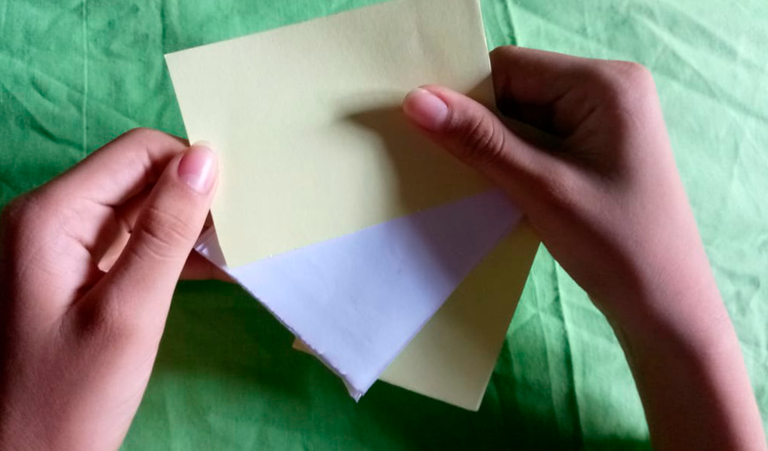
Paso 4:Forramos las hojas blancas con los dos rectángulos de la cartulina de colores (en este caso se forró con cartulina amarilla y también utilicé pliegos plásticos de encuadernar para hacer variedades).
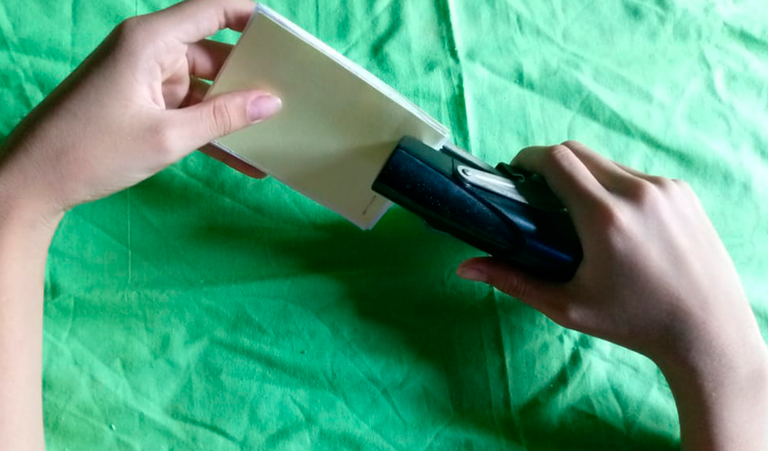
Paso 5:Grapamos la libreta en la parte superior derecha e izquierda (2 grapas) para sujetar las hojas con la cartulina.
Paso 6:En una de las puntas que me queda, el cual podemos ver en la imagen, le abrimos de esta manera y nos quedaría, así como especie de un rombo, a esta parte le aplicamos pega en la parte de atrás.
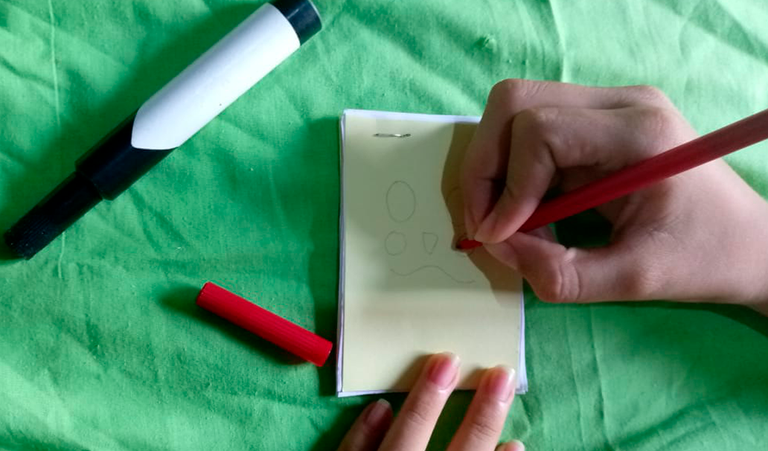
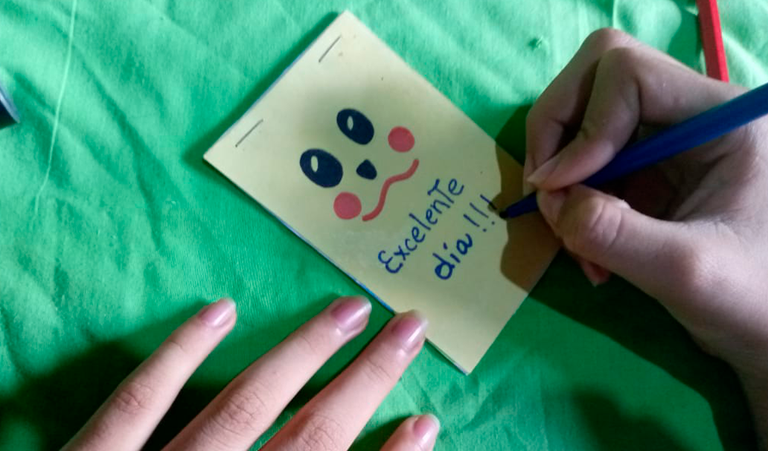
Paso 7:Colocamos una nota al dibujo. Esto es opcional. Utiliza marcadores s y ponles color a las letras.
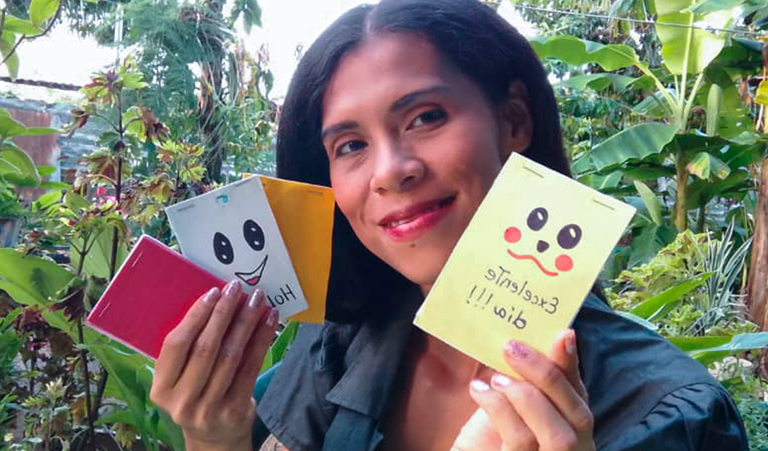
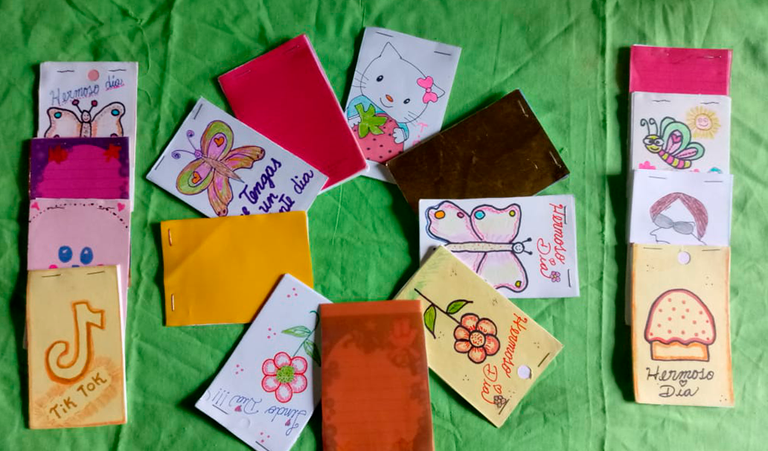
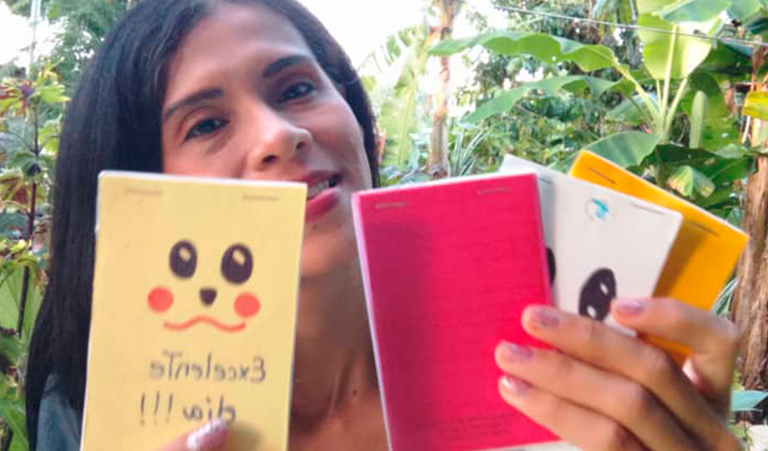
Bien mis queridos Hivers este es el producto final de cada una de las libretas que se realizó de diferentes colores, con temáticas de niñas, niños, también para damas y caballeros.
¡Qué bueno se siente compartir con ustedes un nuevo post! Te doy muchas gracias por quedarte hasta el final de post. Gracias otra vez.
💖 Hasta la próxima mis Hivers!💖

Hello beautiful DiY community!
This is my third post of this year 2024, which I am happy to share with you./div>
This time I want to show you how I managed to make a beautiful project easy, fast, simple and above all very practical, these beautiful cards are ideal for taking notes and even carrying it in your pocket without it being noticed.
Before starting, I would like to tell you that this project was born from the times I had the need to write down a quick note in a meeting, or when I went shopping at the supermarket and I ended up using a piece of paper. That's where the idea of making these notebooks came from.
They are so practical that, if you don't have a cell phone, tablet or maybe at times you don't want to be stressed with the cell phone where you also use it to write everything down in the notepad, Then you also have the option of making your comfortable notebooks for small meetings, take notes of the list of items you are going to buy at the supermarket, send a message with someone who says something like "I love you" using one of the leaves or however you want to use it to write, it is your decision the important thing is that you will have your nice notebook full of pages at hand.
In this case, recycled material was used, but you can also make it with the materials that you can acquire according to your budget.
Materiales a utilizar
Colored cardstock
Scissors
Rule
Pencil
White Sheets
Draft
Markers
Colors
Stapler
Colored binding plastic (optional)
Paso a paso
Step 1:On the cardboard of the color of your choice, mark 2 rectangles of 7cm wide by 10cm long.
Step 2:2. Cut out the two rectangles that are going to be used to cover the binding of the white sheets of the notebook.
Step 3:3. We cut out a dozen rectangles with the same averages (7cm x 10 cm), but this time we are going to use white or reuse sheets.
Here we can see the progress of the project. Cutouts of the rectangles
Step 4:We lined the white sheets with the two rectangles of the colored cardstock (in this case it was lined with yellow cardstock and I also used plastic sheets to make varieties).
Step 5:Staple the notebook to the top right and left (2 staples) to hold the sheets with the cardstock.
Step 6:We put into practice our creativity and talents in drawing, here you can make the drawing of preference and color with the use of pencils, markers and colors.
Step 7:Put a note on the drawing. This is optional. Use markers and color the letters.
Well, my dear Hivers, this is the final product of each of the notebooks that was made in different colors, with themes for girls, boys, also for ladies and gentlemen.
How good it feels to share with you a new post! Thank you so much for sticking around until the end of the post. Thanks again.
💖See you next time my Hivers!💖
Hola. Se ven muy lindas estas libretas. Son muy útiles y me encanta que uses material reciclado.
Saludos.
Congratulations @yohadice! You have completed the following achievement on the Hive blockchain And have been rewarded with New badge(s)
Your next target is to reach 3750 upvotes.
You can view your badges on your board and compare yourself to others in the Ranking
If you no longer want to receive notifications, reply to this comment with the word
STOPWe did this when we were kids, to have unique notebooks at school :) It's a fun game.
Welcome back to posting, it's great to see you active again. I hope you can comment on other user's posts as well :)