
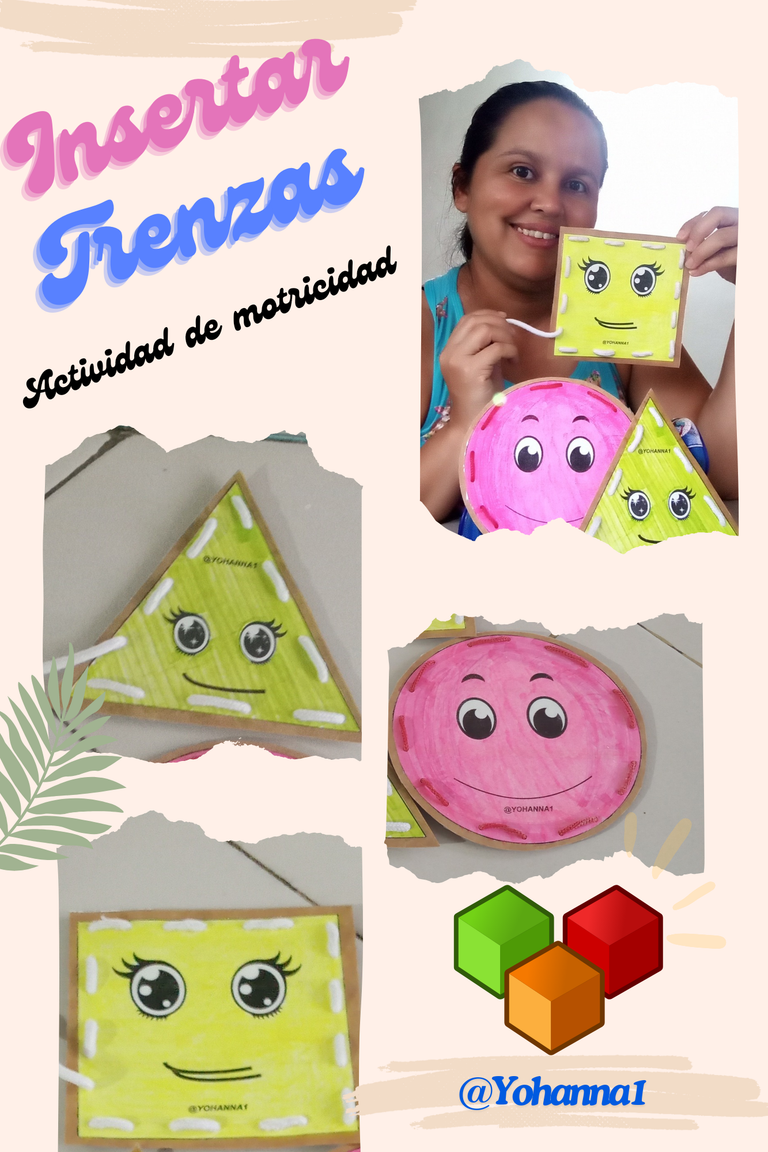
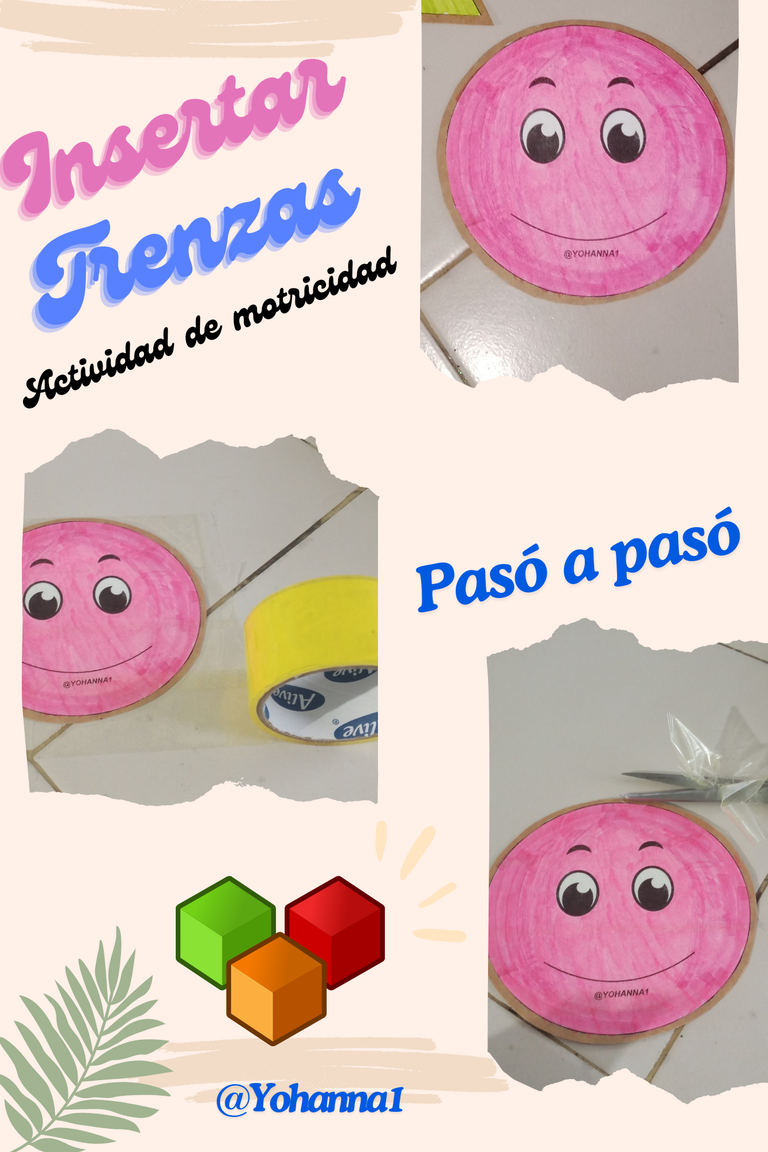
Un gusto en compartir con ustedes ideas prácticas y fácil como es la elaboración de figuras geométricas para insertar trenzas y reforzar la motricidad en nuestros niños, solo requieres materiales que tienes en tu hogar, poner un poco de creatividad. Así que tomas lápiz y papel para que iniciemos con esta idea que te va encantar y puede hacer en conjunto con tus hijos.
A pleasure to share with you practical and easy ideas such as the elaboration of geometric figures to insert braids and reinforce motor skills in our children, you only require materials that you have at home, put a little creativity. So take a pencil and paper so that we can start with this idea that you will love and can do together with your children.
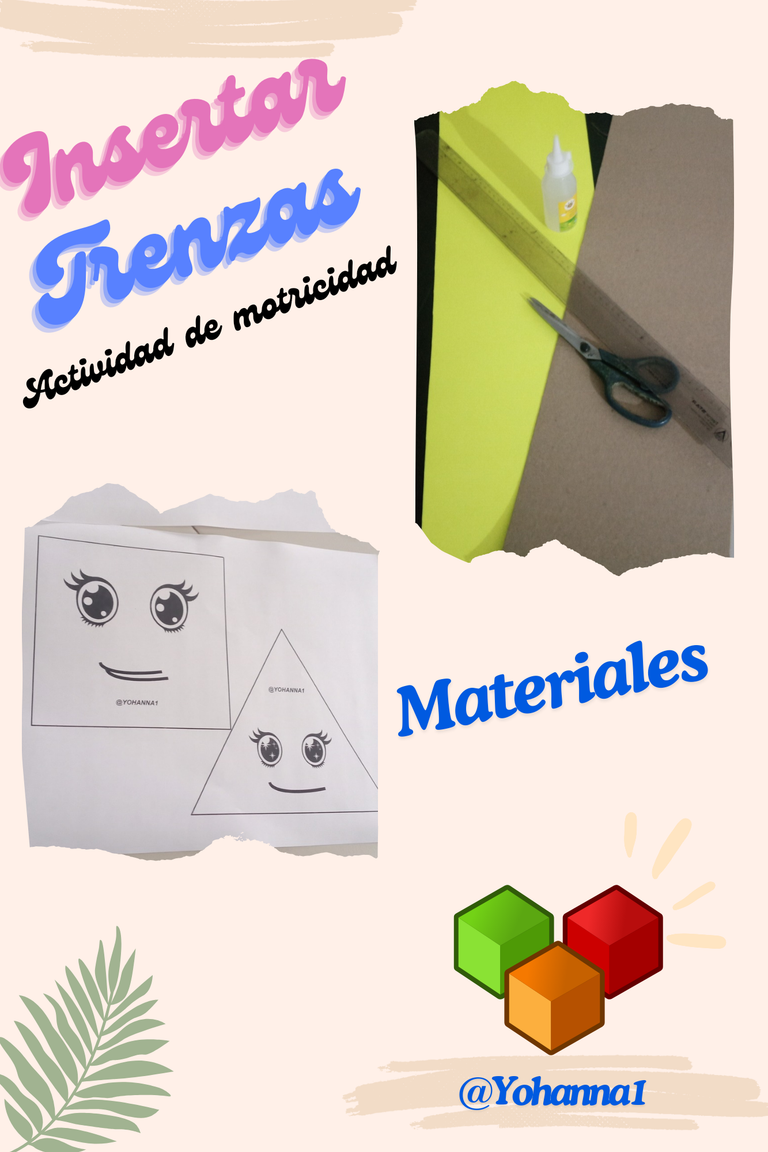
Materiales
- Cartón o carpeta reutilizable
- Hoja blanca
- Lápiz
- Pintura o marcador color de preferencia
- Silicón líquido
- Tijera
- Perforadora manual
- Trenza o cordones
- Cinta adhesiva
Materials
- Reusable cardboard or folder
- White sheet
- Pencil
- Paint or marker color preferred
- Liquid Silicone
- Scissors
- Manual Drilling Machine
- Braid or laces
- Adhesive tape
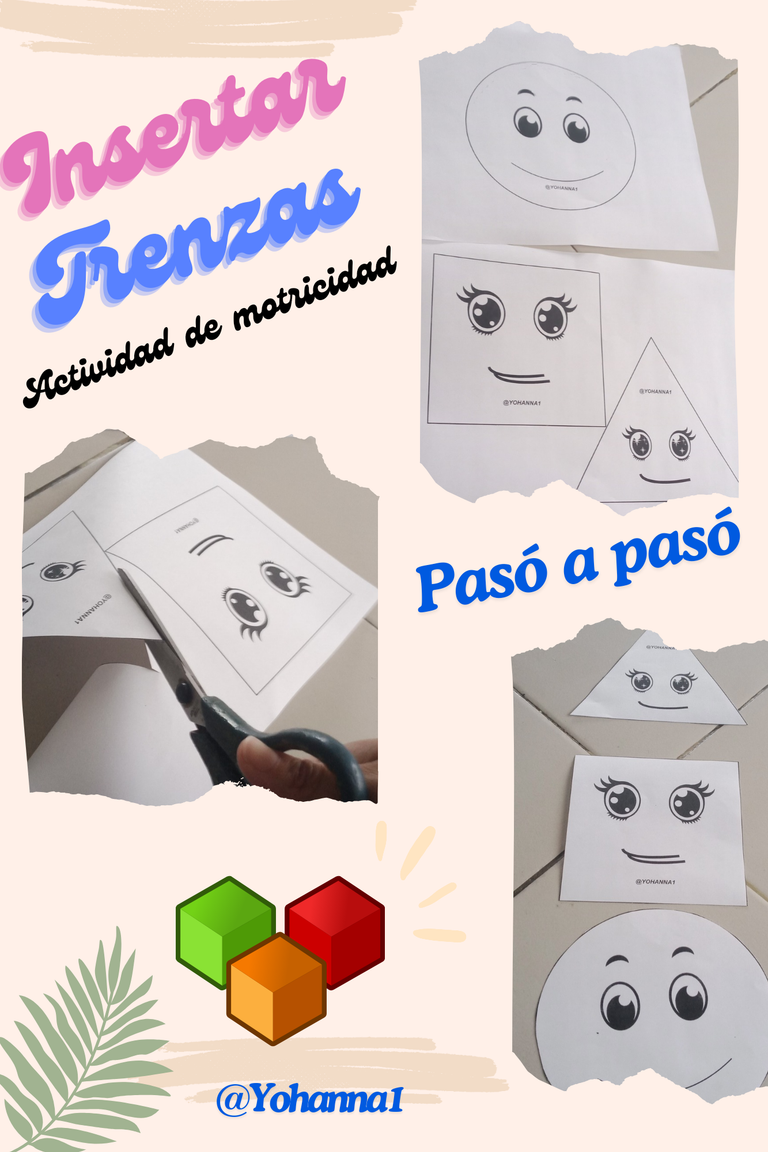
Pasó a pasó
Comienza por ubicar los patrones o imágenes que utilizara, para esta idea realice la figuras de triángulos, círculos y cuadrados, los cuales te comparto los patrones por si gusta realizarlo similar. También puede adaptar la idea con la figura favorita de tu hijo. Recortamos cada una de las figura.
Step by Step
Start by locating the patterns or images that you will use, for this idea I made the figures of triangles, circles and squares, which I share the patterns with you in case you like to make it similar. You can also adapt the idea with your child's favorite figure. Cut out each of the figures.


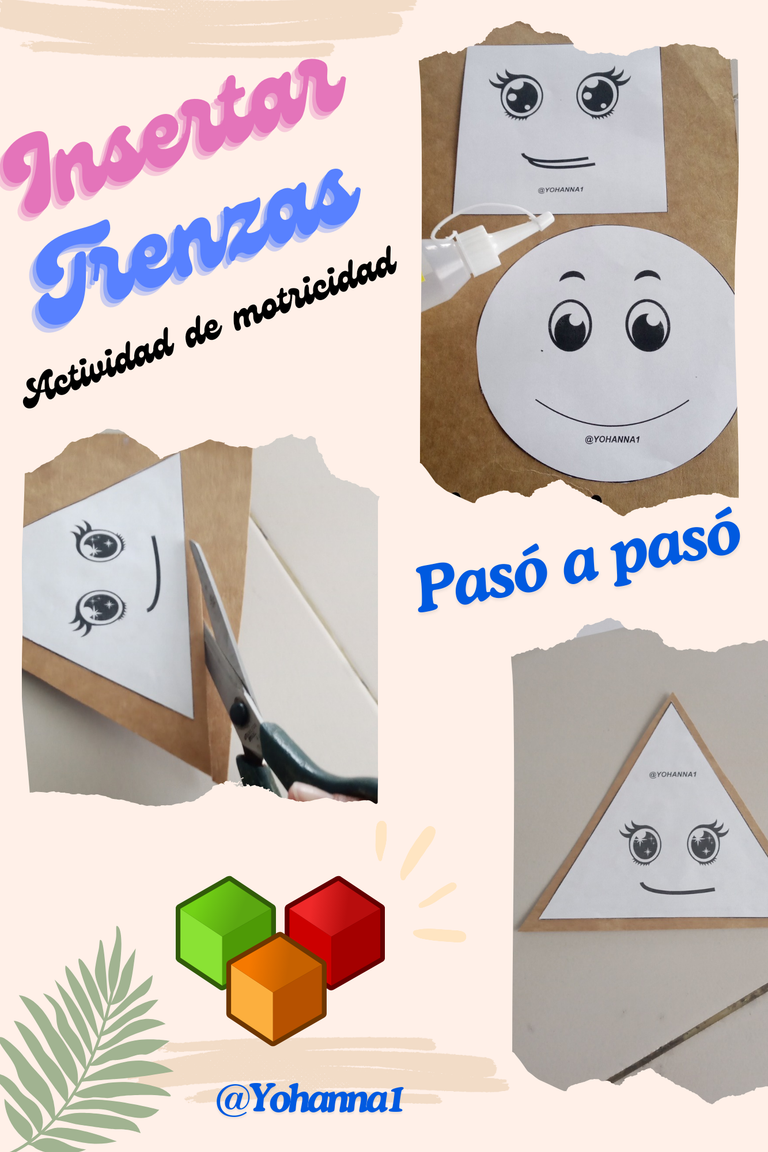
Ubicamos la carpeta reutilizable, la utilizada es una carpeta de color para que por el lado contrario quede con una mejor apariencia. Pegamos la figura a cartón o carpeta y recortamos dejando una pequeña orilla
We located the reusable folder, the one used is a colored folder so that on the opposite side it looks better. Glue the figure to cardboard or folder and cut it out leaving a small edge
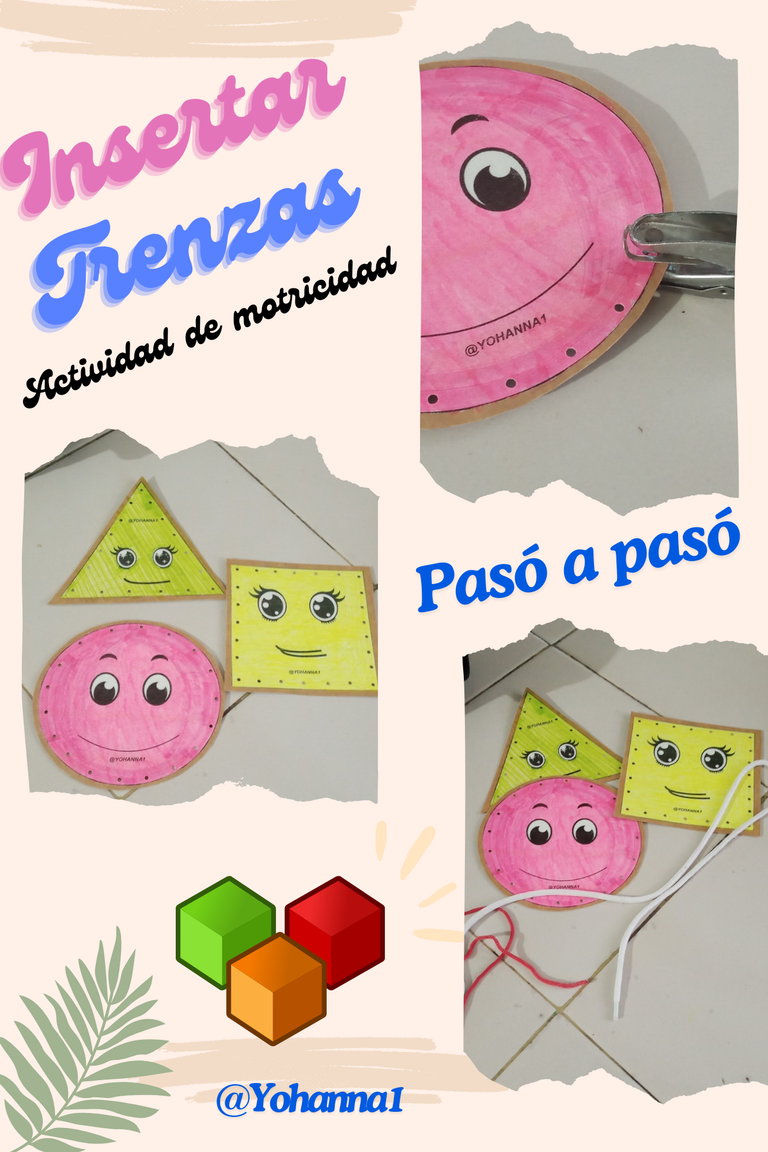
Posteriormente pintamos cada figuras con marcador del color deseado, en esta ocasión usamos 3 colores, verde, amarillo y rosado.
Later we paint each figure with a marker of the desired color, this time we use 3 colors, green, yellow and pink.

Una vez pintadas las figuras, con ayuda de cinta adhesiva protegemos cada figura, esto ayudara a dar más durabilidad a nuestra actividad.
Once the figures have been painted, with the help of adhesive tape we protect each figure, this will help to give more durability to our activity.
Continuamos, con ayuda de una perforadora manual abrimos las perforaciones alrededor de cada una de las figuras. Dejando 1 a 2 cm de cada perforación.
We continue, with the help of a manual drill we open the holes around each of the figures. Leaving 1 to 2 cm of each perforation.
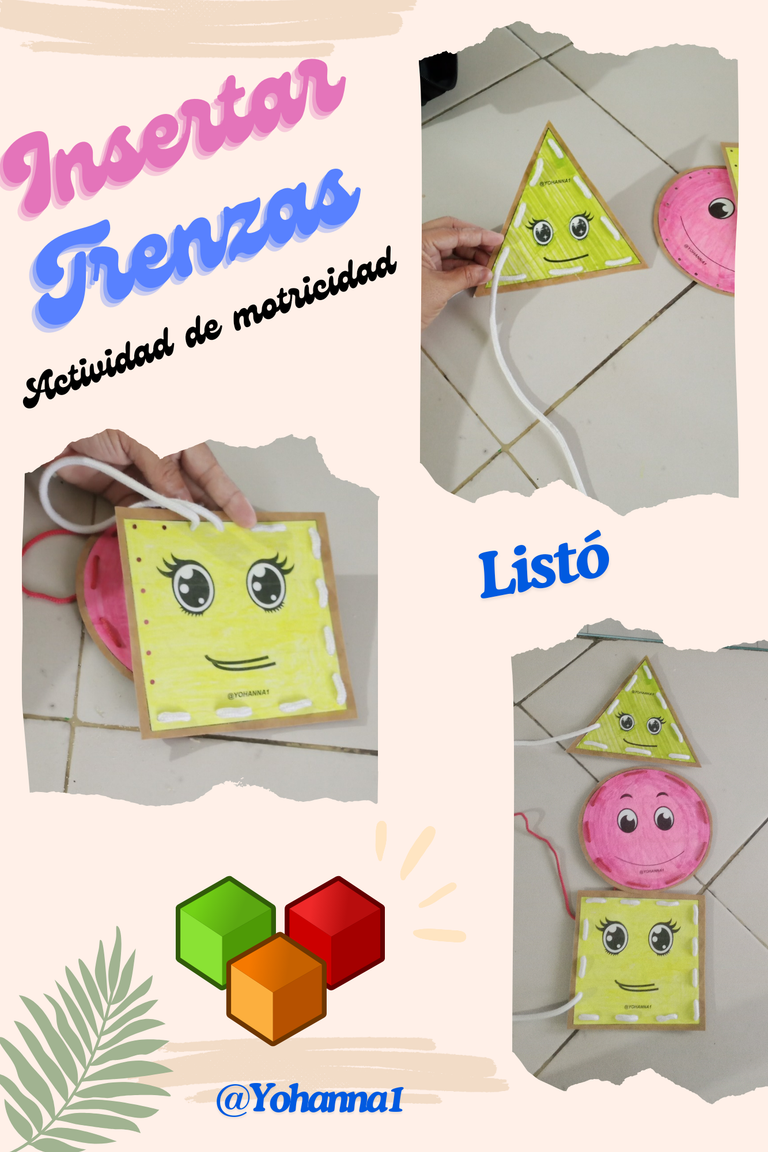
Listo!
Terminado las perforaciones se introduce o inserta la trenza a cada figura para visualizar y asegurar que cada una encaja en las perforaciones realizadas. Una vez lista puede comenzar a jugar con tu hijo, de distinta forma que saque la trenza de cada figura o insertando de forma lateral, de afuera hacia dentro, de adentro hacia fuera, de arriba hacia abajo, de izquierda a derecha. Aprovecha la ocasión para trabaja su motricidad y lateralidad, la forma de la figura, reconocimiento de la figura, entre la infinidades de actividad que le puede ayudar a tu niño para desarrollar sus habilidades
Ready!

Once the perforations are finished, the braid is inserted or inserted into each figure to visualize and ensure that each one fits into the perforations made. Once ready, you can start playing with your child, in a different way that he takes out the braid of each figure or inserting laterally, from the outside in, from the inside out, from top to bottom, from left to right. Take the opportunity to work on their motor skills and laterality, the shape of the figure, figure recognition, among the infinity of activities that can help your child to develop their skills
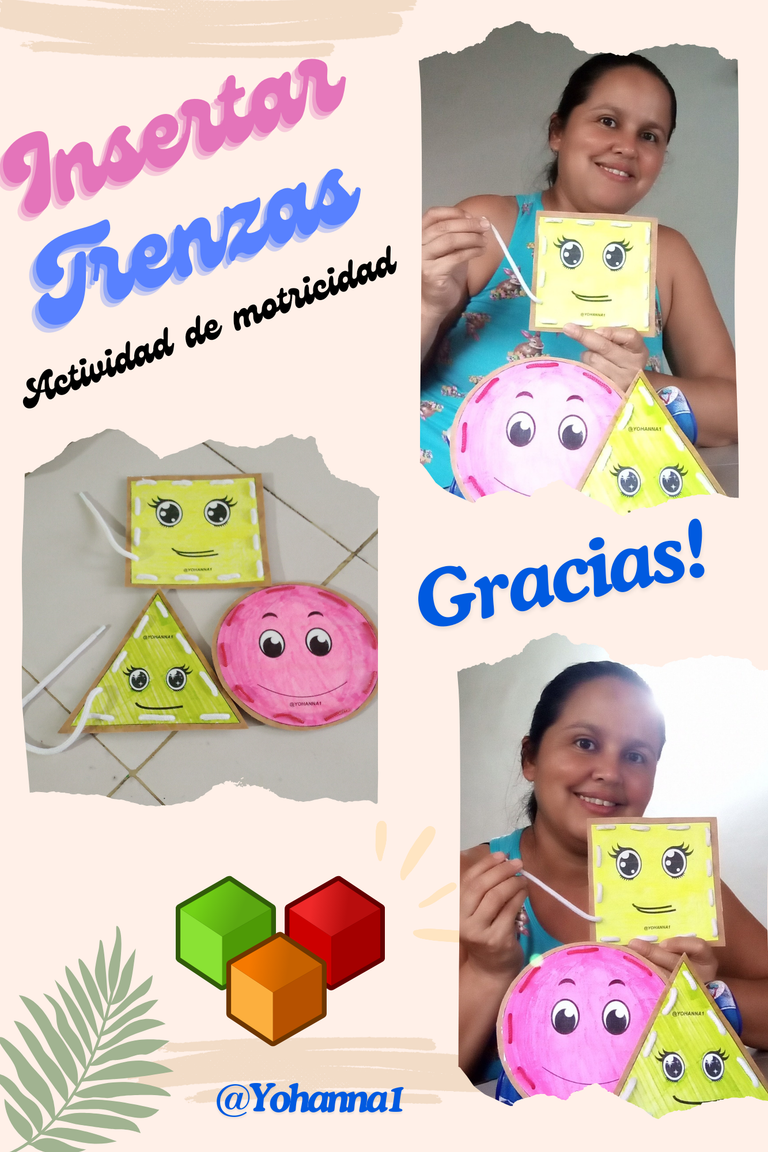
Agradecida por cada apoyo. Dios los bendigas!
Thankful for every support. God bless you!
Contenido: Original del Autor.
Imágenes: Originales tomadas con mi teléfono
Recursos: Computador y teléfono infinix hp 10
Programa: Canva y Polish
Traducido con traductor google
Todos los Derechos Reservados: @yohanna1
Content: Original by the Author.
Images: Originals taken with my phone
Resources: Computer and phone infinix hp 10
Program: Canva and Polish
Translated with google translator
All Rights Reserved: @yohanna1
Weldone dear
Thank you!