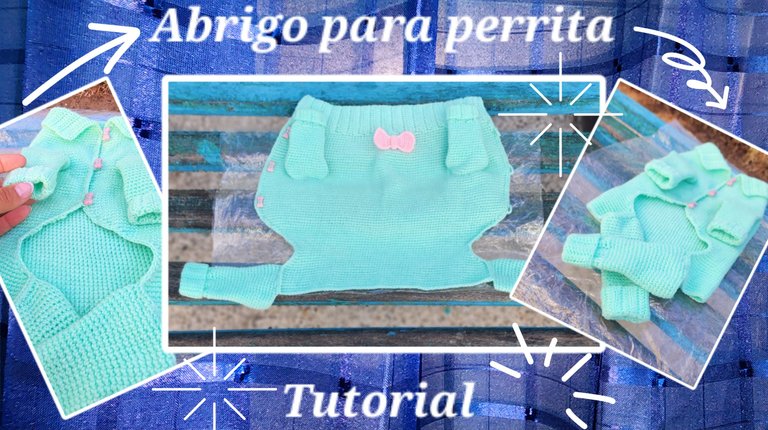
Hola a todos los amigos creativos de esta comunidad y del mundo entero. Espero se encuentren muy bien, yo por mi parte lo estoy. Como siempre agradecida con Dios por un nuevo día y por poder compartir con ustedes un nuevo proyecto.
Hoy les traigo un abrigo para una perrita chihuahua. Nunca había realizado uno, pero amo los retos, así que me atreví a realizarlo. Espero les guste, me fue muy muy difícil realizarlo, pero todo lo que nos propongamos lo podemos realizar amigos. Así que sin más les muestro el tutorial.
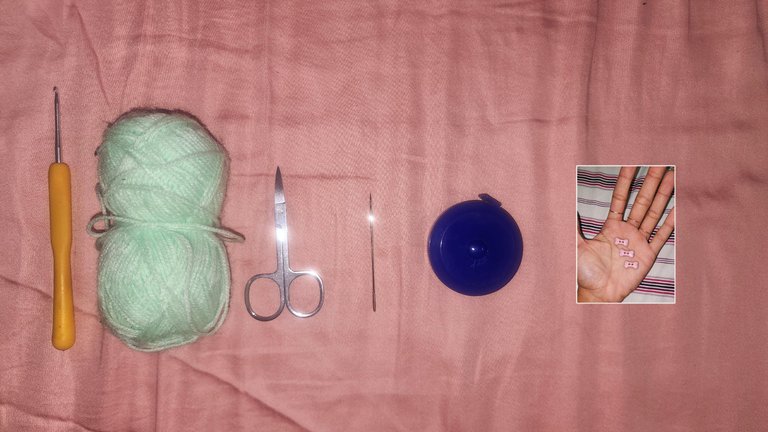
Materiales:
- 150 gramos de lana verde.
- Agujeta.
- Aguja.
- Tijera.
- Botones.
- Cinta métrica.
Procedimiento:
Primeramente, medí a la perrita.
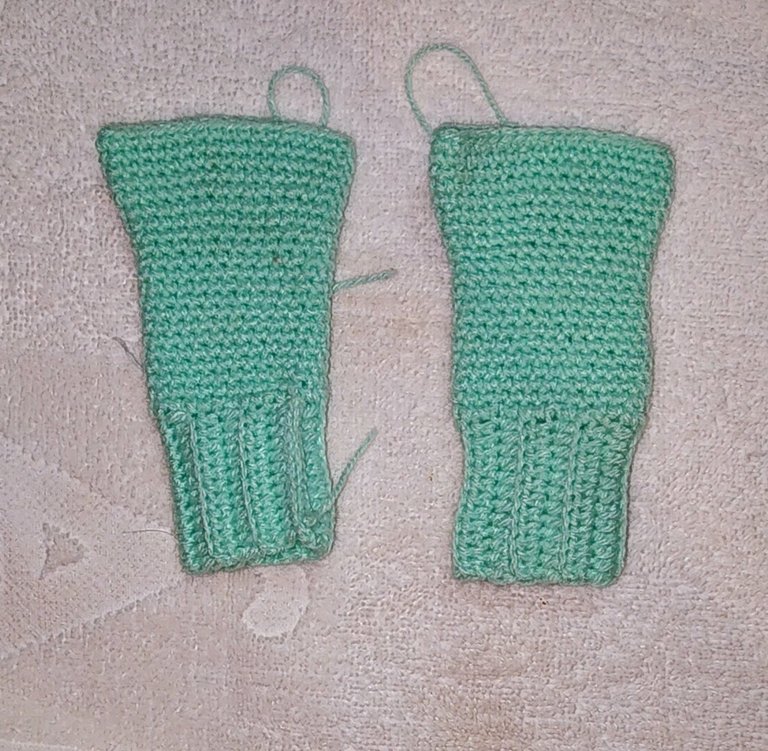
Patitas delanteras:
V1 - Comenzamos haciendo 14 cadenas, dejamos 2 cadenas y en la tercera hacemos punto medio y continuamos así hasta el final de la vuelta quedando un total de 12 puntos medios.
V2 - Subimos dos cadenas, giramos el tejido y hacemos estos 12 puntos medios, cogiendo solo la hebra trasera.
V3 - Continuamos subiendo 2 cadenas, realizando los 12 puntos medios, tomando solo la hebra trasera hasta la vuelta 13. Aquí ya hemos alcanzado 8,5 mm, que es el ancho de las patitas de la perrita. Estos vienen siendo los puñitos, ahora vamos a unir con punto deslizado quedando así.
Ahora vamos a subir una cadena y hacer 1 pb en cada punto medio y en cada unión haciendo un total de 26 puntos bajos. Vamos a continuar así hasta tener un total de 13 vueltas.
V14 - Hacemos 4 pb + 1 aumento Al final me quedó 1 pb quedando un total de 31 pb.
V15 - V16 - Hacemos estos 31 pb sin aumentos ni disminuciones.
V17 - Hacemos 5 pb + 1 aumento, al final me quedó 1 pb quedando un total de 36 pb.
V18 - V21 - Hacemos estos 36 pb sin aumentos ni disminuciones.
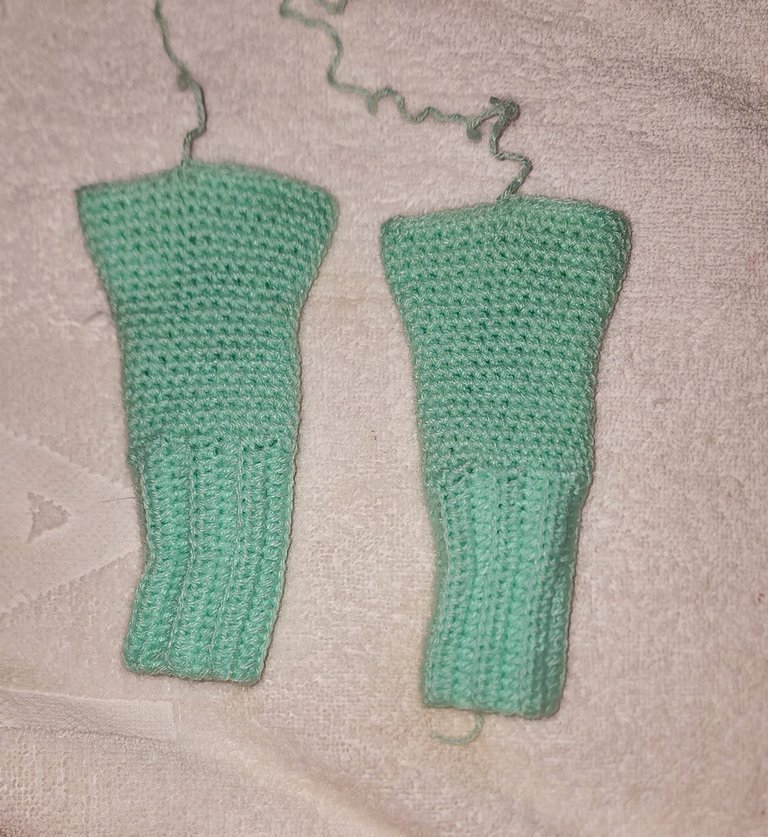
Patitas traseras:
Para las patitas traseras haremos lo mismo que en las patitas delanteras, pero en vez de hacer hasta la vuelta 21, haremos hasta la vuelta 25.
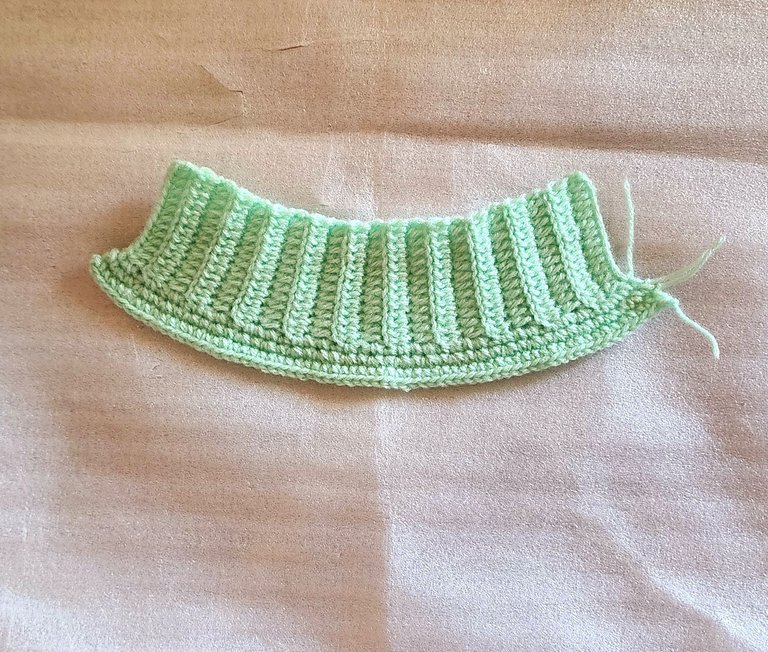
Cuello:
V1- Comenzamos haciendo 15 cadenas, subo hasta el tercer punto y hago punto medio.
V2 - Continuamos haciendo punto medio, tomando solo la hebra trasera hasta llegar a 35 vueltas, alcanzando un total de 24 cm.
Cuerpo:
V1 - Hacemos toda la orilla de puntos bajos 70 puntos bajos.
V2 - Hacemos 10 pb + 1 aumento quedando un total de 77 puntos bajos.
V3 - V4 - Hacemos estos 77 puntos bajos sin aumentos ni disminuciones.
V5 - Hacemos 12 pb + 1 aumento quedando un total de 83 pb.
V6 - V7 - Hacemos estos 83 pb sin aumentos ni disminuciones.
V8 - Hacemos 15 pb + 1 aumento hasta obtener 88 pb.
V9 - V10 - Hacemos estos 88 pb sin aumentos ni disminuciones.
V11 - Hacemos 17 pb + 1 aumento quedando un total de 92 pb.
V12 - V16 - Hacemos estos 92 pb sin aumentos ni disminuciones.
V17 - Hacemos 10 pb y cortamos hilo, saltamos 10 pb y en el número 11 comenzamos a hacer puntos bajos hasta tener 52 pb, saltamos 10 pb y hacemos los 10 últimos pb.
V18 - V21 - Hacemos estos puntos 10, 52 y 10 puntos.
V22 - Unimos una cadeneta de 12 cadenas en cada espacio. Y hacemos los 96 pb sin aumentos ni disminuciones.
V23 - V34 - Hacemos estos 96 puntos bajos sin aumentos ni disminuciones.
V35 - Hacemos 15 pb + 1 disminución quedando un total de 89 puntos bajos.
V36 - V39 - Hacemos estos 89 puntos bajos sin aumentos ni disminuciones.
V40- V50- Comenzamos a disminuir al principio y al final de cada vuelta.
V51- V53 - Hacemos estos puntos sin aumentos ni disminuciones.
V54 - 57 - Hacemos un aumento al inicio y al final de cada vuelta.
V58 - V65 - Hacemos puntos bajos sin aumentos ni disminuciones.
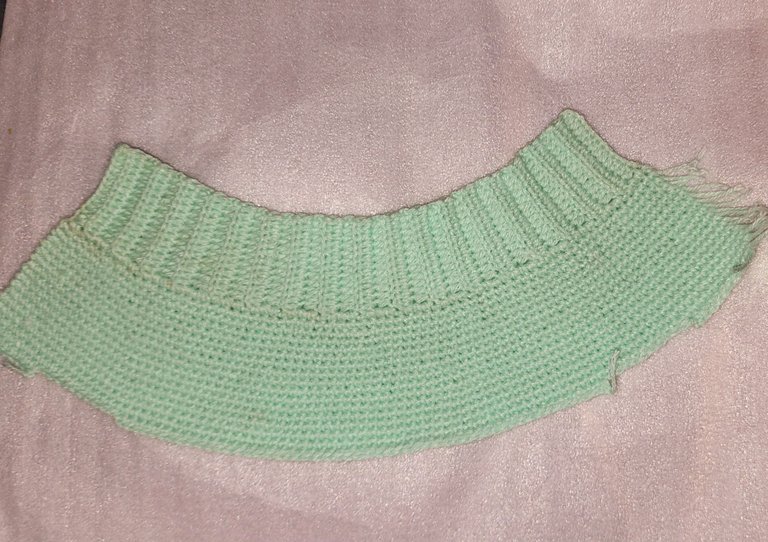
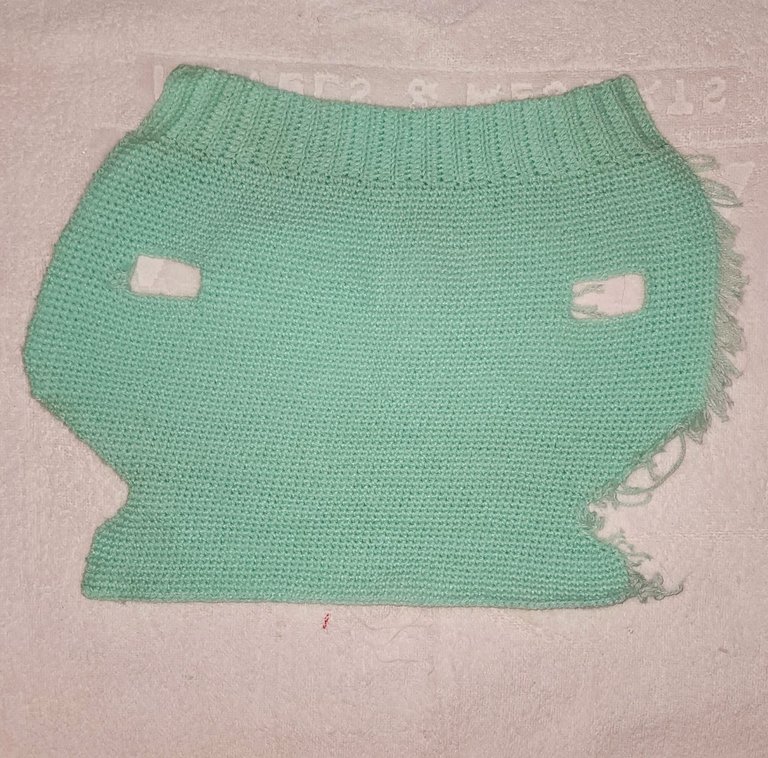
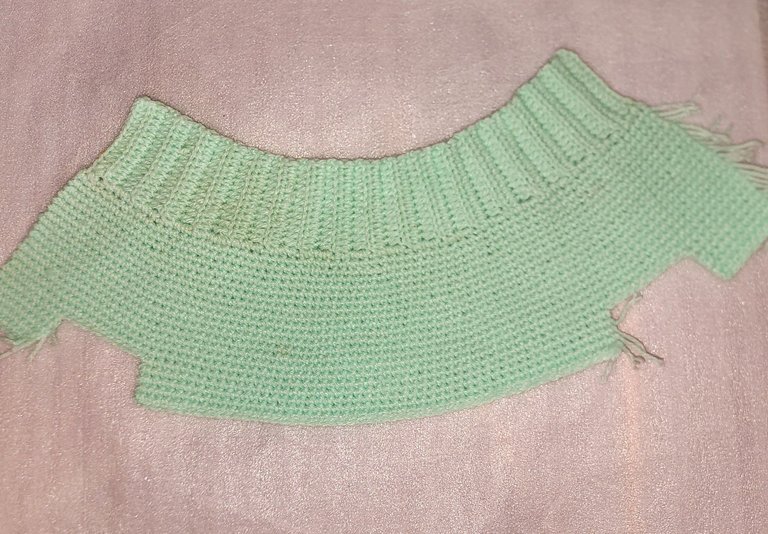
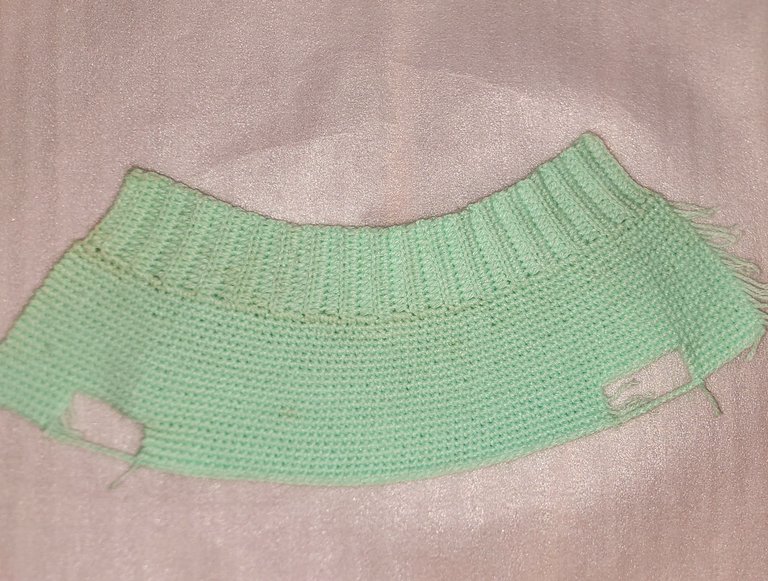
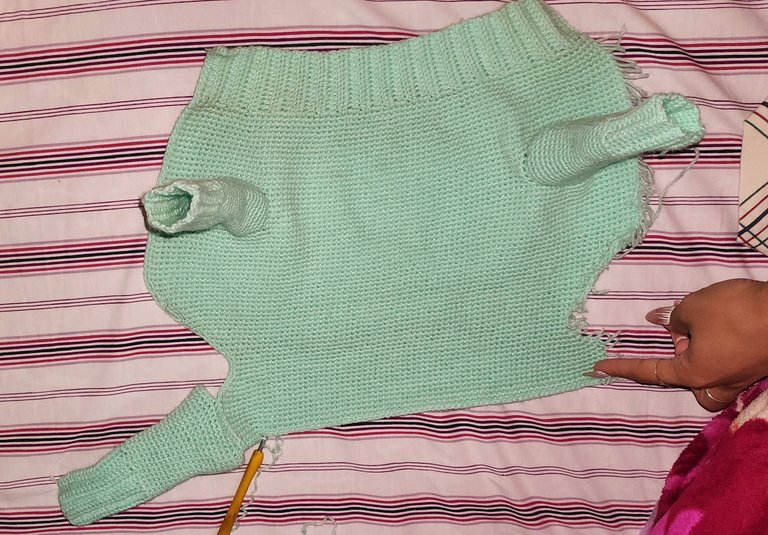
Ahora cocemos las patitas delanteras a los espacios que habíamos dejado y las traseras a las vueltas que realizamos sin aumentos ni disminuciones de la V58 _ V65. Yo cocí con punto bajo para ir escondiendo los pedazos de hilo que me fueron quedando.
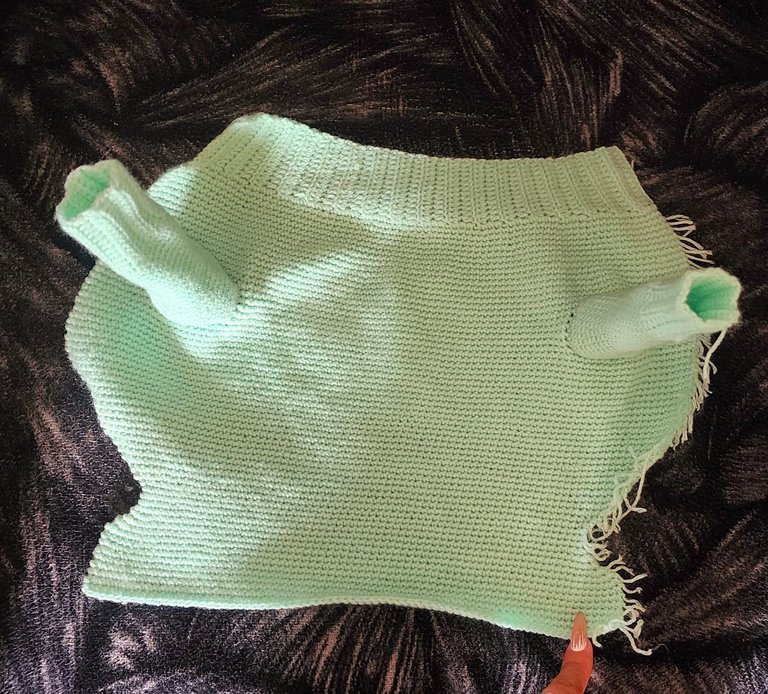
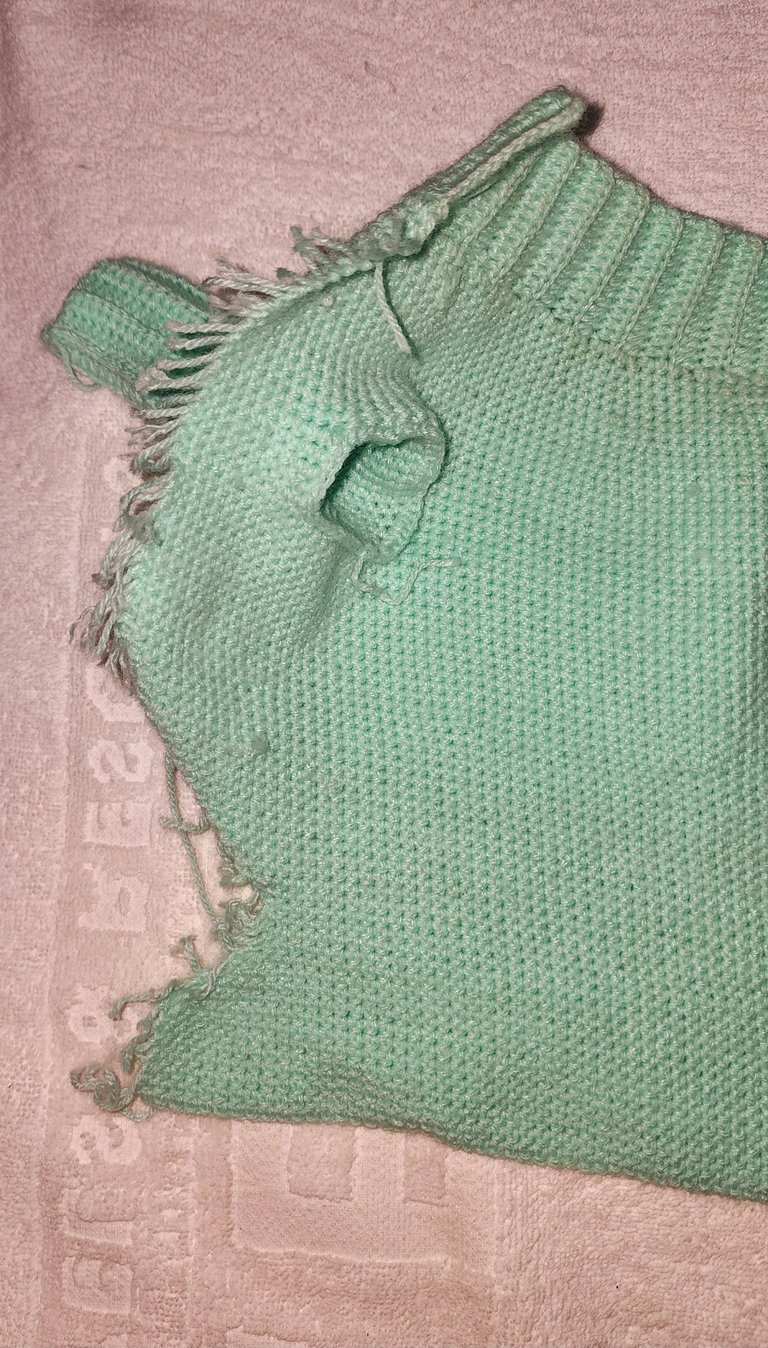
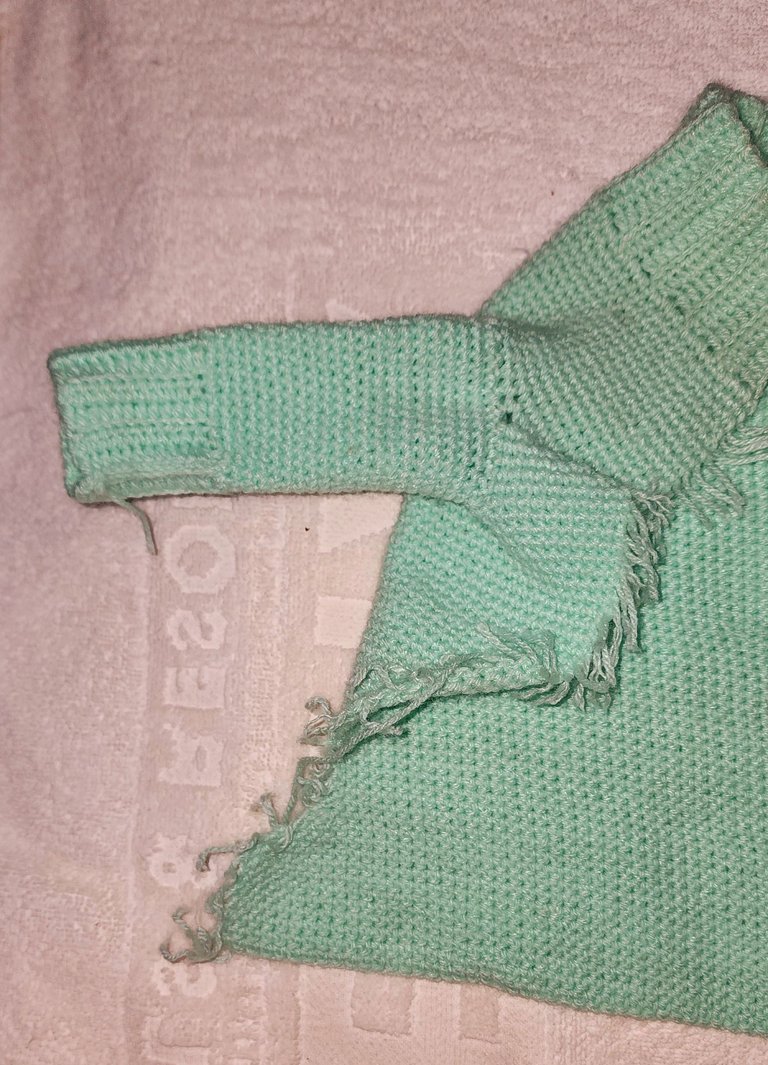
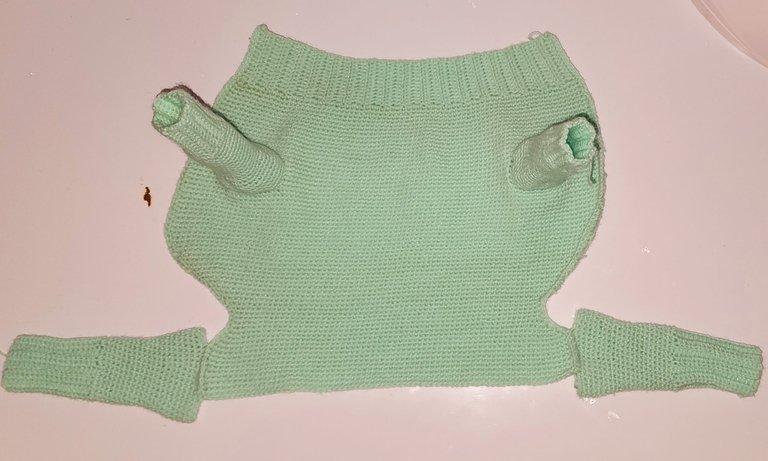
Ahora vamos a hacer puntos bajos en toda la orilla del cuerpo del abrigo exento la orilla del cuello.
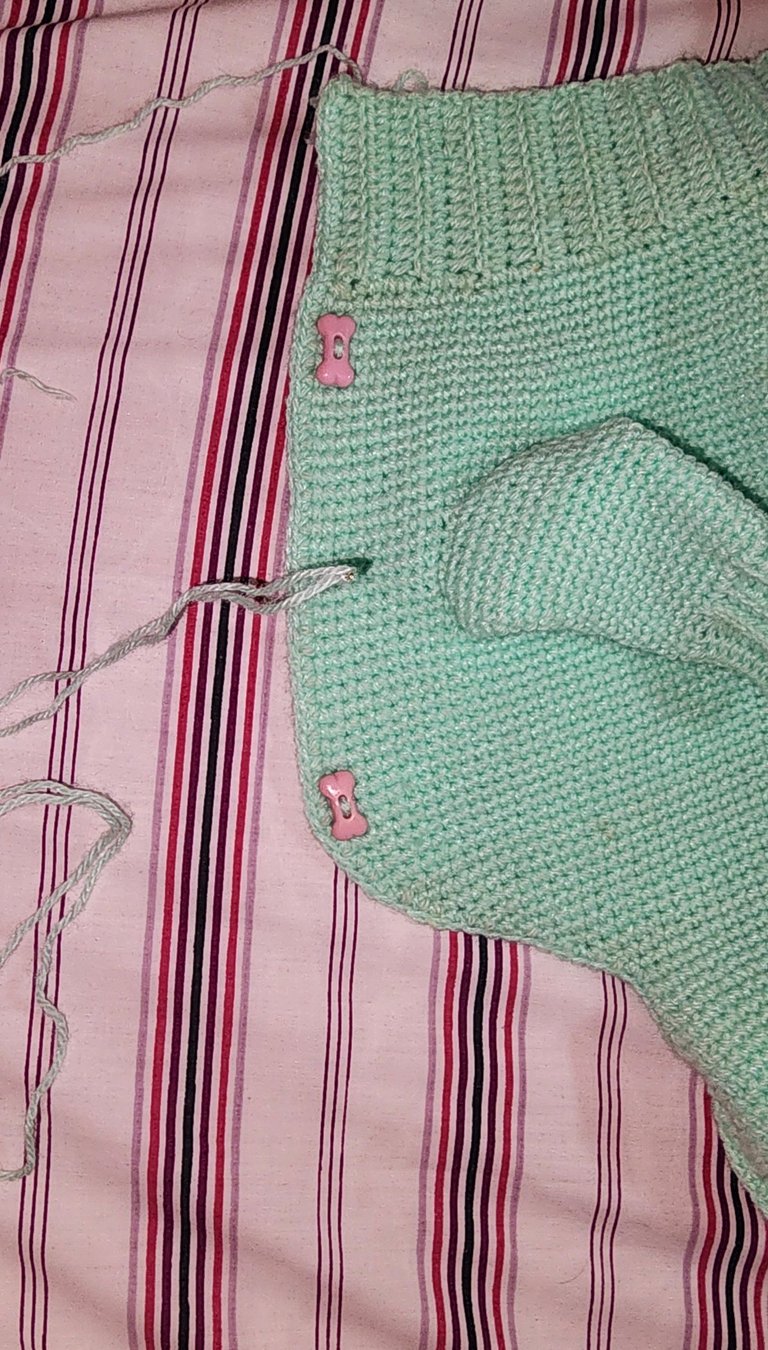
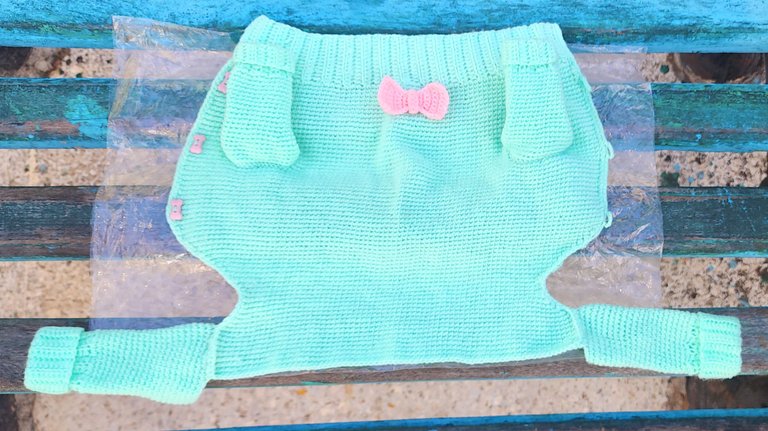
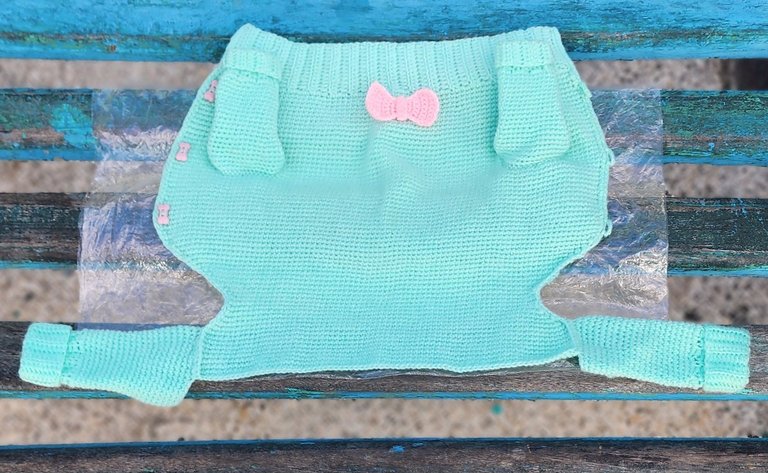
Agregamos los botones de un lado y del otro, hacemos cadenetas para cerrar con los botones. No encontré botones verdes que fueran huesos, así que se los coloqué rosados y le agregué un lazo rosado para hacer combinación.
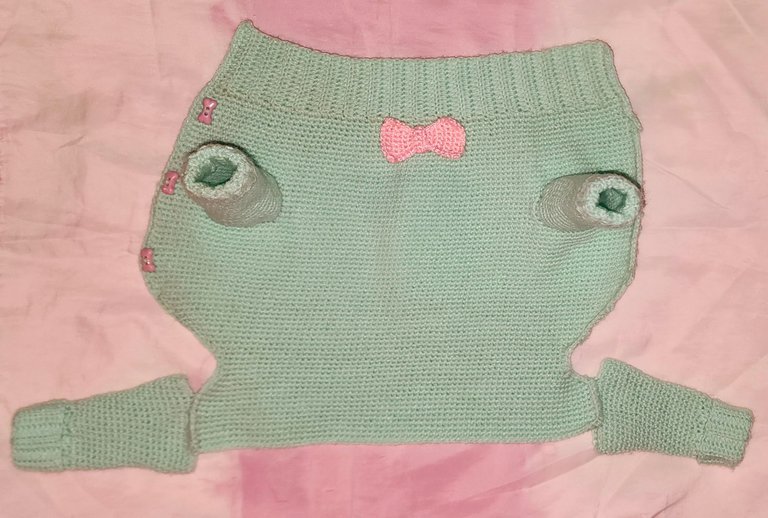
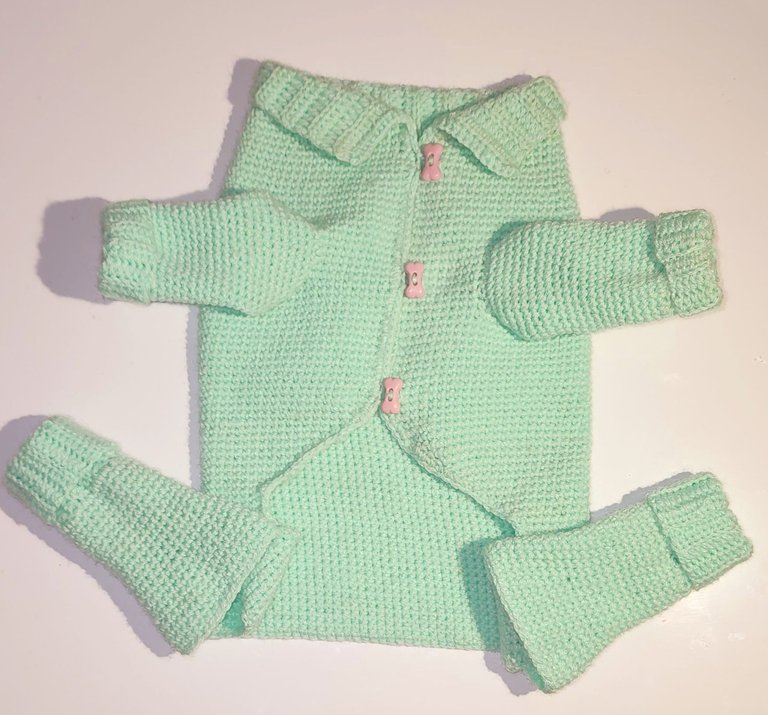
Y listo amigos, así se puede hacer un abrigo para un tierno perrito 🐕 en esta temporada tan fría.
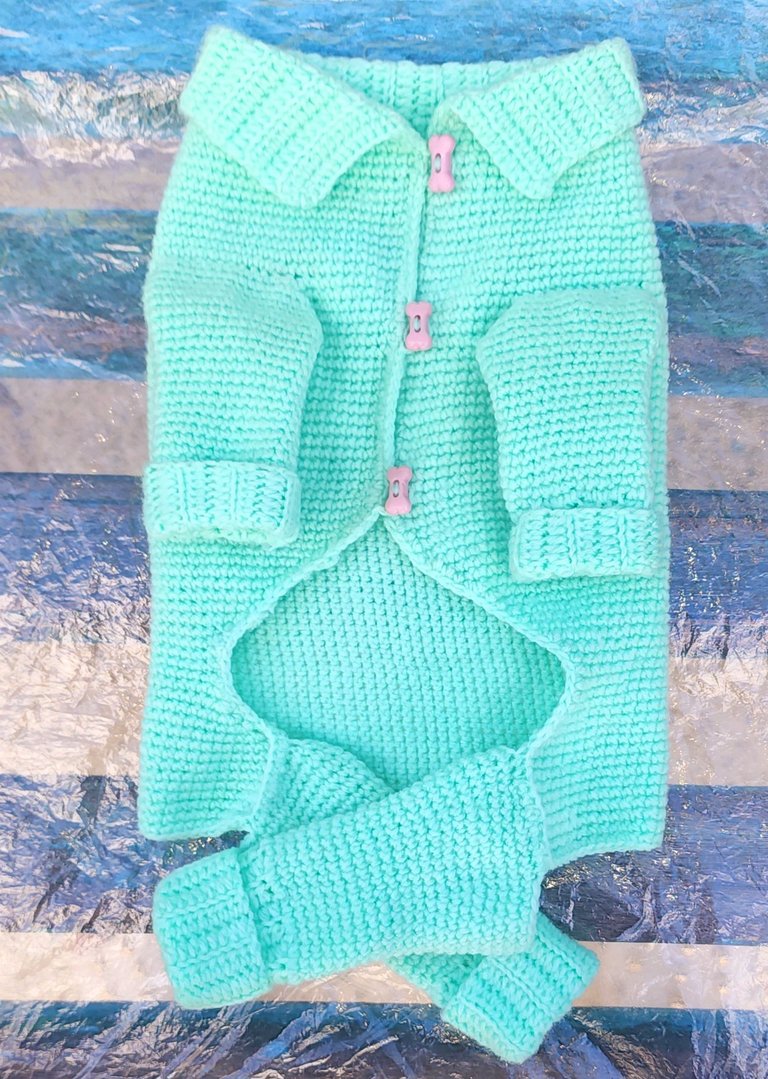
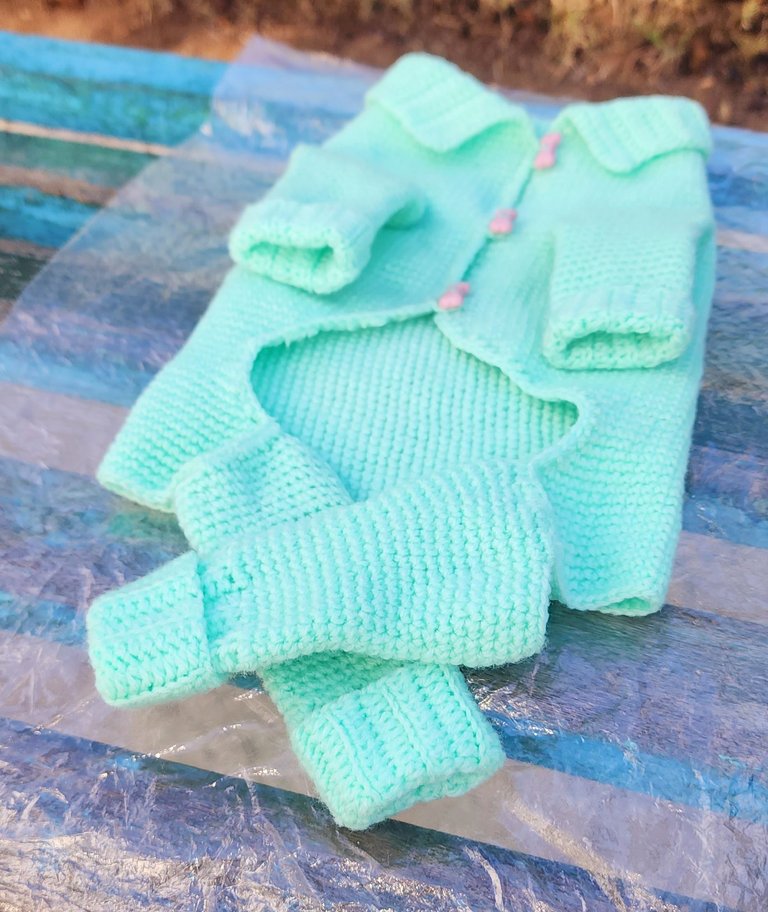
Amé realizarlo, no tengo fotos de la perrita con el abrigo puesto, ya que la dueña olvidó mandármelas y a mí me da vergüenza volver a pedirlas 😁.
Espero les guste.
Gracias de antemano por leerme.
Hasta una nueva publicación 😊.
Bendiciones y abrazos virtuales 🤗.
💫💫English💫💫
Hello to all the creative friends of this community and around the world. I hope you are all doing well, I am doing well myself. As always, grateful to God for a new day and for being able to share with you a new project. Today I bring you a coat for a Chihuahua dog. I had never made one before, but I love challenges, so I dared to make it. I hope you like it, it was very difficult for me to make, but everything we set our minds to, we can achieve, friends. So without further ado, here is the tutorial.
Materials:
- 150 grams of green yarn.
- Lace.
- Needle.
- Scissors.
- Buttons.
- Measuring tape.

Procedure:
Firstly, I measured the dog.
Front paws:
V1 - We start by making 14 chains, skip 2 chains, and on the third, make a single crochet and continue like this until the end of the round, leaving a total of 12 single crochets.
V2 - Chain up two, turn the work, and make these 12 single crochets, only picking up the back loop.
V3 - Continue chaining up 2, making the 12 single crochets, picking up only the back loop until round 13. Here we have reached 8.5 mm, which is the width of the dog's paws. These are basically the cuffs, now we will join with slip stitch. Now we chain up one and make 1 sc in each single crochet and at each join, making a total of 26 single crochets. We will continue like this until we have a total of 13 rounds.
V14 - Make 4 sc + 1 increase. Ended up with 1 sc, total of 31 sc.
V15 - V16 - Make these 31 sc without increases or decreases.
V17 - Make 5 sc + 1 increase. Ended up with 1 sc, total of 36 sc.
V18 - V21 - Make these 36 sc without increases or decreases.

Back paws:
For the back paws, we will do the same as for the front paws, but instead of stopping at round 21, we will go up to round 25.

Neck:
V1- Start by making 15 chains, go up to the third stitch and make a single crochet.
V2 - Continue making single crochets, only picking up the back loop, until you reach 35 rounds, achieving a total of 24 cm.

Body:
V1 - Make the entire edge with 70 single crochets.
V2 - Make 10 sc + 1 increase, total of 77 sc.
V3 - V4 - Make these 77 sc without increases or decreases.
V5 - Make 12 sc + 1 increase, total of 83 sc.
V6 - V7 - Make these 83 sc without increases or decreases.
V8 - Make 15 sc + 1 increase to get 88 sc.
V9 - V10 - Make these 88 sc without increases or decreases.
V11 - Make 17 sc + 1 increase, total of 92 sc.
V12 - V16 - Make these 92 sc without increases or decreases.
V17 - Make 10 sc, cut yarn, skip 10 sc, and on the 11th stitch, start making single crochets until you have 52 sc, skip 10 sc, and make the last 10 sc.
V18 - V21 - Make these sets of 10, 52, and 10 stitches.
V22 - Join with a chain of 12 chains in each space. And make the 96 sc without increases or decreases.
V23 - V34 - Make these 96 single crochets without increases or decreases.
V35 - Make 15 sc + 1 decrease, total of 89 sc.
V36 - V39 - Make these 89 sc without increases or decreases.
V40- V50- Start decreasing at the beginning and end of each round.
V51- V53 - Make these stitches without increases or decreases.
V54 - 57 - Increase at the beginning and end of each round.
V58 - V65 - Make single crochets without increases or decreases.


Now we sew the front legs to the spaces we had left and the back legs to the rows we made without increases or decreases from V58 _ V65. I sewed with single crochet to hide the leftover yarn ends.


Now we are going to make single crochets all around the edge of the coat, except for the neck edge.

We add the buttons on one side and on the other, make chains to close with the buttons. I couldn't find green buttons that looked like bones, so I used pink ones and added a pink bow for a matching look.
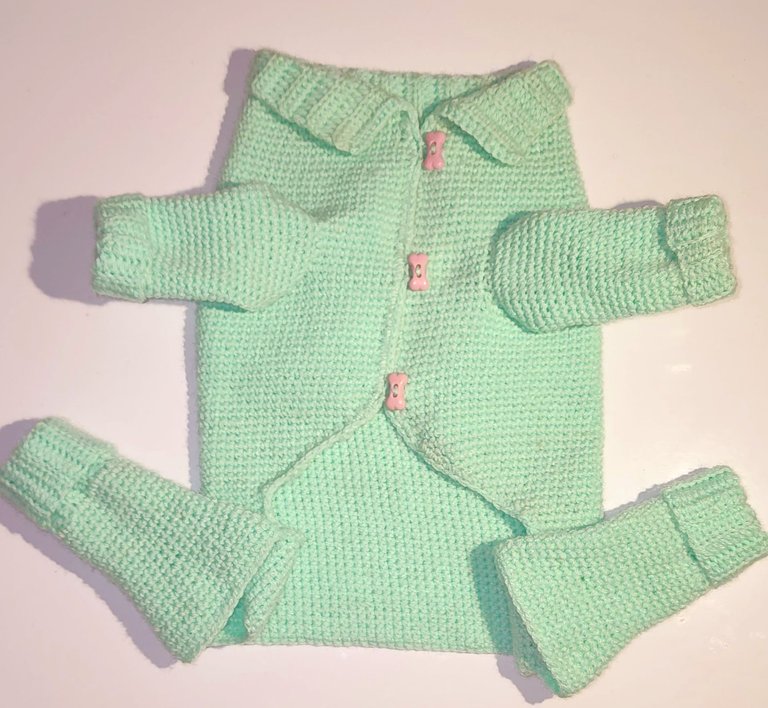


And there you have it, friends, you can make a coat for a cute little dog 🐕 in this cold season.


I loved making it, I don't have photos of the dog with the coat on, as the owner forgot to send them to me and I feel embarrassed to ask again 😁. I hope you like it. Thank you in advance for reading. Until the next post 😊. Blessings and virtual hugs 🤗.
Recursos empleados
| RECURSO / RESOURCE | FUENTE / SOURCE |
|---|---|
| Edición / Edition: | @yunacrochet |
| Imágenes / Pictures: | Samsung Galaxy s22 Ultra |
| Translated / Traducción: | Hive Translator by @noakmilo |
Posted Using INLEO
Very nice set for the dog, it becomes very cute and is very well made. It would have been nice to see the photo with the model. Thank you for leaving us your step by step and creative process.
Thank you very much, I did it as always with much love and I waited days for the photo but it wasn't possible for them to send it to me so I decided to post it on hive without that photo. Blessings 😘.
Que belllooooo, quien viera a mi perrito con un abriguito de esos, ahora que está haciendo frío, se vería tan chulo, te quedó hermoso 😍
Hay gracias amiga, se debe ver muy lindo, estoy segura 🤗. Si en este tiempo de frío lo necesitan los perritos 🐕 . Bendiciones 😘.
Thanks you. Blessings 😘.
From Venezuela, our witness drives decentralization and the adoption of Web3 technology, creating opportunities for the local community and contributing to the global ecosystem. // Desde Venezuela, nuestro testigo impulsa la descentralización y la adopción de la tecnología Web3, generando oportunidades para la comunidad local y contribuyendo al ecosistema global.
Sigue, contacta y se parte del testigo en: // Follow, contact and be part of the witness in:
Thanks you very much. Blessings 😘.
Que bonito 🥹 ella se debe ver preciosa con su abrigo 😍
Gracias amiga, así mismo y no pude tener la foto 🥹😁. Bendiciones 😘.