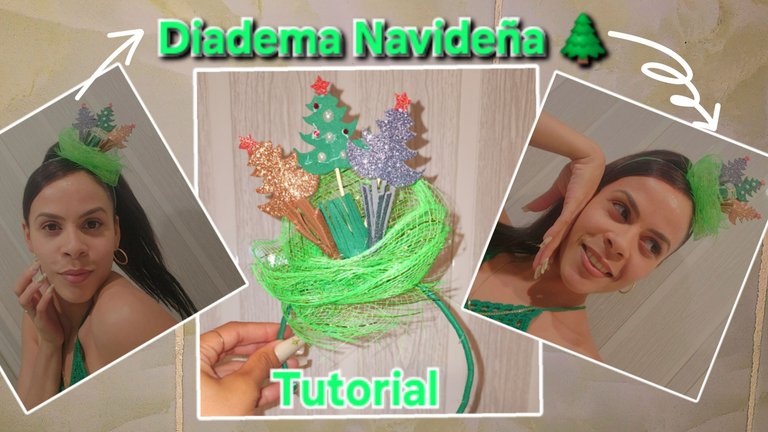
Muy linda noche a todos los amigos creativos de esta comunidad y del mundo entero. Deseo y espero que se encuentren en perfectas condiciones, de este lado de la pantalla me encuentro genial y feliz de compartirles un nuevo proyecto. Muy agradecida con Dios por un nuevo día y que mi familia esté bien.
En el día de hoy estuve haciendo un cintillo de Navidad, quise sumarme a los trabajos relacionados con las diademas navideñas. Intenté crearla representando arbolitos navideños, es muy fácil de realizar, utilizando pocos materiales y queda muy bonito. Yo como siempre amé el resultado.
Quiero tenerla guardada para regalársela a mi sobrina mayor el día de los Reyes Magos. Ella siempre se enamora de cada trabajo que realizo, así que espero que esta vez también le guste su futuro cintillo. Ya me la imagino usándolo con su pelo suelto en su carita hermosa jjjj. Y bueno amigos, ya les muestro el paso a paso de como realicé esta diadema.
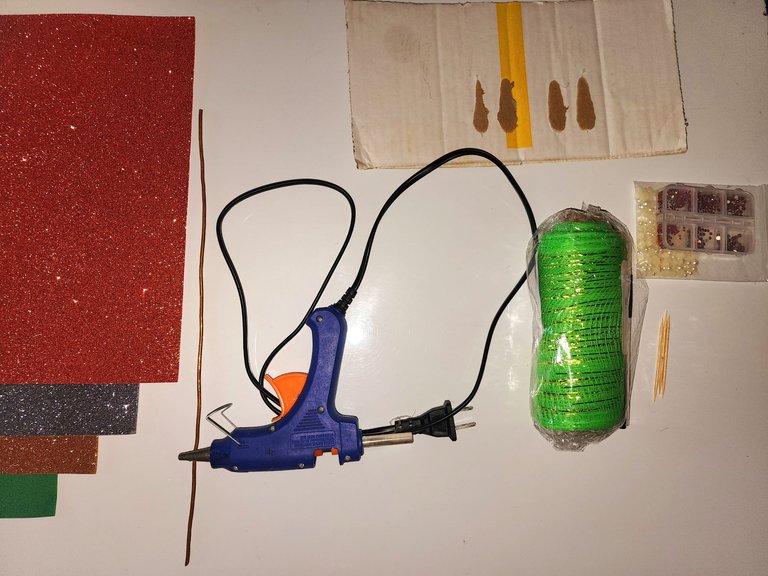
✨️Materiales✨️
- Foami de color verde, dorado, plateado y rojo.
- Alambre.
- Silicona.
- Cartón.
- Lapicero.
- Palitos pequeños.
- Cinta decorativa.
- Perlas rojas y blancas.
✨️Paso a paso✨️
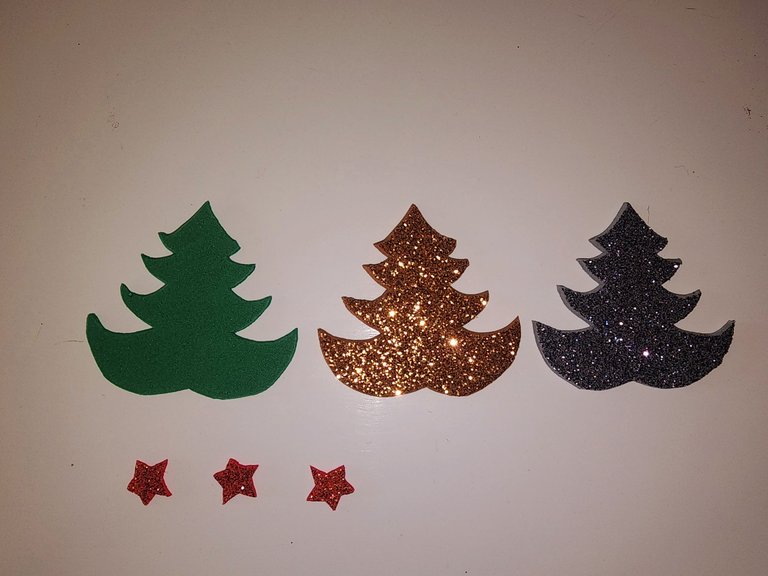
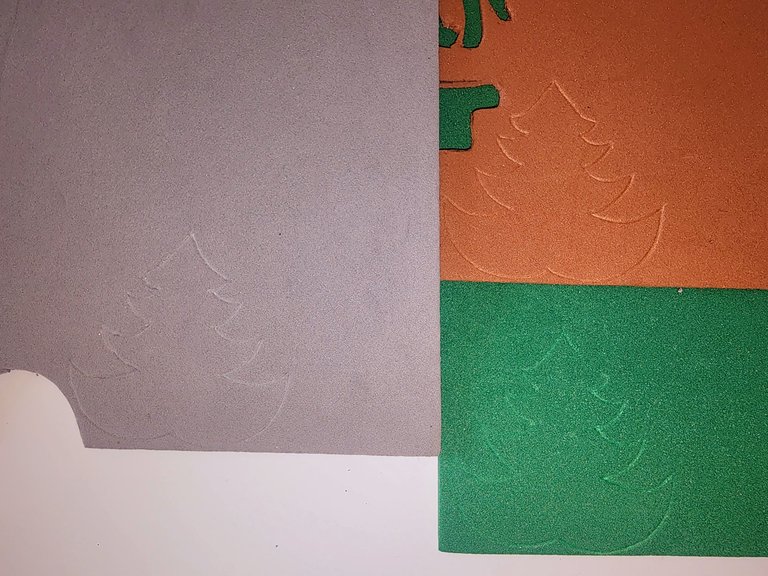
1 - Comencé marcando tres estrellas y tres arbolitos en el cartón y los recorté.
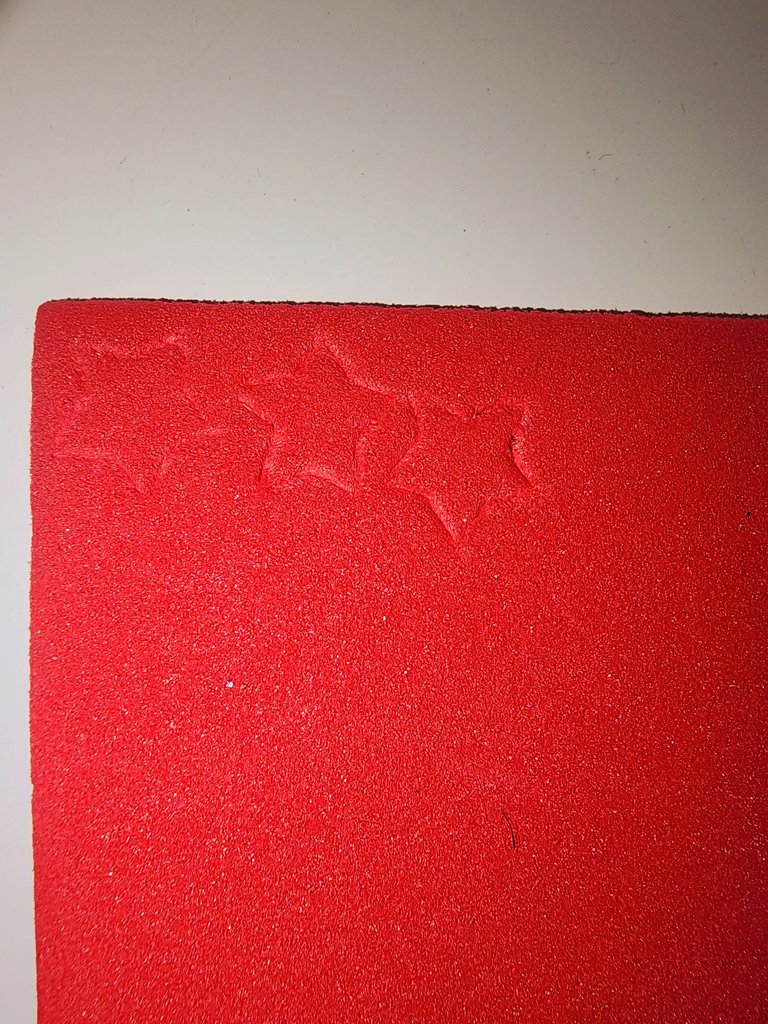
2 - Luego marqué las estrellas y los arbolitos en el foami y también los recorté.
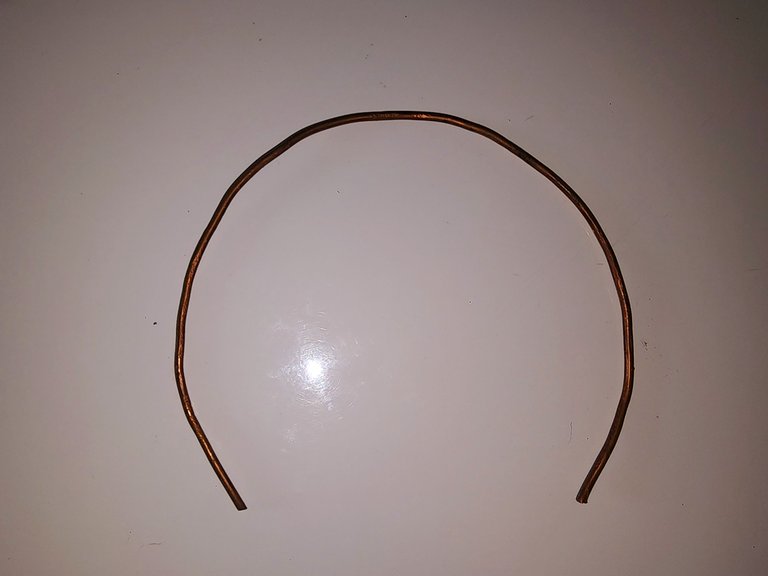
3 - Luego tomé el alambre y le di forma de cintillo con la ayuda de un tubo que se asemejara al tamaño.
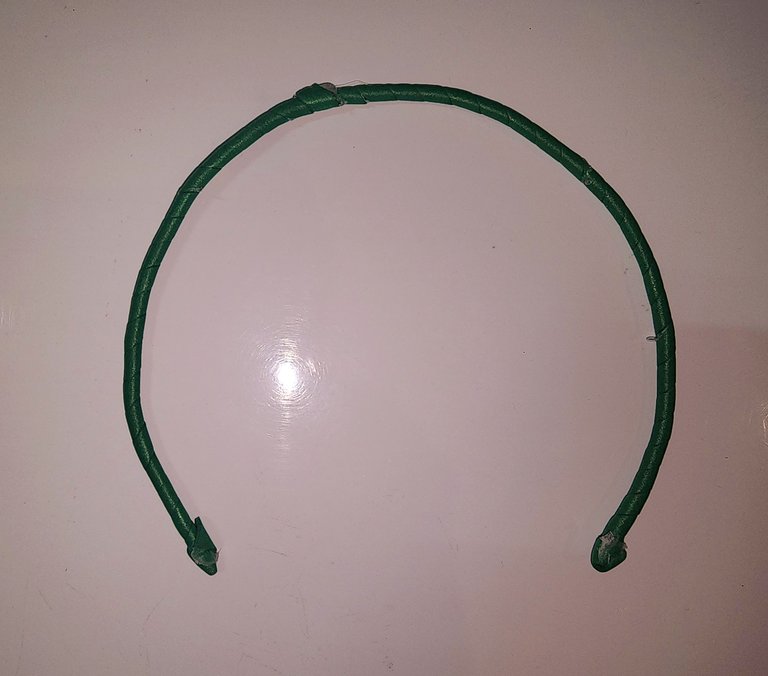
4 - Luego piqué dos tiras de foami verde y forré el alambre quedando así.
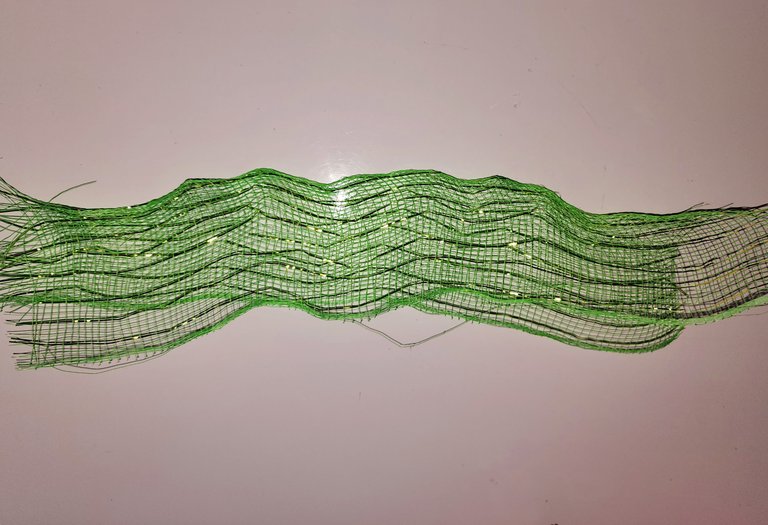
5 - Luego piqué un pedazo de cinta decorativa, la doble a la mitad por la parte más estrecha.
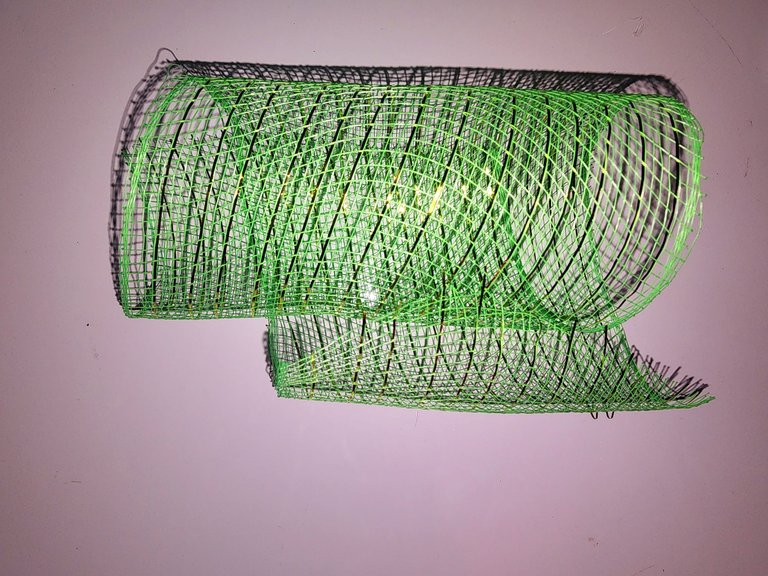
6 - Ahora pegué los extremos de la cinta decorativa con silicona.
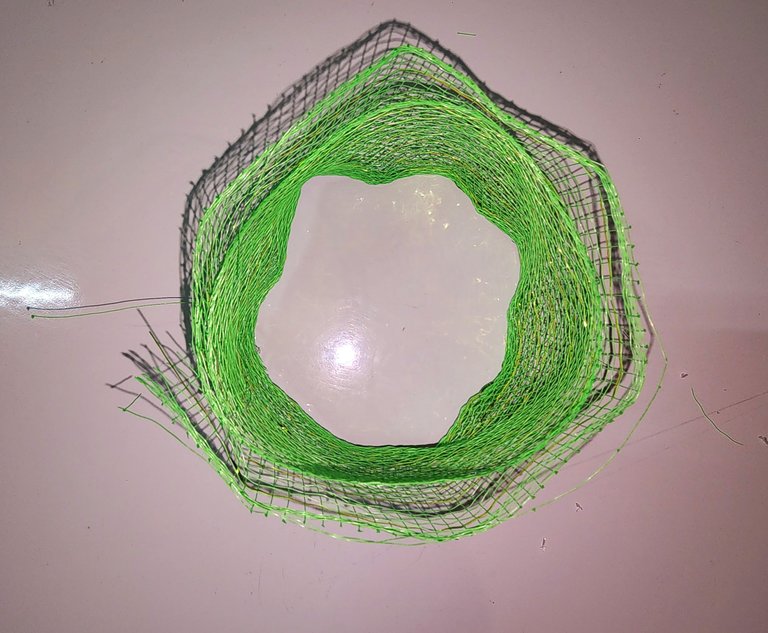
7 - Luego pegué la cinta decorativa en el centro y luego pegué las orillas al centro.
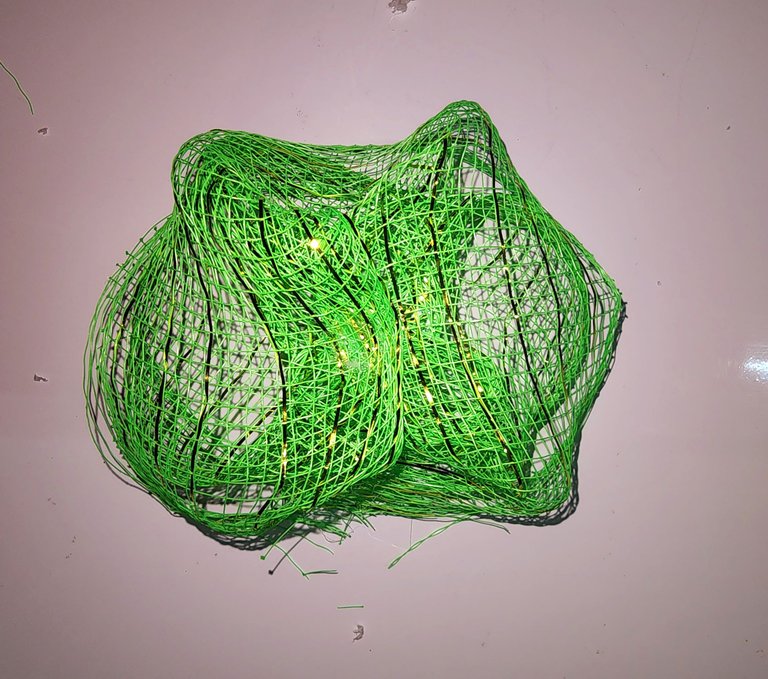
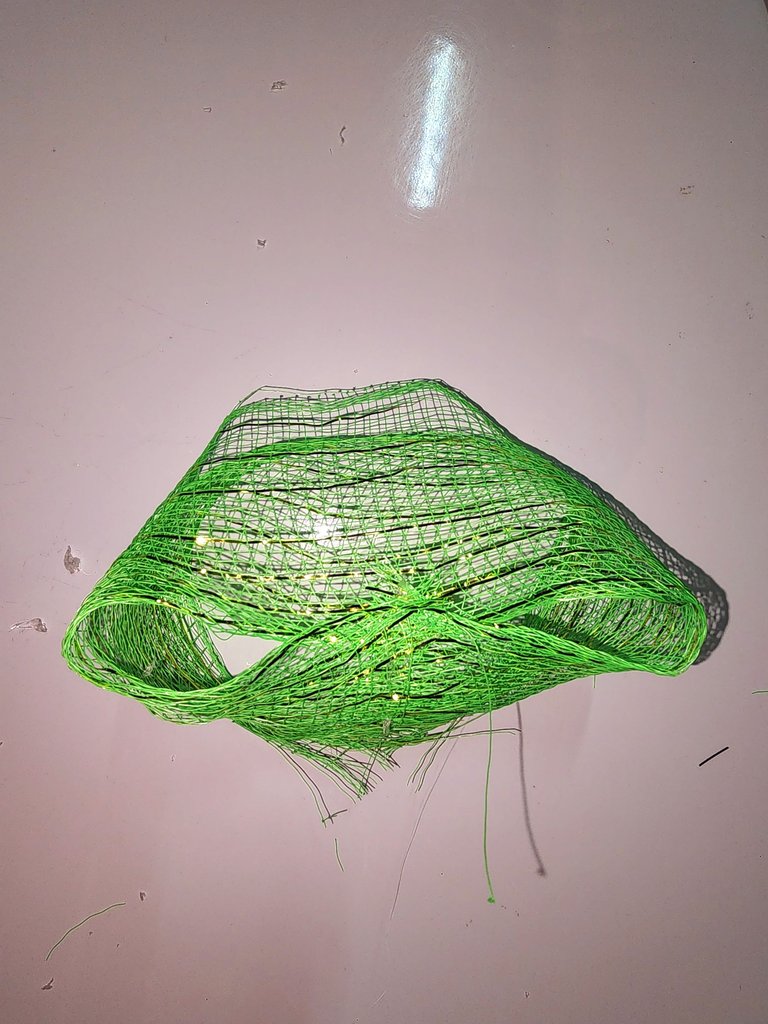
8 - Ahora le pegué un cuadrado de cartón en la parte de abajo.
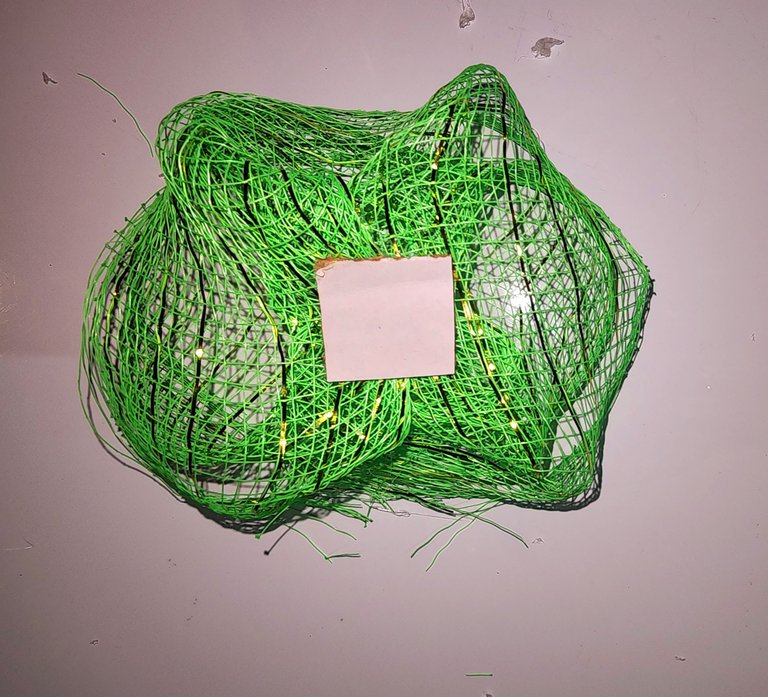
9 - Luego pegué el cartón al alambre ya forrado en un costado.
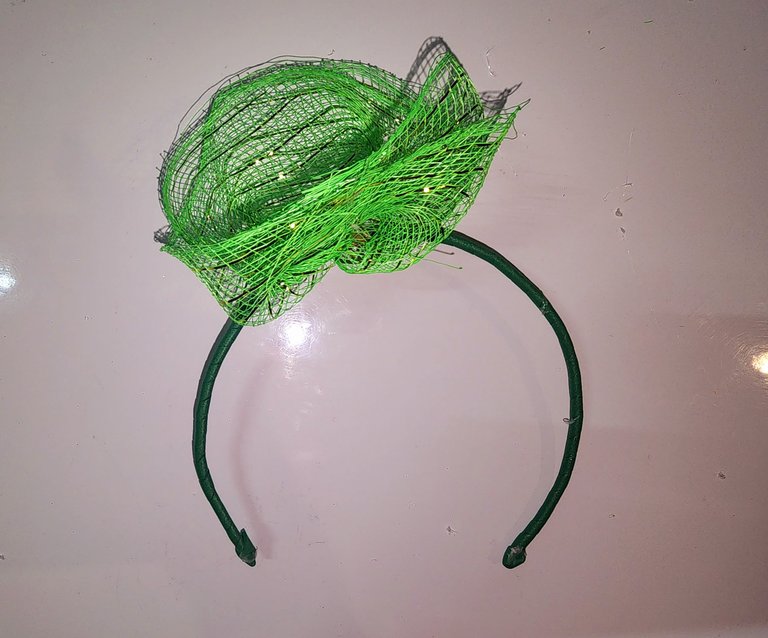
10 - Ahora pegué los palitos a los arbolitos y les pegué las estrellas a cada uno de los arbolitos. Y les agregué al arbolito verde medias perlas blancas y rojas.
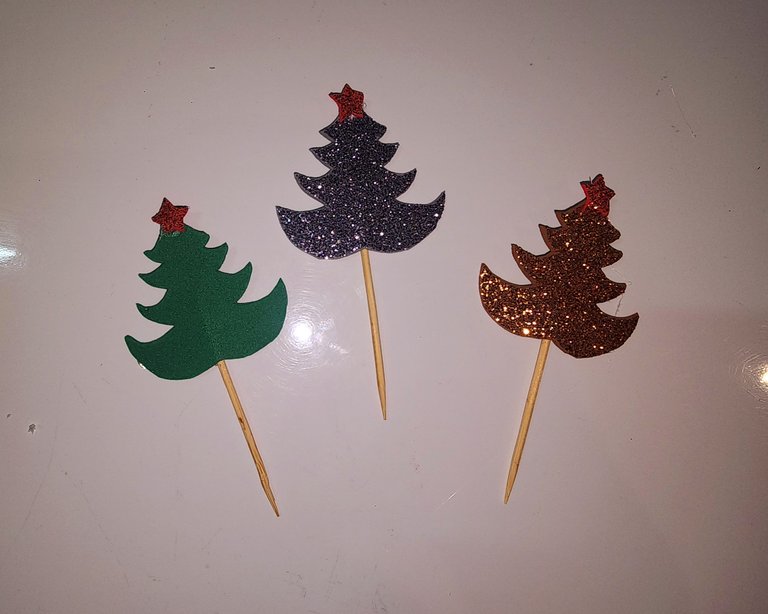
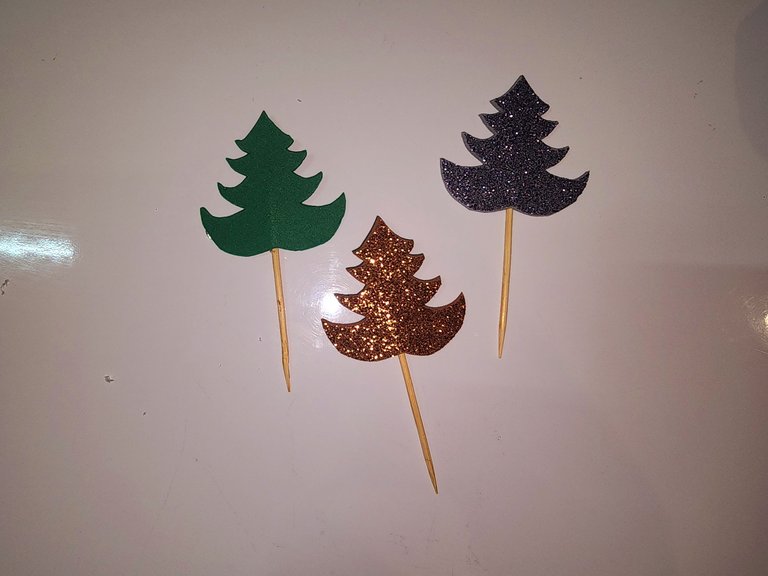
11 - Luego los pegué los arbolitos al centro de la cinta decorativa que pegué al alambre ya forrado.
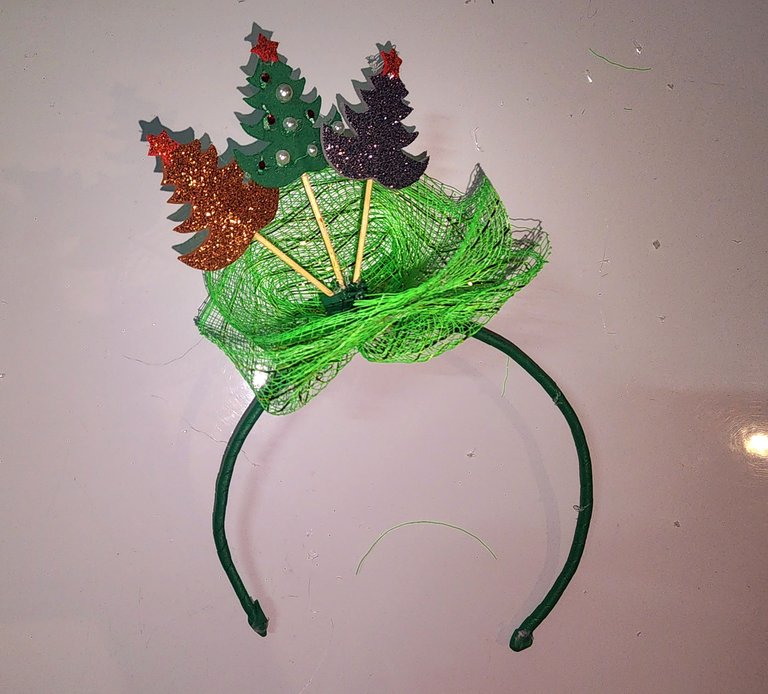
12 - Recorté tiras de fuami y lo piqué como tirillas en uno de sus extremos de esta manera.
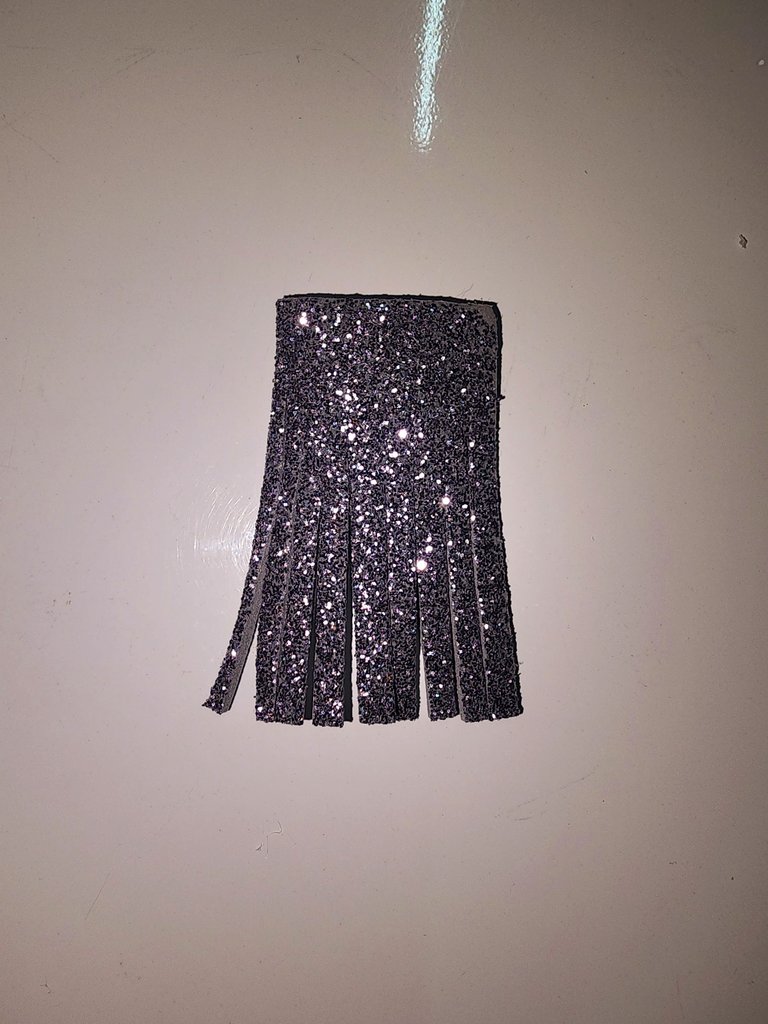
13 - Ahora doble y pegué las esquinas de las tiras doradas y plateadas.
La tira verde la pegué a todo lo largo en la parte de los palitos pequeños que sostienen los arbolitos.
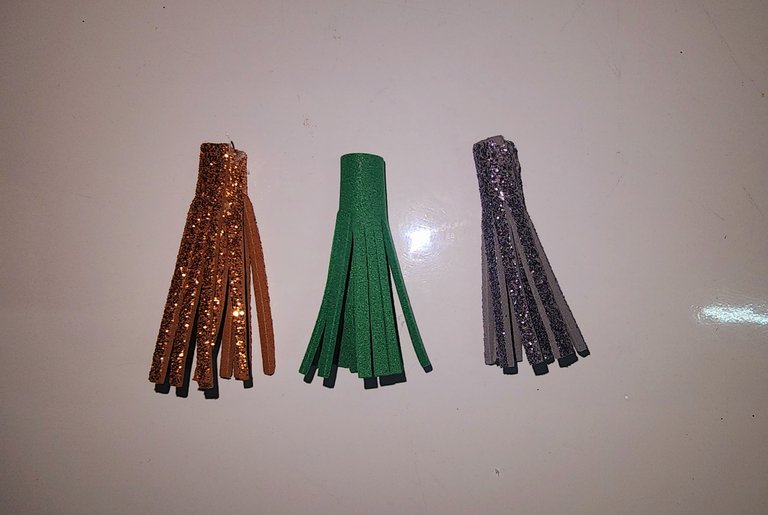
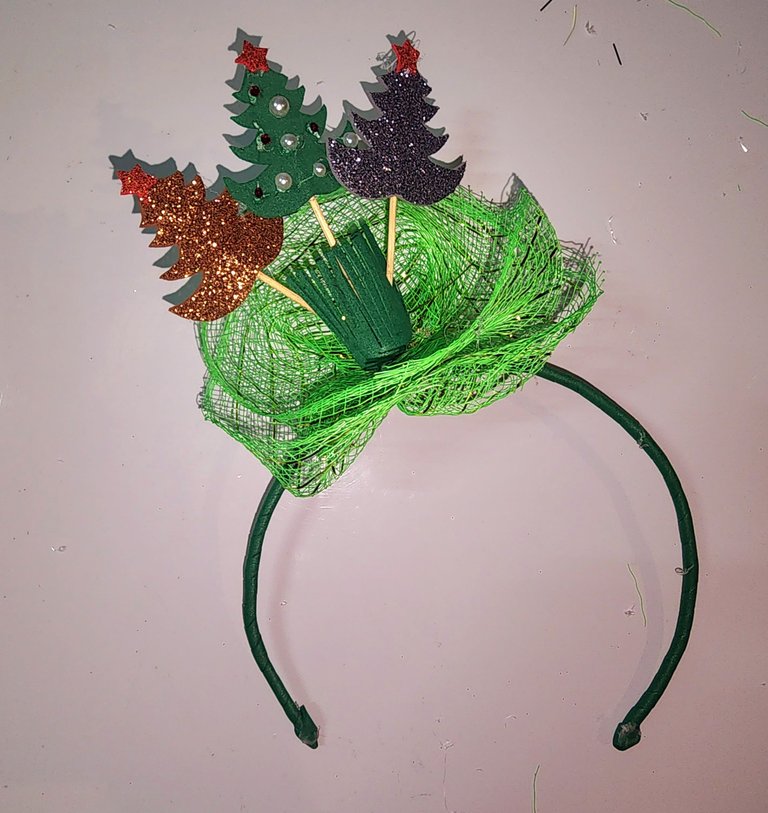
14 - Luego coloqué una tira dorada y una plateada a los lados de los arbolitos.
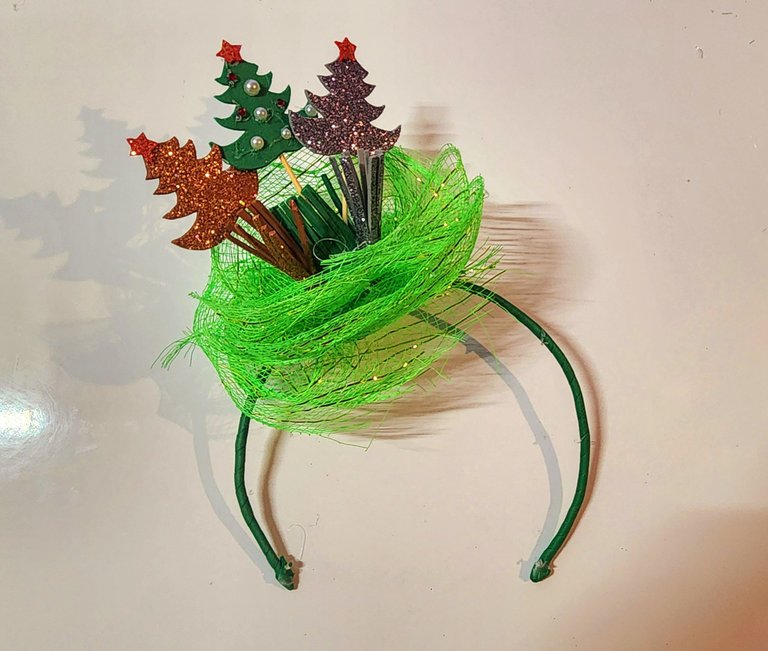
15 - Noté que le faltaba más cinta decorativa y le agregué otra vuelta.
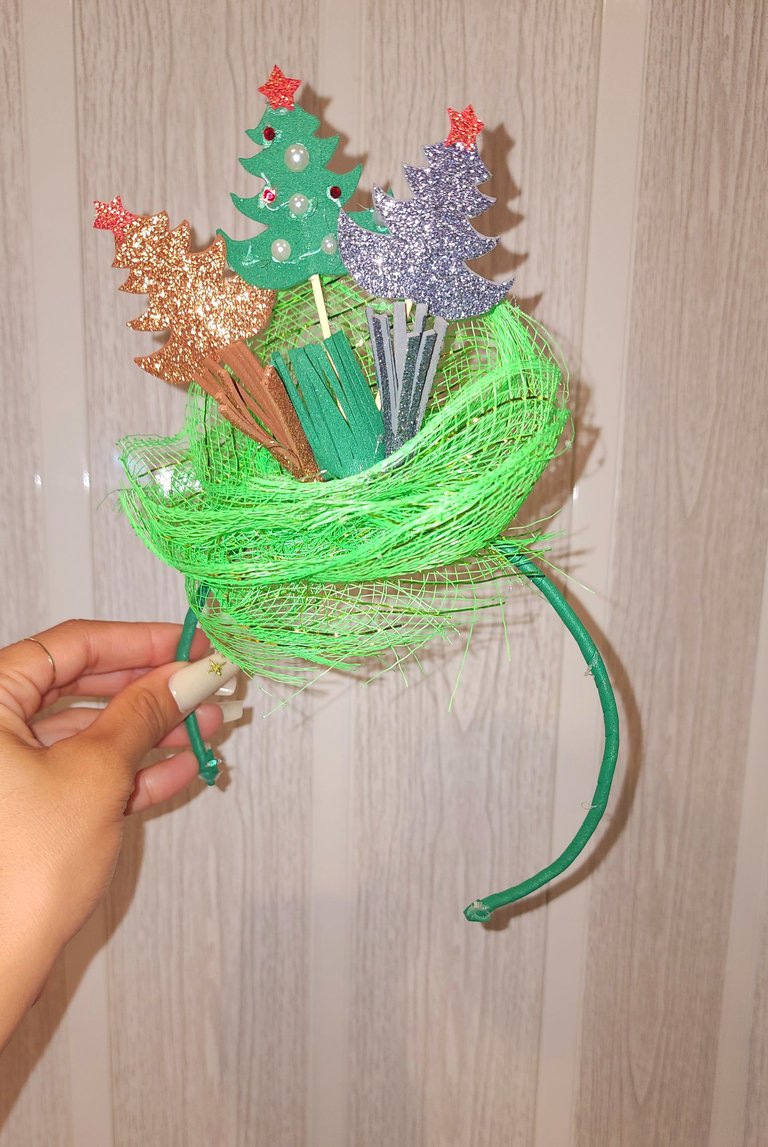
Y listo amigos, así quedó esta bonita y sencilla diadema navideña en forma de árbol de Navidad.
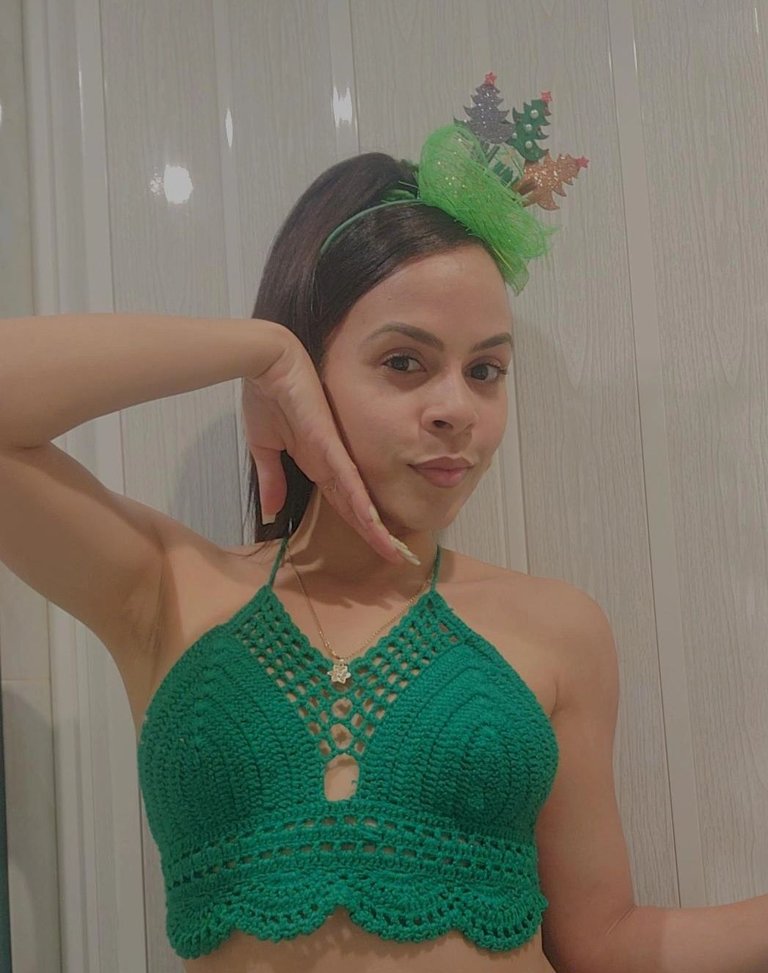
Amé compartir con ustedes y sumarme a estos trabajos. Deseo ya ver a mi sobrina luciéndola y feliz de tenerla.
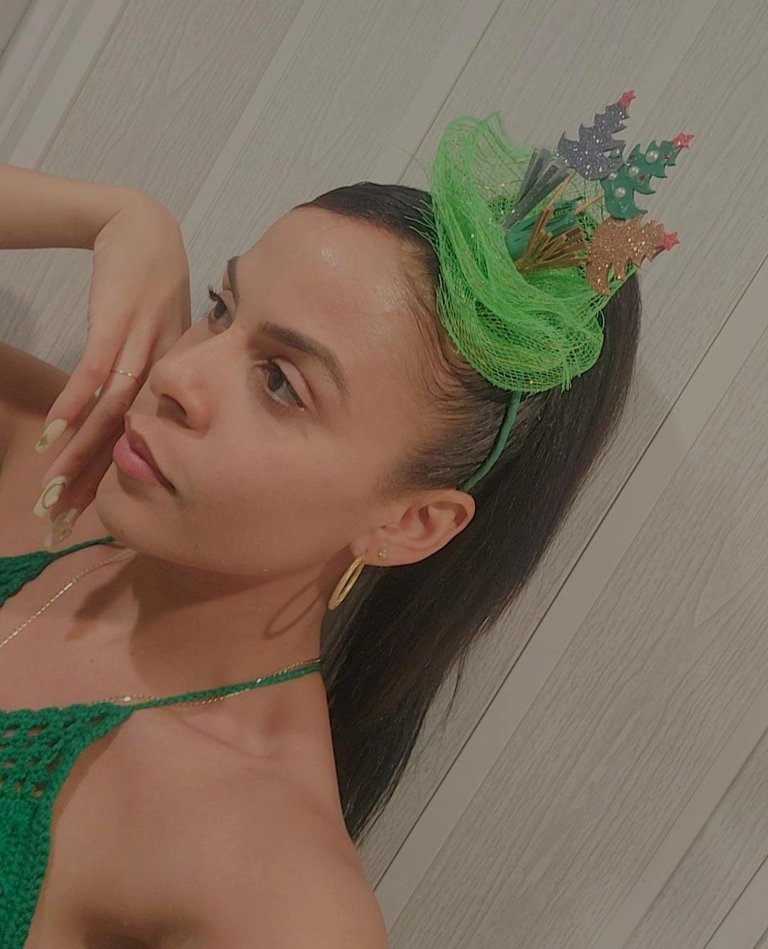
Gracias de antemano por leerme hasta aquí.
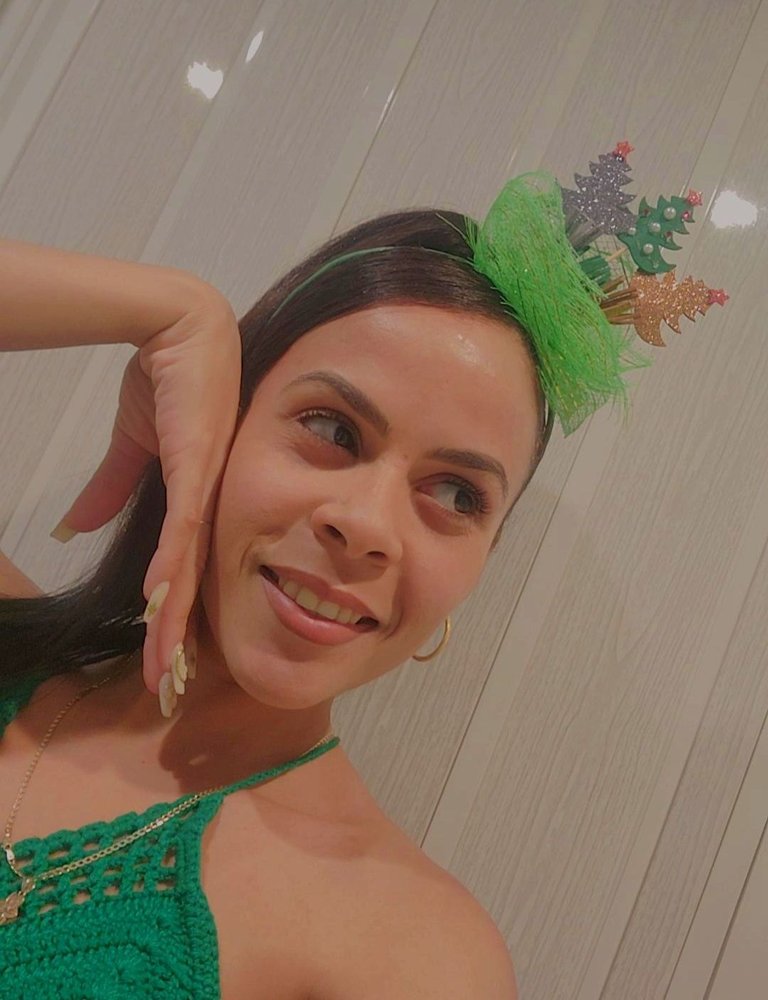
Bendiciones miles y muchos abrazos virtuales 🤗.
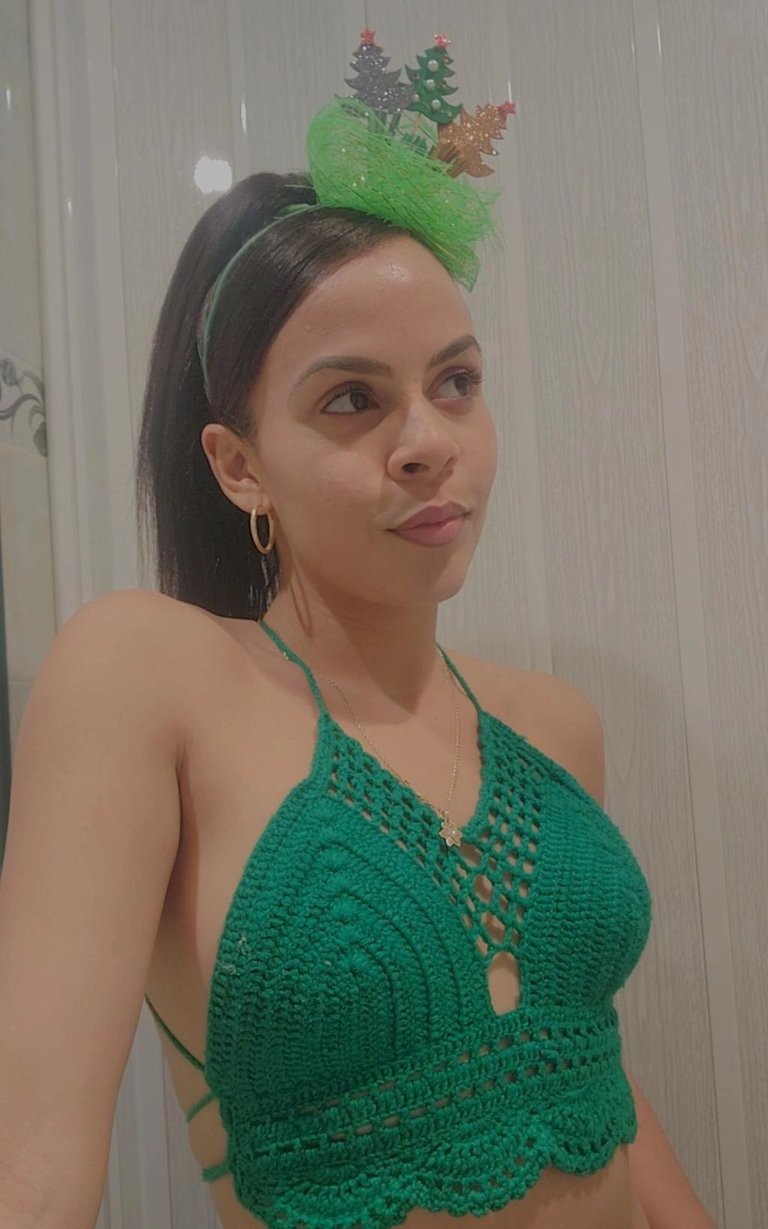
Invito a mi amiga @ceciliajess a participar en esta hermosa iniciativa que se que le encantará.
✨️✨️English✨️✨️
Very nice night to all the creative friends of this community and the whole world. I wish and hope that you are in perfect condition, on this side of the screen I am great and happy to share a new project with you. Very grateful to God for a new day and for my family being well.
Today I made a Christmas headband, I wanted to join in the works related to Christmas headbands. I tried to create it representing Christmas trees, it is very easy to make, using few materials, and it looks very nice. I, as always, loved the result.
I want to keep it to give it to my older niece on Three Kings Day. She always falls in love with every work I do, so I hope that this time she will also like her future headband. I can already imagine her wearing it with her hair loose on her beautiful face lol. Well, friends, now I show you the step-by-step of how I made this headband.
✨️Materials✨️
- Green, gold, silver, and red foam.
- Wire.
- Silicone.
- Cardboard.
- Pen.
- Small sticks.
- Decorative ribbon.
- Red and white pearls.

✨️Step by step✨️
1 - I started by marking three stars and three Christmas trees on the cardboard and cutting them out.
2 - Then I marked the stars and the trees on the foam and also cut them out.


3 - Then I took the wire and shaped it into a headband with the help of a tube that resembled the size.

4 - Then I cut two strips of green foam and wrapped the wire with them.

5 - Then I cut a piece of decorative ribbon, folded it in half by the narrowest part.


6 - Now I glued the ends of the decorative ribbon with silicone.

7 - Then I glued the decorative ribbon in the center and then glued the edges to the center.


8 - Now I glued a cardboard square on the bottom.

9 - Then I glued the cardboard to the already wrapped wire on one side.

10 - Now I glued the sticks to the trees and glued the stars to each of the trees. I added white and red pearls to the green tree.


11 - Then I glued the trees to the center of the decorative ribbon I had already glued to the wrapped wire.

12 - I cut strips of foam and poked them as little strips at one end in this way.

13 - Now I folded and glued the corners of the gold and silver strips.
I glued the green strip all along on the side of the small sticks holding the trees.


14 - Then I placed a gold and a silver strip on the sides of the trees.

15 - I noticed it needed more decorative ribbon and added another loop.
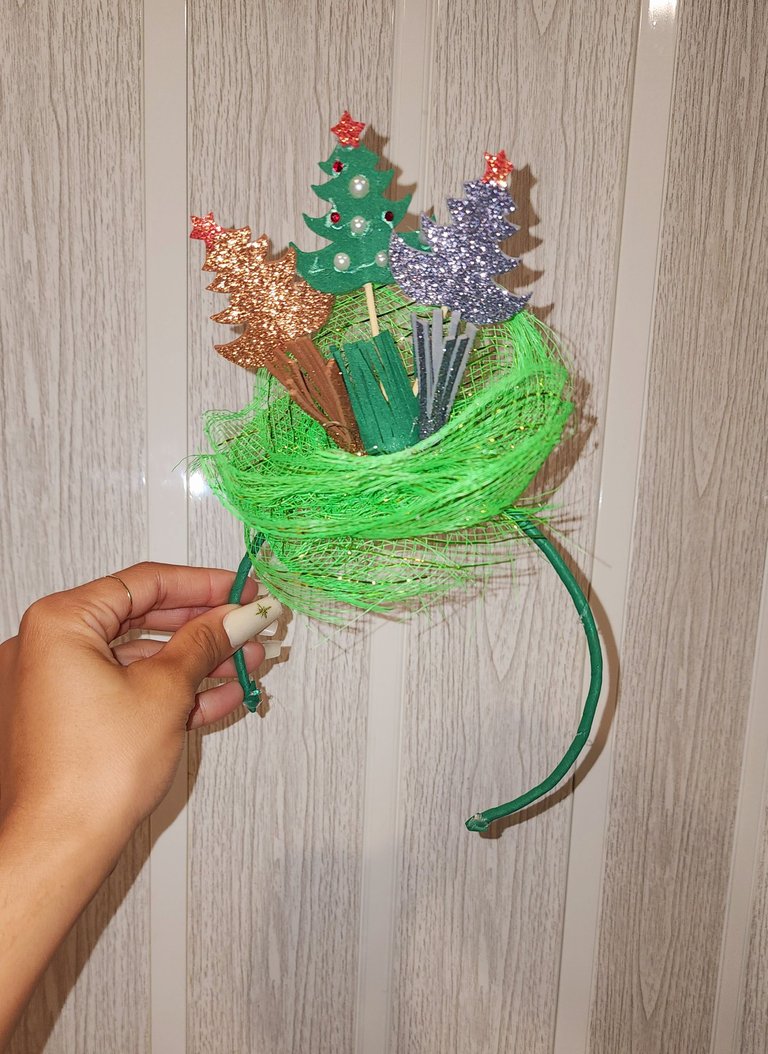
And there you have it, friends, this nice and simple Christmas headband in the shape of a Christmas tree.

I loved sharing with you and joining in on these works. I can't wait to see my niece wearing it and happy to have it.

Thank you in advance for reading up to here.

Many blessings and lots of virtual hugs 🤗.

I invite my friend @ceciliajess to participate in this beautiful initiative that I know she will love.
Recursos empleados
| RECURSO / RESOURCE | FUENTE / SOURCE |
|---|---|
| Edición / Edition: | @yunacrochet |
| Imágenes / Pictures: | Samsung Galaxy s22 Ultra |
| Translated / Traducción: | Hive Translator by @noakmilo |
Posted Using InLeo Alpha
Muy linda y original 🤗 saludos
Muchas gracias amiga 🤗.
Me encantaron los arbolitos como decoracion, te quedo muy cuchis 😍 seguramente a tu sobrina le encantara ❤️
Muchas gracias, si, espero que le guste 😁. Bendiciones 🤗.
Que bonita, estoy segura que a tu sobrina le encantará, saludos 🤗🥰
Gracias mi amiga, espero que así sea 😁. Bendiciones 🤗 😘.
Congratulations @yunacrochet! You have completed the following achievement on the Hive blockchain And have been rewarded with New badge(s)
Your next target is to reach 500 comments.
You can view your badges on your board and compare yourself to others in the Ranking
If you no longer want to receive notifications, reply to this comment with the word
STOPThanks you very much. Blessings 😘.
All good @yunacrochet! You're a true Hive champion! Onward to that new goal!
BTW, we noticed we miss your support for our proposal. Mays we ask you to check it out and consider supporting it?
Thank you!
Quedó muy lindo ,y fashionista ! ✨🎄
Muchas gracias 😁. Bendiciones 🤗.