Muy linda noche a todos los amigos creativos de esta comunidad, a todos los artesanos del mundo entero y a los amantes de las manualidades. Espero y deseo que se encuentren muy bien y para las personas que no lo están deseo que pronto estén en mejores situaciones, les pido que mantengan su confianza y fe en Dios y él los ayudará a salir de esta situación 🙏 porque él todo lo puede.
Por mi parte me encuentro muy agradecida con Dios porque él siempre se encuentra a mi lado ayudándome y guiándome en cada paso.
Estamos en el mes del amor, siempre he relacionado el amor con los ositos. Me gustan mucho los peluches y osos para estos días, siento que son el regalo perfecto para estas ocasiones de amor.
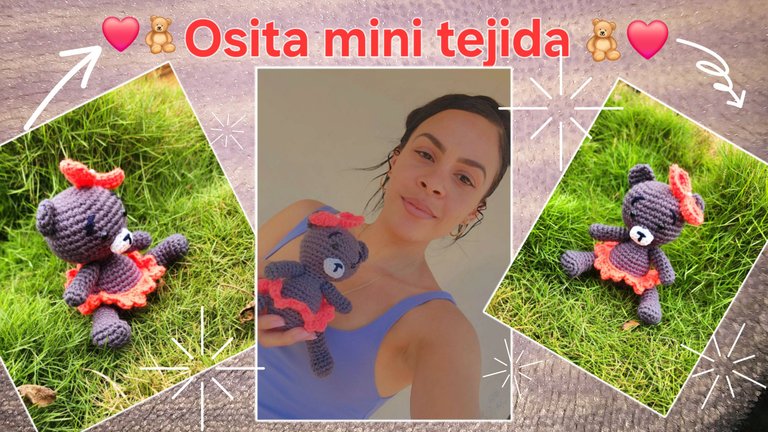
Quise hacer una osita mini tejida y hoy quiero compartirlas con ustedes, así que sin más les muestro el paso a paso.
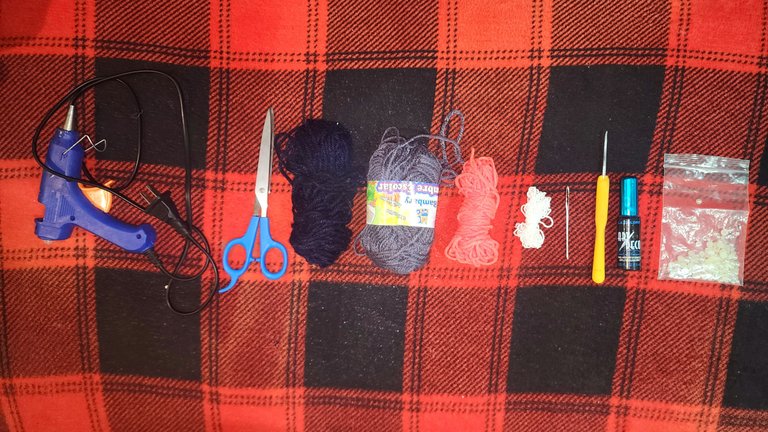
🧸♥️ Materiales ♥️🧸
- Silicona para pegar.
- Tijera.
- Lana de color negro, gris, naranja y blanco.
- Aguja lanera.
- Agujeta.
- Pintura negra.
- Medias perlas.
🧸♥️ Paso a paso ♥️🧸
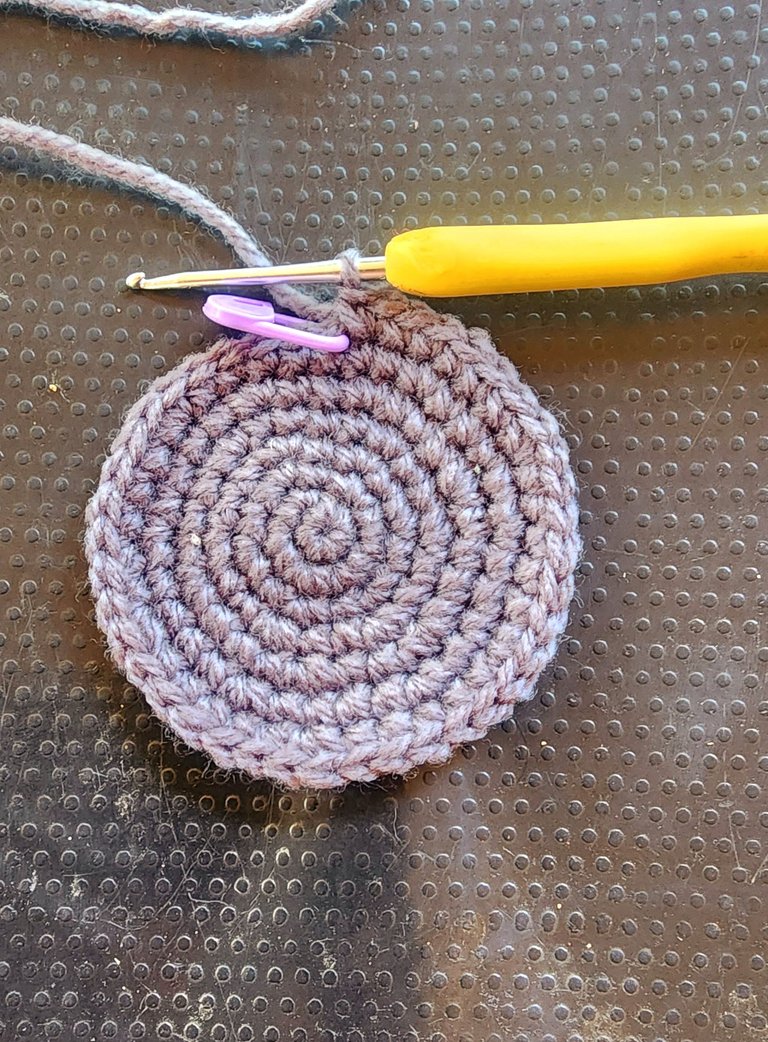
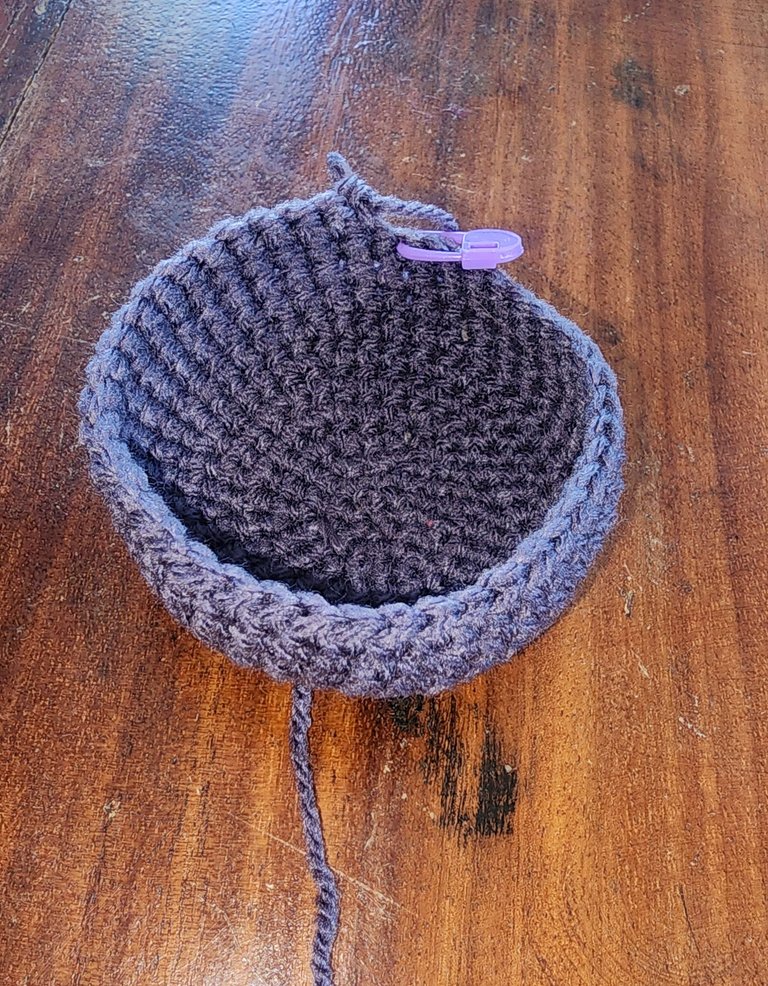
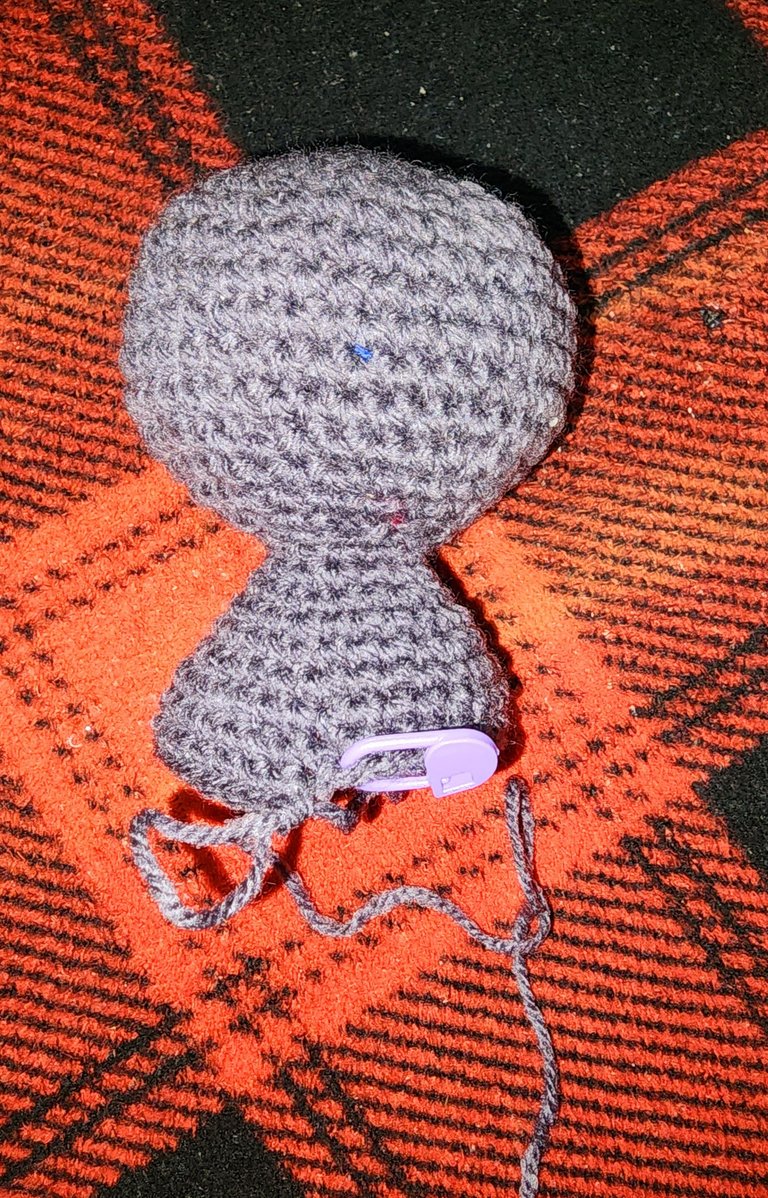
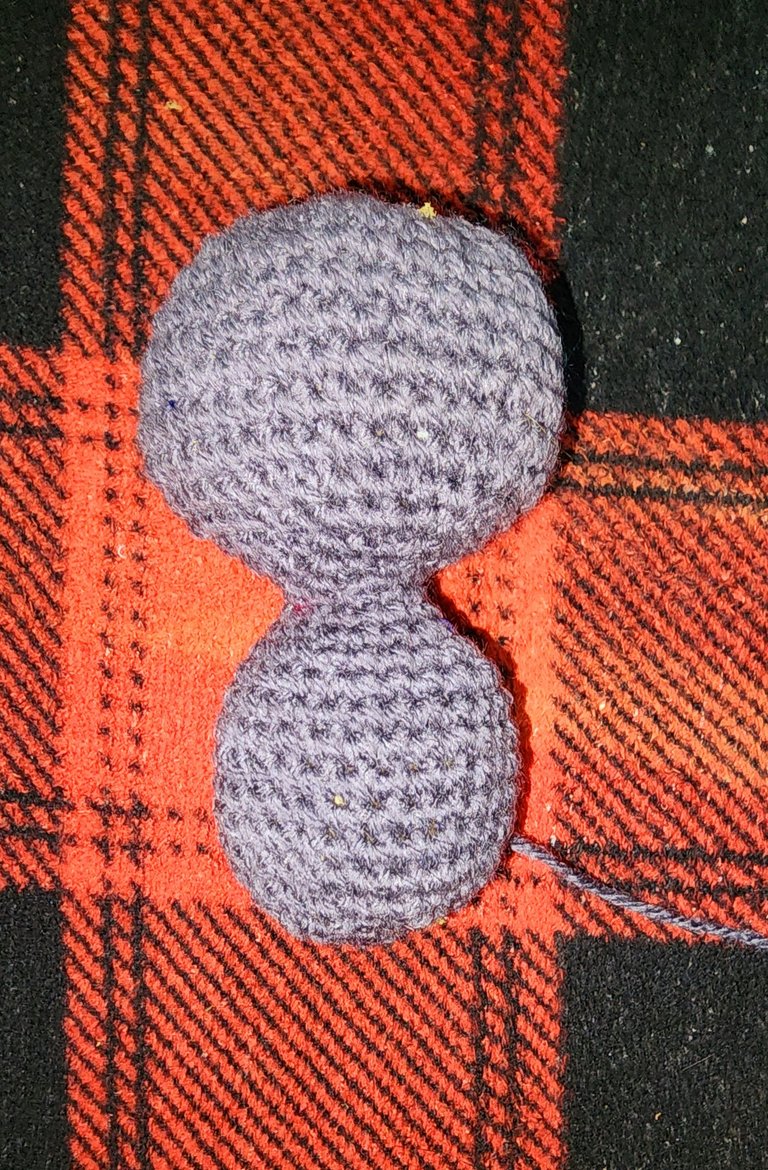
🧸 Cabeza y cuerpo 🧸
V1- Comenzamos con anillo mágico de lana color gris y dentro hacemos 6 pb.
V2- Hacemos 6 aumentos quedando un total de 12 pb.
V3- Hacemos secuencias de 1 pb+ 1 aumento quedando un total de 18 pb.
V4- Hacemos secuencias de 2 pb+ 1 aumento quedando un total de 24 pb.
V5- Hacemos secuencias de 3 pb+ 1 aumento quedando un total de 30 pb.
V6- Hacemos secuencias de 4 pb+ 1 aumento quedando un total de 36 pb.
V7- Hacemos secuencias de 5 pb+ 1 aumento quedando un total de 42 pb.
V8- V12- Hacemos estos 42 pb sin aumentos ni disminuciones.
V13- Hacemos secuencias de 5 pb+ 1 disminución quedando un total de 36 pb.
V14- Hacemos secuencias de 4 pb+ 1 disminución quedando un total de 30 pb.
V15- Hacemos secuencias de 3 pb+ 1 disminución quedando un total de 24 pb.
V16- Hacemos secuencias de 2 pb+ 1 disminución quedando un total de 18 pb.
V17- Hacemos secuencias de 1 pb+ 1 disminución quedando un total de 12 pb.
V18- Hacemos estos 12 pb sin aumentos ni disminuciones.
V19- Hacemos secuencias de 1 pb+ 1 aumento quedando un total de 18 pb.
V20- Hacemos estos 18 pb sin aumentos ni disminuciones.
V21- Hacemos secuencias de 2 pb+ 1 aumento quedando un total de 24 pb.
V22- Hacemos estos 24 pb sin aumentos ni disminuciones.
V23- Hacemos secuencias de 3 pb+ 1 aumento quedando un total de 30 pb.
V24- V29- Hacemos estos 30 pb sin aumentos ni disminuciones.
V30- Hacemos secuencias de 3 pb+ 1 disminución quedando un total de 24 pb.
V31- Hacemos secuencias de 2 pb+ 1 disminución quedando un total de 18 pb.
(Rellenamos)
V32- Hacemos secuencias de 1 pb+ 1 disminución quedando un total de 12 pb.
V33- Hacemos 6 disminuciones y rematamos.
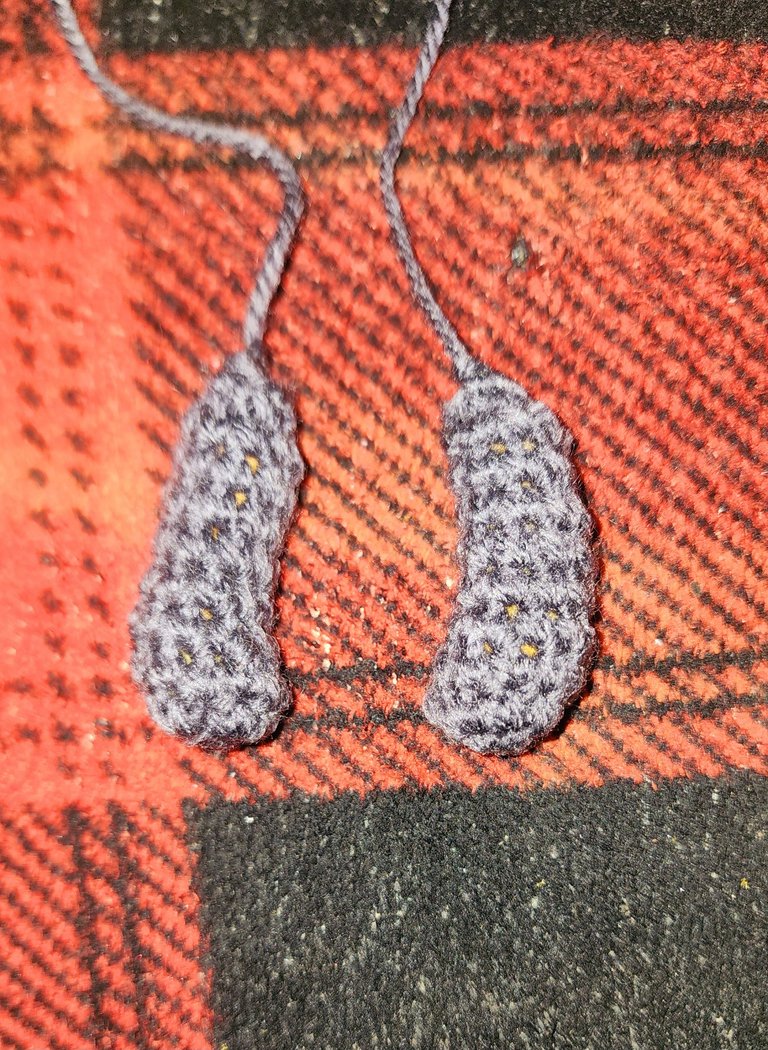
🧸 Brazos 🧸
V1- Comenzamos con lana gris haciendo anillo mágico y dentro hacemos 6 pb.
V2- Hacemos 6 aumentos quedando un total de 12 pb.
V3- Hacemos estos 12 pb sin aumentos ni disminuciones.
V4- Hacemos 2 disminuciones consecutivas y 8 pb en los 8 siguientes puntos, quedando un total de 10 pb.
V5- Hacemos 1 disminución y en los siguientes 8 puntos hacemos 1 pb en cada uno quedando un total de 9 pb.
V6- V9- Hacemos estos 9 pb sin aumentos ni disminuciones.
(Rellenamos)
V10- Hacemos secuencias de 1 pb+ 1 disminución quedando un total de 6 pb.
Cortamos hilo largo para cocer.
Hacemos dos brazos iguales.
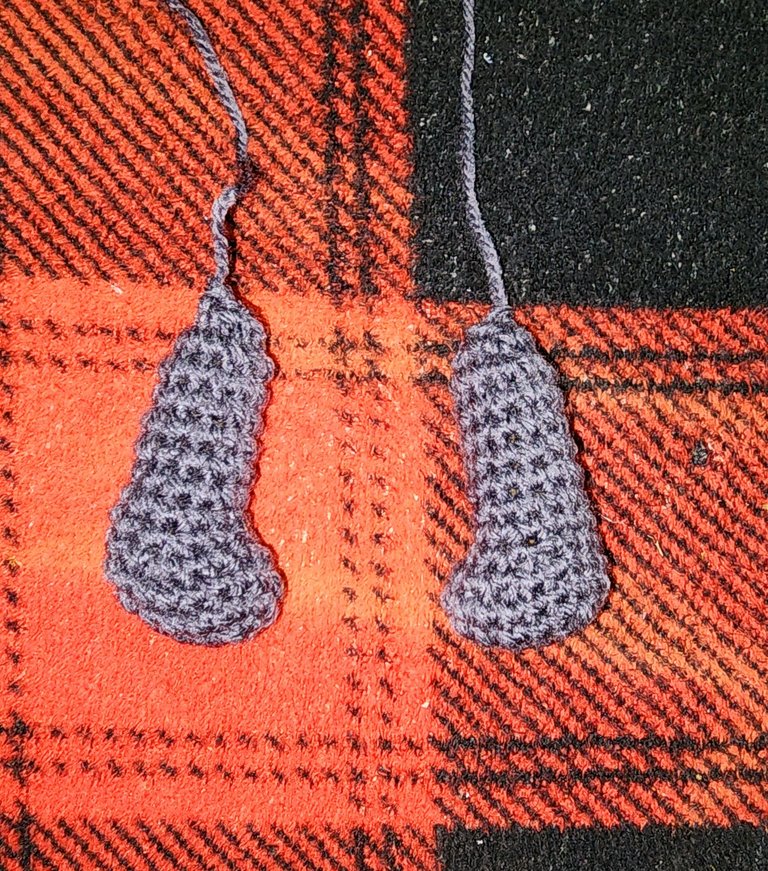
🧸 Pies 🧸
V1- Comenzamos haciendo 6 cadenas y comenzamos a trabajar en la segunda cadena y hacemos 4 pb+3 pb en el mismo punto de un lado de las cadenas; del otro lado 3 pb+ 1 aumento, quedando un total de 12 pb.
V2- Hacemos 1 aumento+ 3 pb+ 3 aumentos+ 3 pb+ 2 aumentos quedando un total de 18 pb.
V3- Hacemos estos 18 pb sin aumentos ni disminuciones.
V4- Hacemos 3 pb+ 1 disminución por tres veces y 3 pb al final quedando un total de 15 pb.
V5- Hacemos 2 pb+ 1 disminución por tres veces y 3 pb al final quedando un total de 12 pb.
V6- V12- Hacemos estos 12 pb sin aumentos ni disminuciones.
(Rellenamos)
V13- Hacemos 6 disminuciones y dejamos hebra larga para coser.
Hacemos dos pies iguales.
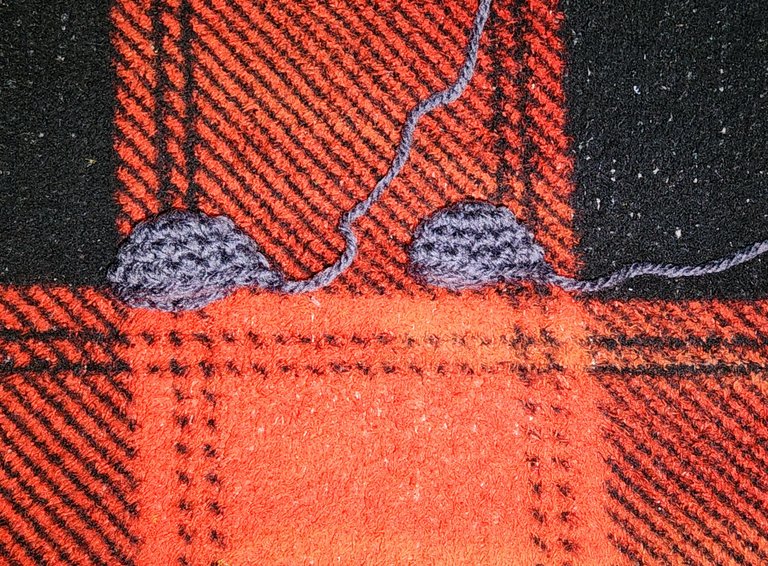
🧸 Orejas 🧸
V1- Comenzamos con lana gris, anillo mágico y dentro hacemos 6 pb.
V2- Hacemos 6 aumentos quedando un total de 12 pb.
V3- V4- Hacemos estos 12 pb sin aumentos ni disminuciones.
Cortamos hilo largo para coser.
Hacemos dos orejas iguales.
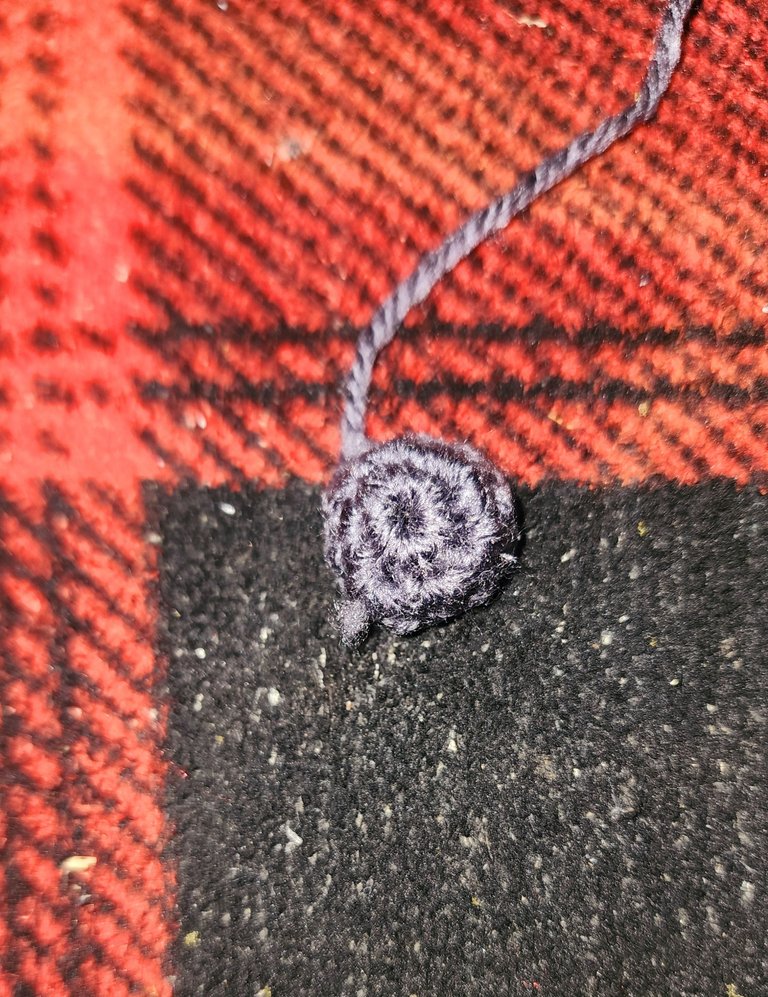
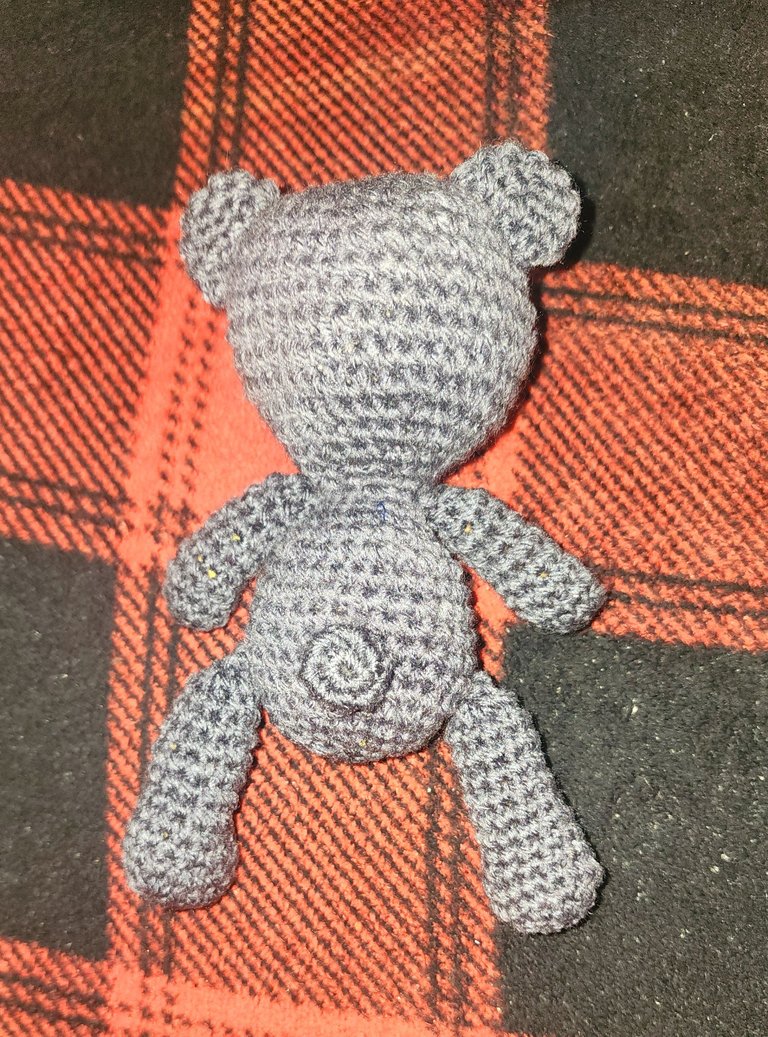
🧸 Cola 🧸
V1- Comenzamos con lana gris, anillo mágico y dentro hacemos 6 pb.
V2- Hacemos 6 aumentos quedando un total de 12 pb.
V3- Hacemos secuencias de 2 pb+ 1 disminución quedando un total de 9 pb.
Dejamos hebra larga para coser.
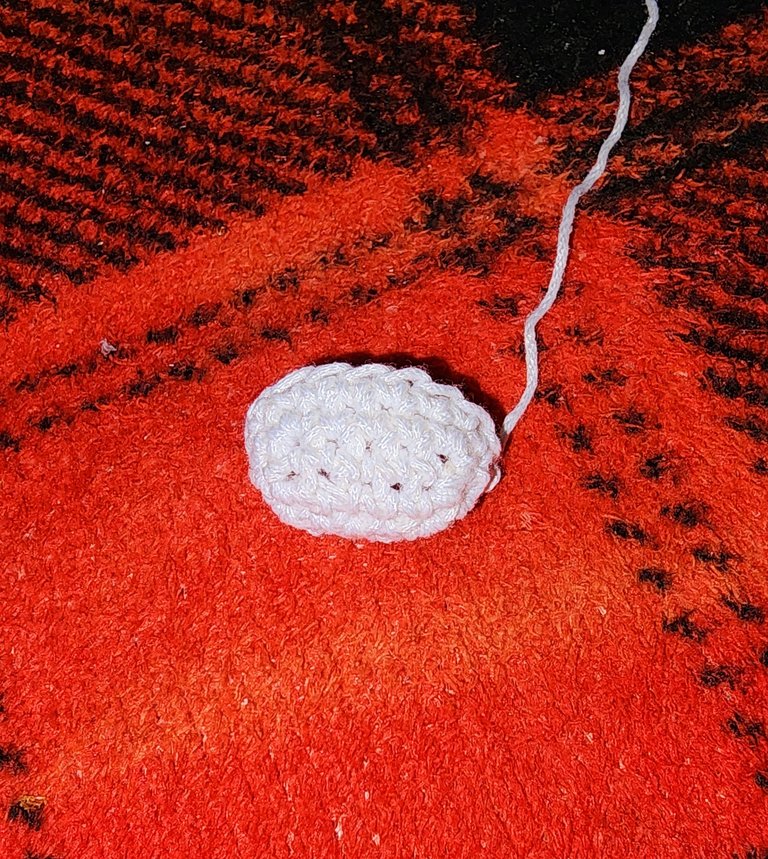
🧸 Hocico 🧸
V1- Comenzamos con hilo blanco y hacemos 6 cadenas, comenzamos a trabajar en la segunda cadena, y hacemos de un lado 4 pb+ 3 pb en el mismo punto y del otro lado hacemos 3 pb+ 1 aumento quedando un total de 12 pb.
V2- Hacemos 1 aumento+ 3 pb+ 3 aumentos+ 3 pb+ 2 aumentos quedando un total de 18 pb.
V3- Hacemos estos 18 pb sin aumentos ni disminuciones.
Cortamos hebra larga para coser.
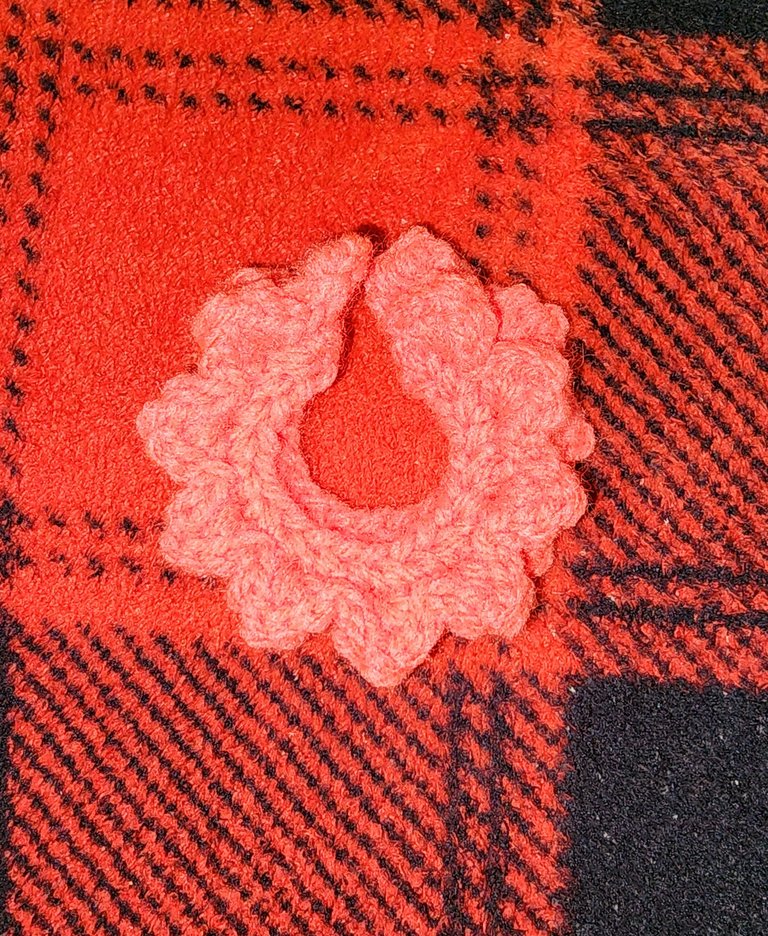
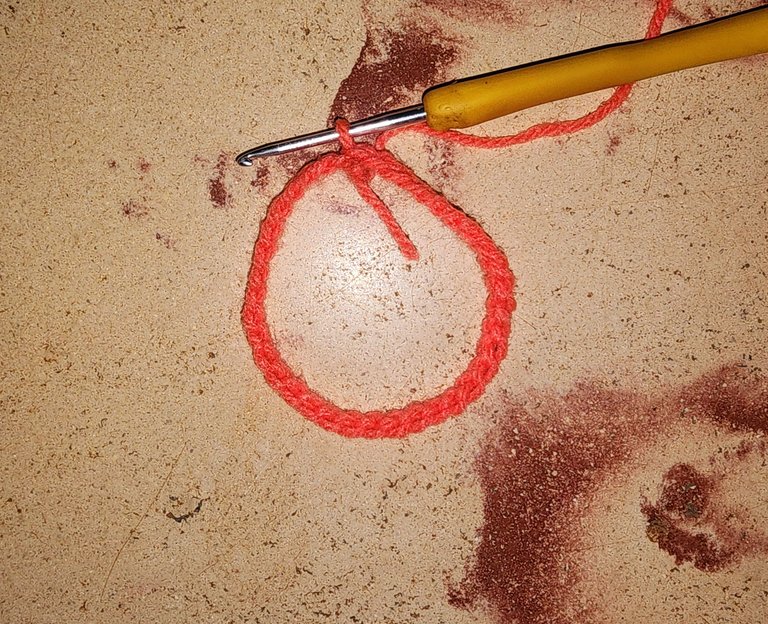
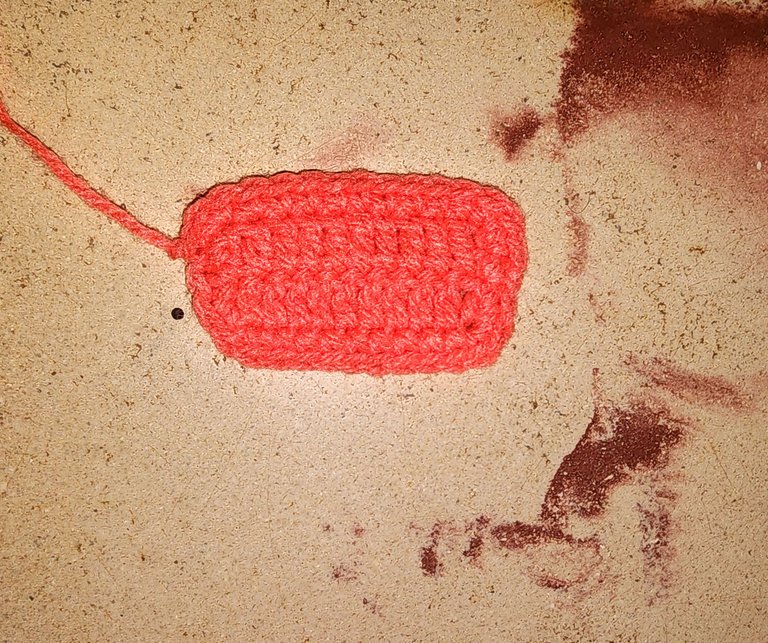
🧸 Saya 🧸
V1- Comenzamos haciendo 36 cadenas y cerramos con punto deslizado quedando como vemos en la foto.
V2- Hacemos toda la vuelta de puntos bajos.
V3- Hacemos secuencias de 1 punto bajo+ 1 punto medio + 1 punto alto + 1 punto medio+ 1 punto bajo en el mismo punto y en el siguiente 1 punto deslizado. Seguimos haciendo esta secuencia hasta el final de la vuelta.
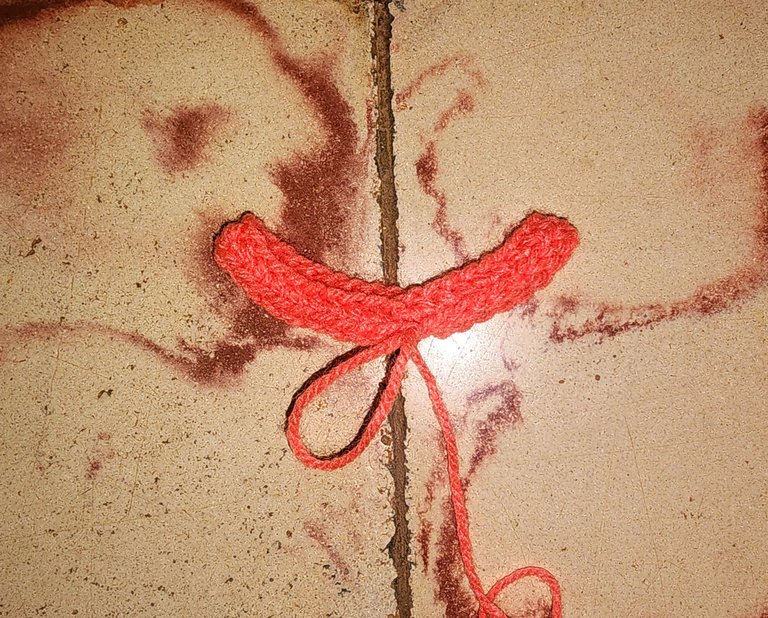
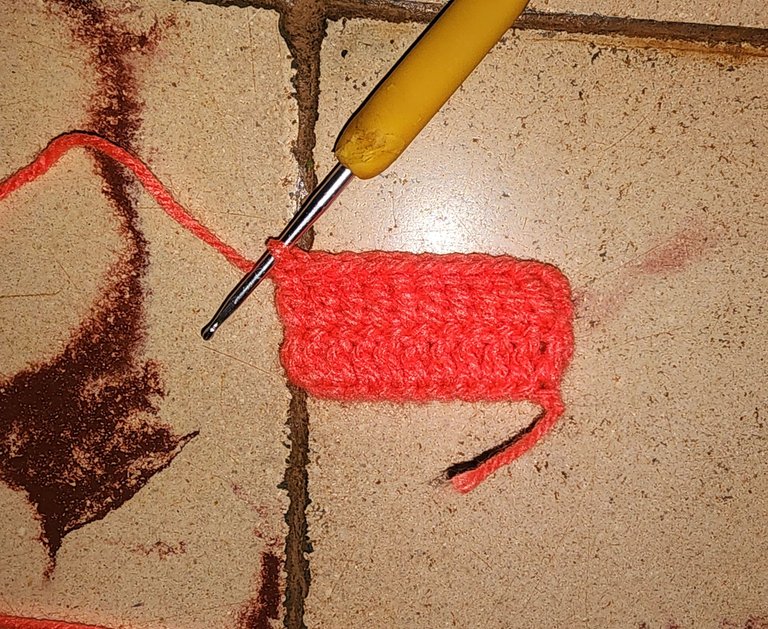
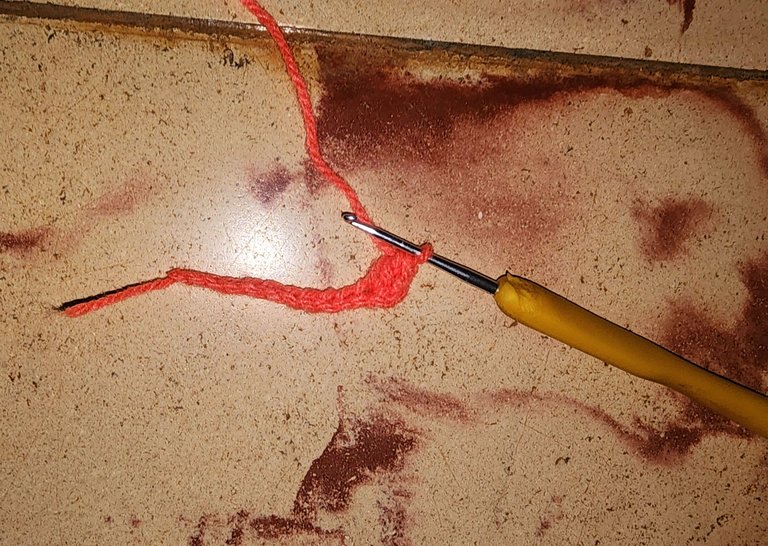
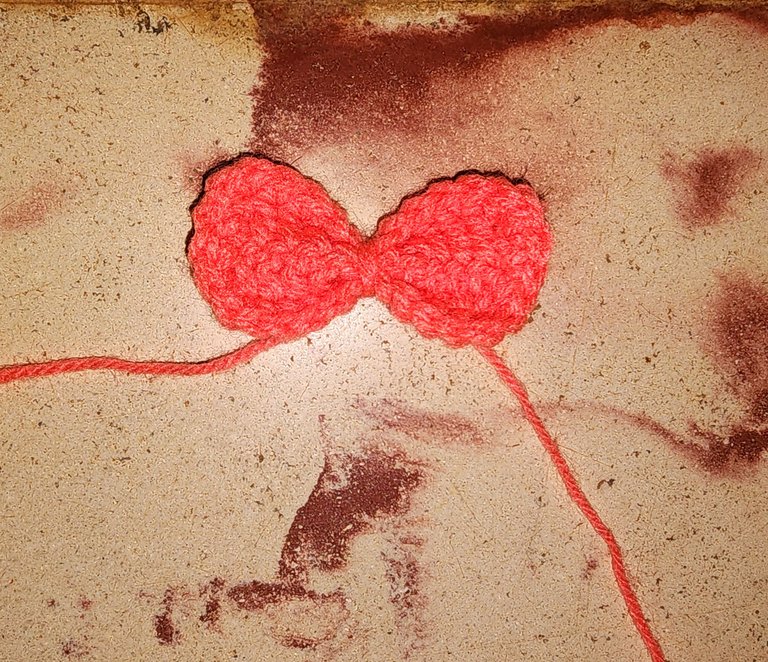
🧸 Lazo 🧸
V1- Comenzamos haciendo 10 cadenas, subimos 2 más y en el tercer punto hacemos 1 punto alto y continuamos así hasta tener 10 puntos altos.
V2- Subimos dos cadenas, giramos tejido y hacemos 10 puntos altos nuevamente.
V3- Ahora vamos a hacerles x toda la orilla puntos bajos.
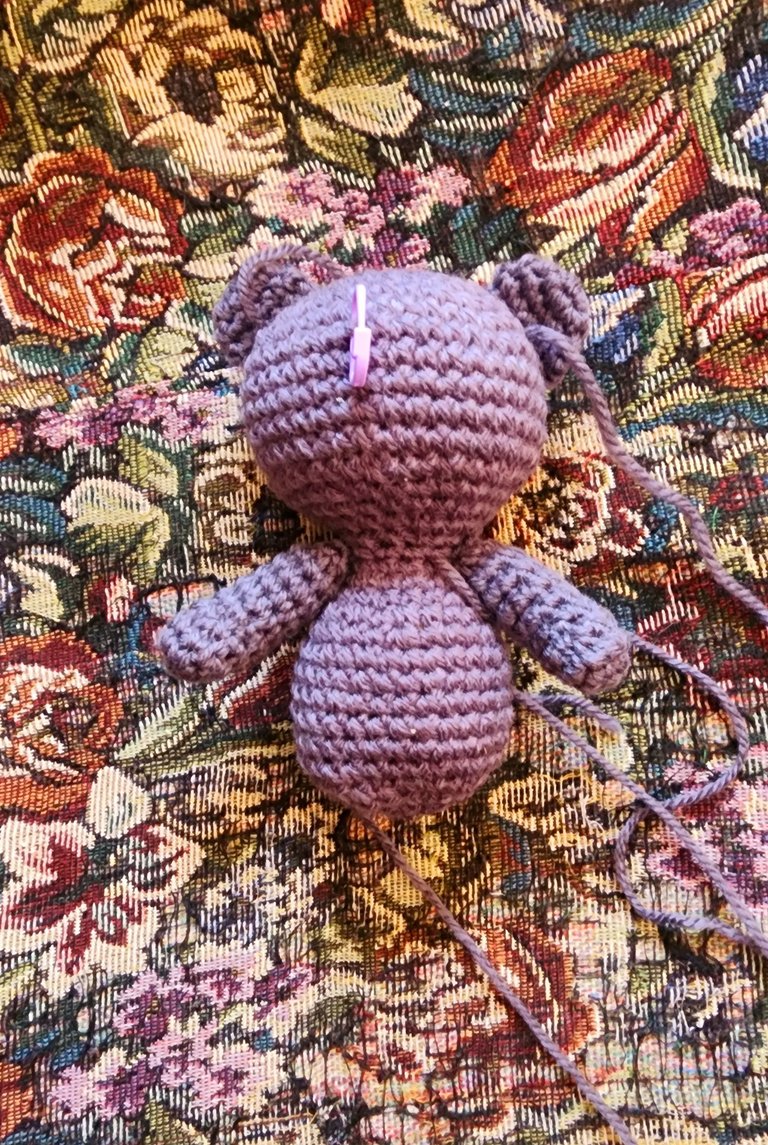
🧸 Ahora vamos a unir todo 🧸
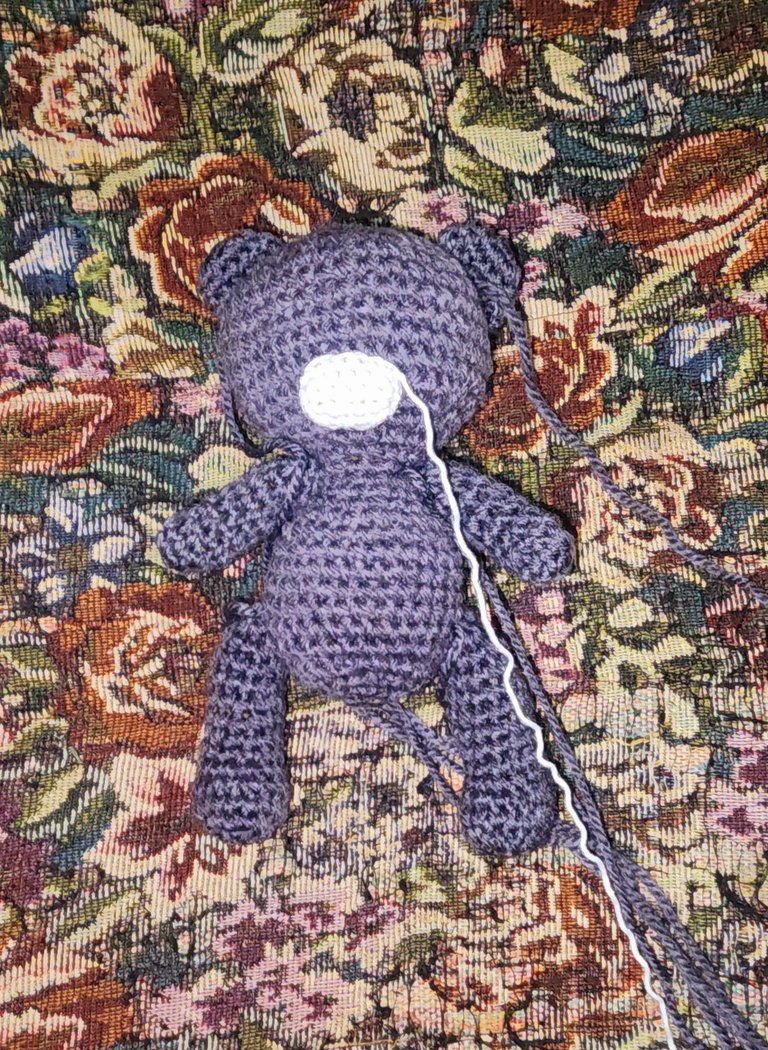
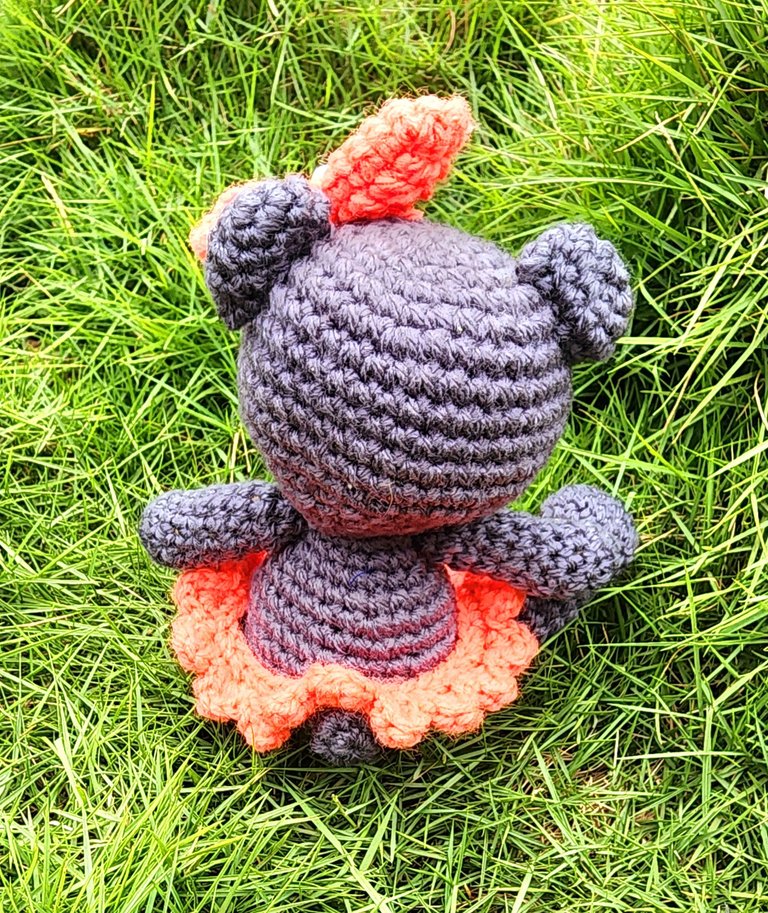
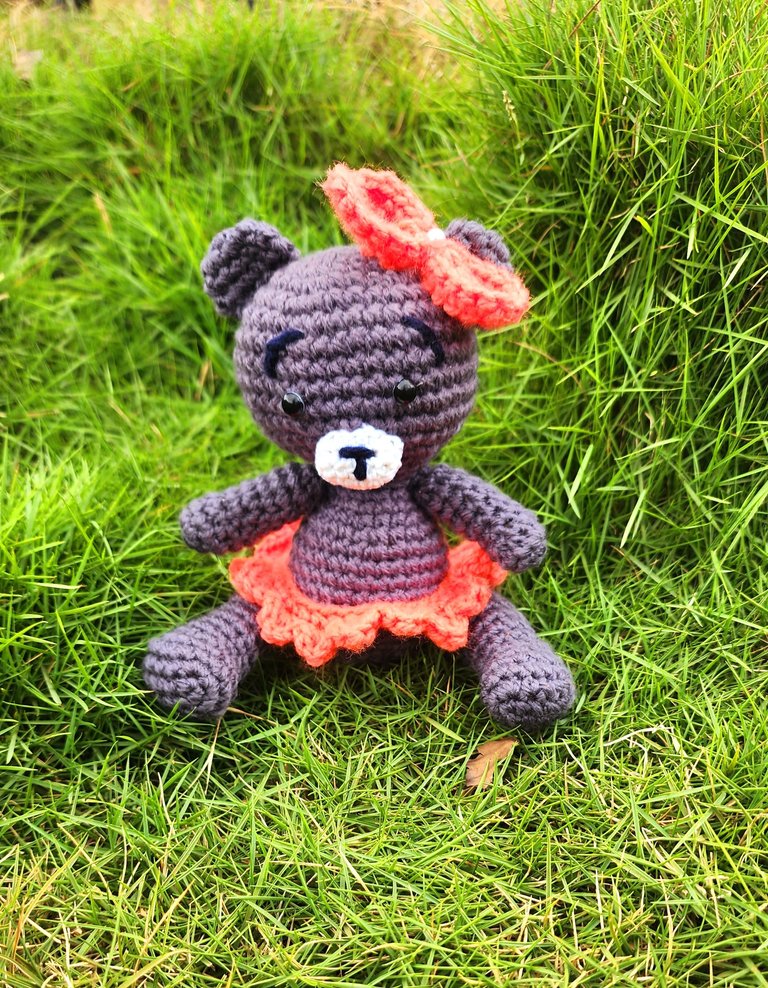
Solo nos queda coser todas las partes formando la osita. Aquí les muestro en las fotos paso a paso.
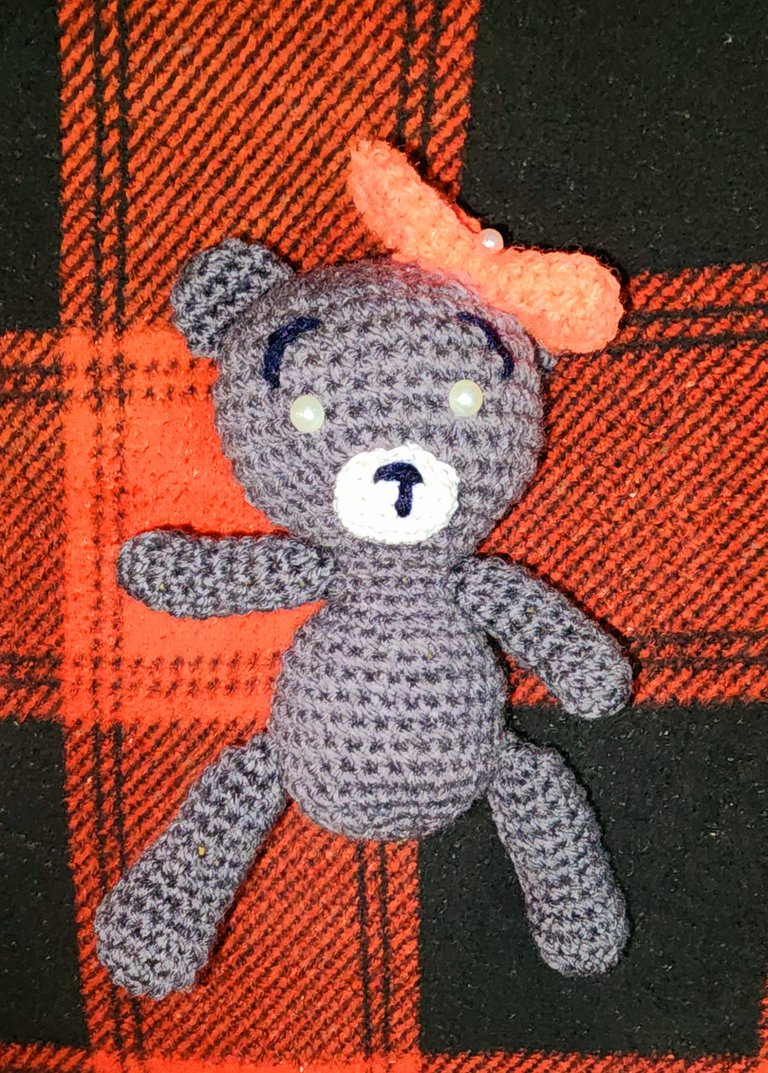
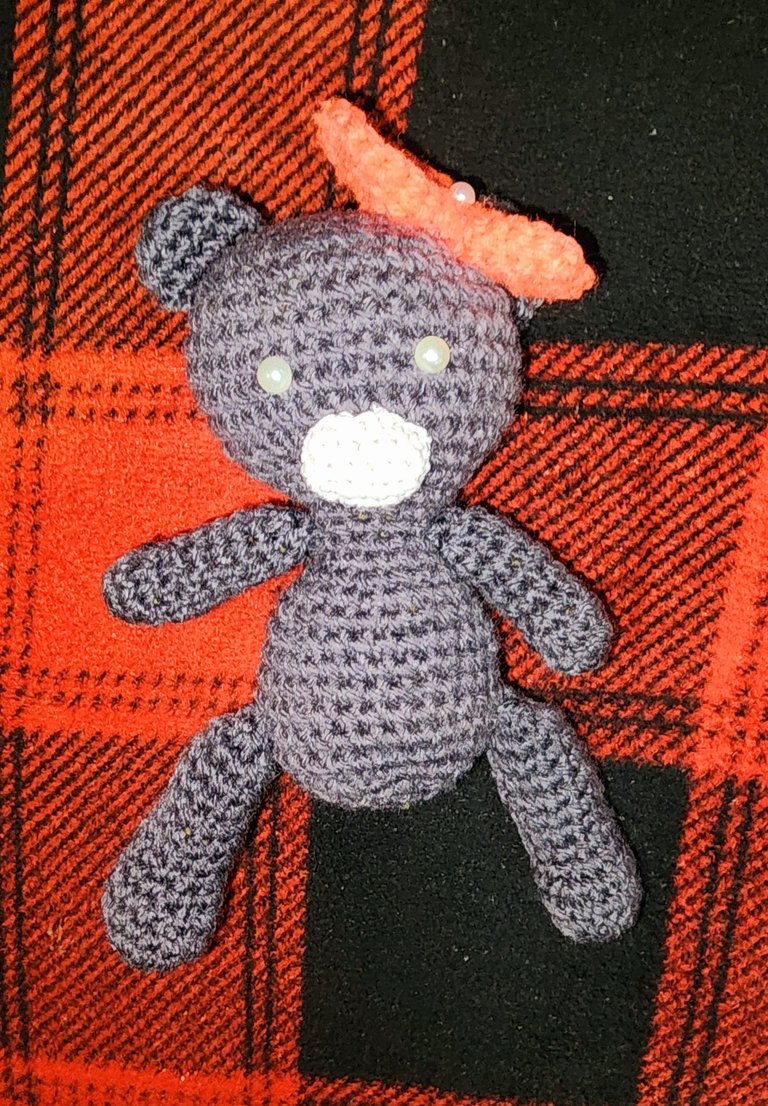
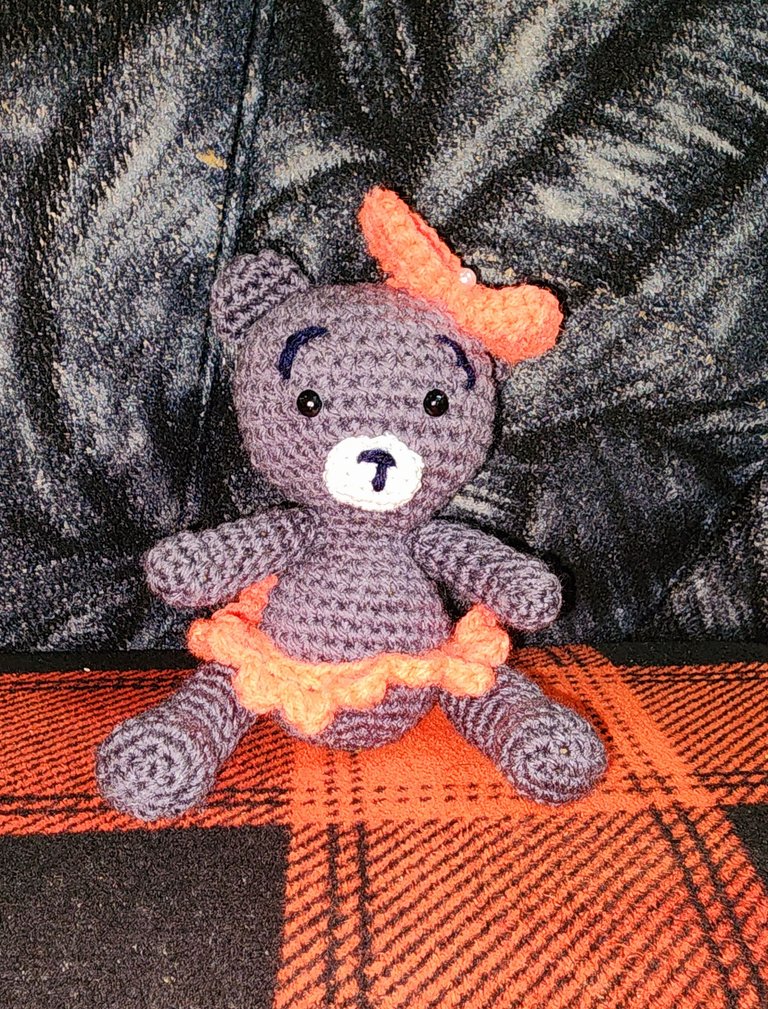
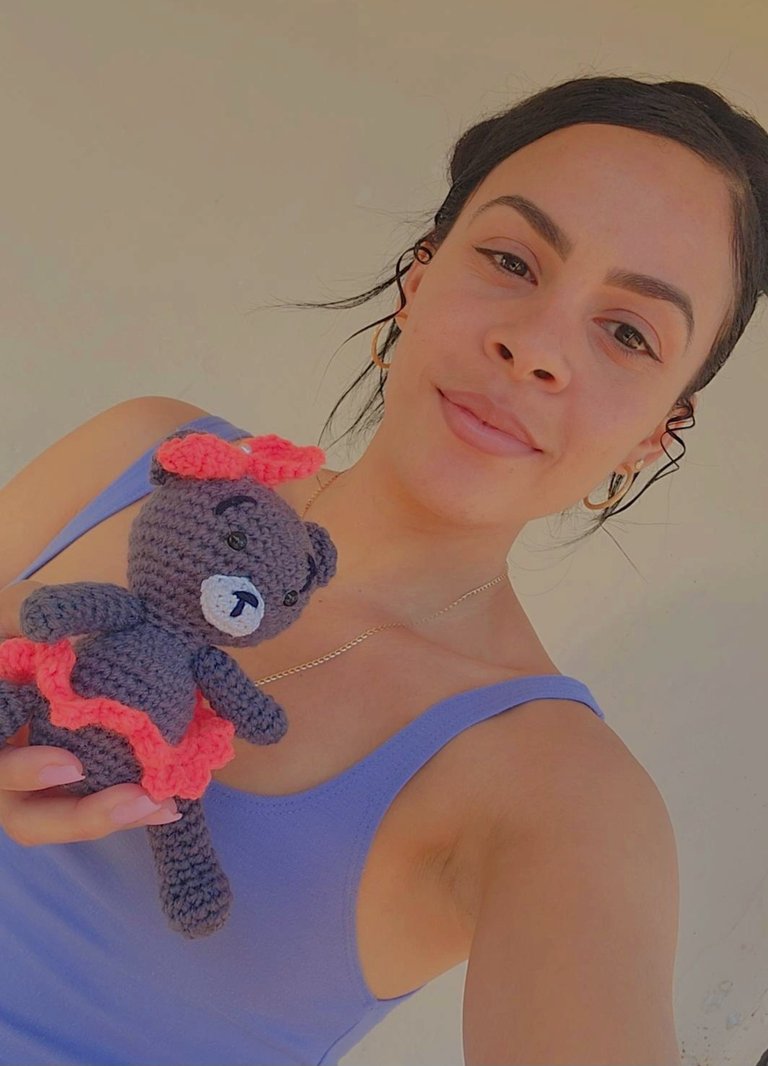
Y listo amigos, así queda terminada esta tierna osita mini. A mí me encantó. ¿Y a ustedes qué les pareció? Los leo en los comentarios.

Gracias de antemano por haber llegado hasta aquí. Bendiciones, miles, abrazos virtuales 🤗 y hasta una nueva publicación 😊.
🧸❤️ English ❤️🧸
Very nice evening to all the creative friends of this community, to all the crafters around the world and to the craft lovers. I hope and wish that you are very well and for the people who are not I wish that soon they will be in better situations, I ask you to keep your trust and faith in God and he will help you to get out of this situation 🙏 because he can do everything.
For my part I find myself very grateful to God because he is always by my side helping me and guiding me in every step.
We are in the month of love, I have always related love with teddies. I love teddies and bears for these days, I feel they are the perfect gift for these occasions of love.
I wanted to make a mini knitted teddy bear and today I want to share them with you, so without further ado I show you the step by step.
🧸♥️ Materials ♥️🧸
- Silicone for gluing.
- Scissors.
- Black, gray, orange and white wool.
- Wool needle.
- Needle.
- Black paint.
- Half pearls.
🧸♥️ Step by step ♥️🧸
🧸 Head and body 🧸
V1- We start with grey wool magic ring and inside we make 6 stitches.
V2- We make 6 increases remaining a total of 12 sts.
V3- We make sequences of 1 bp + 1 increase for a total of 18 bp.
V4- We make sequences of 2 bp+ 1 increment for a total of 24 bp.
V5- We make sequences of 3 bp+ 1 increment for a total of 30 bp.
V6- We make sequences of 4 bp+ 1 increment for a total of 36 bp.
V7- We make sequences of 5 bp + 1 increase for a total of 42 bp.
V8- V12- We make these 42 bp without increases or decreases.
V13- We make sequences of 5 bp + 1 decrease for a total of 36 bp.
V14- We make sequences of 4 bp + 1 decrease for a total of 30 bp.
V15- We make sequences of 3 bp + 1 decrease for a total of 24 bp.
V16- We make sequences of 2 bp+ 1 decrease for a total of 18 bp.
V17- We make sequences of 1 bp + 1 decrease for a total of 12 bp.
V18- We make these 12 bp without increases or decreases.
V19- We make sequences of 1 bp + 1 increase for a total of 18 bp.
V20- We make these 18 bp without increases or decreases.
V21- We make sequences of 2 bp + 1 increase for a total of 24 bp.
V22- We make these 24 bp without increases or decreases.
V23- We make sequences of 3 bp + 1 increase for a total of 30 bp.
V24- V29- We make these 30 bp without increases or decreases.
V30- We make sequences of 3 bp + 1 decrease for a total of 24 bp.
V31- We make sequences of 2 bp + 1 decrease for a total of 18 bp.
(We fill in)
V32- We make sequences of 1 bp + 1 decrease for a total of 12 bp.
V33- We make 6 decreases and finish off.
🧸 Arms 🧸
V1- We start with grey yarn making magic ring and inside we make 6 stitches.
V2- We make 6 increases for a total of 12 sts.
V3- We make these 12 stitches without increases or decreases.
V4- We make 2 consecutive decreases and 8 stitches in the next 8 stitches, leaving a total of 10 stitches.
V5- We make 1 decrease and in the next 8 stitches we make 1 stitch in each stitch, leaving a total of 9 sts.
V6- V9- We make these 9 stitches without increases or decreases.
(We fill in)
V10- We make sequences of 1 stitch + 1 decrease for a total of 6 stitches.
Cut long yarn to bind off.
We make two equal arms.
🧸 Feet 🧸
V1- We start by making 6 chains and start working on the second chain and make 4 sts+3 sts in the same stitch on one side of the chains; on the other side 3 sts+ 1 increase, leaving a total of 12 sts.
V2- We make 1 increase+ 3 sts+ 3 increases+ 3 sts+ 2 increases for a total of 18 sts.
V3- We make these 18 sts without increases or decreases.
V4- We make 3 stitches + 1 decrease for three times and 3 stitches at the end for a total of 15 stitches.
V5- We make 2 sts + 1 decrease three times and 3 sts at the end for a total of 12 sts.
V6- V12- We make these 12 sts without increases or decreases.
(We fill in)
V13- We make 6 decreases and leave long yarn to sew.
We make two equal feet.
🧸 Ears 🧸
V1- We start with grey yarn, magic ring and inside we make 6 sts.
V2- We make 6 increases for a total of 12 sts.
V3- V4- We make these 12 sts without increases or decreases.
Cut long yarn for sewing.
We make two equal ears.
🧸 Tail 🧸
V1- We start with grey yarn, magic ring and inside we make 6 sts.
V2- We make 6 increases remaining a total of 12 sts.
V3- We make sequences of 2 sts + 1 decrease for a total of 9 sts.
We leave long strand to sew.
🧸 Snout 🧸
V1- We start with white yarn and make 6 chains, we start working on the second chain, and we make on one side 4 sts+ 3 sts in the same stitch and on the other side we make 3 sts+ 1 increase leaving a total of 12 sts.
V2- We make 1 increase + 3 sts + 3 increases + 3 sts + 2 increases for a total of 18 sts.
V3- We make these 18 sts without increases or decreases.
We cut long strand to sew.
🧸 Saya 🧸
V1- We start by making 36 chains and close with slip stitch as shown in the picture.
V2- We make the whole row of single crochet.
V3- We make sequences of 1 low stitch + 1 medium stitch + 1 high stitch + 1 medium stitch + 1 low stitch in the same stitch and in the following 1 slip stitch. We continue doing this sequence until the end of the row.
🧸 Loop 🧸
V1- We start by making 10 chains, go up 2 more and in the third stitch we make 1 high stitch and continue like this until we have 10 high stitches.
V2- We go up two chains, turn knit and make 10 high stitches again.
V3- Now we are going to make them x all the border low stitches.
🧸 Now we are going to join everything together 🧸
All that remains is to sew all the parts together to form the bear. Here I show you step by step in the photos.
And that's it friends, this is how this cute mini teddy bear is finished. I loved it, what did you think? I'll read you in the comments.
Thanks in advance for having made it this far. Blessings, thousands, virtual hugs 🤗 and until a new publication 😊.
Recursos empleados
| RECURSO / RESOURCE | FUENTE / SOURCE |
|---|---|
| Edición / Edition: | @yunacrochet |
| Imágenes / Pictures: | Samsung Galaxy s22 Ultra |
| Translated / Traducción: | https://deppl.com |
Posted Using INLEO
Pero que hermosa te quedó😍 me encanta su faldita✨ gracias por compartir este excelente trabajo☺️
Muchas gracias 🤗, amé realizarla y poderla compartir, la faldita la quise hacer así bien cortica por su tamañito jjj. Bendiciones 🤗 😘.