Lindo día y bendiciones para todos los amigos creativos de esta comunidad y del mundo entero y a todos los fans de las manualidades. Espero se encuentren en excelentes condiciones, por mi parte estoy muy bien y agradecida con Dios por un nuevo despertar y porque mi familia está bien. Se acerca el día del amor, así que quise crear una planta que representara el amor. El amor ya sea a nuestra familia, a nuestra pareja, a nuestras amistades, a nosotros mismos o a cualquier ser querido que tengamos. Yo creo en que las plantas expresan mucho sobre las energías que la rodean y a su vez ellas nos brindan su energía.
Hace mucho tiempo un novio que yo tuve y yo intentamos hacer un bonsái, nos guiamos por videos en YouTube y lo realizamos, a pesar de que muchas personas me decían que no lo lograría, mi planta se mantuvo mucho tiempo verde y bonita. Cuando mi ex pareja y yo comenzamos a tener problemas, la planta comenzó a ponerse sin brillo. Es increíble como cada vez que mejorábamos en la relación, la planta otra vez tomaba el color verde, aunque ya no tan hermoso. Hasta que al final decidimos terminar y aquella planta comenzó a tomar un color carmelita hasta que se secó completamente. Cuando yo comentaba esto con mi familia me decían que era casualidad, y puede que sea, pero yo pienso y creo en que no era algo por casualidad, creo que aquella planta representaba nuestra relación y sufrió mucho al igual que nosotros. Cada vibra de nosotros ella la recibía, tanto las buenas como las malas.
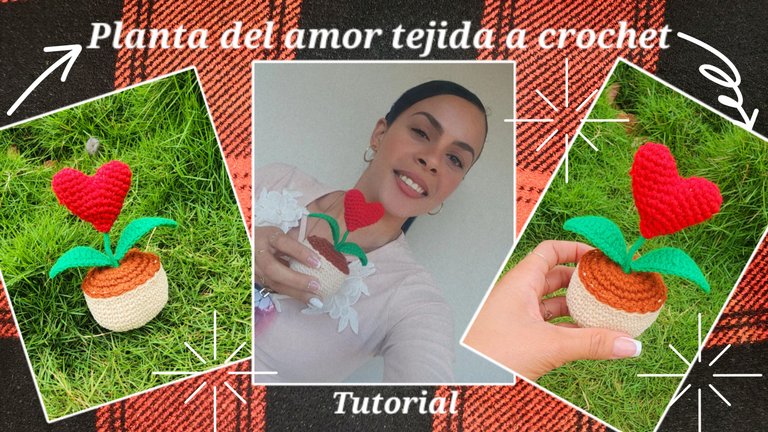
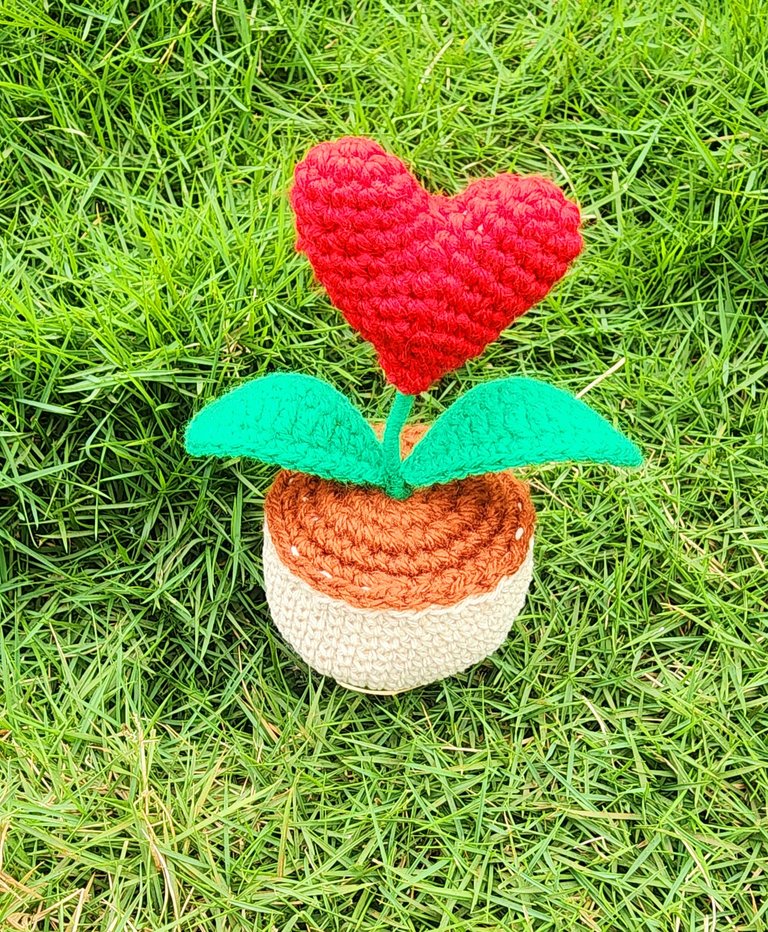
Y bueno, quise contarles esto, ya que hoy les traigo una planta tejida a crochet, pero esta vez representando al 💘 y esta no se marchita 😁♥️. Así que sin más les muestro el paso a paso.
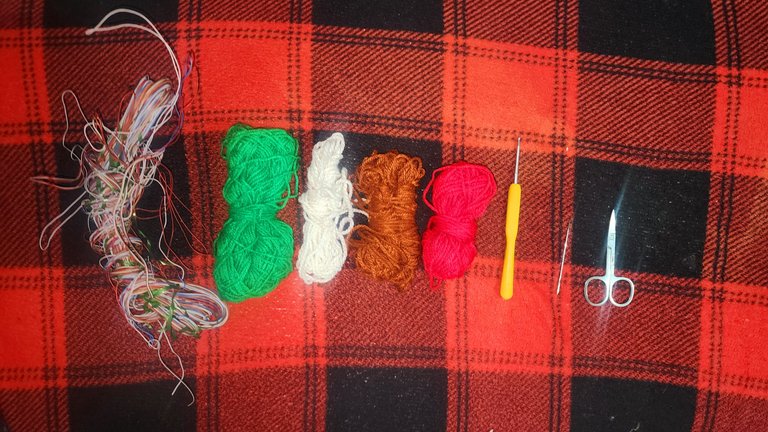
♥️Materiales♥️
- Alambre fino.
- Lana de color verde, carmelita claro, carmelita oscuro y roja.
- Agujeta.
- Aguja lanera.
- Tijera.
- Relleno.
♥️Paso a paso♥️
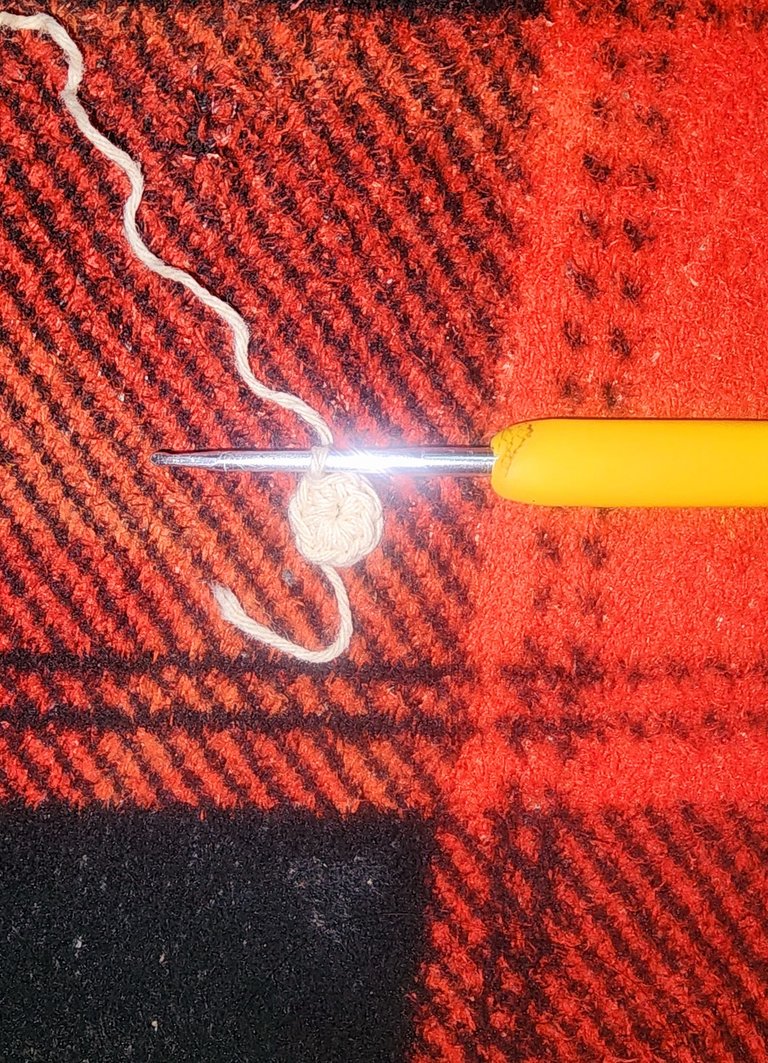
♥️Maceta♥️
V1 - Comenzamos haciendo anillo mágico y dentro hacemos 6 pb.
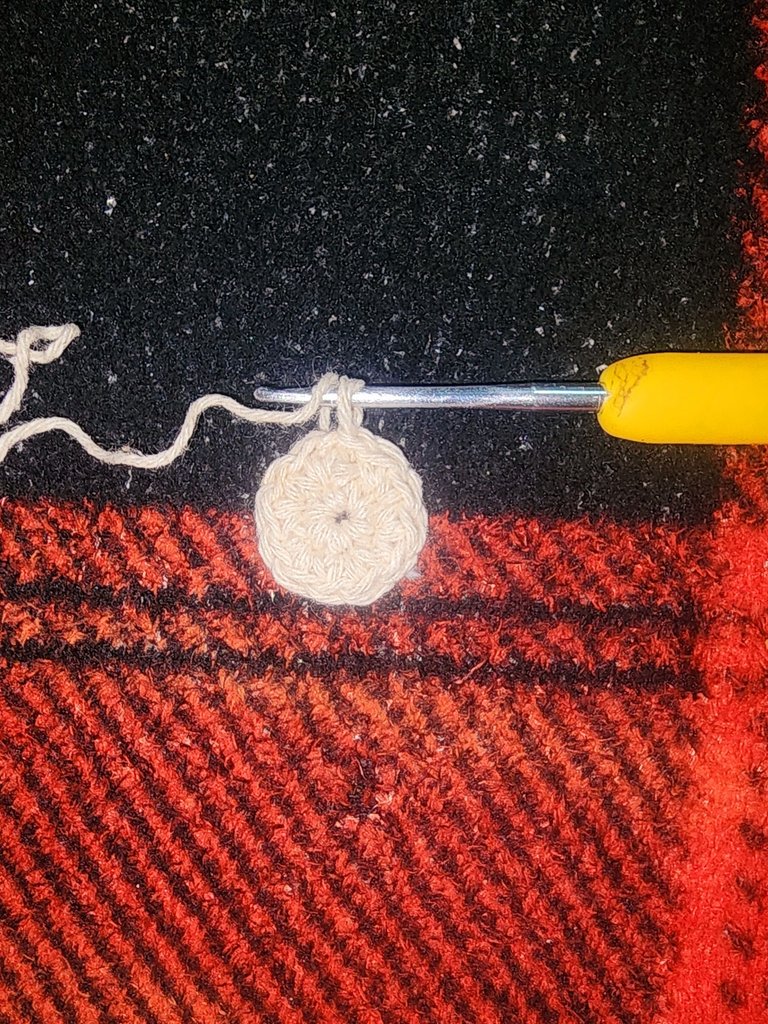
V2 - Hacemos 6 aumentos quedando un total de 12 pb.
V3 - Hacemos secuencias de 1 pb + 1 aumento.
V4 - Hacemos secuencias de 2 pb + 1 aumento.
V5 - Hacemos secuencias de 3 pb + 1 aumento.
V6 - Hacemos secuencias de 4 pb + 1 aumento.
V7 - Hacemos secuencias de 5 pb + 1 aumento quedando un total de 42 pb.
V8 - V 15 - Hacemos estos 42 pb sin aumentos ni disminuciones.
Cortamos hilo largo para cocer.
♥️Tierra♥️
V1 - Comenzamos haciendo 5 cadenetas, la unimos y dentro hacemos 6 pb.
V2 - Hacemos 6 aumentos quedando un total de 12 pb.
V3 - Hacemos secuencias de 1 pb + 1 aumento.
V4 - Hacemos secuencias de 2 pb + 1 aumento.
V5 - Hacemos secuencias de 3 pb + 1 aumento.
Cortamos hilo y escondemos.
El hilo que utilicé para la tierra fue más gordo que para la maceta.
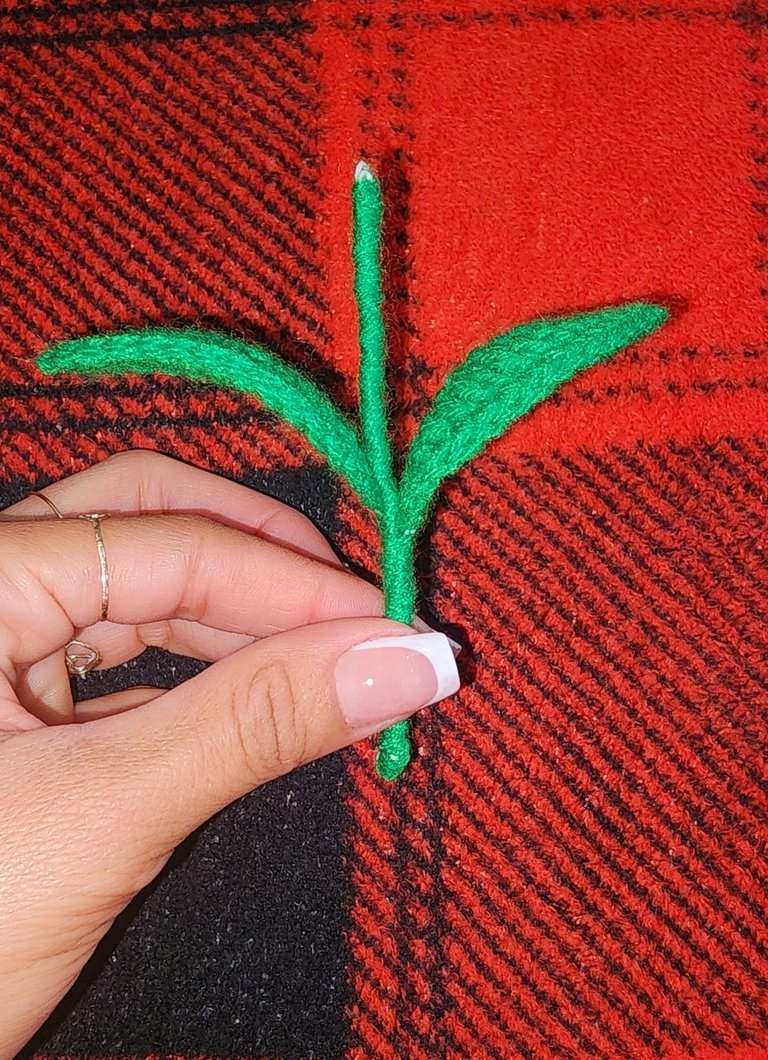
♥️Hojas♥️
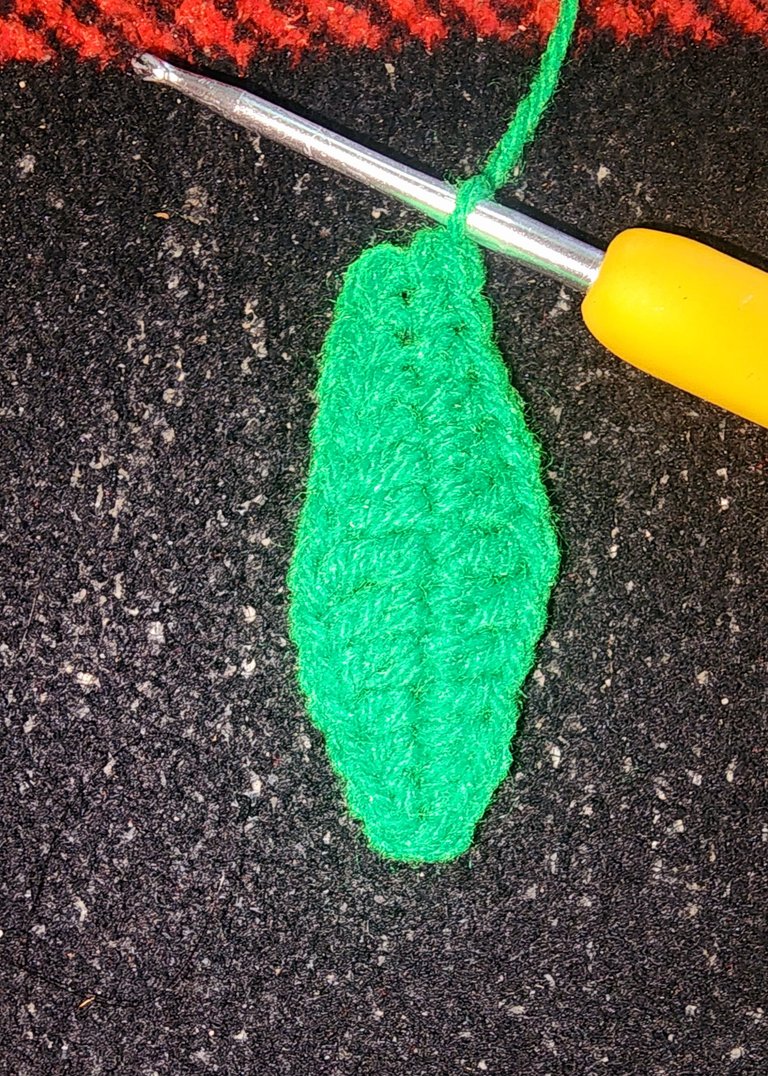
Comencé haciendo 14 cadenas, y en segunda realizo mi primer punto bajo, en la siguiente cadena otro punto bajo, en las dos siguientes 2 puntos medios, en las dos próximas 2 puntos altos, en la siguiente 1 punto doble alto, en las dos siguientes 2 puntos altos, en las dos próximas 2 puntos medios y en las últimas 2 cadenas hacemos dos puntos bajos. Ya así terminamos un lado de la hoja.
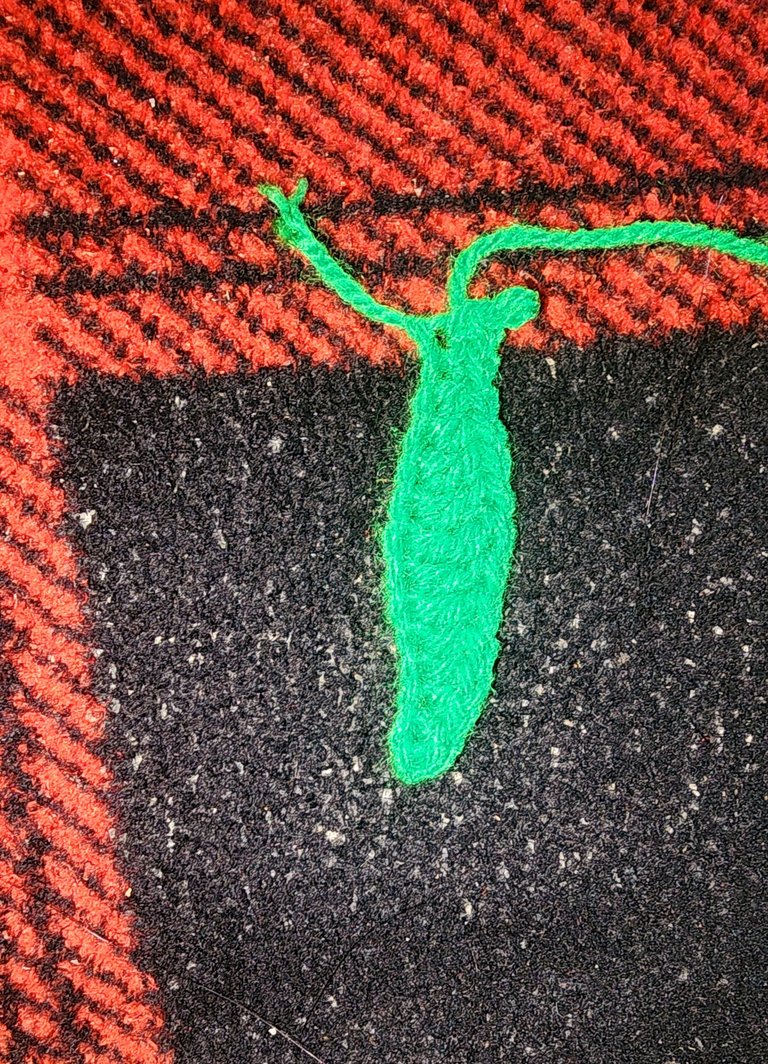
Para hacer el otro lado hacemos lo mismo en la otra parte de las cadenas, pero en ese primer punto que empezamos que es el que terminamos del otro lado hacemos un total de 3 puntos bajos en el mismo punto.
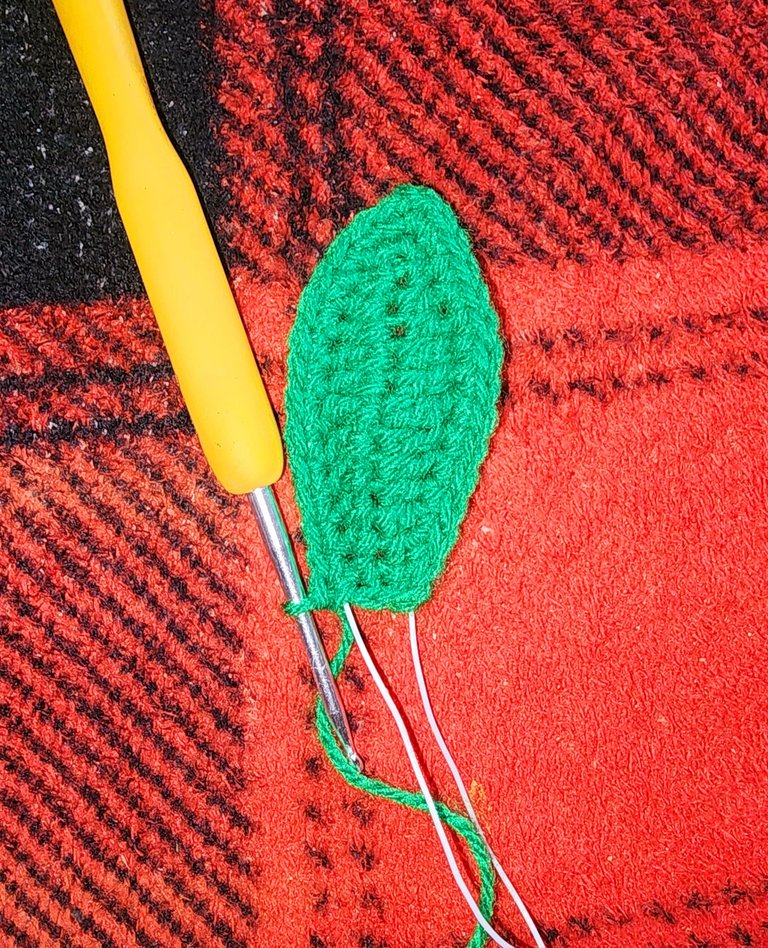
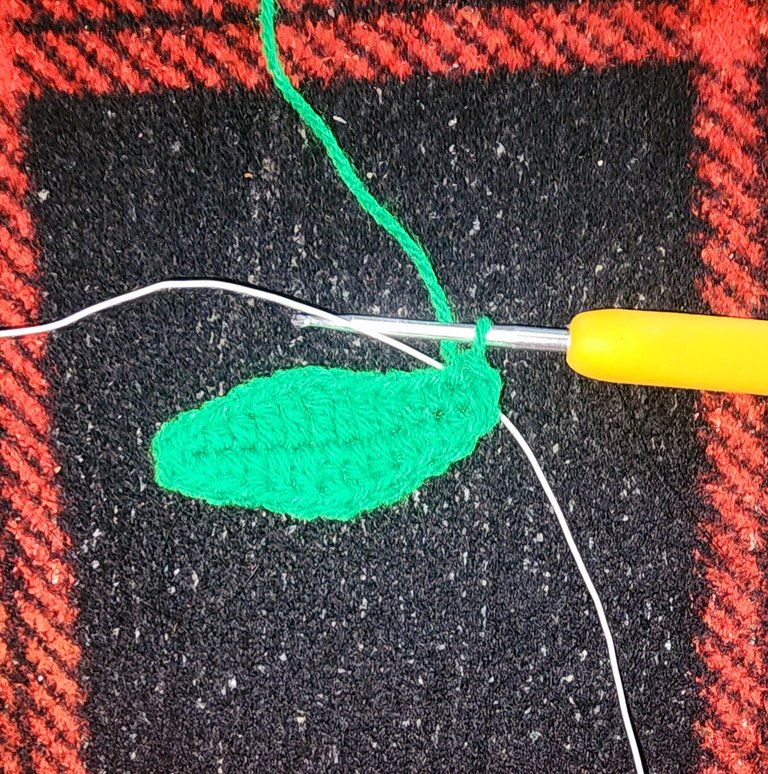
Ahora vamos a colocar un alambre fino al mismo tiempo que hacemos 14 puntos bajos por toda la orilla, al llegar al punto 14 ahí hacemos 1 punto bajo+ 2 cadenas + 1 punto bajo y continuamos haciendo los 13 puntos bajos restantes.
Cierro con punto deslizado y visto el pedazo de alambre que me queda de lana verde.
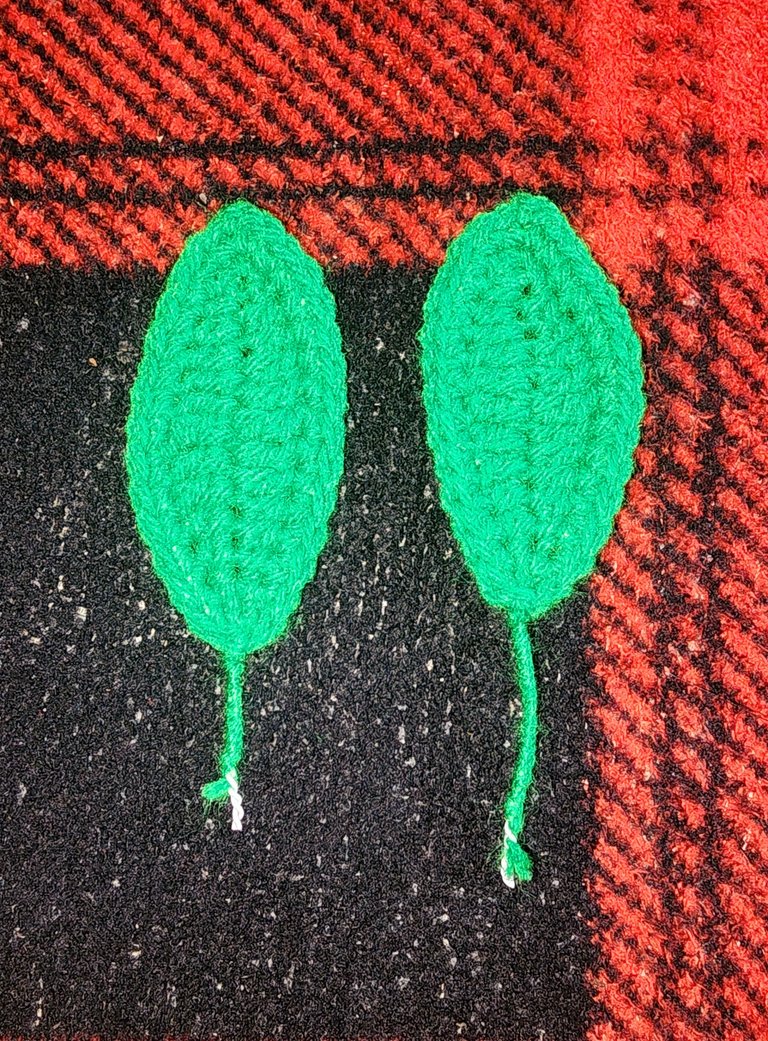
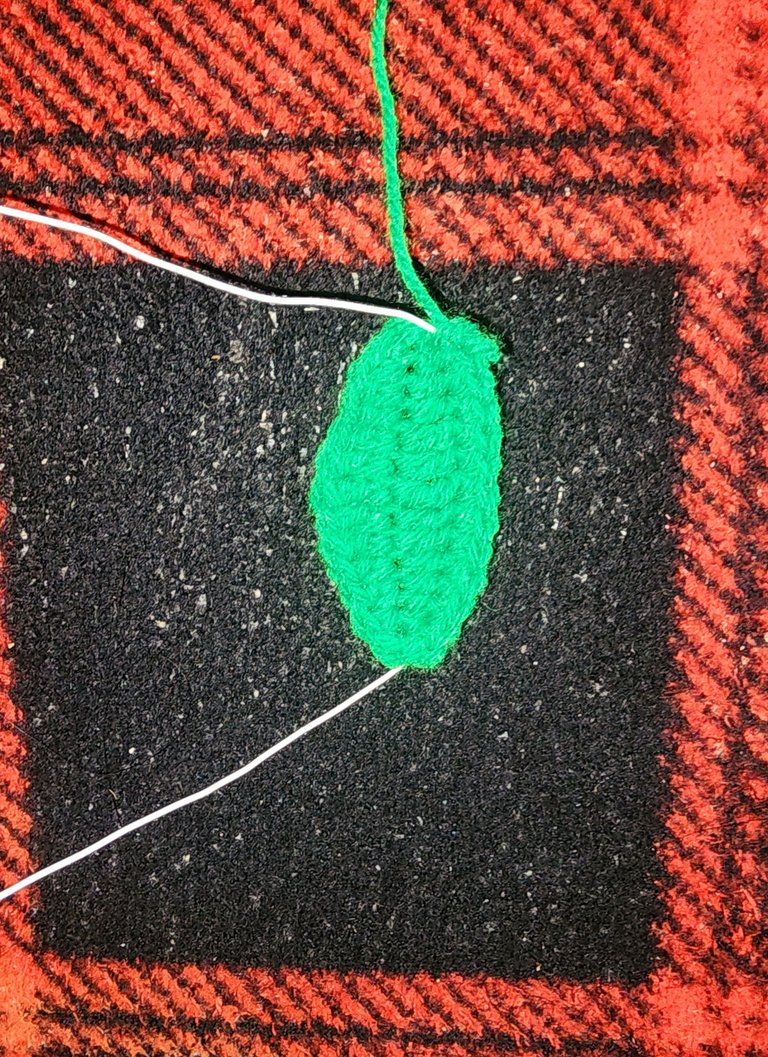
Hacemos dos hojas iguales.
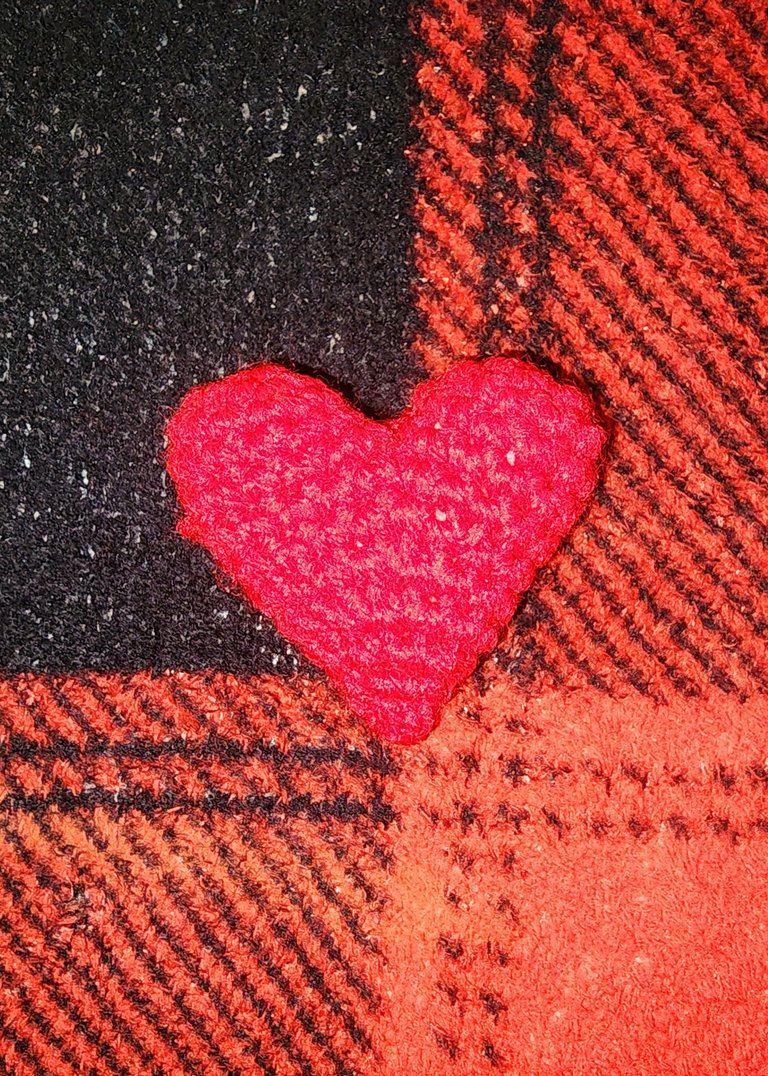
♥️Corazón♥️
V1 - Comenzamos haciendo anillo mágico y dentro hacemos 6 puntos bajos.
V2 - Hacemos 6 aumentos quedando un total de 12 puntos bajos.
V3 - V4 - Realizamos estos 12 puntos bajos sin aumentos ni disminuciones.
Cerramos con punto deslizado y cortamos hilo.
♥️Hacemos dos piezas exactamente iguales, pero en esta segunda no cortamos hilo, sino que unimos las dos piezas con punto deslizado en el último punto que realizamos de cada una.

V5 - Ahora realizamos 12 puntos bajos en cada una de las piezas, quedando un total de 24 puntos bajos.
V6 - Ahora hacemos 6 puntos bajos + 1 disminución por 3 veces.
V7 - Ahora hacemos 5 puntos bajos + 1 disminuciones por 3 veces.
V8 - Ahora hacemos 4 puntos bajos + 1 disminución por 3 veces.
♥️Paramos y rellenamos
V9 - Ahora hacemos 3 puntos bajos + 1 disminución por 3 veces.
V10 - Ahora hacemos 2 puntos bajos + 1 disminución por 3 veces.
V11 - Ahora hacemos 1 punto bajo + 1 disminución por 3 veces.
Ahora cerramos con la ayuda de una aguja lanera.

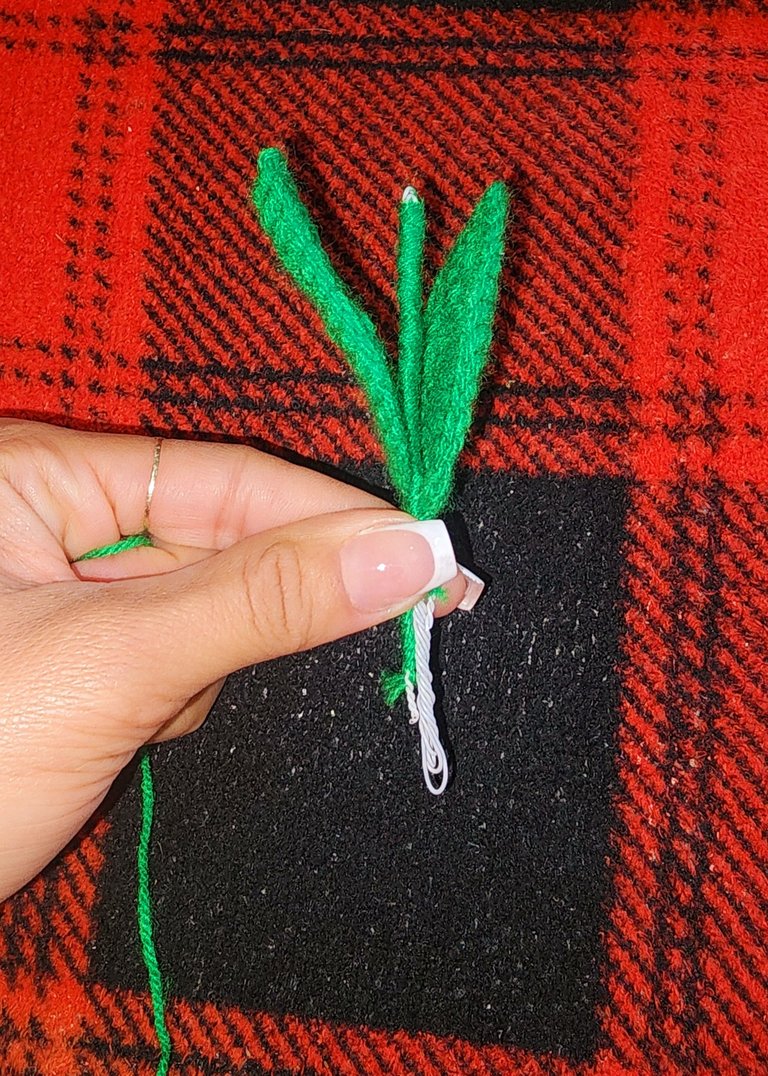
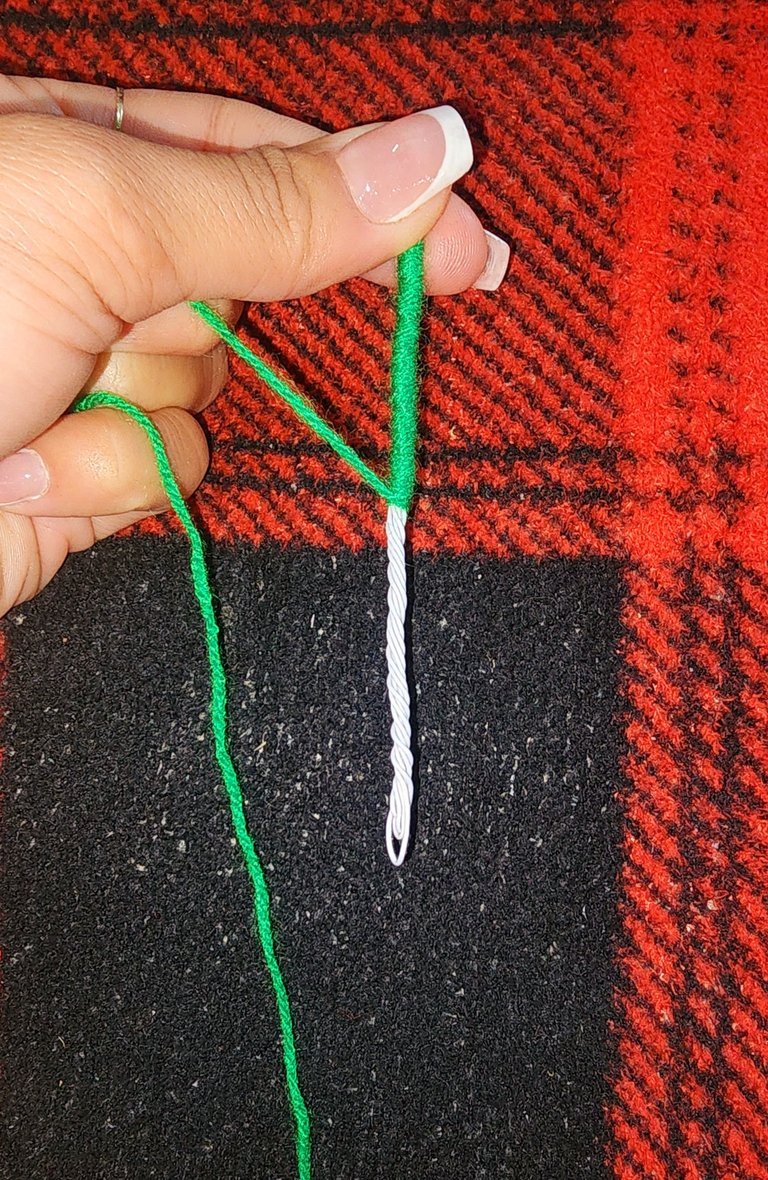
♥️Tallo♥️
Tomamos un alambre moldeable, y lo vestimos con lana verde a la vez que le vamos colocando los pétalos.
Luego lo introducimos en la maceta, en el agujero que dejamos en la tierra.
Y luego lo introducimos al corazón abriendo un poco el agujero que dejamos al cerrarlo.
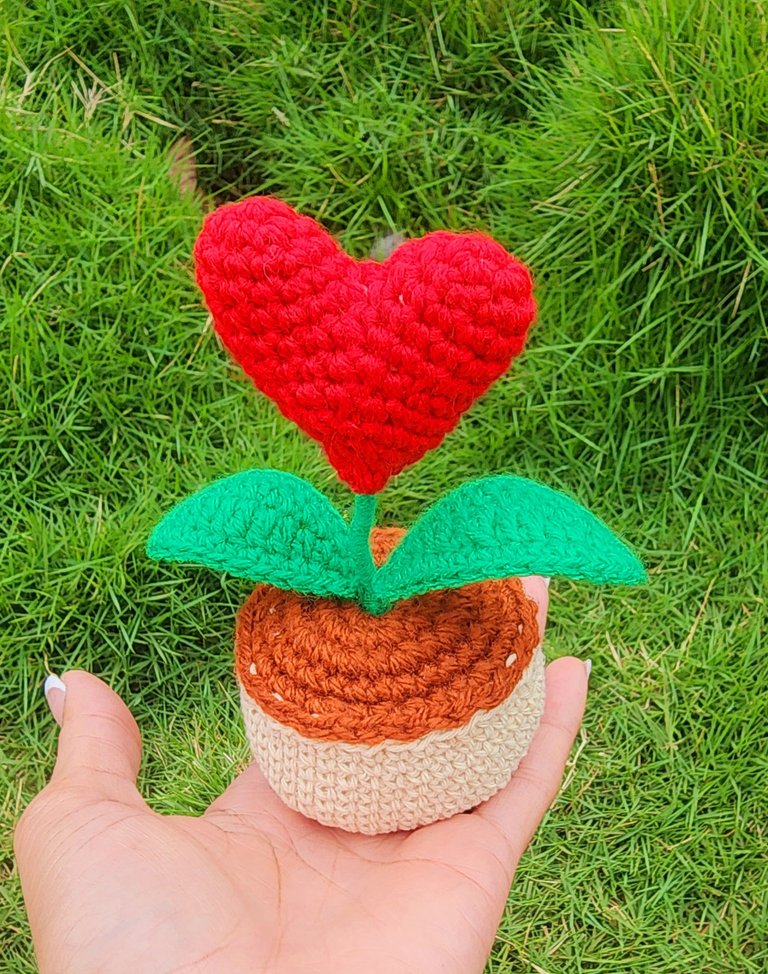
♥️ Ahora solo nos queda unir y formar la maceta. Cosemos la tierra a la maceta y rellenamos.
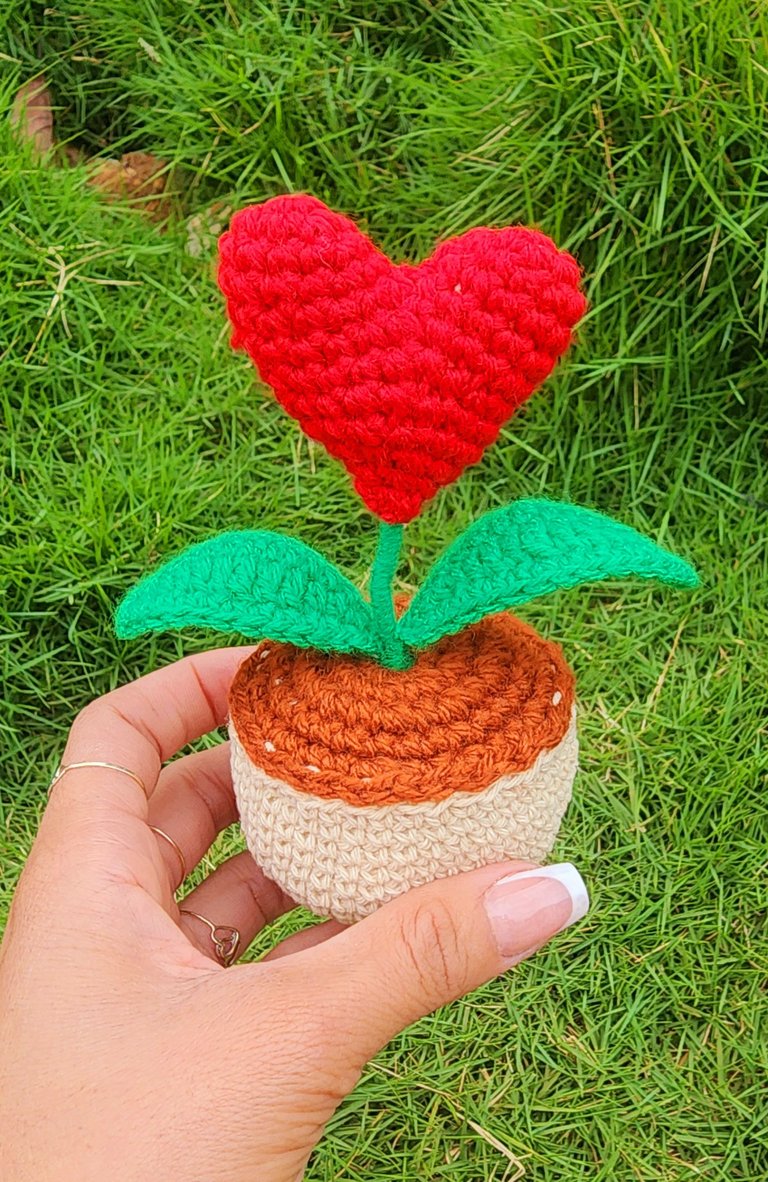
♥️Y listo amigos, así queda terminada esta planta del amor. Es muy fácil de realizar y lleva muy poco hilo.
♥️Espero y les, guste. Gracias de antemano por leerme hasta aquí.
♥️Bendiciones miles y abrazos virtuales 🤗. Hasta una nueva publicación 😊.
♥️English♥️
Nice day and blessings to all the creative friends of this community and the whole world and to all DIY fans. I hope you are doing well, I am doing great and grateful to God for a new awakening and because my family is doing well. Love day is approaching, so I wanted to create a plant representing love. Love can be towards our family, our partner, our friends, ourselves or any loved one we have. I believe that plants express a lot about the energies around them and they in turn provide us with their energy.
A long time ago, a boyfriend and I tried to make a bonsai, we followed YouTube videos and did it, despite many people telling me that I wouldn't succeed, my plant remained green and beautiful for a long time. When my ex-partner and I started having problems, the plant began to lose its luster. It's incredible how every time we improved in the relationship, the plant would turn green again, although not as beautiful. Until we decided to end things, and that plant started to turn a brown color until it dried up completely. When I talked about this with my family, they said it was just a coincidence, and it might be, but I believe it wasn't just by chance, I think that plant represented our relationship and suffered just like us. Every vibe from us, it received, both the good and the bad.
Well, I wanted to share this with you, because today I bring you a crocheted plant, but this time representing love 💘 and this one does not wither 😁♥️. So without further ado, let me show you the step by step.
♥️Materials♥️
- Thin wire.
- Green, light brown, dark brown, and red yarn.
- Shoelace.
- Yarn needle.
- Scissors.
- Stuffing.
♥️Step by step♥️
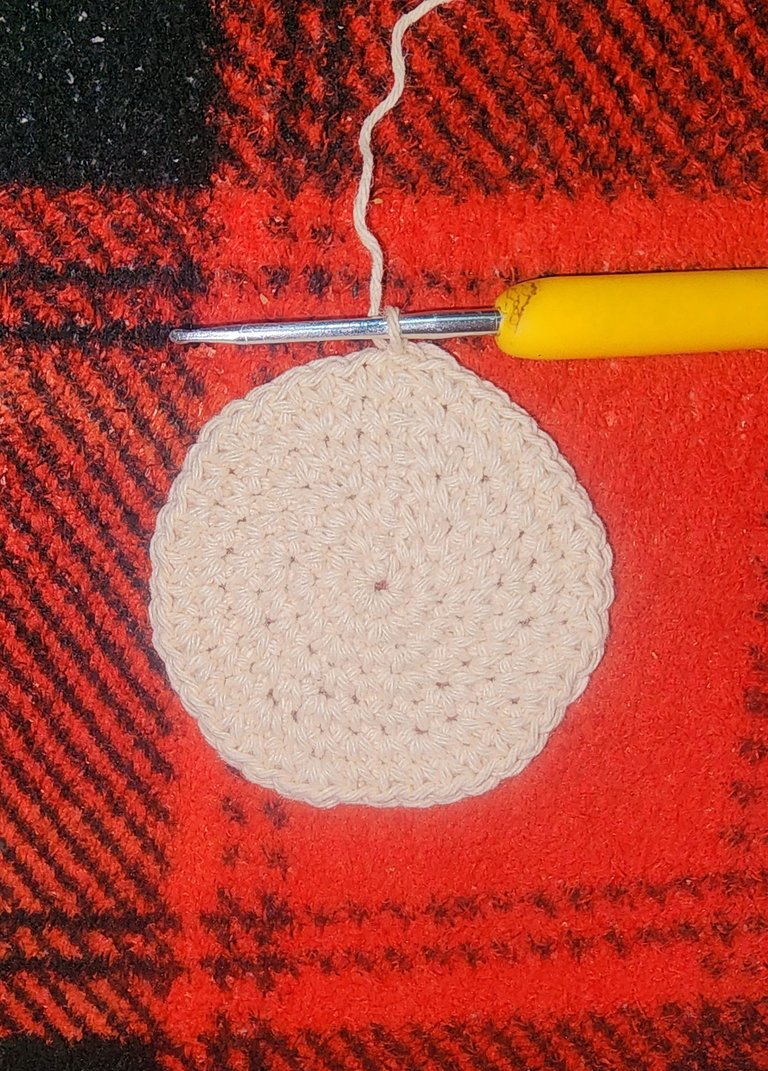
♥️Pot♥️
R1 - Start by making a magic ring and crochet 6 sc inside.
R2 - Crochet 6 increases, totaling 12 sc.
R3 - Work in sequences of 1 sc + 1 increase.
R4 - Work in sequences of 2 sc + 1 increase.
R5 - Work in sequences of 3 sc + 1 increase.
R6 - Work in sequences of 4 sc + 1 increase.
R7 - Work in sequences of 5 sc + 1 increase, totaling 42 sc.
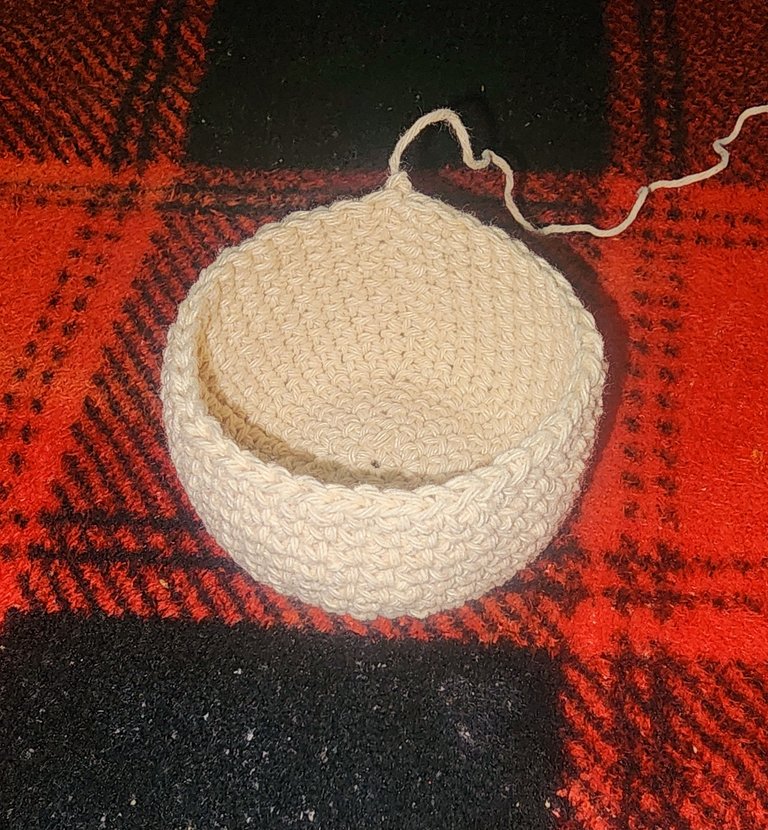
R8 to R15 - Work these 42 sc without any increases or decreases.
Cut a long thread for sewing.
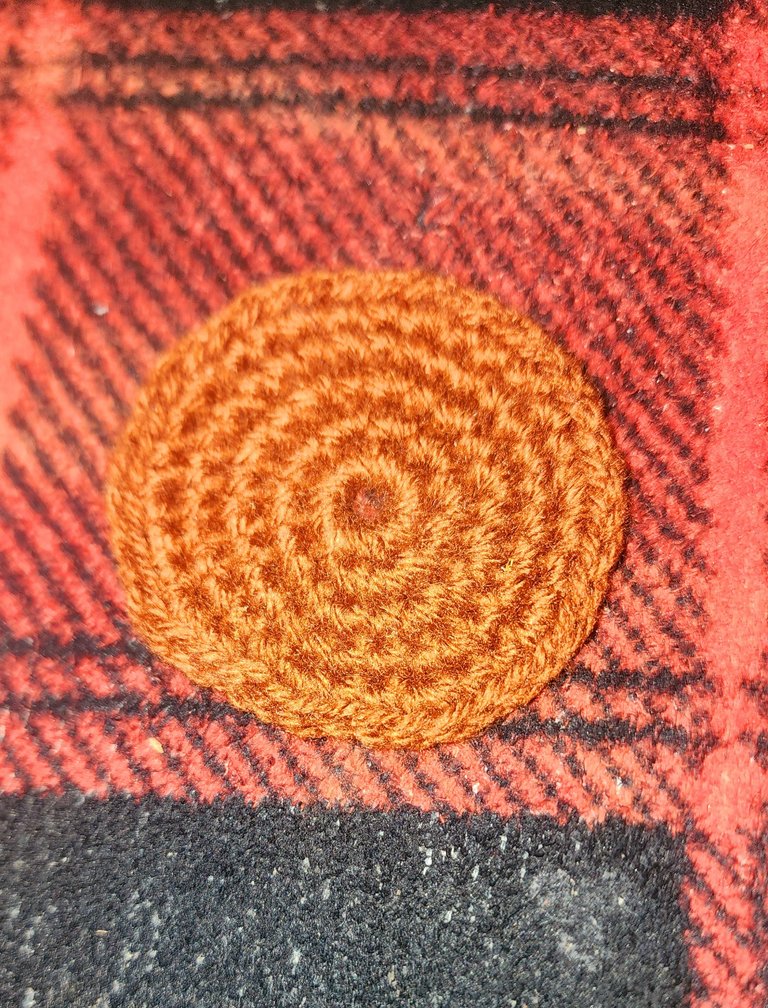
♥️Soil♥️
R1 - Start by making 5 chains, join them and crochet 6 sc inside.
R2 - Crochet 6 increases, totaling 12 sc.
R3 - Work in sequences of 1 sc + 1 increase.
R4 - Work in sequences of 2 sc + 1 increase.
R5 - Work in sequences of 3 sc + 1 increase.
Cut the yarn and hide it.
The yarn I used for the soil was thicker than for the pot.
♥️Leaves♥️
I started by making 14 chains, and on the second one, I make my first single crochet, on the next chain another single crochet, on the two following chains 2 half double crochets, on the two after those 2 double crochets, on the next one 1 treble crochet, on the following two 2 double crochets, on the two after that 2 half double crochets, and on the last 2 chains we make two single crochets. That way we finish one side of the leaf.
To make the other side, we repeat the same on the other side of the chains, but on that first stitch from the other side that we started with and ended, we make a total of 3 single crochets in the same stitch.
Now we are going to insert a thin wire while making 14 single crochets all around the edge, when we reach stitch 14, there we make 1 single crochet + 2 chains + 1 single crochet, then continue making the remaining 13 single crochets.
Close with a slip stitch and cut the yarn tail.
Make two identical leaves.
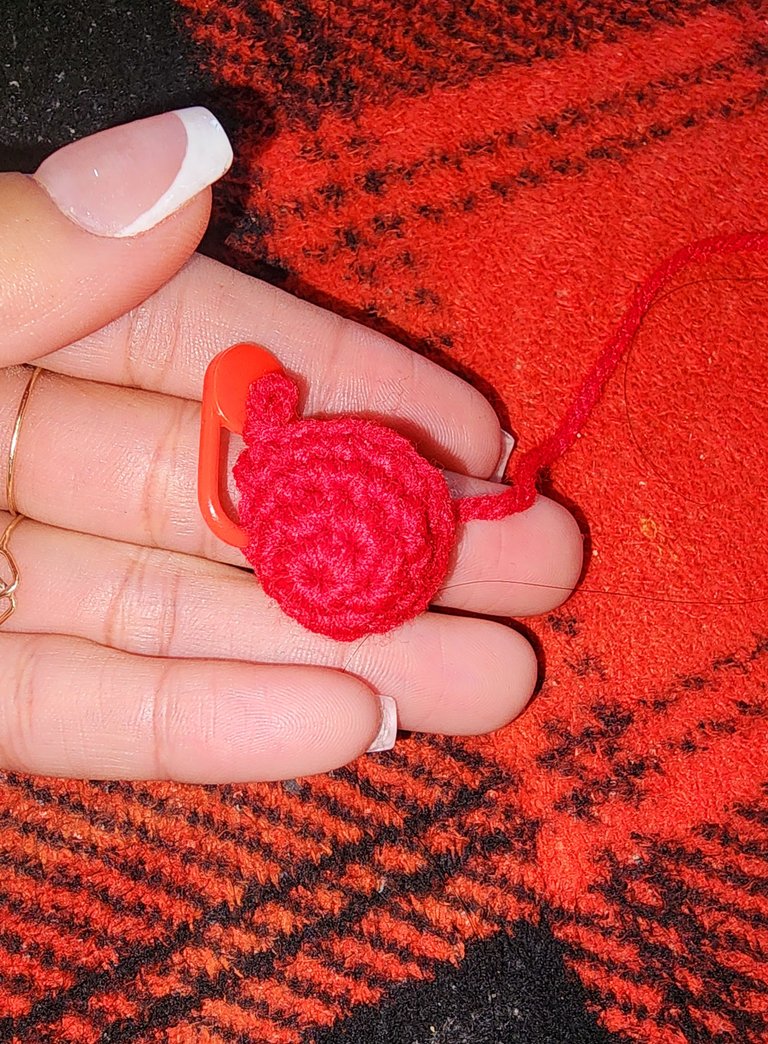
♥️Heart♥️
R1 - We start by making a magic ring and inside it we make 6 single crochets.
R2 - We make 6 increases, totaling 12 single crochets.
R3 - R4 - We make these 12 single crochets without increases or decreases.
Close with a slip stitch and cut the yarn.
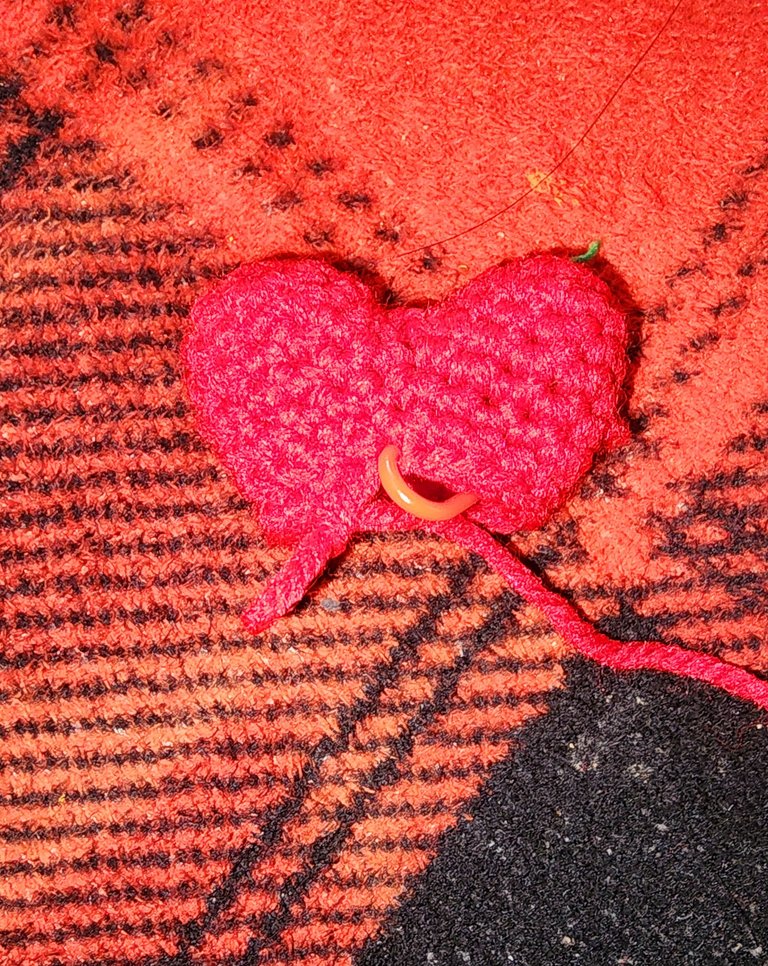
♥️We make two pieces exactly the same, but in this second one, don't cut the yarn, instead, join both pieces with a slip stitch in the last stitch each one.
R5 - Now make 12 single crochets in each piece, totaling 24 single crochets.
R6 - Now make 6 single crochets + 1 decrease 3 times.
R7 - Now make 5 single crochets + 1 decrease 3 times.
R8 - Now make 4 single crochets + 1 decrease 3 times.
♥️Stop and stuff.
R9 - Now make 3 single crochets + 1 decrease 3 times.
R10 - Now make 2 single crochets + 1 decrease 3 times.
R11 - Now make 1 single crochet + 1 decrease 3 times.
Close with a tapestry needle.
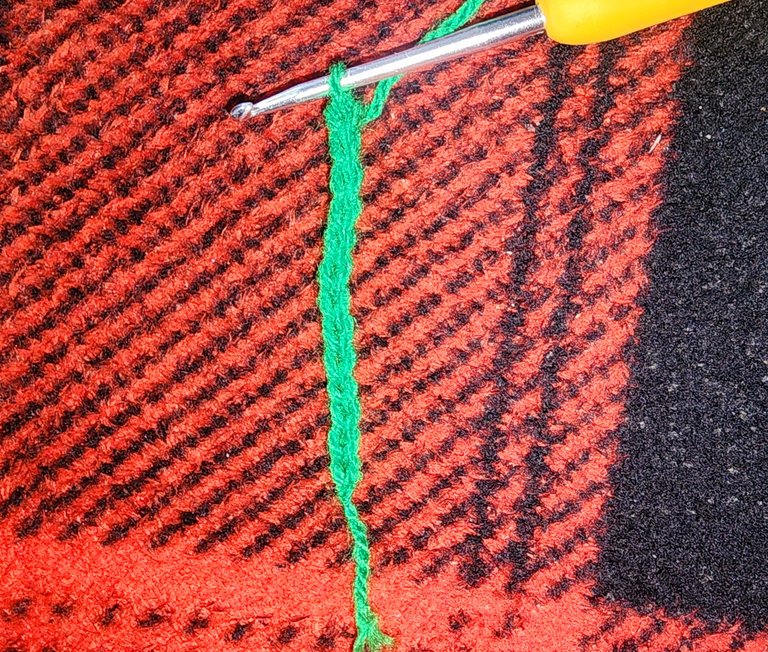
♥️Stem♥️
Take a flexible wire and cover it with green yarn while adding the petals.
Then insert it into the pot, in the hole left in the soil.
And then insert it into the heart by slightly opening the hole we left when closing it.
♥️Now all that's left is to join and form the pot. Sew the soil to the pot and fill.
♥️And there you have it, friends, this love plant is now finished. It's very easy to make and requires very little yarn.
♥️I hope you like it. Thank you in advance for reading up to this point.
♥️Many blessings and virtual hugs 🤗. Until the next post 😊.
Recursos empleados
| RECURSO / RESOURCE | FUENTE / SOURCE |
|---|---|
| Edición / Edition: | @yunacrochet |
| Imágenes / Pictures: | Samsung Galaxy s22 Ultra / Instagram |
| Translated / Traducción: | Hive Translator by @noakmilo |
Posted Using INLEO
Que impactante la historia con ese bonsai, definitivamente yo soy de las que creen que las plantas absorben la energia del hogar y si hay energia positiva, sera verde y prospera, pero si comienza a abundar la energia negativa, pobre planta 😢 despues de todo, ellas tambien estan vivas y sufren y perciben la energia humana 💔
Por otro lado, este crochet es bellisimo, esos colores bien brillantes son encantadores 😍
Así es amiga, aveces he hecho este cuento y me han dicho que es casualidad pero es increiblemente cierto. Gracias a Dios ahora ya vivo en paz y tranquilidad y puedo tener plantas 😁.
Muchas gracias me siento muy feliz de que te haya gustado. Bendiciones 🤗.
Que triste historia la del bonsai y tu relación, la pobre , absorbió todas las malas vibras. En cuanto a esta hermosa plantica tejida, te quedó genial, que bella, puede ser un lindo detalle para regalar el día del amor y la amistad, que ya pronto está aquí. 😍🤗
Así es amiga, la planta la pasó muy mal y no tuvo remedio tristemente 🥲.
Muchas gracias, así es, intenté inspirarme en el amor, y así es, ya pronto está aquí ese día para celebrarlo. Bendiciones amiga 😘🤗.
Que gran trabajo, te felicito te quedo muy bonito, esto es todo un arte, que no cualquiera sabe hacer., una gran creación, gracias por compartirlo, saludos.
Muchas gracias amiga, el crochet es tan hermoso, me siento muy contenta con las personas que lo valoran. Bendiciones 🤗.
This was so heartwarming to read, thanks for not only sharing your creative work but also your story. We are glad that you could crochet a love plant that looks this good. Amazing job friend.
Thank you very much, it was a sad season and I will never forget it, thank God today my home looks nothing like it and I found the crochet that cheers me up every day and makes me forget any problem. Blessings 🤗 and thank you for the support of each one of you.
Una pieza de arte, como todo lo que sale de tus manos y agujas. Que alegría poder ver a cada rato tus coloridas creaciones por acá. Saludos.
Muchas gracias, me siento feliz de que les guste, ustedes también crean cosas maravillosas. Bendiciones miles 🤗.
Simplemente una belleza, las artistas del crochet son como las rock star en Hive
Muchas gracias amiga, el crochet es un arte y más cuando se realiza con amor. Bendiciones miles 🤗 .
Pero que hermosa tu plantita de amor😍 se ve tan delicada y tierna y lo mejor es que no se marchita💖
Muchas gracias, así es, no se marchitará nunca jajaj. Gracias y bendiciones miles 🤗.