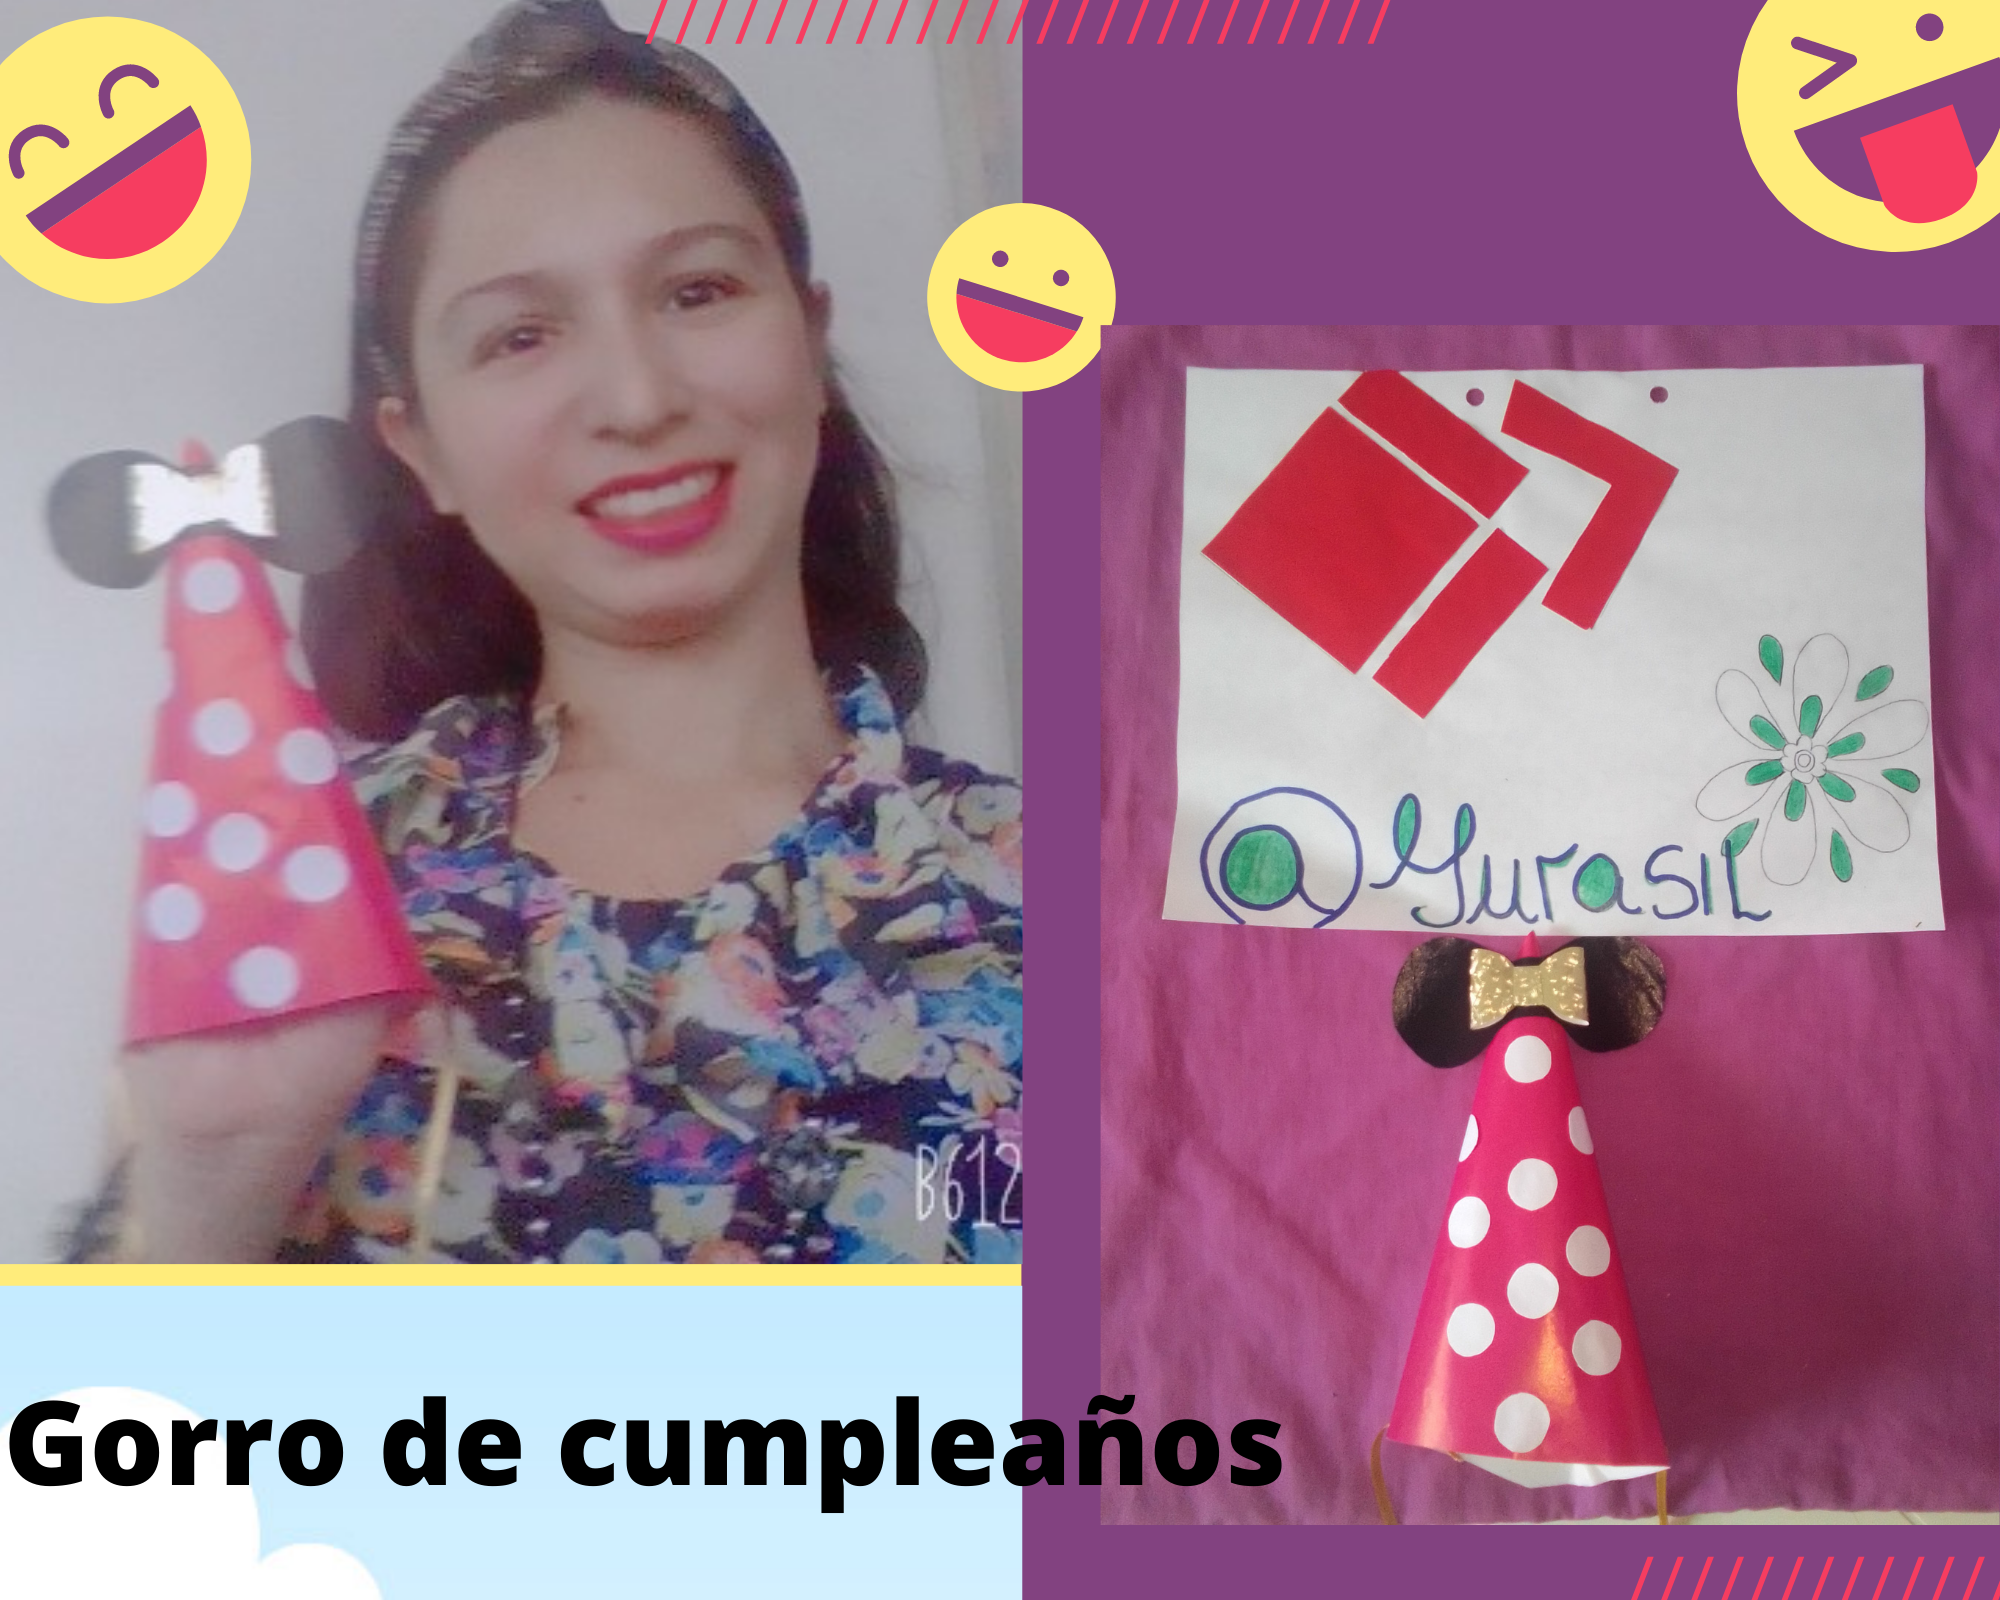
Greetings beautiful HiveDiy community, I hope you are very well, happy start of the week and may it be a blessing for all of us. I am going to show you how to make a birthday hat in a very easy way
Minnie es un motivo que nunca pasa de moda y que nos encanta tanto a chicos como a grandes y los gorros nunca pueden faltar en los cumpleaños por eso hoy traigo esta propuesta que me tiene enamorada
Minnie is a motif that never goes out of fashion and that we love both children and adults and hats can never miss at birthdays so today I bring this proposal that has me in love
Manos a la obra manitas creativas
Hands on creative handymen
Materiales / Materials
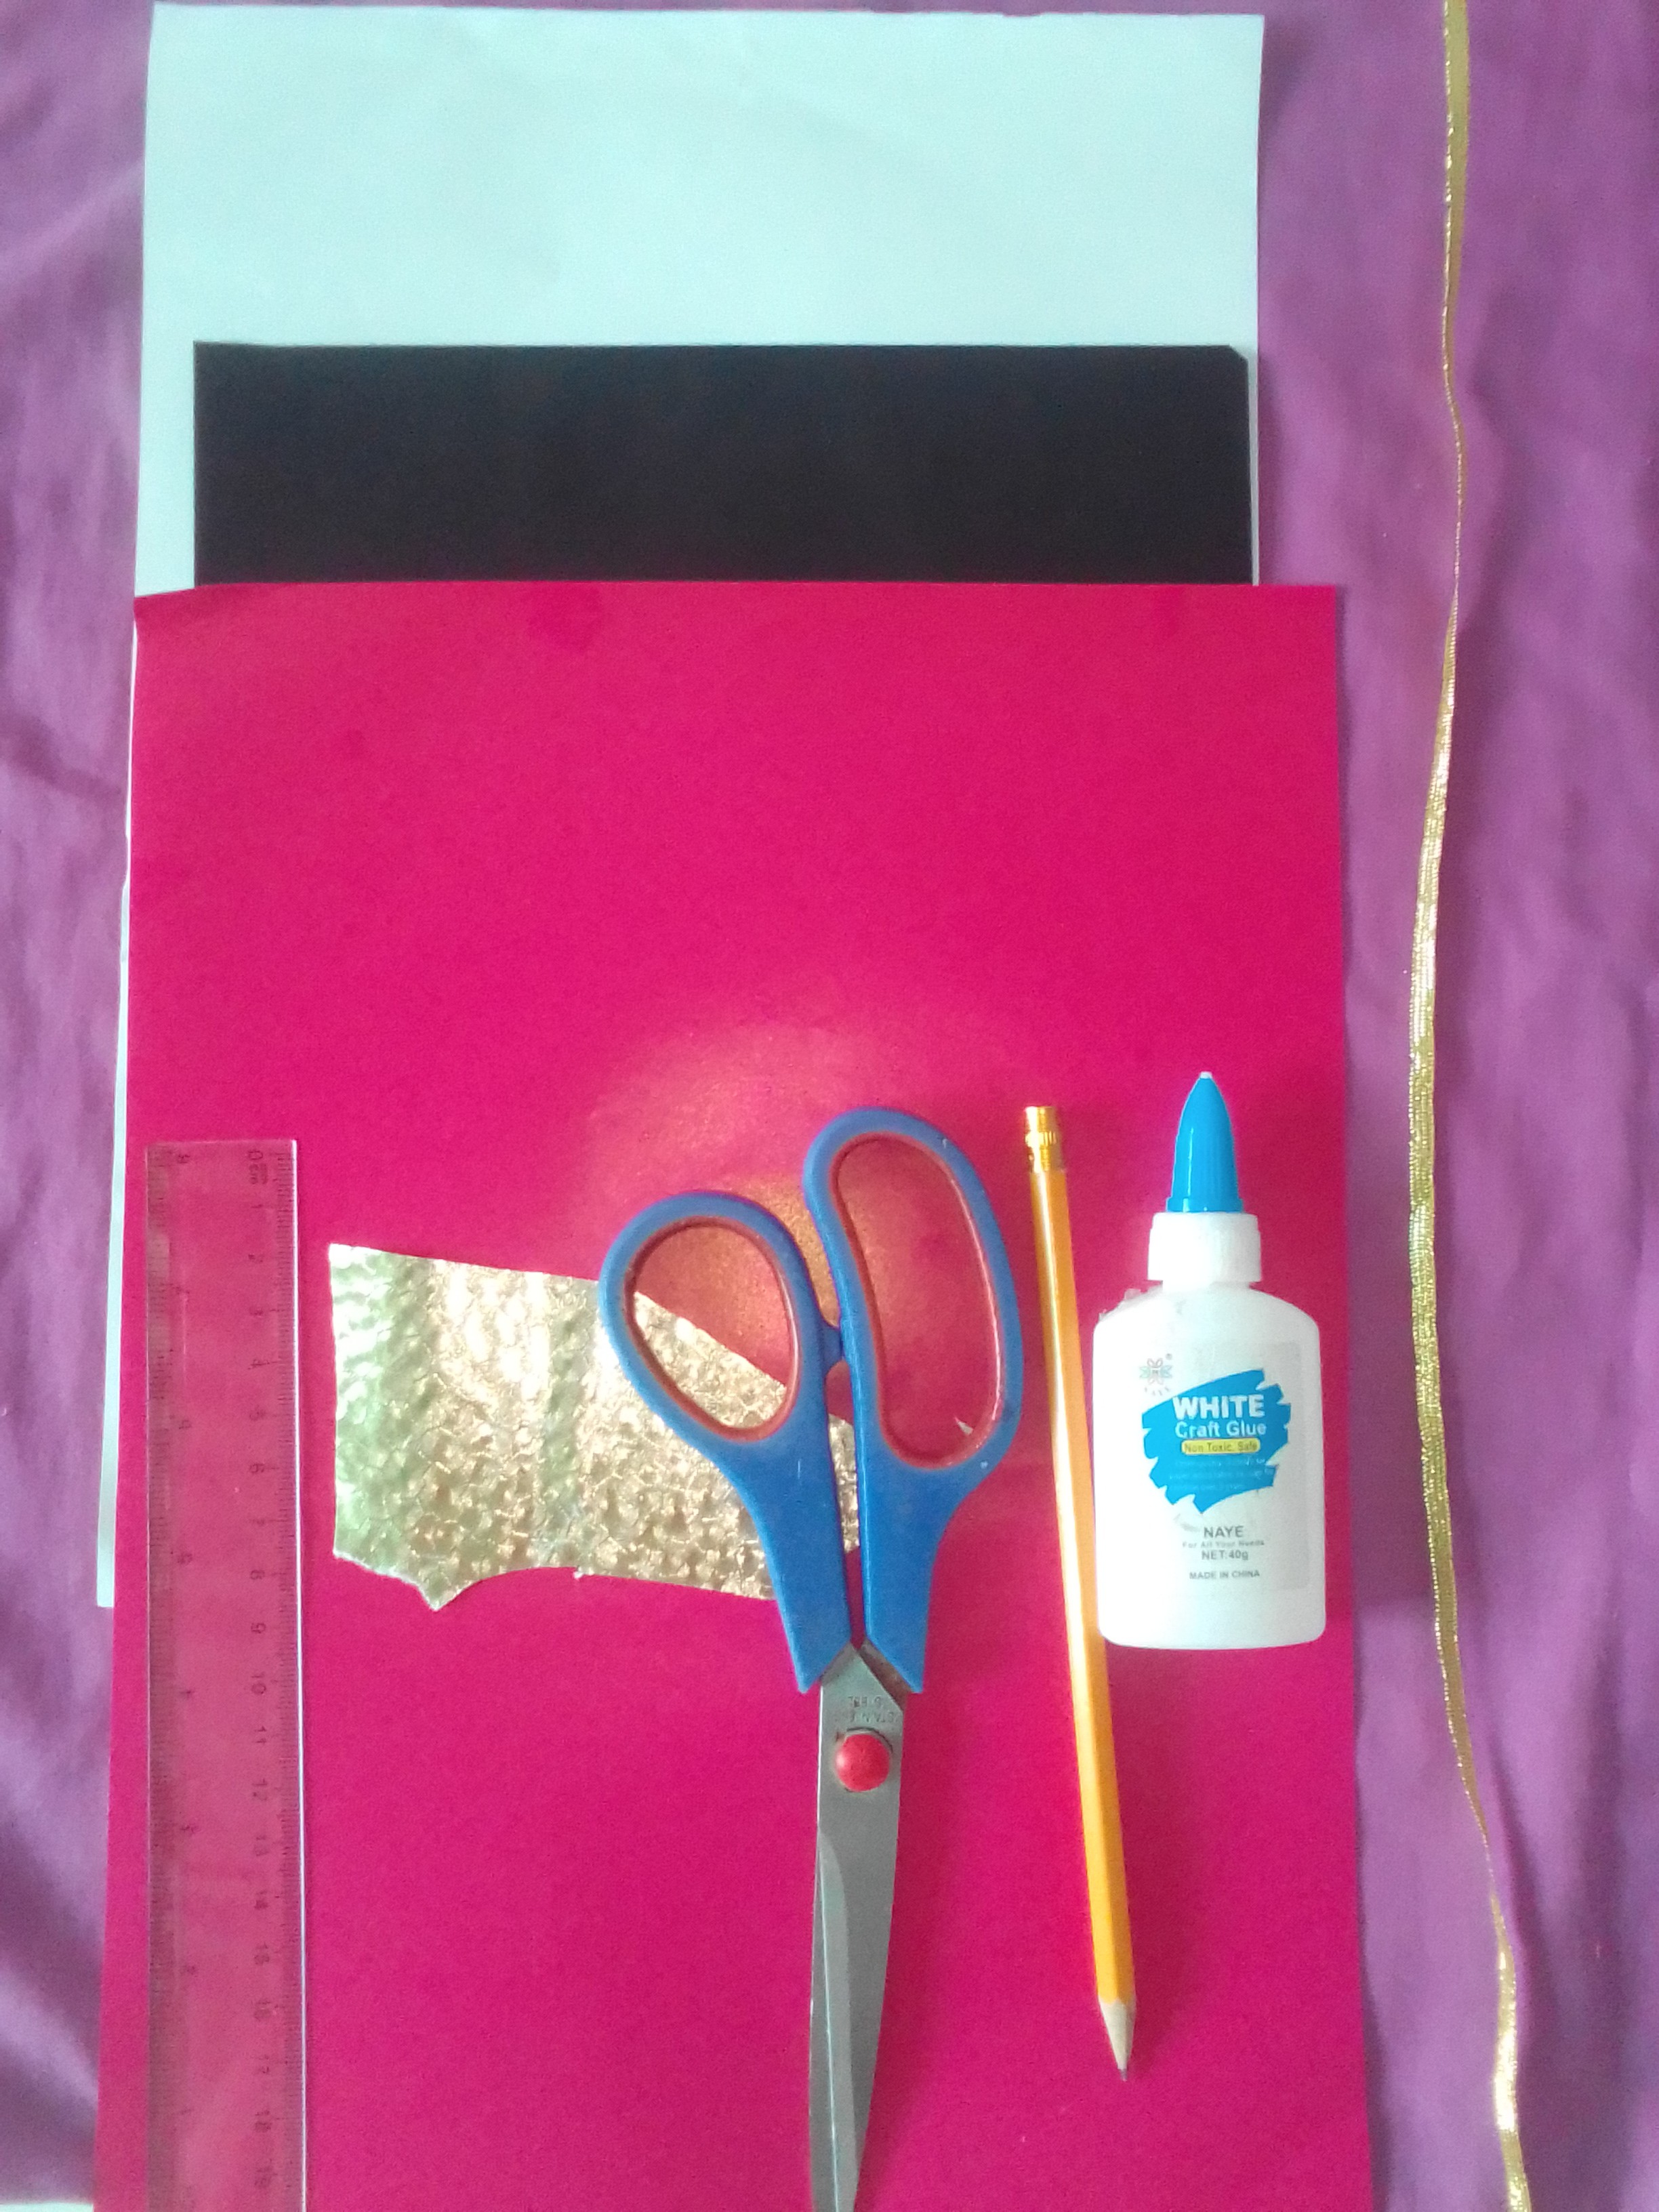
- Hojas de colores o cartulina
- Tijeras
- Lápiz
- Pega
- Regla
- Elástica o cinta
- Color sheets or cardboard
- Scissors
- Pencil
- Glue
- Ruler
- Elastic or ribbon
Procedimiento / Procedure
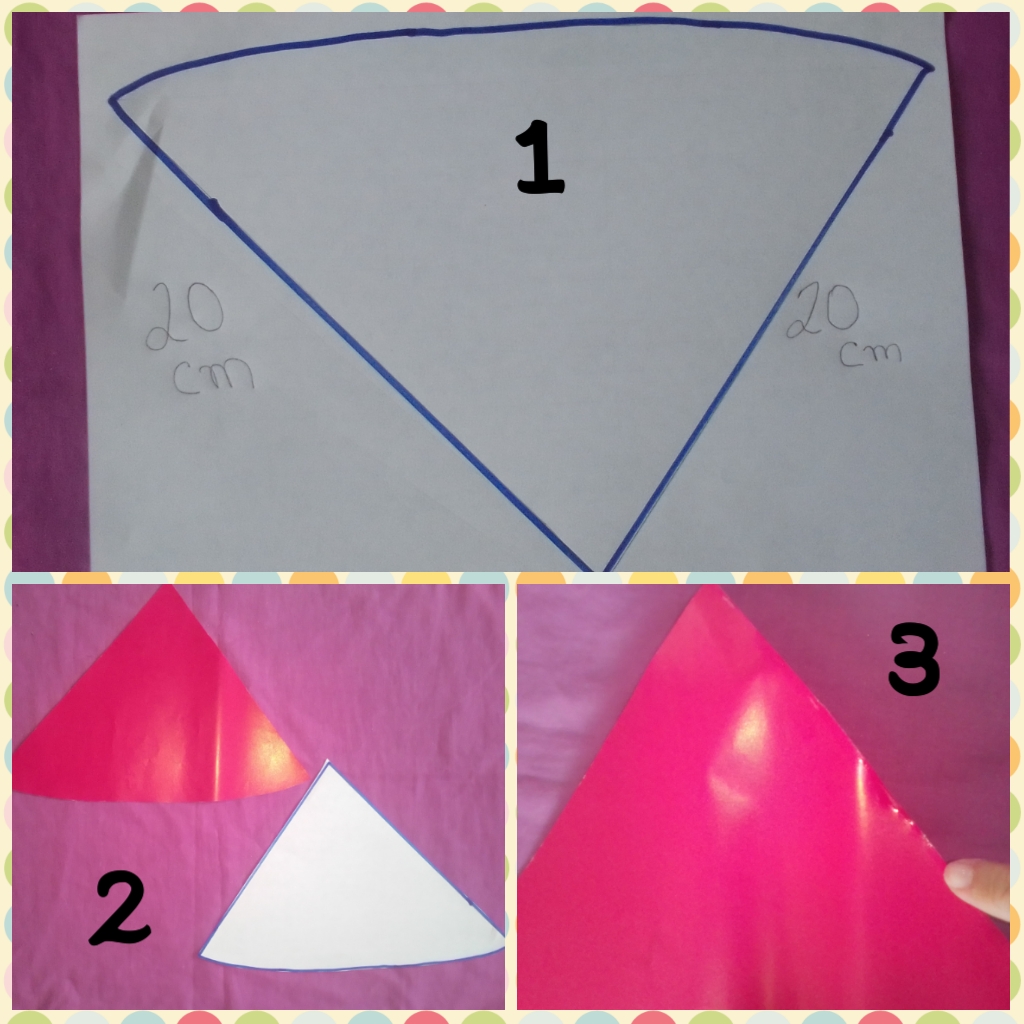
- Paso 1: En una hoja blanca marcamos el molde del gorro con las medidas que aparecen en la imagen, si lo queremos mas grandes aumentamos las medidas
- Step 1: On a white sheet we mark the mold of the cap with the measures that appear in the image, if we want it bigger we increase the measures
- Paso 2: Transferimos la imagen en una hoja de color fucsia o de nuestra preferencia y la recortamos
- Step 2: Transfer the image onto a fuchsia colored sheet or a sheet of your choice and cut it out
- Paso 3: En una de las rectas de la hoja aplicamos pega para darle forma de gorro a la hoja
- Step 3: On one of the straight lines of the sheet we apply glue to give the sheet the shape of a cap
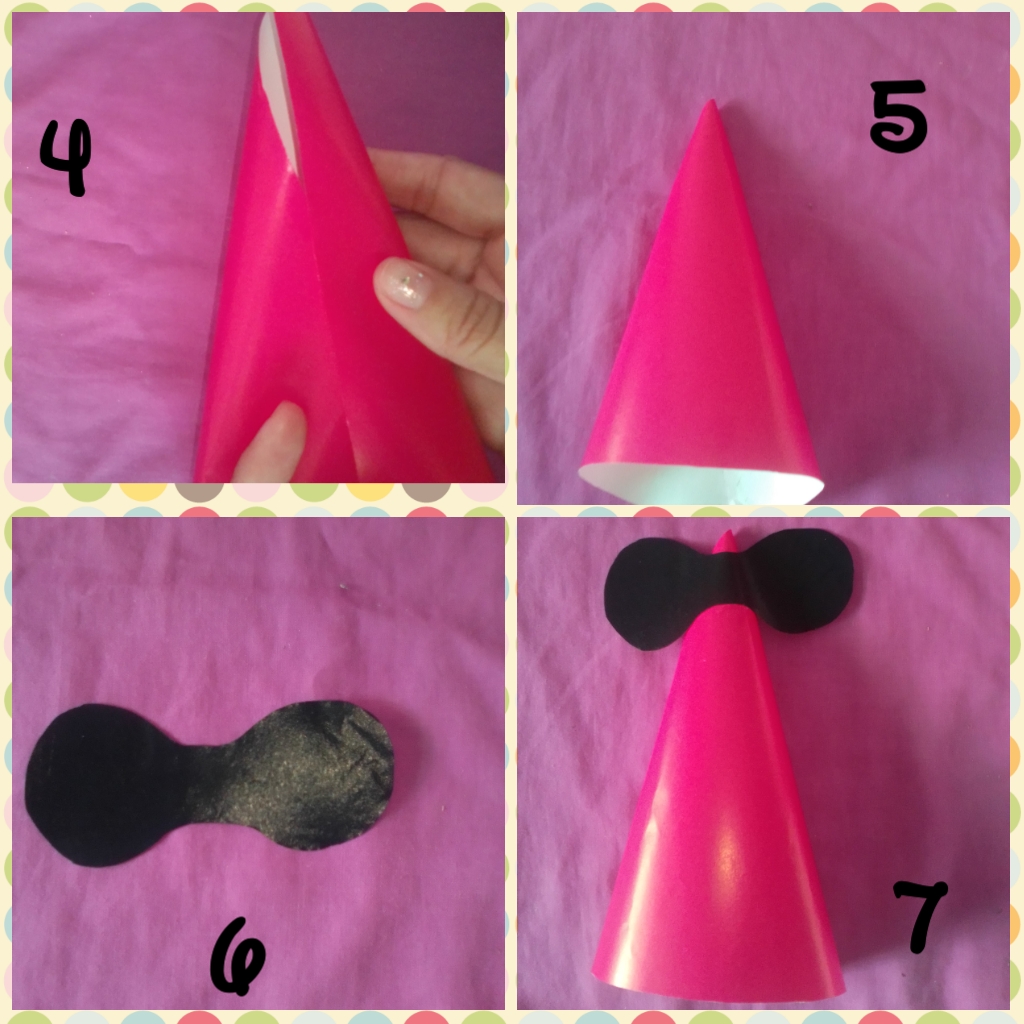
- Paso 4: Doblamos y pegamos la hoja como se muestra en la imagen
- Step 4: Fold and glue the sheet as shown in the image
- Paso 5: Ya tenemos la forma de cono y procedemos a decorarlo
- Step 5: We already have the cone shape and proceed to decorate it
- Paso 6: Recortamos en una hoja negra las orejas de minnie
- Step 6: Cut out minnie's ears on a black sheet
- Paso 7: Pegamos las orejitas en el gorro
- Step 7: Glue the ears on the cap
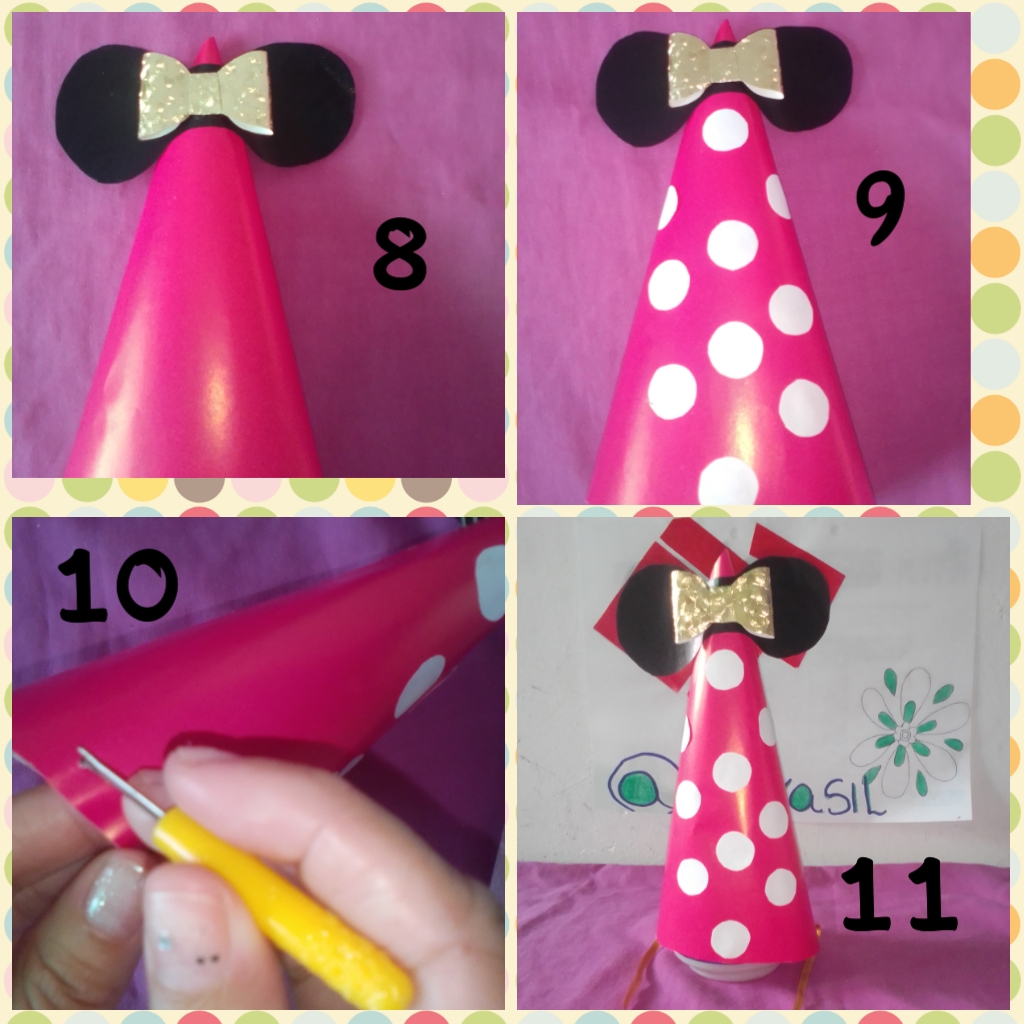
- Paso 8: Hacemos un lazo lo recortamos y pegamos en el medio de las orejas
- Step 8: We make a bow, cut it out and glue it in the middle of the ears
- Paso 9: Le agregué lunares que no son mas que círculos blancos, recorté y pegué
- Step 9: I added polka dots, which are nothing more than white circles, cut out and glued
- Paso 10: Por los lados del gorro le abrí un pequeño agujero para introducir la elástica o cinta
- Step 10: On the sides of the cap I opened a small hole to insert the elastic or ribbon
Listo el gorro de minnie mouse
Ready minnie mouse hat
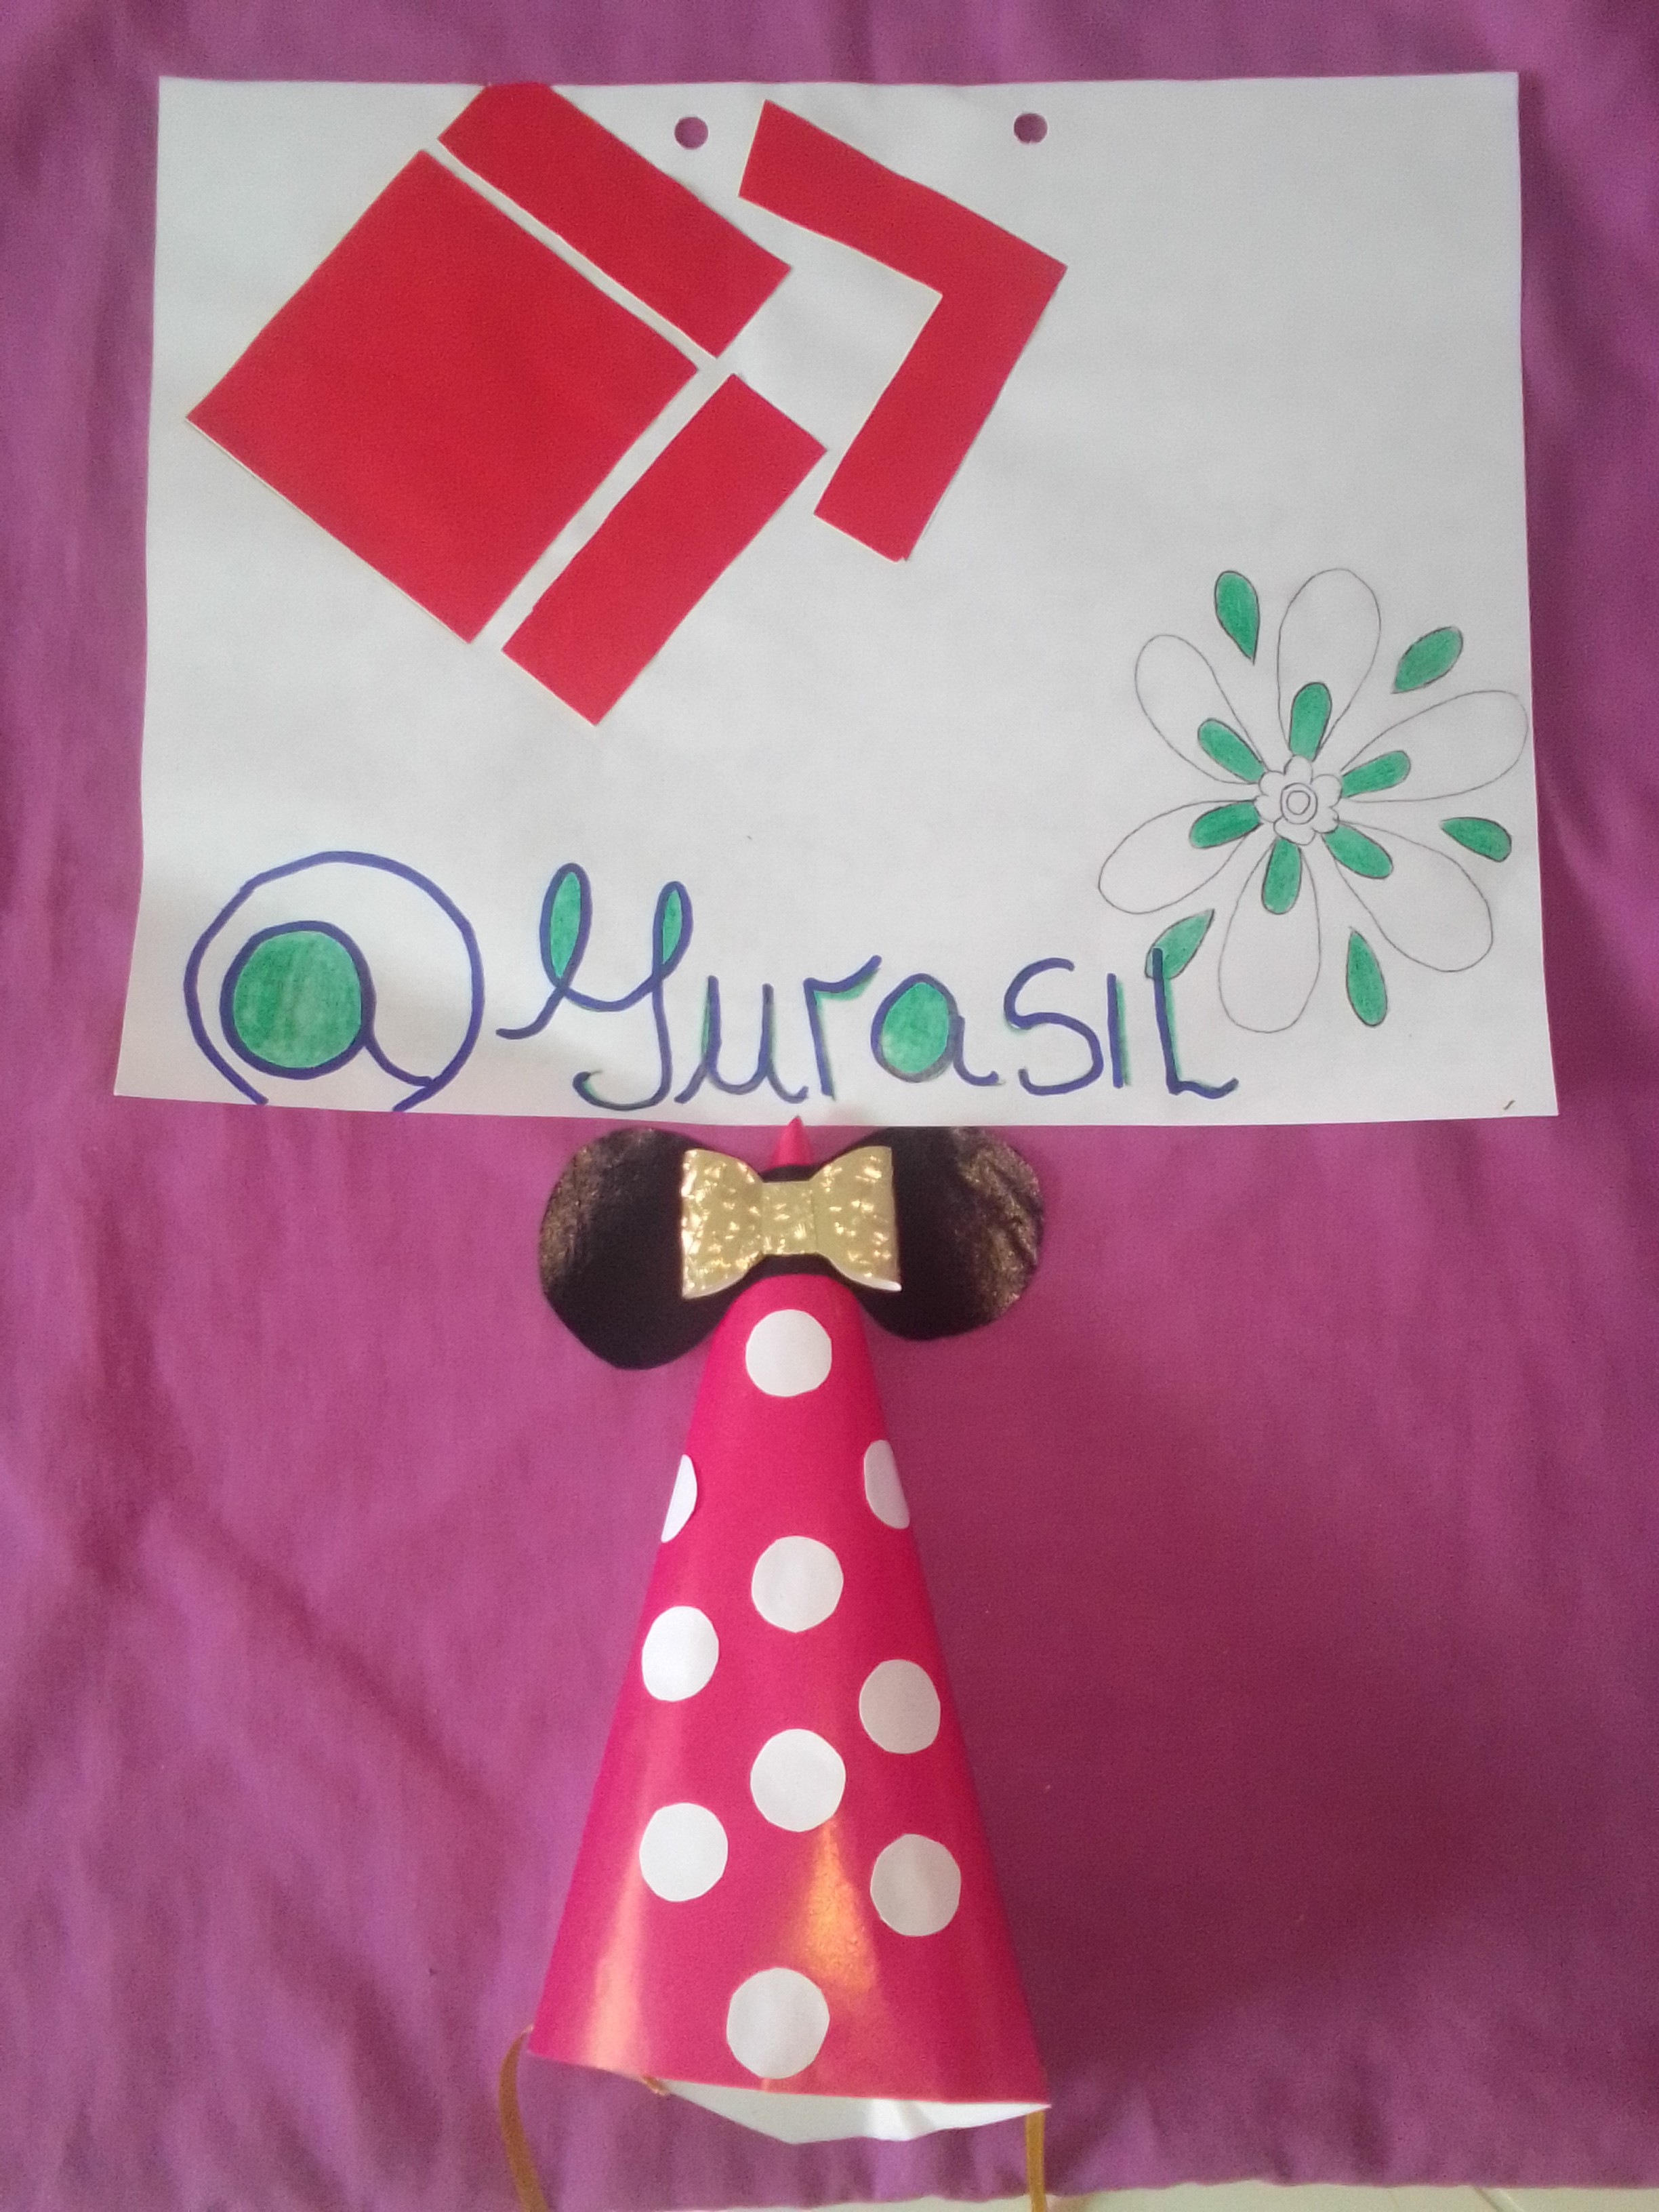
Como pueden observar es muy fácil de realizar y con pocos materiales ademas de utilizarlo como gorro otra utilidad seria como cotillón o dulcero, anímense a realizarlo
As you can see, it is very easy to make and with few materials, besides using it as a hat, it can also be used as a cotillion or candy box, so come on and make it
Todas las fotos son de mi autoría, tomadas con mi tlf zte blade, Los collages fueron realizados con la aplicación PhotoGrid
All photos are of my authorship, taken with my tlf zte blade, The collages were made with the PhotoGrid application
Traductor Deepl/ Deepl Translator
Hola linda, está super cute, imagine a una niña divirtiéndose en una fiesta con el gorrito puesto, corre por aquí corre por allá, gracias por compartir tu idea con nosotros <3
jejeje si, los niños disfrutan mucho de estos accesorios. Muchas gracias a usted por esta maravillosa comunidad y el apoyo.
Congratulations @yurasil! You have completed the following achievement on the Hive blockchain and have been rewarded with new badge(s) :
Your next target is to reach 1500 upvotes.
Your next payout target is 250 HP.
The unit is Hive Power equivalent because your rewards can be split into HP and HBD
You can view your badges on your board and compare yourself to others in the Ranking
If you no longer want to receive notifications, reply to this comment with the word
STOP¡Felicitaciones!
1. Invierte en el PROYECTO ENTROPÍA y recibe ganancias semanalmente. Entra aquí para más información.
3. Suscríbete a nuestra COMUNIDADEntra aquí para más información sobre nuestro trail., apoya al trail de @Entropia y así podrás ganar recompensas de curación de forma automática.
4. Creación de cuentas nuevas de Hive aquí.
5. Visita nuestro canal de Youtube.
Atentamente
El equipo de curación del PROYECTO ENTROPÍA
muchas gracias por el apoyo y valoración a mi post