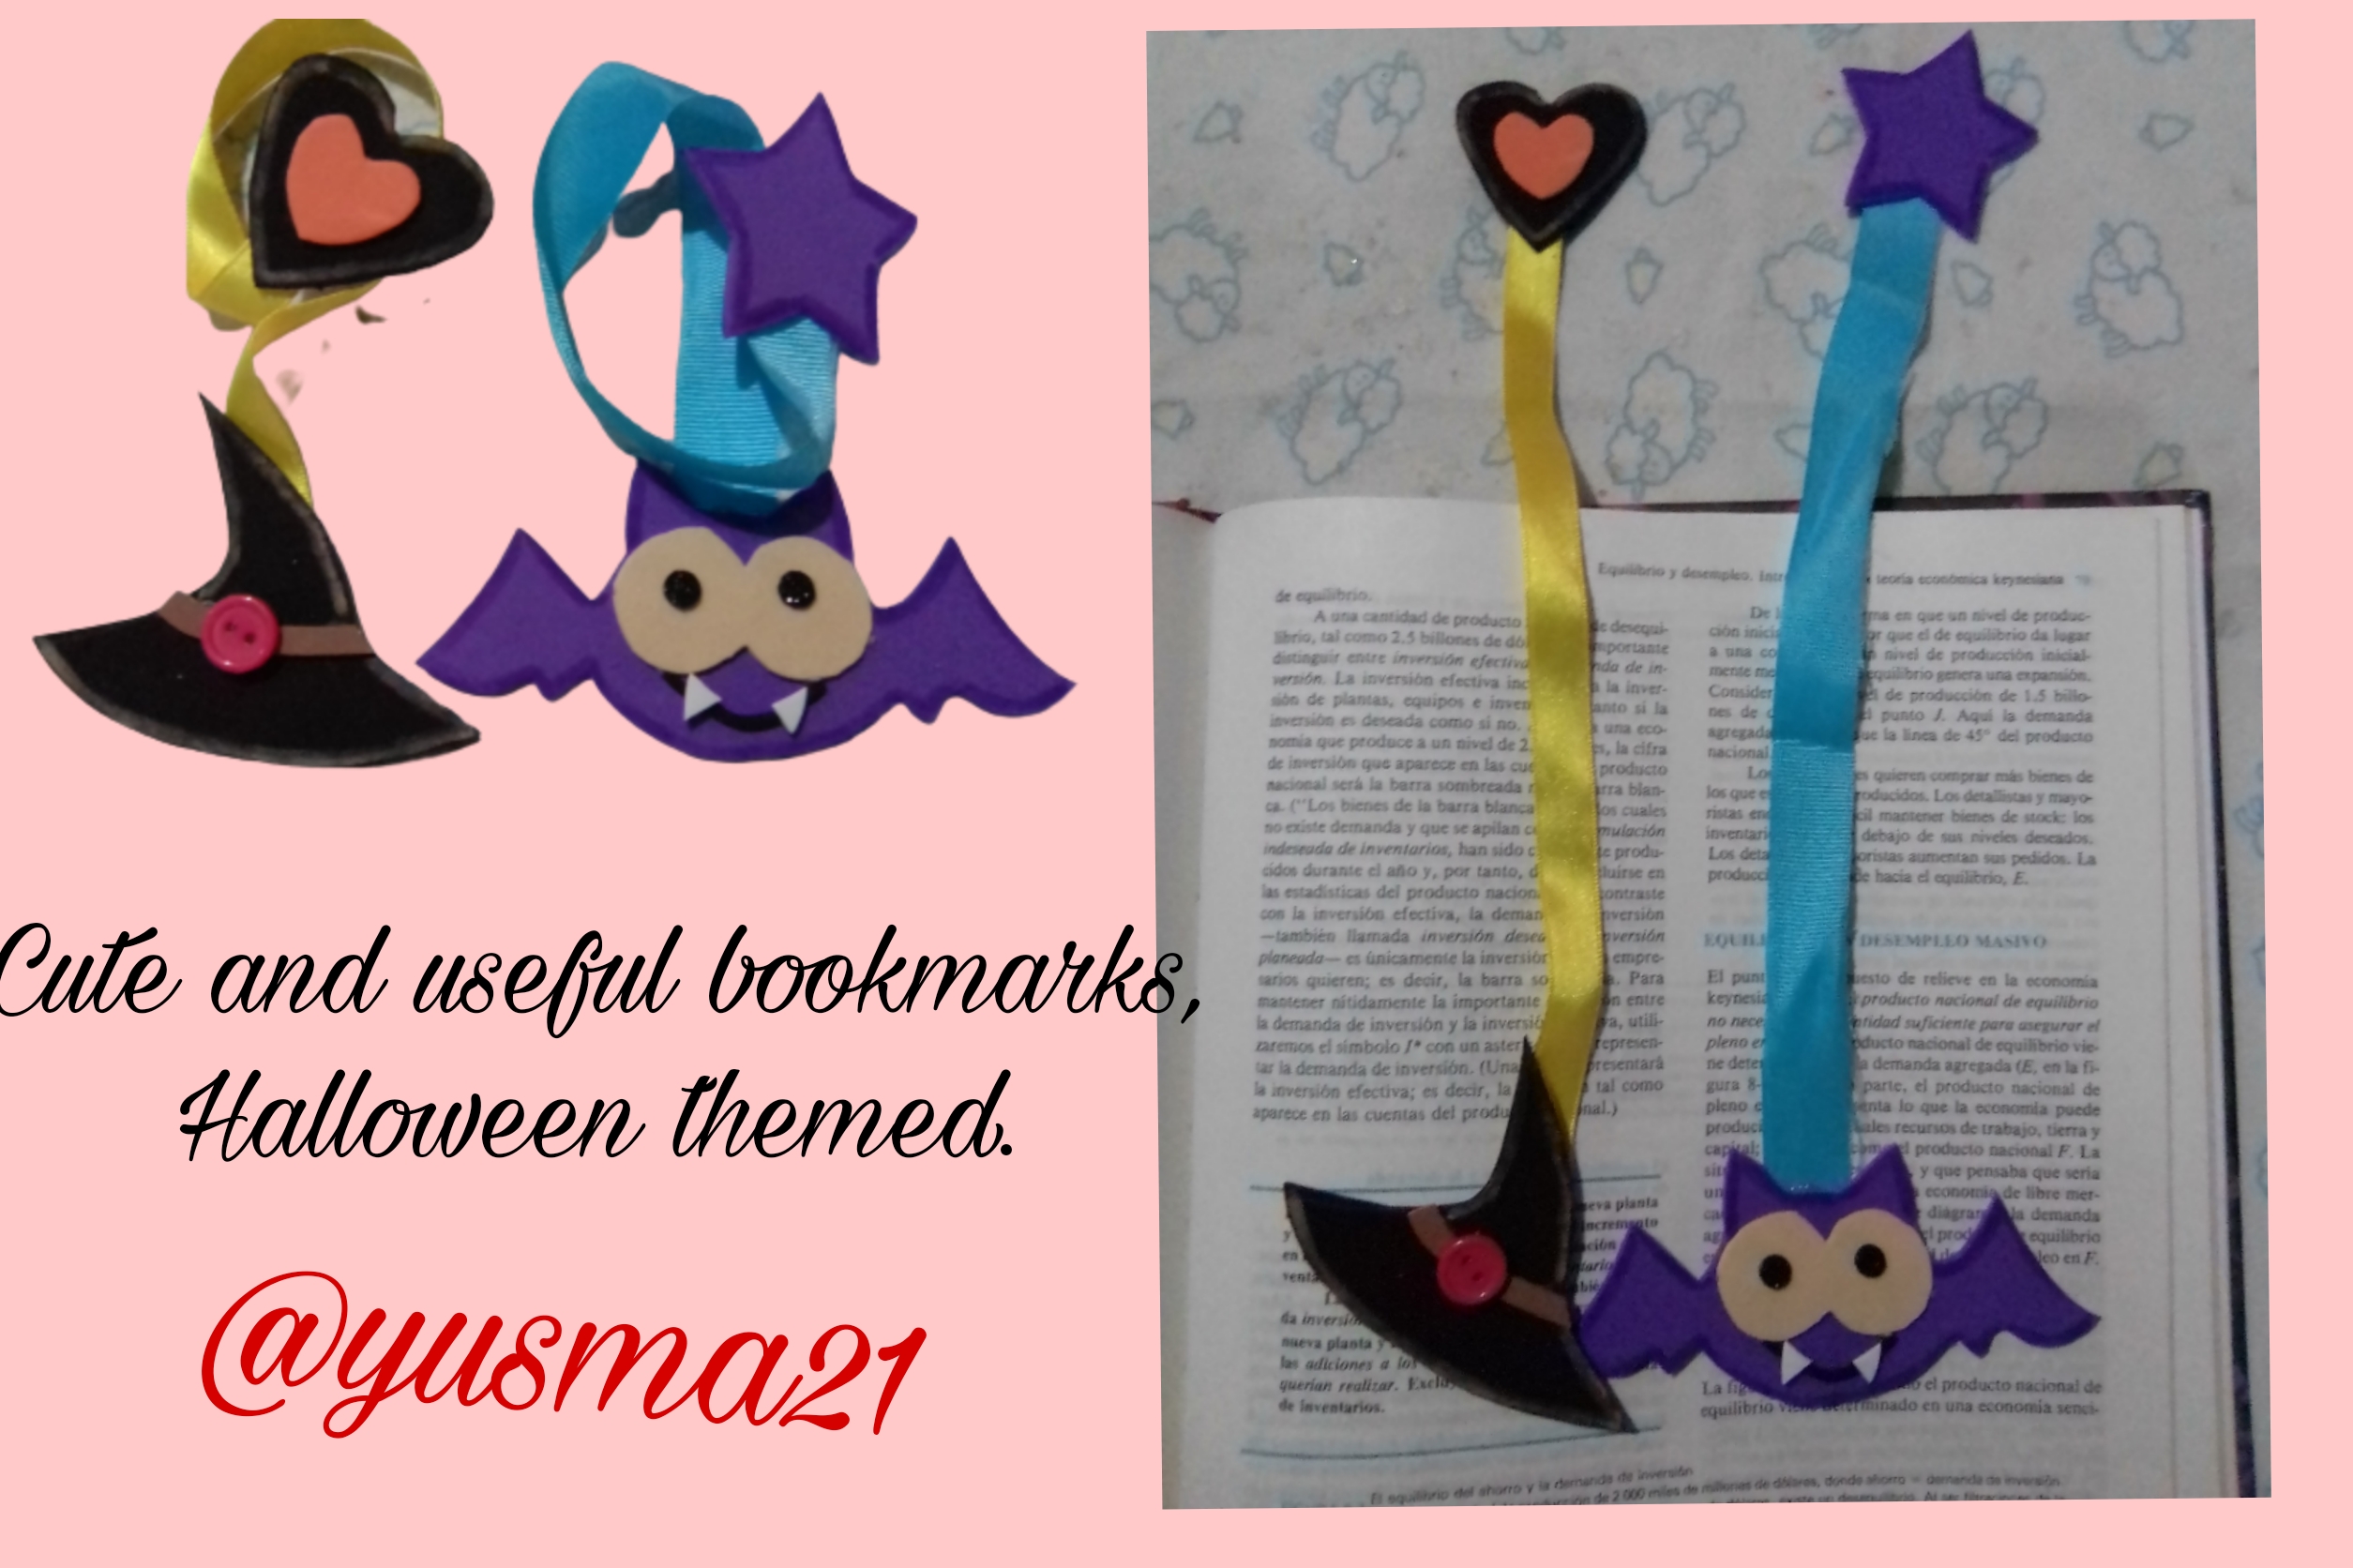
A big hello to the creative community of Hive Diy, connected with the energy of Halloween, I am going to show you how to make two bookmarks for books or for school notebooks with this Halloween theme, so that our reading or studies are more enjoyable. .

MATERIALS
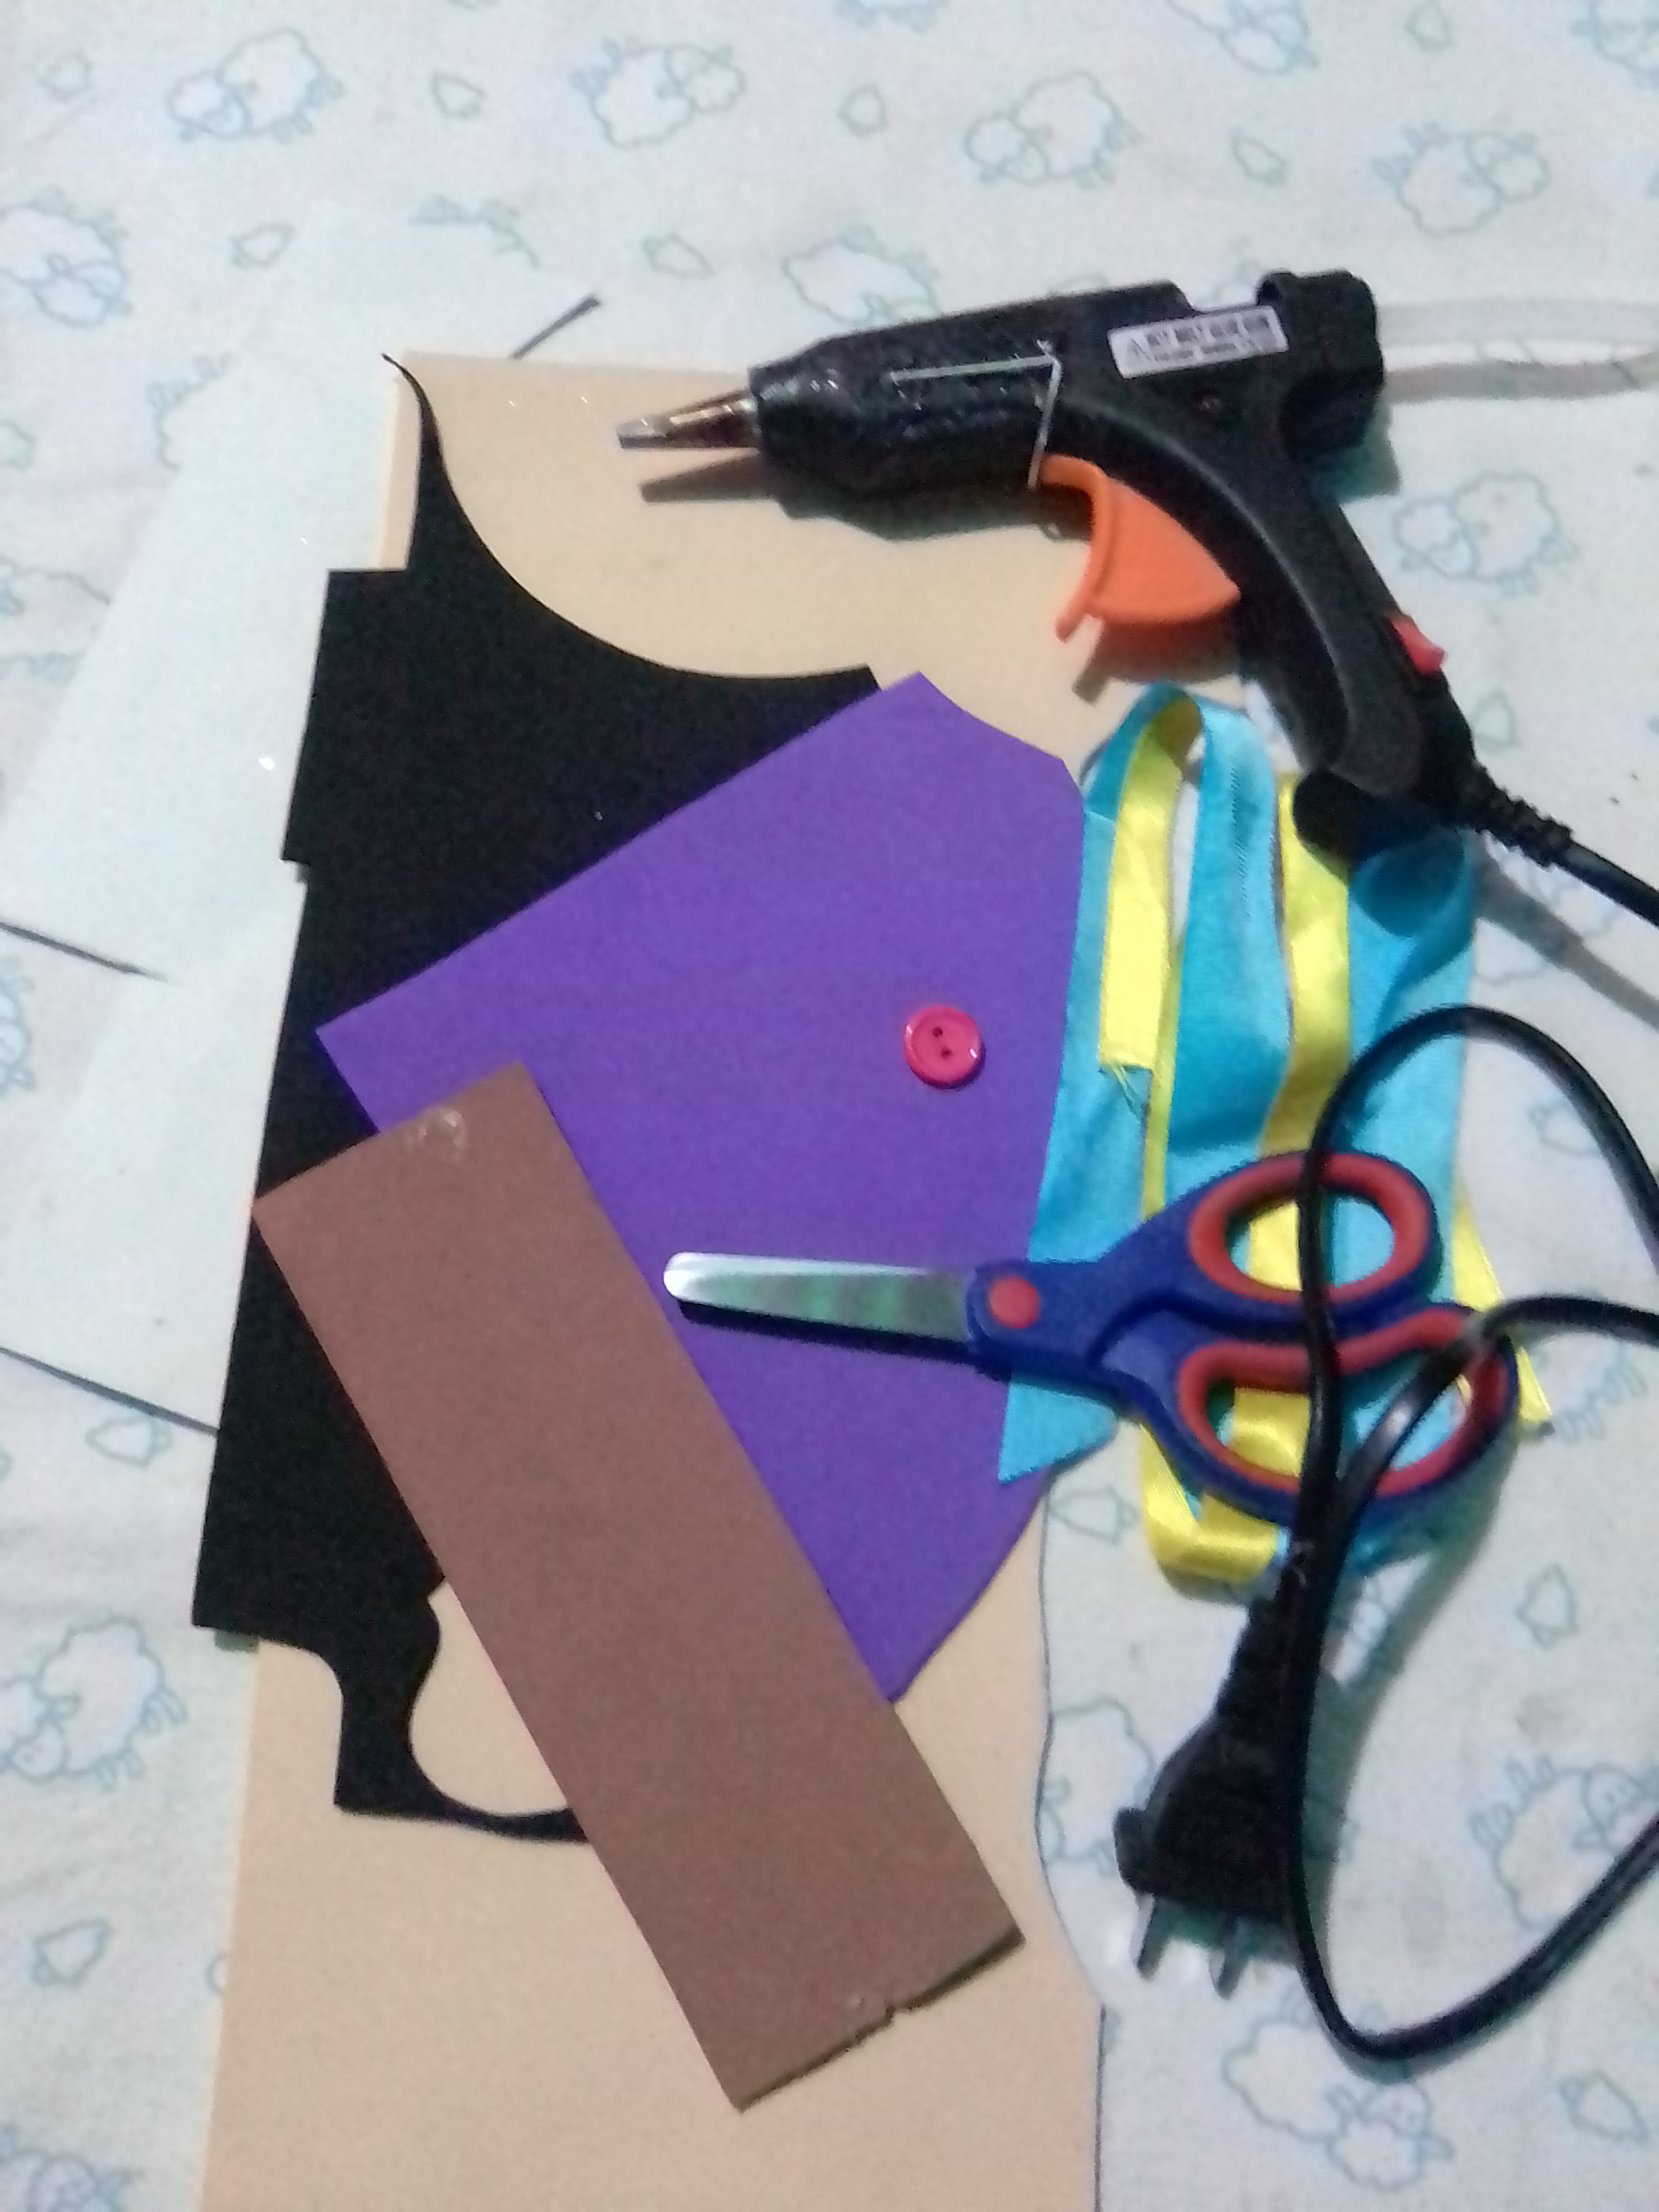
✓ Pieces of colored foami: black, white, violet, brown, orange and cream.
✓ A small red button.
✓ Yellow and blue cloth ribbons.
✓ Scissors.
✓ Gun and silicone bar.
STEP BY STEP
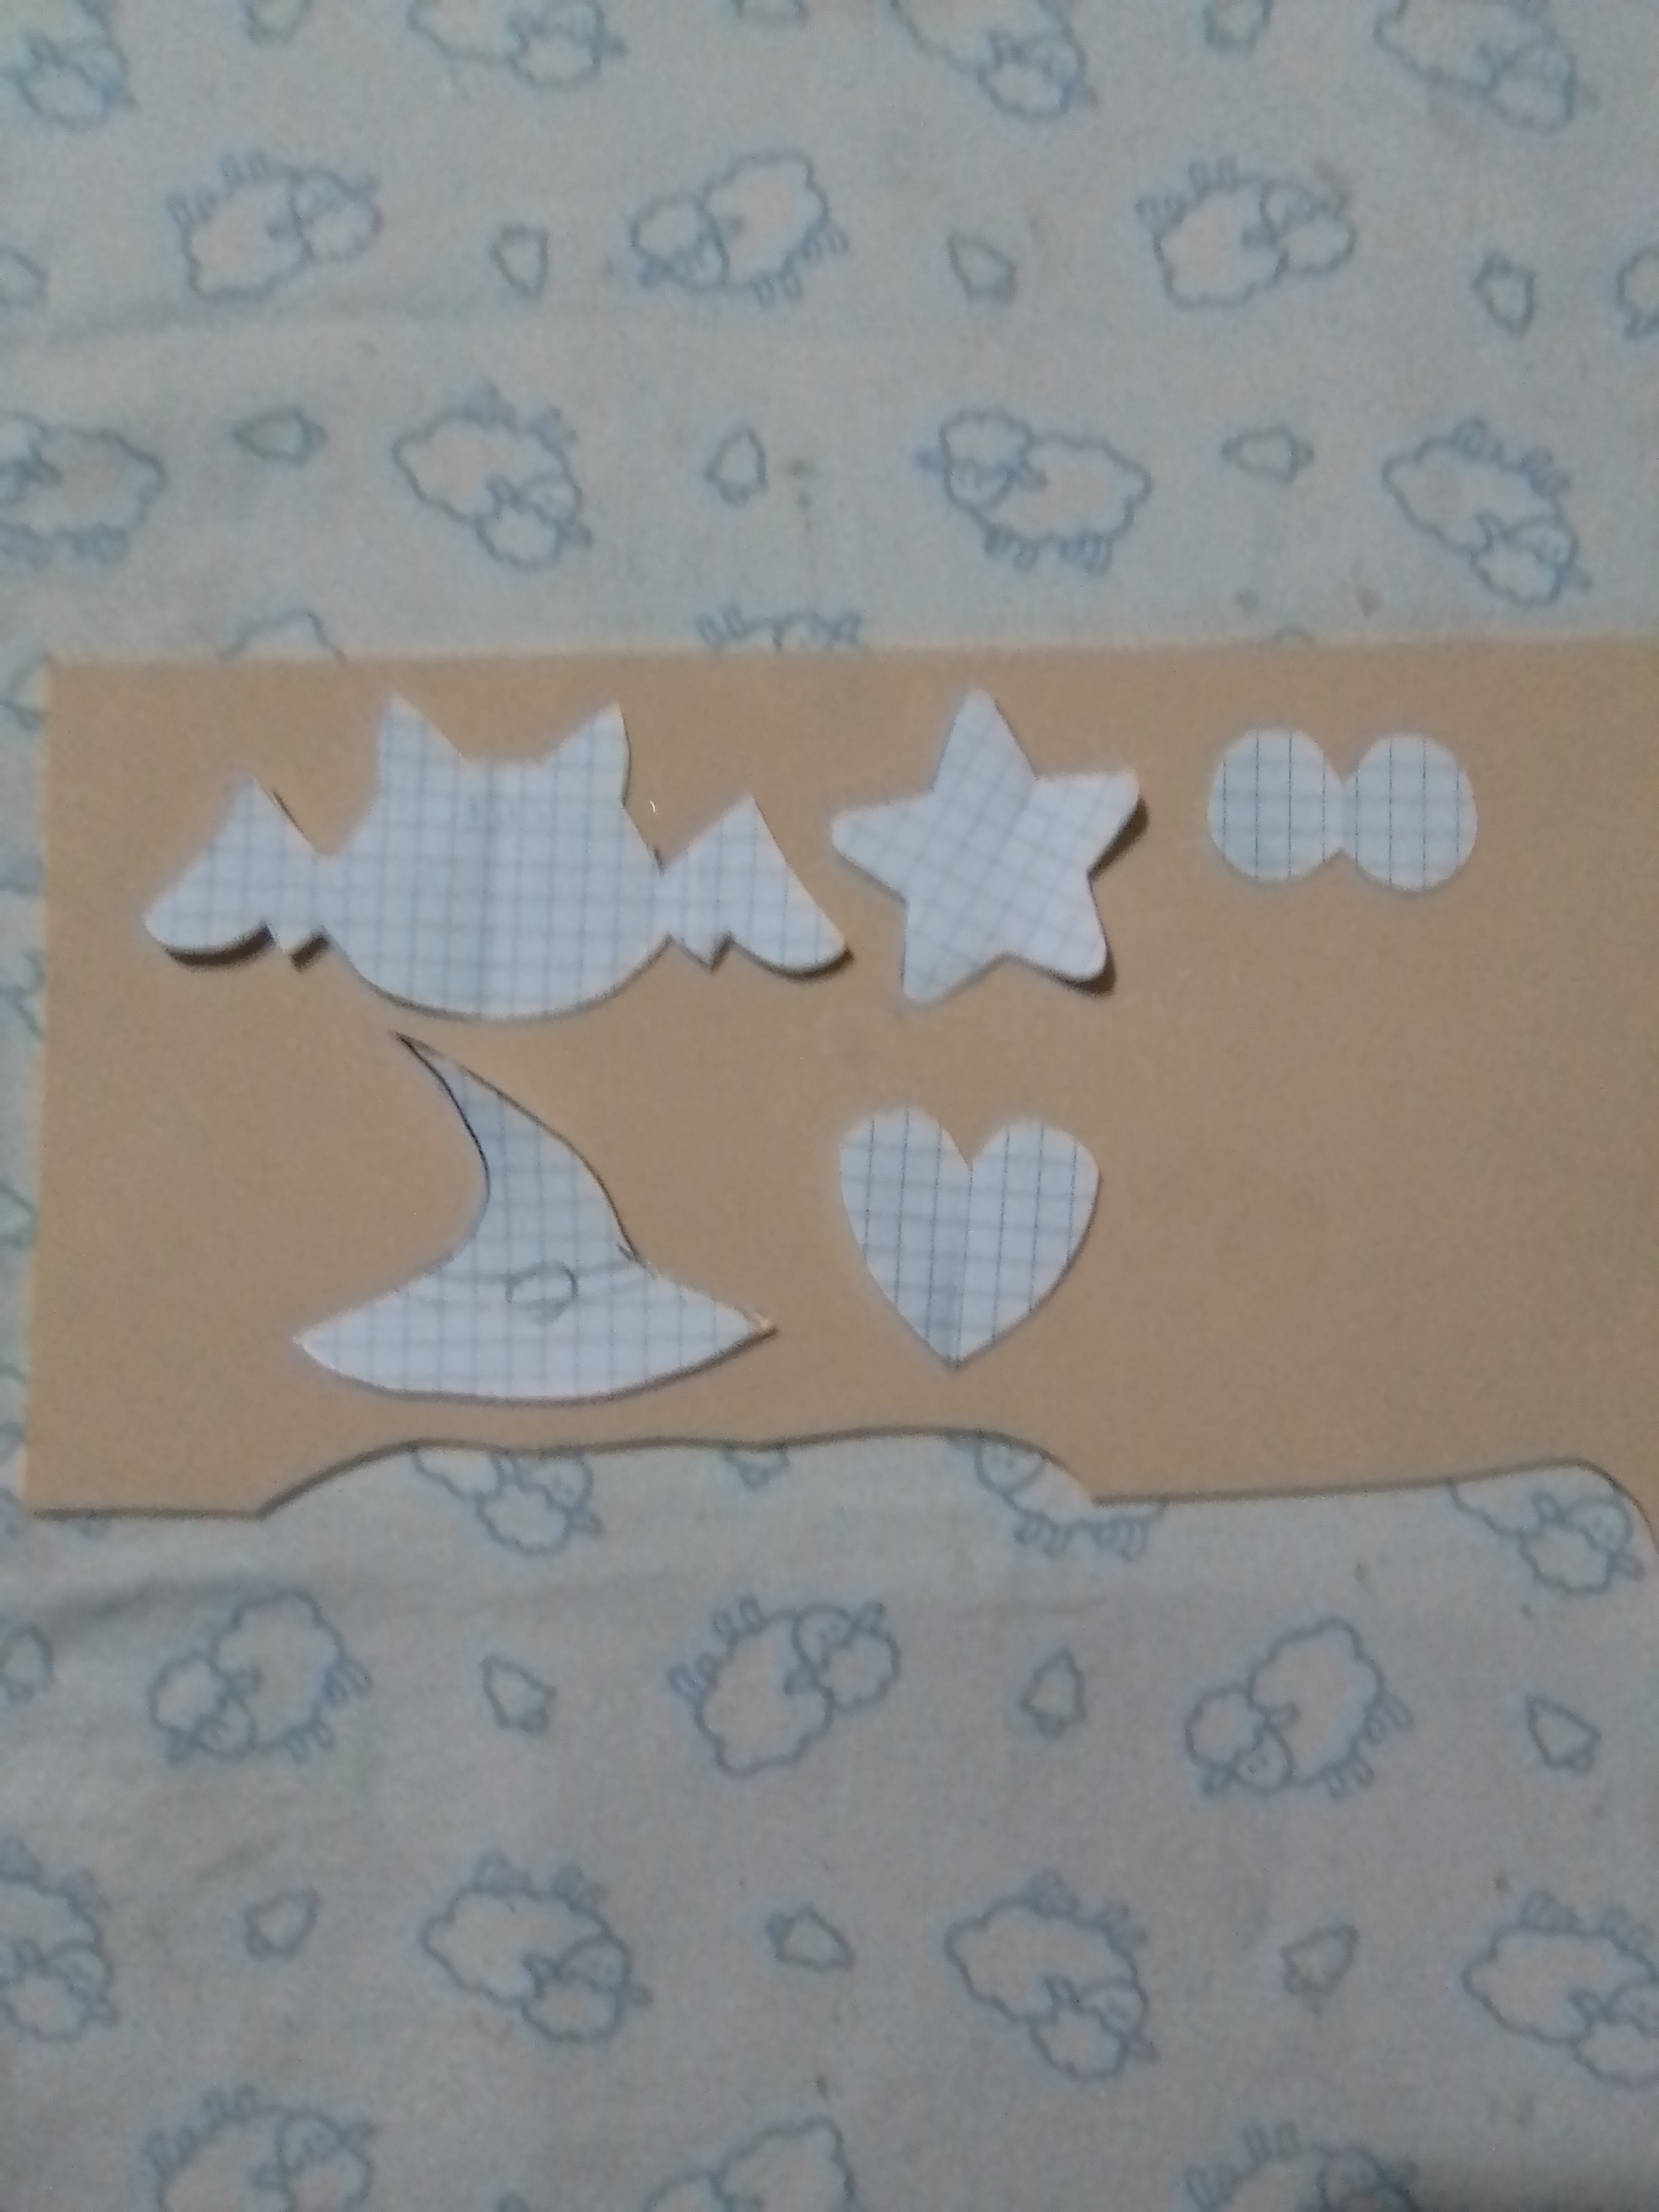
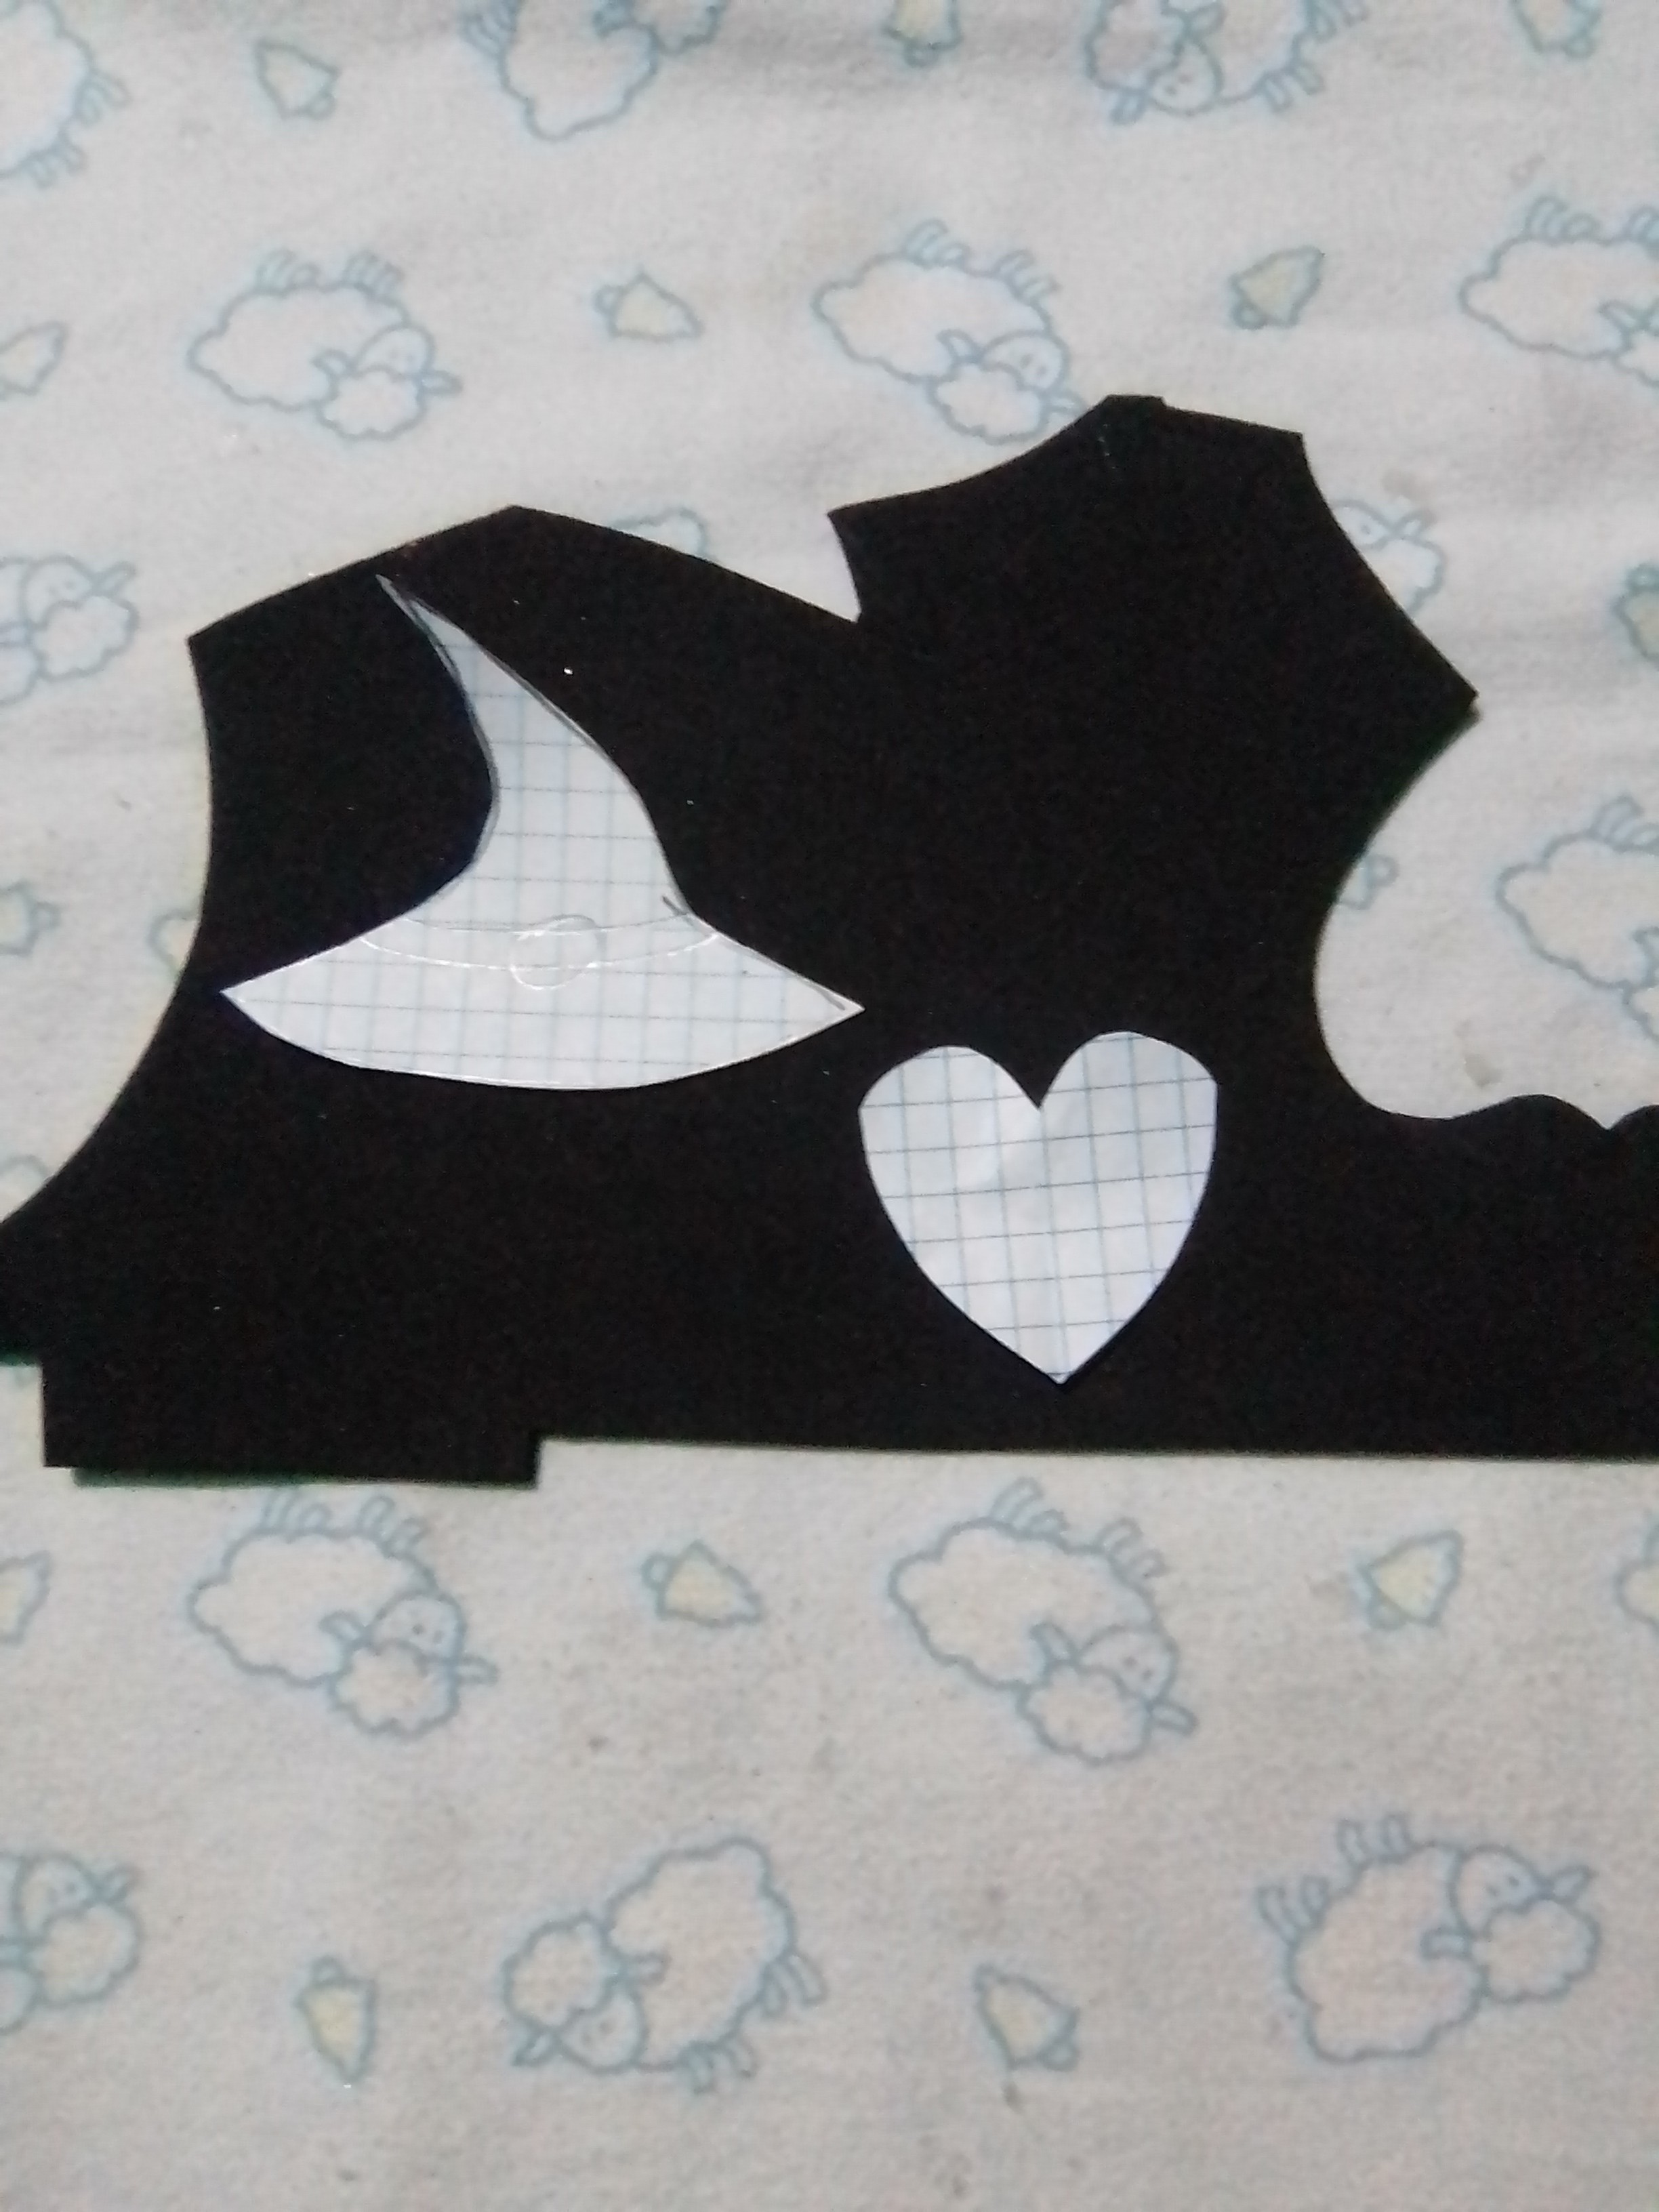
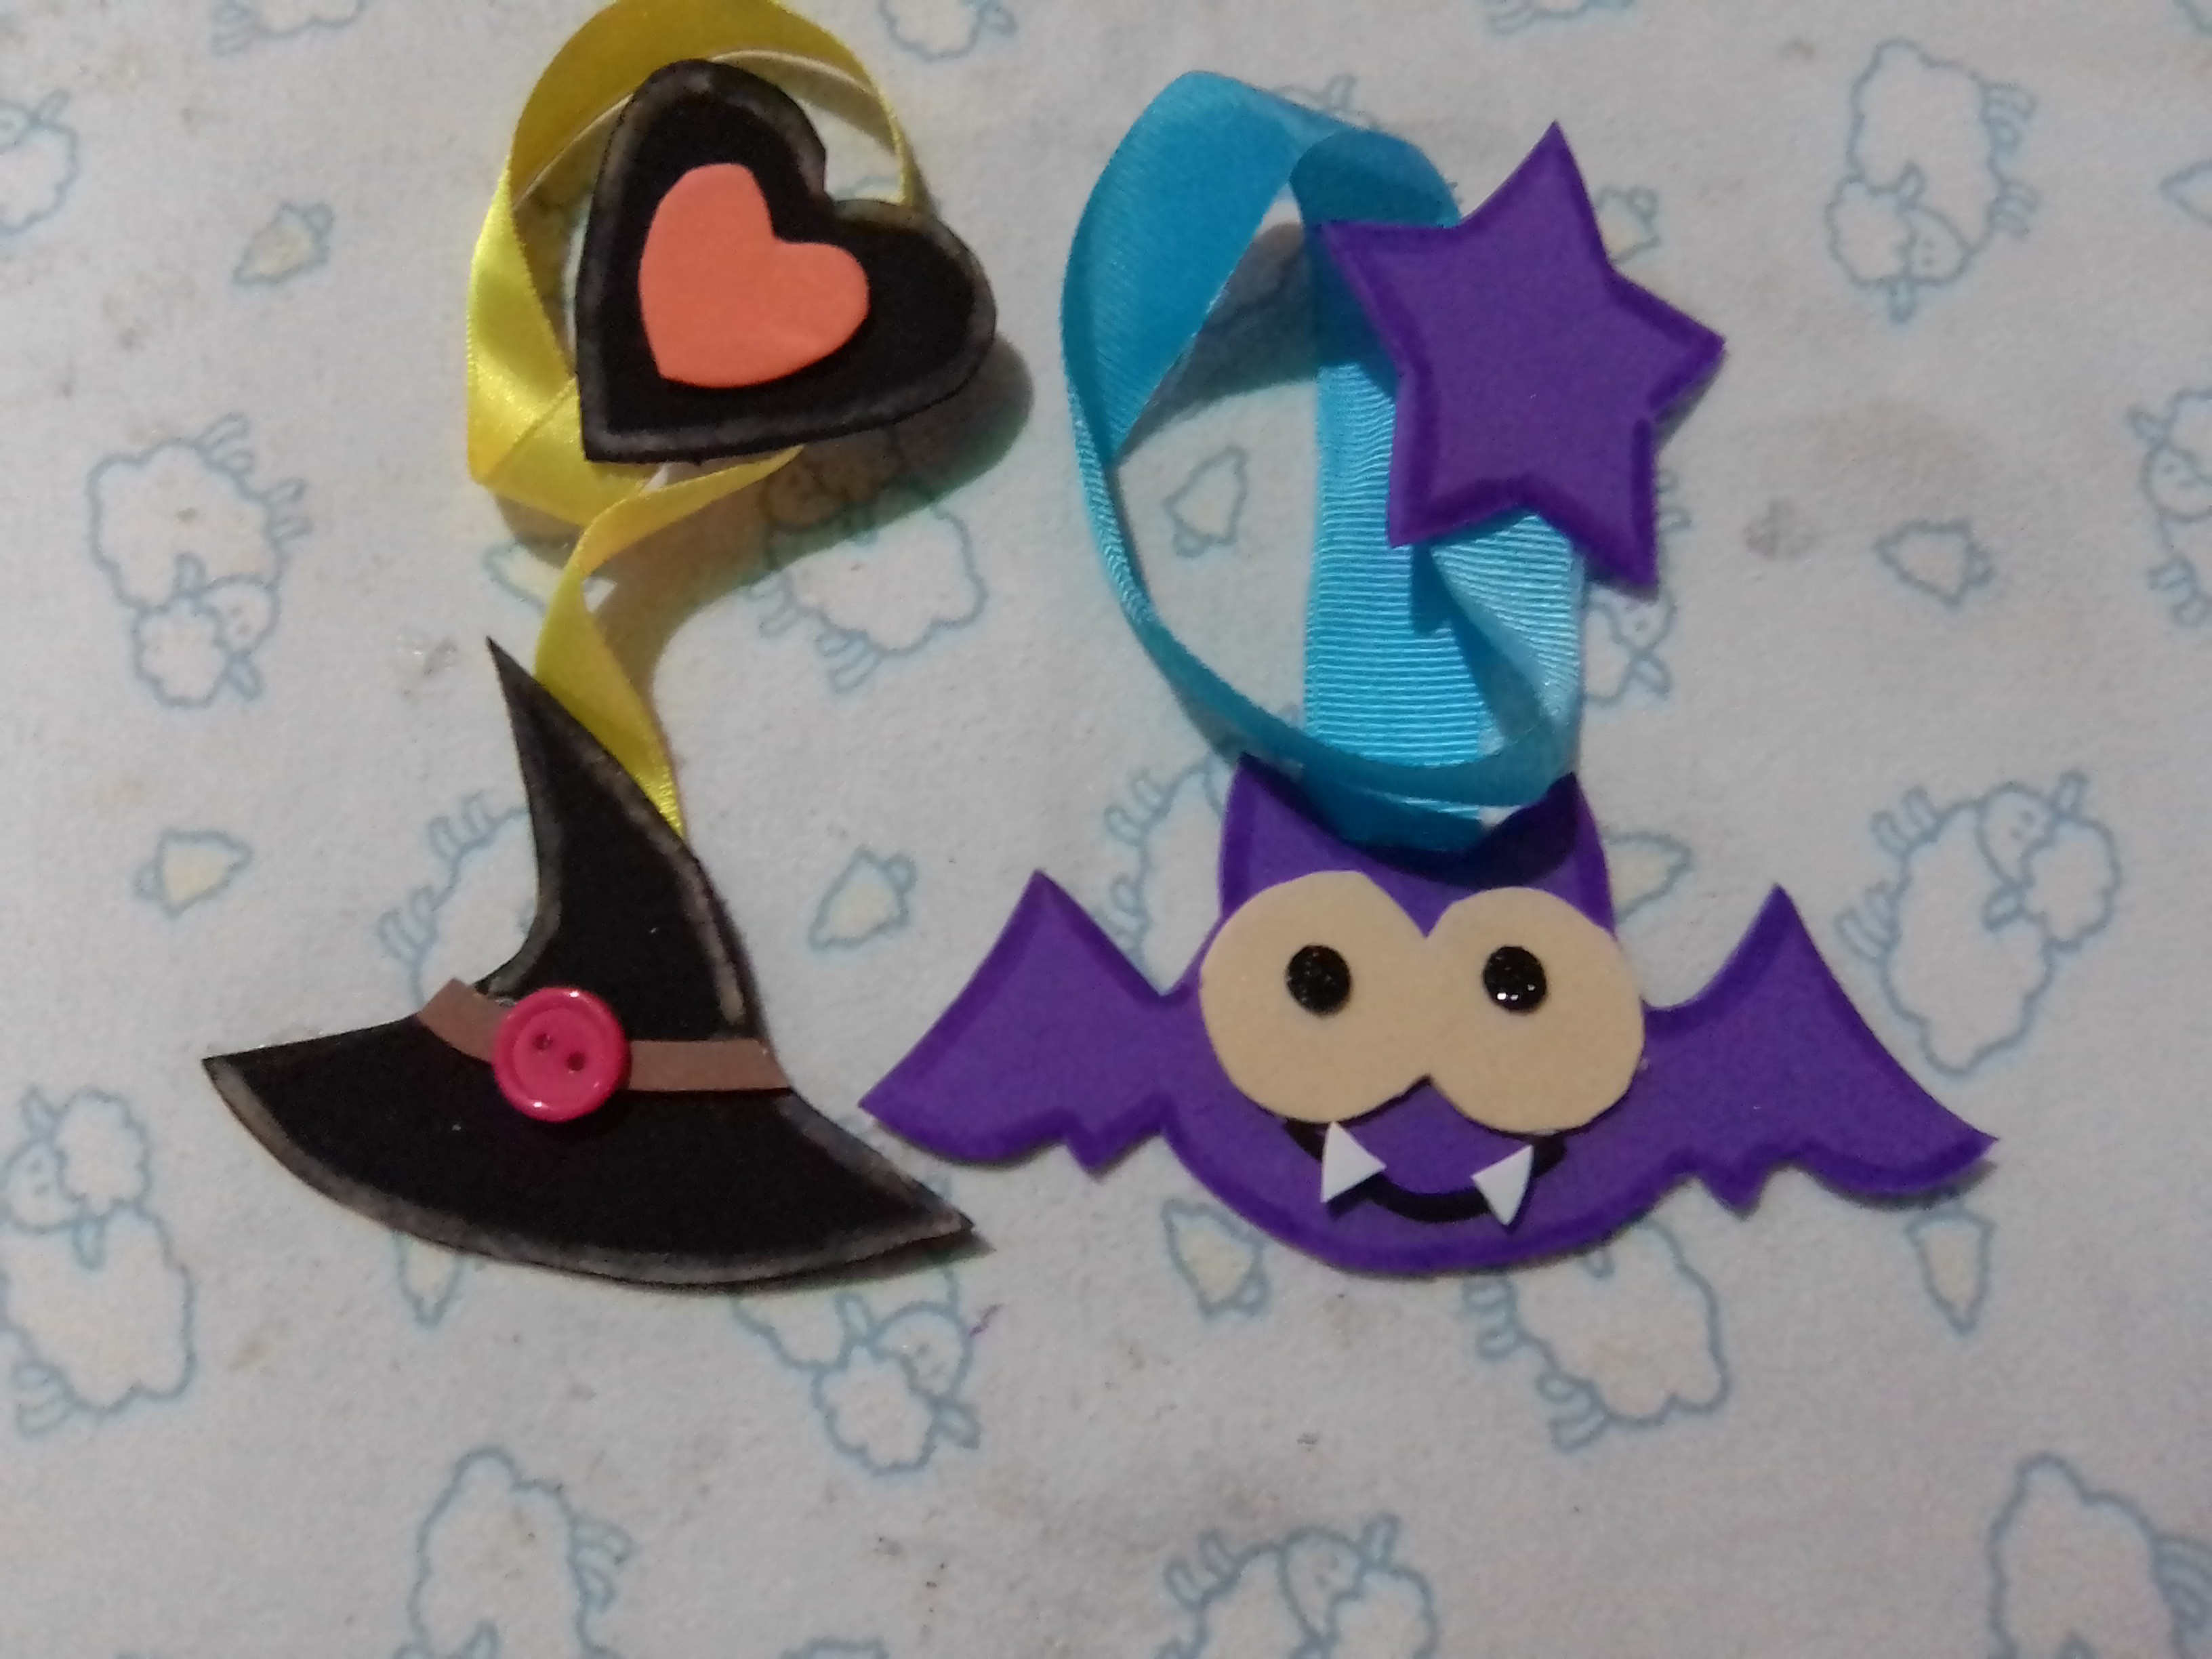
To make these Halloween-themed bookmarks, I decided to make the designs of a bat and the traditional witch hat, to do this I made the bookmark molds in recycled paper. Make the body of the bat, the eyes and the star on top. For the witch I made a hat, the hearts on the top and decorations on the hat.
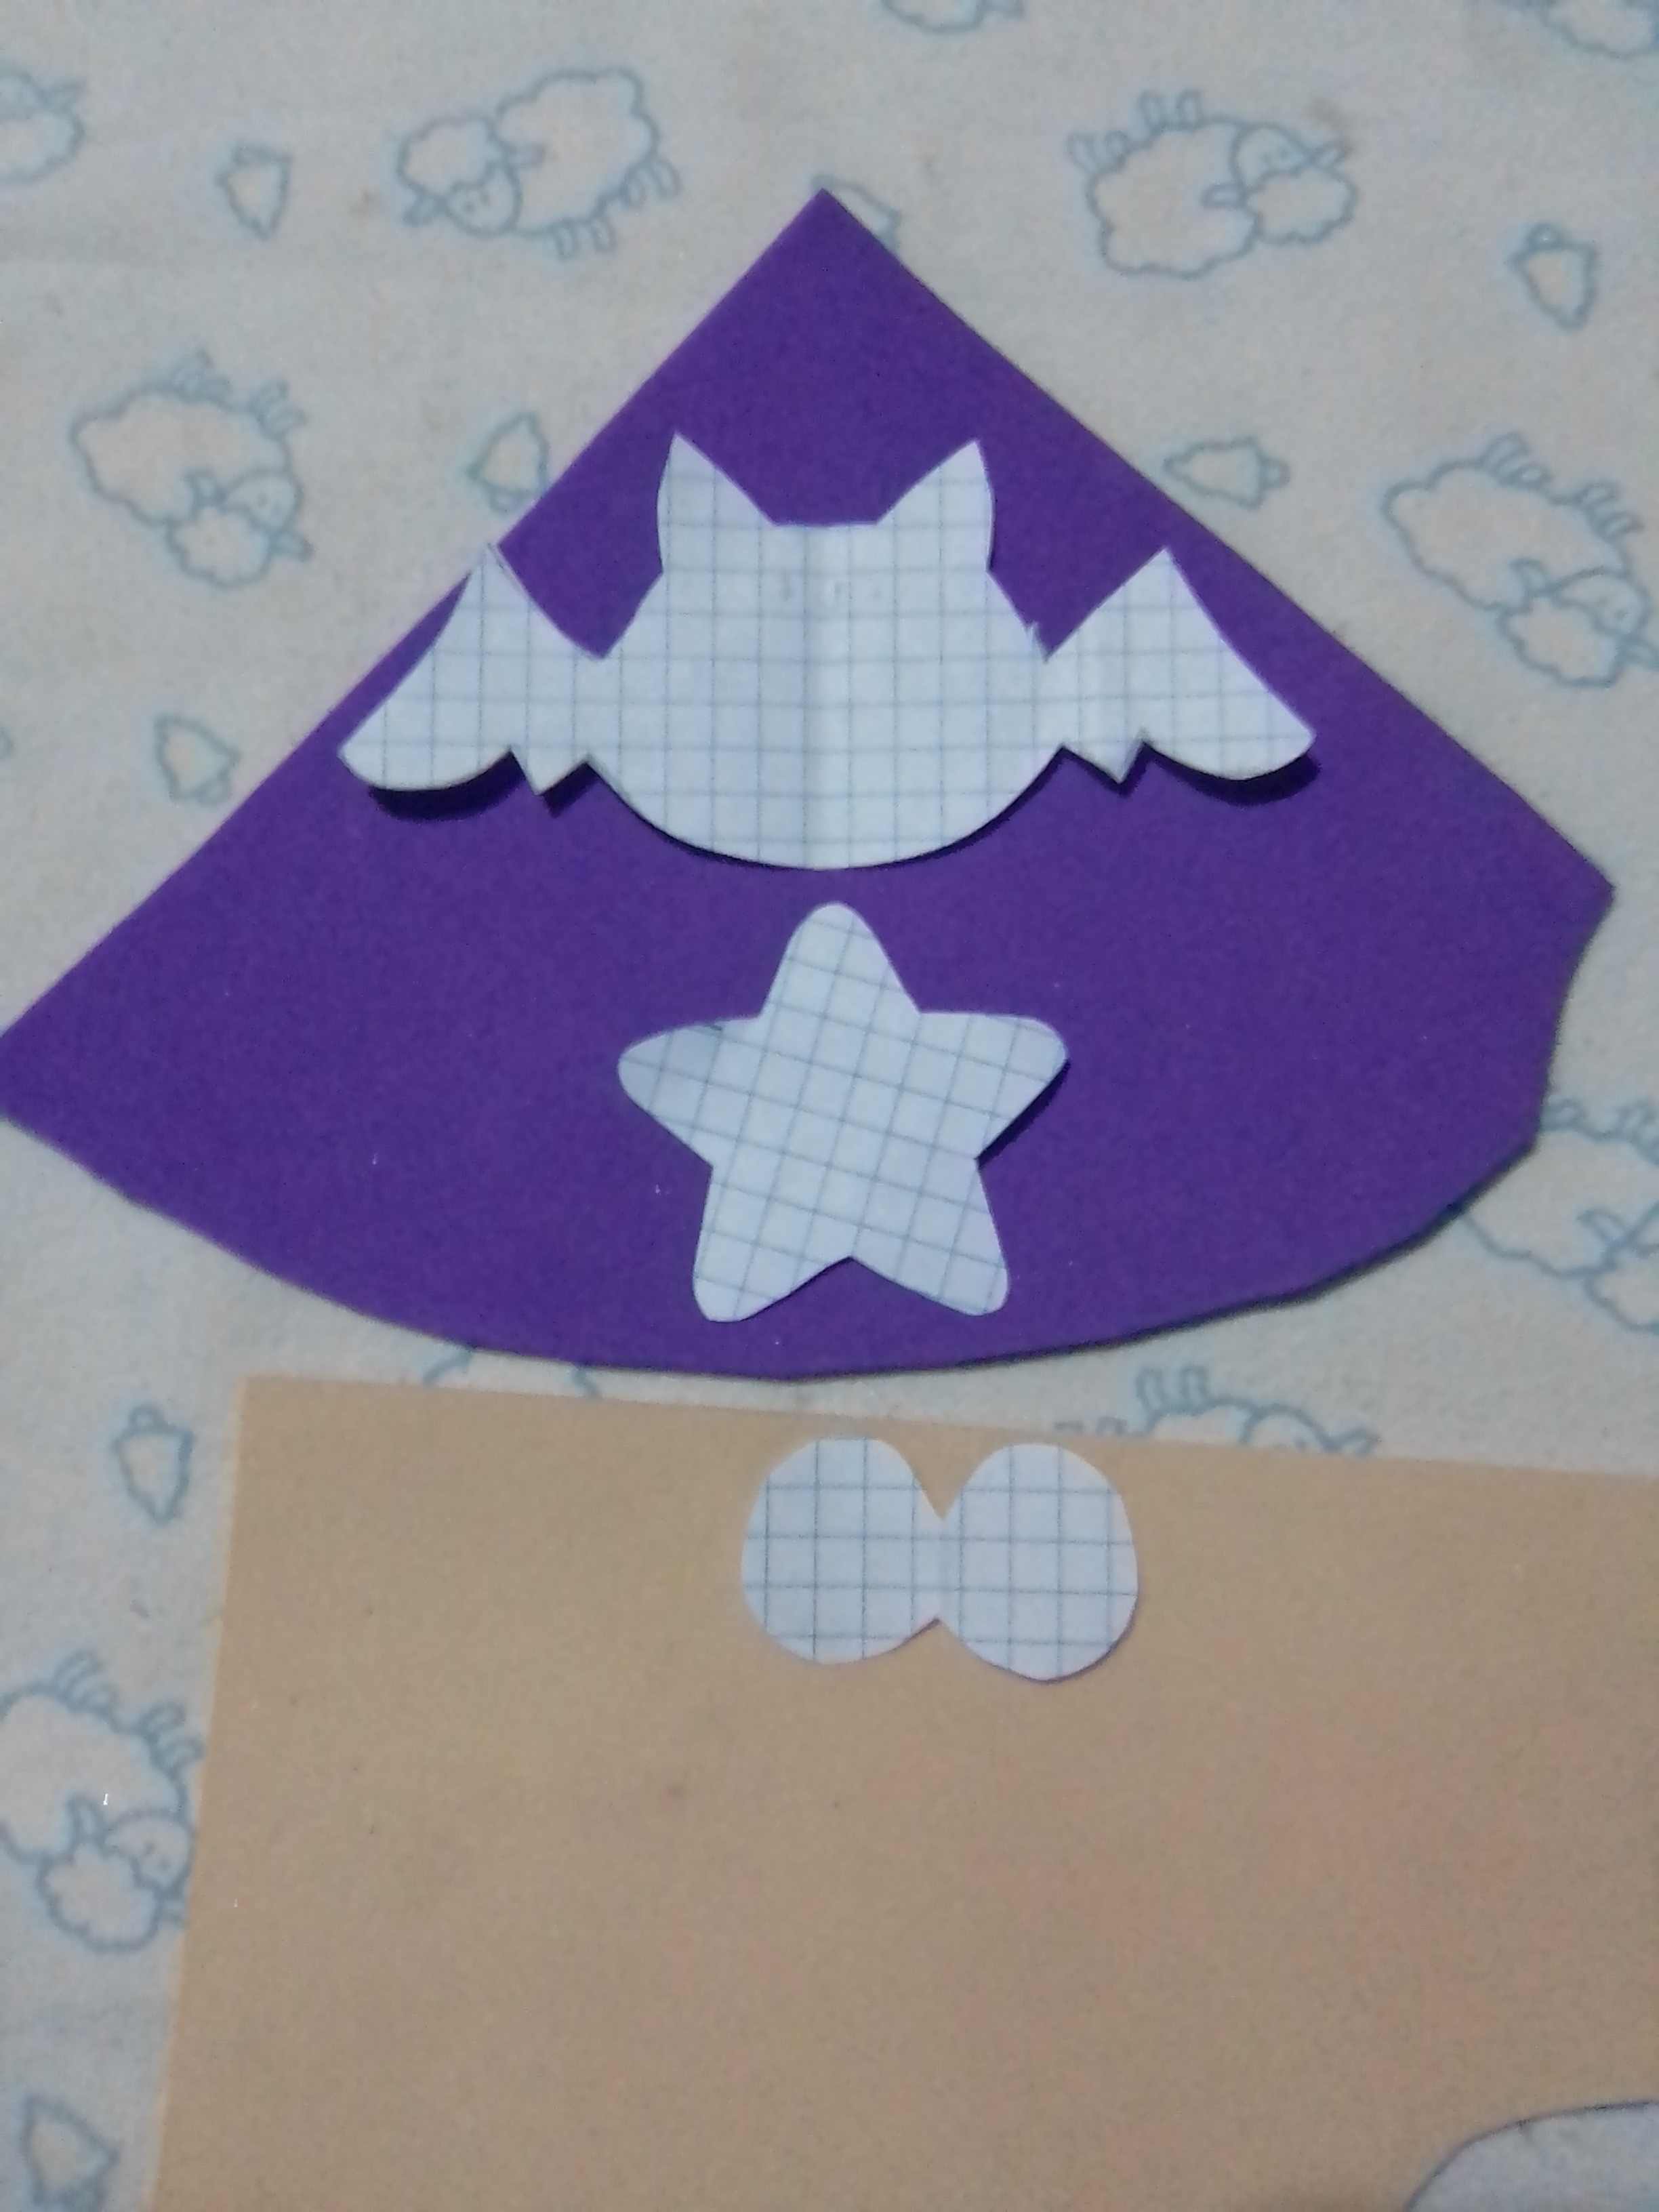
With the molds ready, I now proceed to transfer it to the respective colors of foami intended for it, the bat and the star in purple, the eyes of the bat in cream with black pupils, the smile in black and the fangs in white.
The witch's hat, in classic black, as well as the big heart, the small heart in orange and the hatband in brown.
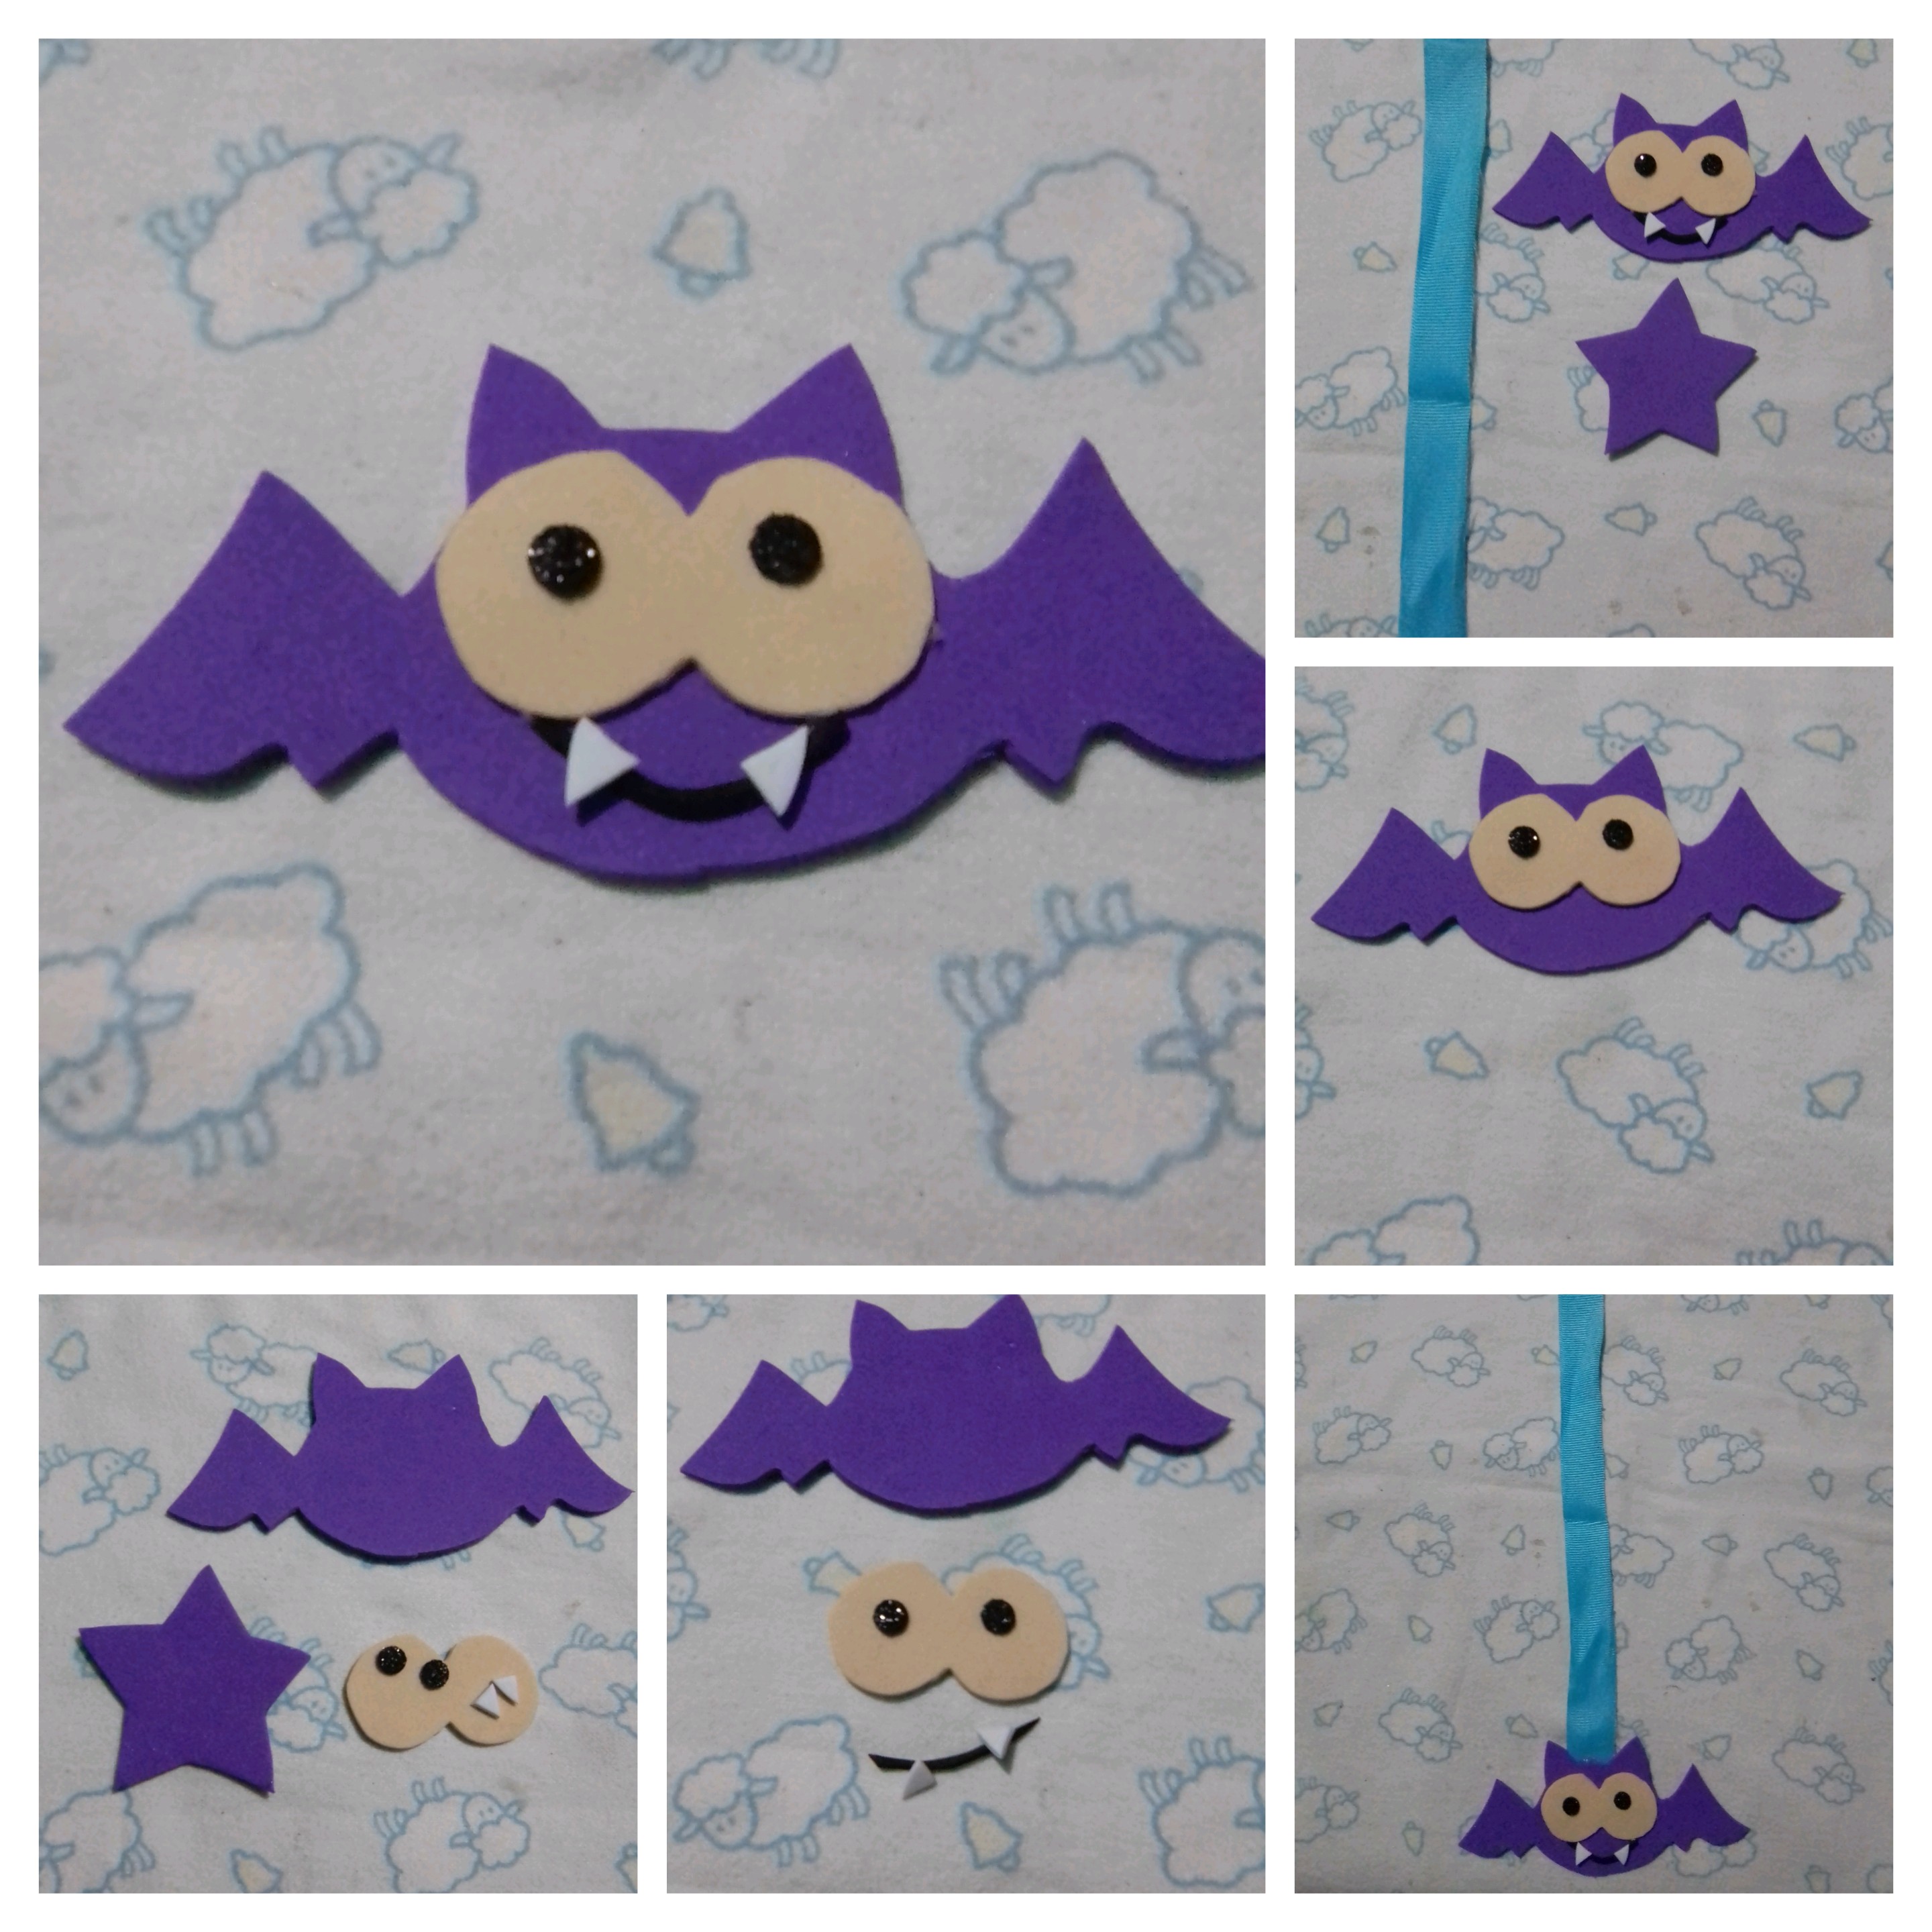
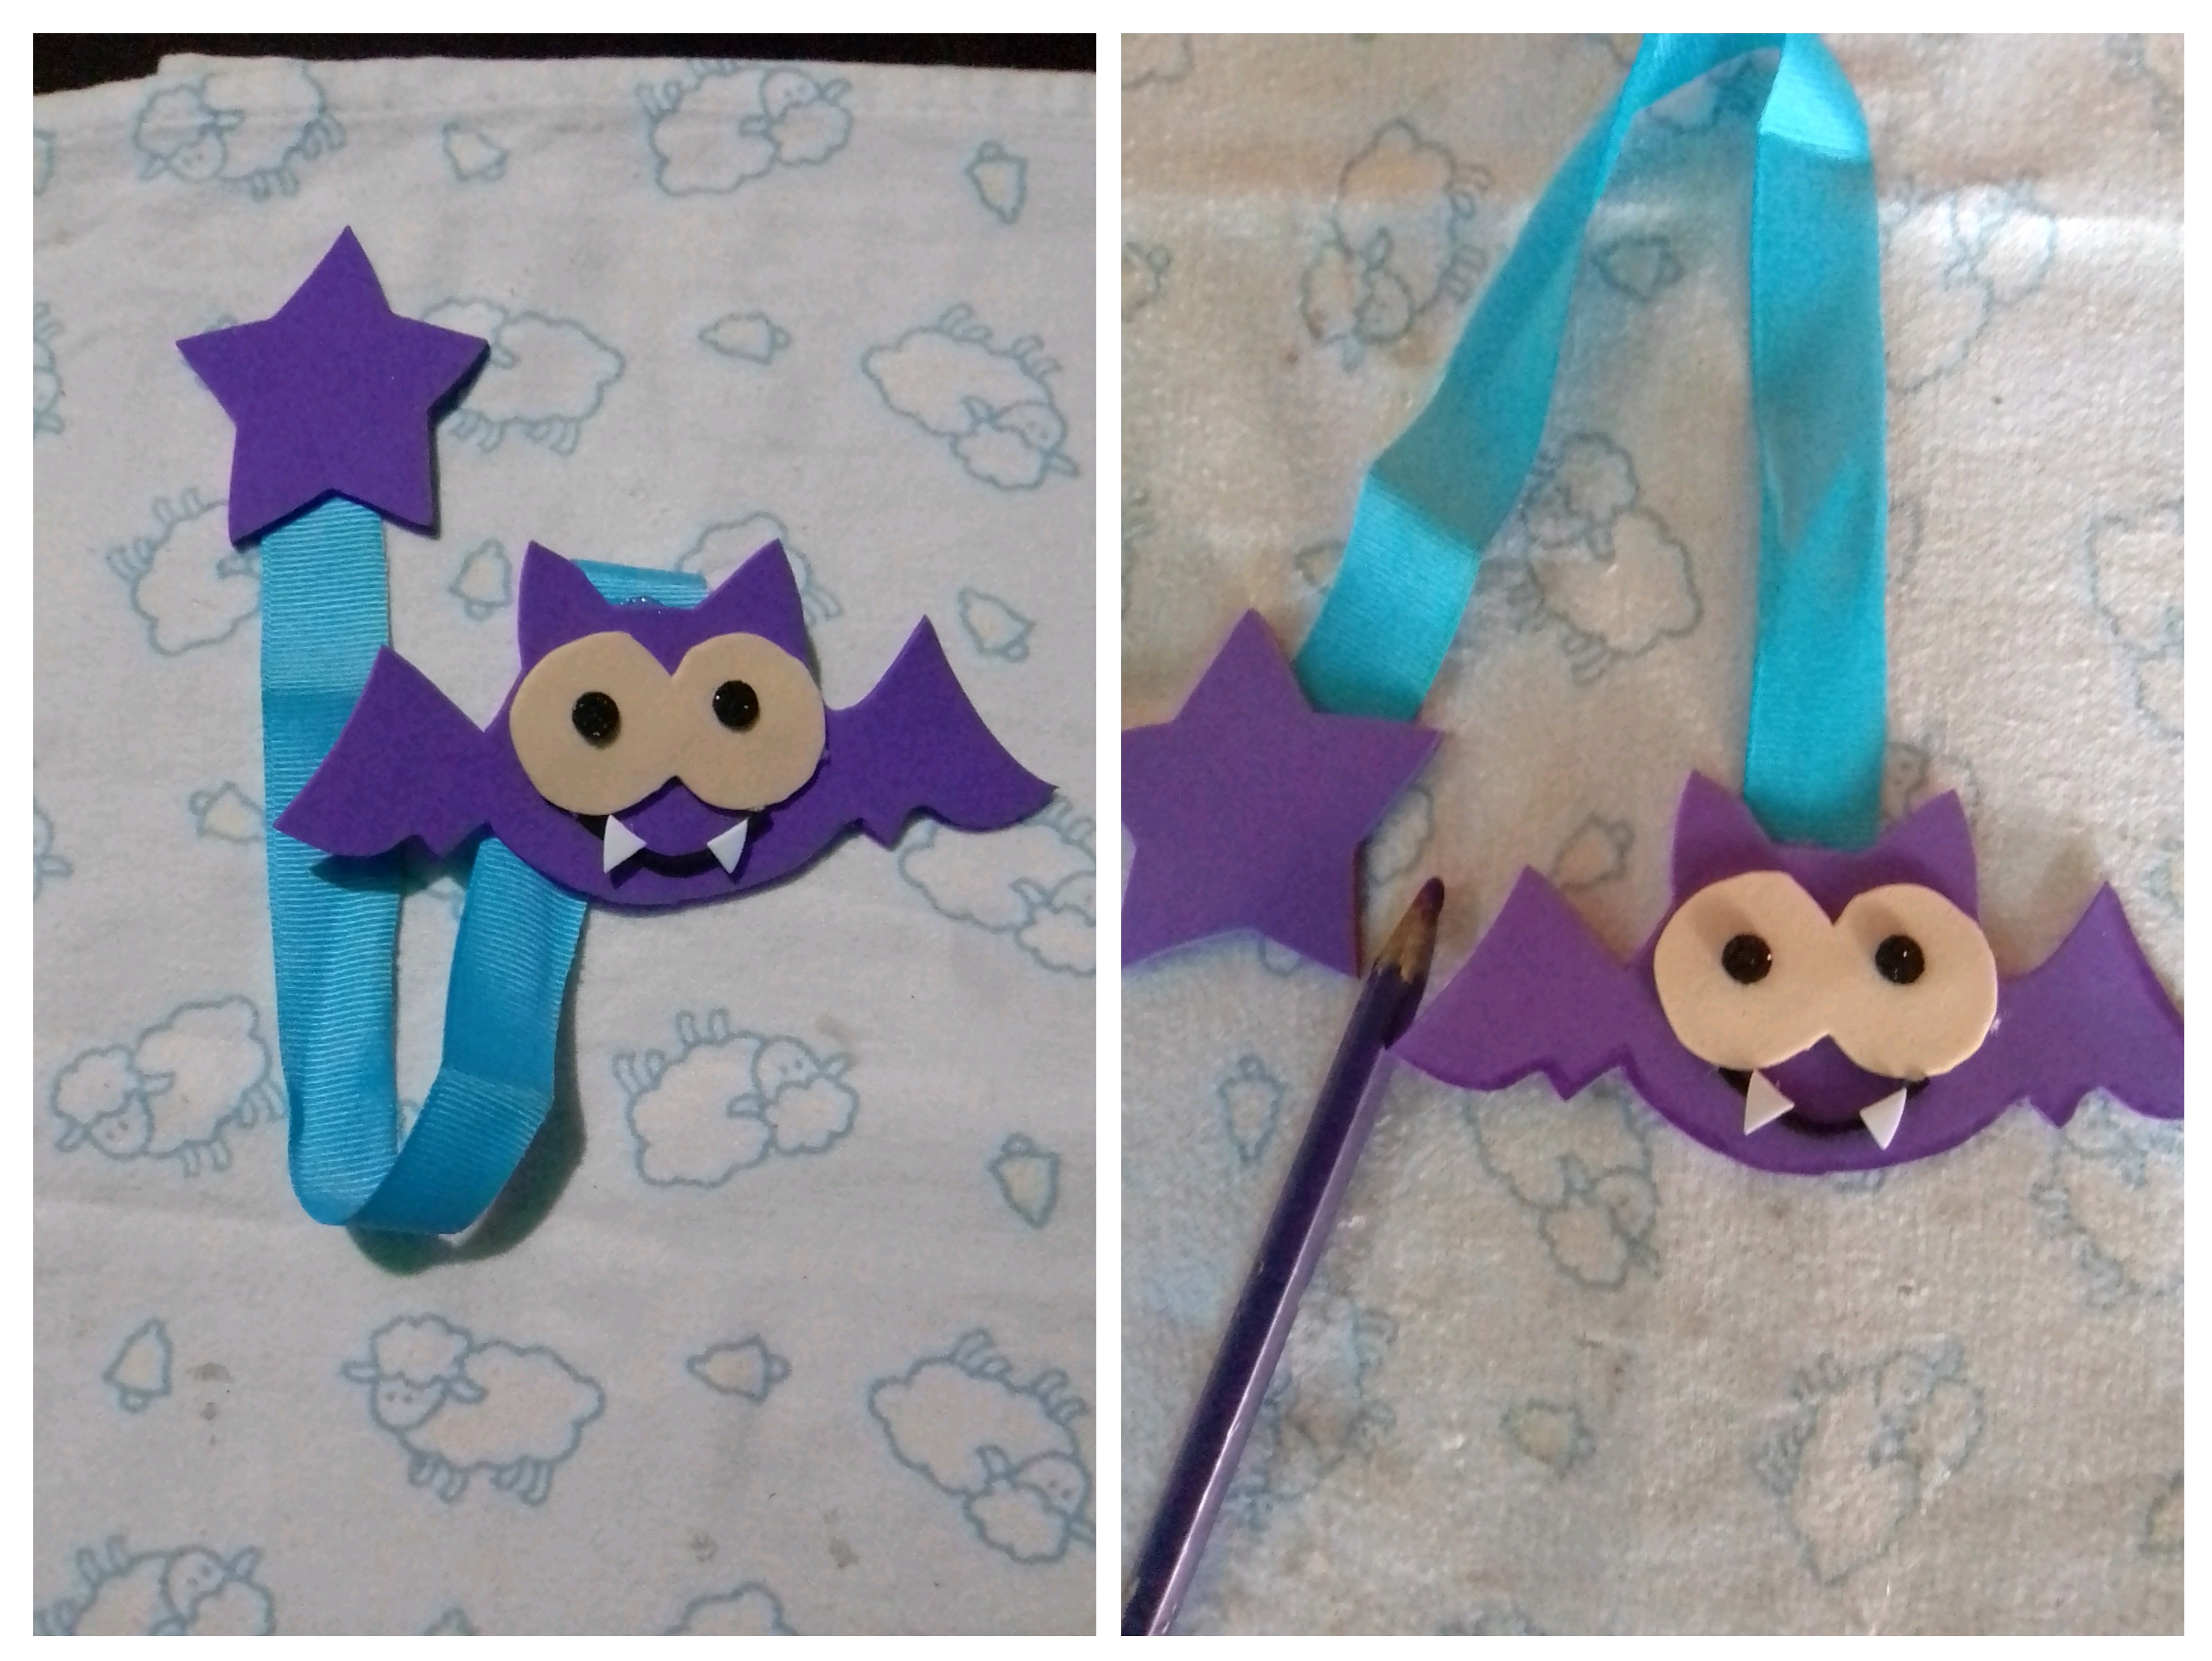
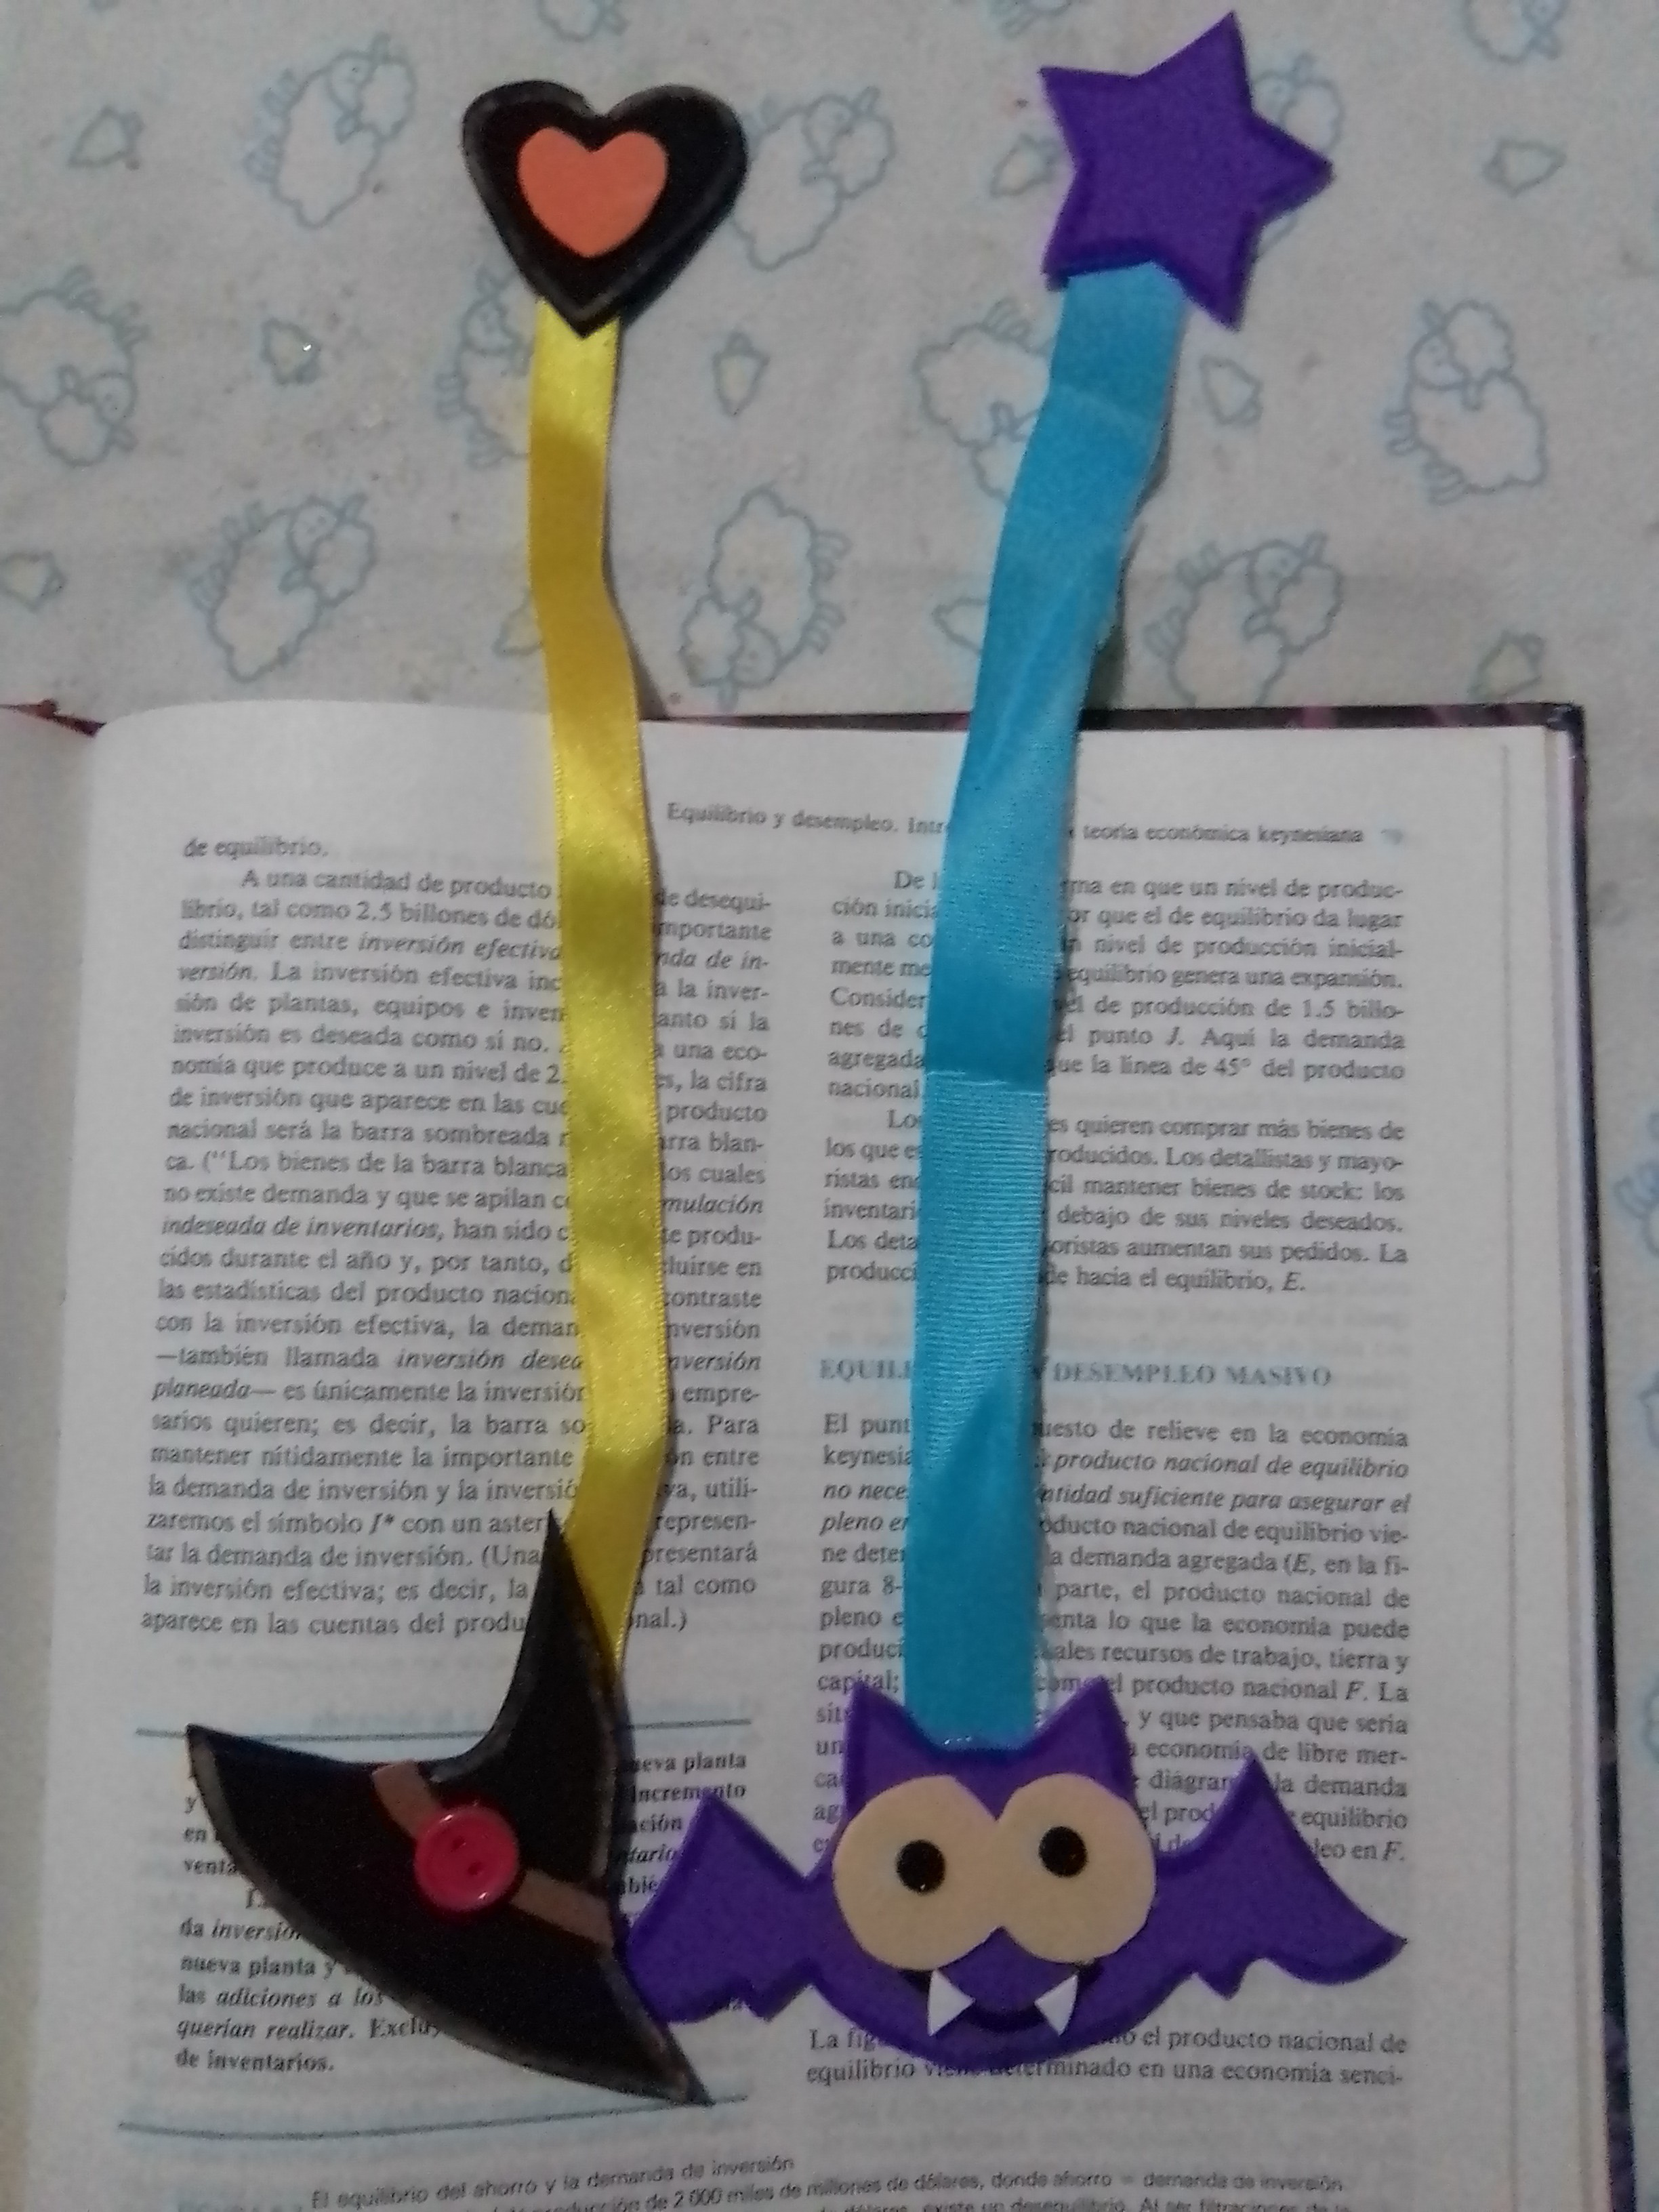
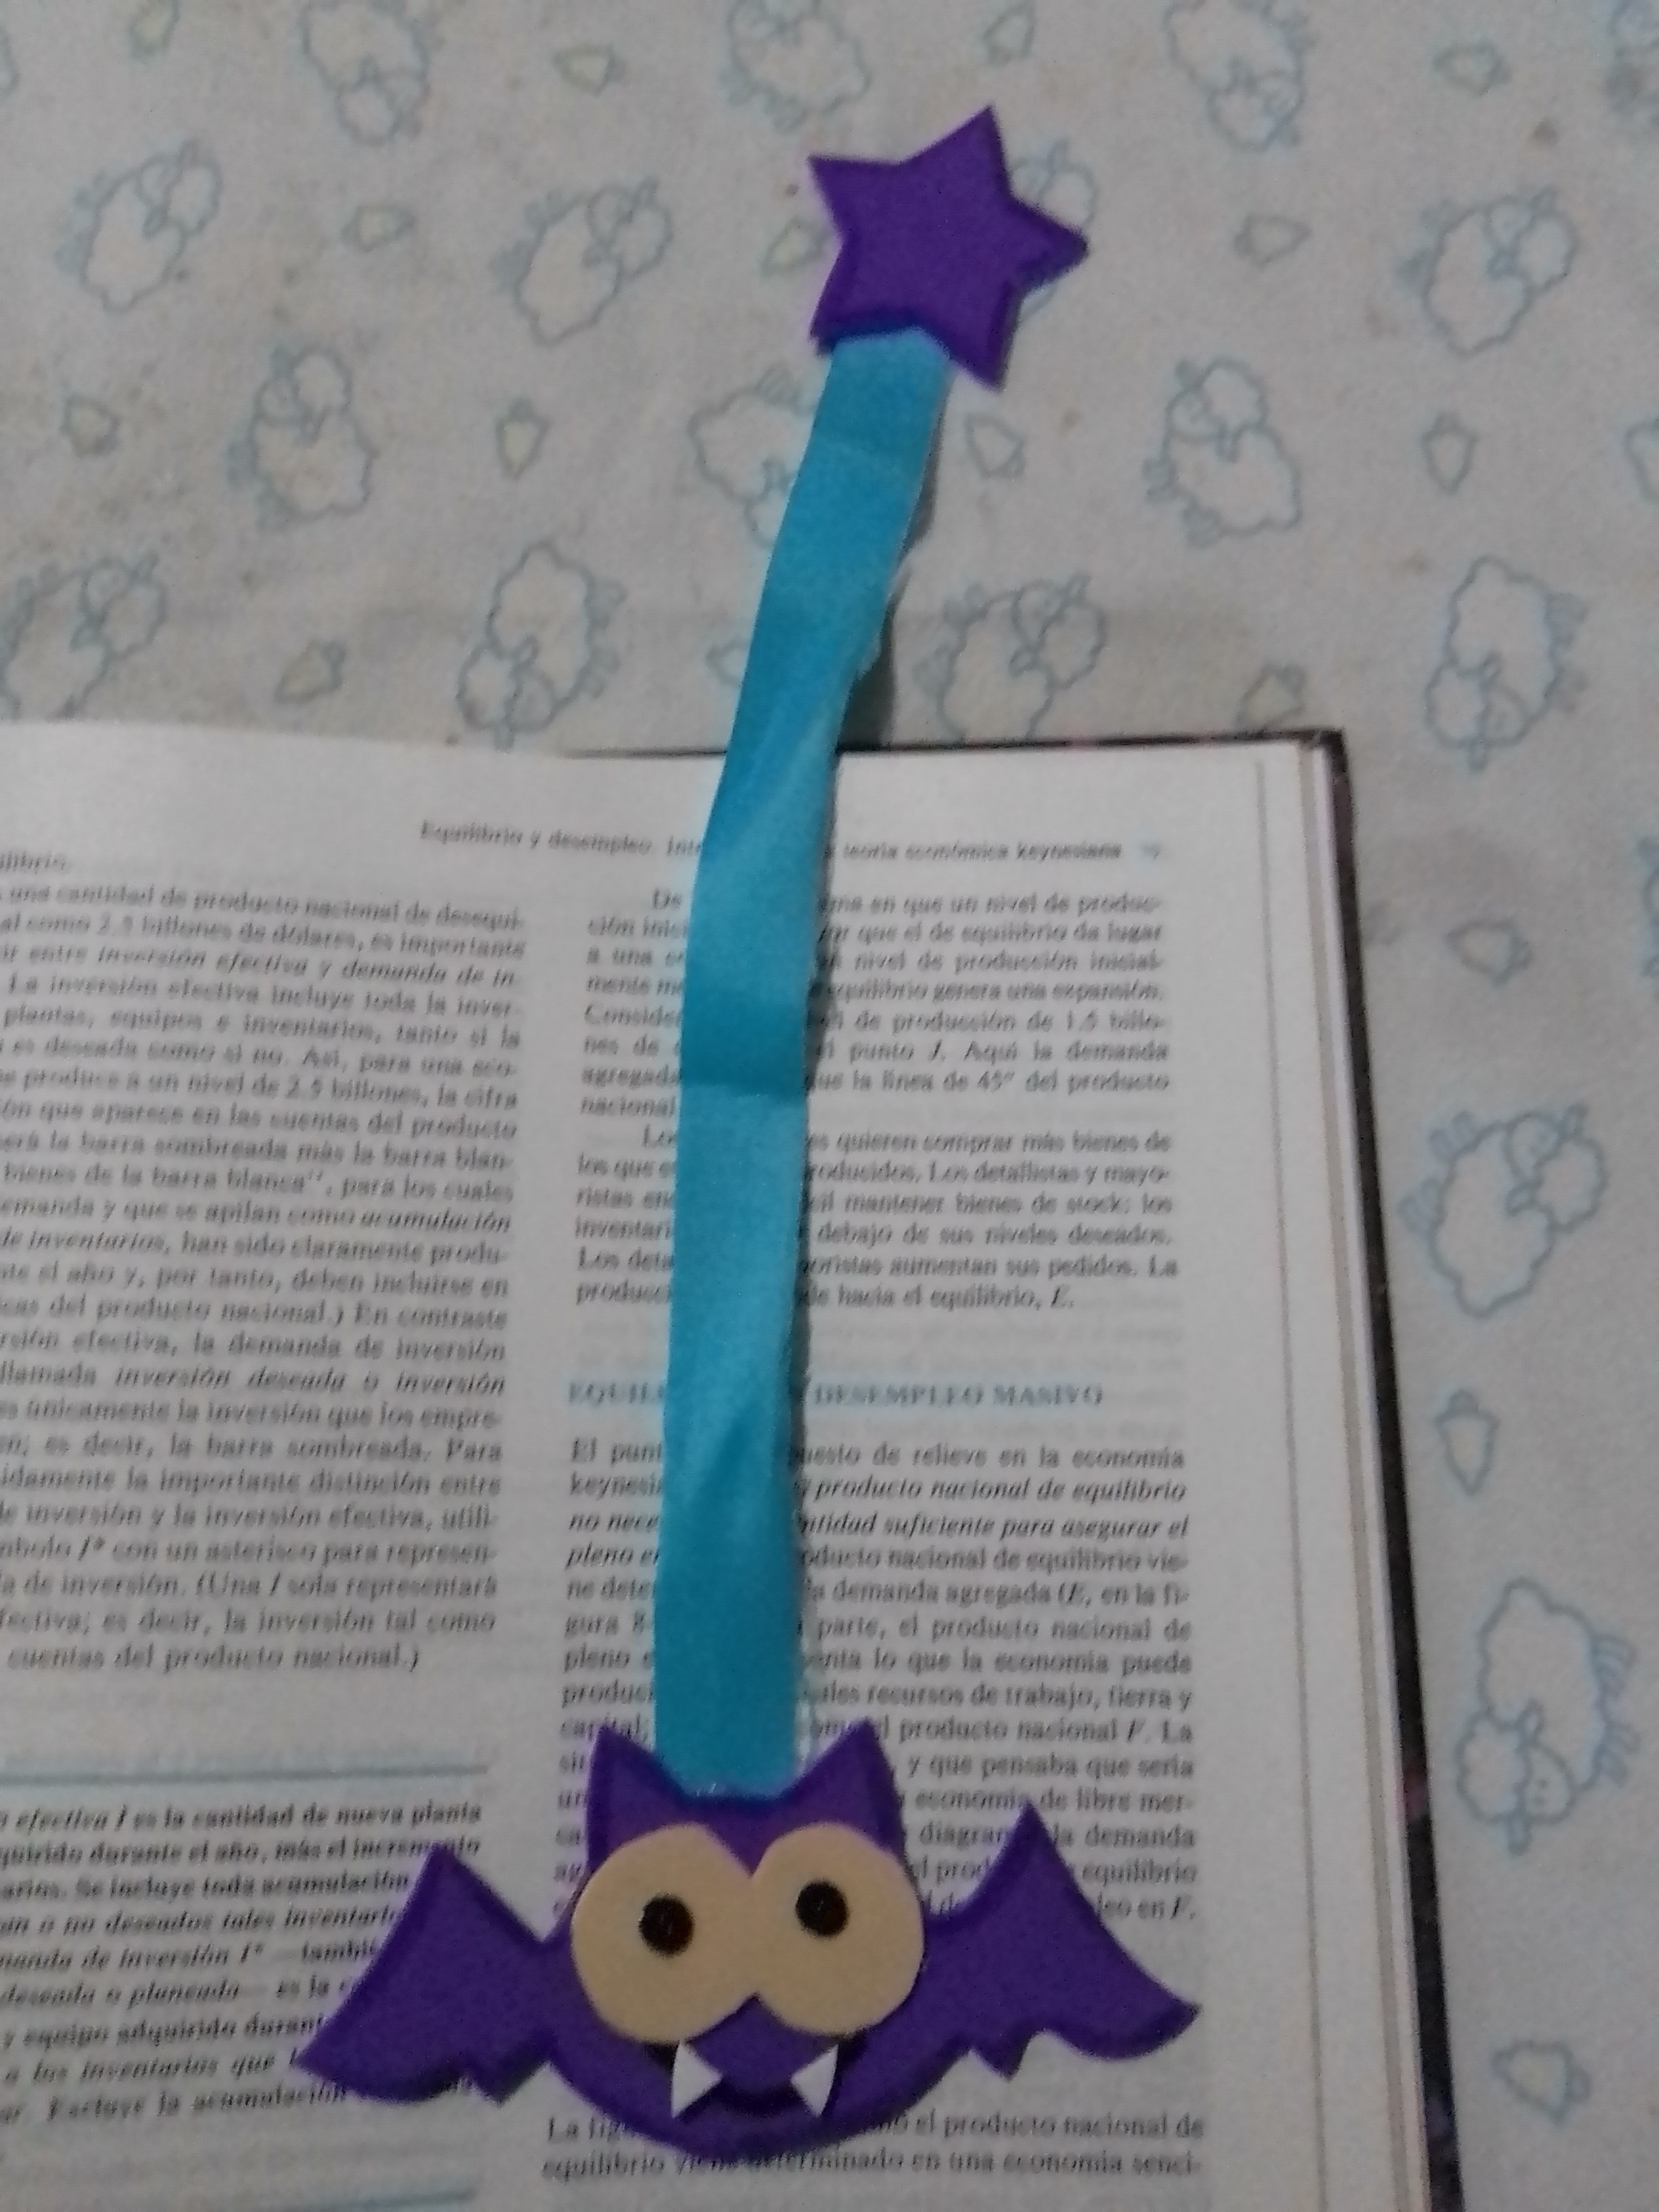
He assembled the parts of the bat, one its eyes and fixed the mouth touching the eyes and above it the two white fangs, and lastly, he glued the blue fabric ribbon to the end of the bat and the other end to the star. Finally, with a purple pencil, demarcate all the edges to highlight.
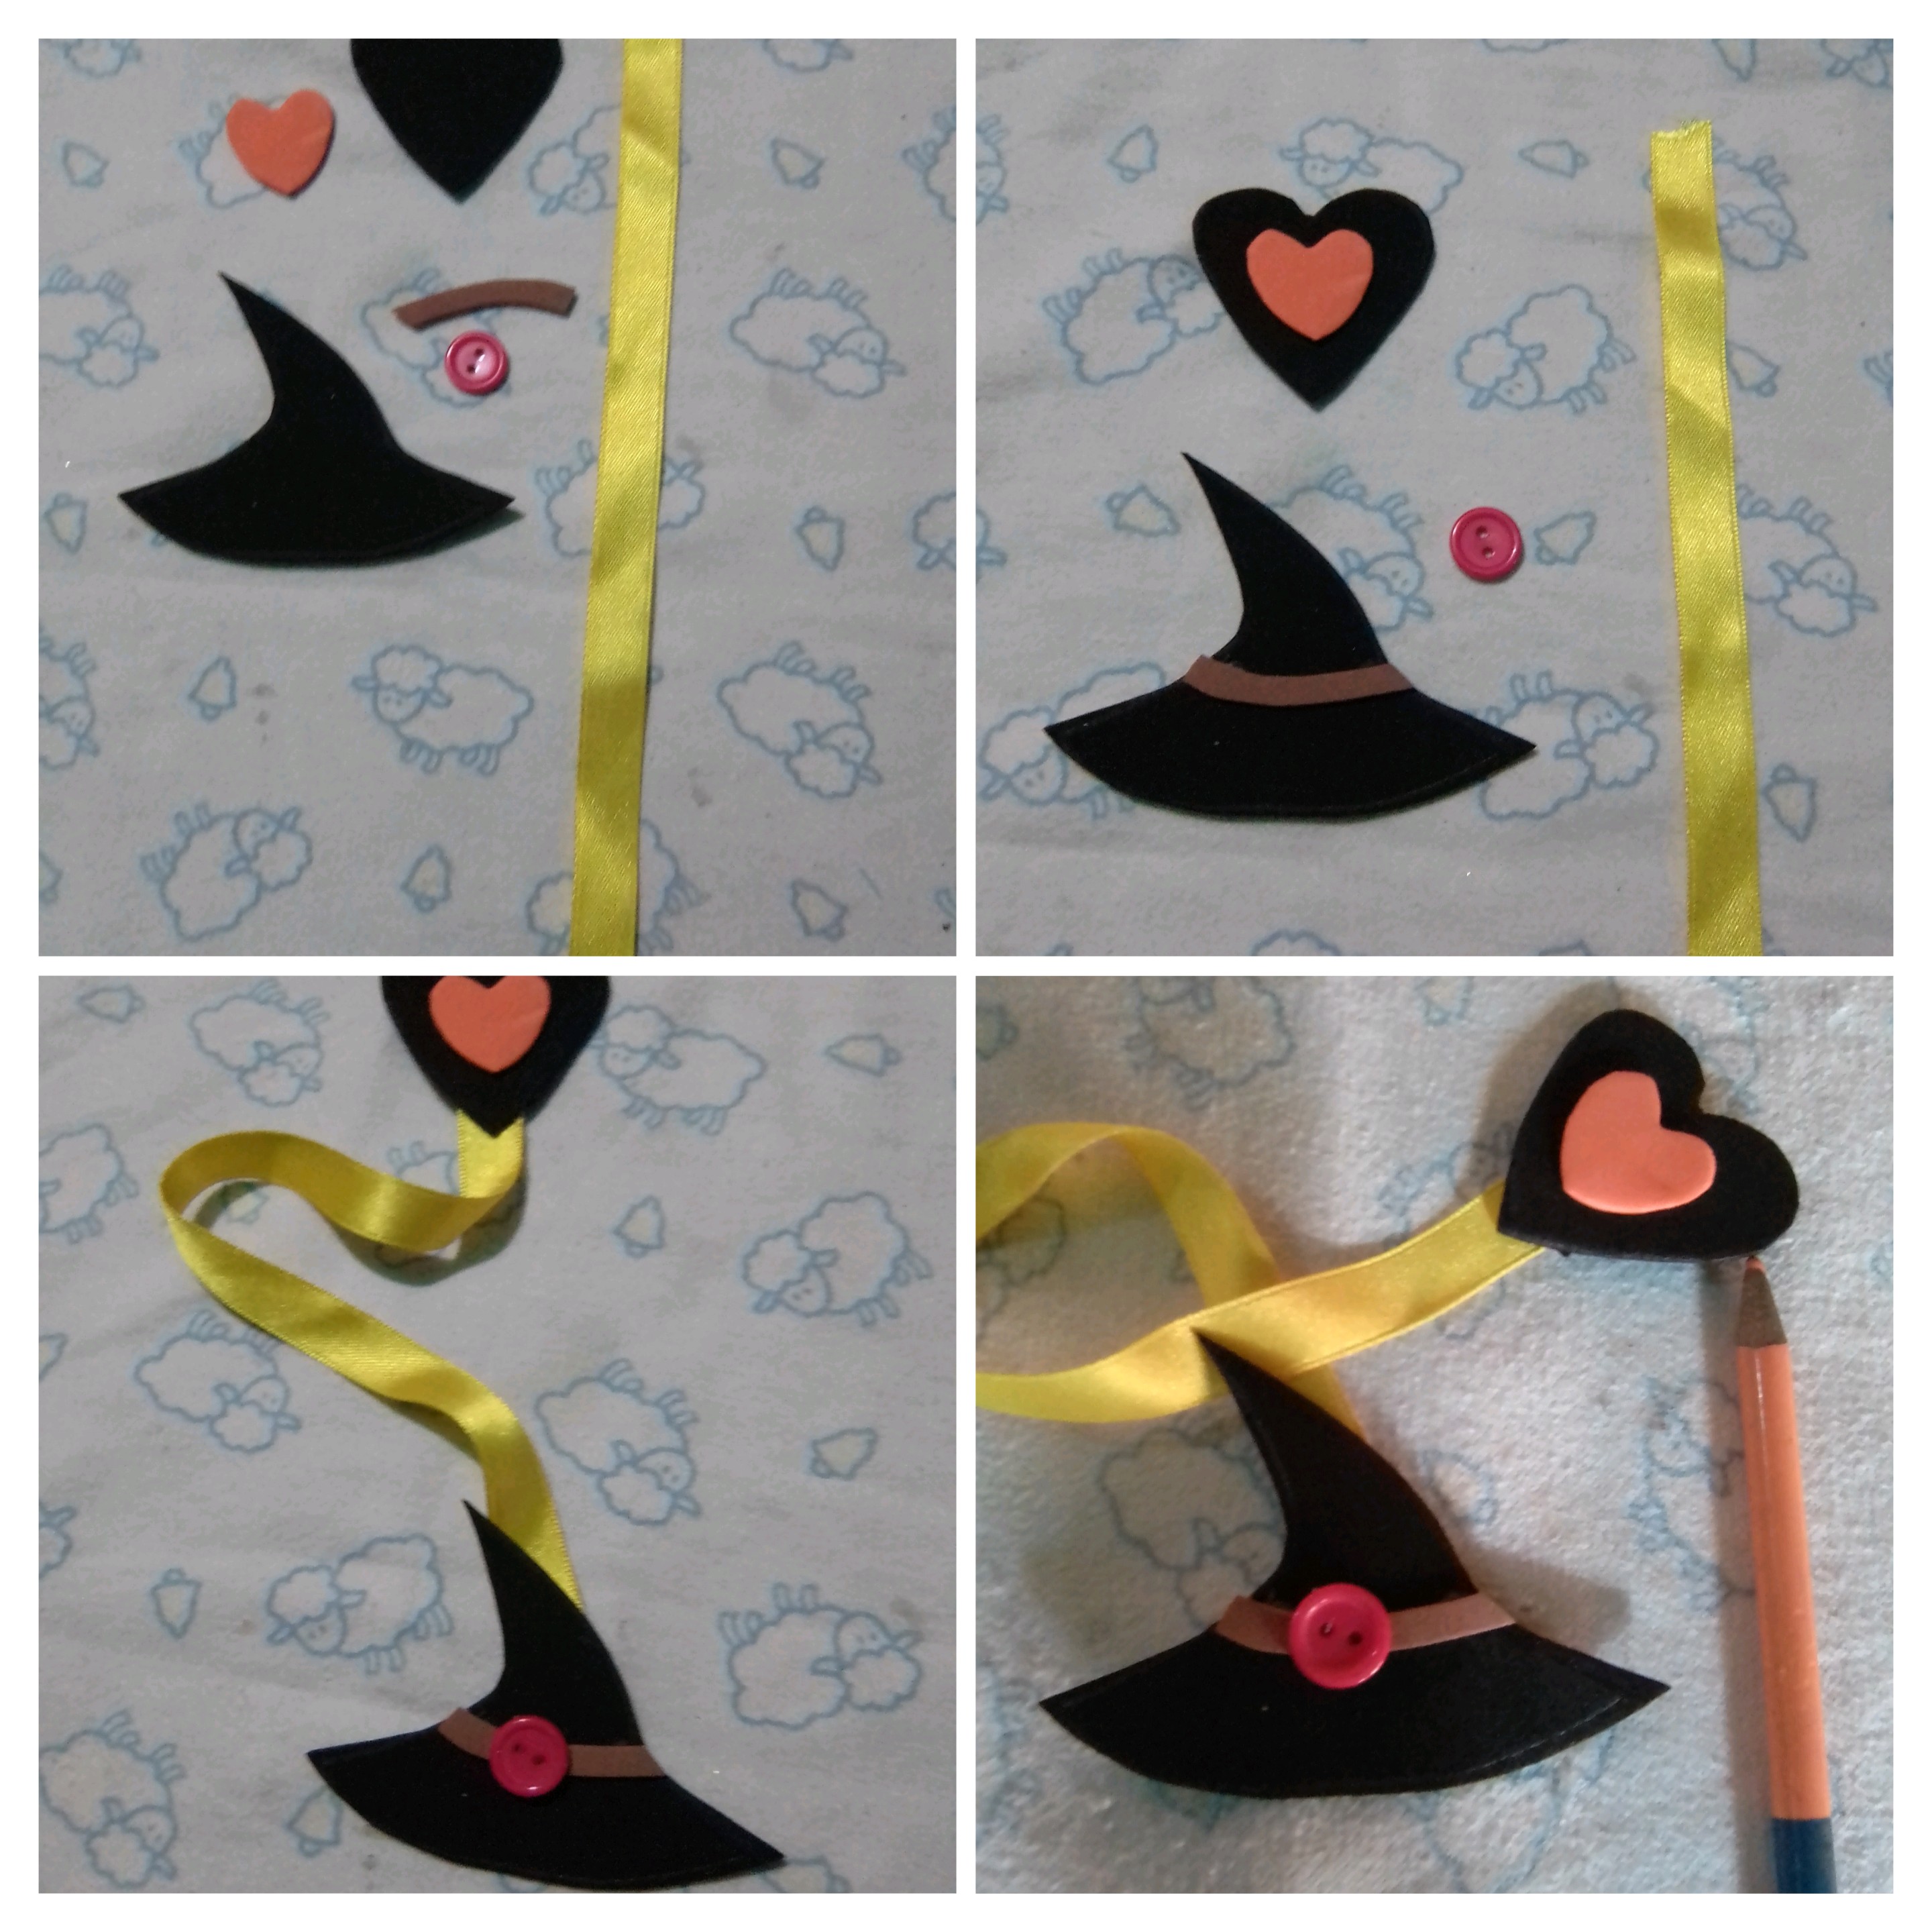
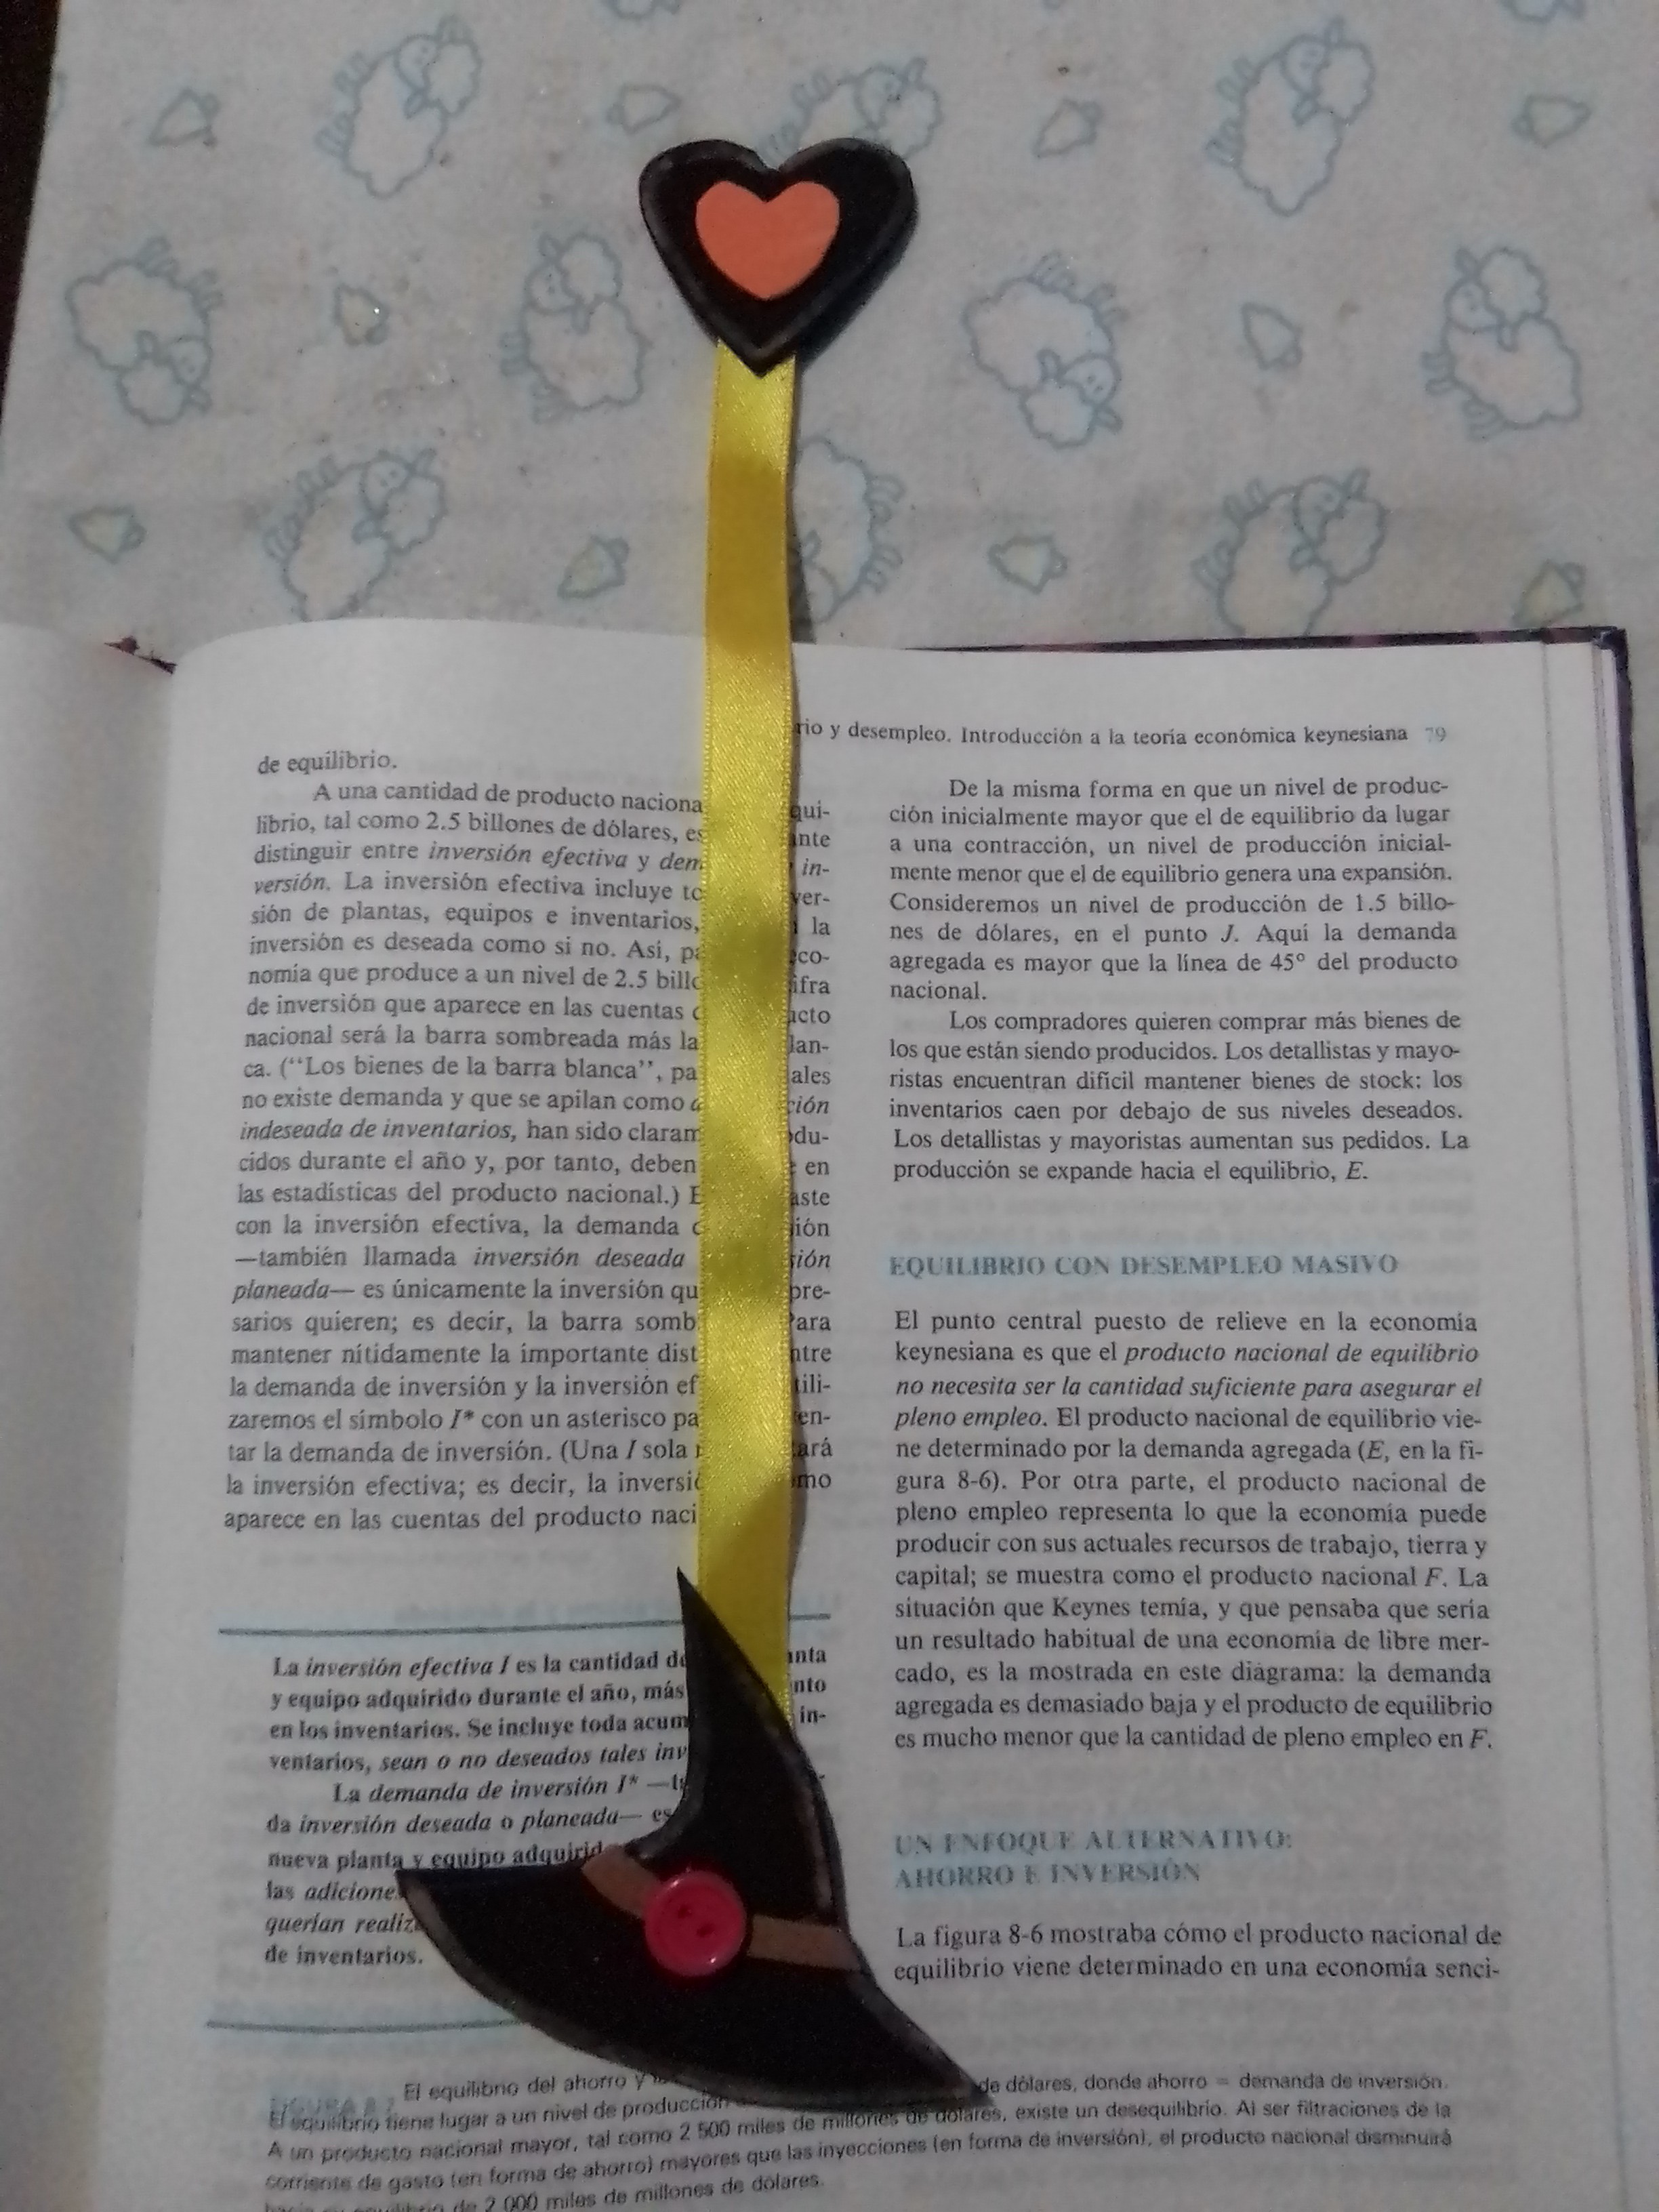
Likewise, I assembled the witch's hat and glued the orange heart on the center of the black heart, and joined each part with the yellow fabric ribbon. He finished highlighting the hat, blurring with a light color on the edges.
In this way we can make fun bookmarks at home, for school notebooks or for our books, for those of us who enjoy a good old-fashioned book.
Result

The photos are my property taken exclusively in this project.
The collages of the procedure were made with the tool of my Blue C6 and the main one in Canva
The dividers and the banners were edited by me in Canva
The translation was made with
DeepL Translator

Un gran saludo para la comunidad creativa de Hive Diy, conectados con la energía de la noche de brujas, voy a mostrarles cómo realizar dos marcapáginas para libros o para libretas escolares con esta temática de Halloween, de manera que nuestra lectura o estudios sea más ameno.


MATERIALES
✓ Retazos de foami de color: negro, blanco, violeta, marrón, naranja y crema.
✓ Un botón pequeño rojo.
✓ Cintas de tela amarillo y azul.
✓ Tijera.
✓ Pistola y barra de silicona.

PASO A PASO
Para realizar estos marcapáginas con temática de Halloween, decidí hacer los diseños de un murciélago y del tradicional sombrero de bruja, para ello realice en papel reciclado los moldes de los marcapáginas. Realice el cuerpo del murciélago, los ojos y la estrella de la parte superior. Para la bruja hice sombrero, los corazones de la parte superior y decoración del sombrero.

Con los moldes listos, procedo ahora a transferirlo a los respectivos colores de foami destinados para ello, el murciélago y la estrella en color violeta, los ojos del murciélago en color crema con pupilas negras, la sonrisa en negro y los colmillos en blanco.

El sombrero de bruja, en el clásico color negro, así como el corazón grande, el corazón pequeño en naranja y la cinta del sombrero en marrón.

Ensambló las partes del murciélago, uno sus ojos y fijo la boca rozando los ojos y encima de ella los dos colmillos blancos, y por último, pego la cinta de tela azul al extremo de murciélago y la otra punta a la estrella. Por último con un lápiz de color violeta demarque todos los bordes para resaltar.


Así mismo arme el, el sombrero de bruja y pegué el corazón naranja sobre el centro del corazón negro, y uni casa parte con la cinta de tela de color amarillo. Finalizó resaltando el sombrero, difuminando con un color claro en los bordes.

De esta manera podemos hacer en casa unos divertidos marcapáginas, para libretas escolares o para nuestros libros, para aquellos que disfrutamos de un buen libro a la antigua.
Resultado


Las fotos son de mi propiedad tomadas exclusivamente en este proyecto.
Los collages del procedimiento los hice con la herramienta de mi Blue C6 y el principal en Canva
Lo separadores y el banners fueron editados por mi en Canva
La traducción fue realizada con
DeepL Traductor
The rewards earned on this comment will go directly to the people( @kawsar8035 ) sharing the post on Twitter as long as they are registered with @poshtoken. Sign up at https://hiveposh.com.
Lindos y muy apropiados para estas fechas 😄
very cute little bookmarks