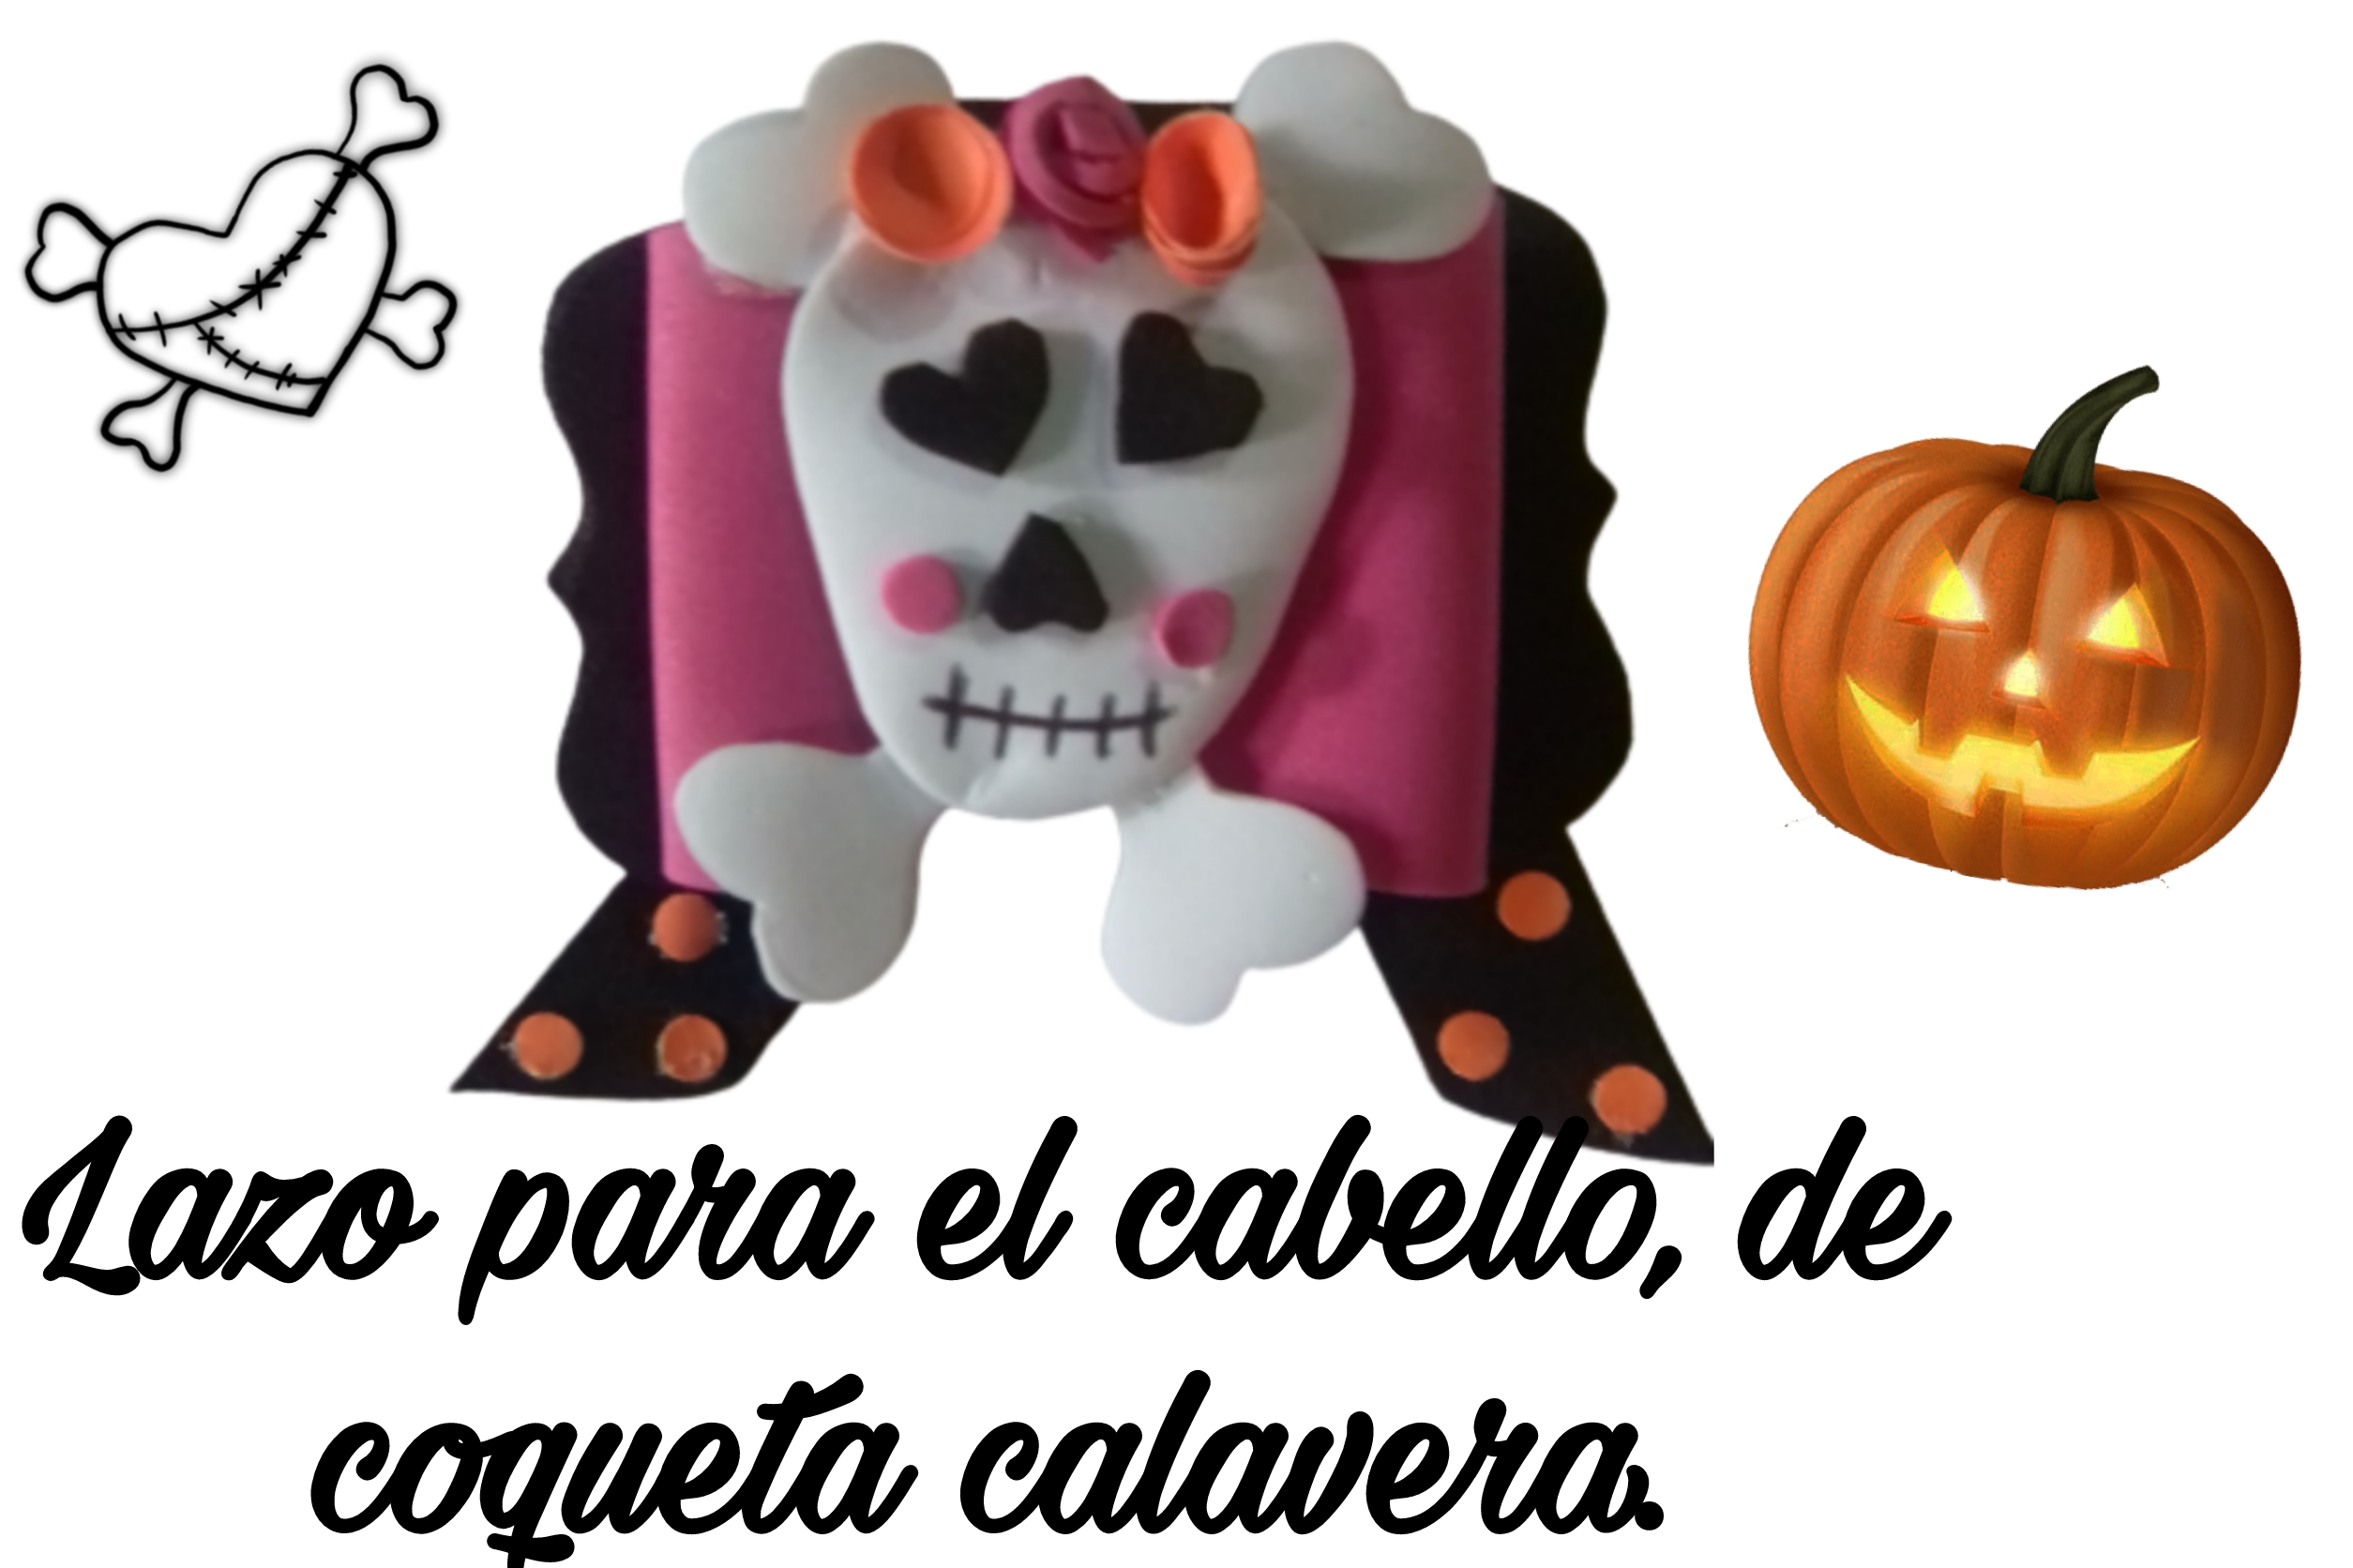

Happy day to the Hive Diy community, I see with great enthusiasm the cute Halloween themed crafts, that the creatives of this community have made, and as I am fantastic of the night of horror, I was motivated to elaborate my second craft of this fun theme, and I will show you how to make a cute hair bow, adorned with a flirty skull, rainbow style, maybe not so scary, but the girls will surely love it, and as this celebration is for the fun of the little ones in the house, let's keep spoiling them.

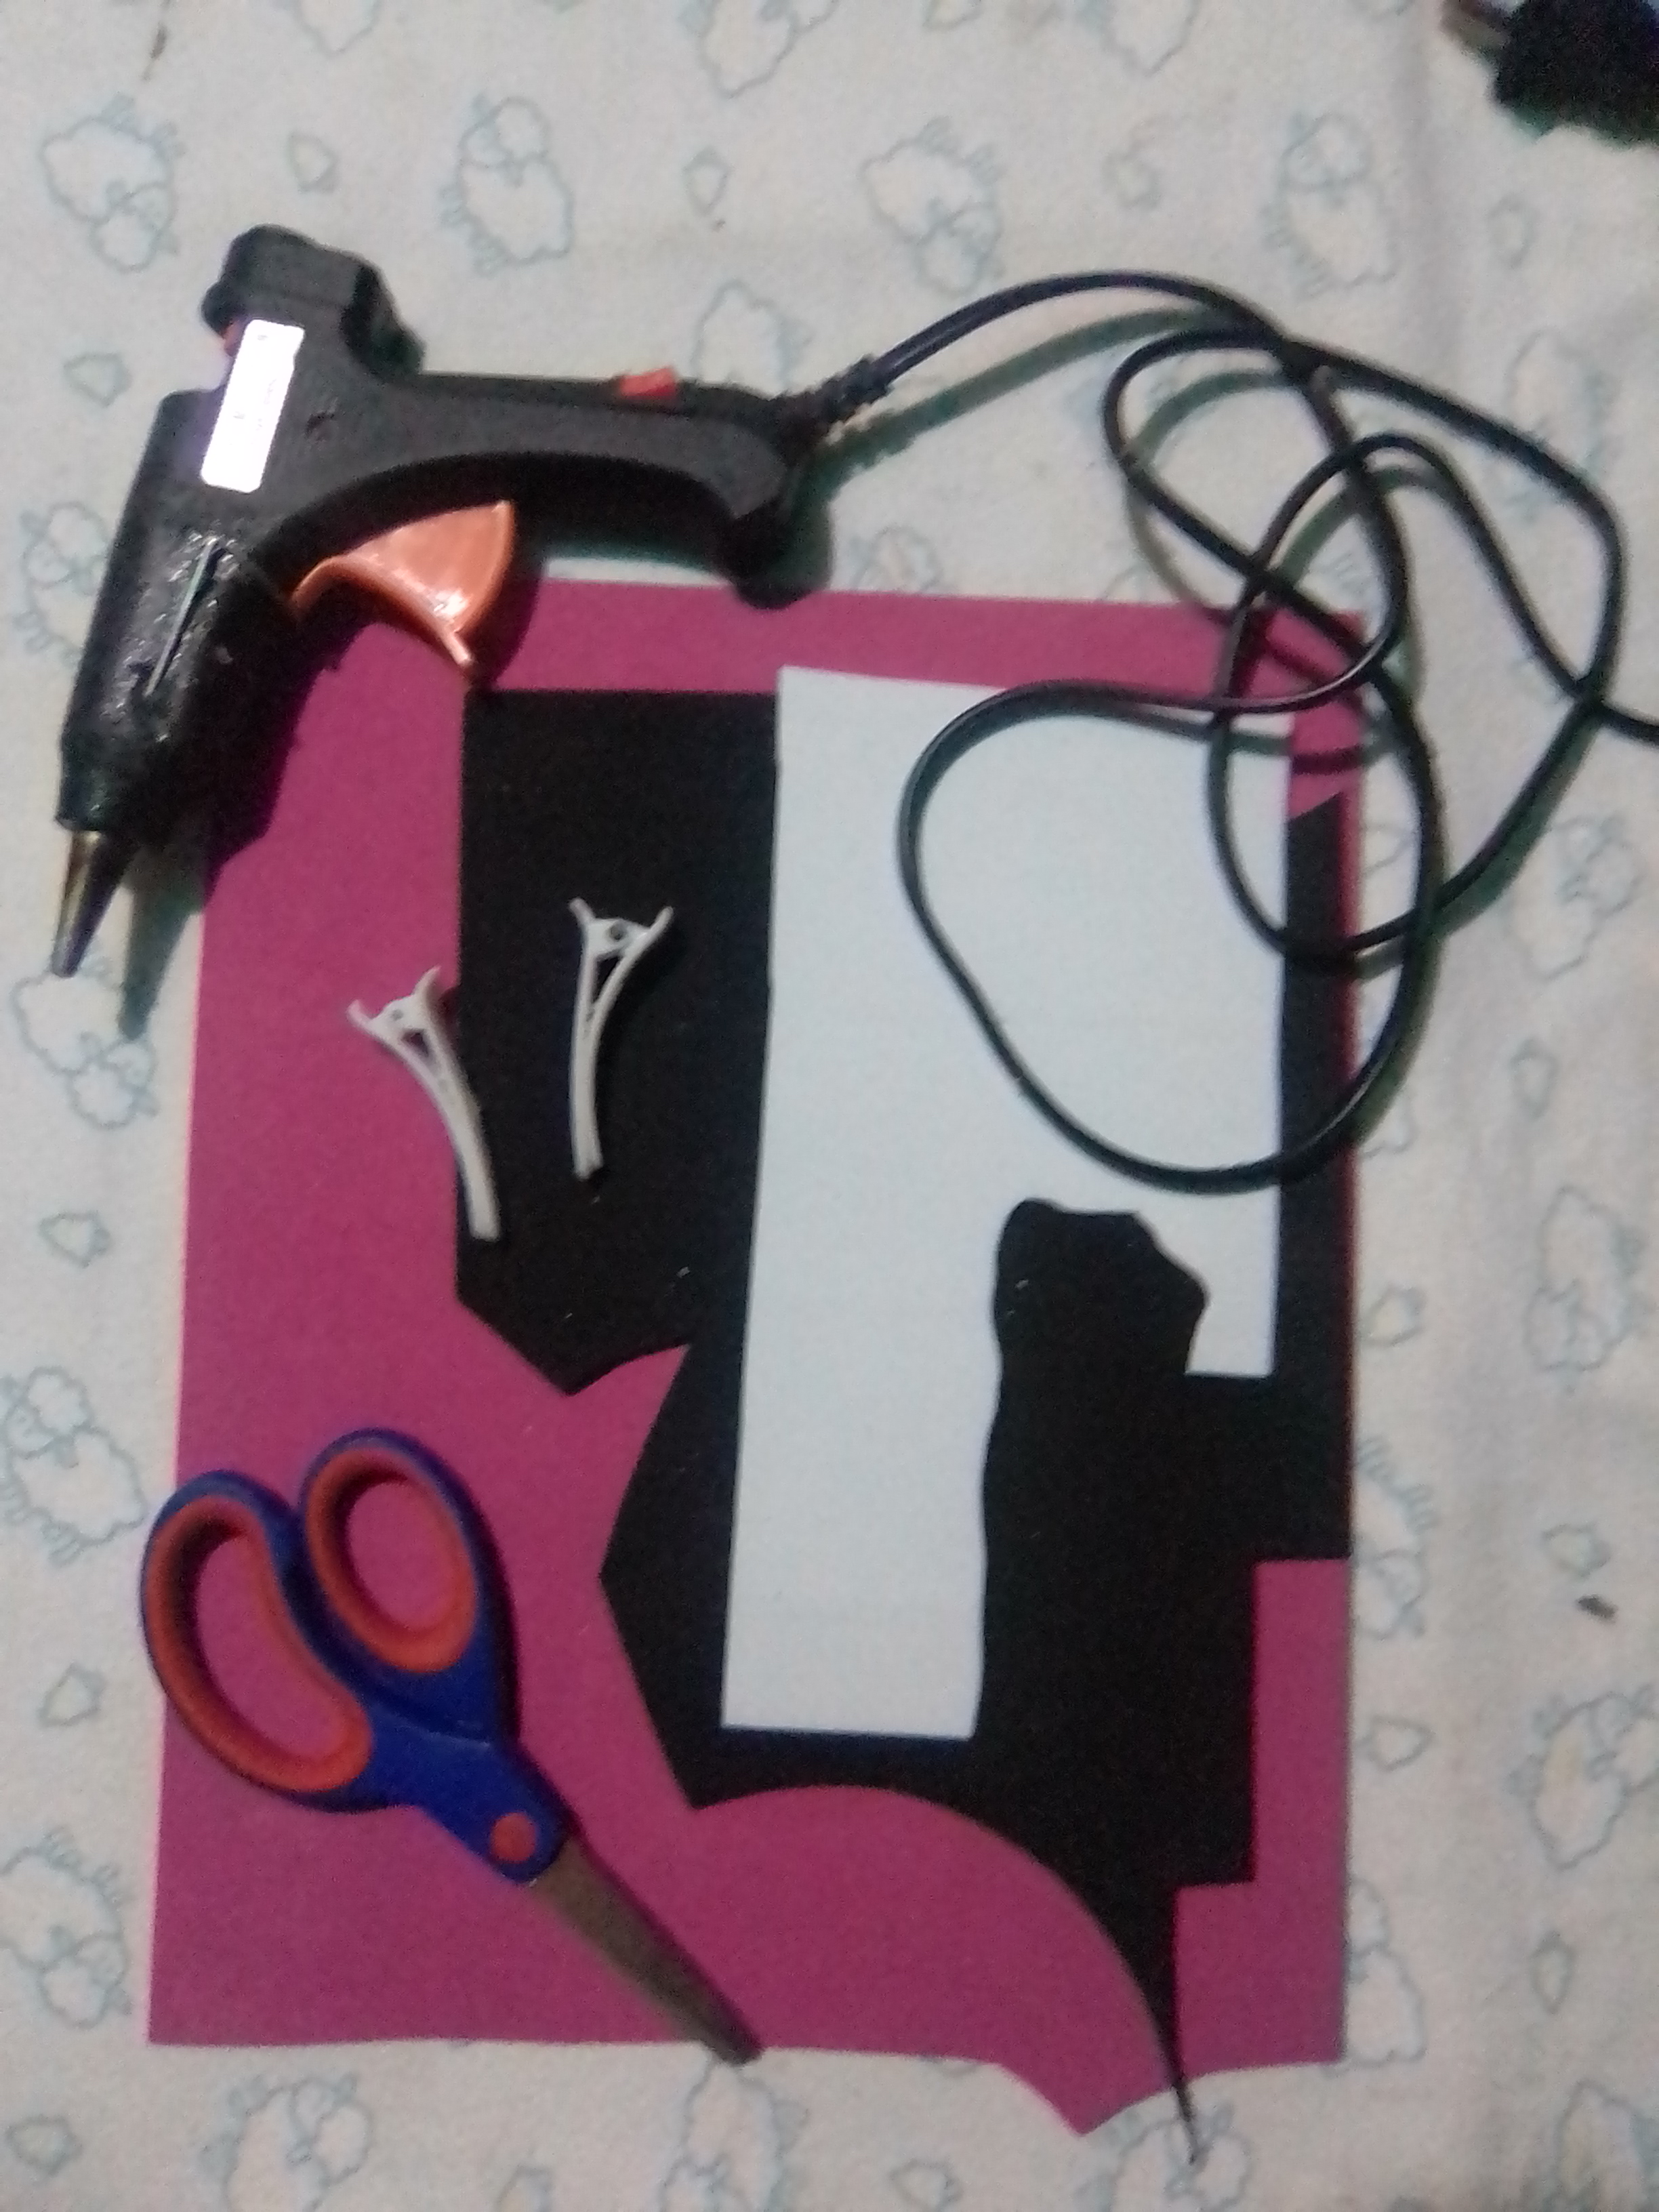
MATERIALS.
✓ White, black and fuchsia foami.
✓ Orange cardboard.
✓ Black fine tip marker.
✓ Scissors, pencil and punch.
✓ Clothes iron.
✓ Silicone gun and silicone stick.
✓ White hair clip.
STEP BY STEP.
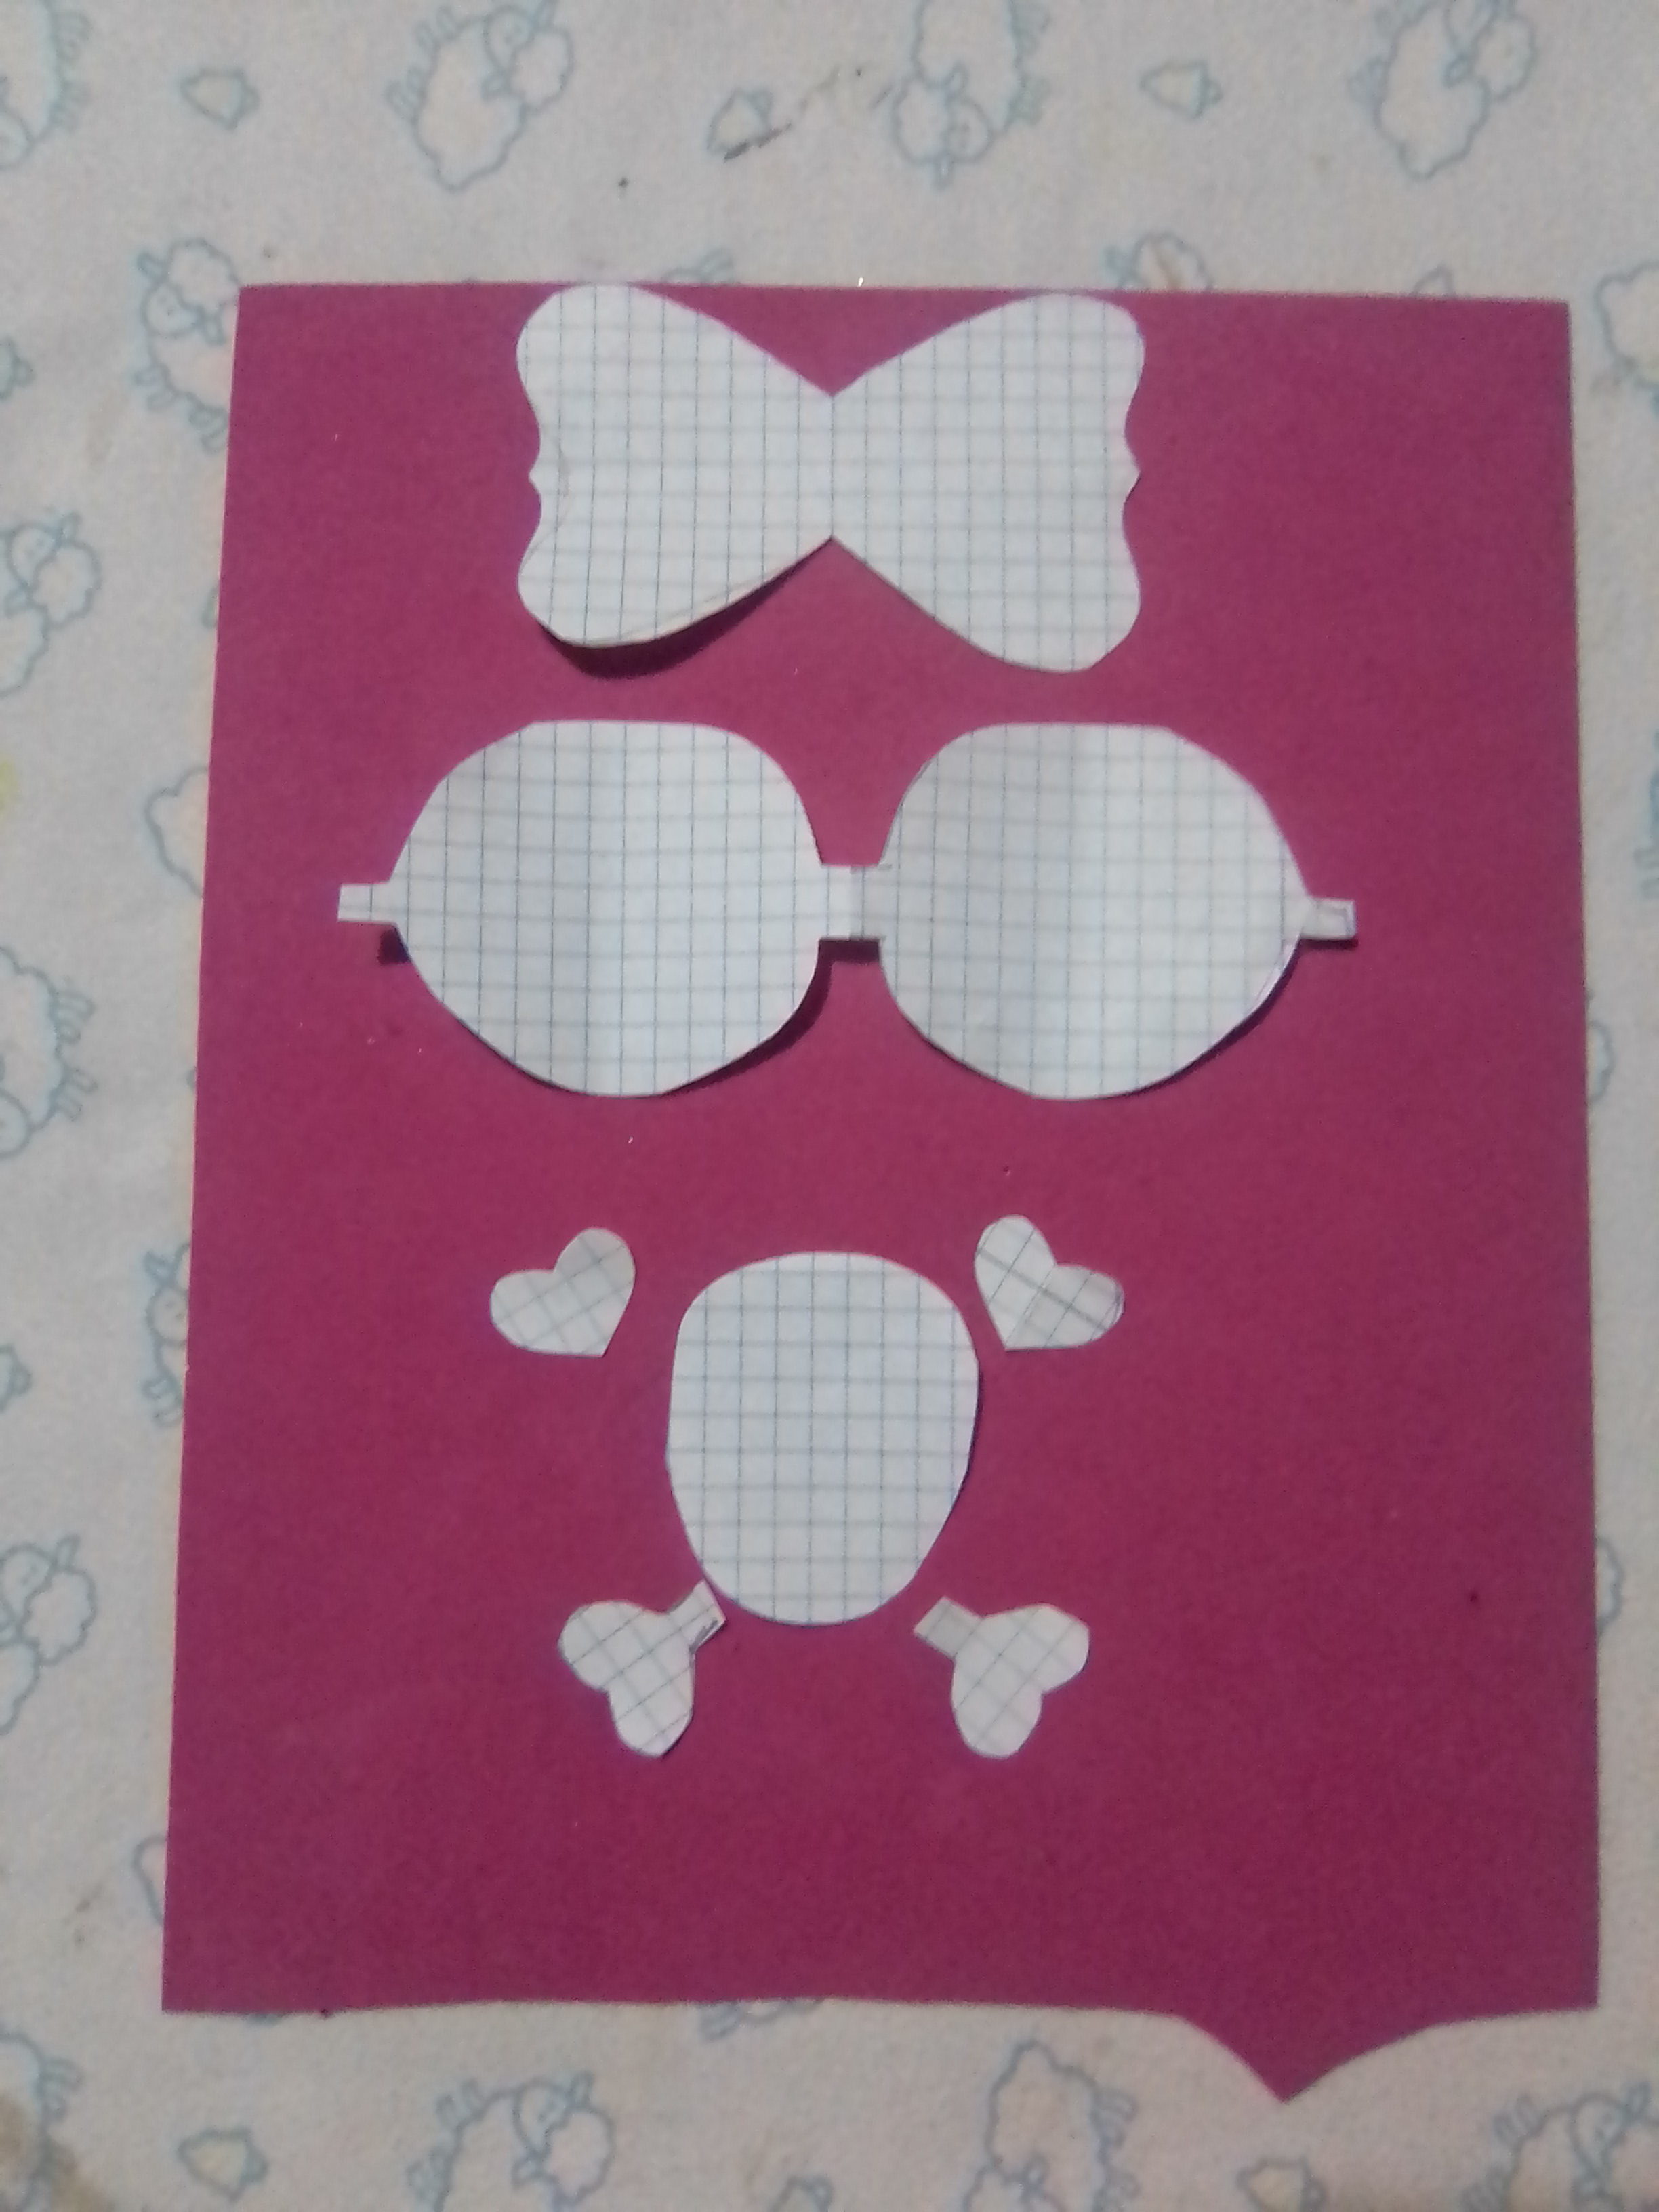
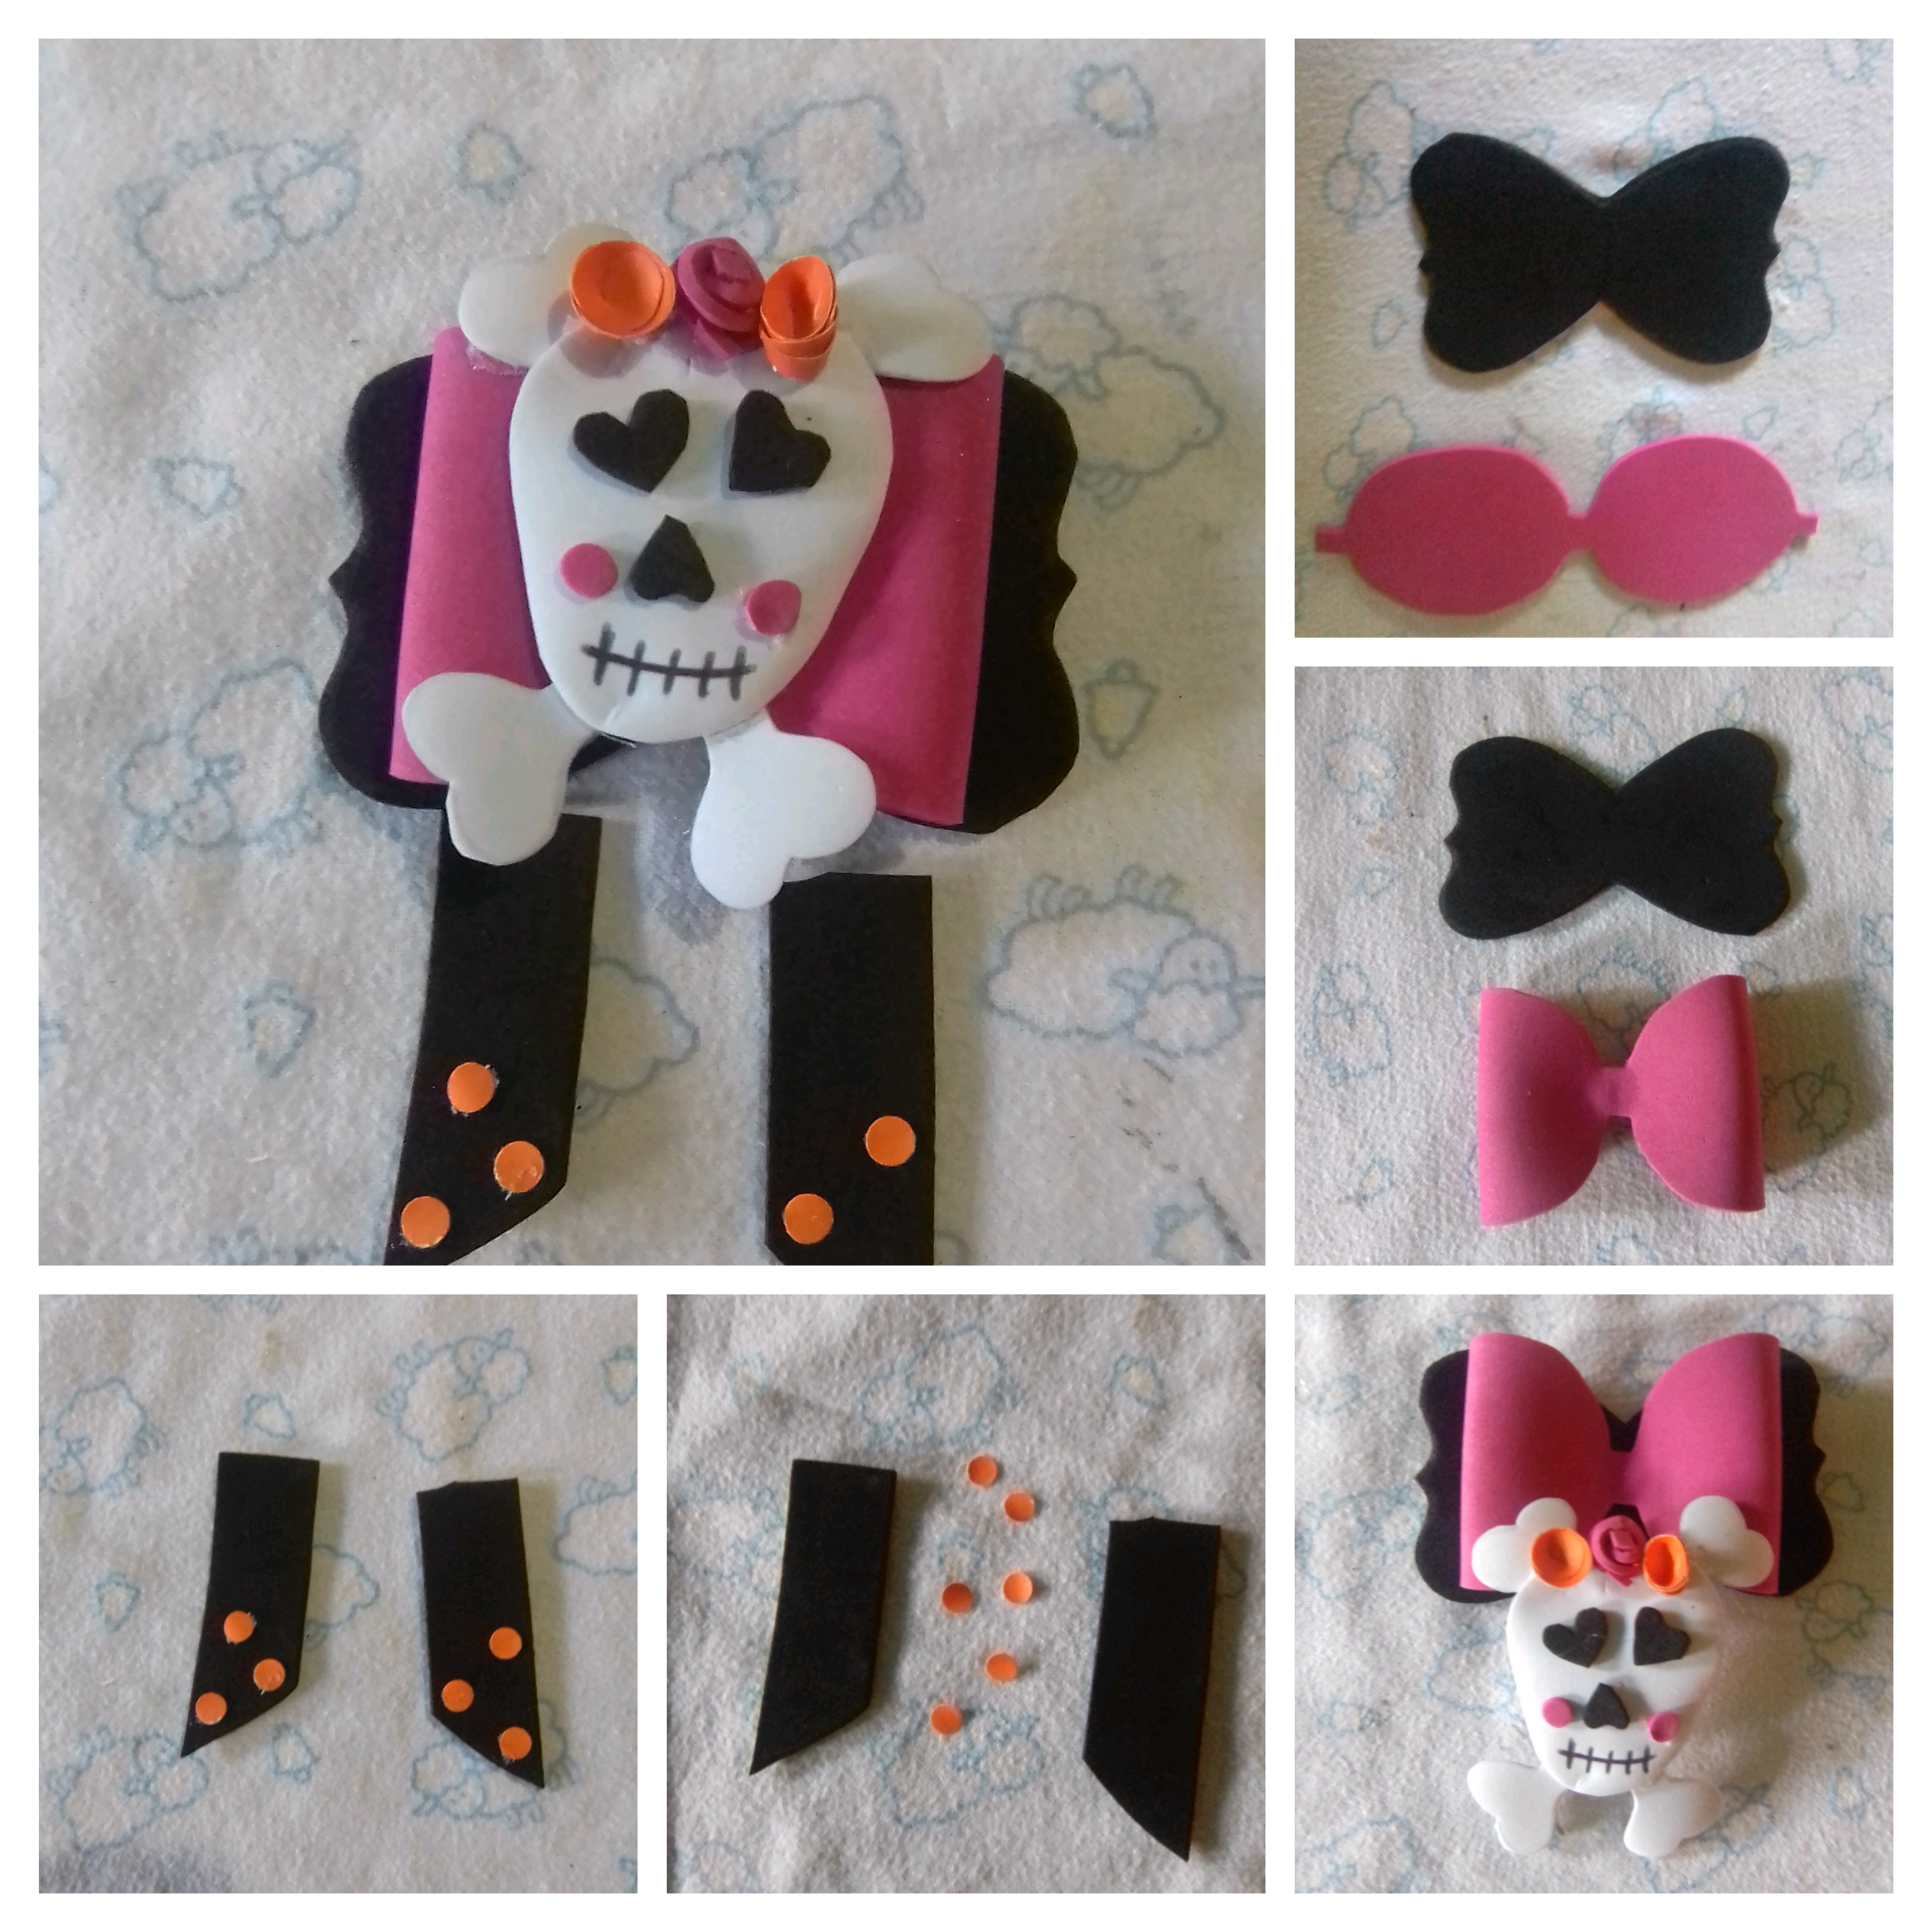
For this cute craft, made especially for girls, I decided to make a hair accessory, with a Halloween theme, but at the same time very flirty and cute, so I thought of a skull girl. To begin with, I made the designs of the bows, the skull shape with its bones in cross and heart shape on recycled paper.
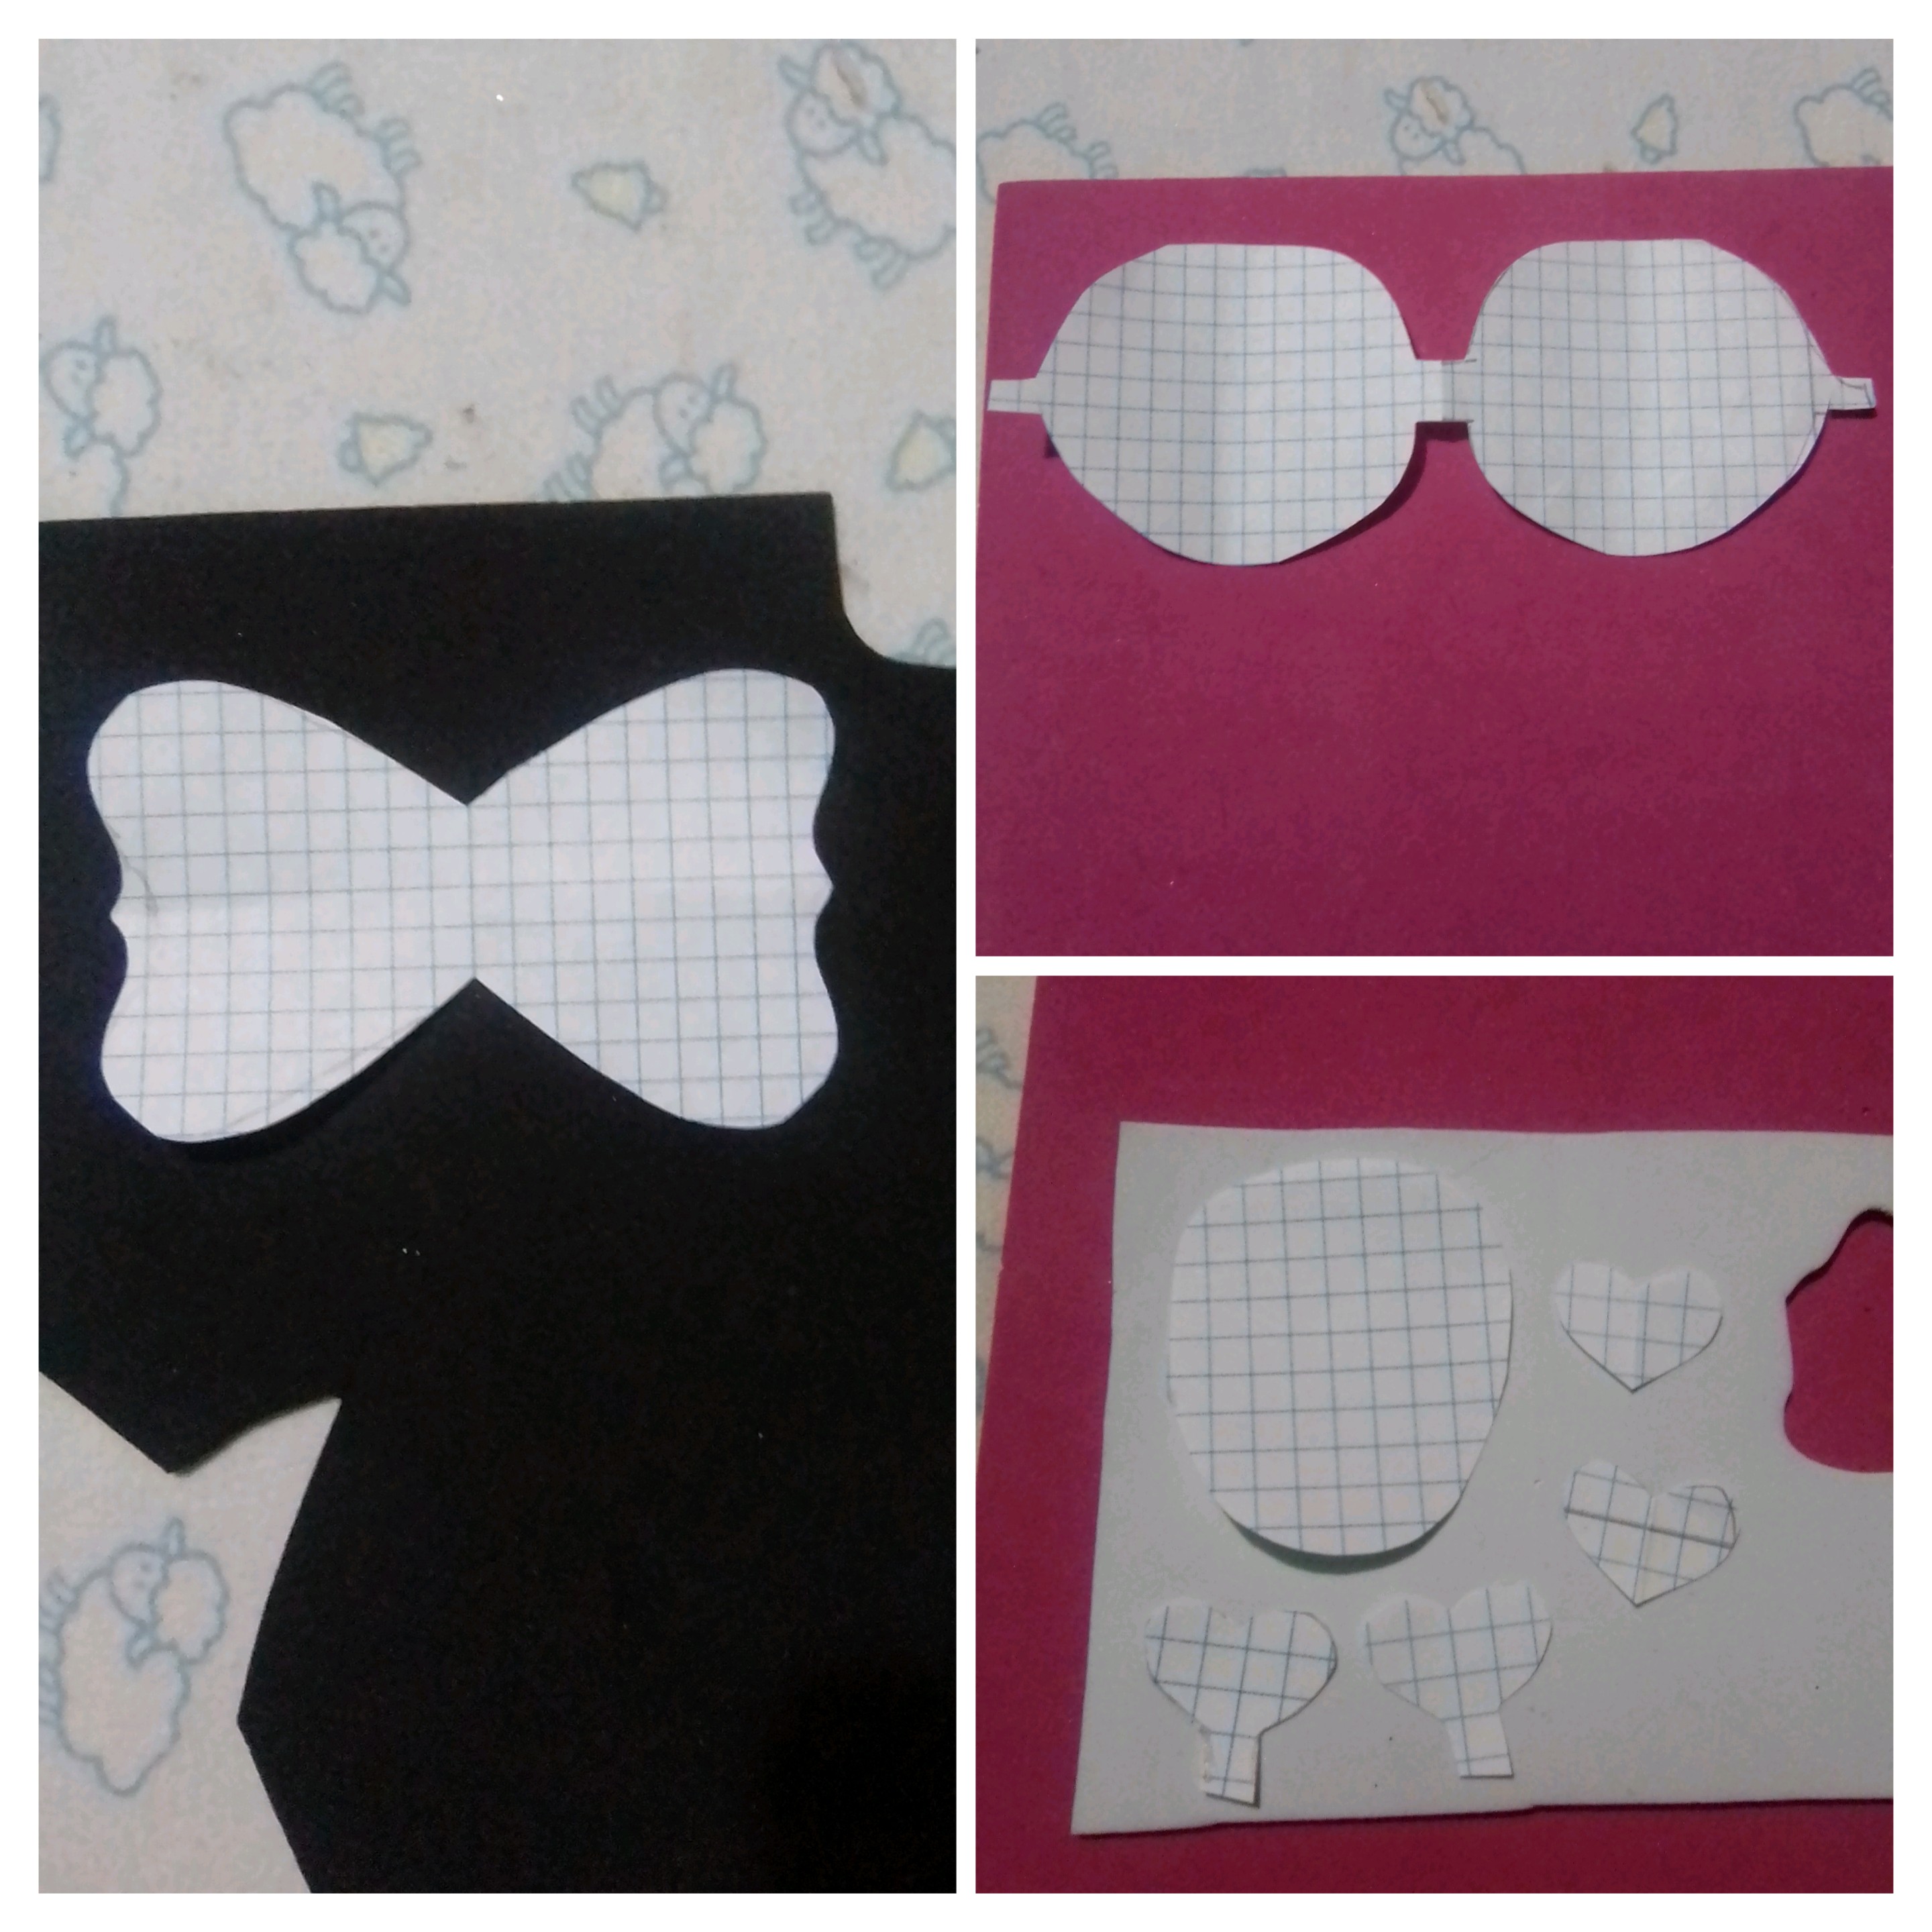
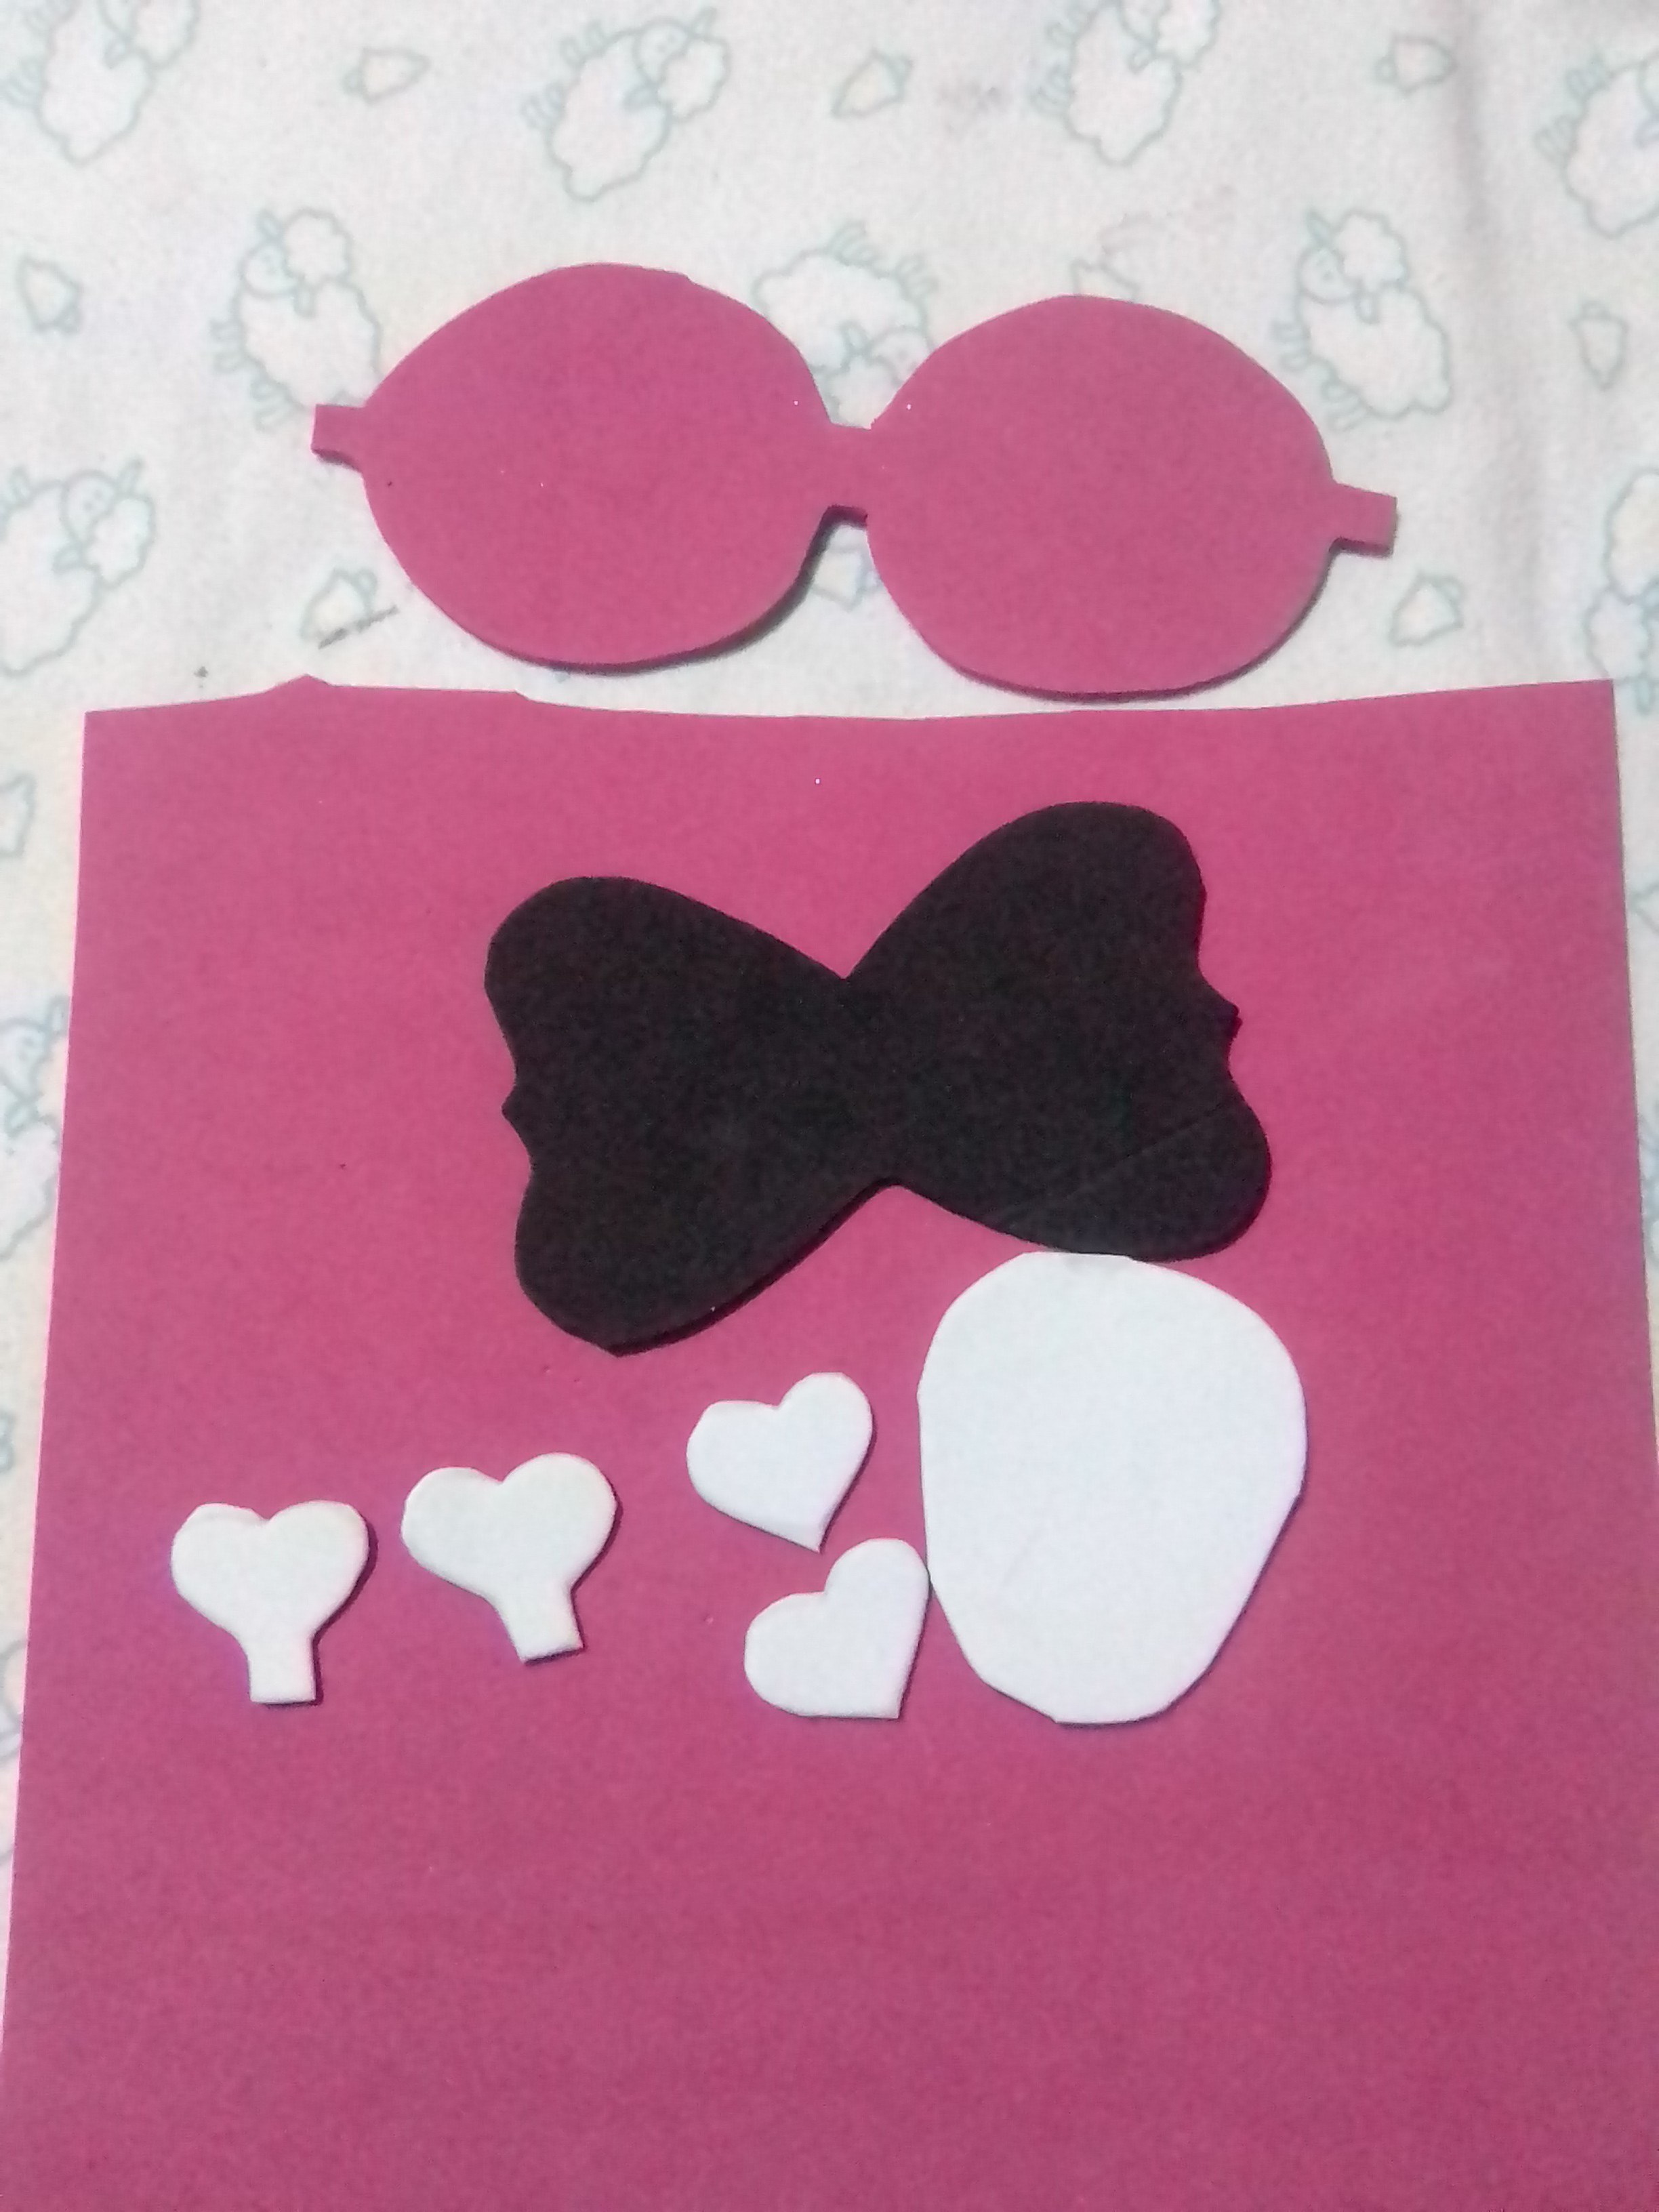
I transferred the designs to the respective colors of foami, I made the base of the bow in black color, the bow in fuchsia color and the skull completely in white color.
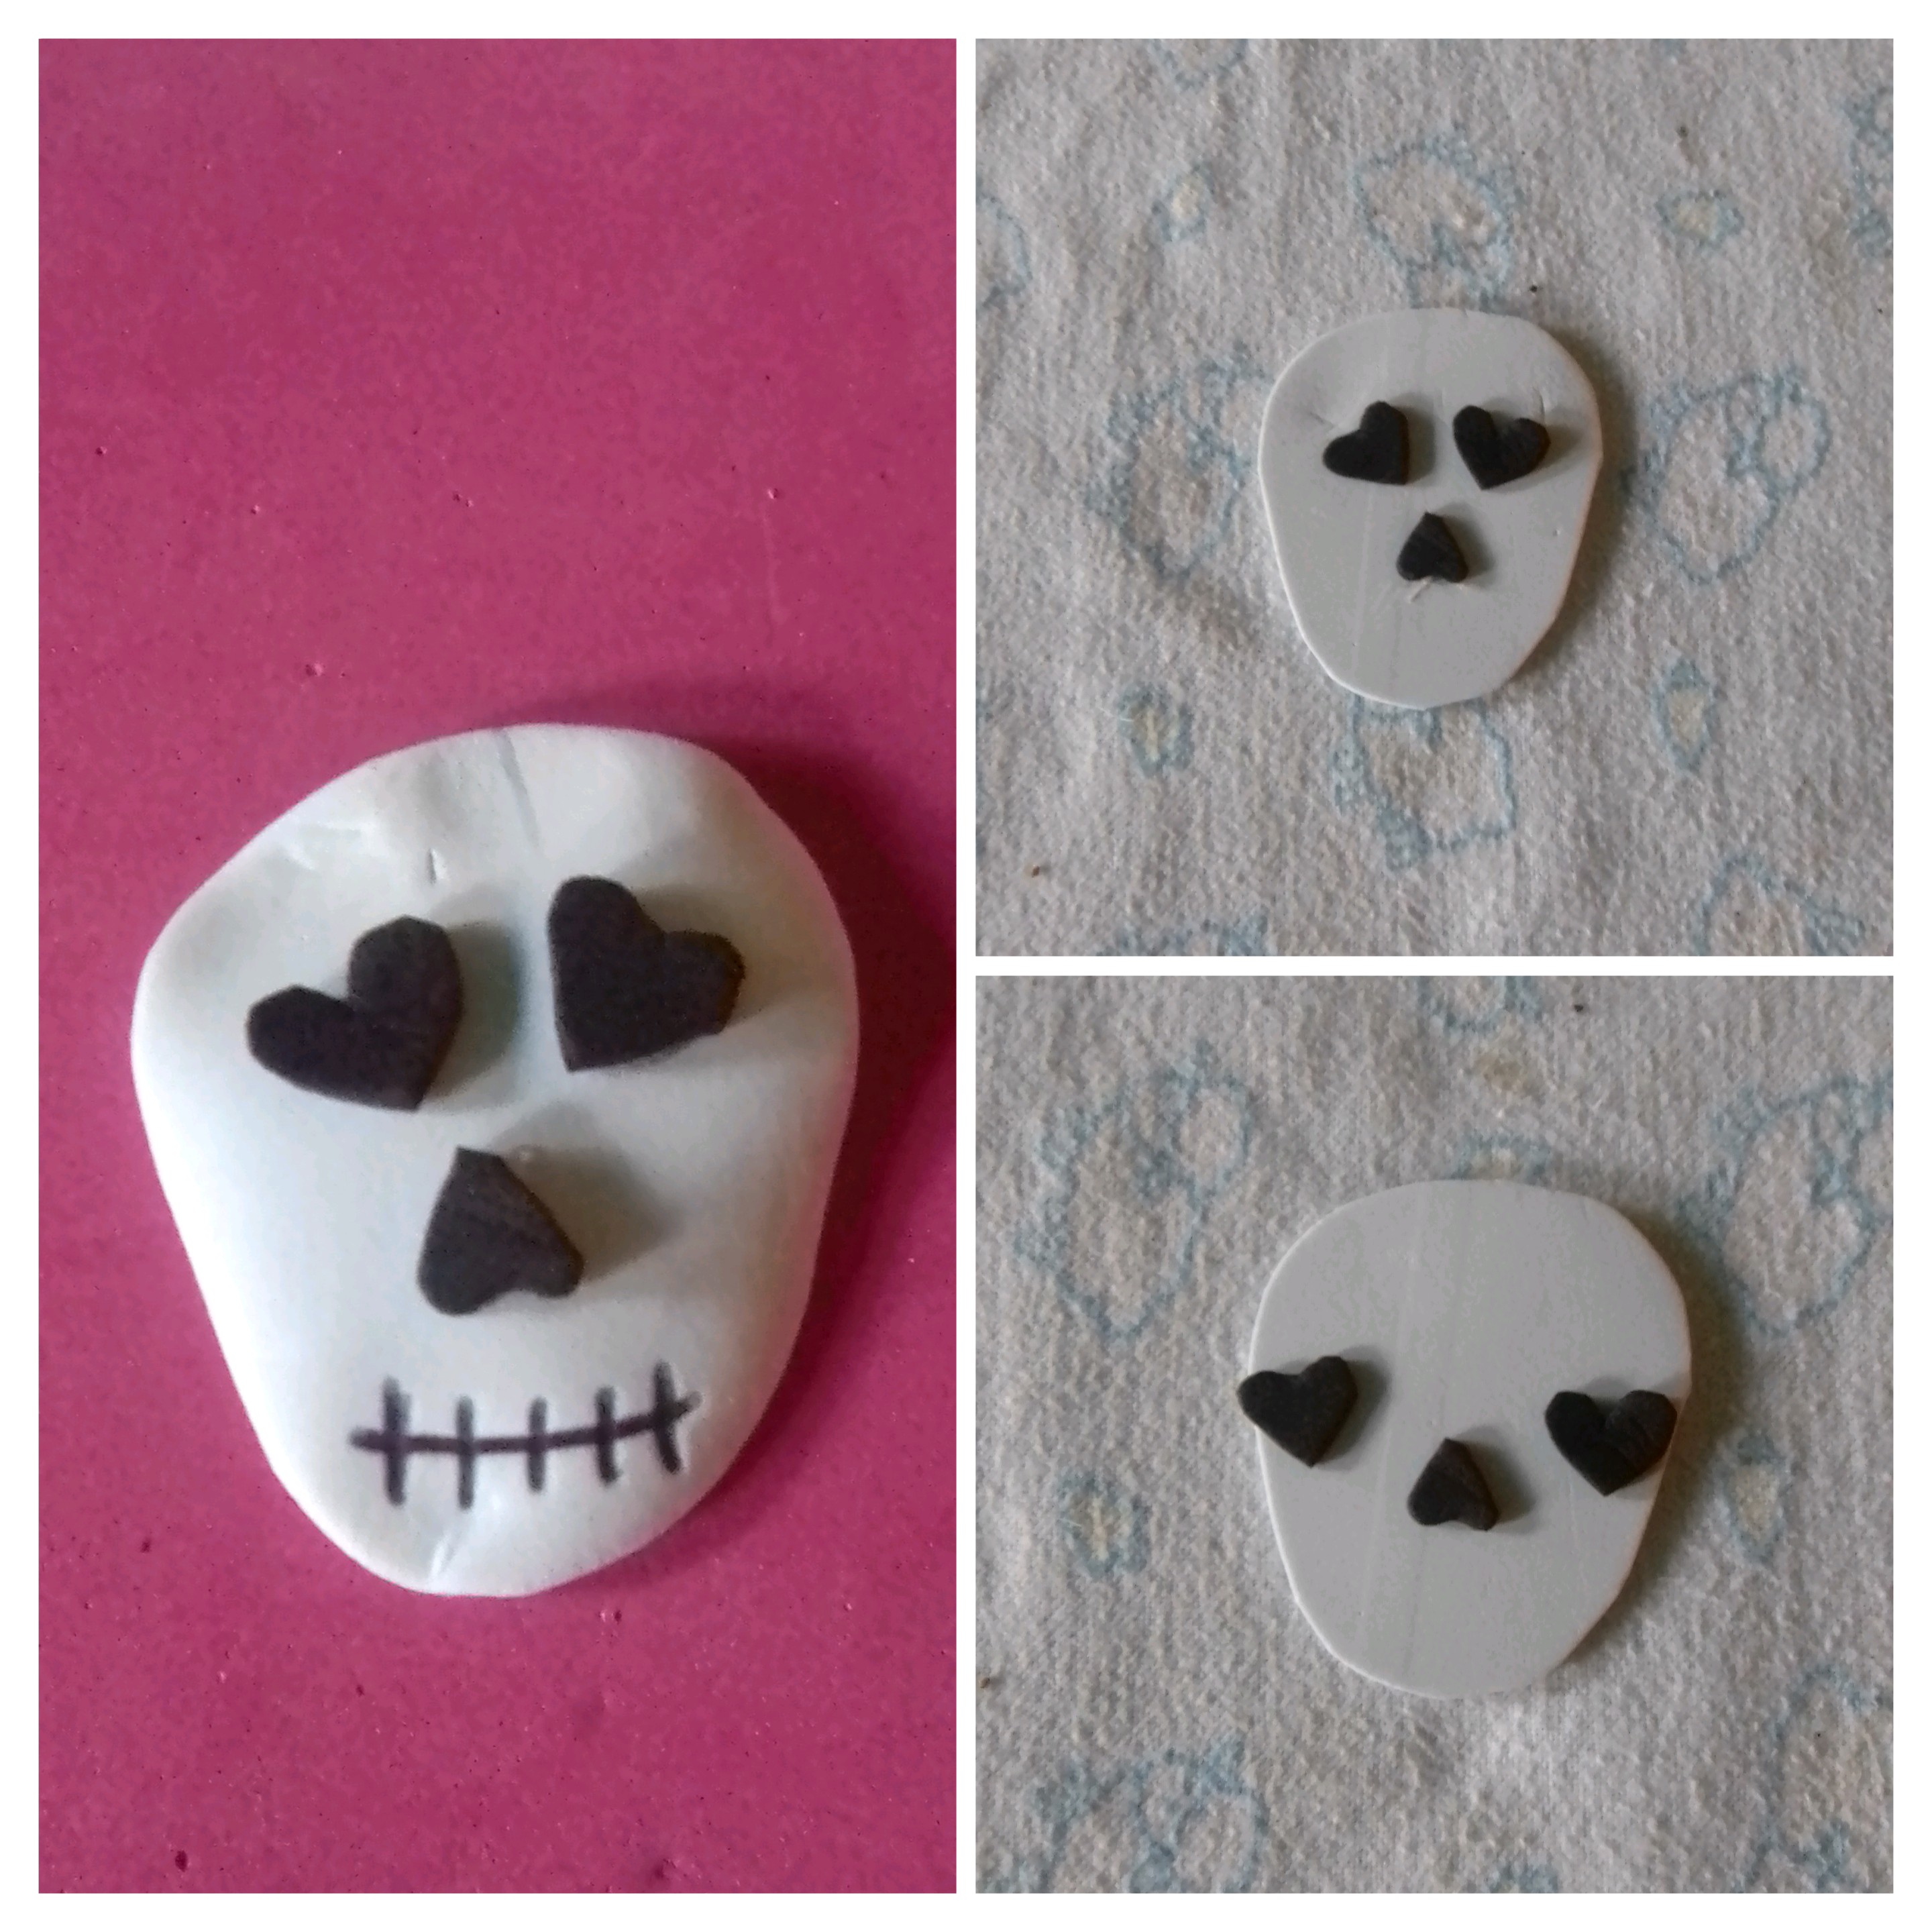
I cut out all the shapes and started assembling, starting with the skull, since it has more details. I made two black hearts for the eyes and a smaller one for the nose. I glued the eyes diagonally to give expression to the face and the heart of the nose I glued it upside down. Then I made, with black marker, the mouth with its characteristic seam, but without the smile shape, I made it straight.
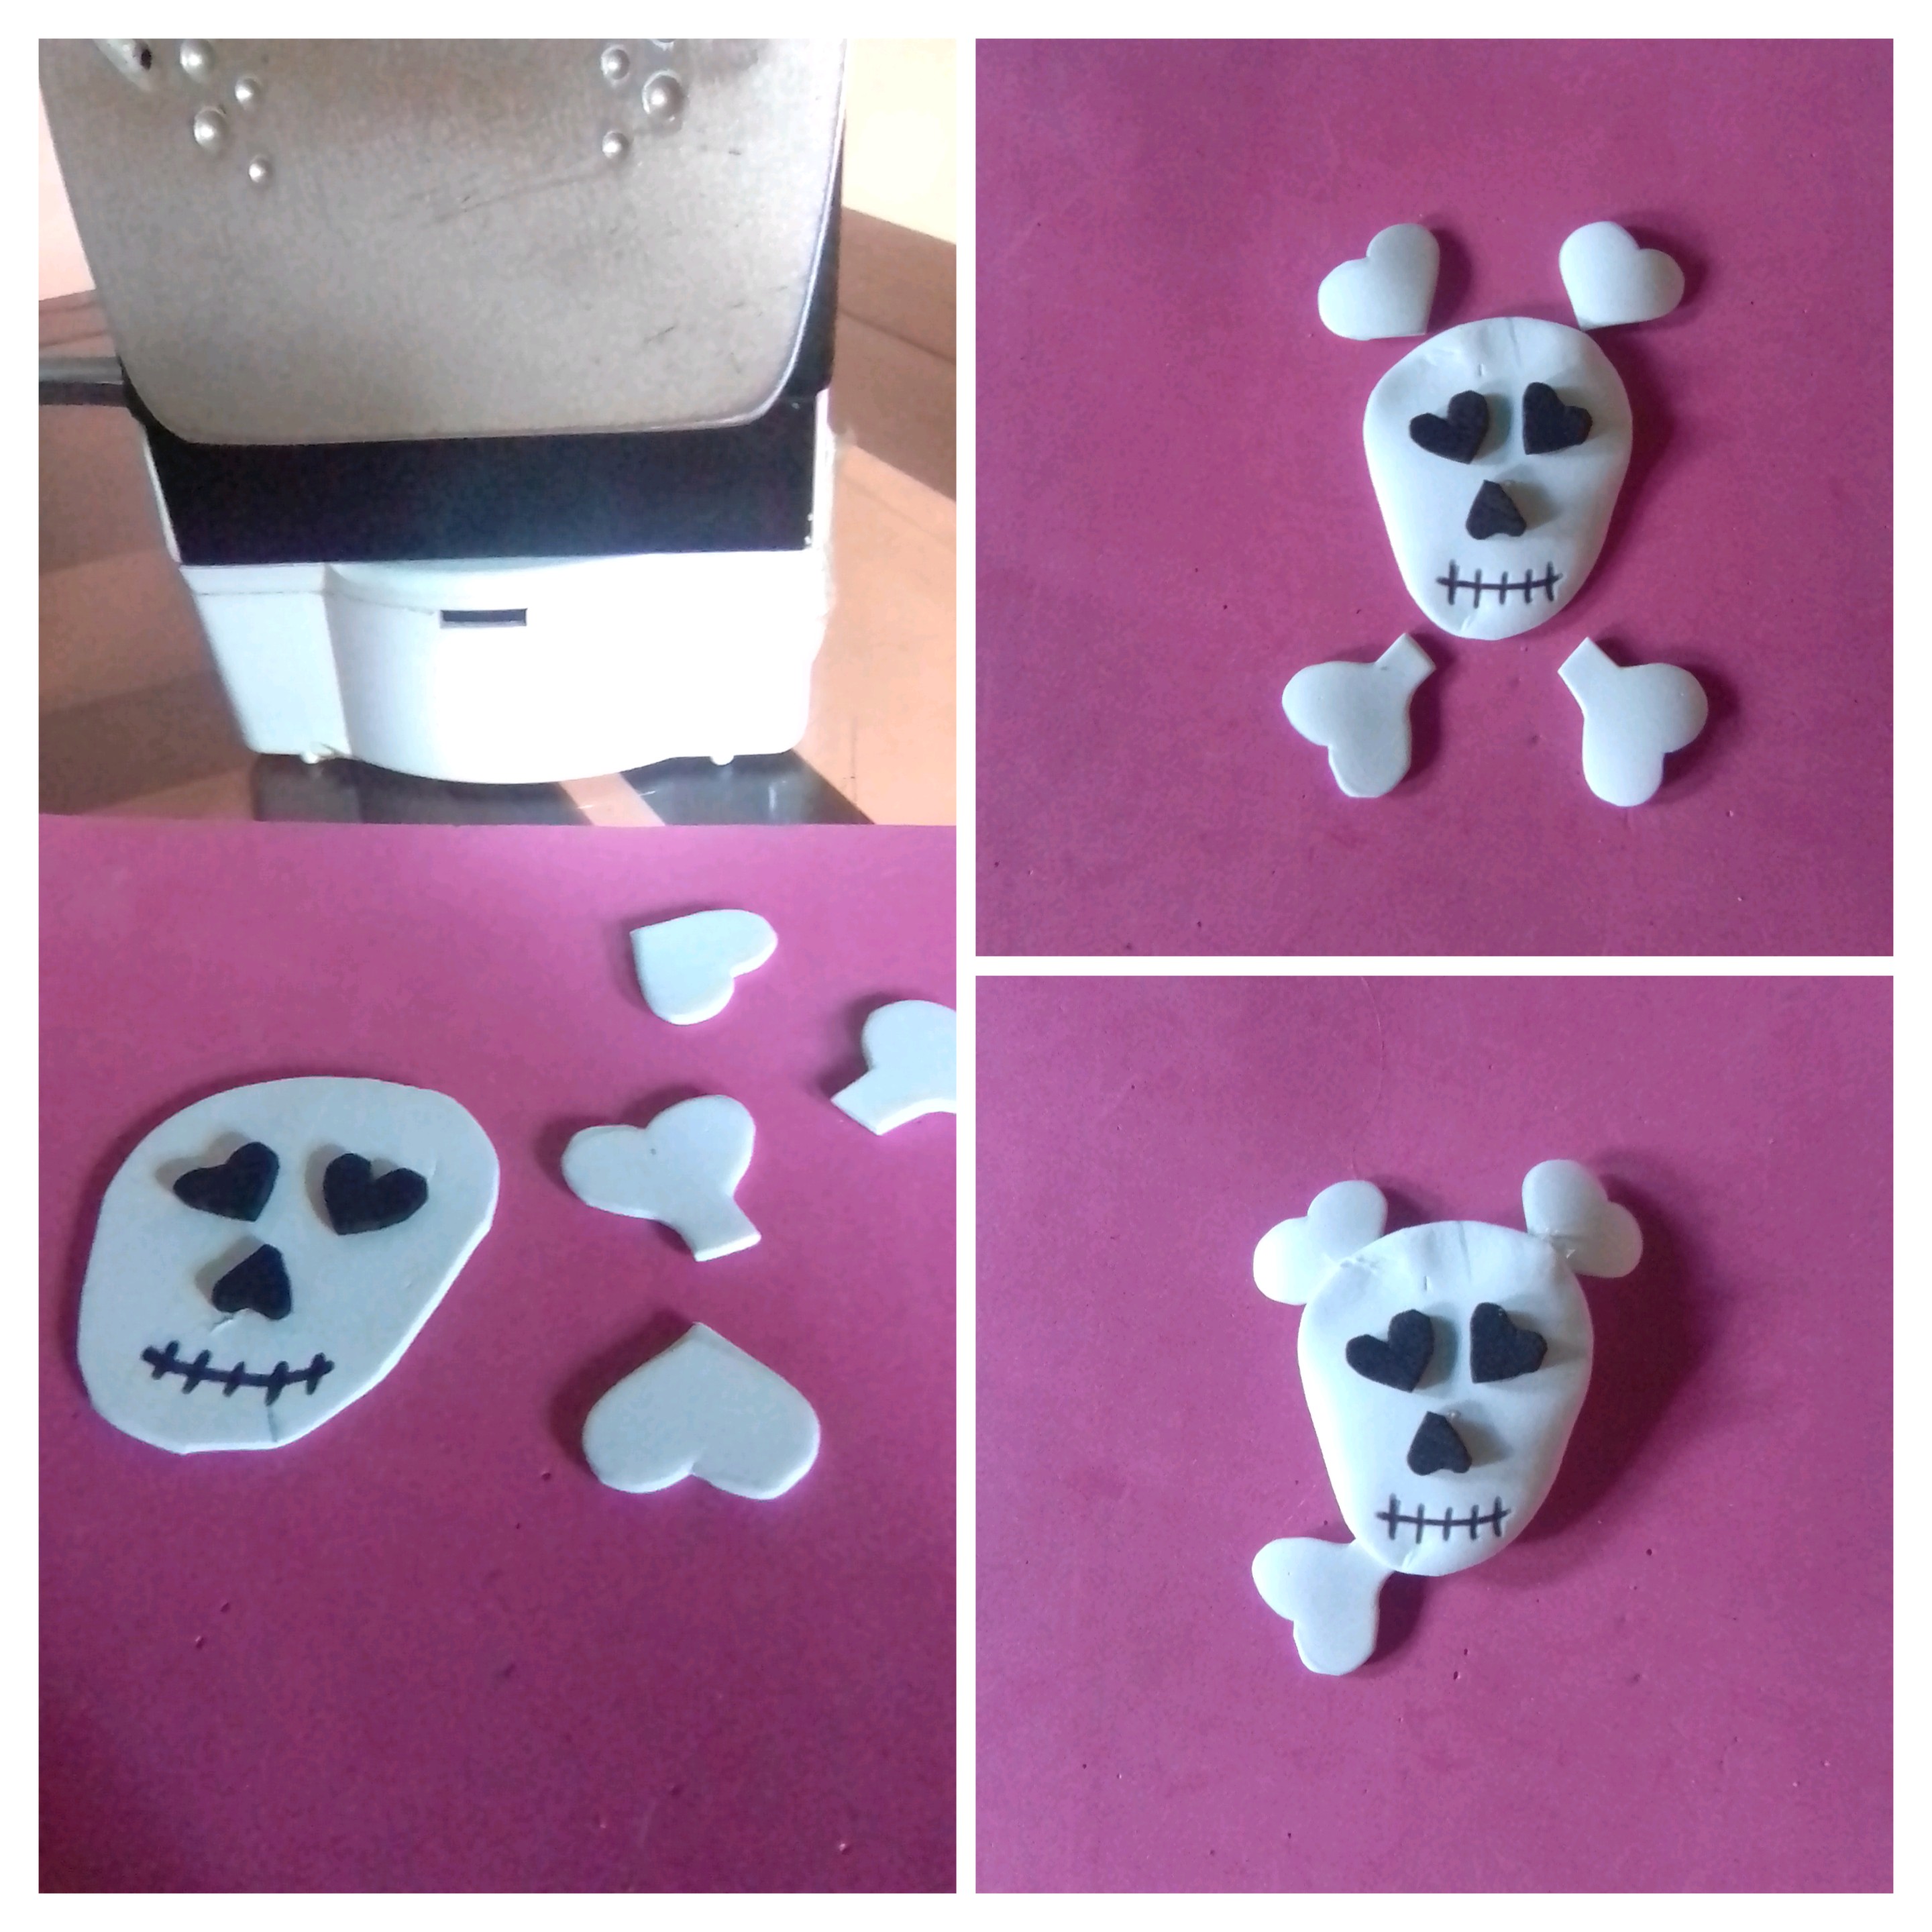
It was time to shape the skull, this was achieved by applying heat with the clothes iron to the face and bones, but very lightly, I just wanted the edges to curve a little inward. I glued the hearts alone on the upper part and the ones with the bone extension, on the lower part, making the simile that they are crossed.
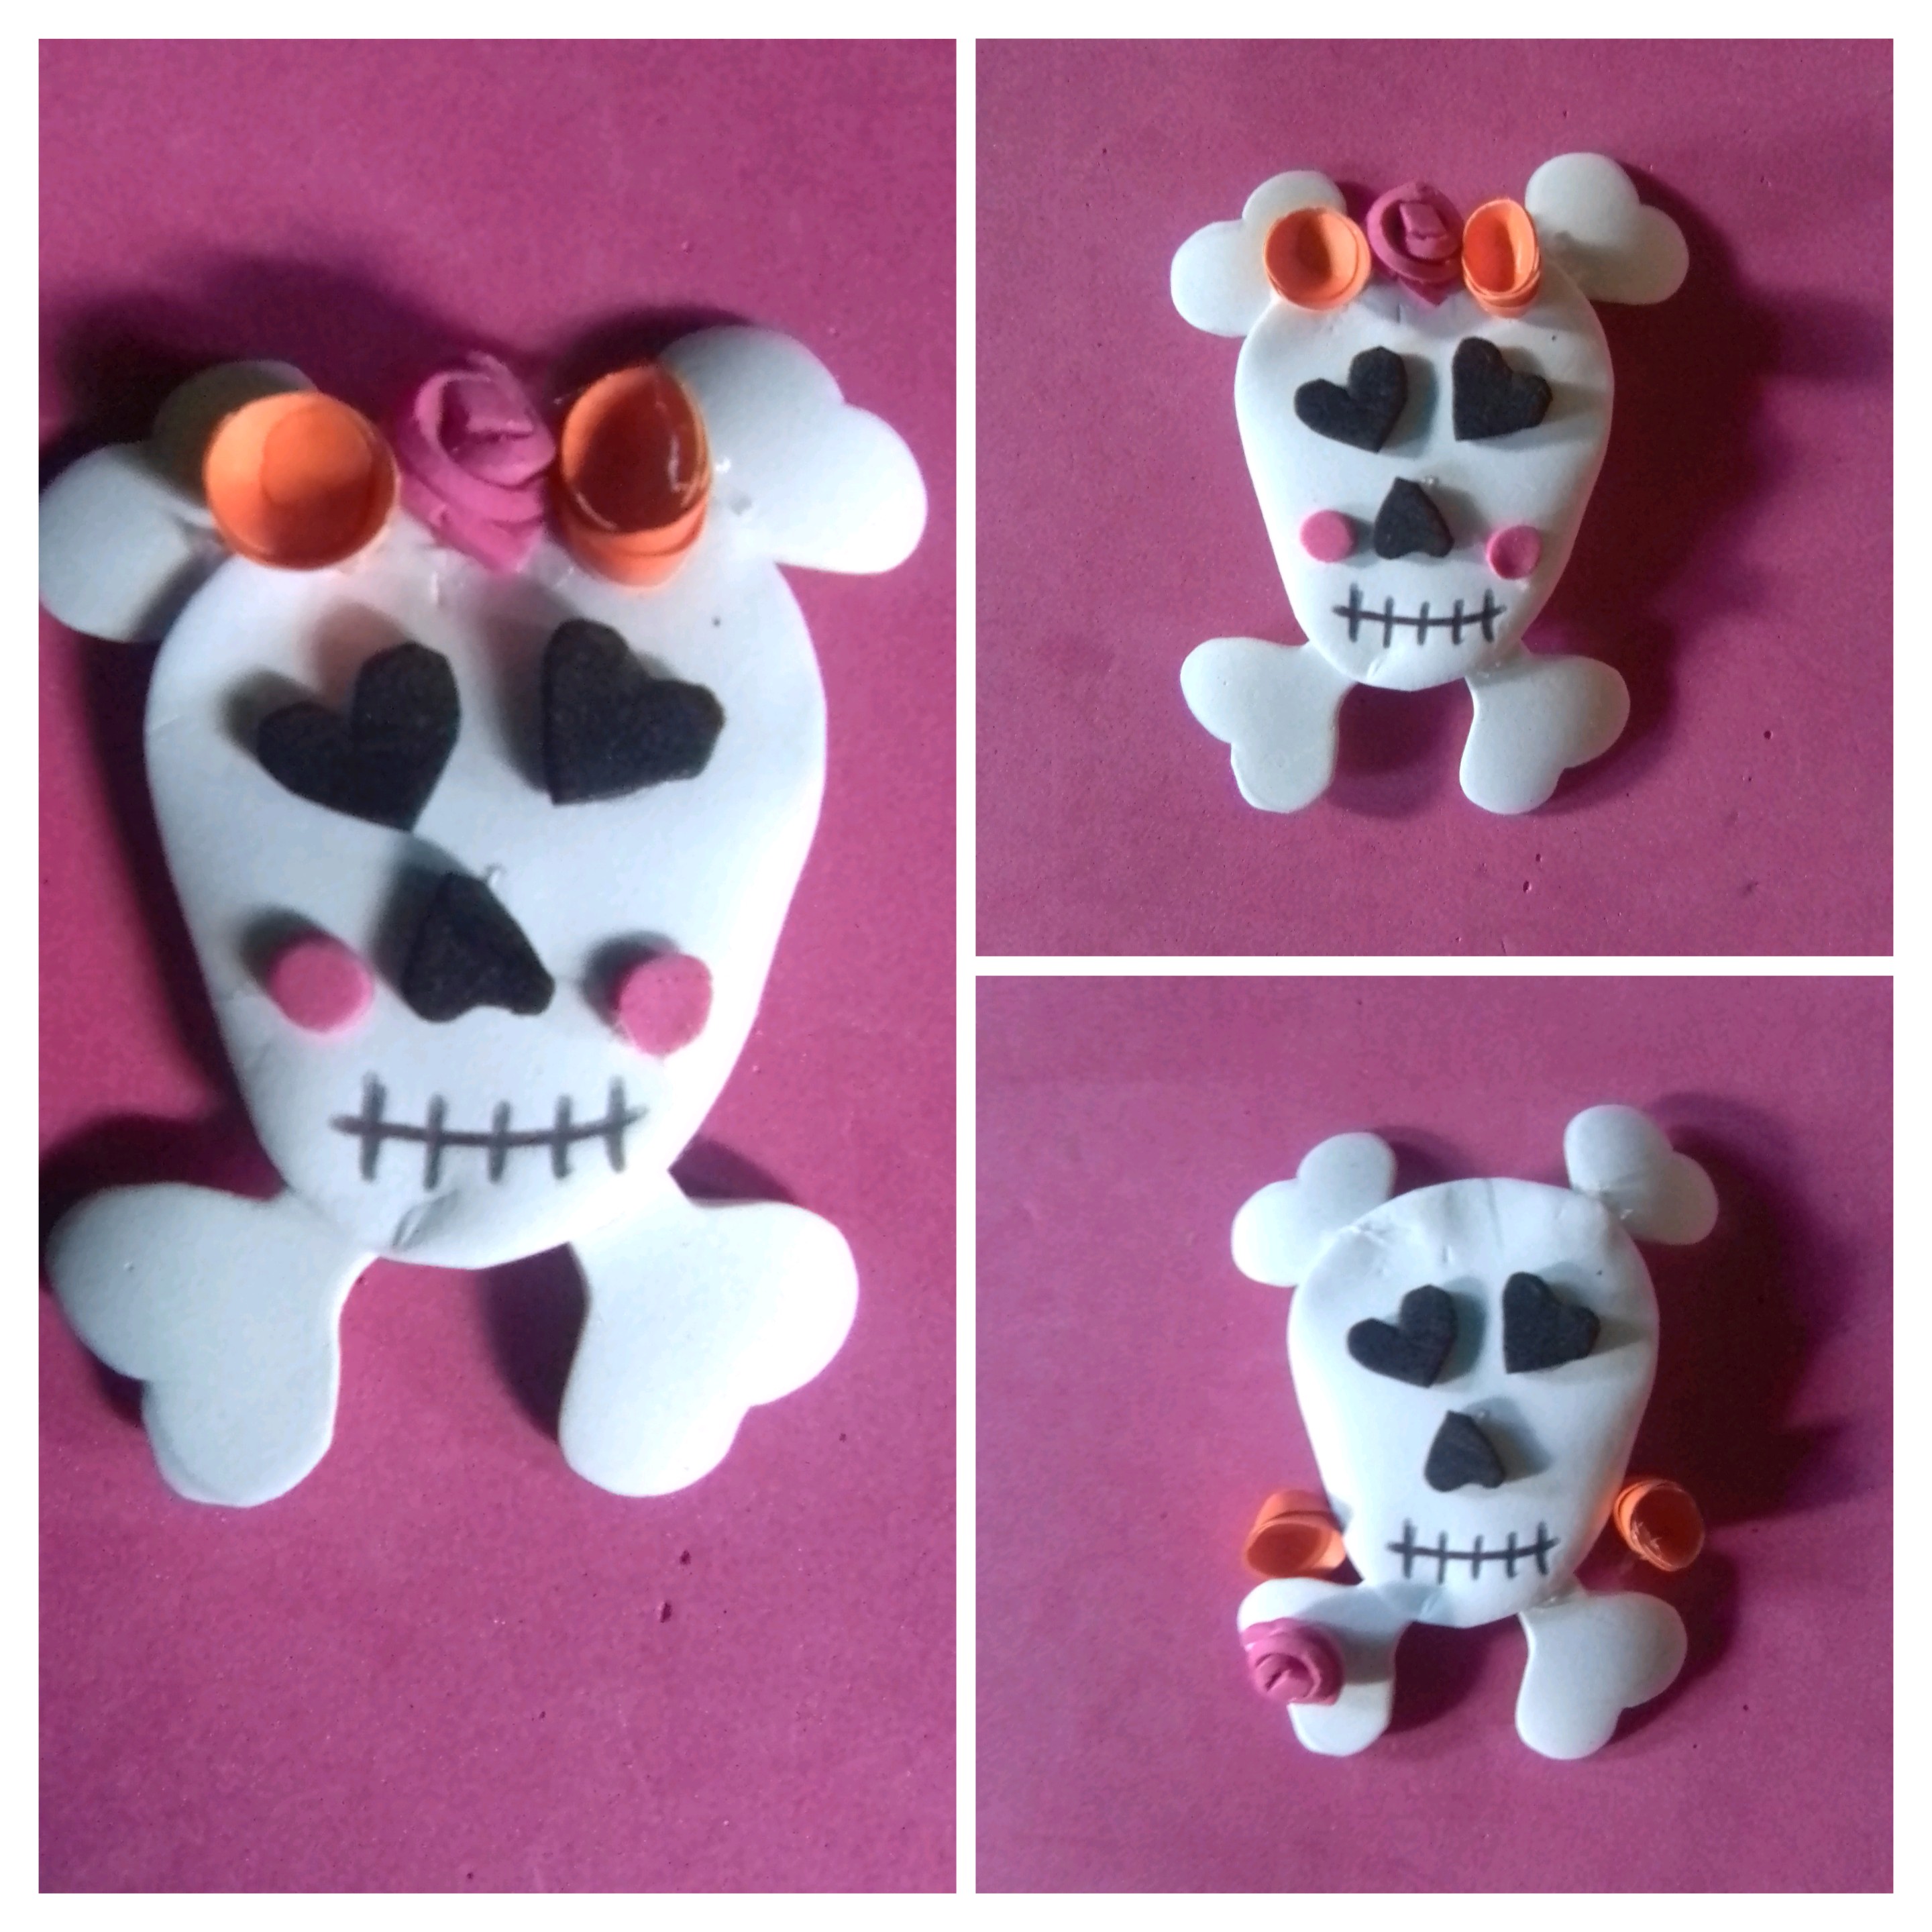
To give the skull a flirty touch, I made three very small flowers, two orange and one fuchsia, and glued them between the upper bones, as well as placing the cheeks in fuchsia.
To finish, I cut two strips of black foami and made a diagonal cut at one end and took out some orange circles with the punch and glued them to the tape. Then I glued the fuchsia bow on the black base and on this the skull, I finished by placing the black strips of the bow and gluing the hair clip.
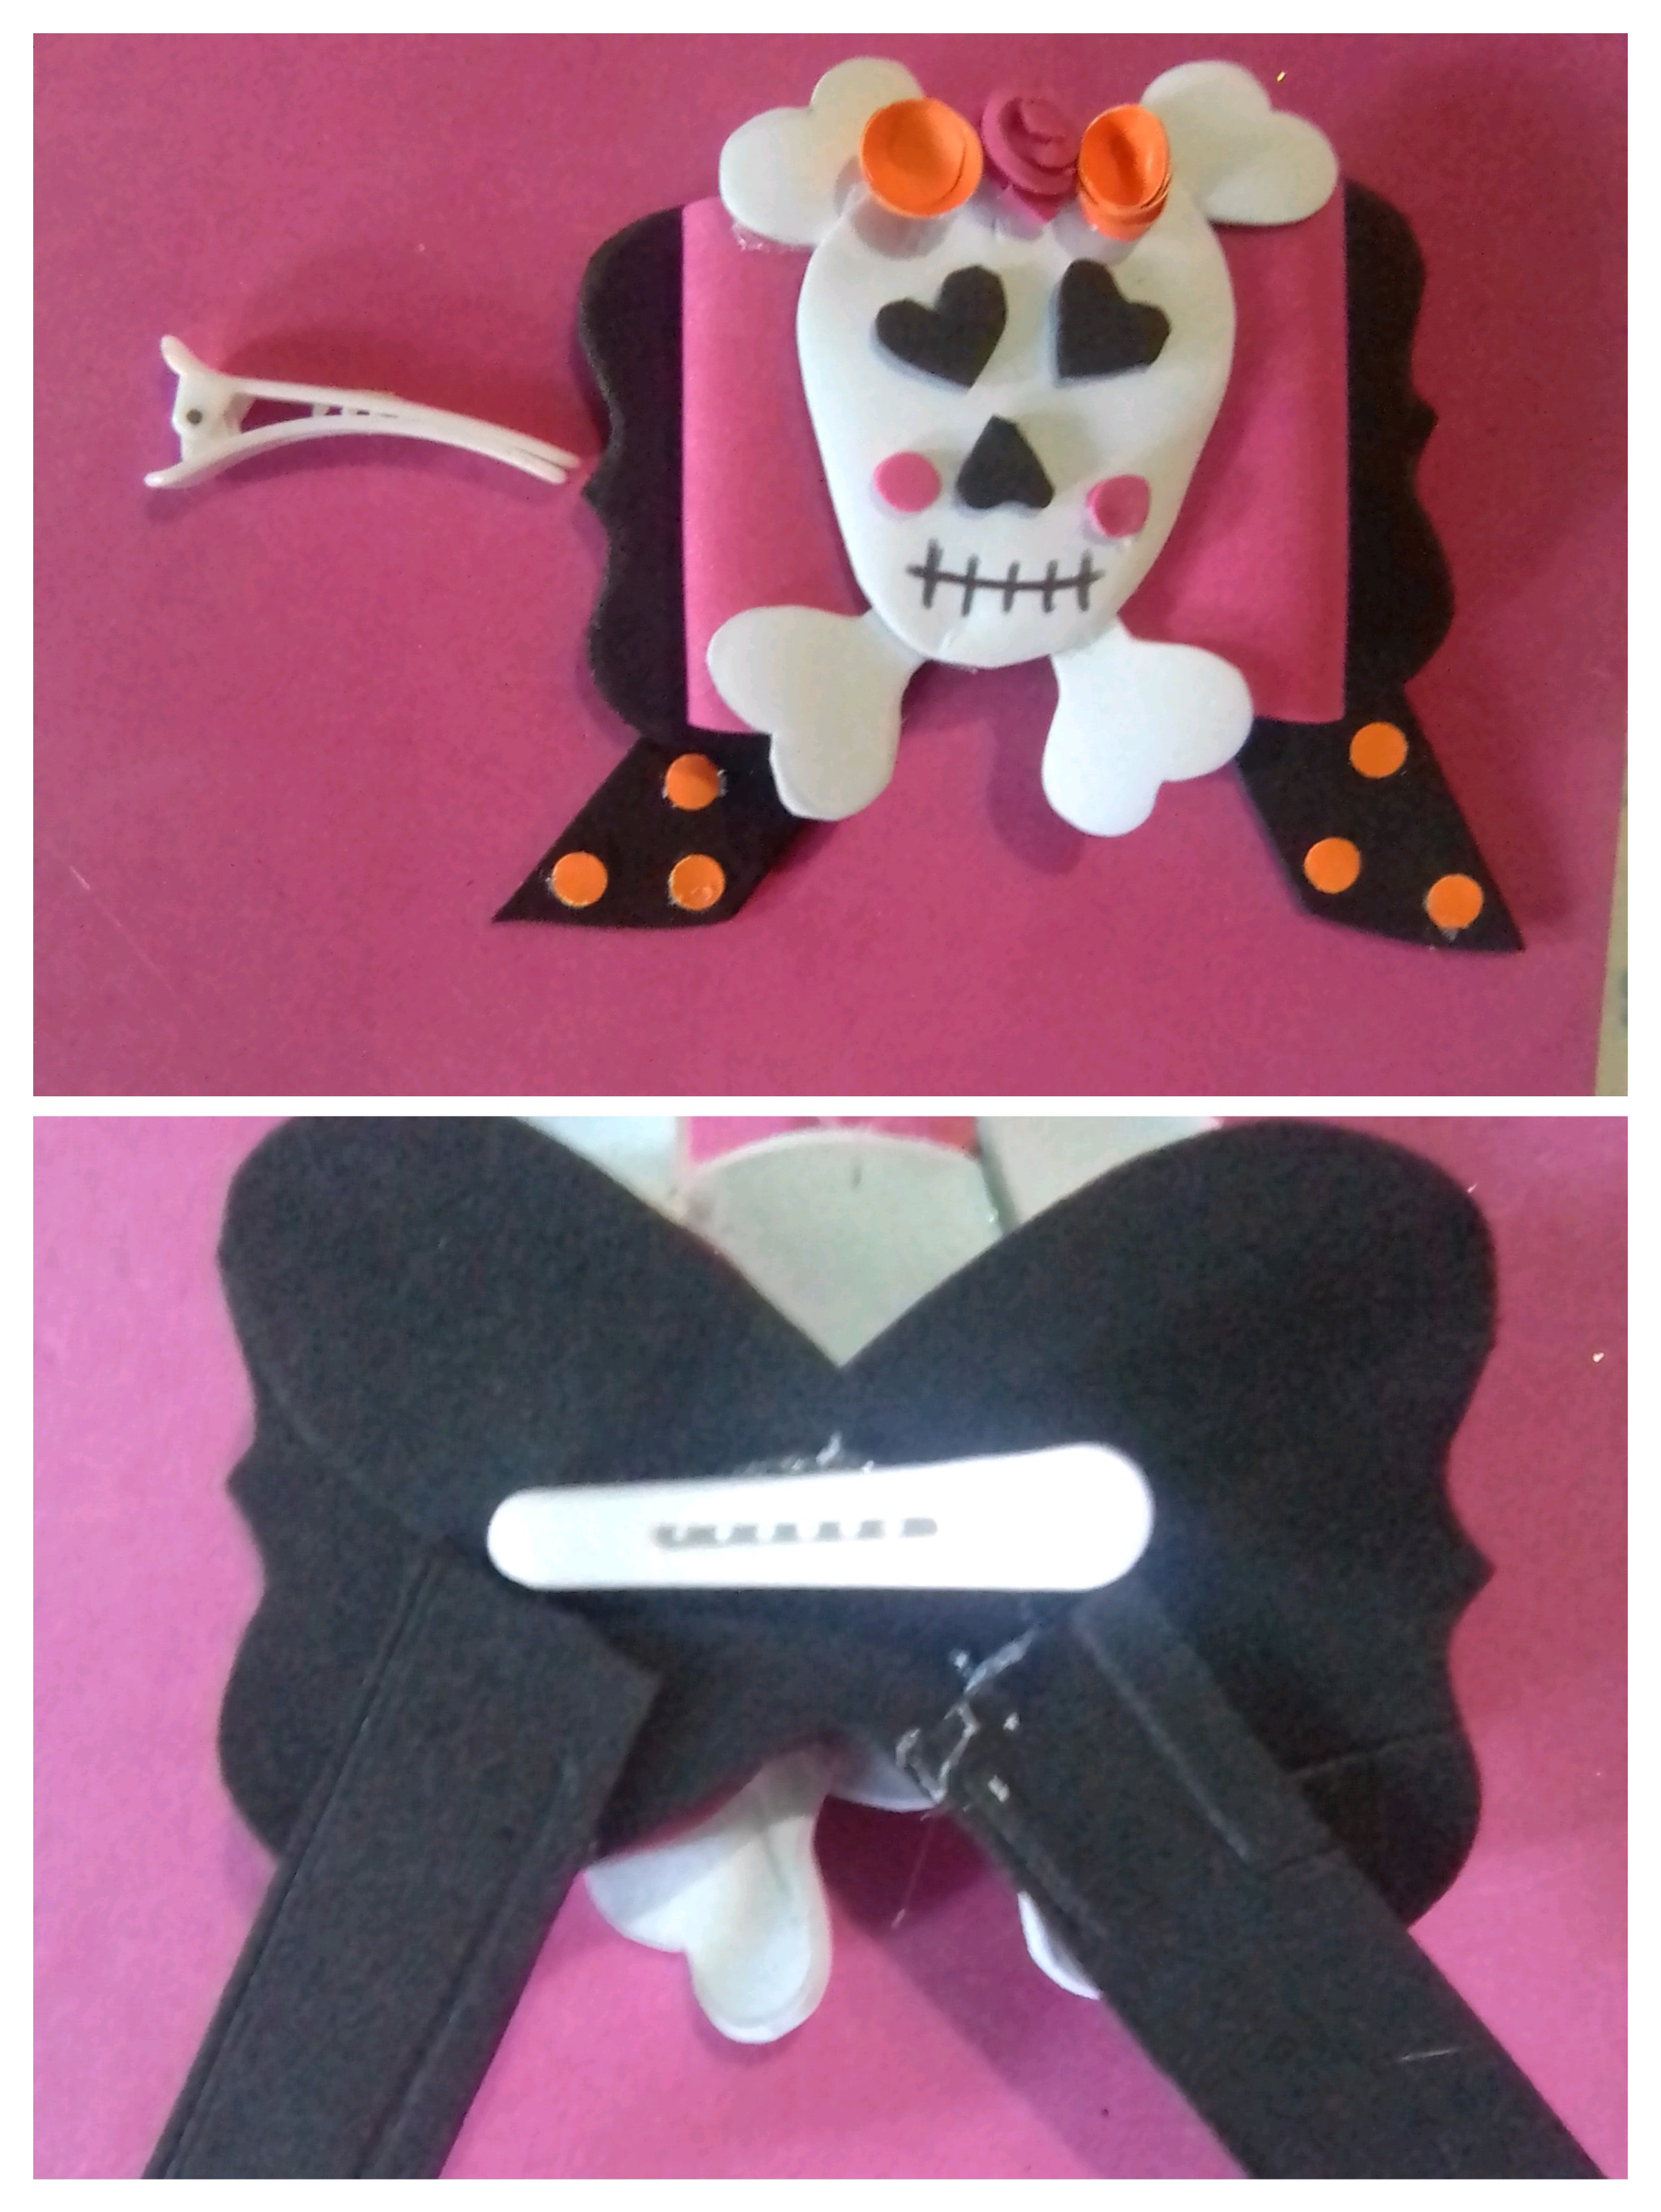
And in this way, make this beautiful Halloween-themed hair accessory to pamper the girls of the house, thanks for reading until the end, we will meet again in the next post.
Result
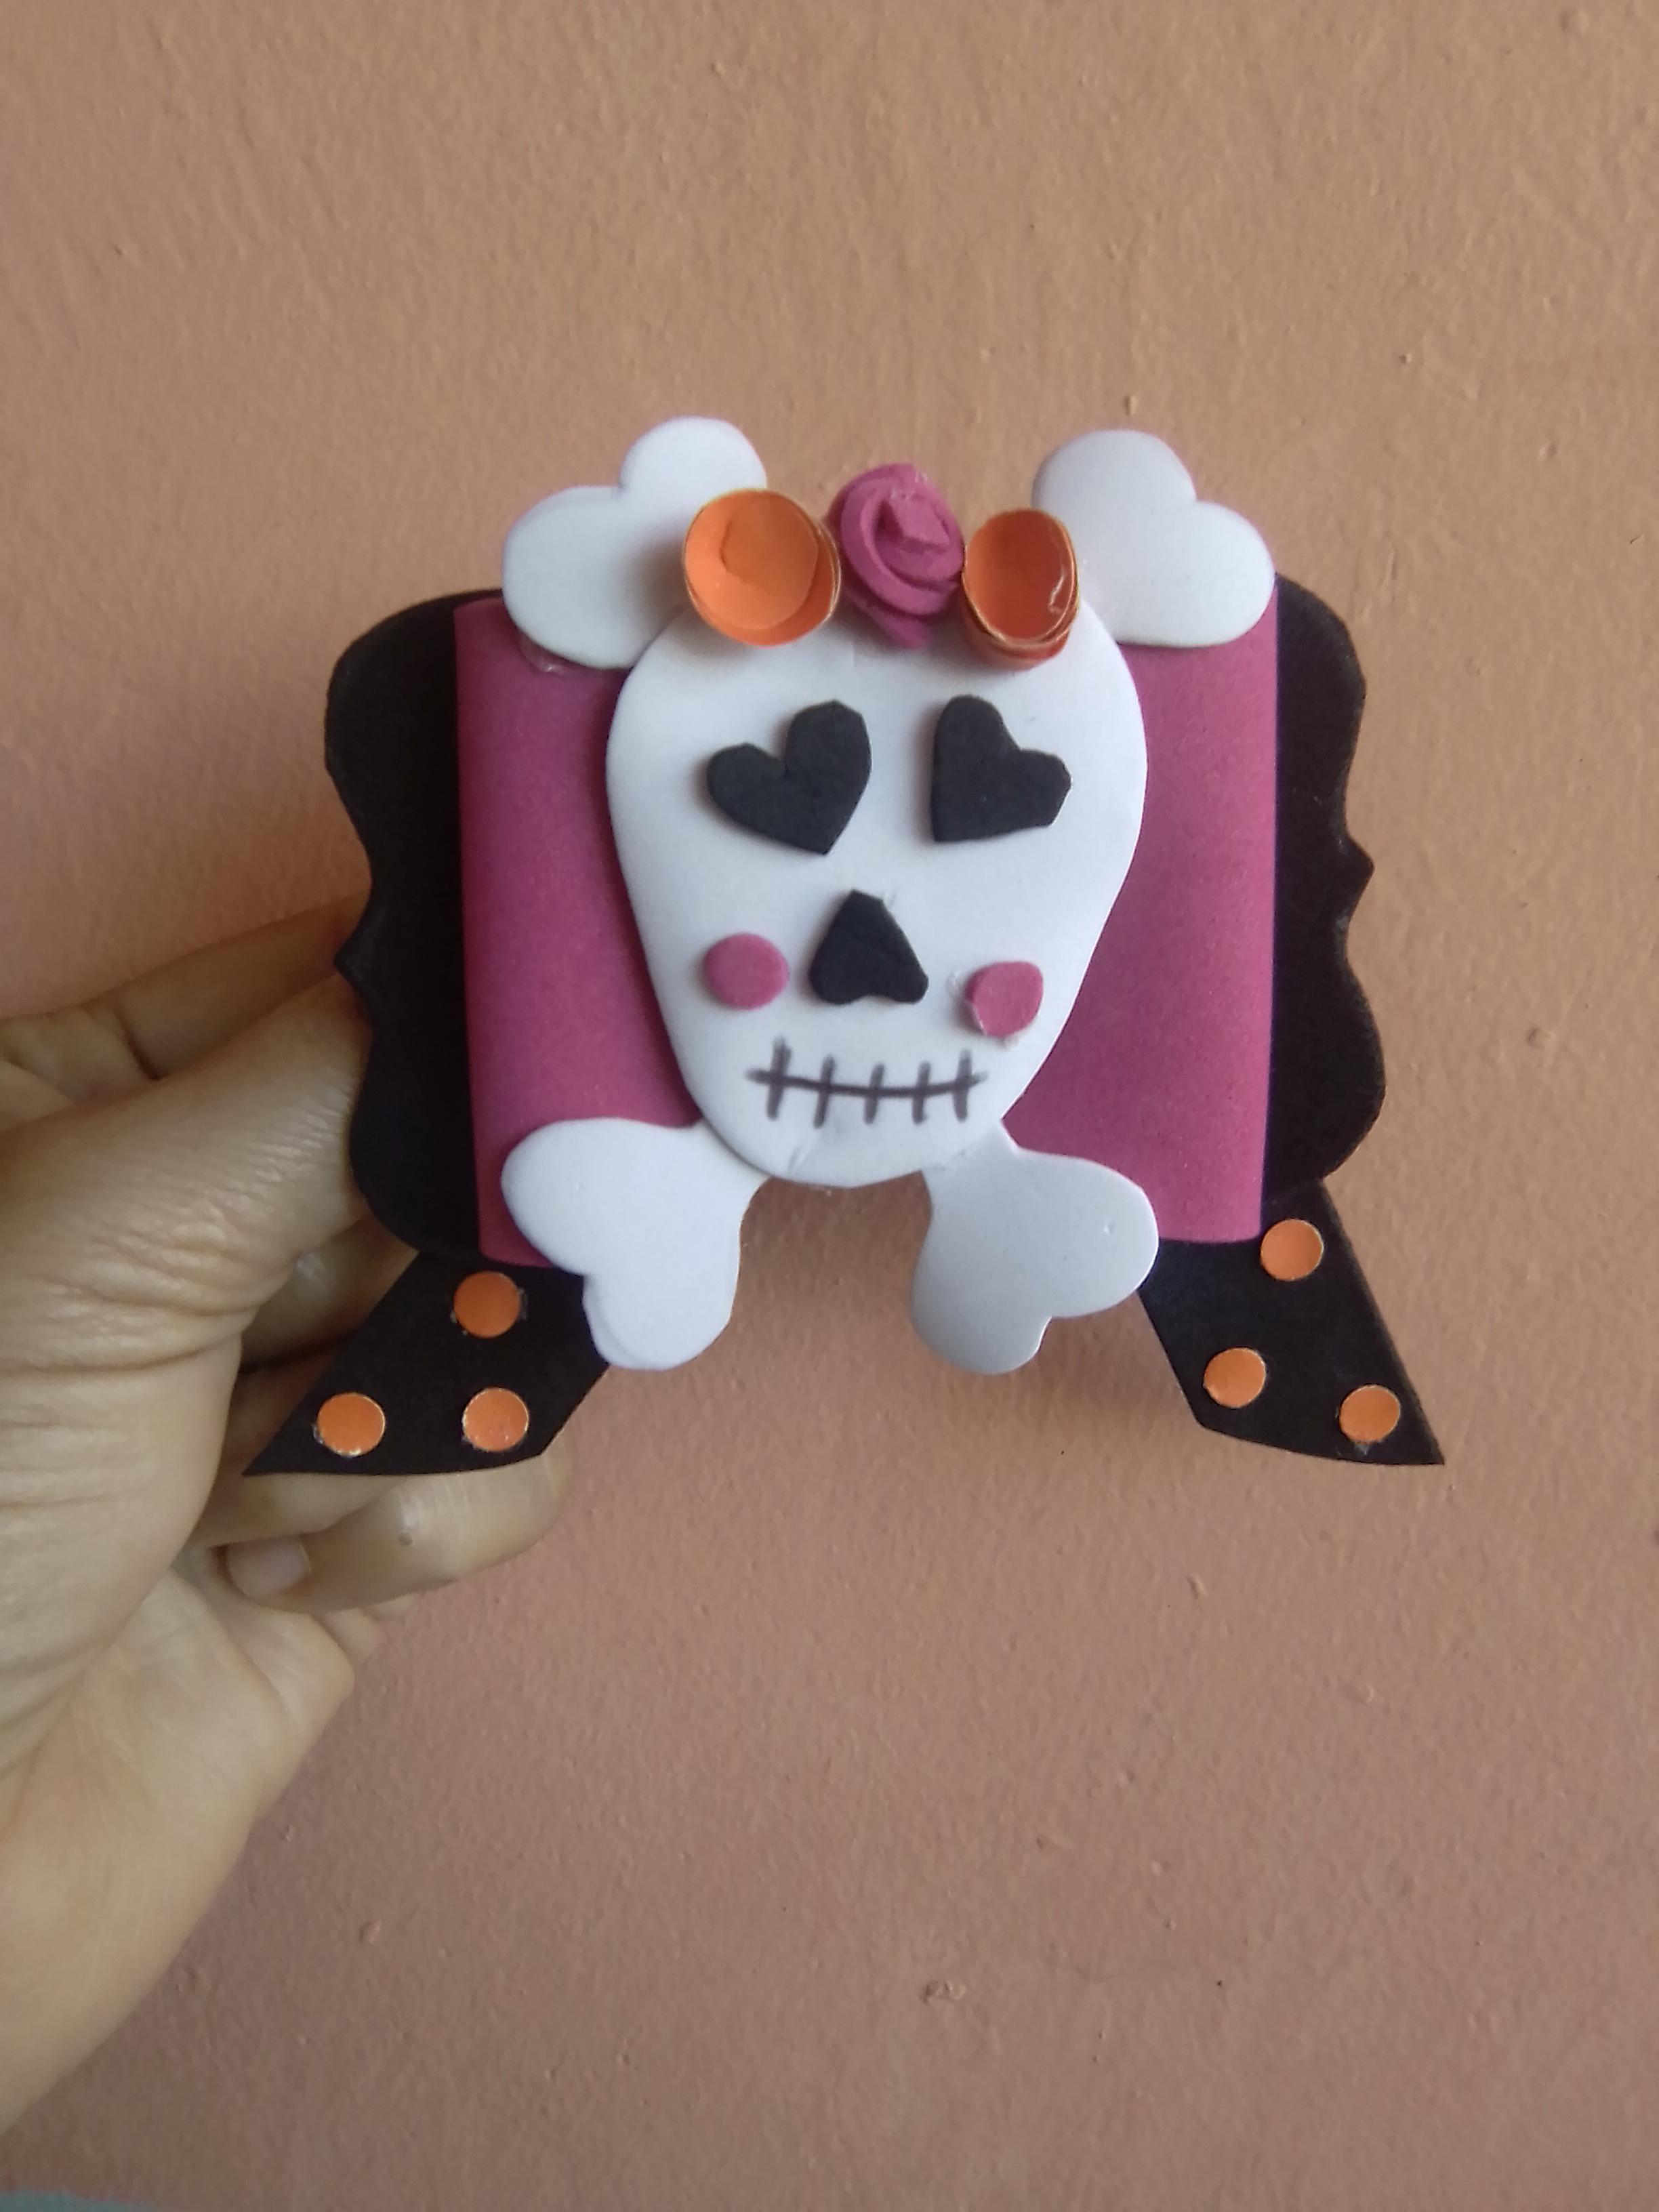
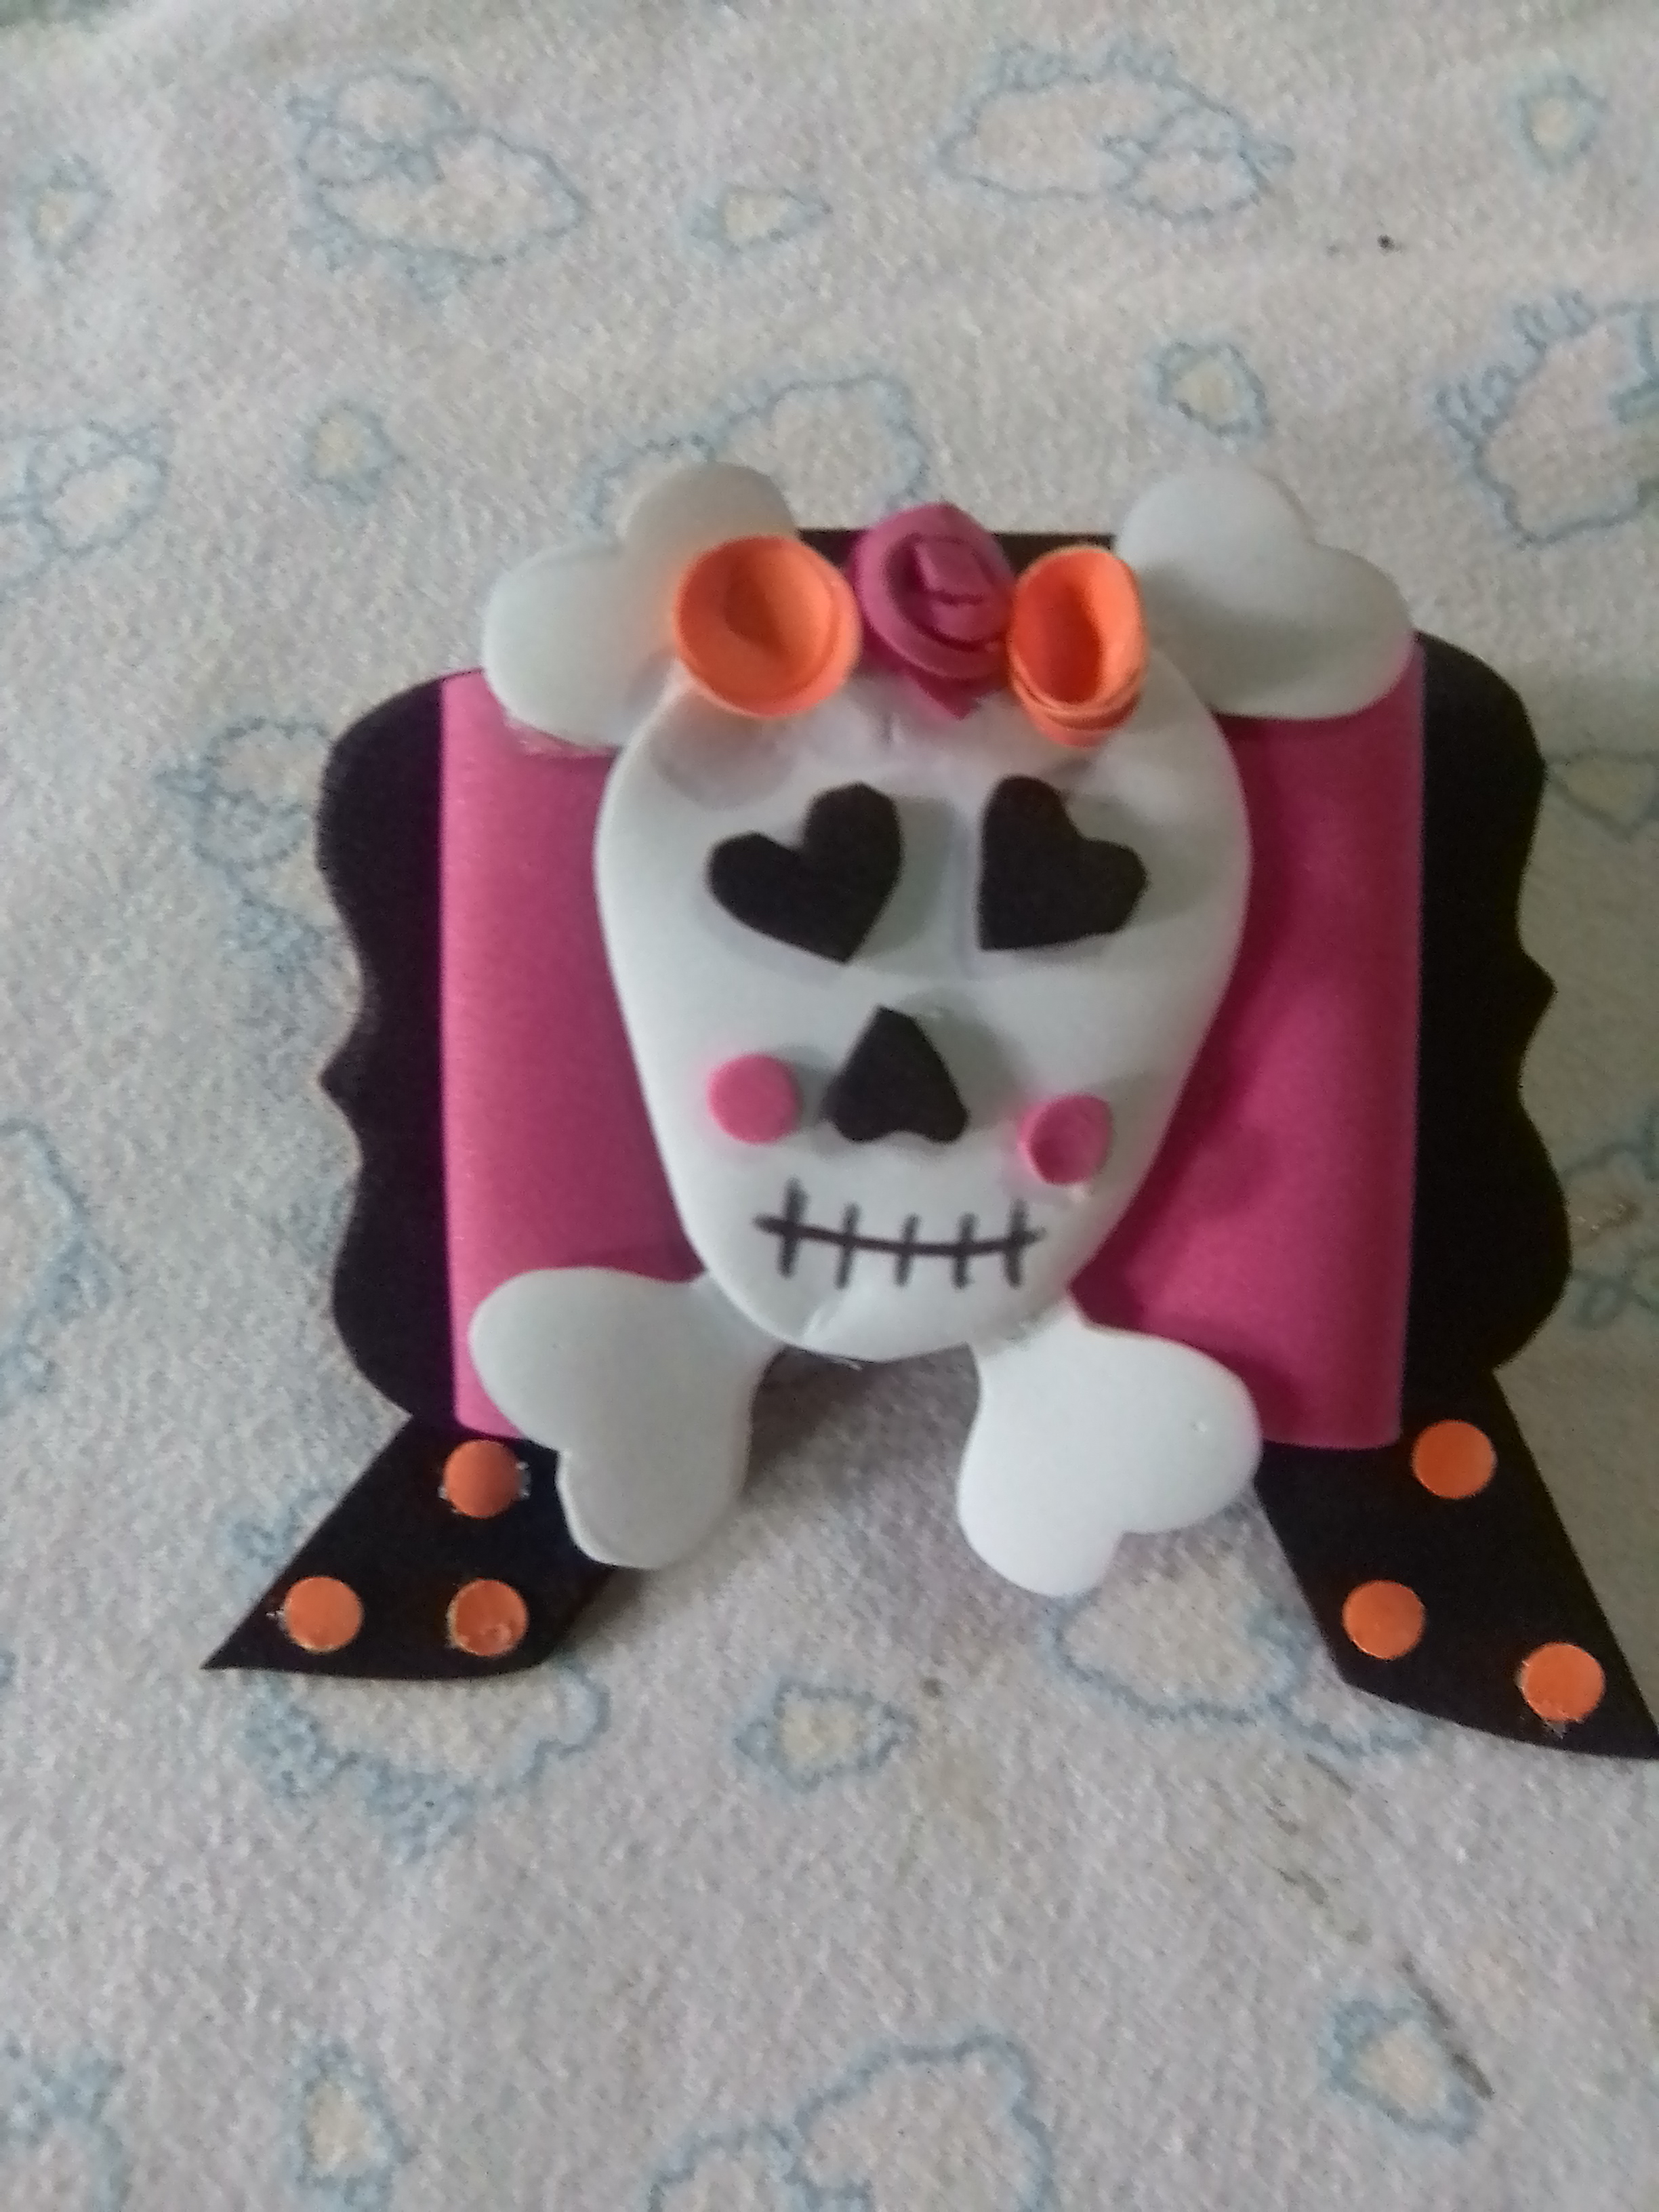

The photos are my property taken exclusively in this project.
The collages of the procedure were made with the tool of my Blue C6 and the main one in Canva
The dividers and the banners were edited by me in Canva
The translation was made with
DeepL Translator

Feliz día para la comunidad de Hive Diy, veo con gran entusiasmo las lindas manualidades con temática de Halloween, que han realizado los creativos de esta comunidad, y como yo son fantástica de la noche del horror, me motive a elaborar mi segunda manualidad de esta divertida temática, y les mostraré a continuación, como elaborar un lindo lazo para el cabello, adornado con una coqueta calavera, al estilo arcoiris, quizás no esté tan tenebrosa, pero a las niñas seguro les encantará, y como está celebración es para la diversión de los pequeños de la casa, sigamos consintiedolos.


MATERIALES
✓ Foami blanco, negro y fucsia
✓ Cartulina naranja.
✓ Marcador negro punta fina.
✓ Tijera, lápiz y saca bocado
✓ Plancha de ropa
✓ Pistola y barra de silicona
✓ Pinza para el cabello color blanco.

PASO A PASO
Para esta linda manualidad, realizada en especial para las niñas, decidí hacer un accesorio para el cabello, con temática de Halloween, pero que a la ves fuese muy coqueta y lindo, entonces pensé en una niña calavera. Para comenzar realice en hojas de reciclaje, los diseños de los lazos, la forma de calavera con sus huesos en cruz y en forma de corazón.

Transferí los diseños a los respectivos colores de foami, realice la base del lazo en color negro, el lazo en color fucsia y la calavera completamente en color blanco.

Recorte todas las formas y comencé a ensamblar, iniciando con la calavera, ya que tiene más detalles. Realice dos corazones negros para los ojos y uno más pequeño para la nariz. Pegué los ojos en dirección diagonal para dar expresión al rostro y el corazón de la nariz lo pegue al revés. A continuación le elabore, con marcador negro, la boca con su característica costura, pero sin la forma de sonrisa, la hice caso recta.


Llegó el momento de dar forma a la calavera, esto se logró aplicando calor con la plancha de ropa, al rostro y a los huesos, pero muy leve, solo buscaba que los bordes se curvaran un poco hacia adentro. Pegué los corazones solos en la parte superior y los que tienen la extensión del hueso, en la parte inferior, haciendo el símil de que están cruzados.

Para dar el toque coqueto a la calavera, realice tres flores muy pequeñas, dos color naranja y una fucsia y las pegué entre los huesos superiores, además de colocar las mejillas de color fucsia.

Para finalizar, recorte dos tiras de foami negro y le hice un corte diagonal a uno de los extremos y saqué con el saca bocado unos círculos naranja y los pegue a la cinta. Luego pegué el lazo fucsia sobre la base negra y sobre esta la calavera, finalizó colocando las tiras negras del lazo y pegando la pinza para el cabello.


Y de esta manera, realice este hermoso accesorio para el cabello, con temática de Halloween, para consentir a las niñas de la casa, gracias por leer hasta el final, nos reuniremos nuevamente en el próximo post.
Resultado


Las fotos son de mi propiedad tomadas exclusivamente en este proyecto.
Los collages del procedimiento los hice con la herramienta de mi Blue C6 y el principal en Canva
Lo separadores y el banners fueron editados por mi en Canva
La traducción fue realizada con
DeepL Traductor
Te quedó genial, bellos colores y excelente tutorial
Un abrazo 🤗🤗
Tierno y terrorífico a la vez. Gracias por compartir como lo haces 🥰