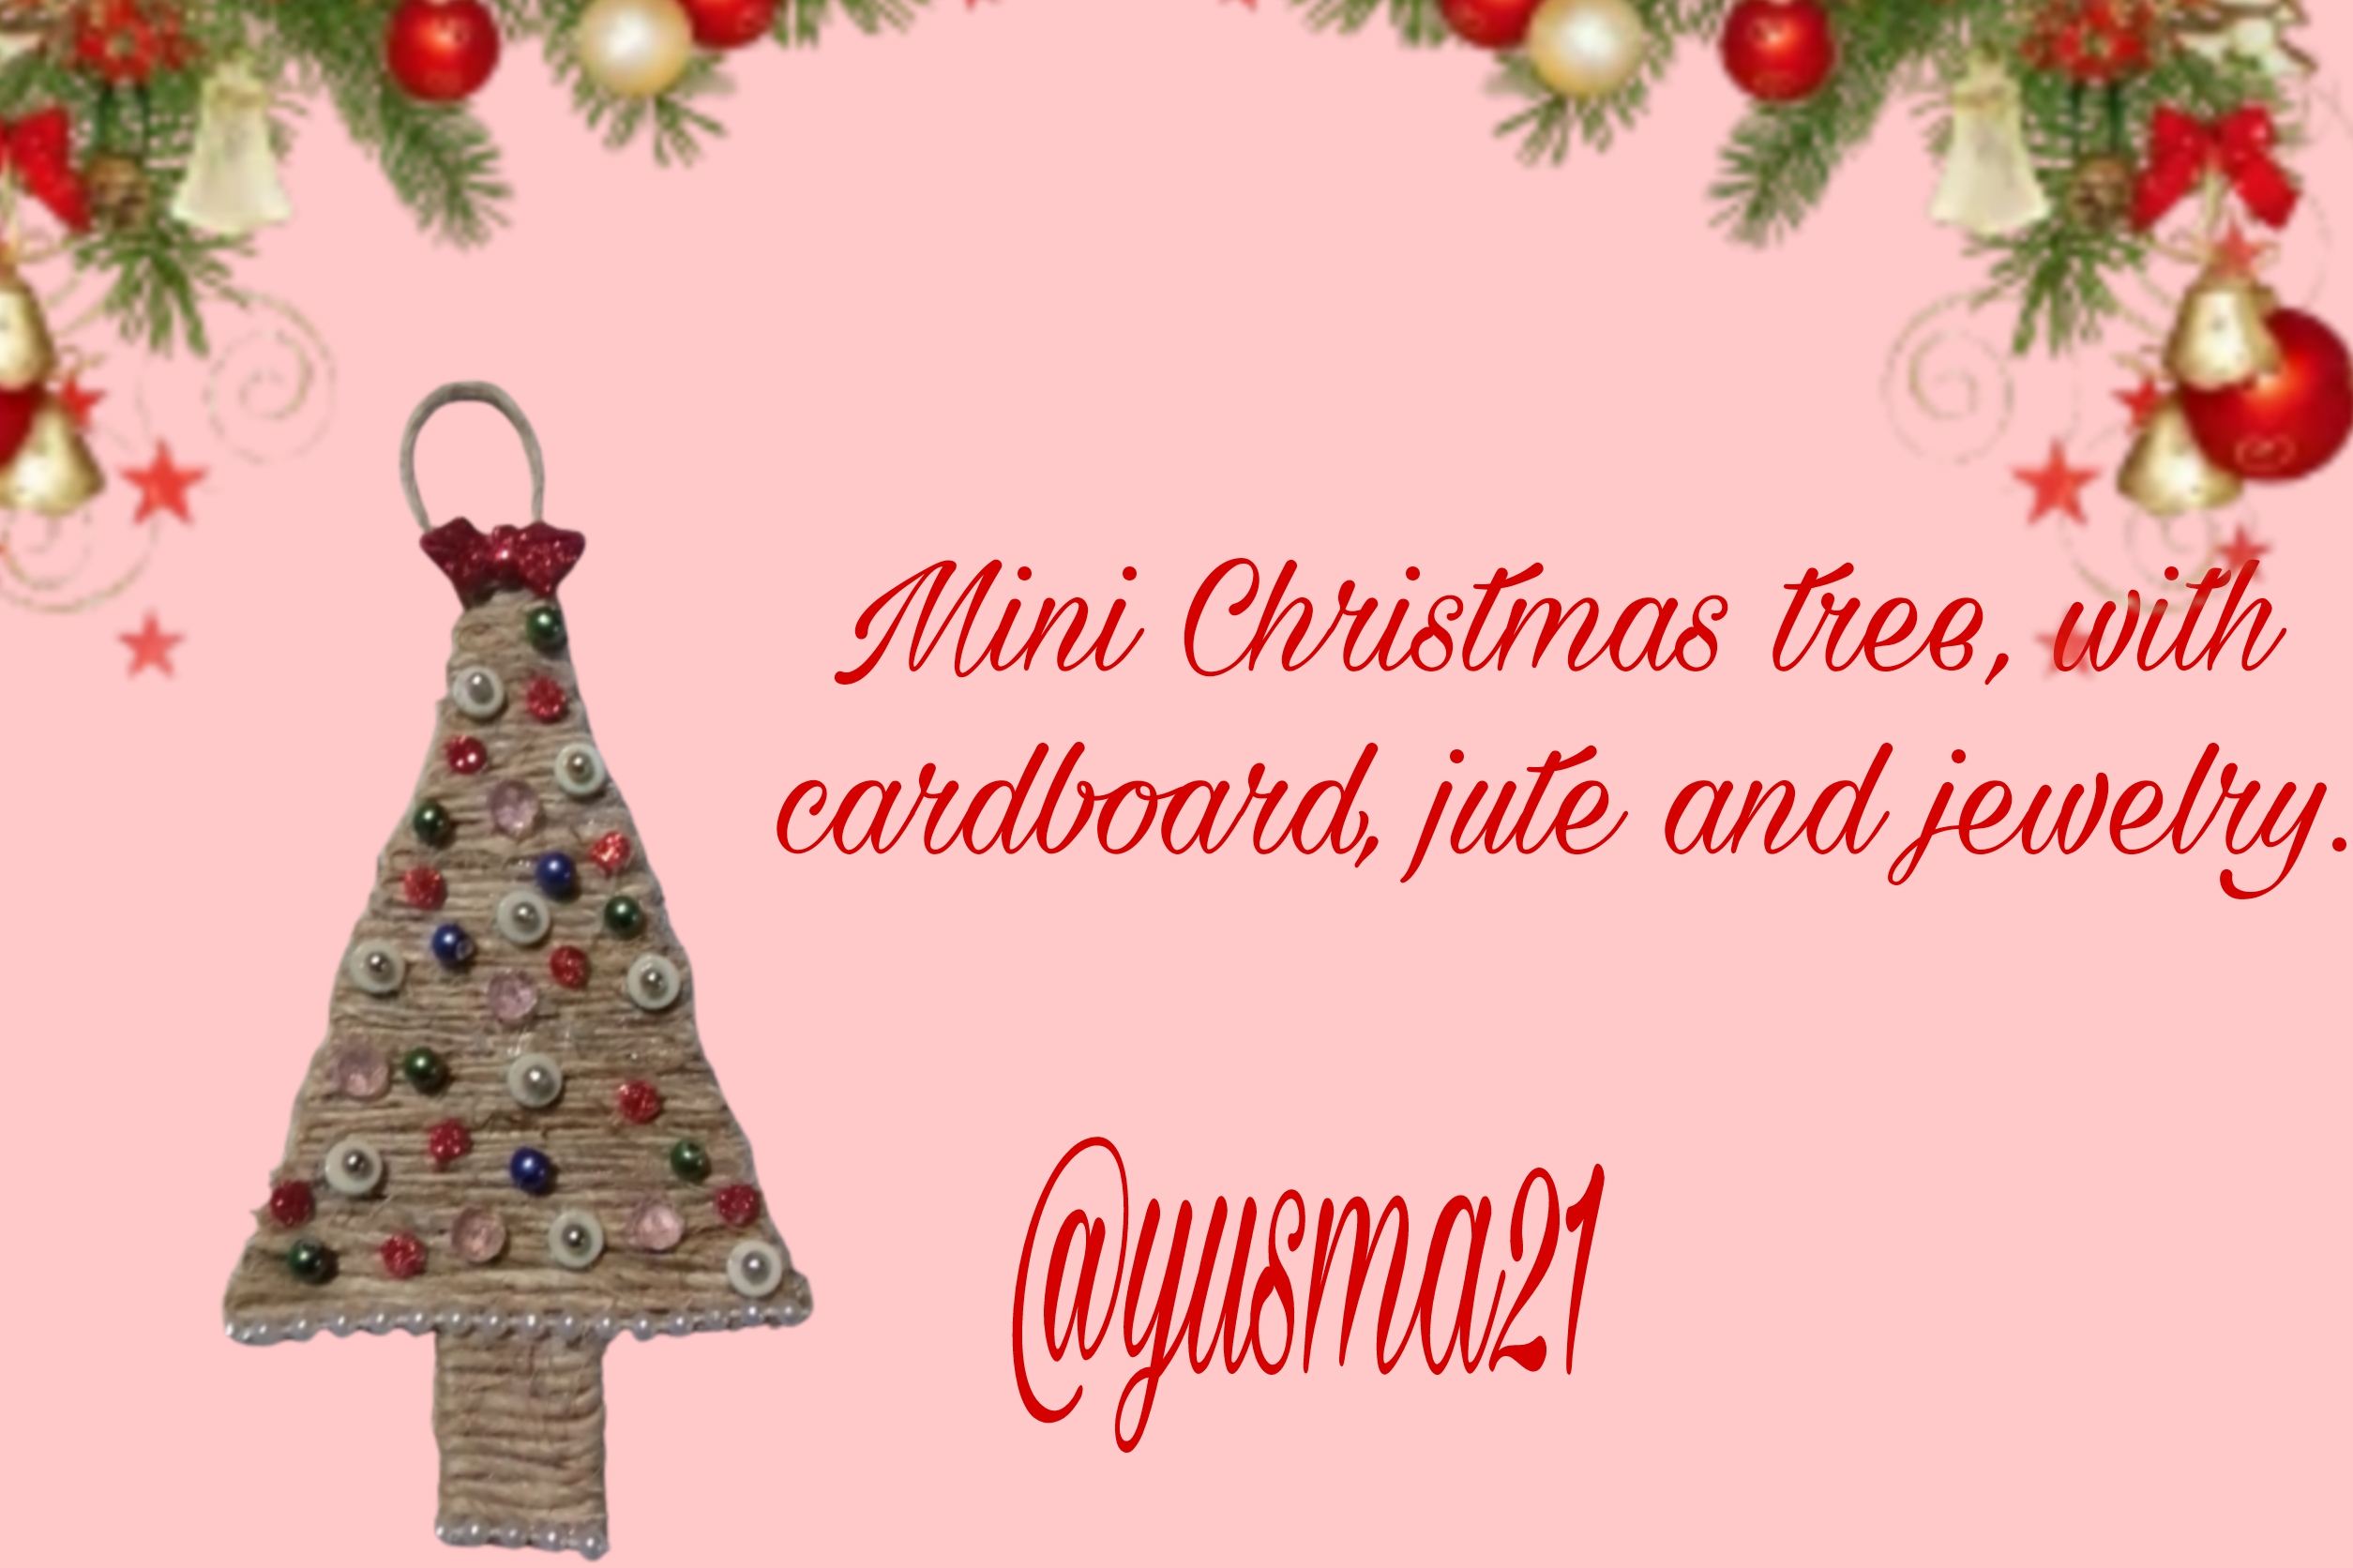

Affectionate greetings to the artisans and creative of this community. Already in the mood for December and excited about the Christmas crafts that were already presented in Hive Diy, I decided to make my first Christmas decoration, it is a mini tree, to hang, made with cardboard and jute cord and decorated with jewelery stones, I was delighted with the result, and I want to share it with you so that you can also do it at home.

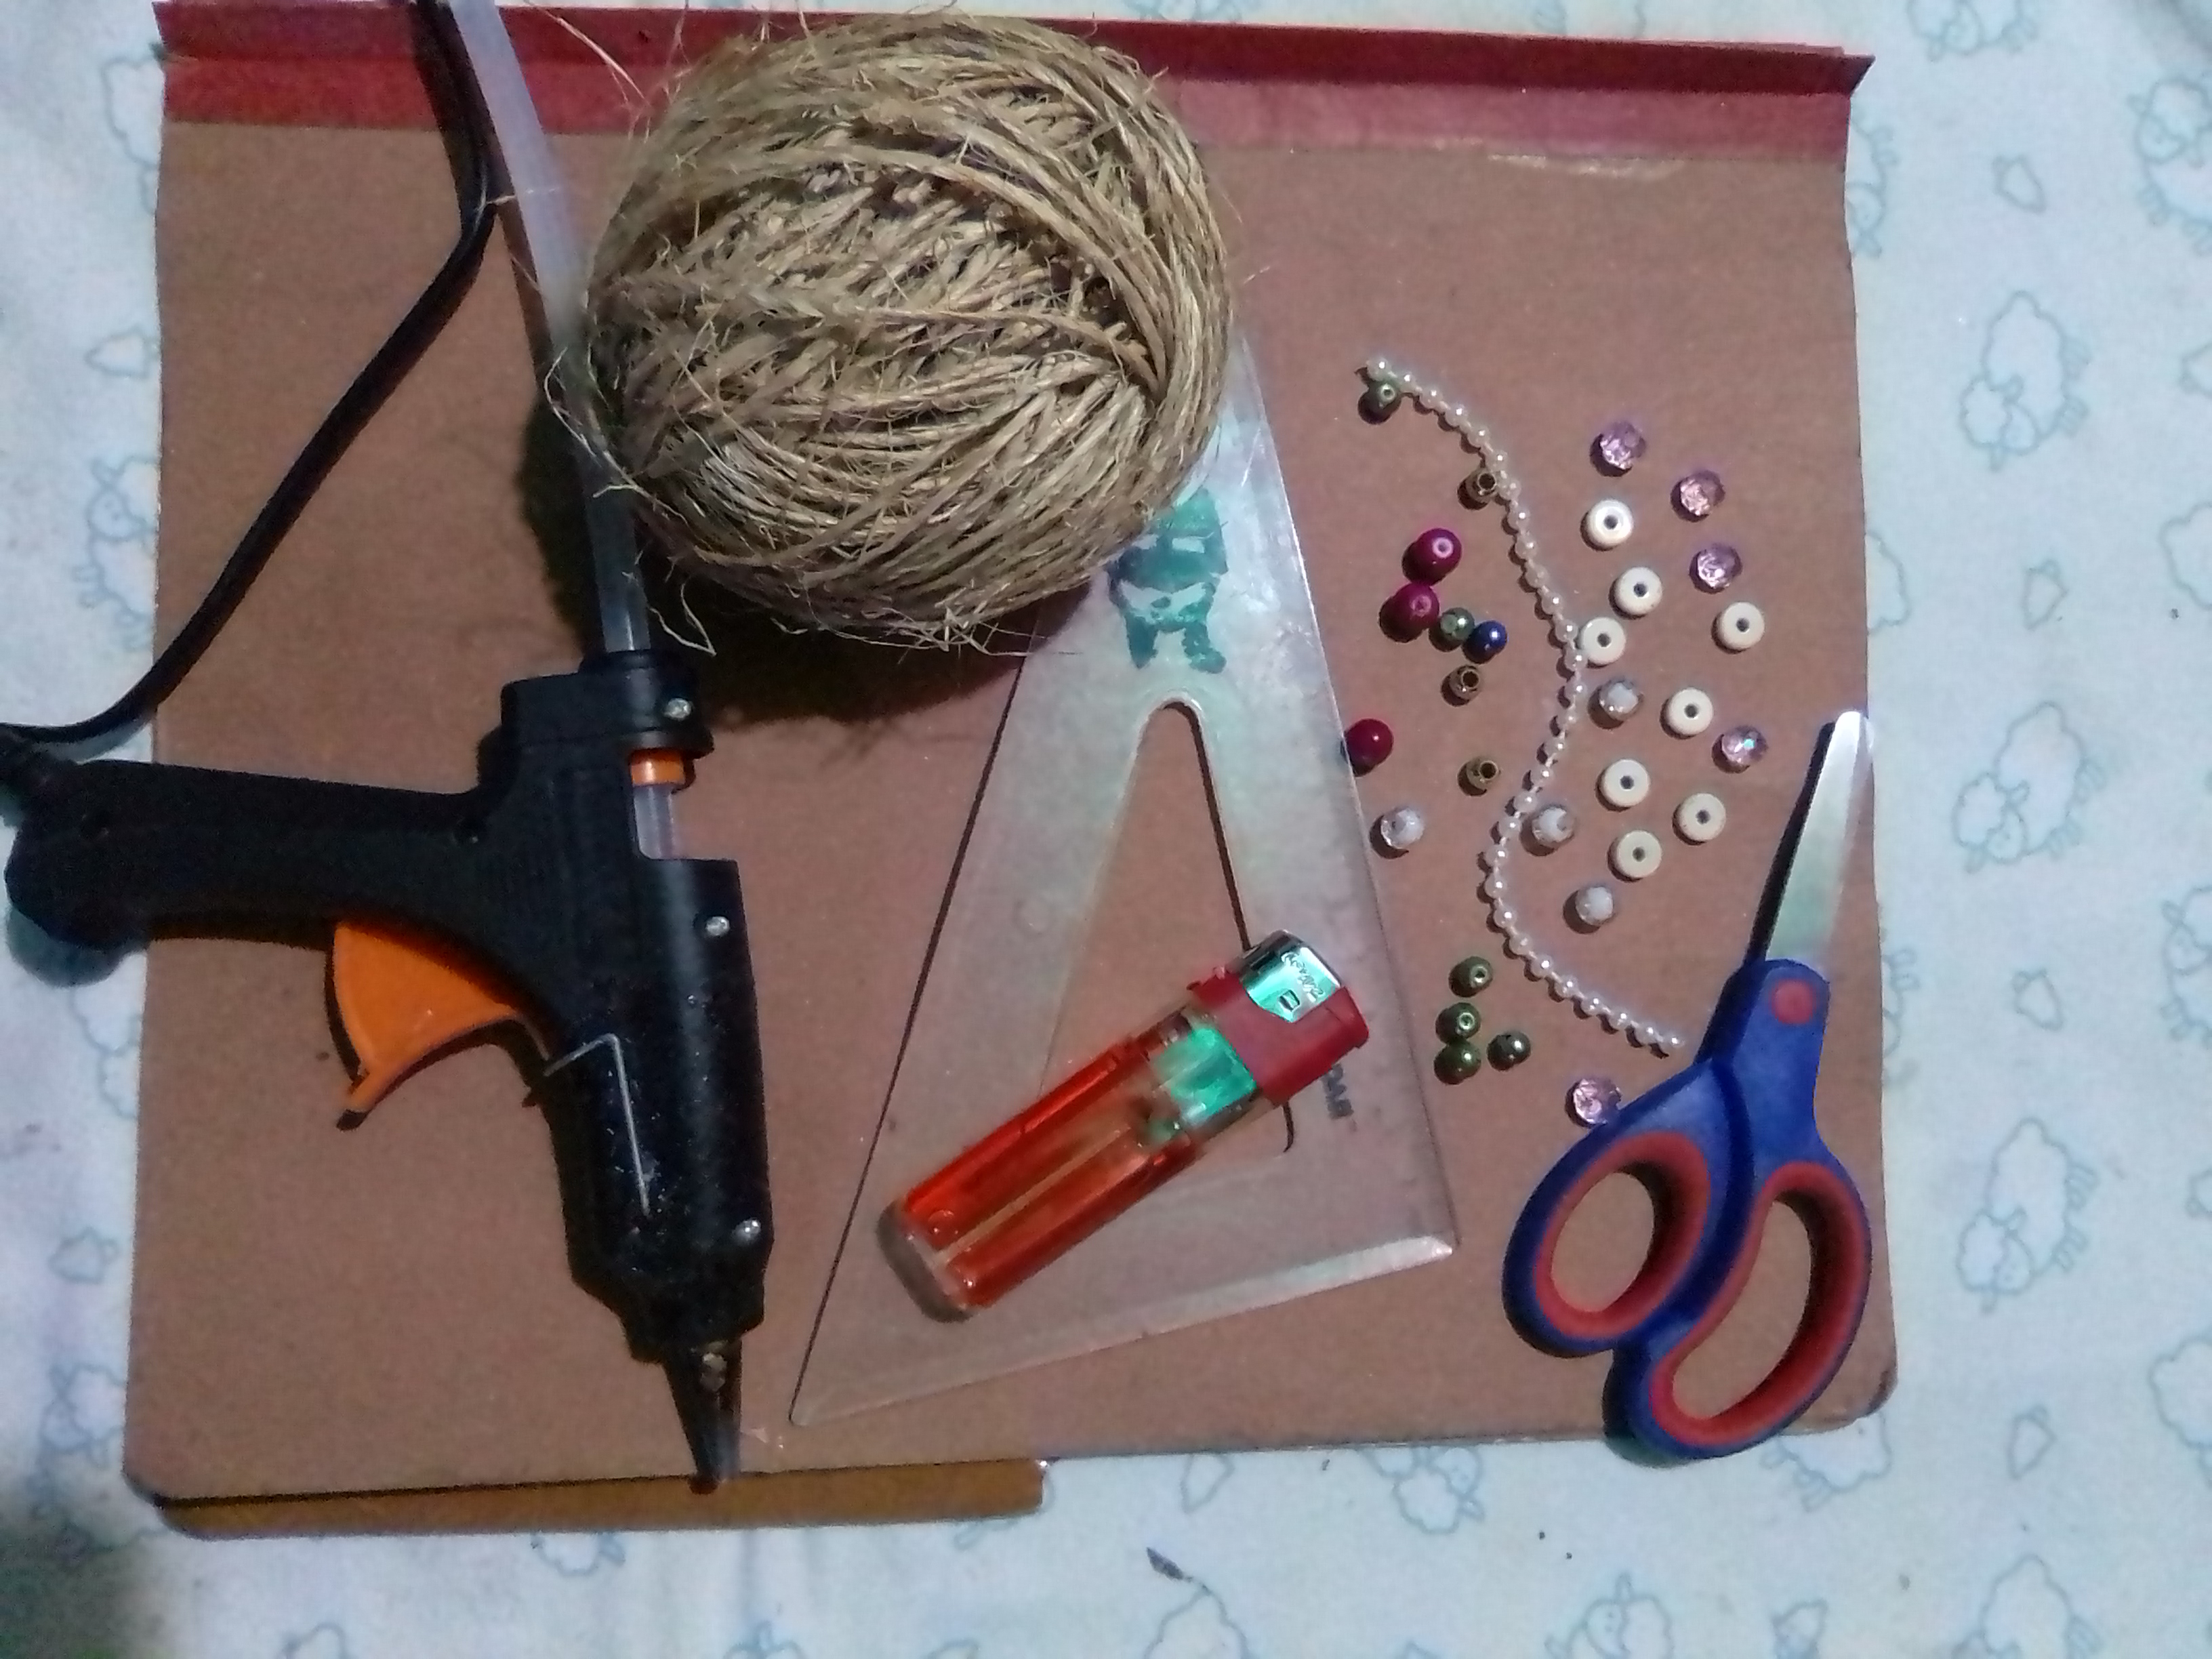
MATERIALS
✓ Jute twine
✓ Cardboard
✓ Gun and silicone bar
✓ Scissor
✓ Jewelry stones
✓ Red foam.
✓ Lighter.
✓ Running white pearls.
STEP BY STEP
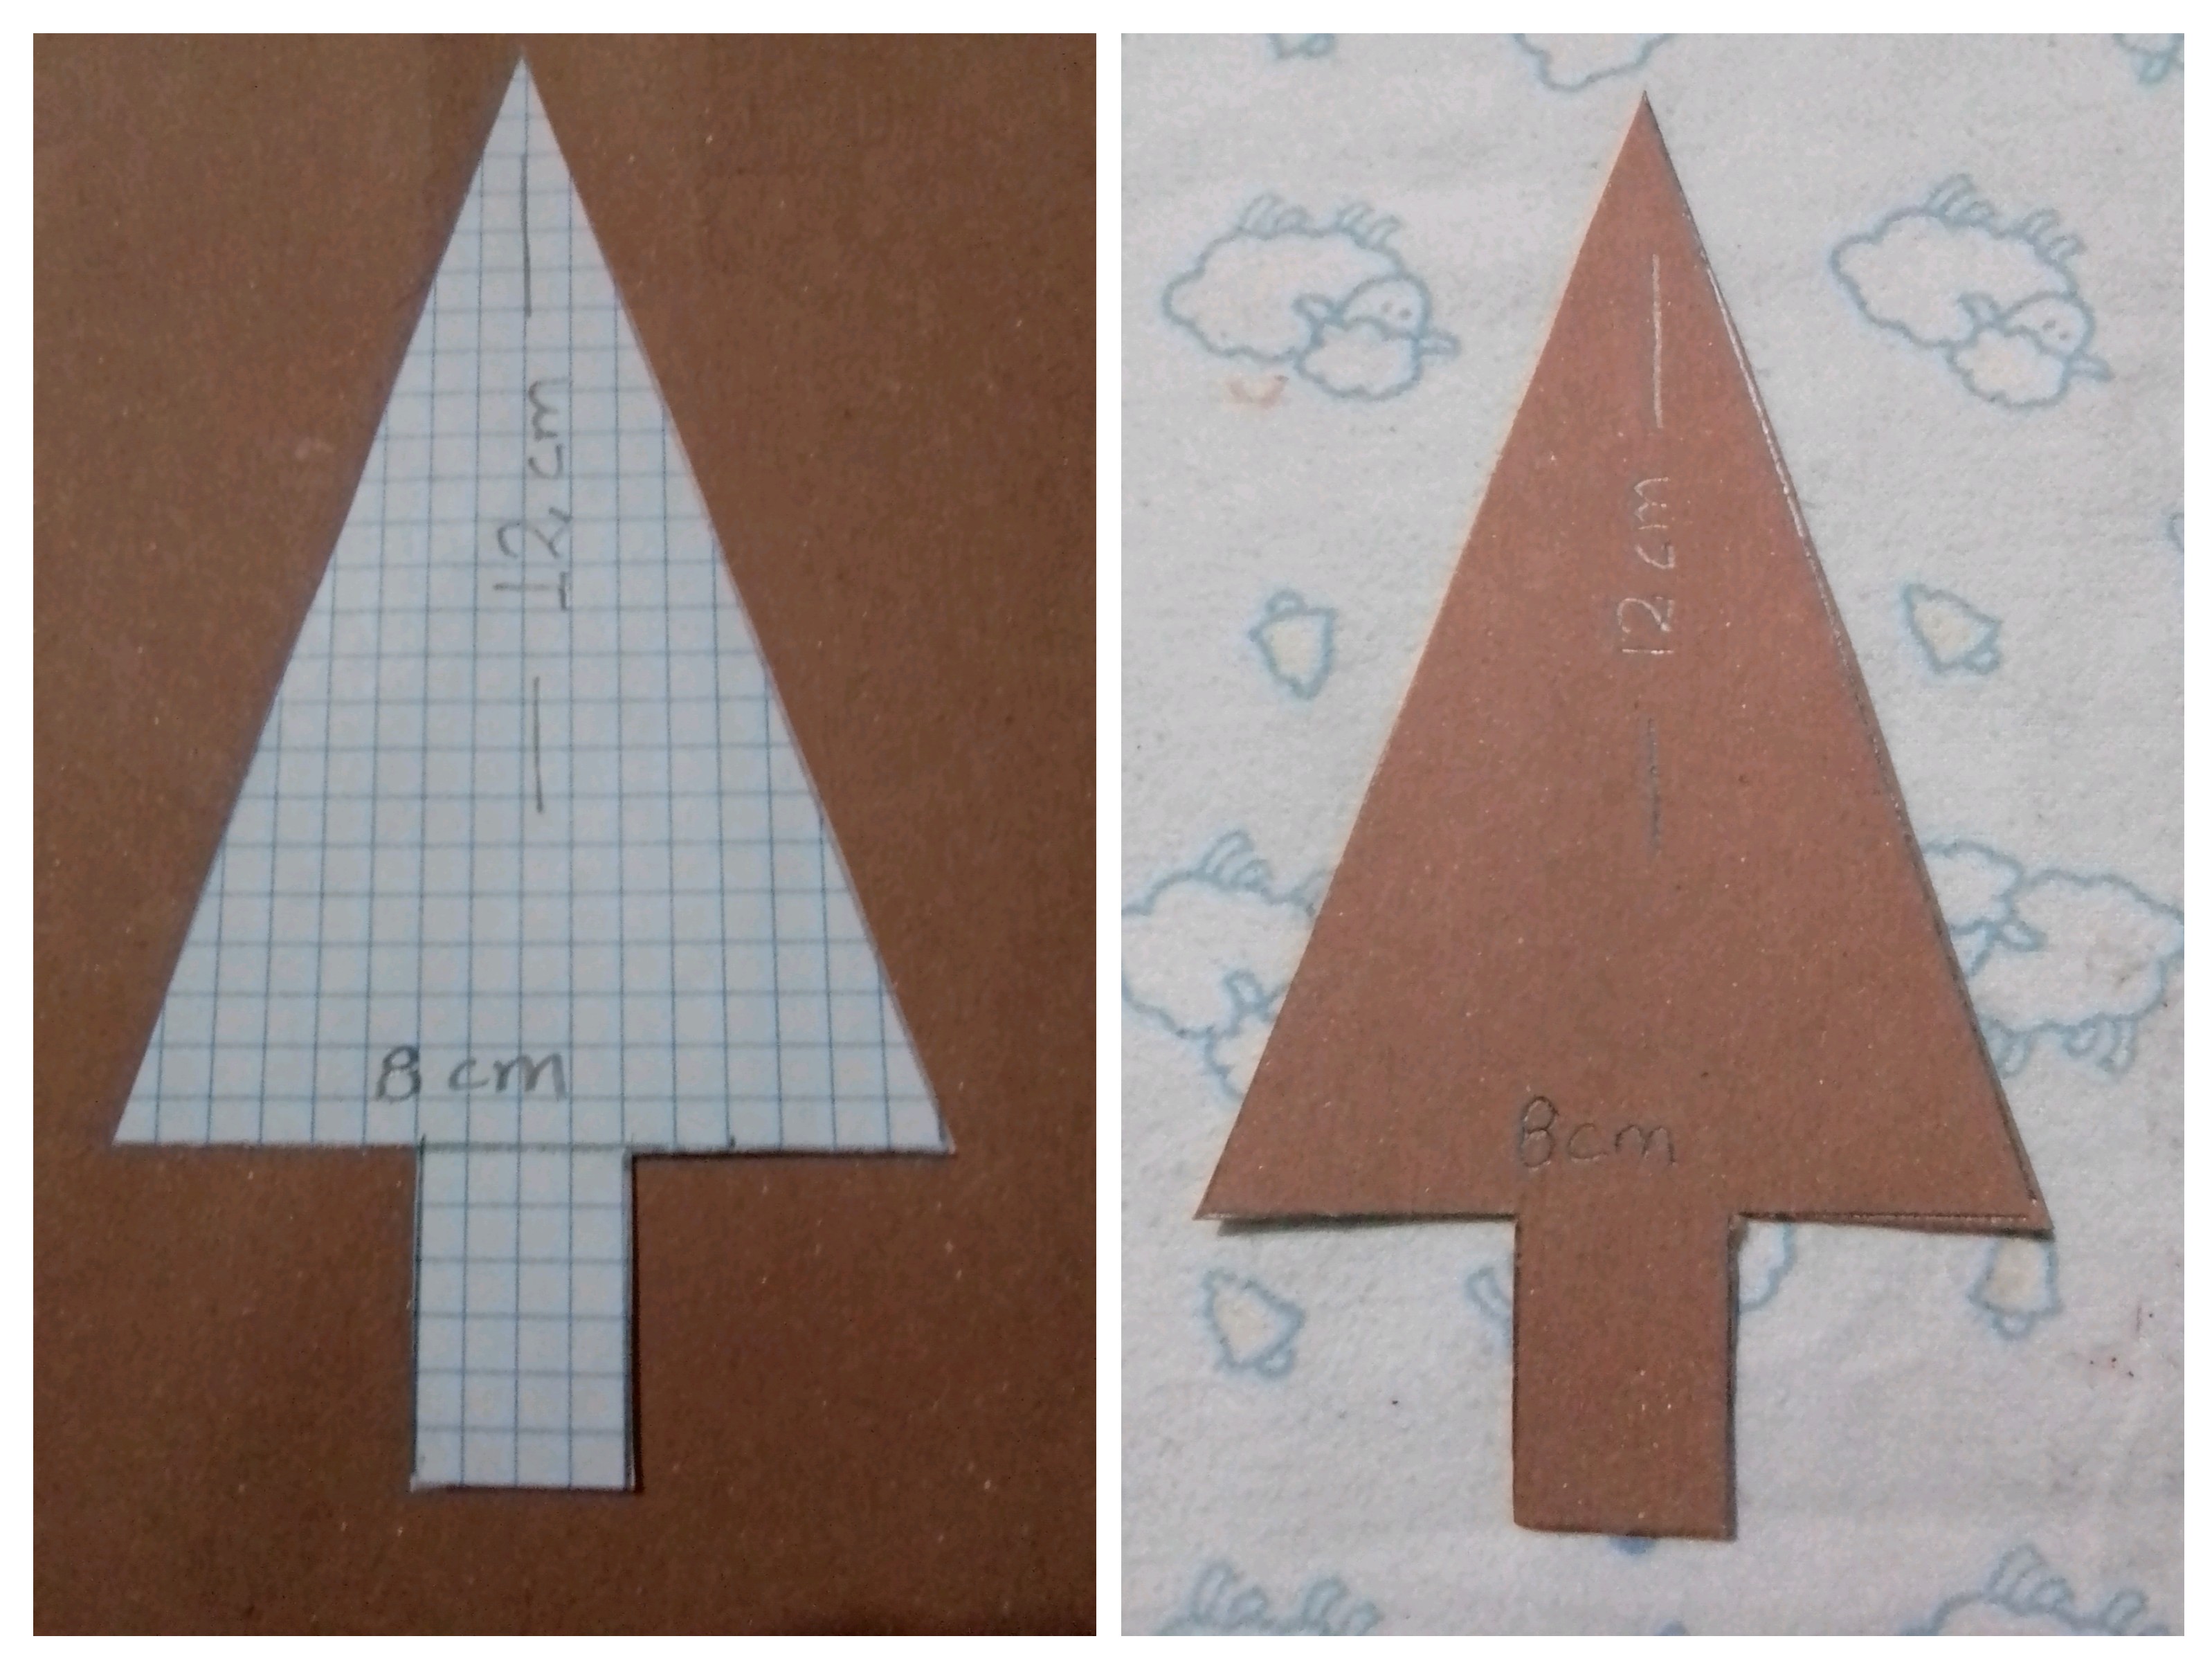
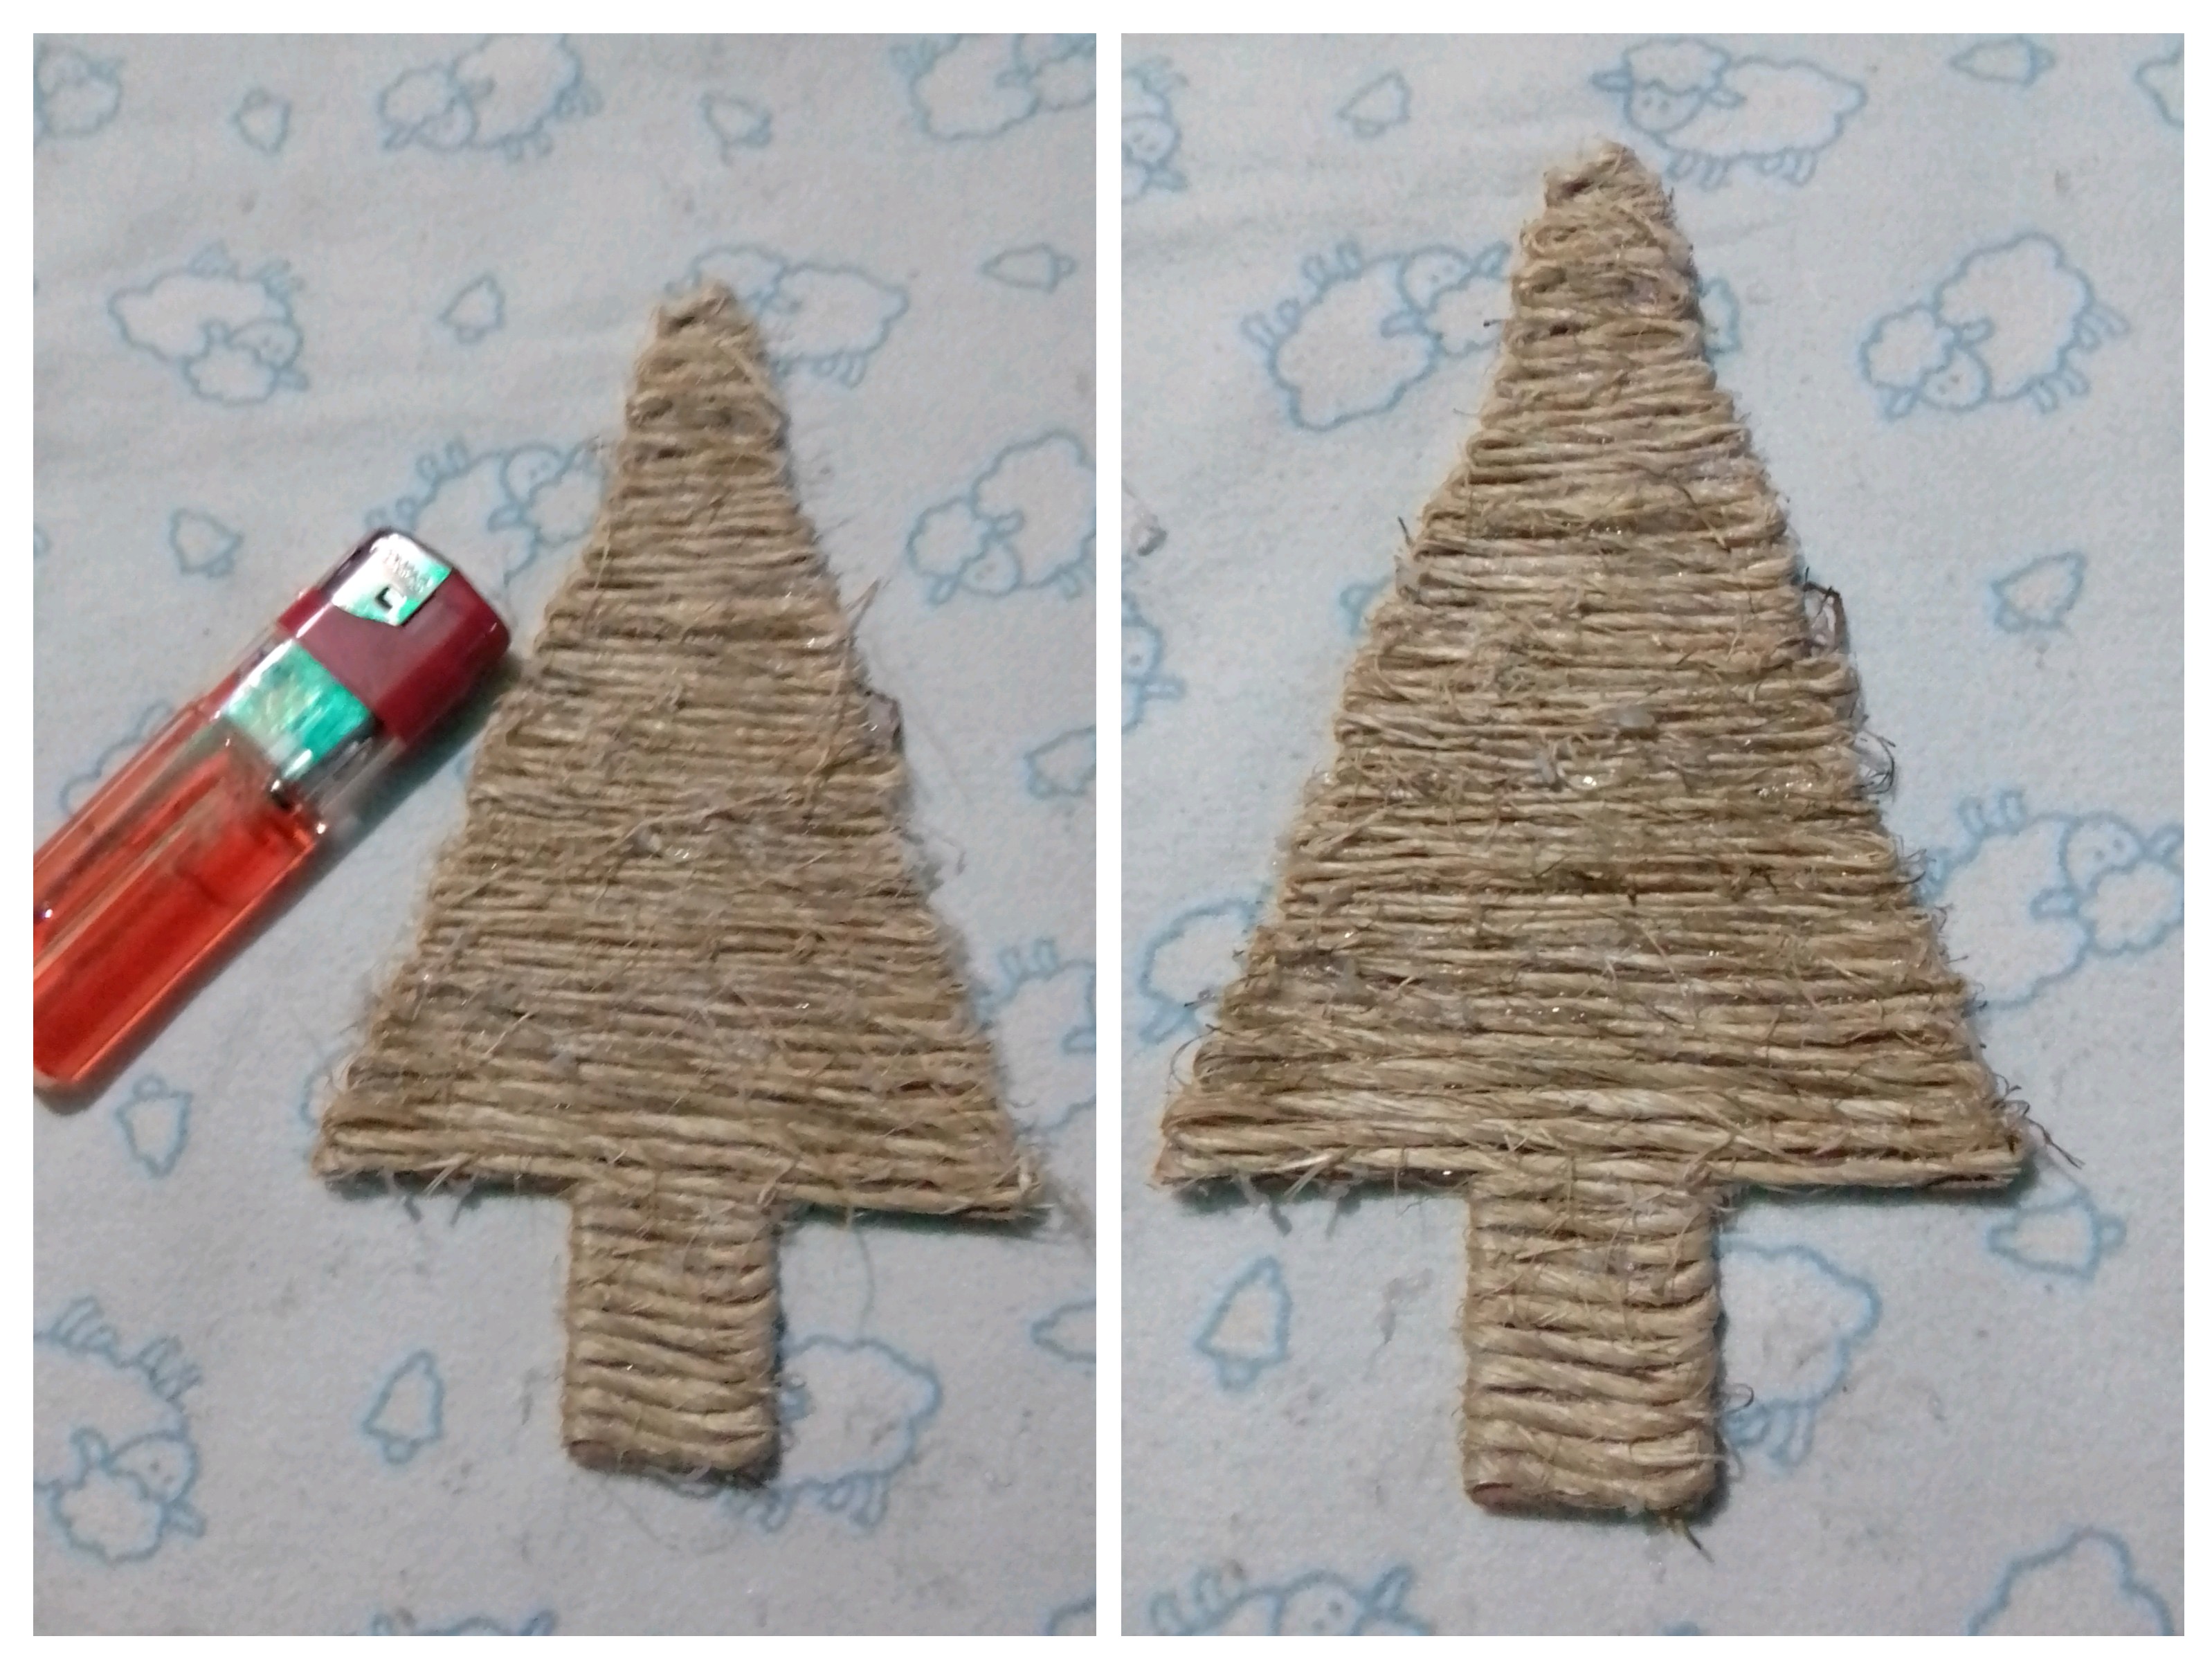
For this mini Christmas tree, I wanted to do something very different or everything I had done in previous years, it occurred to me to make a cardboard triangle, with a base of 8 centimeters and a height of 12 centimeters, a stem of 2 x 3 centimeters, and on each side the remaining three centimeters.
Then I placed the jute cord, starting with the stem and sticking with hot silicone, pressing with a pencil and avoiding a burn. I extended the jute cord from one end to the other and returning the cord to cover the cardboard tree.
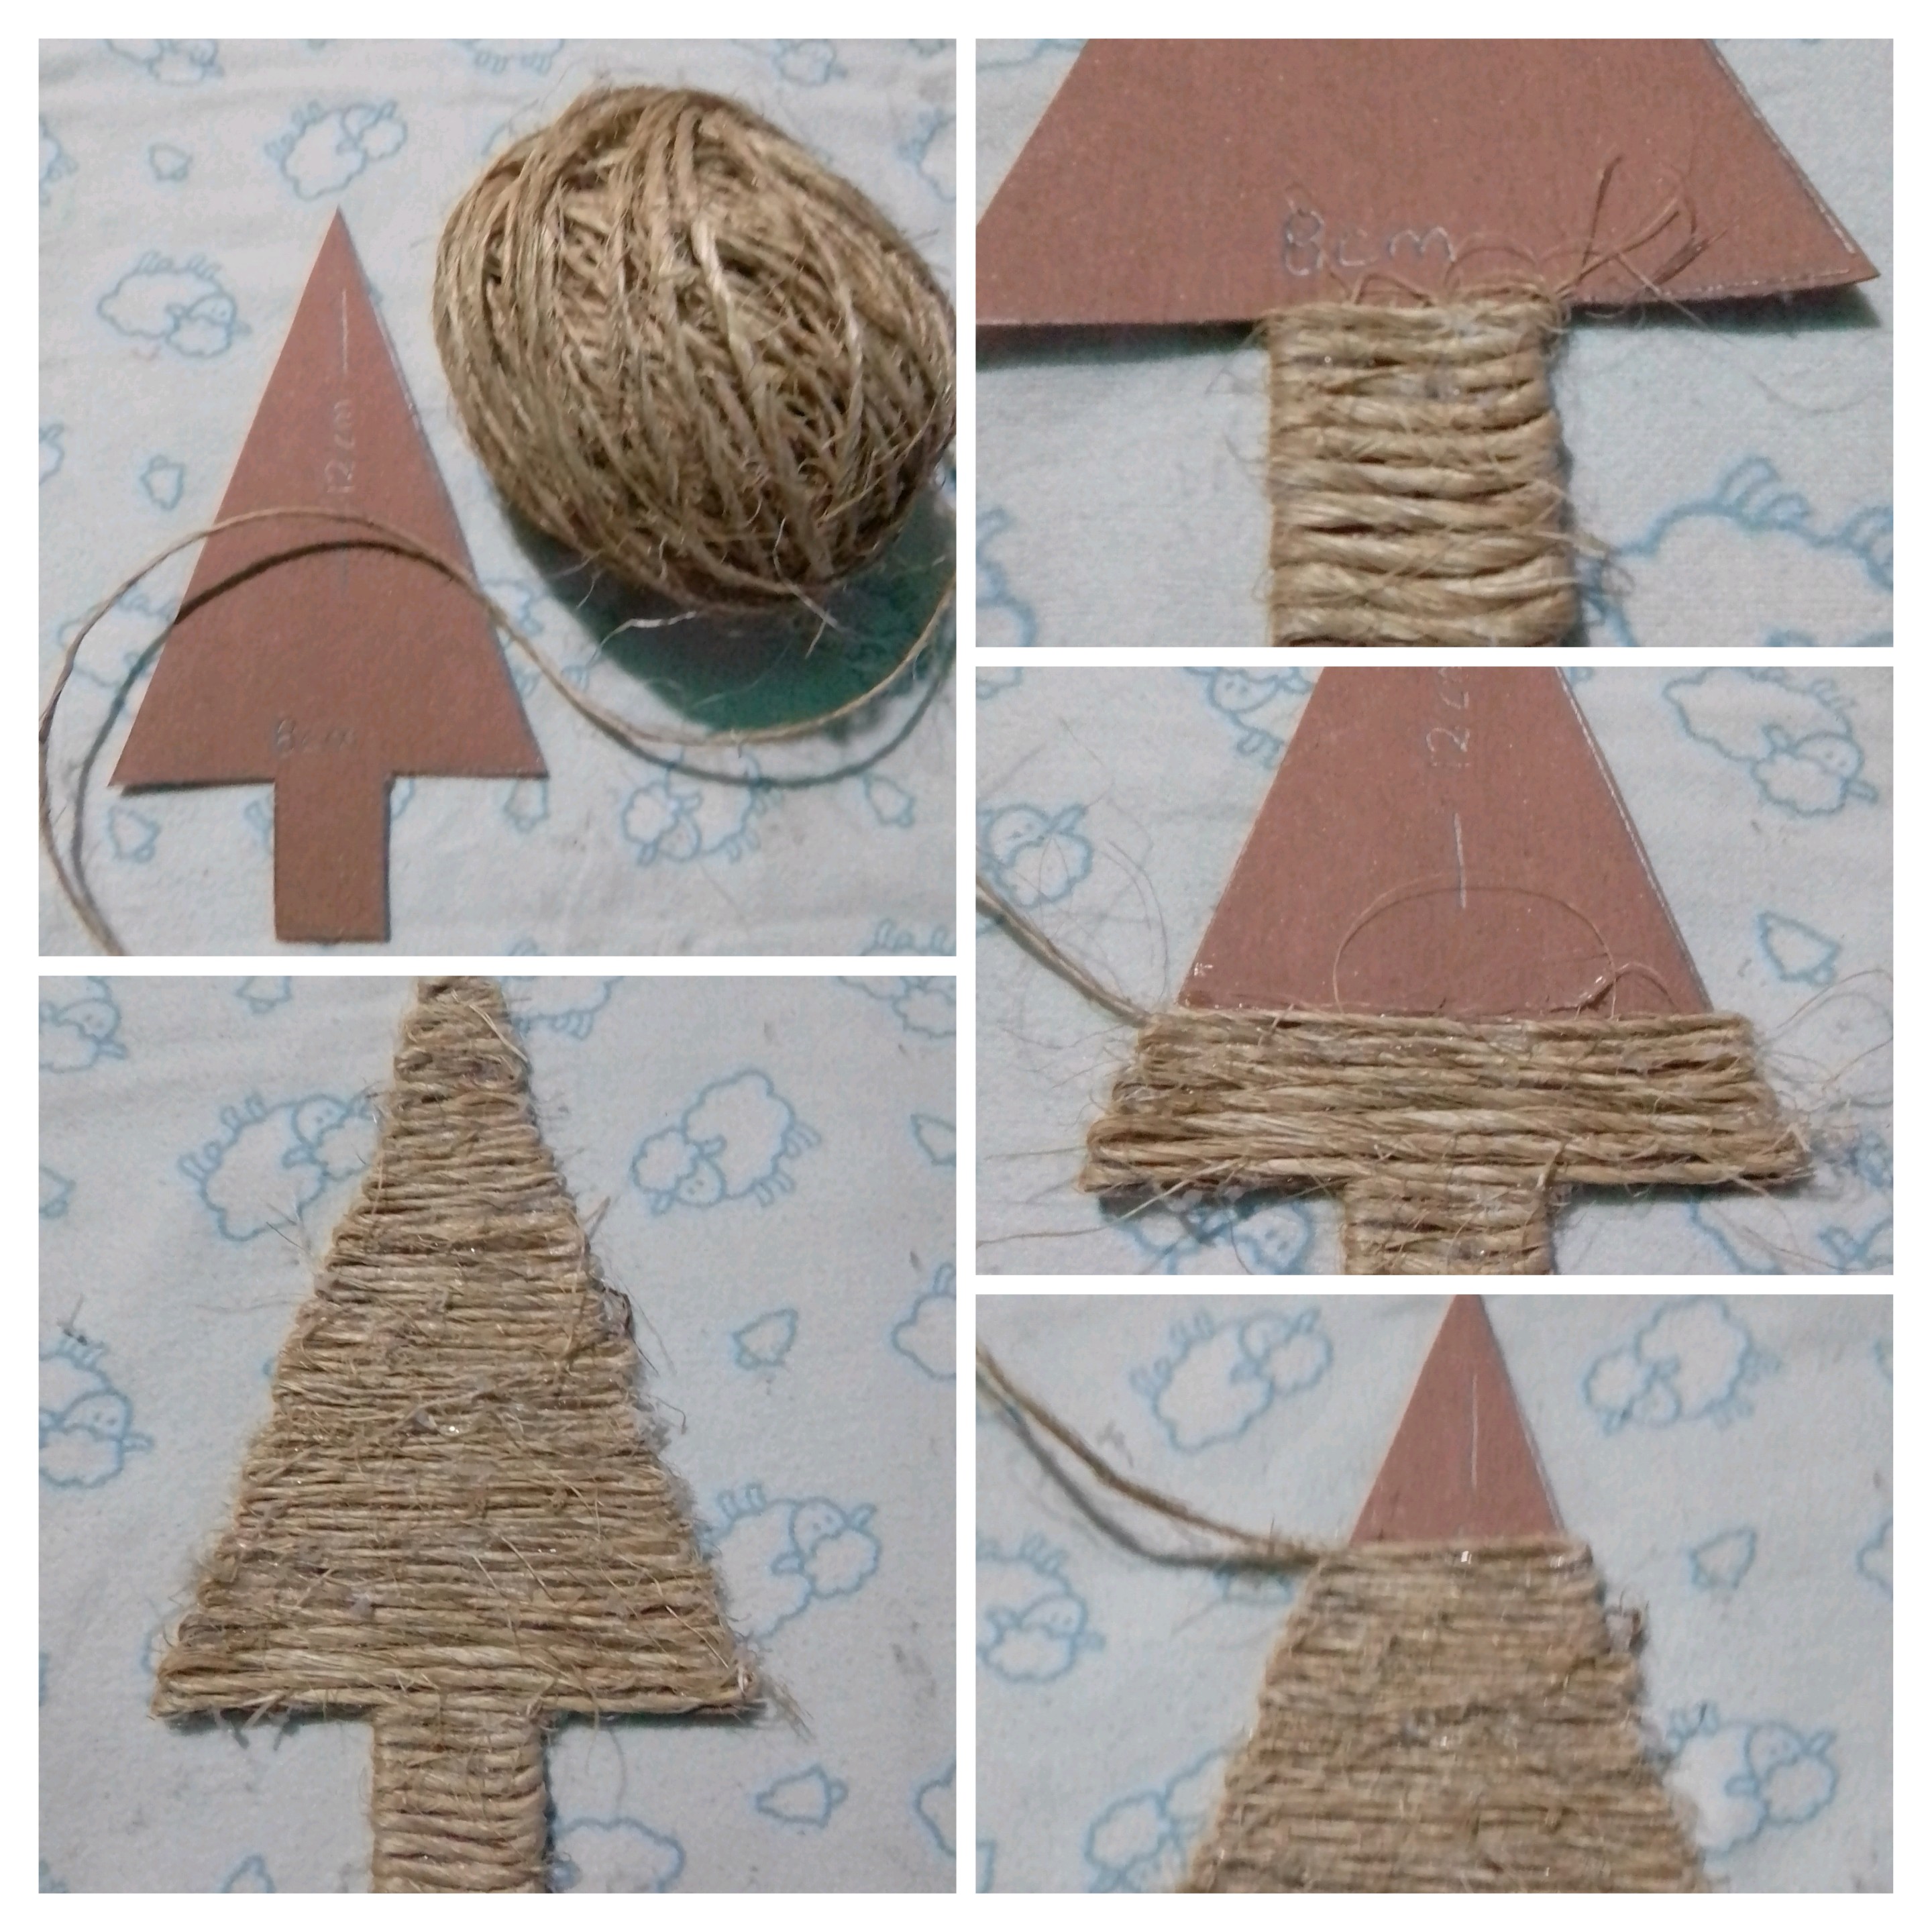
The roll of jute with which I worked, was not exactly very treated, and had many threads that protruded, as I was working I was cutting some threads with scissors, but when I finished the cardboard tree, with a lighter pass the flame very quickly to burn off the leftover jute threads, so I have a clean jute tree.
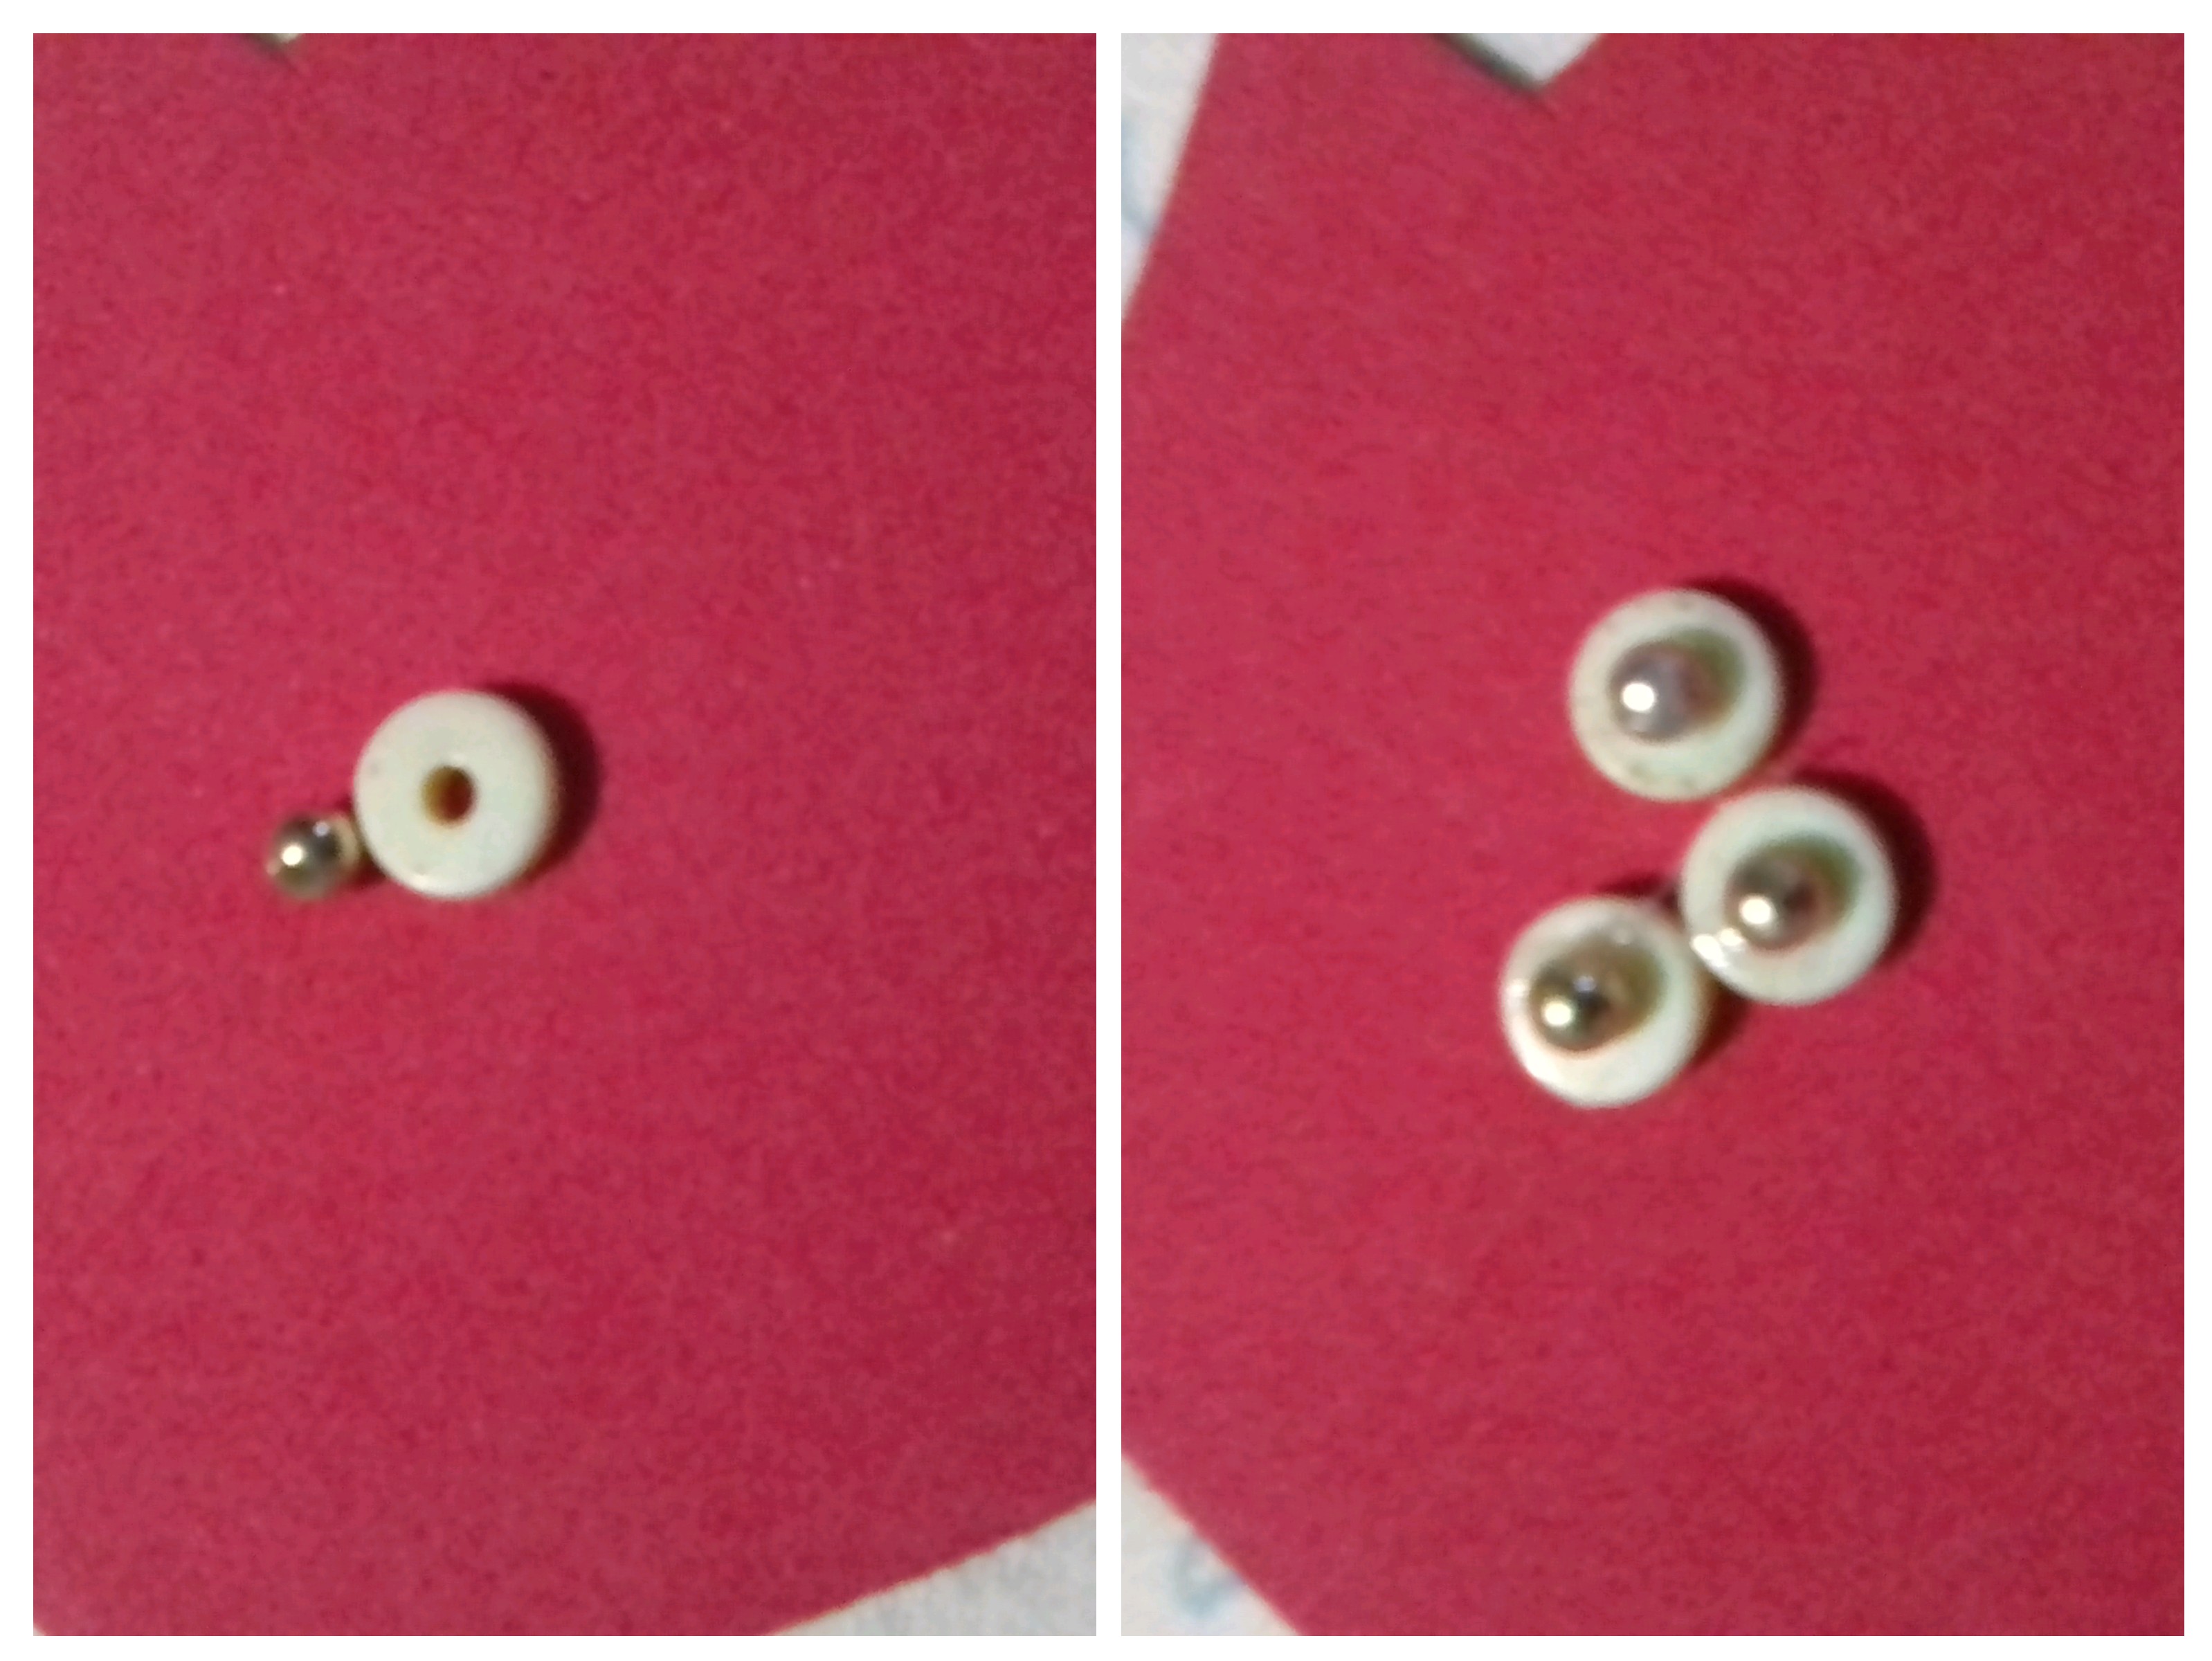
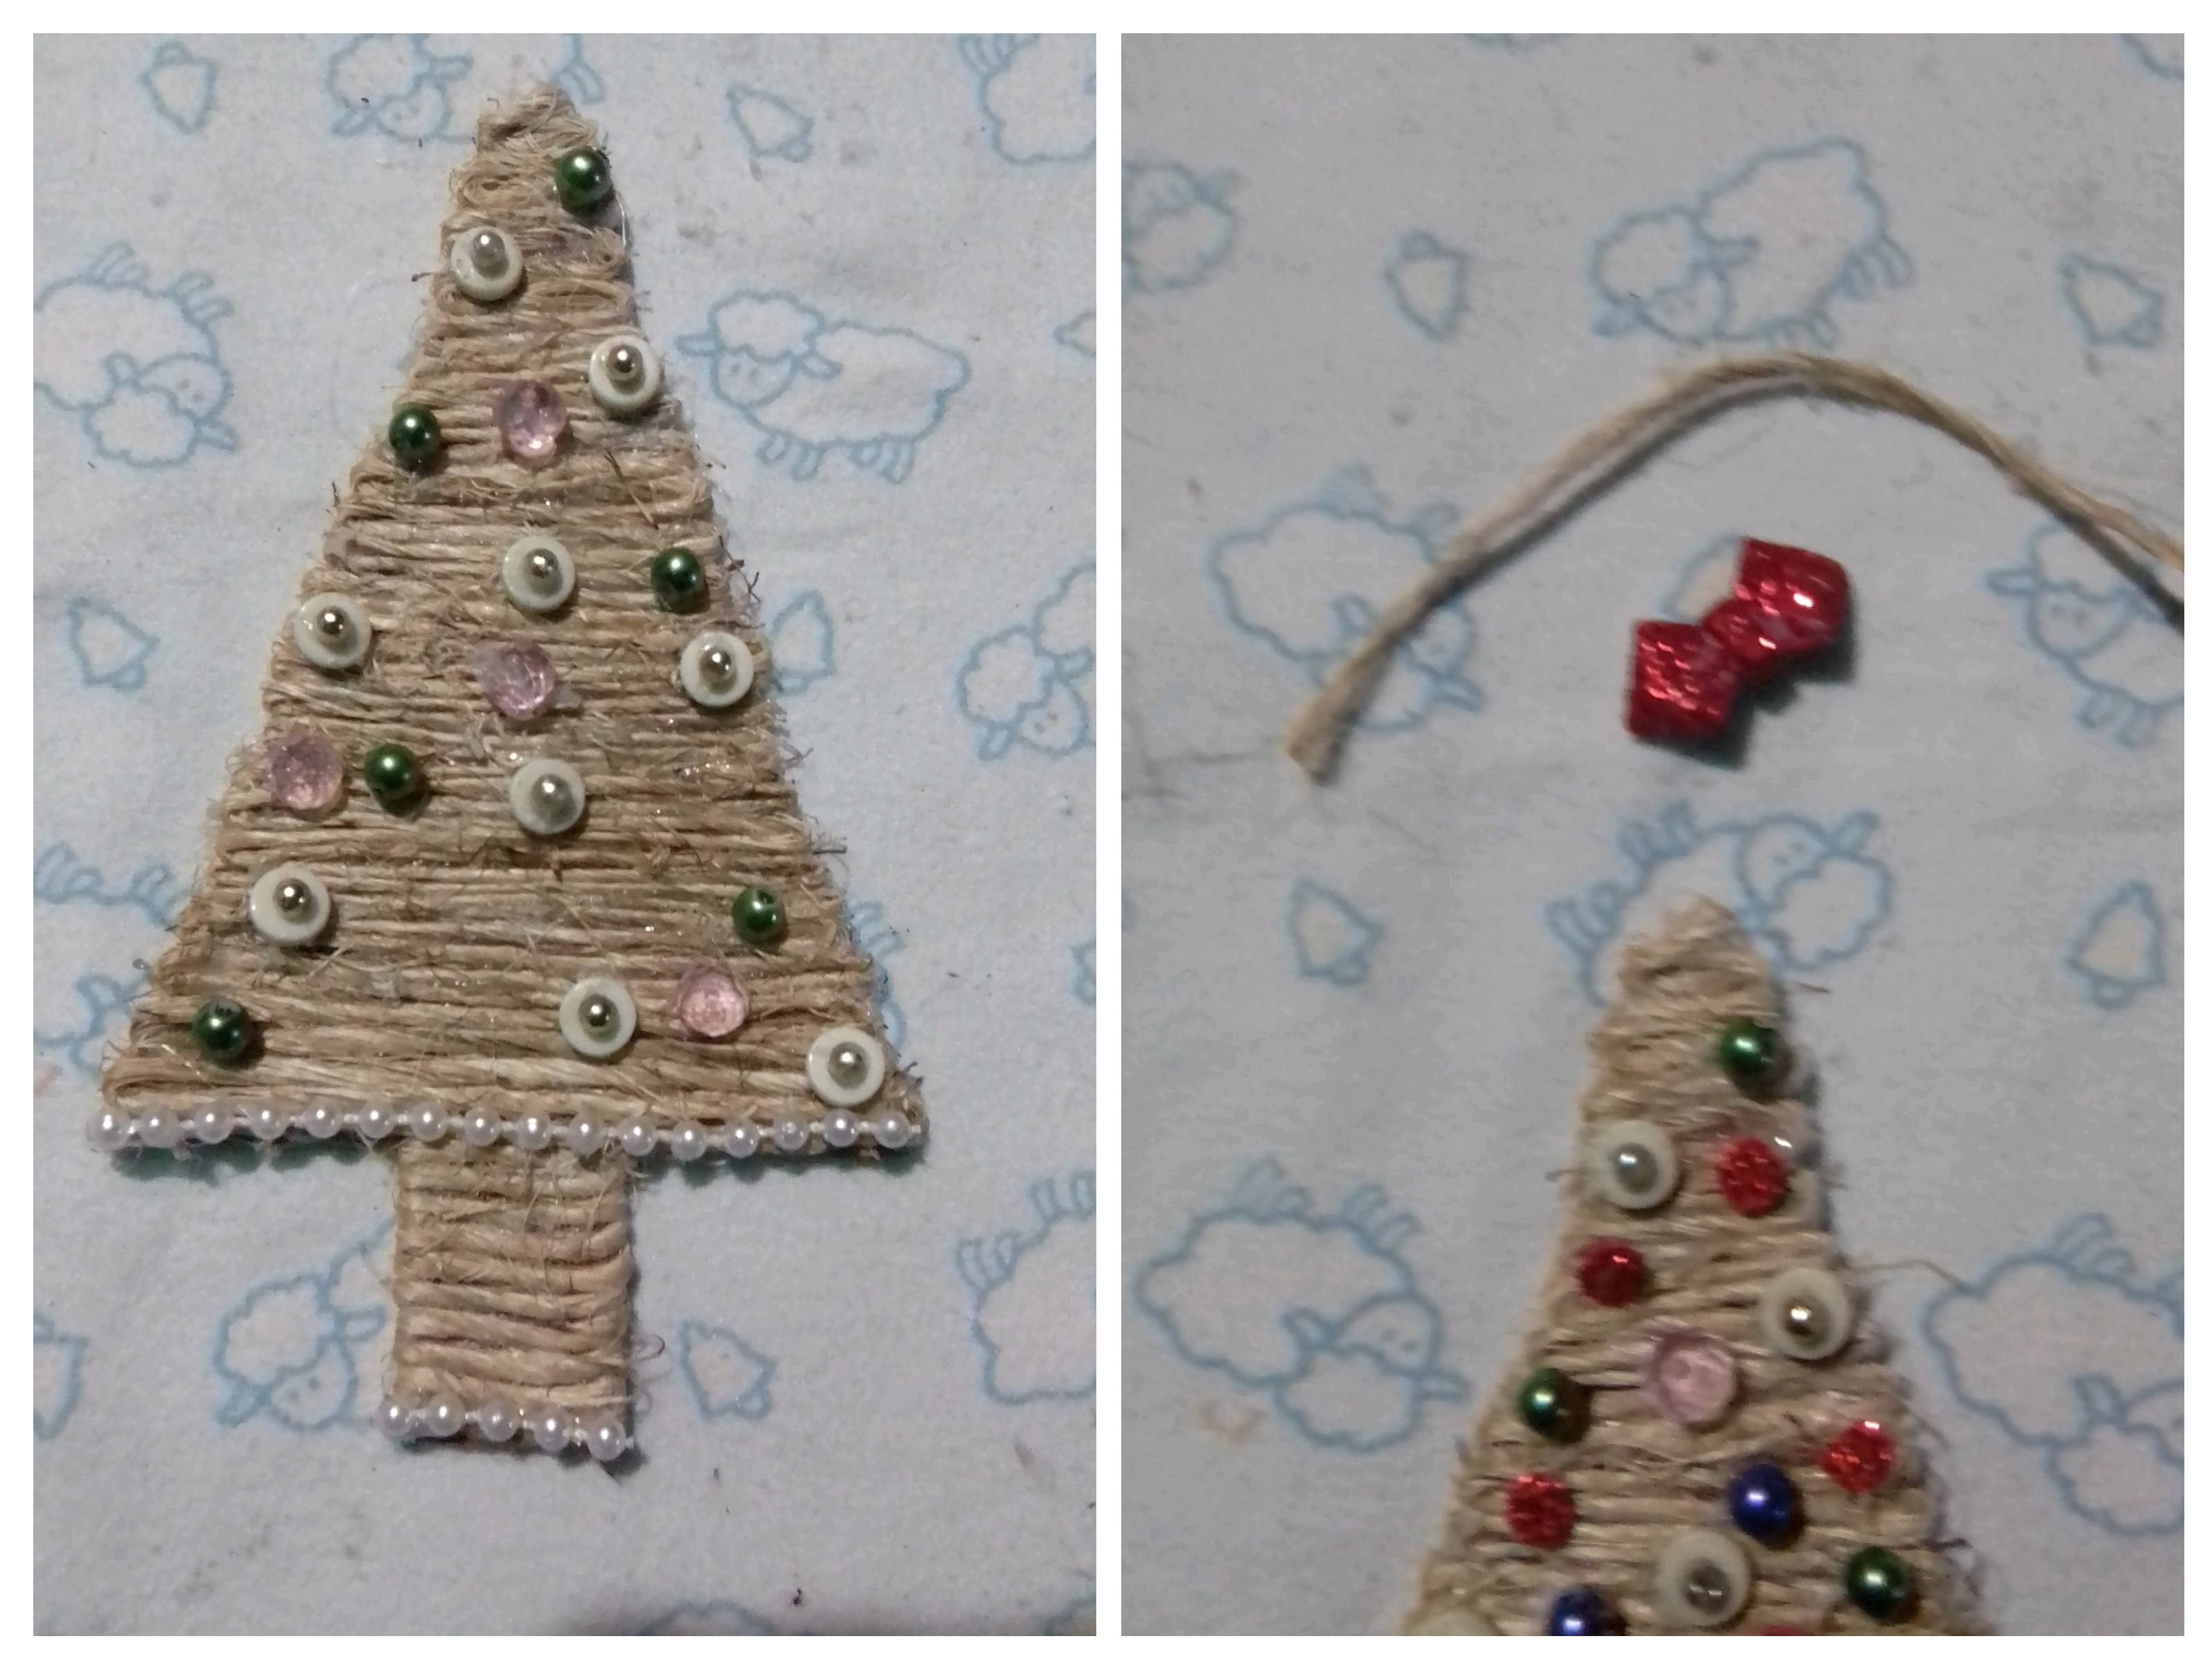
With my Christmas tree ready and very original, I proceed to organize the jewelry beads. I had some flat white beads, to which I decided to place a very small golden pearl in the center, some transparent pink beads, a few bright green and purple ones.
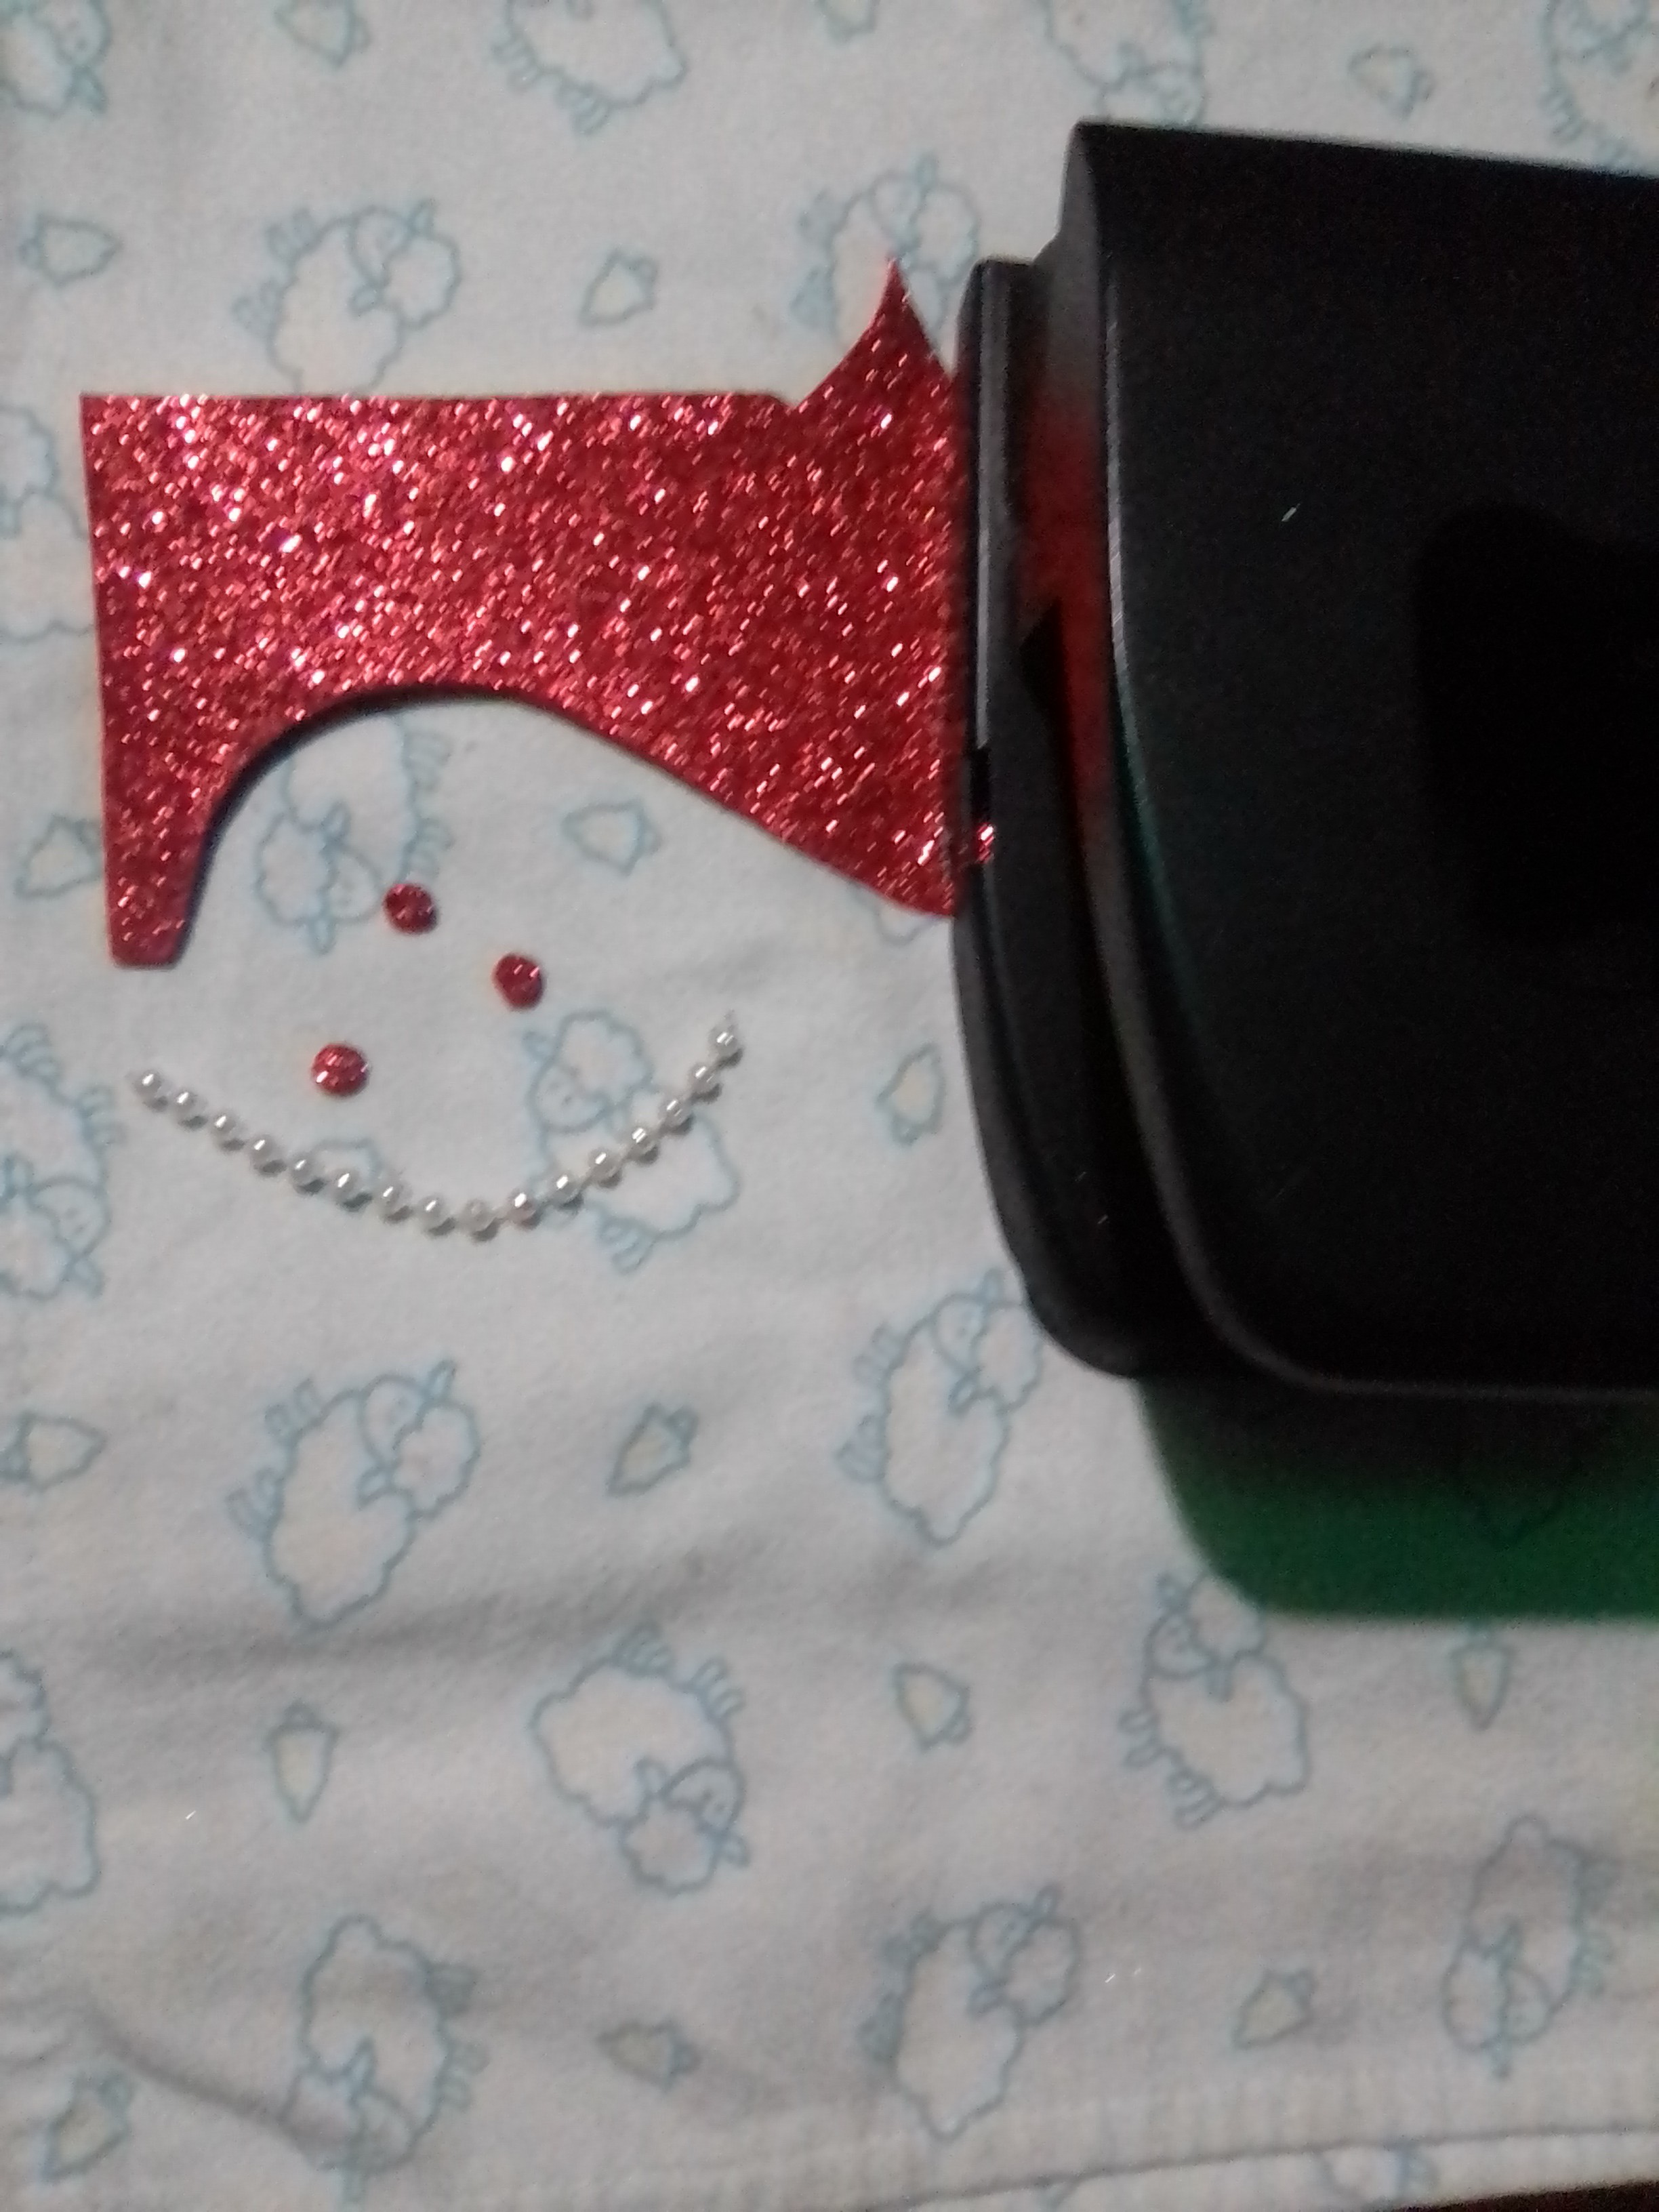
As I did not have red pearls and at Christmas red is essential, I took a piece of red foami and with a hole punch I obtained several frosty red circles and white pearls that cannot be missing, because they are really beautifying.
I begin the decoration of the tree, placing the white elements that will stand out against the light brown background of the jute tree, I place the pearls in a row both at the base of the stem and at the base of the tree. Then I place the flat white beads with their golden pearl, distributed in the extension of the tree.
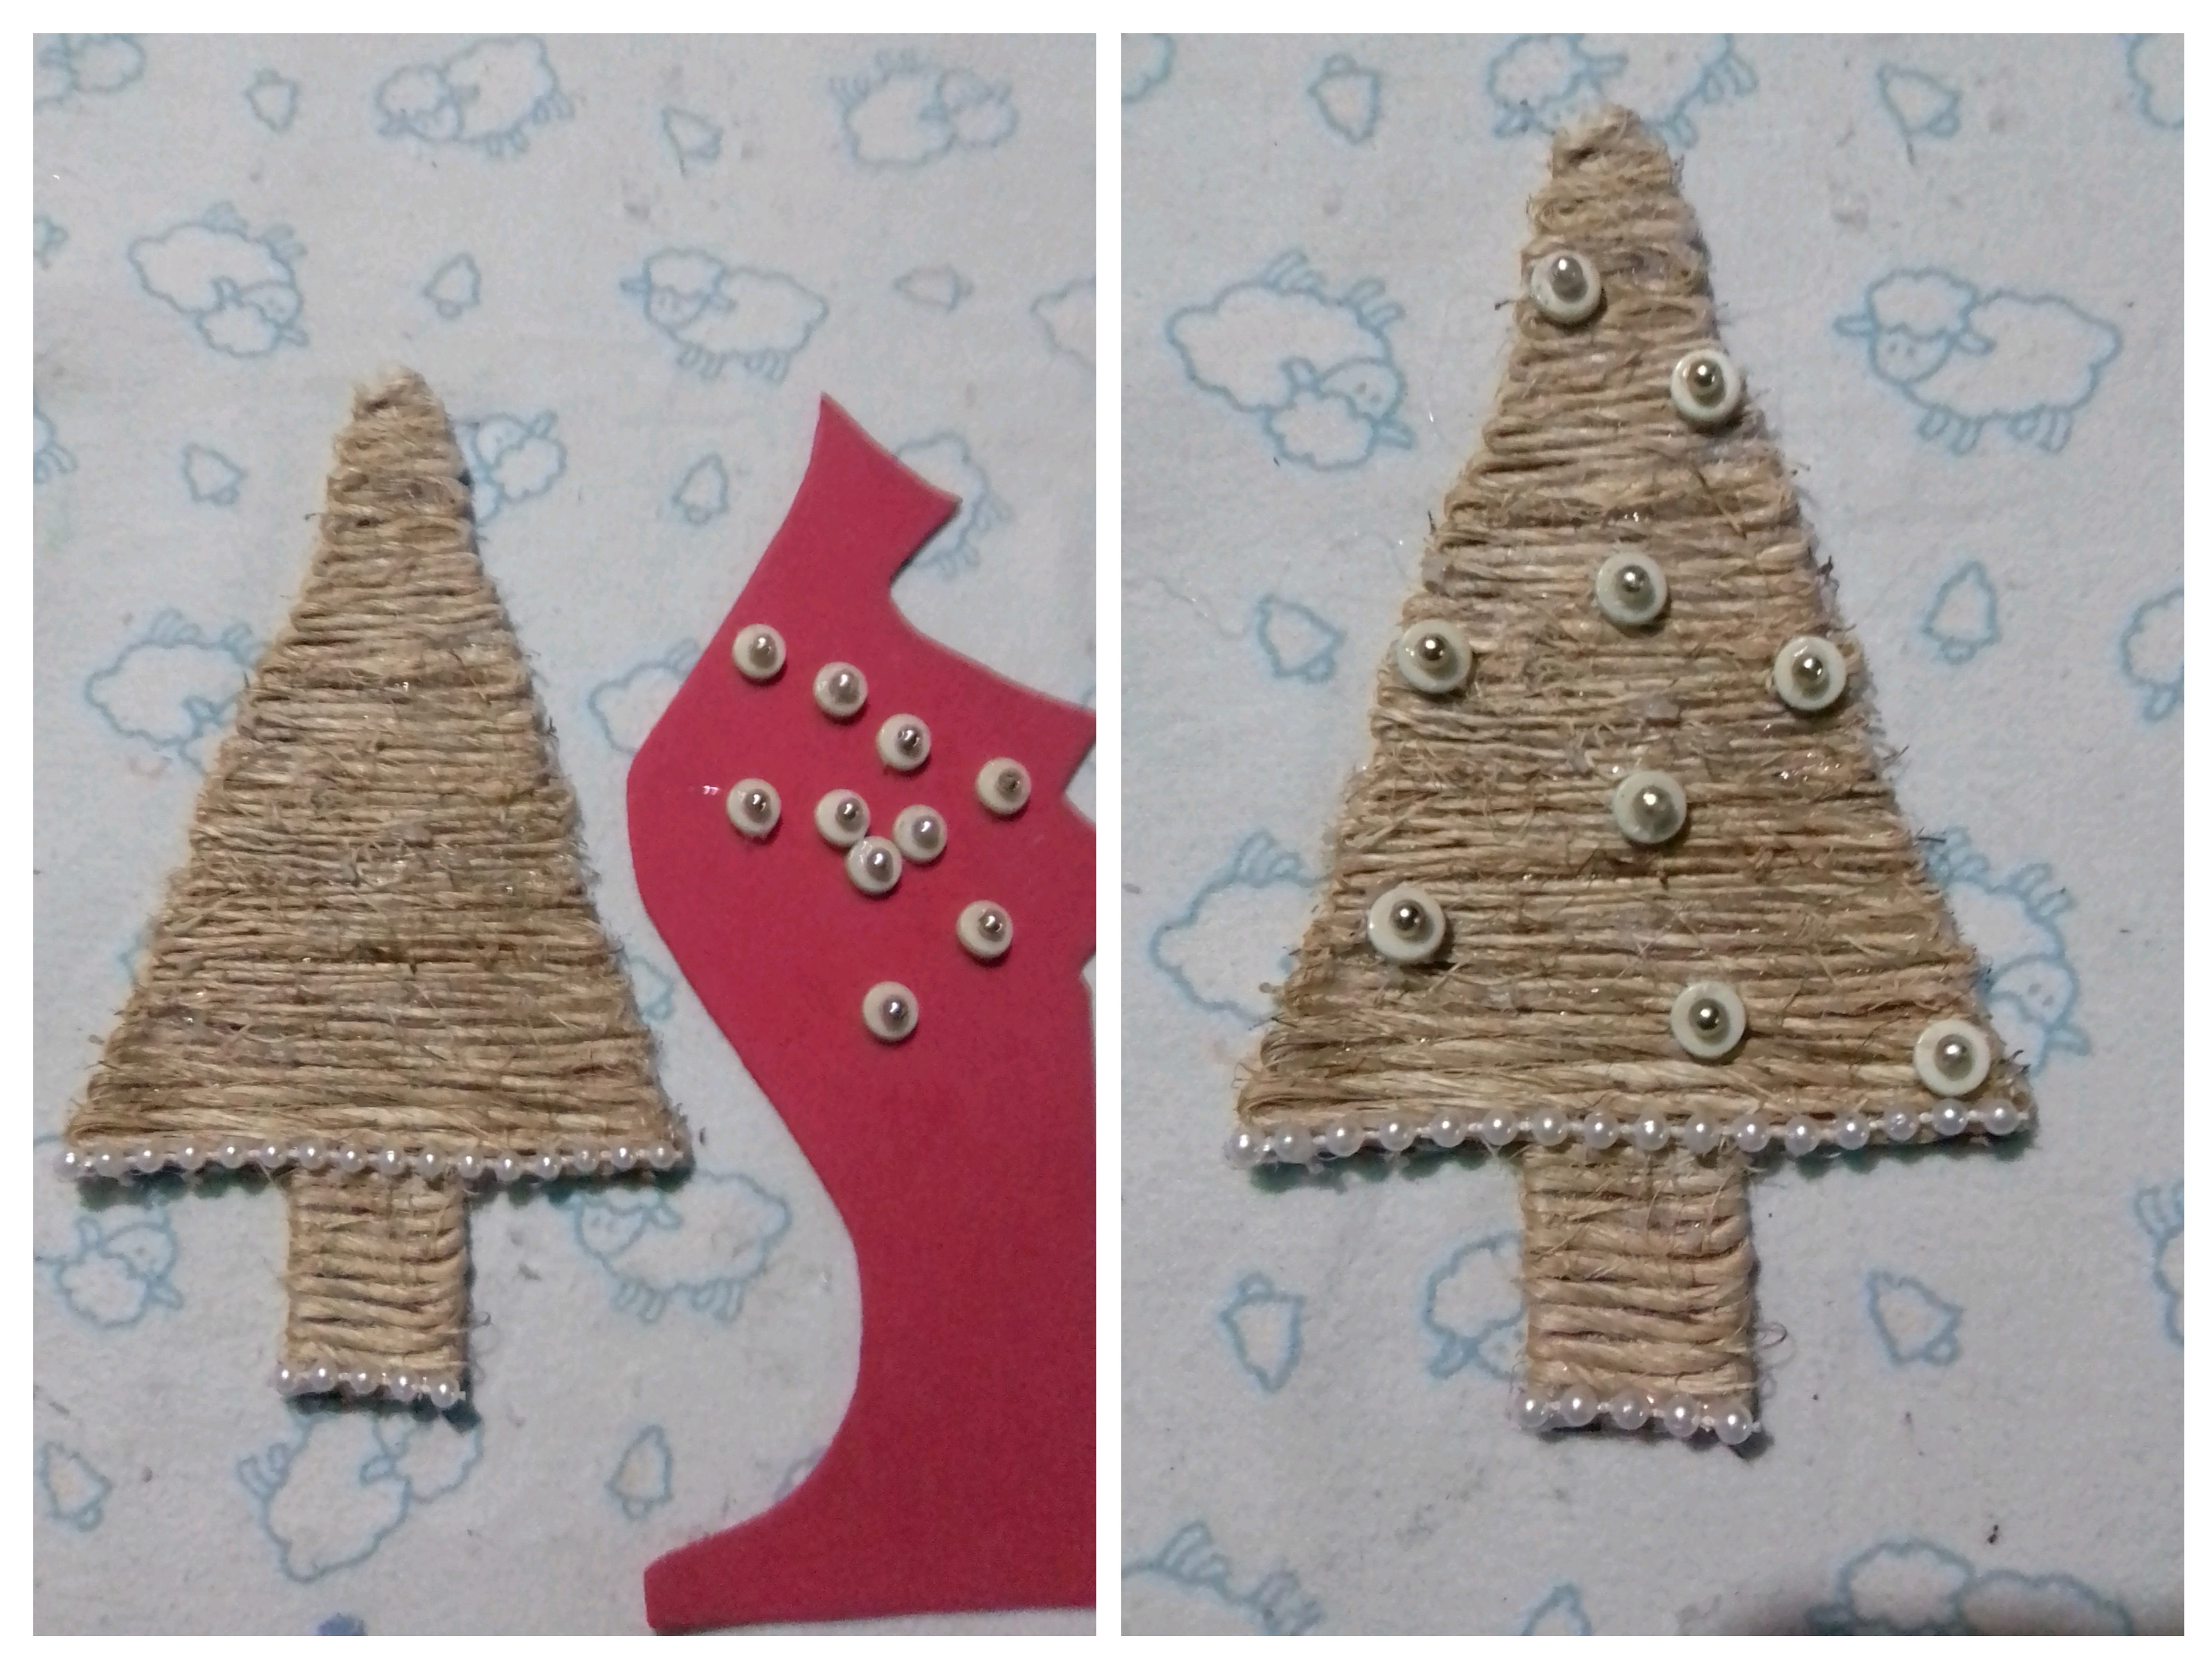
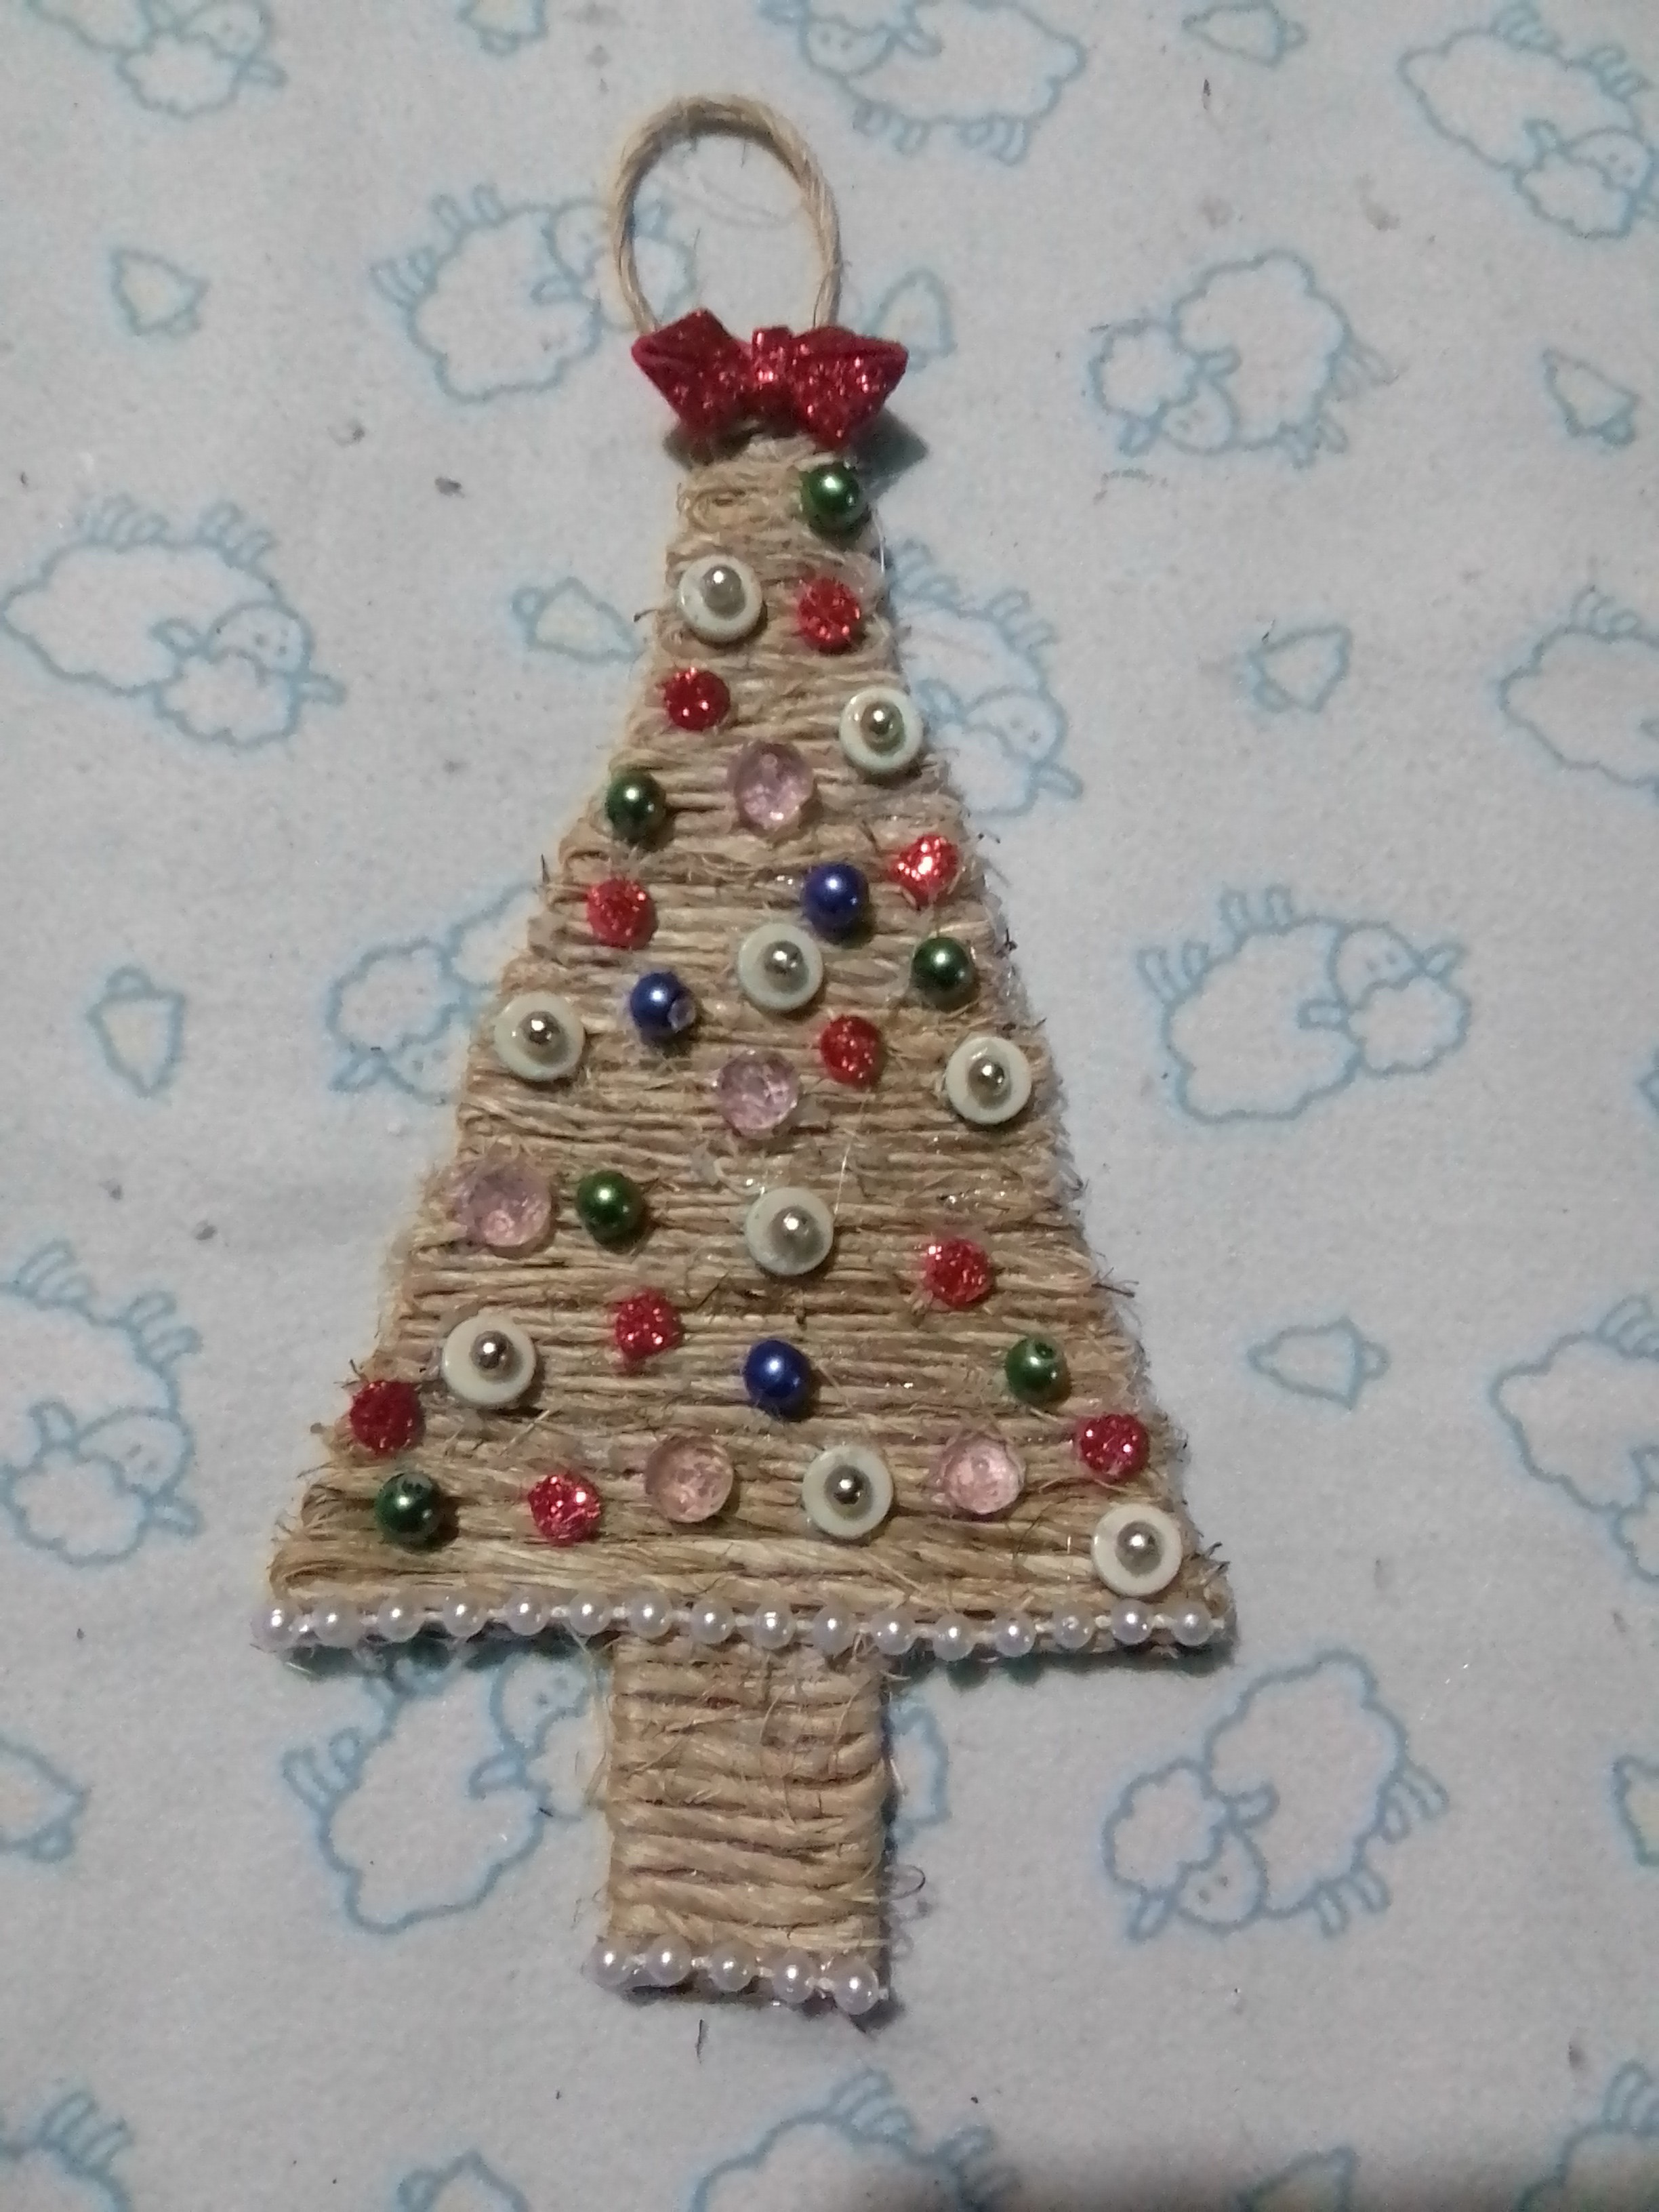
Next, all that remains is to distribute the pink, green and violet beads in a harmonized way and the red decoration that will fill the tree with life. He finished this first Christmas decoration by making a nice red bow and foami and fixing it to the top of the tree, so I place the pendant behind the mini Christmas tree.
This is how I finished this beautiful Christmas decoration, I hope the result is to your liking.
Result
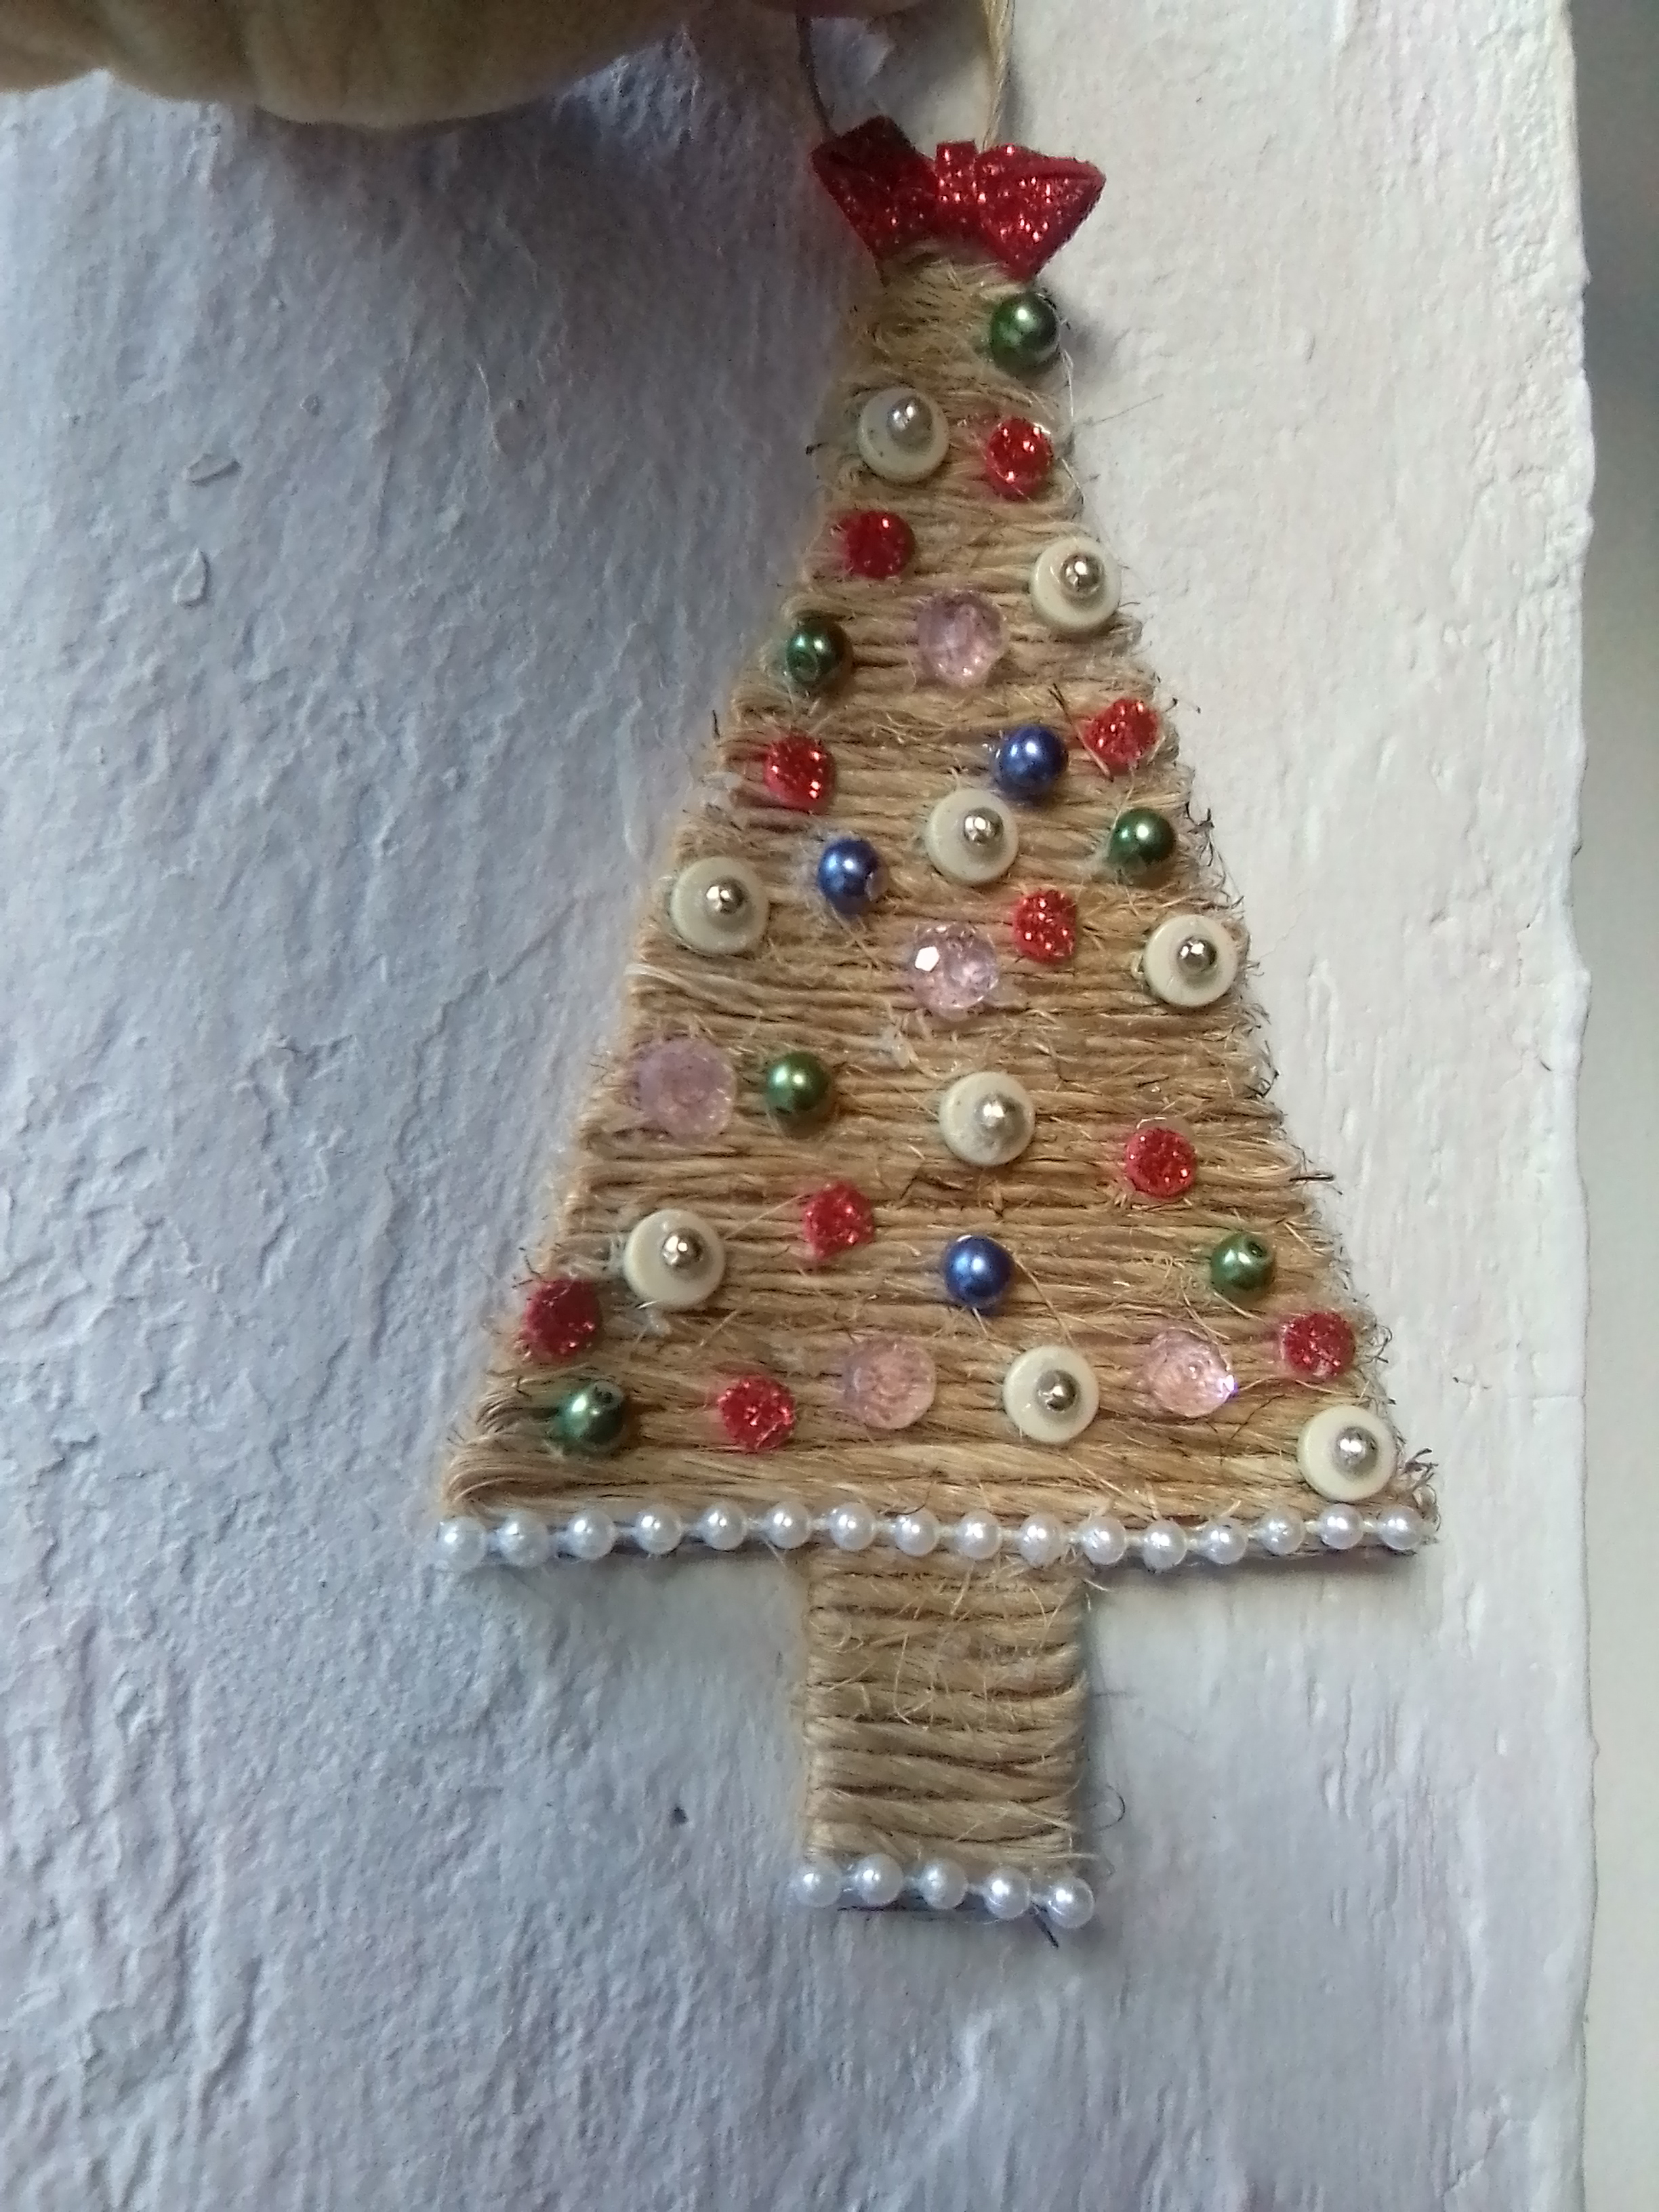

The photos are my property taken exclusively in this project.
The collages of the procedure were made with the tool of my Blue C6 and the main one in Canva
The dividers and the banners were edited by me in Canva
The translation was made with
DeepL Translator


Saludos afectuosos para los artesanos y creativa de esta comunidad. Ya con ánimos decembrino y entusiasmada con las manualidades navideñas que ya se presentado en Hive Diy, me decidí realizar mi primer adorno navideño, se trata de un mini árbol, de colgar, realizado con cartón y cordón de yute y decorado con piedras de bisutería, yo quedé encantada con el resultado, y deseo compartir con ustedes para que también lo hagan en sus casas.


MATERIALES
✓ Cordel de yute
✓ Cartón
✓ Pistola y barra de silicona
✓ Tijera
✓ Piedras de bisutería
✓ Foami rojo.
✓ Encendedor.
✓ Perlas blancas corridas.

PASO A PASO
Para este mini árbol navideño, quise hacer algo muy distinto o todo lo que había hecho en años anteriores, se me ocurrió realizar un triángulo de cartón, con una base de 8 centímetros y la altura 12 centímetros, el tallo de 2 x 3 centímetros, y a cada lado los tres centímetros restantes.

Luego fui colocando el cordón de yute, comenzando por el tallo y pegando con silicona caliente, presionando con un lápiz y evitar una quemadura. El cordón de yute lo extendí de un extremo a otro y regresando el cordón hasta cubrir, el árbol de cartón.

El rollo de yute con el que trabaje, no estaba precisamente muy tratado, y tenía muchísimos hilos que sobresalían, a medida que iba trabajando iba cortando con tijera algunos hilos, pero al terminar de el árbol de cartón, con un encendedor pase la llama muy rápidamente para quemar los hilos sobrantes de yute, y así tengo un árbol de yute limpio.

Con mi árbol de navidad listo y muy original, procedo a organizar las cuentas de bisutería. Tenía unas cuentas blancas planas, a las cuales decidí colocar en el centro una perla dorada muy pequeña, unas cuentas rosadas transparente, unas cuantas verdes brillantes y violeta.

Cómo no tenía perlas rojas y en la navidad el rojo es indispensable, tome un trozo de foami rojo y con una perforadora obtuve varios círculos rojo escarchado y las perlas blancas que no pueden faltar, porque son realmente embellecedores.

Comienzo la decoración del árbol, ubicando los elementos blancos que resaltarán sobre el fondo marrón claro del árbol de yute, coloco las perlas corridas tanto en la base del tallo y en la base del árbol. Luego ubico las cuentas planas blancas con su perla dorada, distribuidas en la extensión del árbol.

Seguidamente solo queda ir distribuyendo de manera armonizada las cuentas rosadas, verdes y violeta y la decoración en rojo que llenará de vida el árbol. Finalizó este primer adorno navideño realizando un lindo lazo rojo y en foami y fijandolo en la punta del árbol, así coloco el colgante detrás del mini árbol navideño.

Así termine este lindo adorno navideño, espero el resultado sea de su agrado.
Resultado


Las fotos son de mi propiedad tomadas exclusivamente en este proyecto.
Los collages del procedimiento los hice con la herramienta de mi Blue C6 y el principal en Canva
Lo separadores y el banners fueron editados por mi en Canva
La traducción fue realizada con
DeepL Traductor

Un árbol de navidad bastante original 😃
!discovery 25
Explorando otros materiales, gracias por visitar mi blog.
This post was shared and voted inside the discord by the curators team of discovery-it
Join our community! hive-193212
Discovery-it is also a Witness, vote for us here
Delegate to us for passive income. Check our 80% fee-back Program
Gracias por apoyarme
Your content has been voted as a part of Encouragement program. Keep up the good work!
Use Ecency daily to boost your growth on platform!
Support Ecency
Vote for new Proposal
Delegate HP and earn more
Gracias por el apoyo
very nicely done