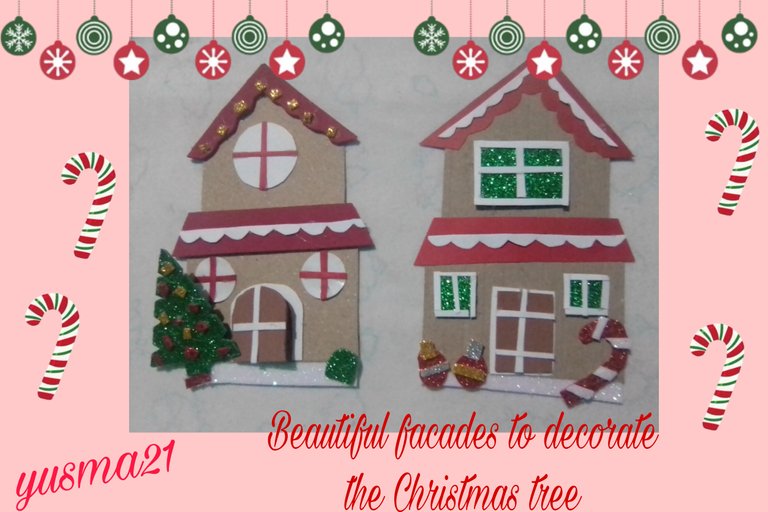

Hello dear friends of the creative community of Hive Diy, it is practically the Christmas season and I am very excited about making the ornaments for the decoration of the Christmas tree and the nativity scene. I find it more gratifying to make these ornaments with my own hands, since they are very easy to do, and it allows me to create the design that I like the most, use my favorite colors and recycle some materials to be kind to the environment. On this occasion I want to show you how to make two models of Christmas houses, ideal to hang on the Christmas tree or perhaps place in my manger.

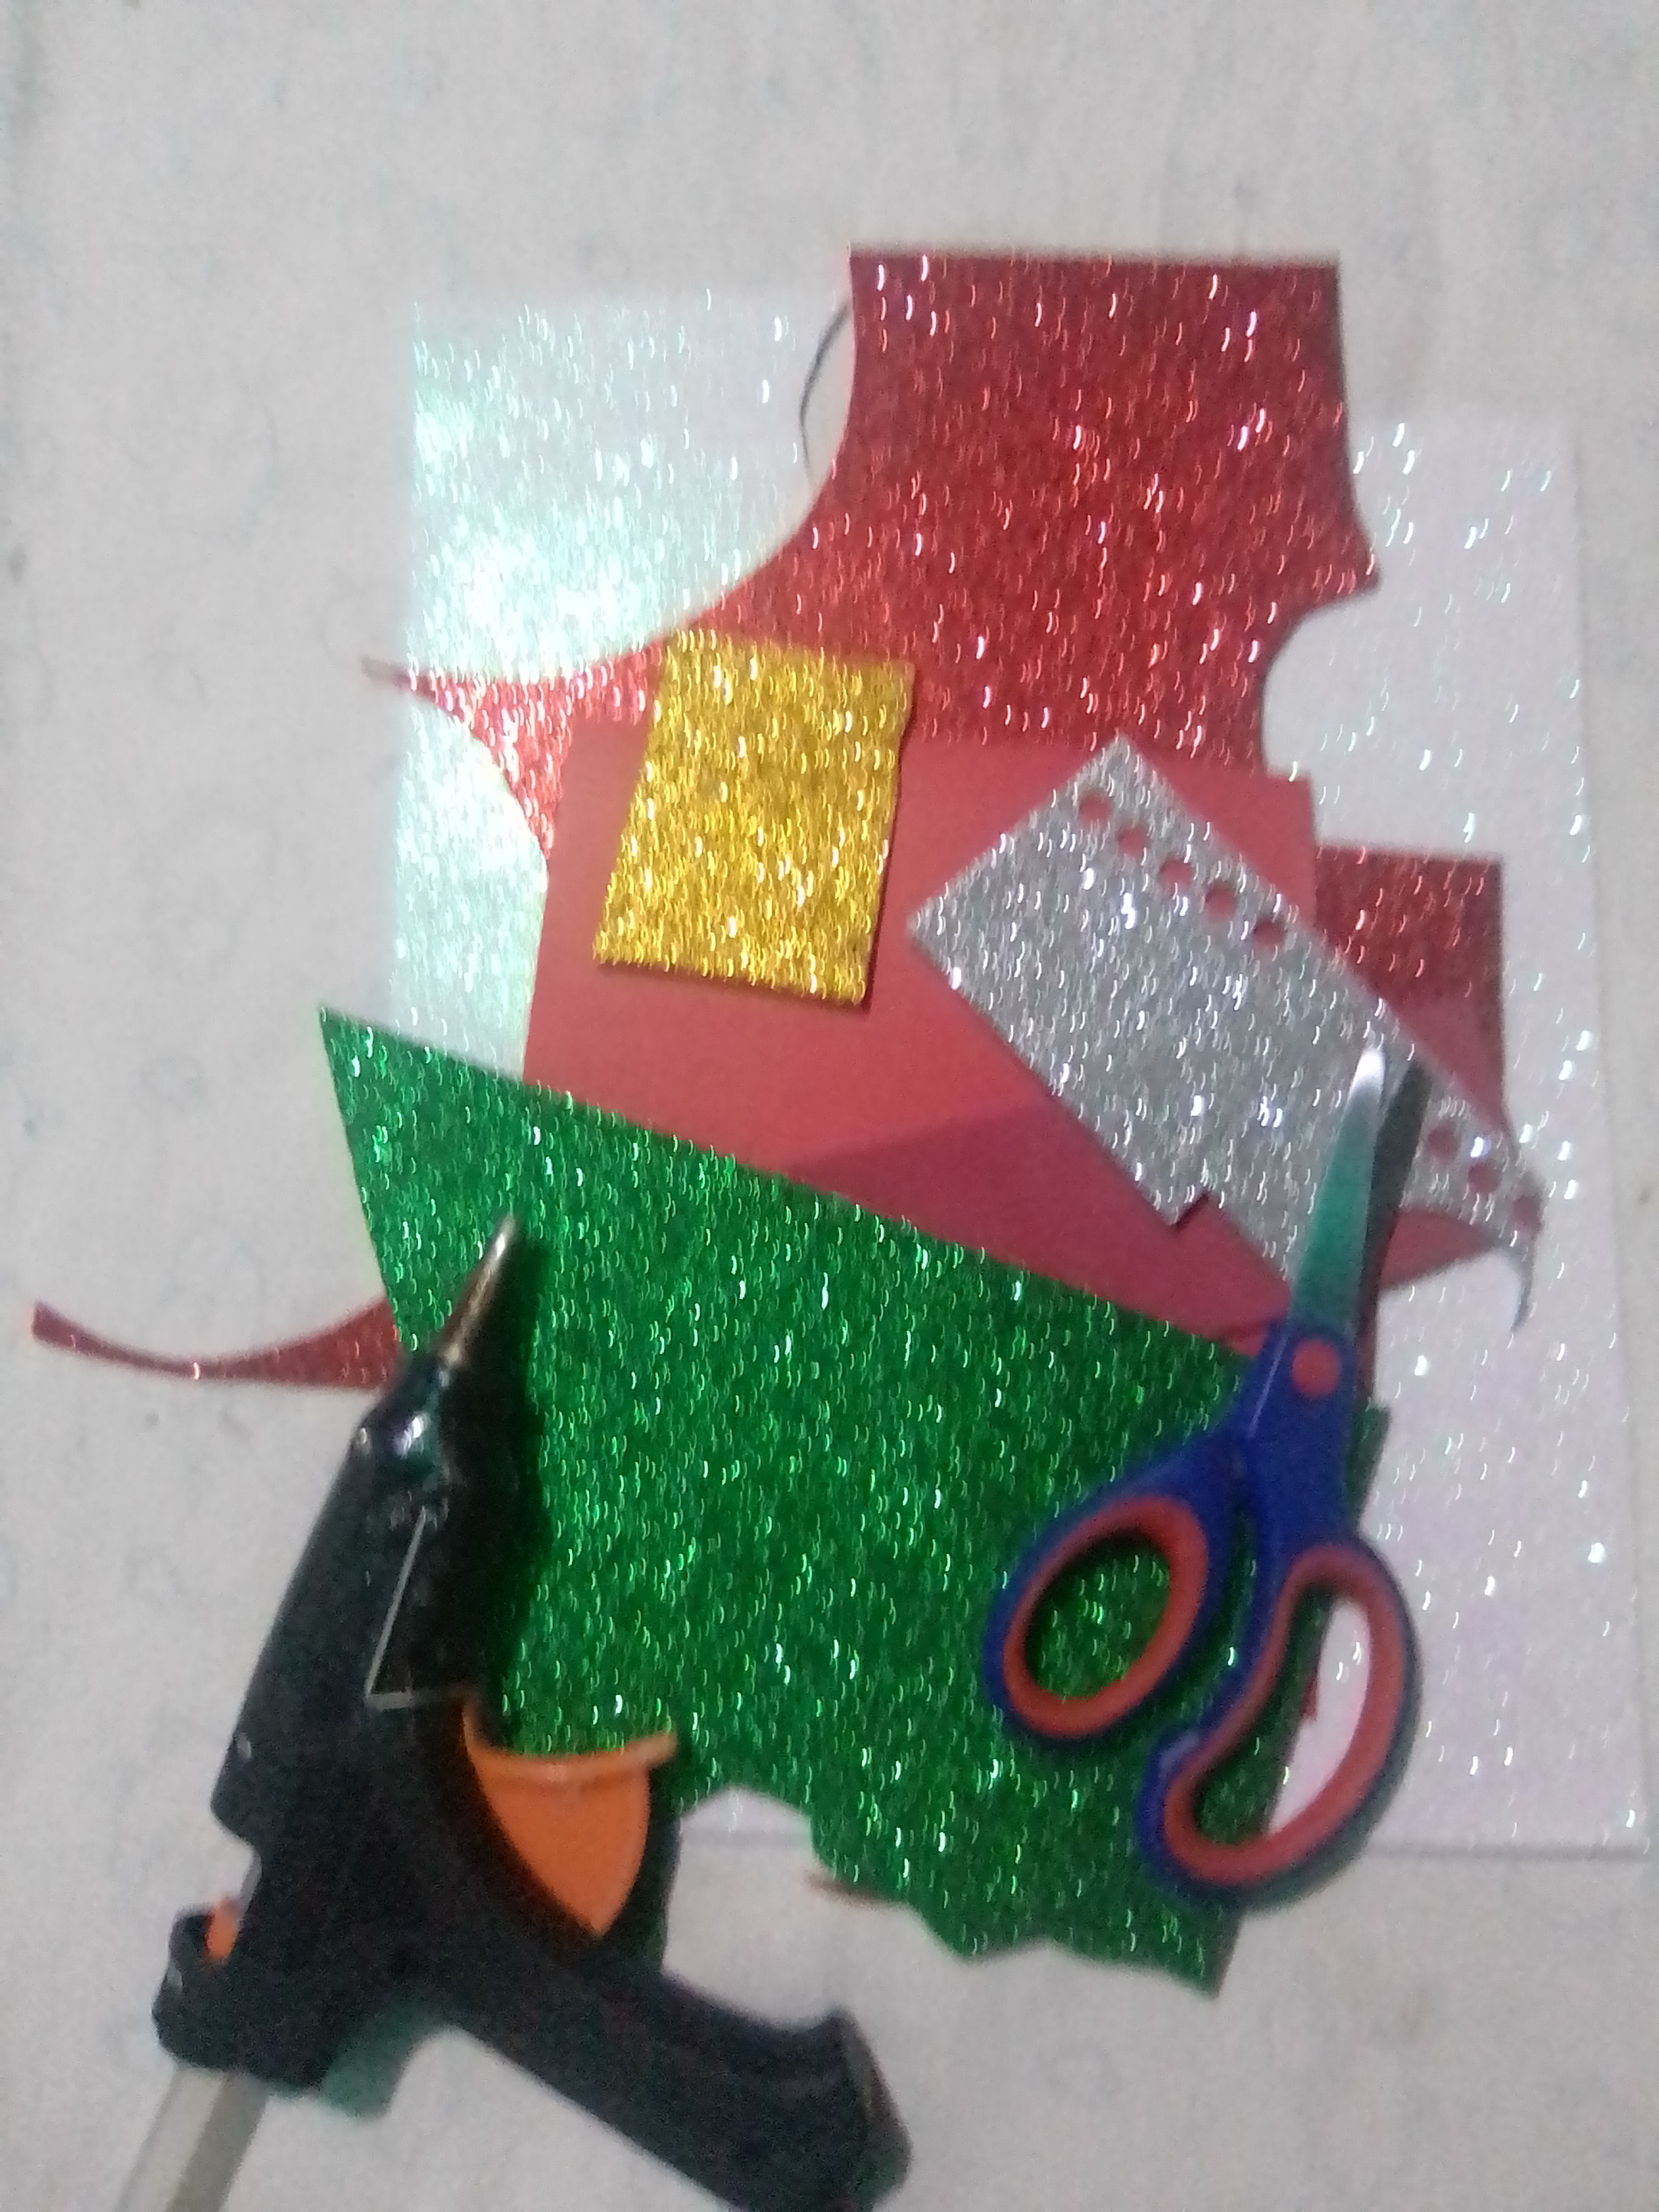
MATERIALS
✓ Cardboard
✓ White and red cardboard
✓ Frosted foam in red, green, white and gold
✓ Simple colored, brown and red foam
✓ Gun and glue stick
✓ Recycling sheets and pencil.
STEP BY STEP
The facades are not a very popular ornament in my country, for decorating Christmas trees, but they have always seemed very pretty to me and we have to get out of our comfort zone a little and allow ourselves to incorporate innovative elements into the decoration.
The first thing was the design of the facades, because I actually made a design, an American-style two-story house.
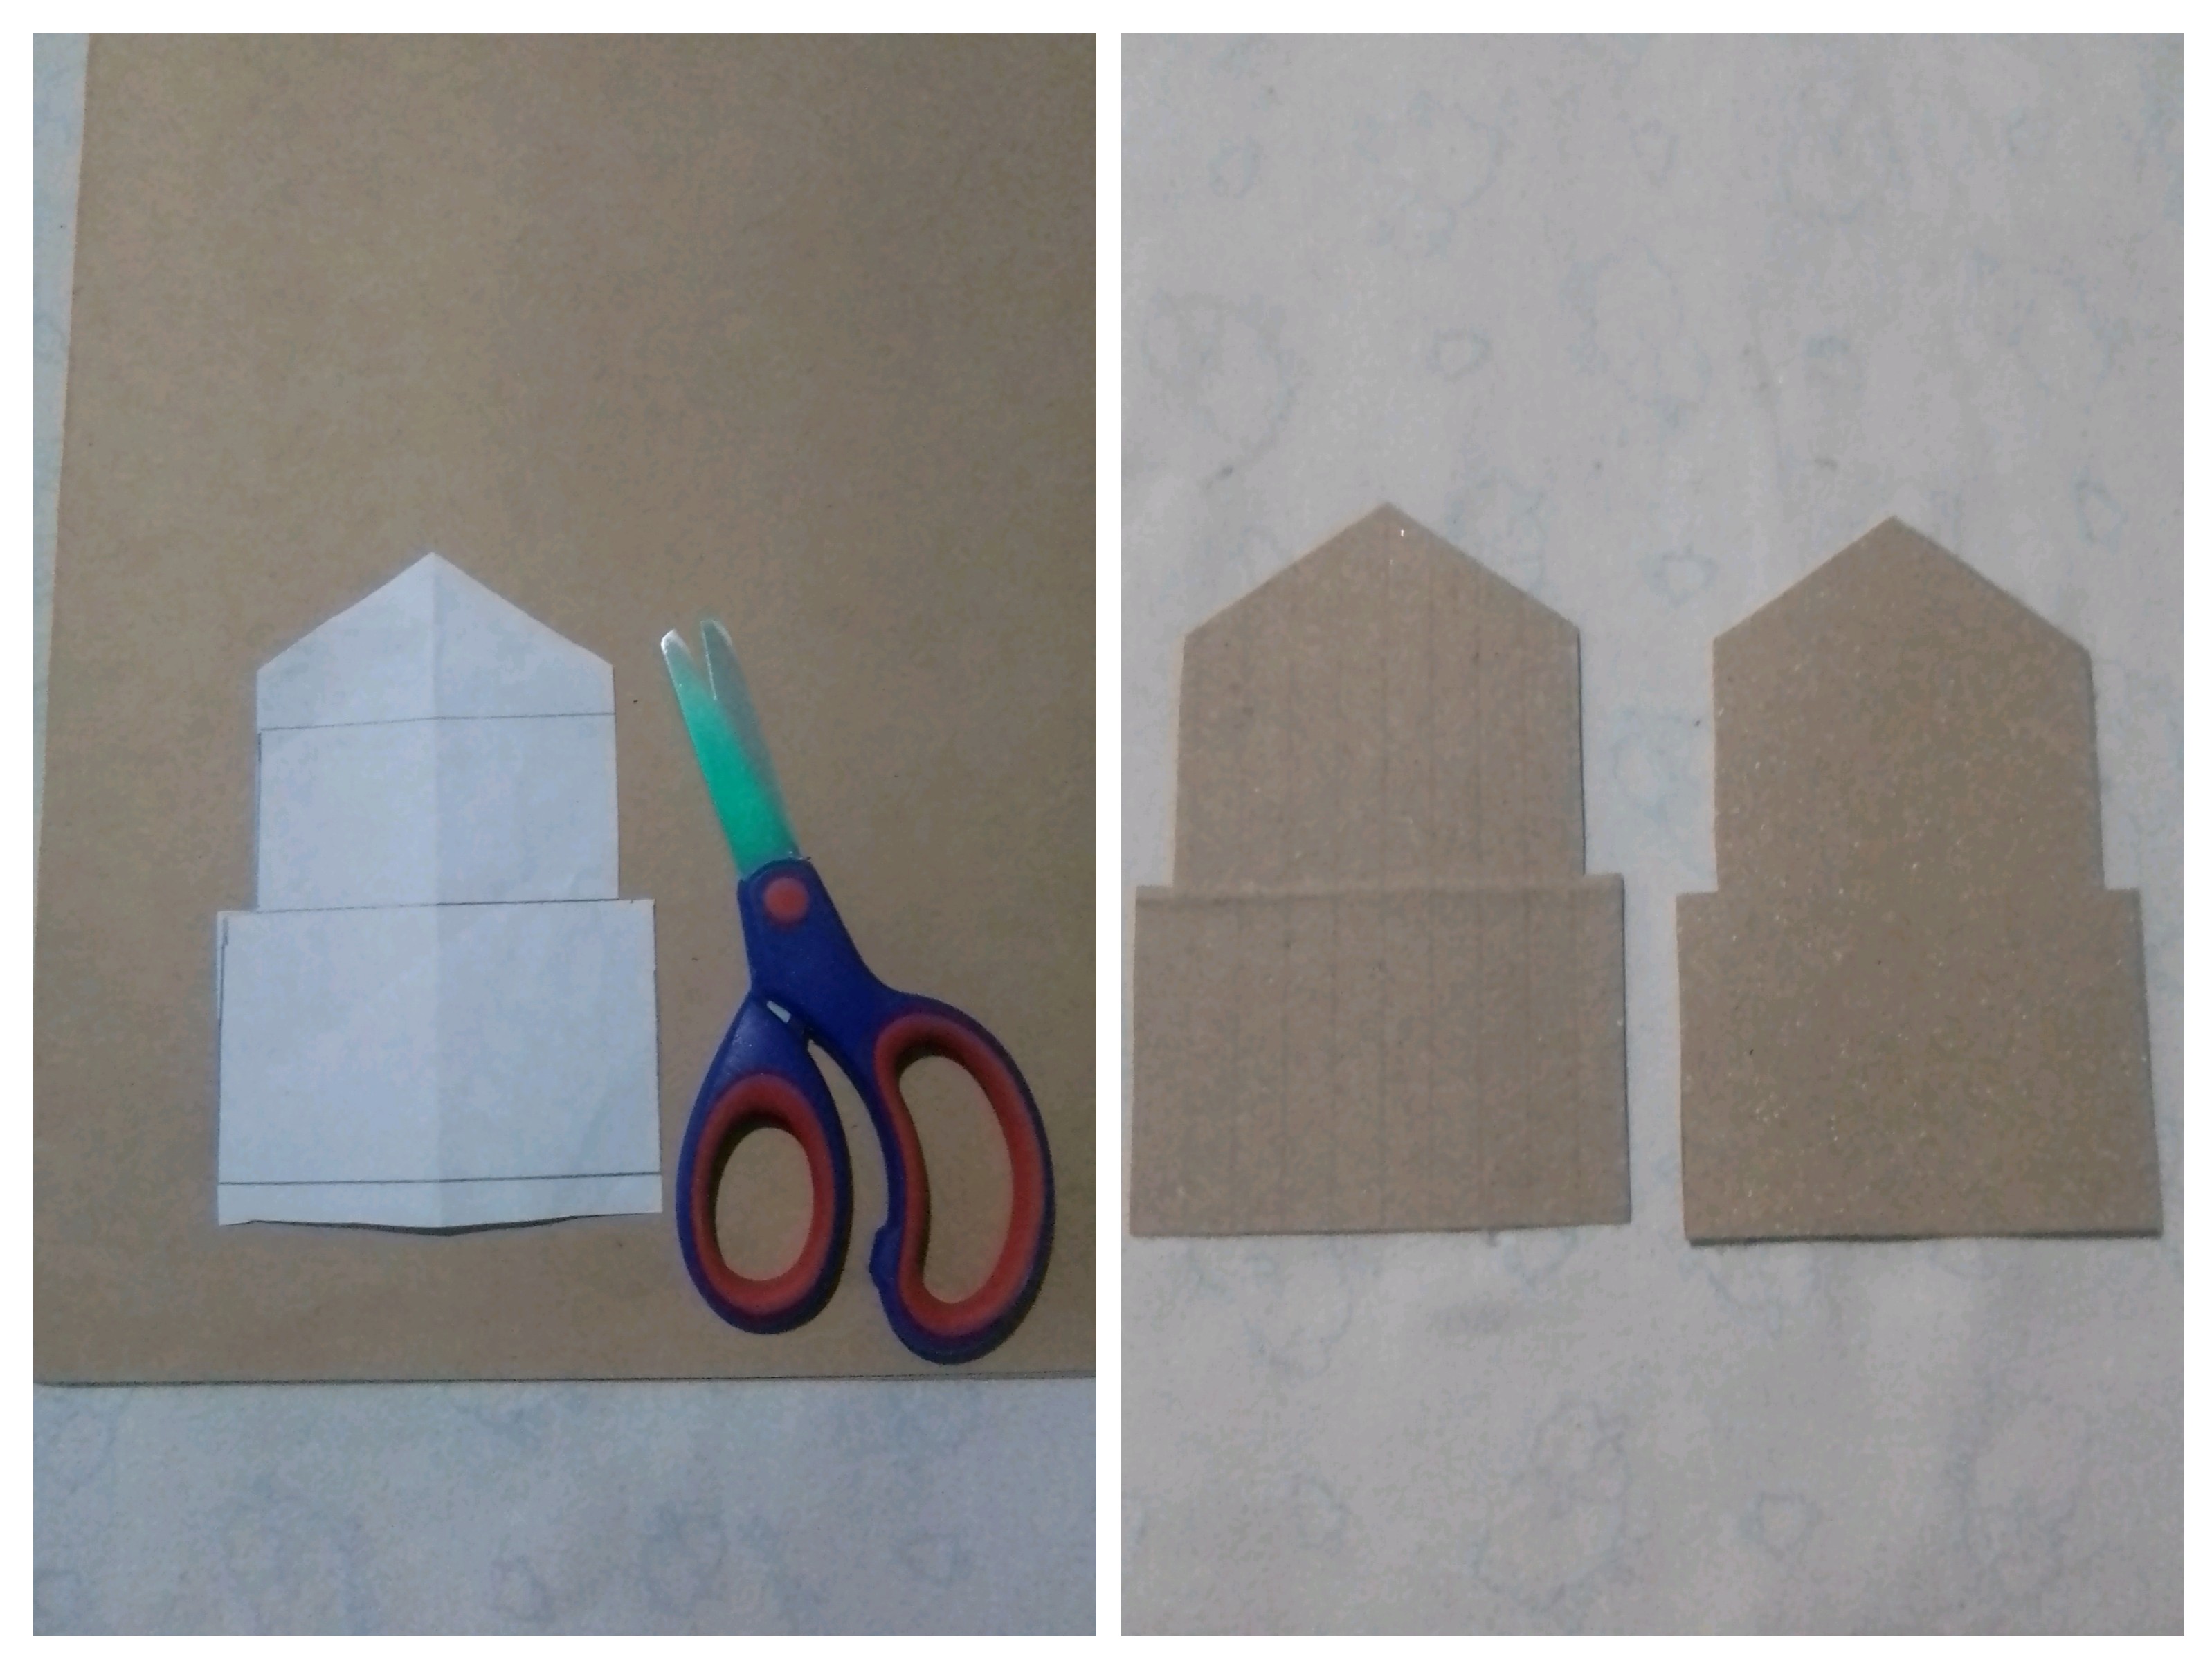
In addition, design the elements that are different for each facade, one will have round windows, the other rectangular, one with a rounded door and the other with a square door, and thus the other elements such as the roofs.
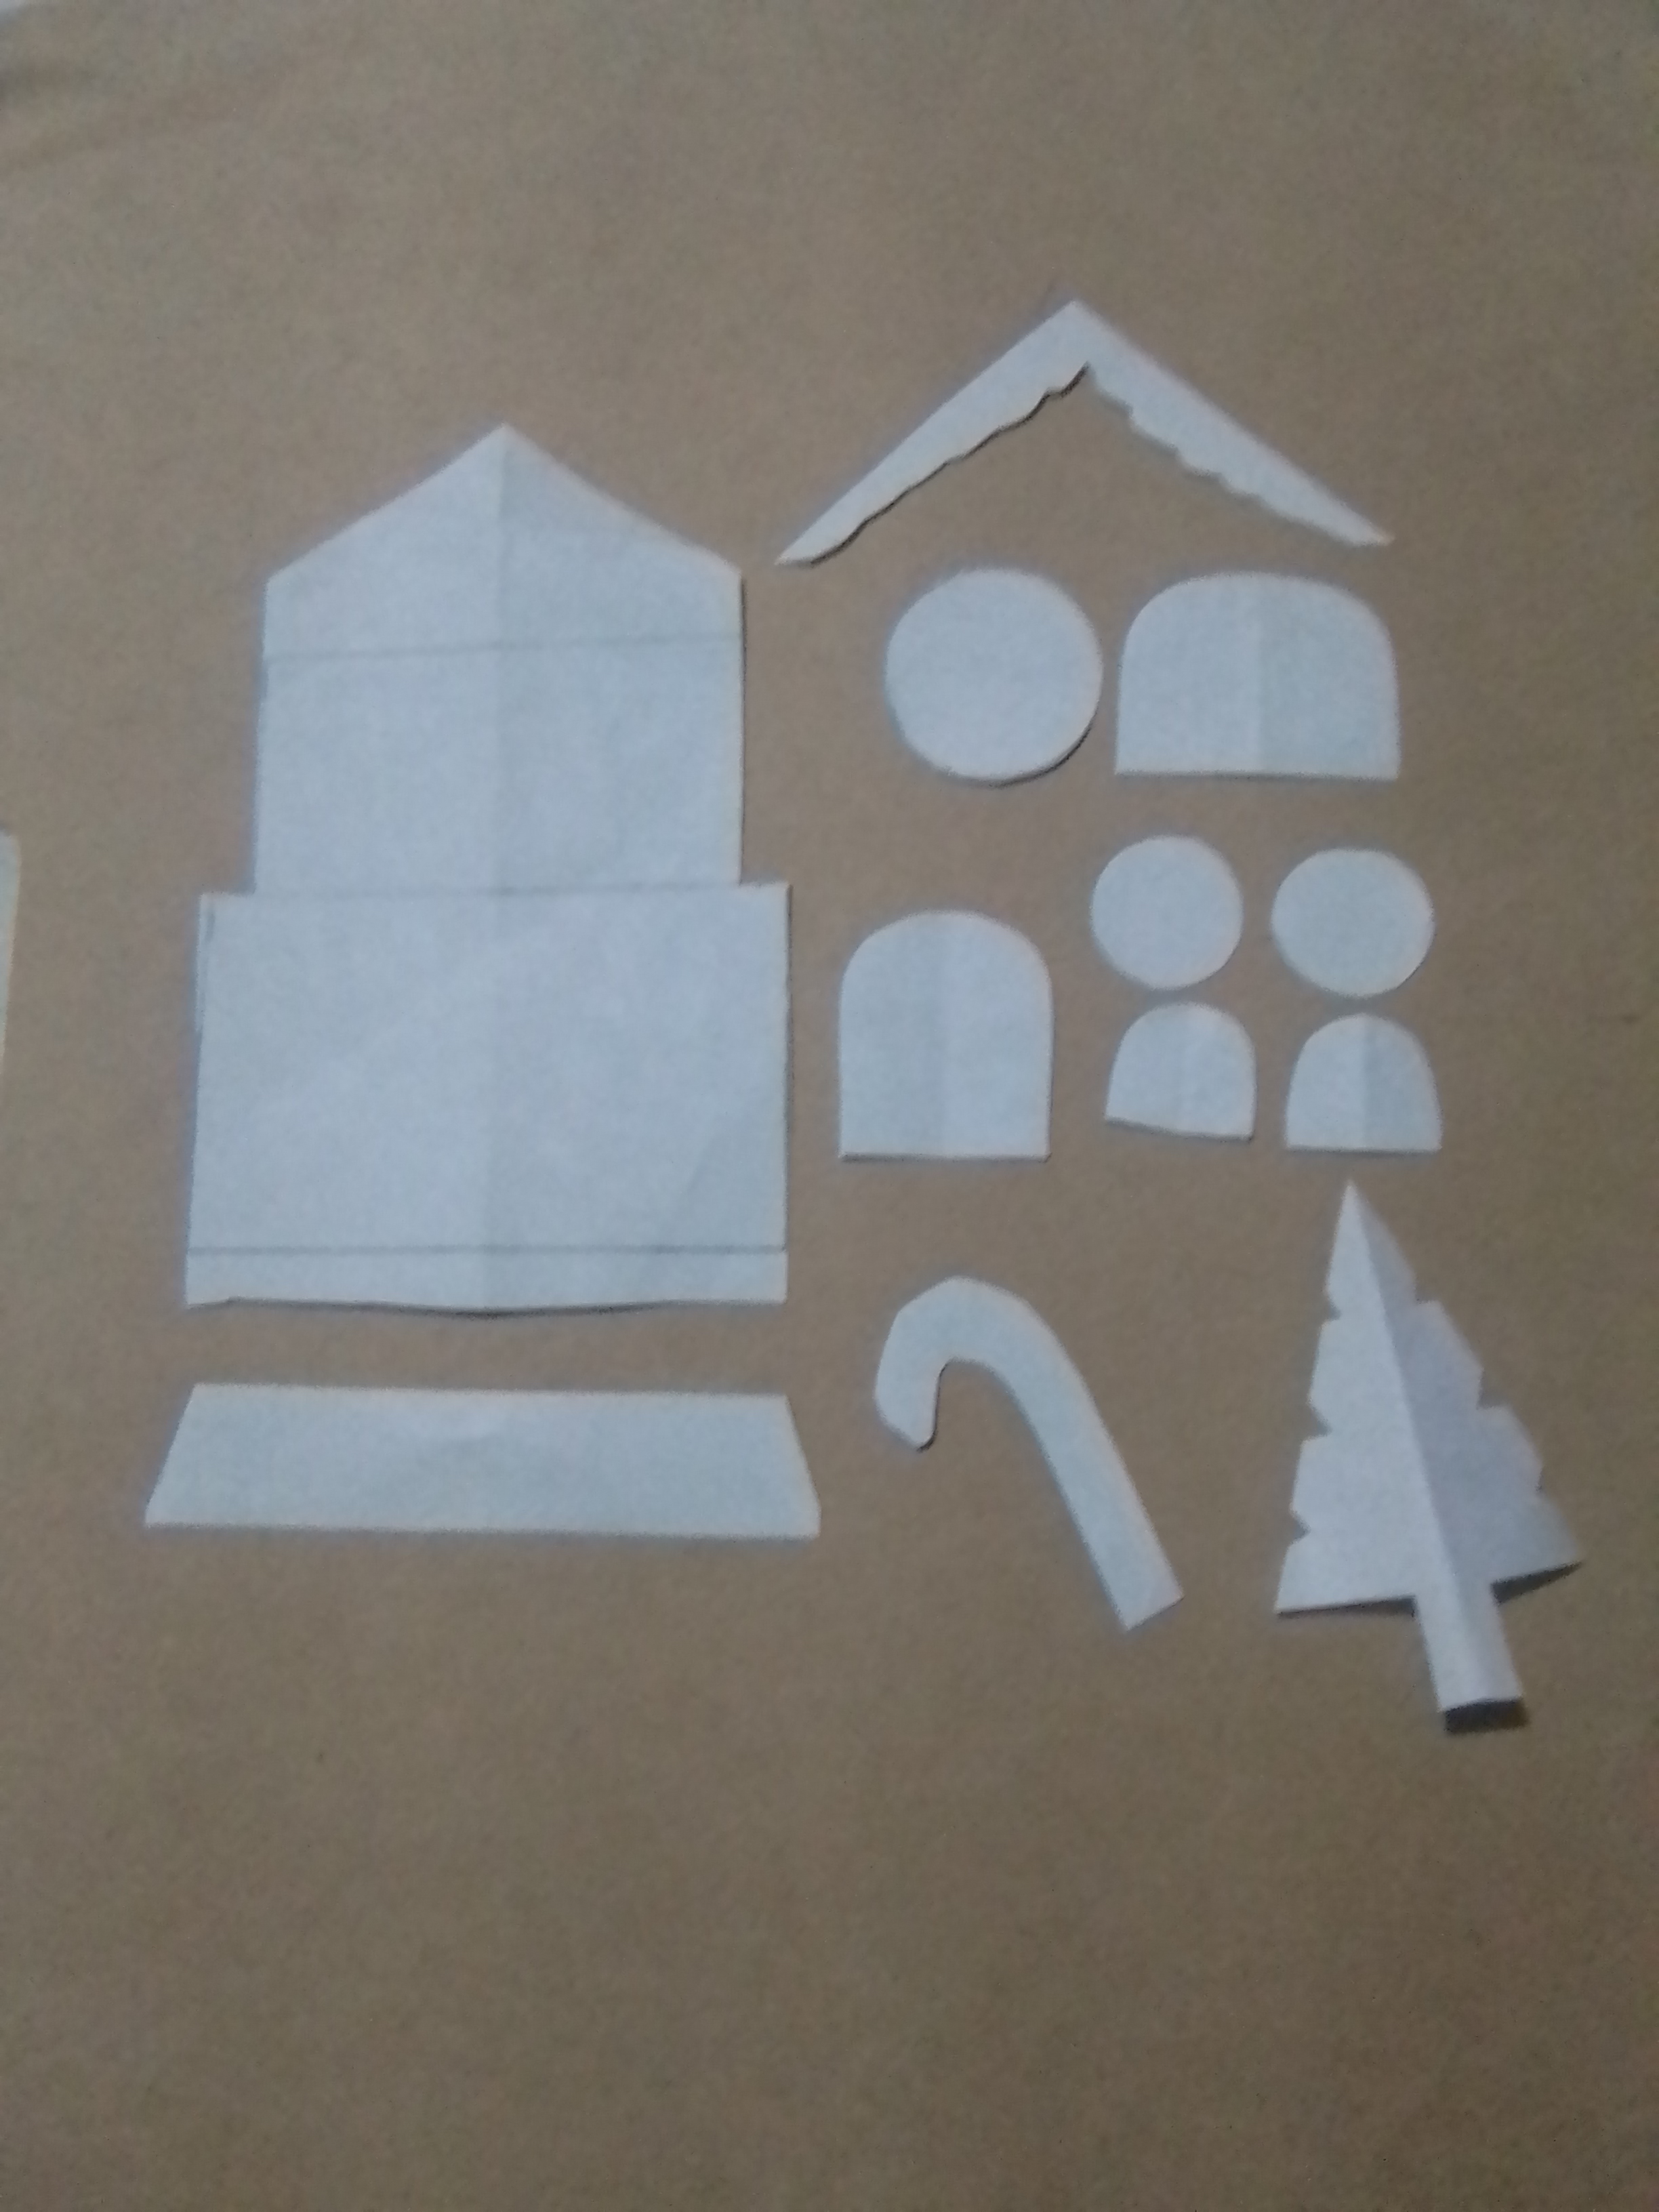
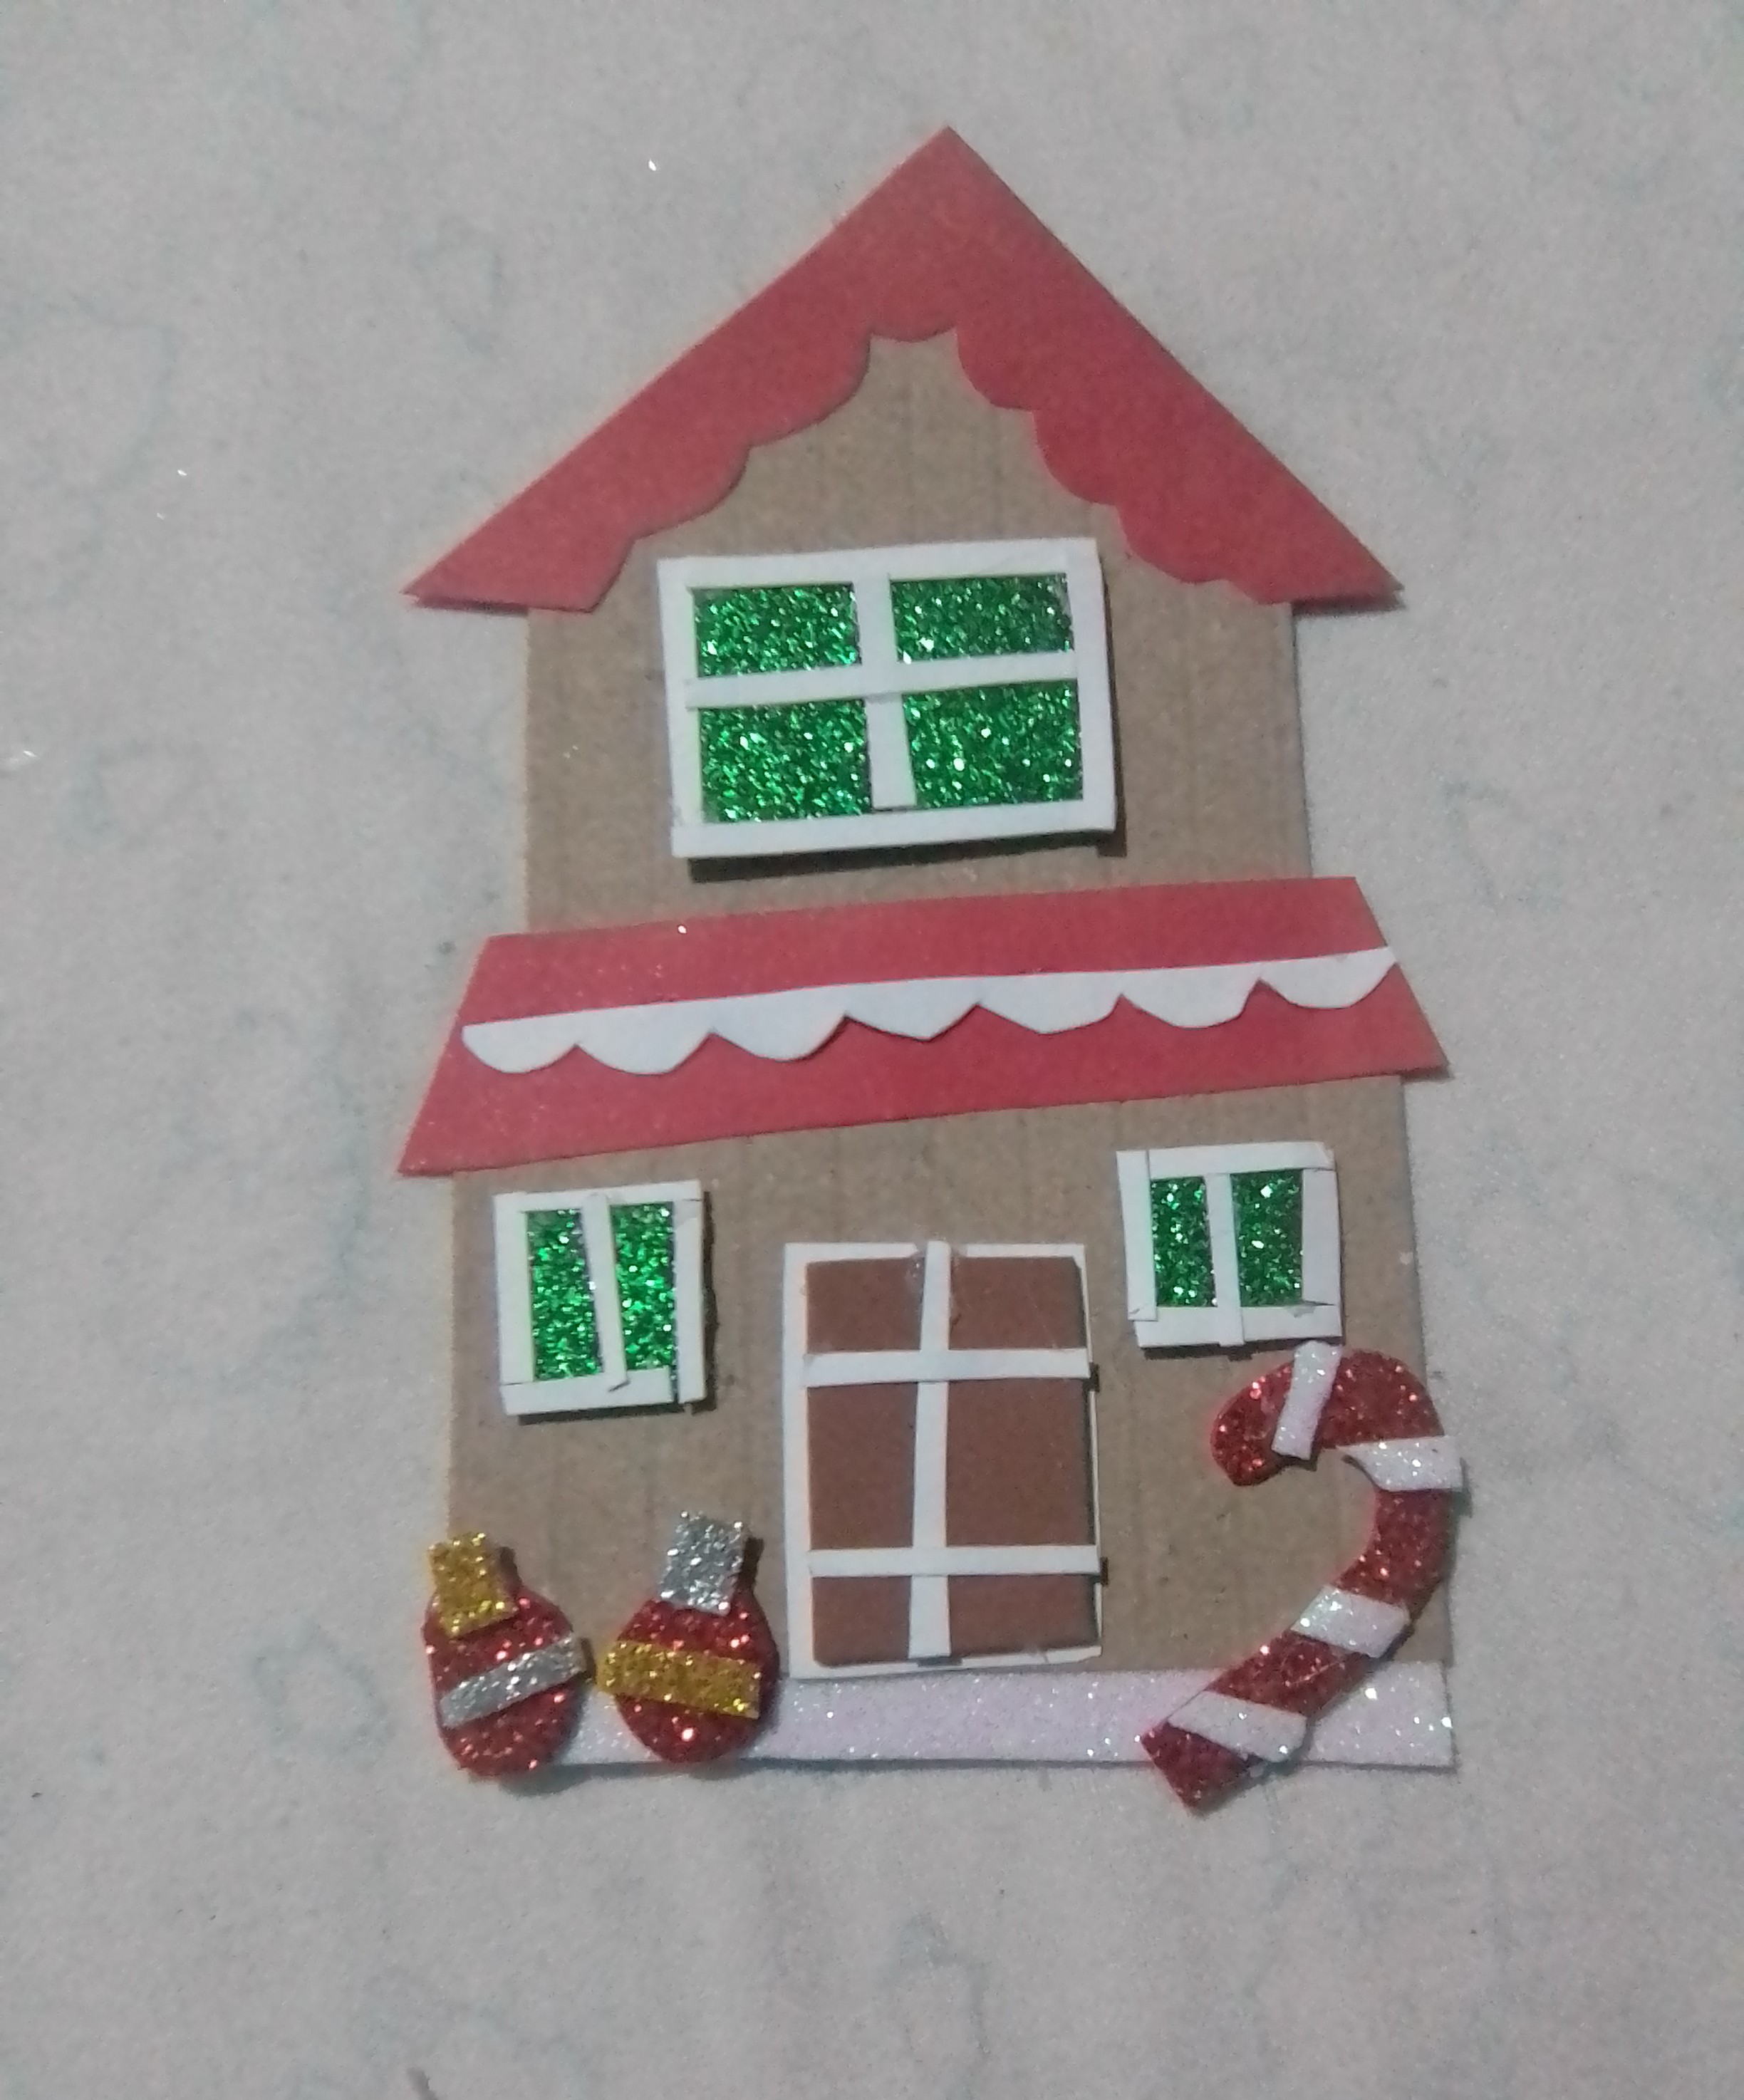
I transferred all the molds to the corresponding colors, the ceilings were made in red foami and another in red cardboard, I made the square windows with frosted green foami, and the round one in white cardboard, the two doors in brown foami and their frames in White cardboard. In addition to cutting a detail in white cardboard to resemble the snow.
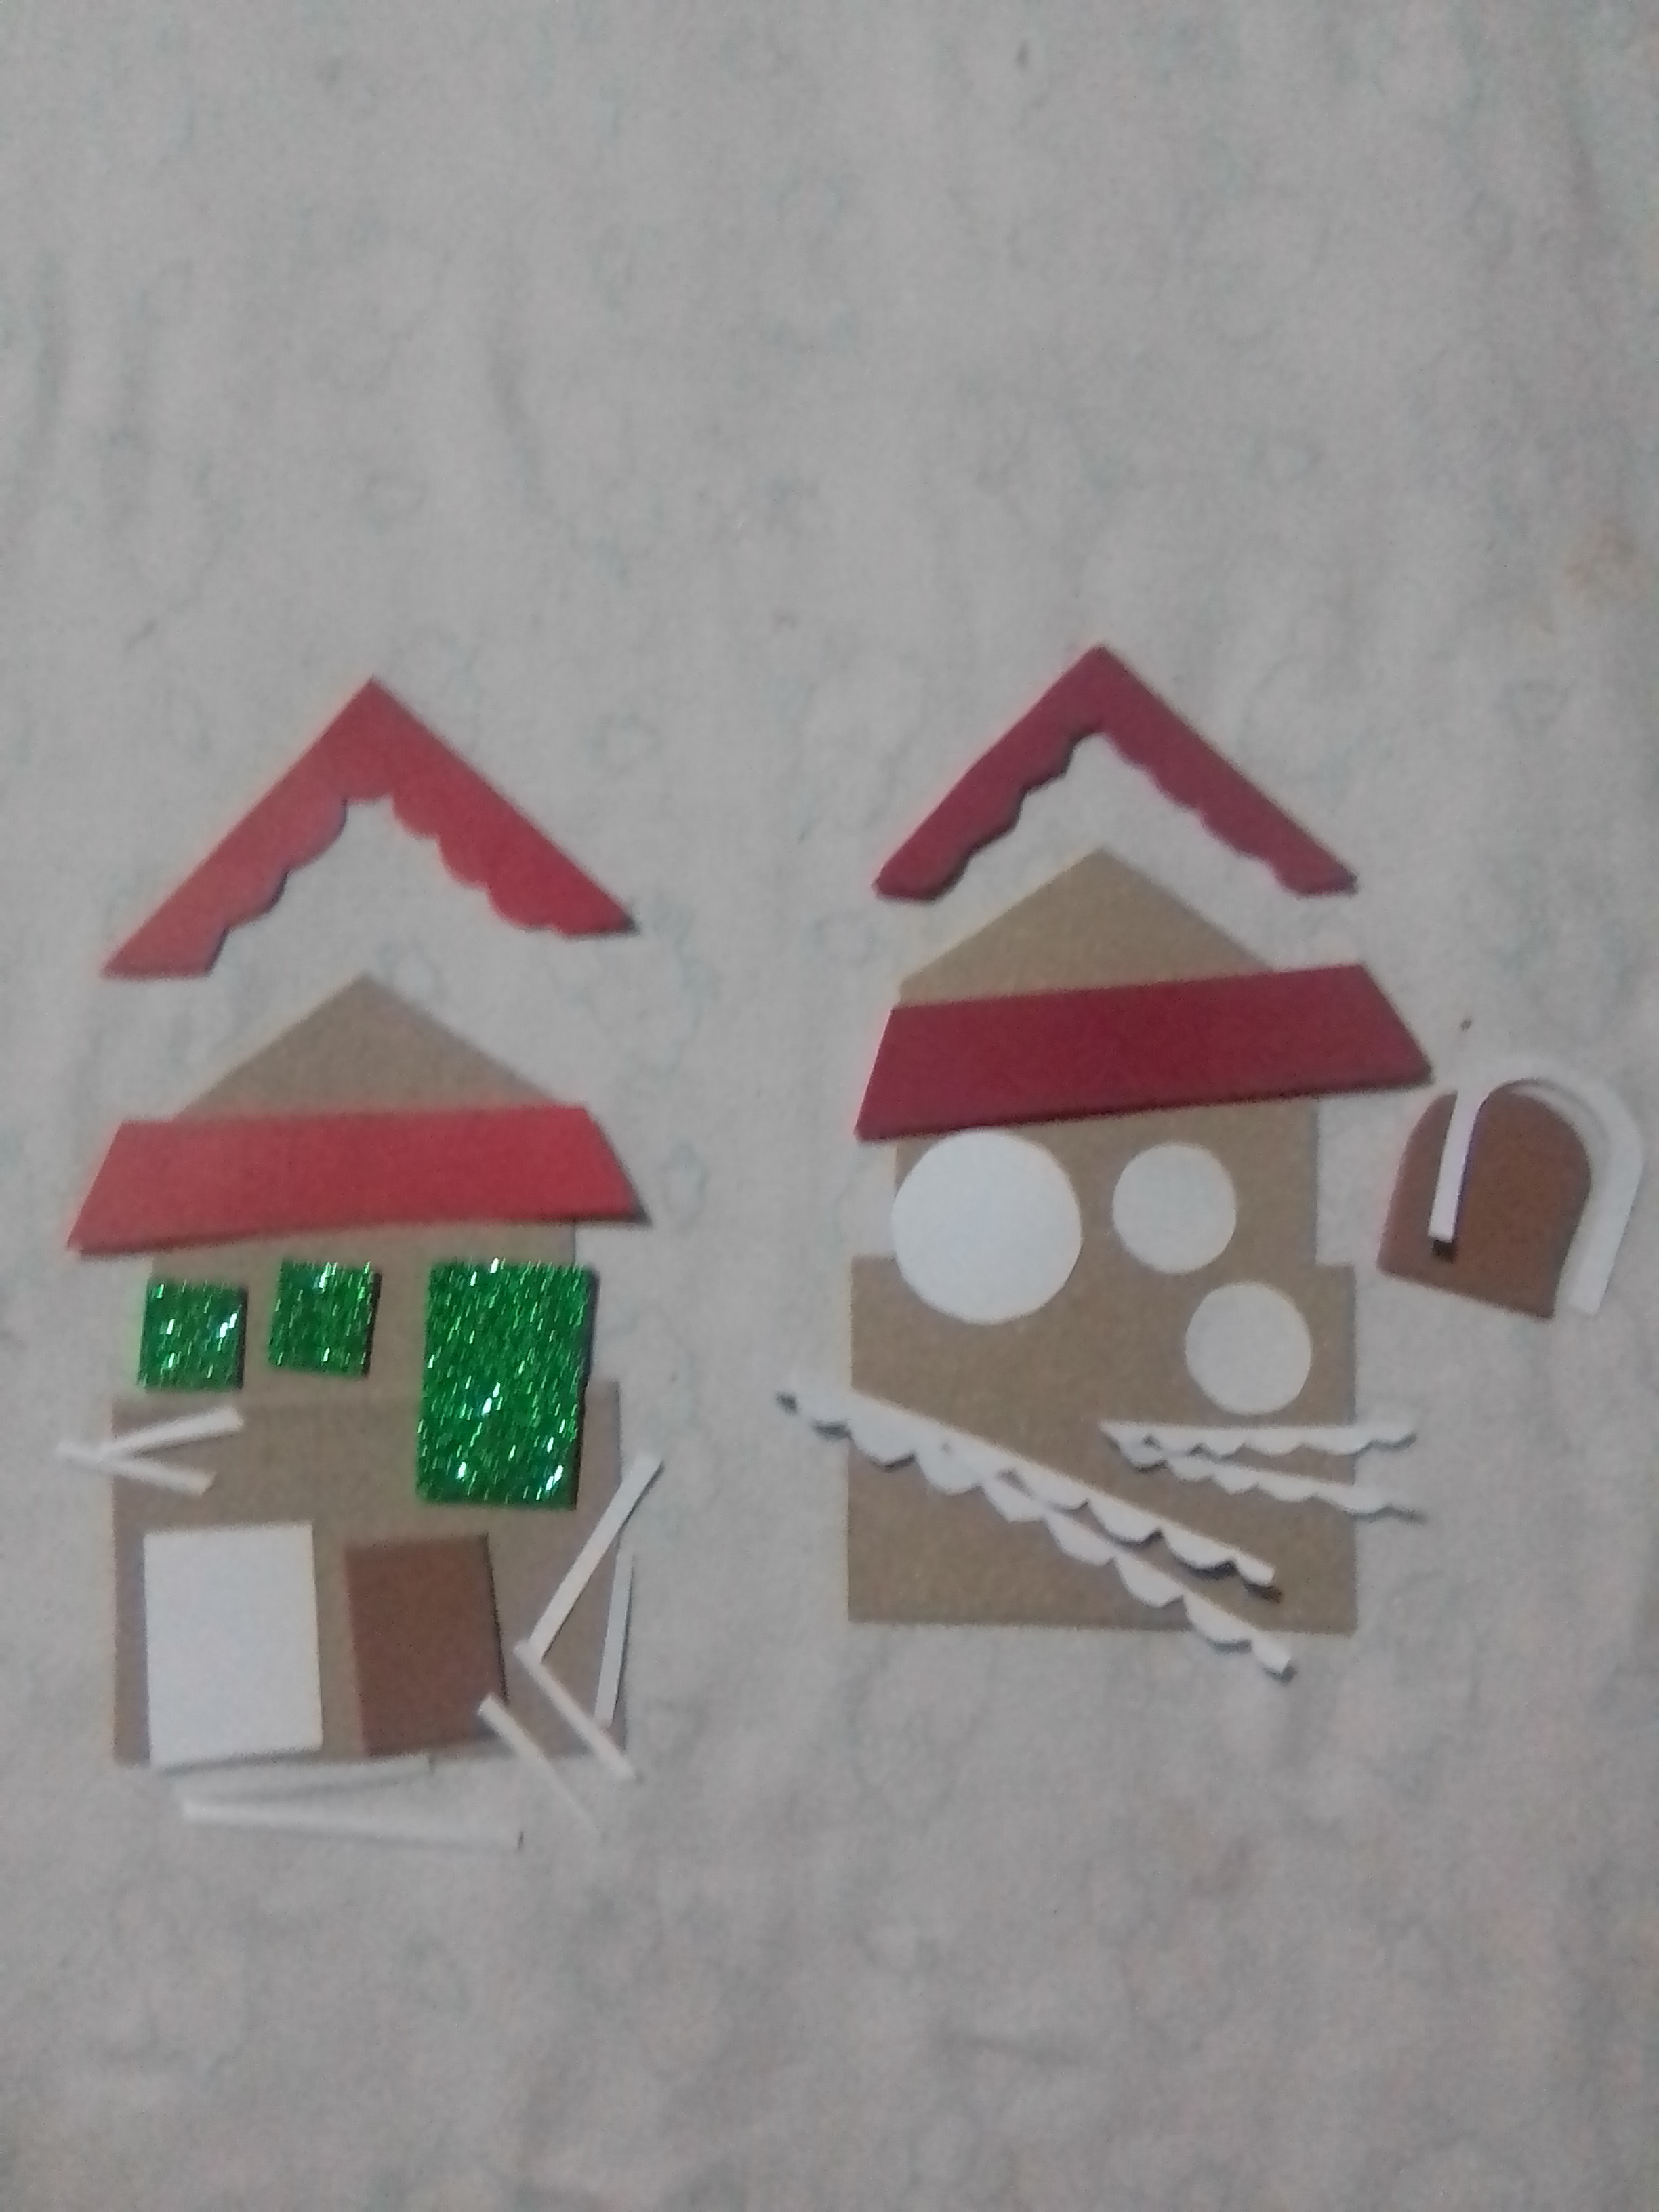
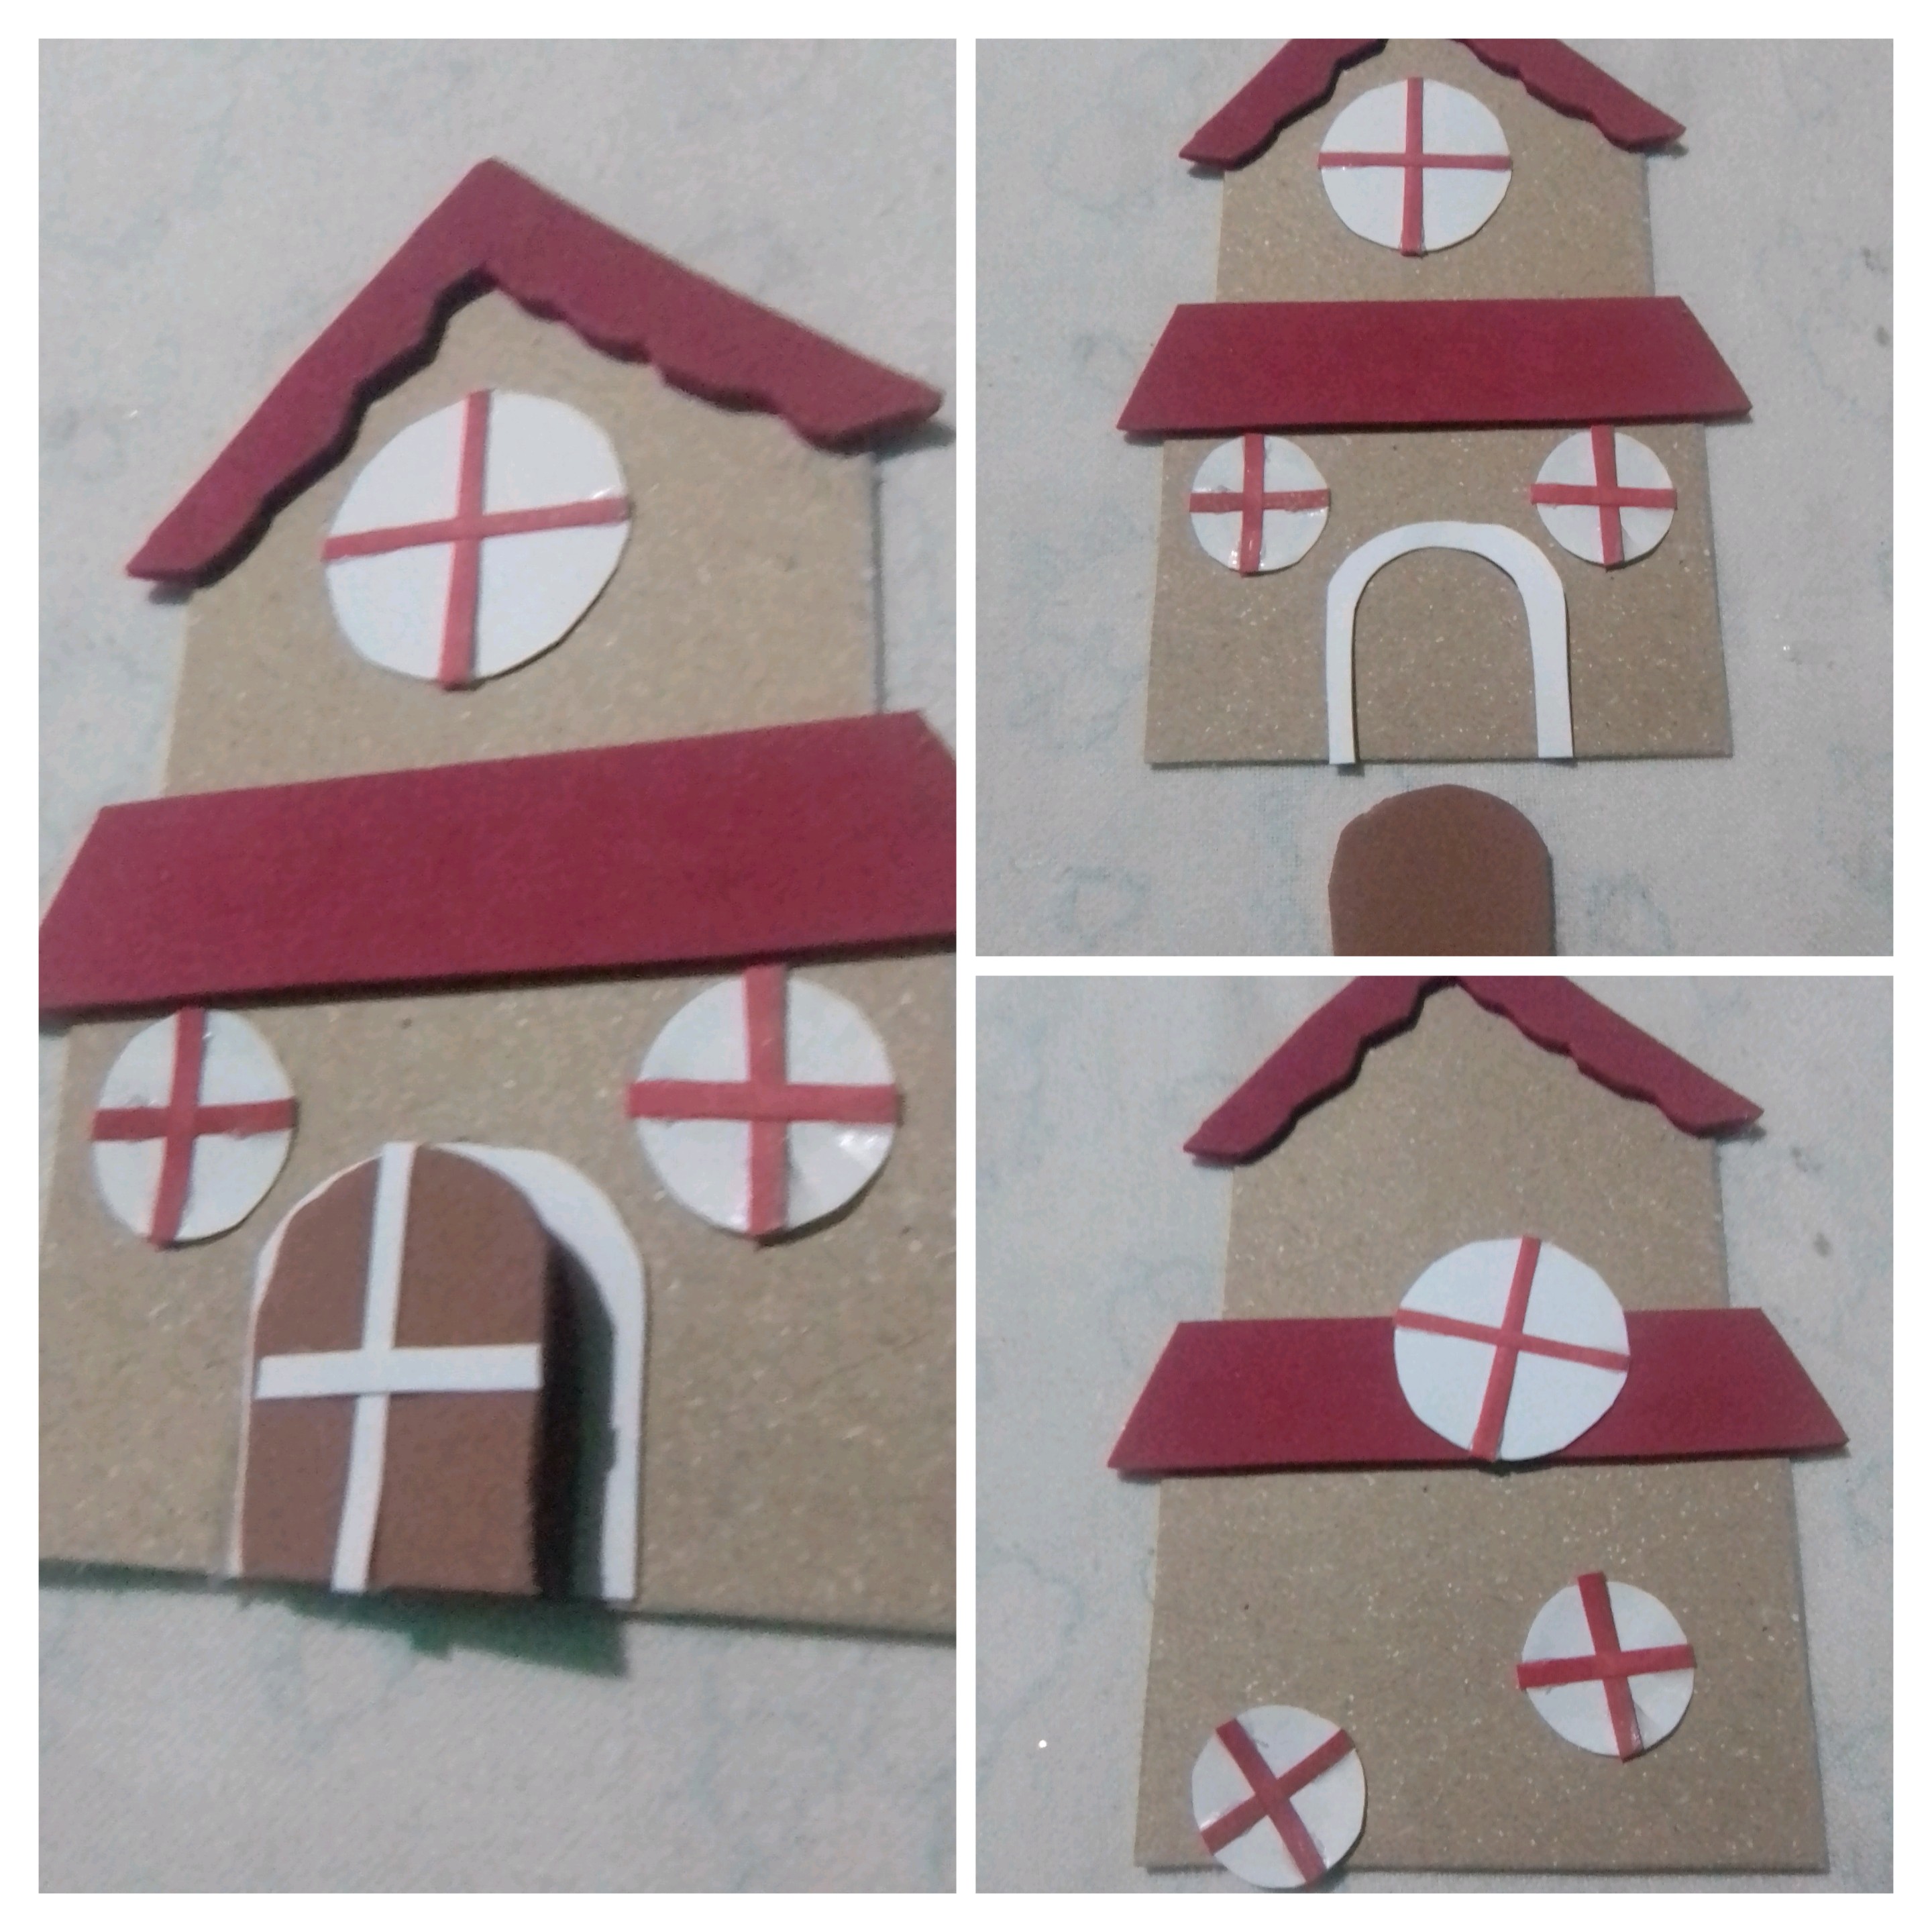
I began to assemble my first facade, fixing the red cardboard roofs, and then assembling the windows, for this I placed thin strips of white cardboard to form the frames and divisions on the frosty green foami. When I finish with the windows, I proceed to fix them with hot silicone, the window at the top and the small ones, at the bottom on each side.
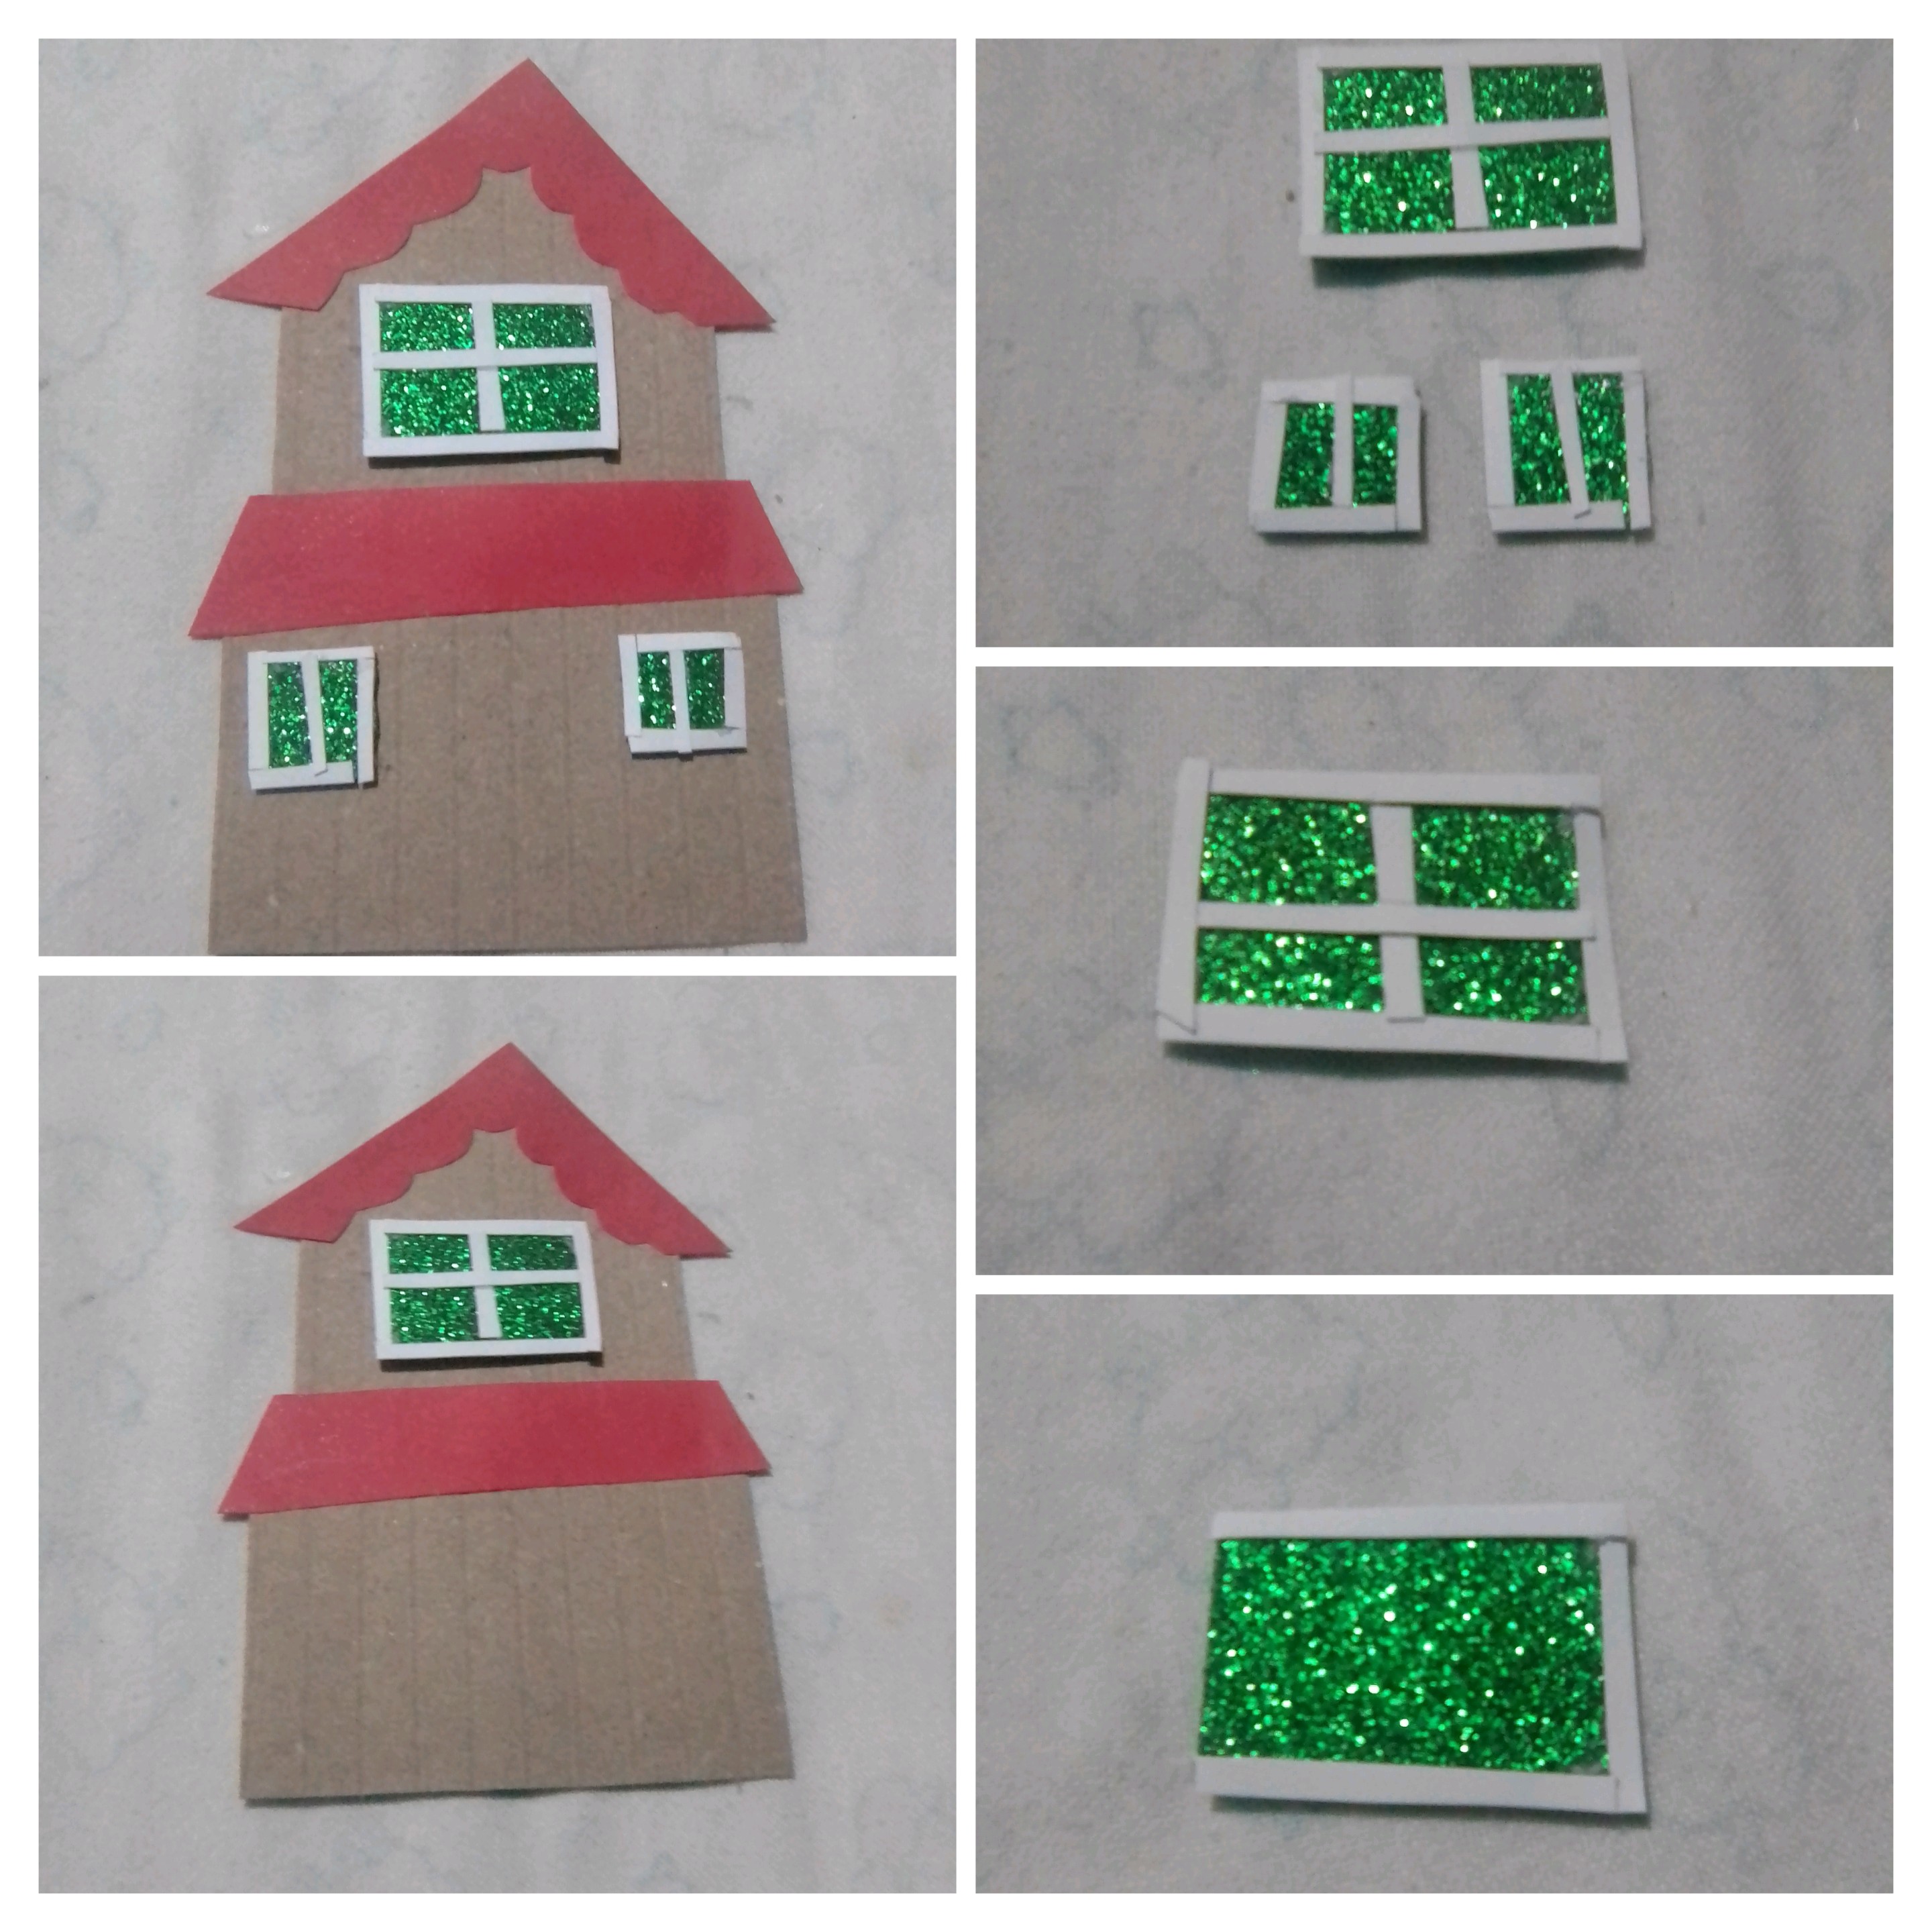
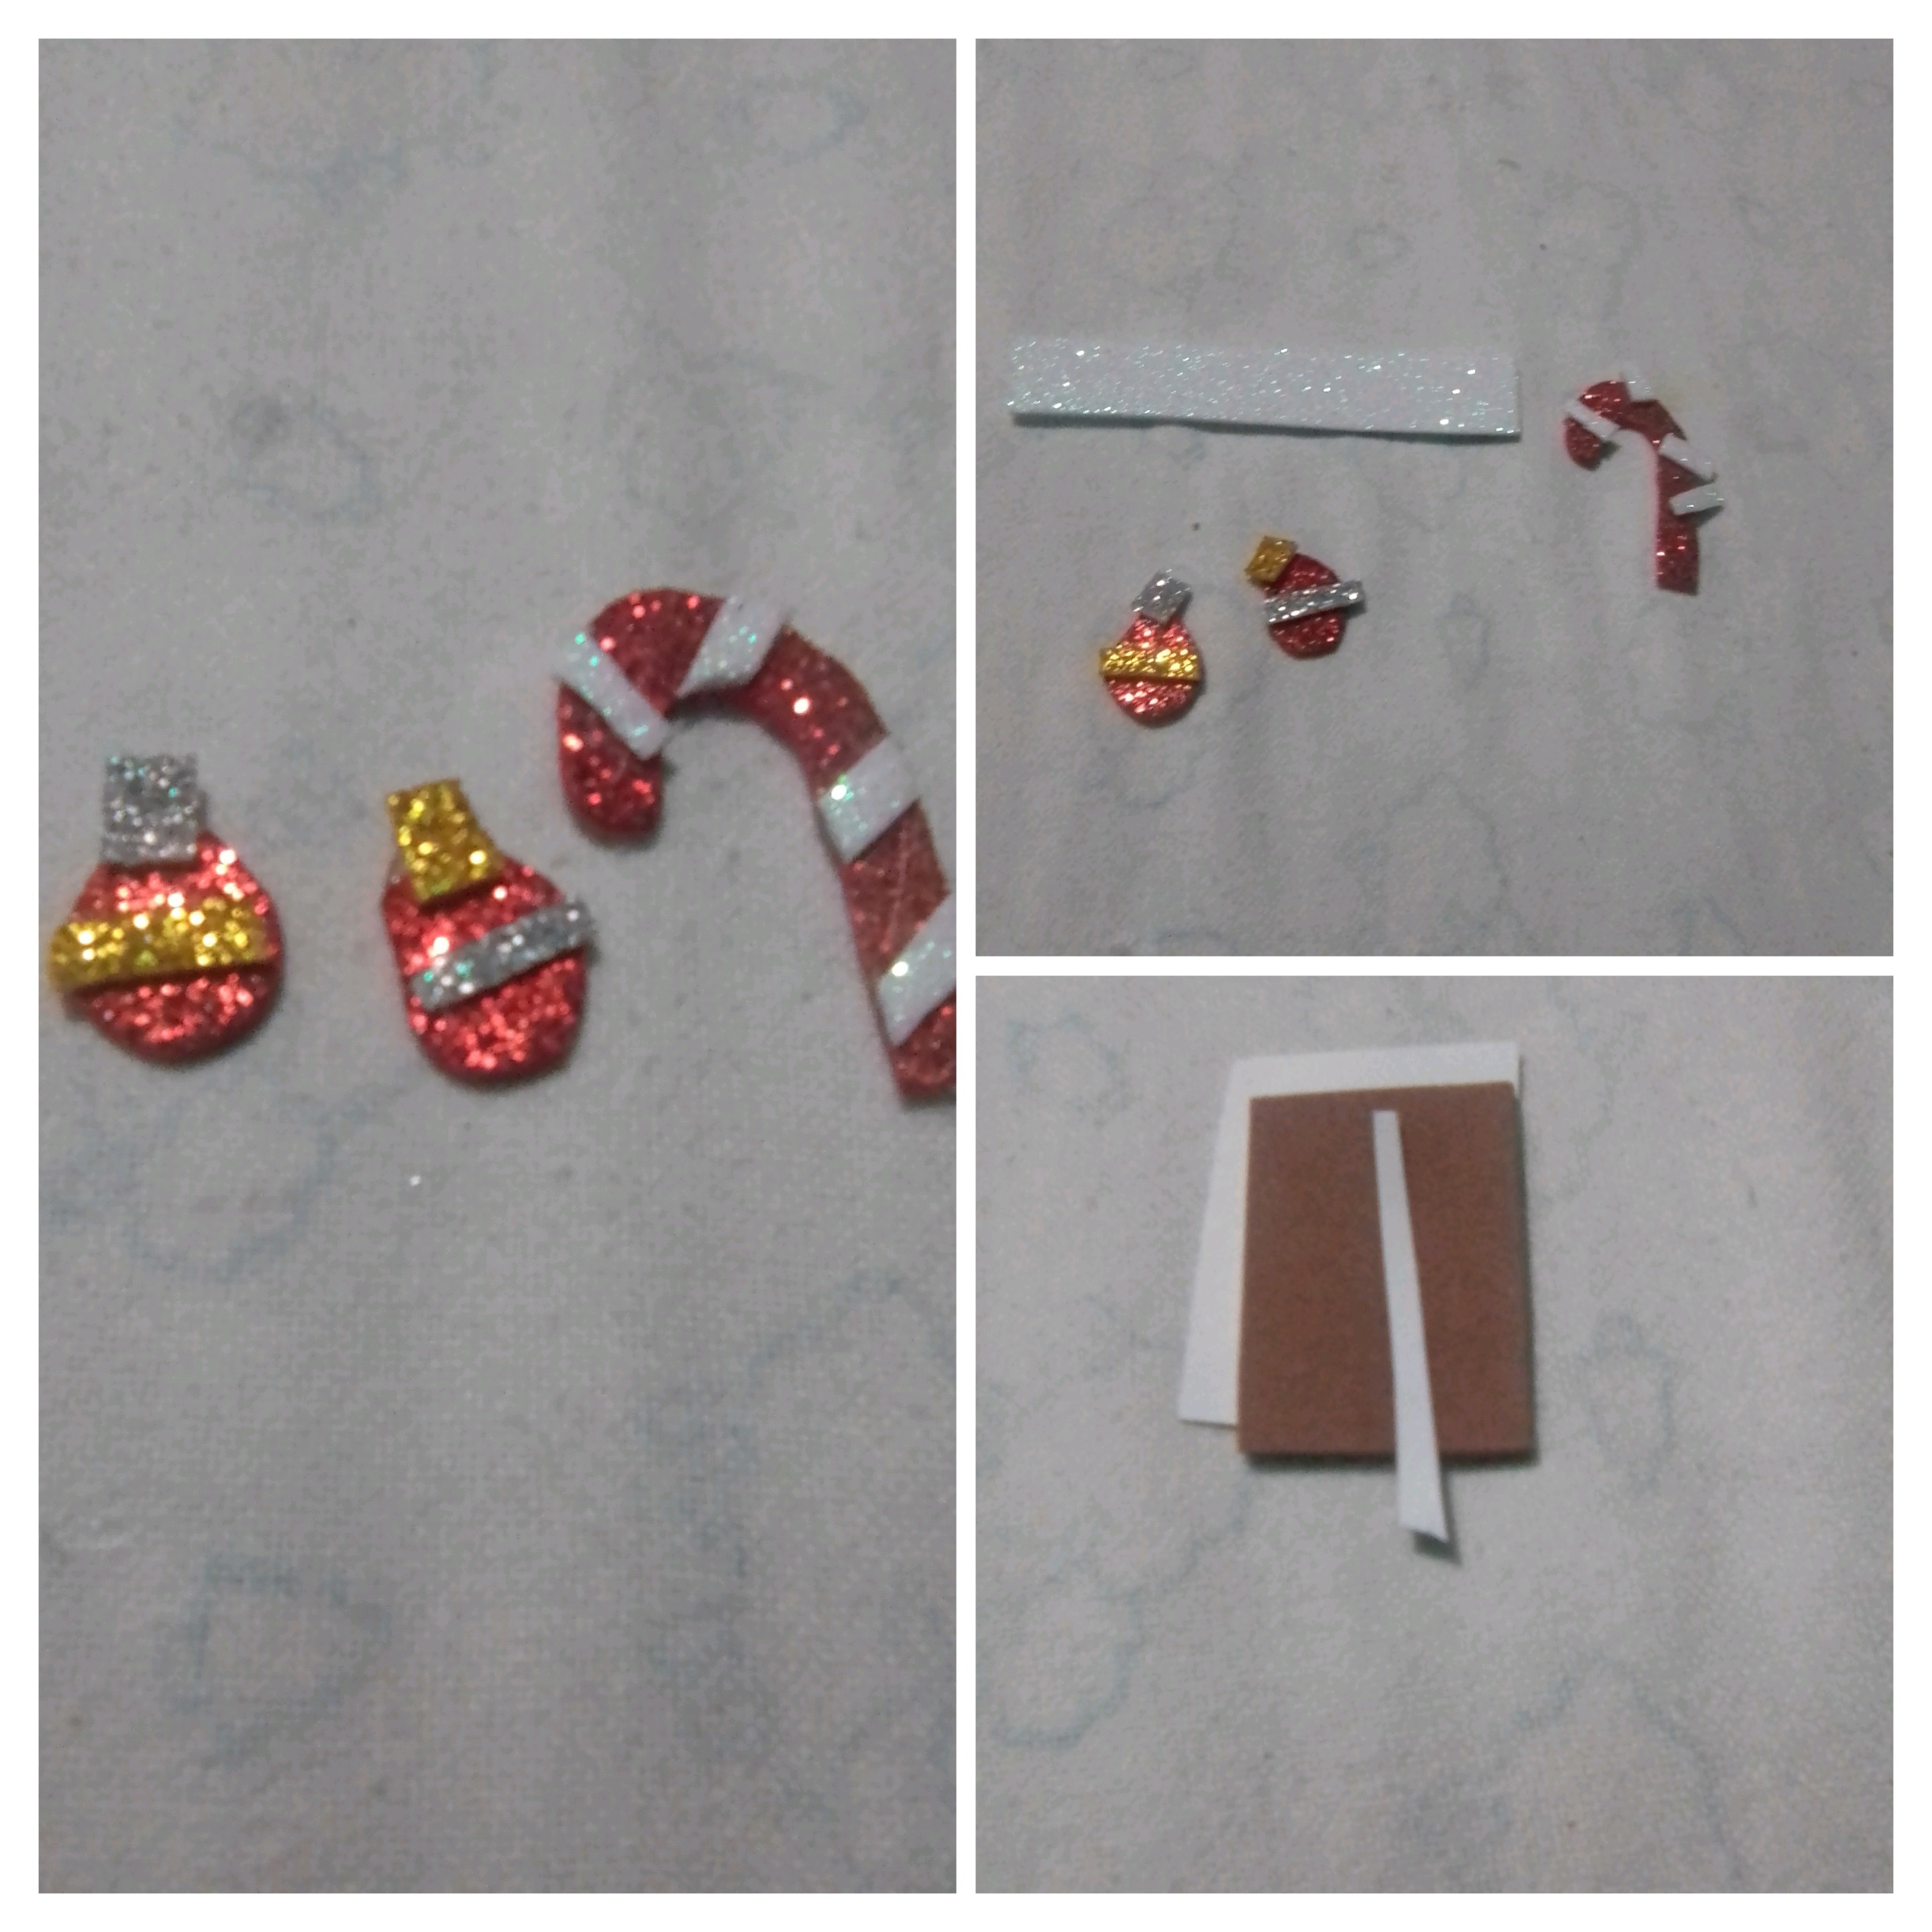
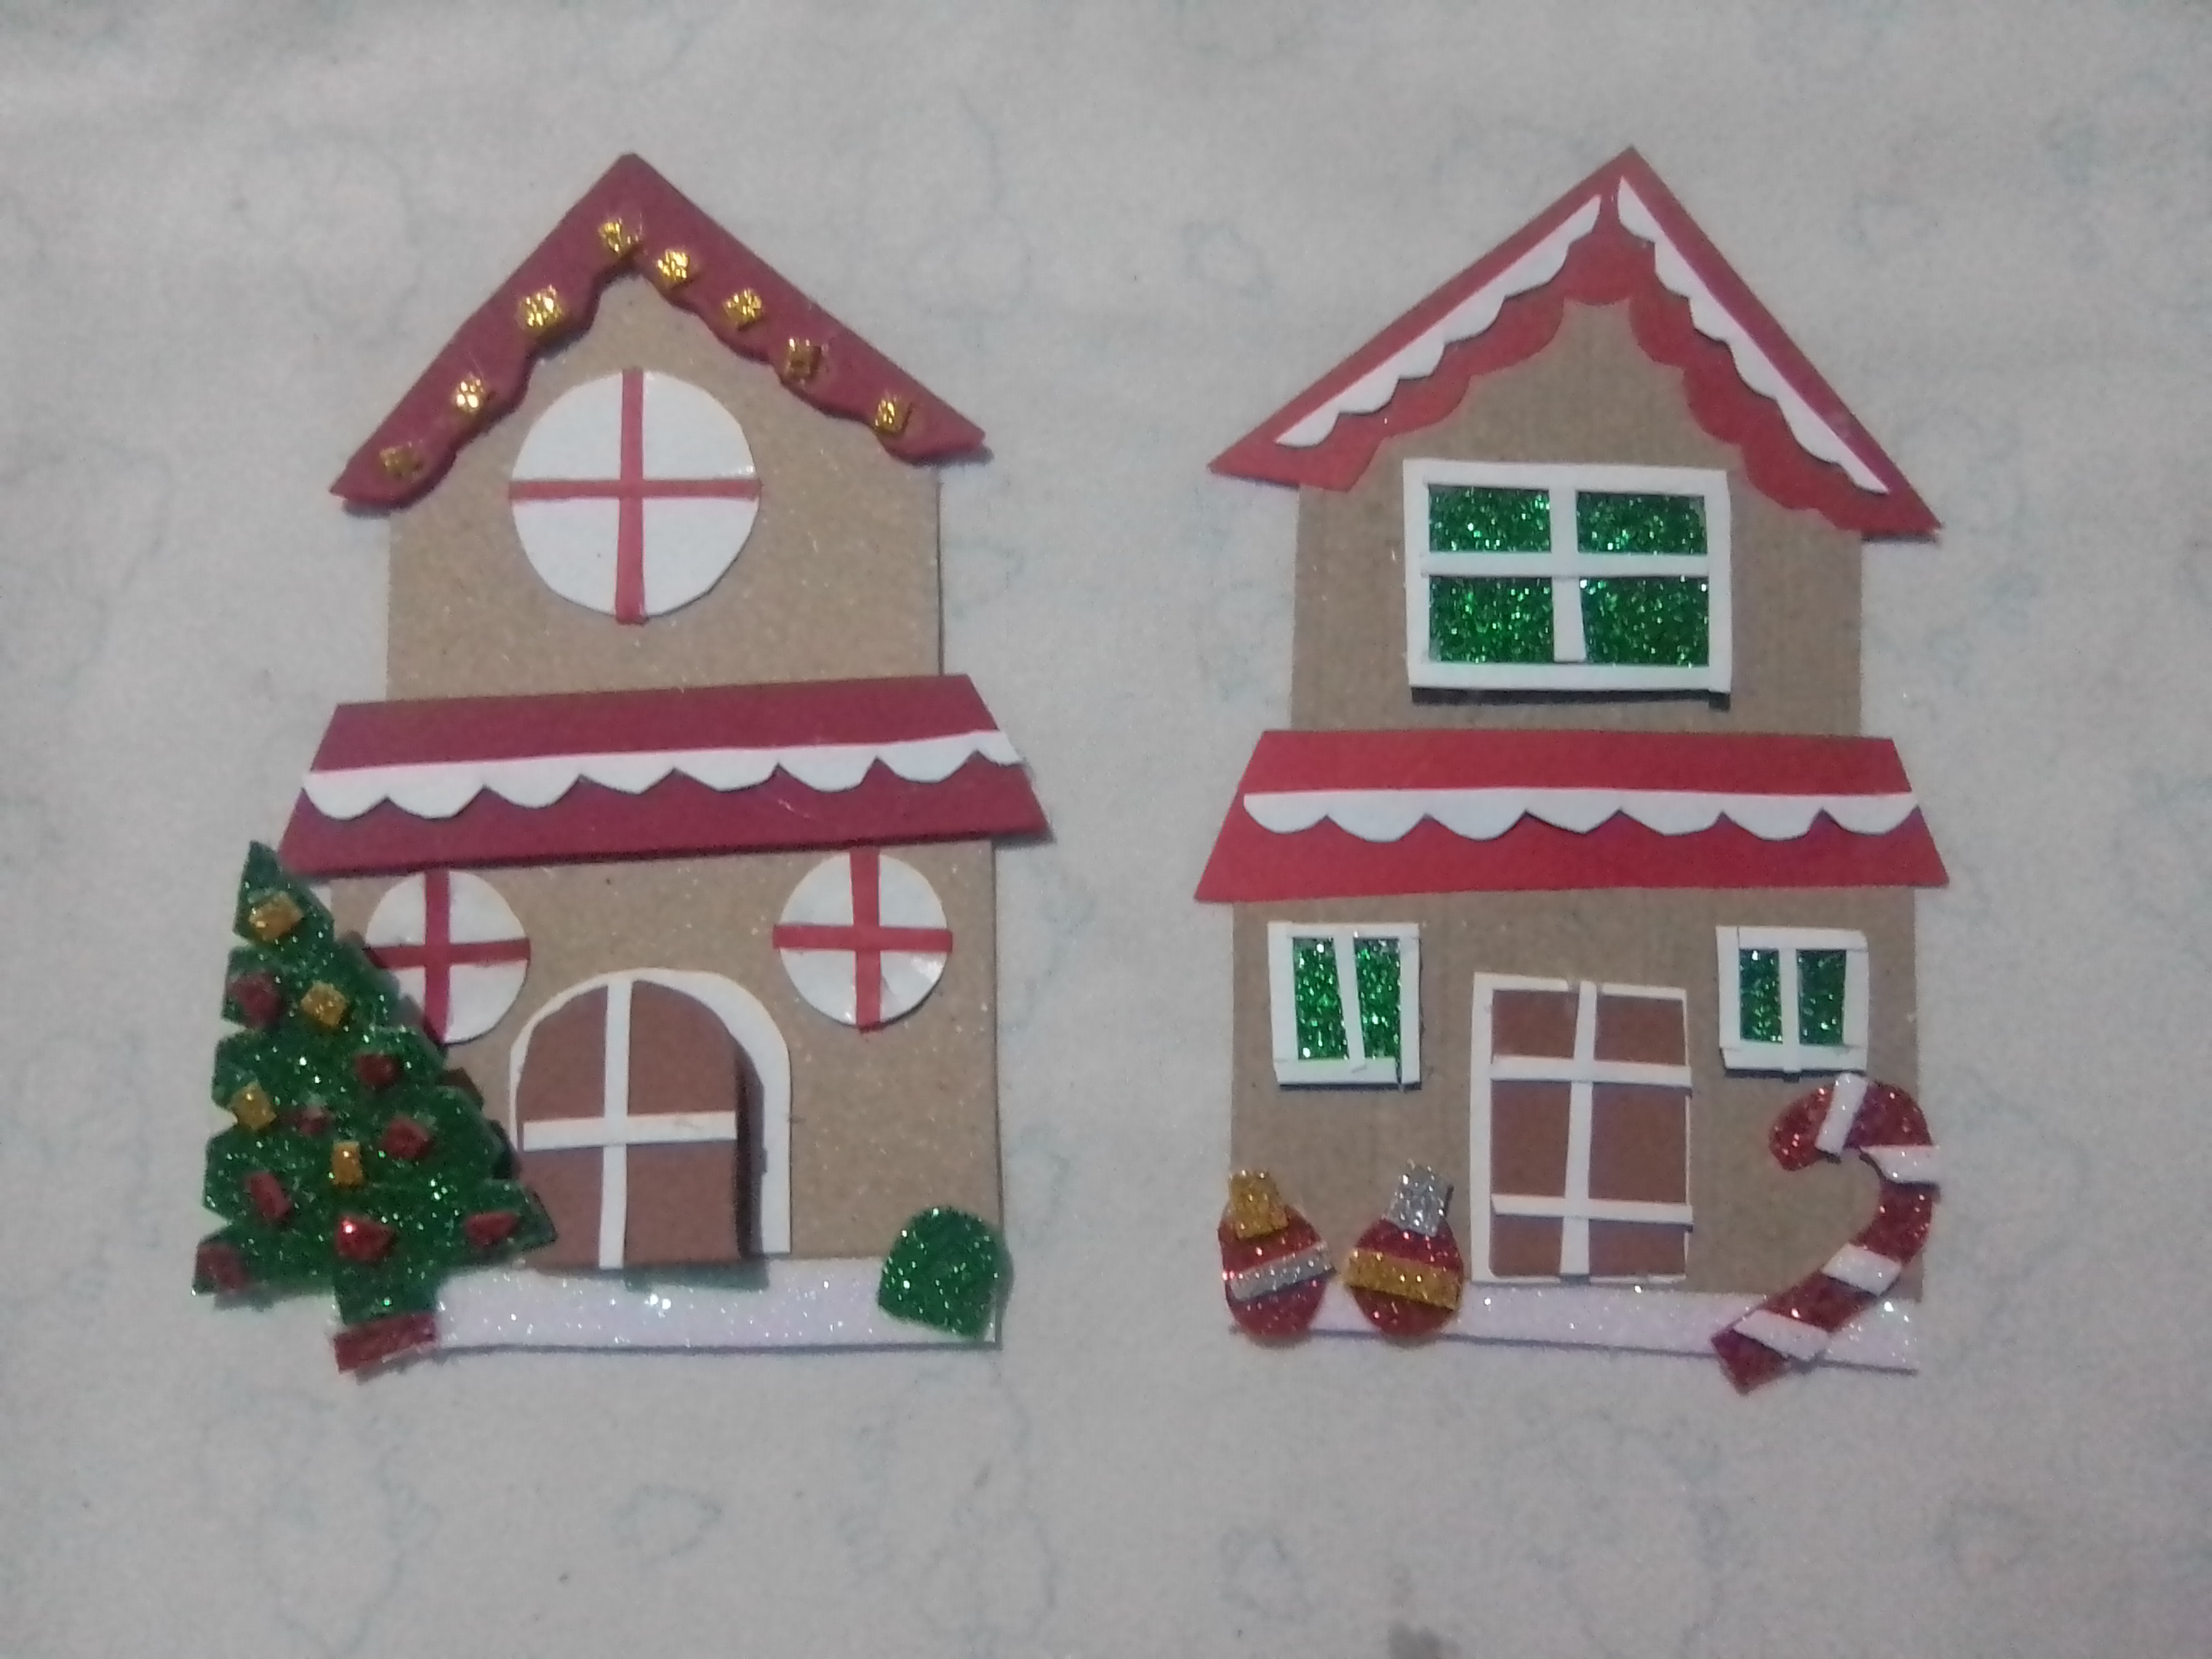
Finish off this façade by placing the brown door on a white background and decorating the roofs with snow. To simulate the snow on the floor, place a piece of frosty white foami and the respective Christmas decorations in front, a cane and two spheres.
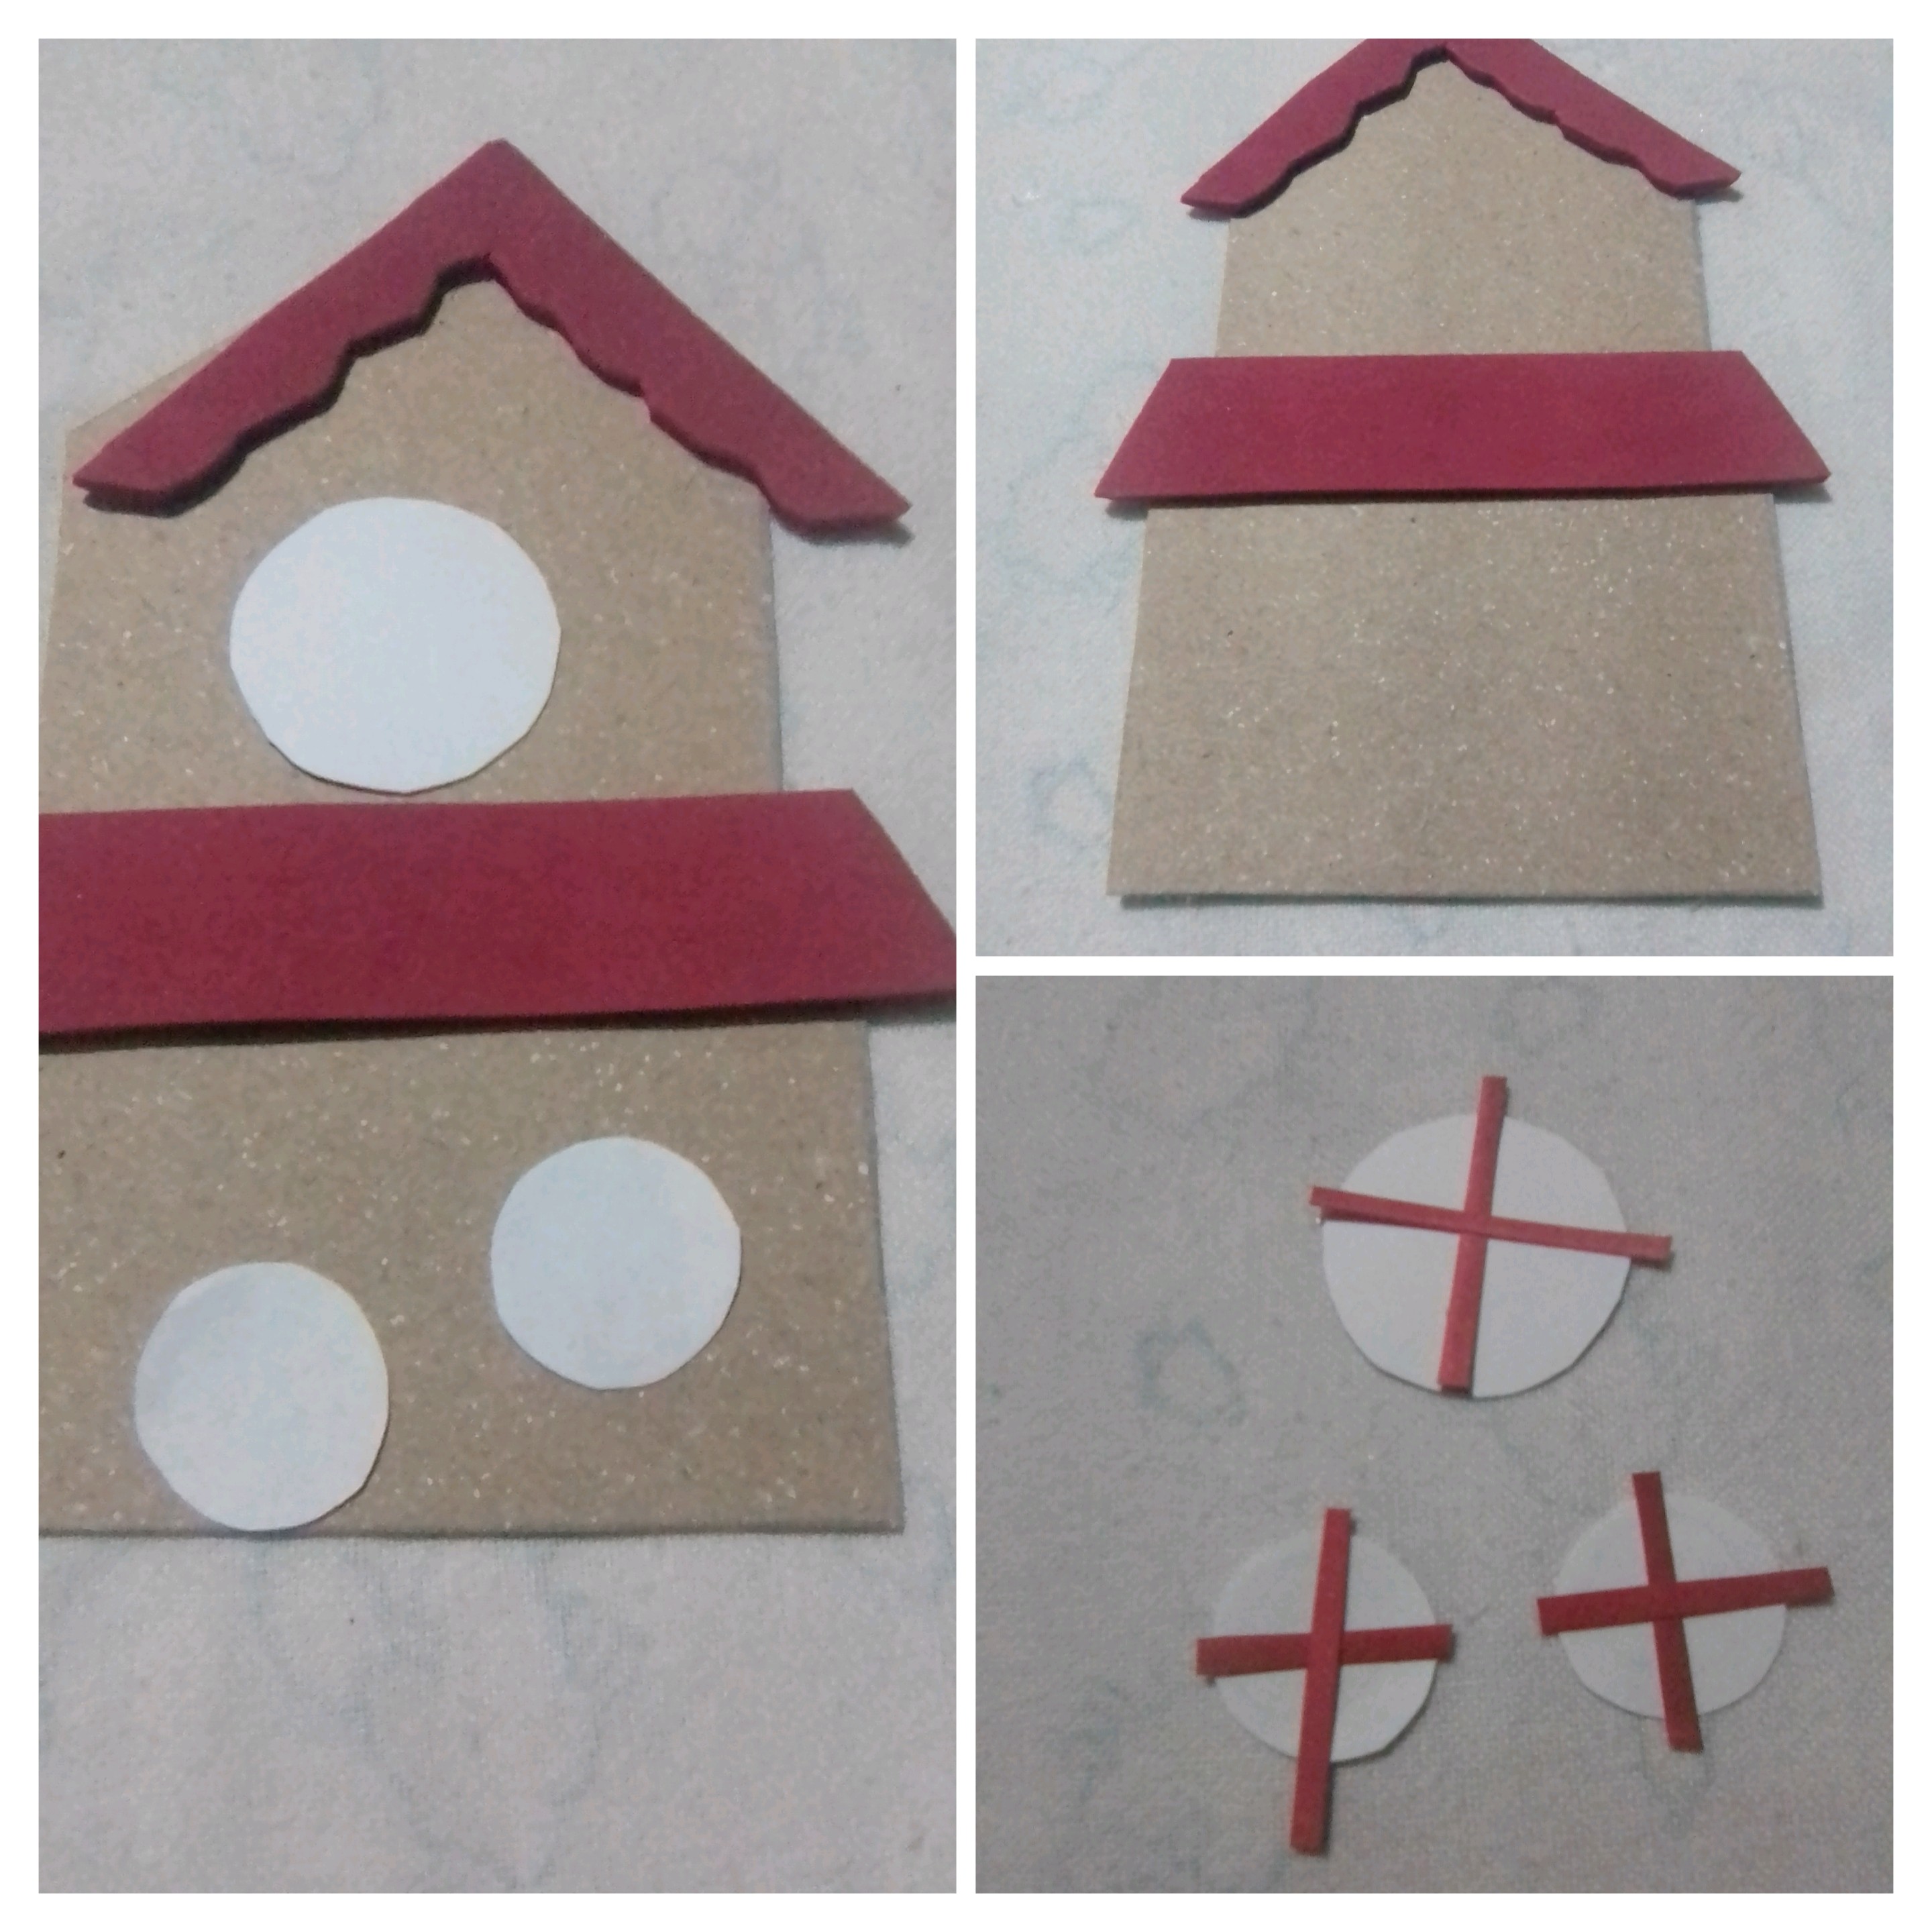
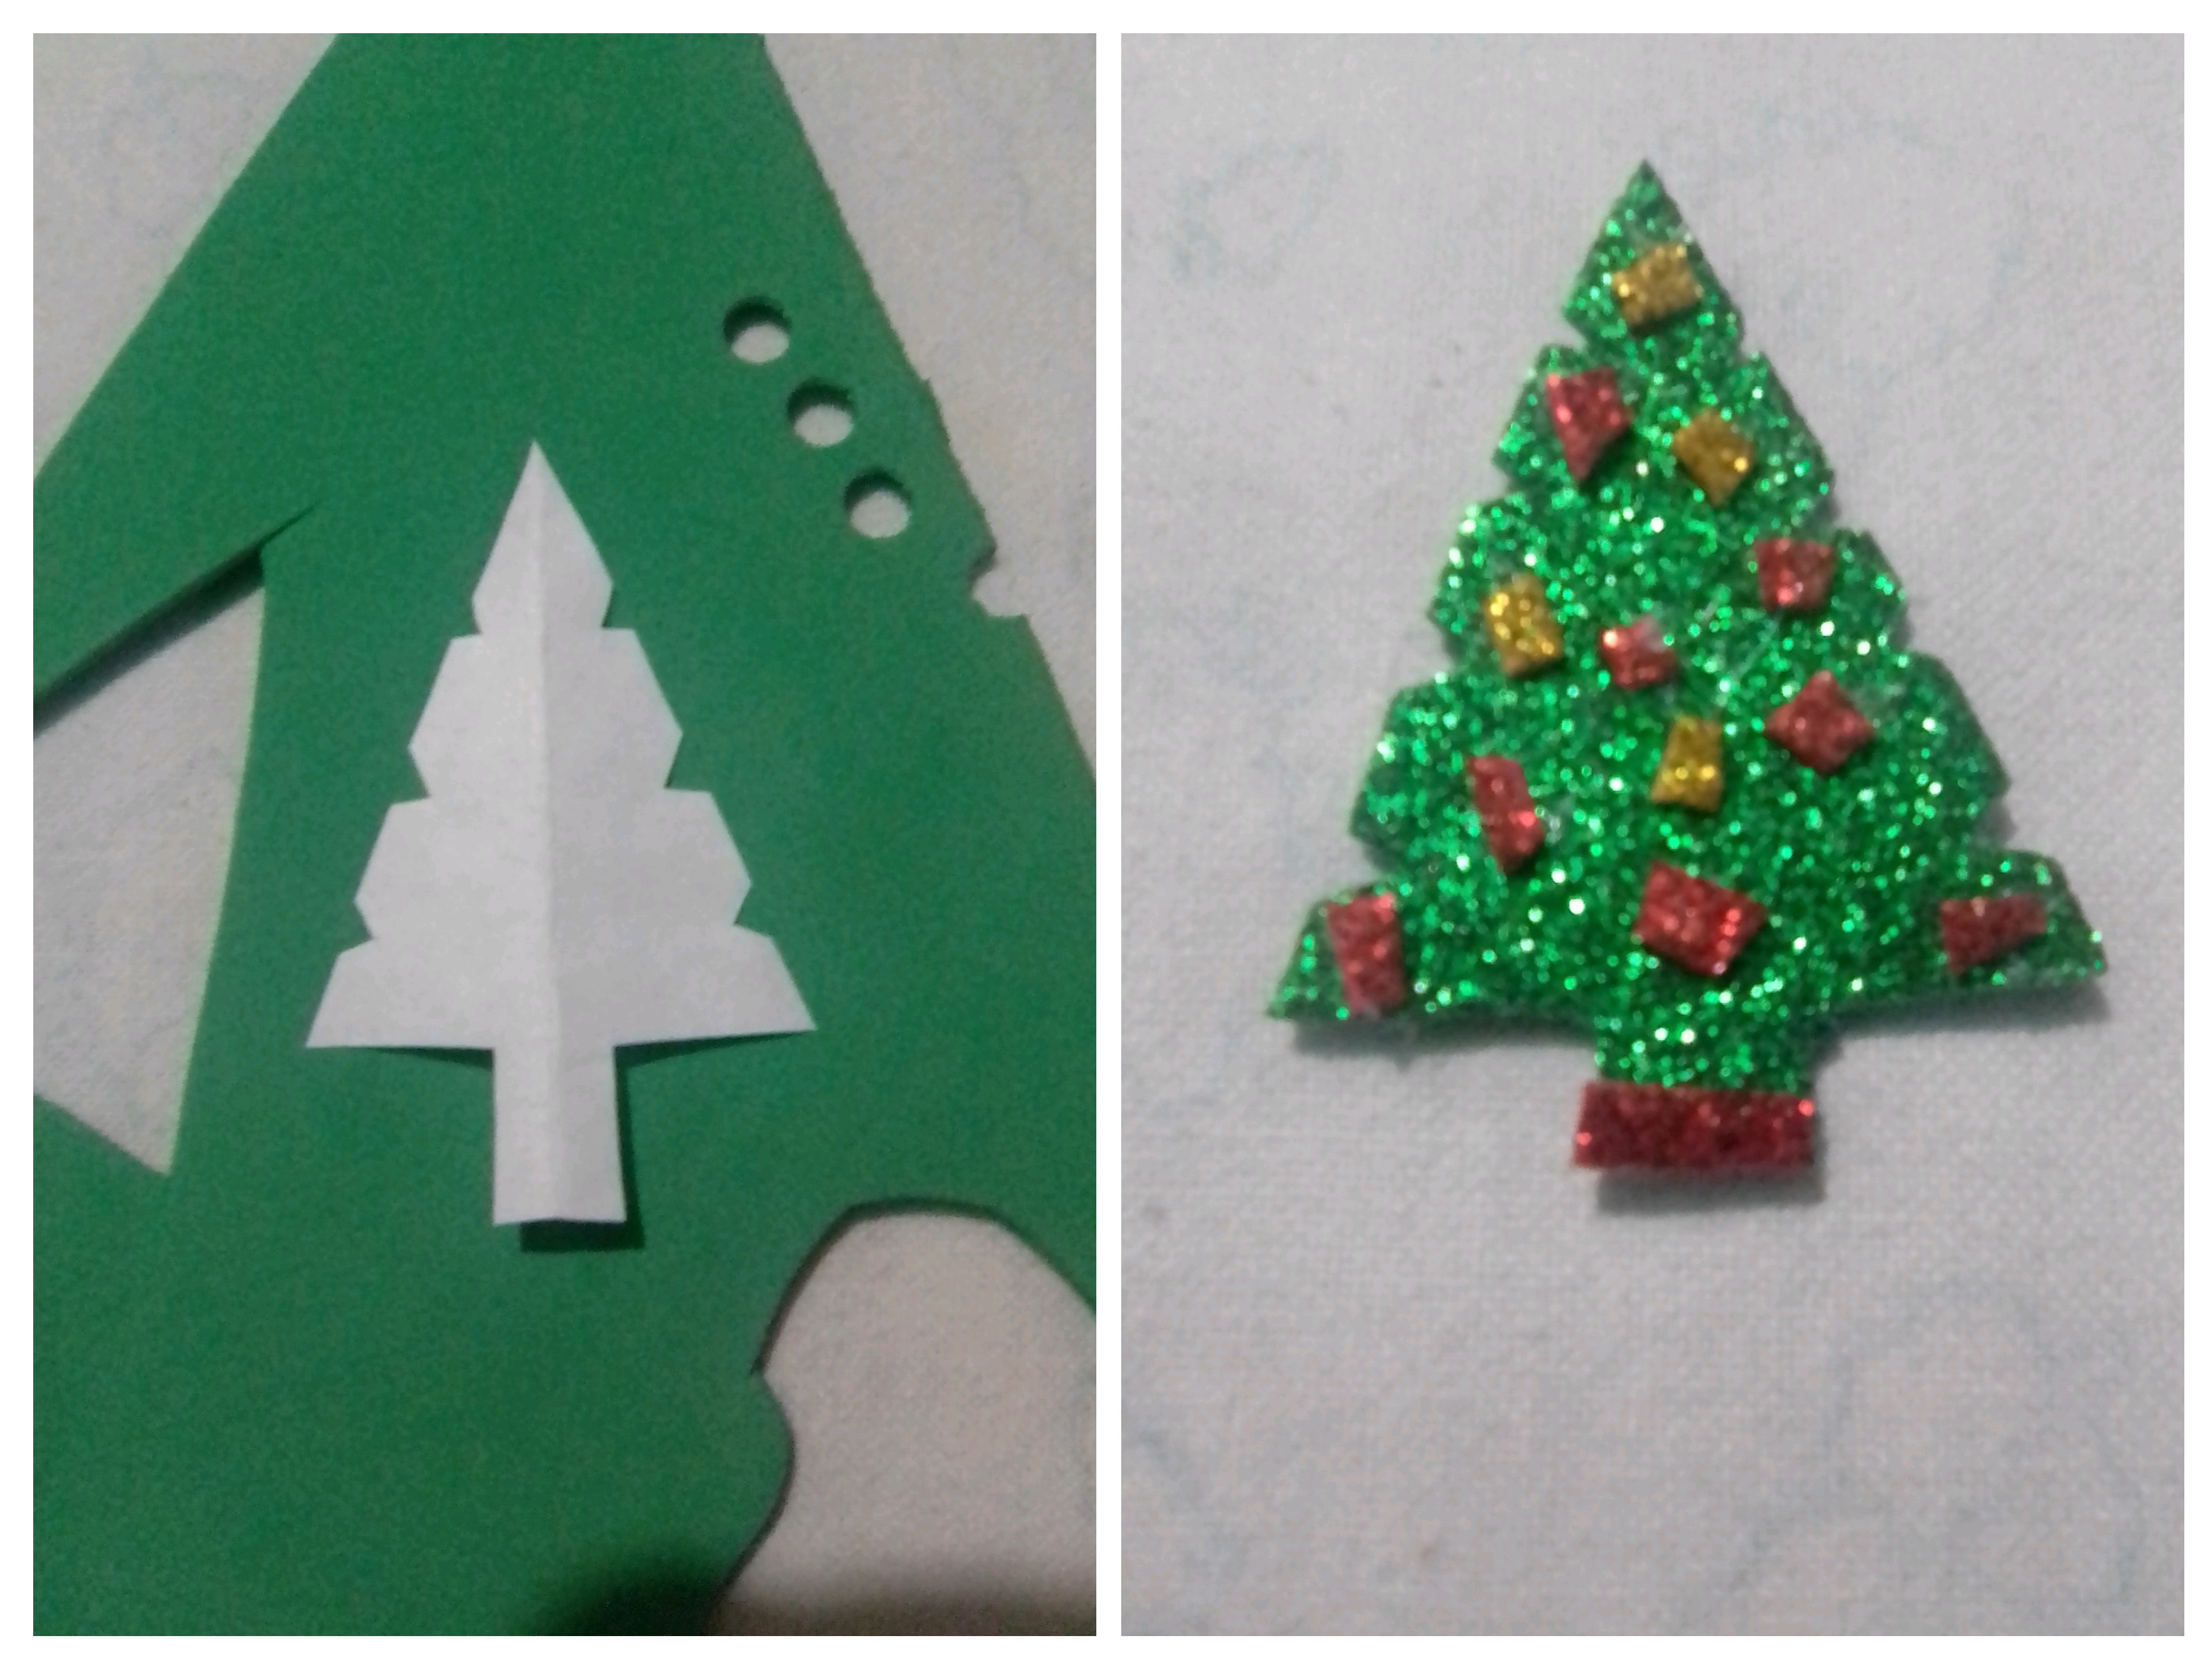
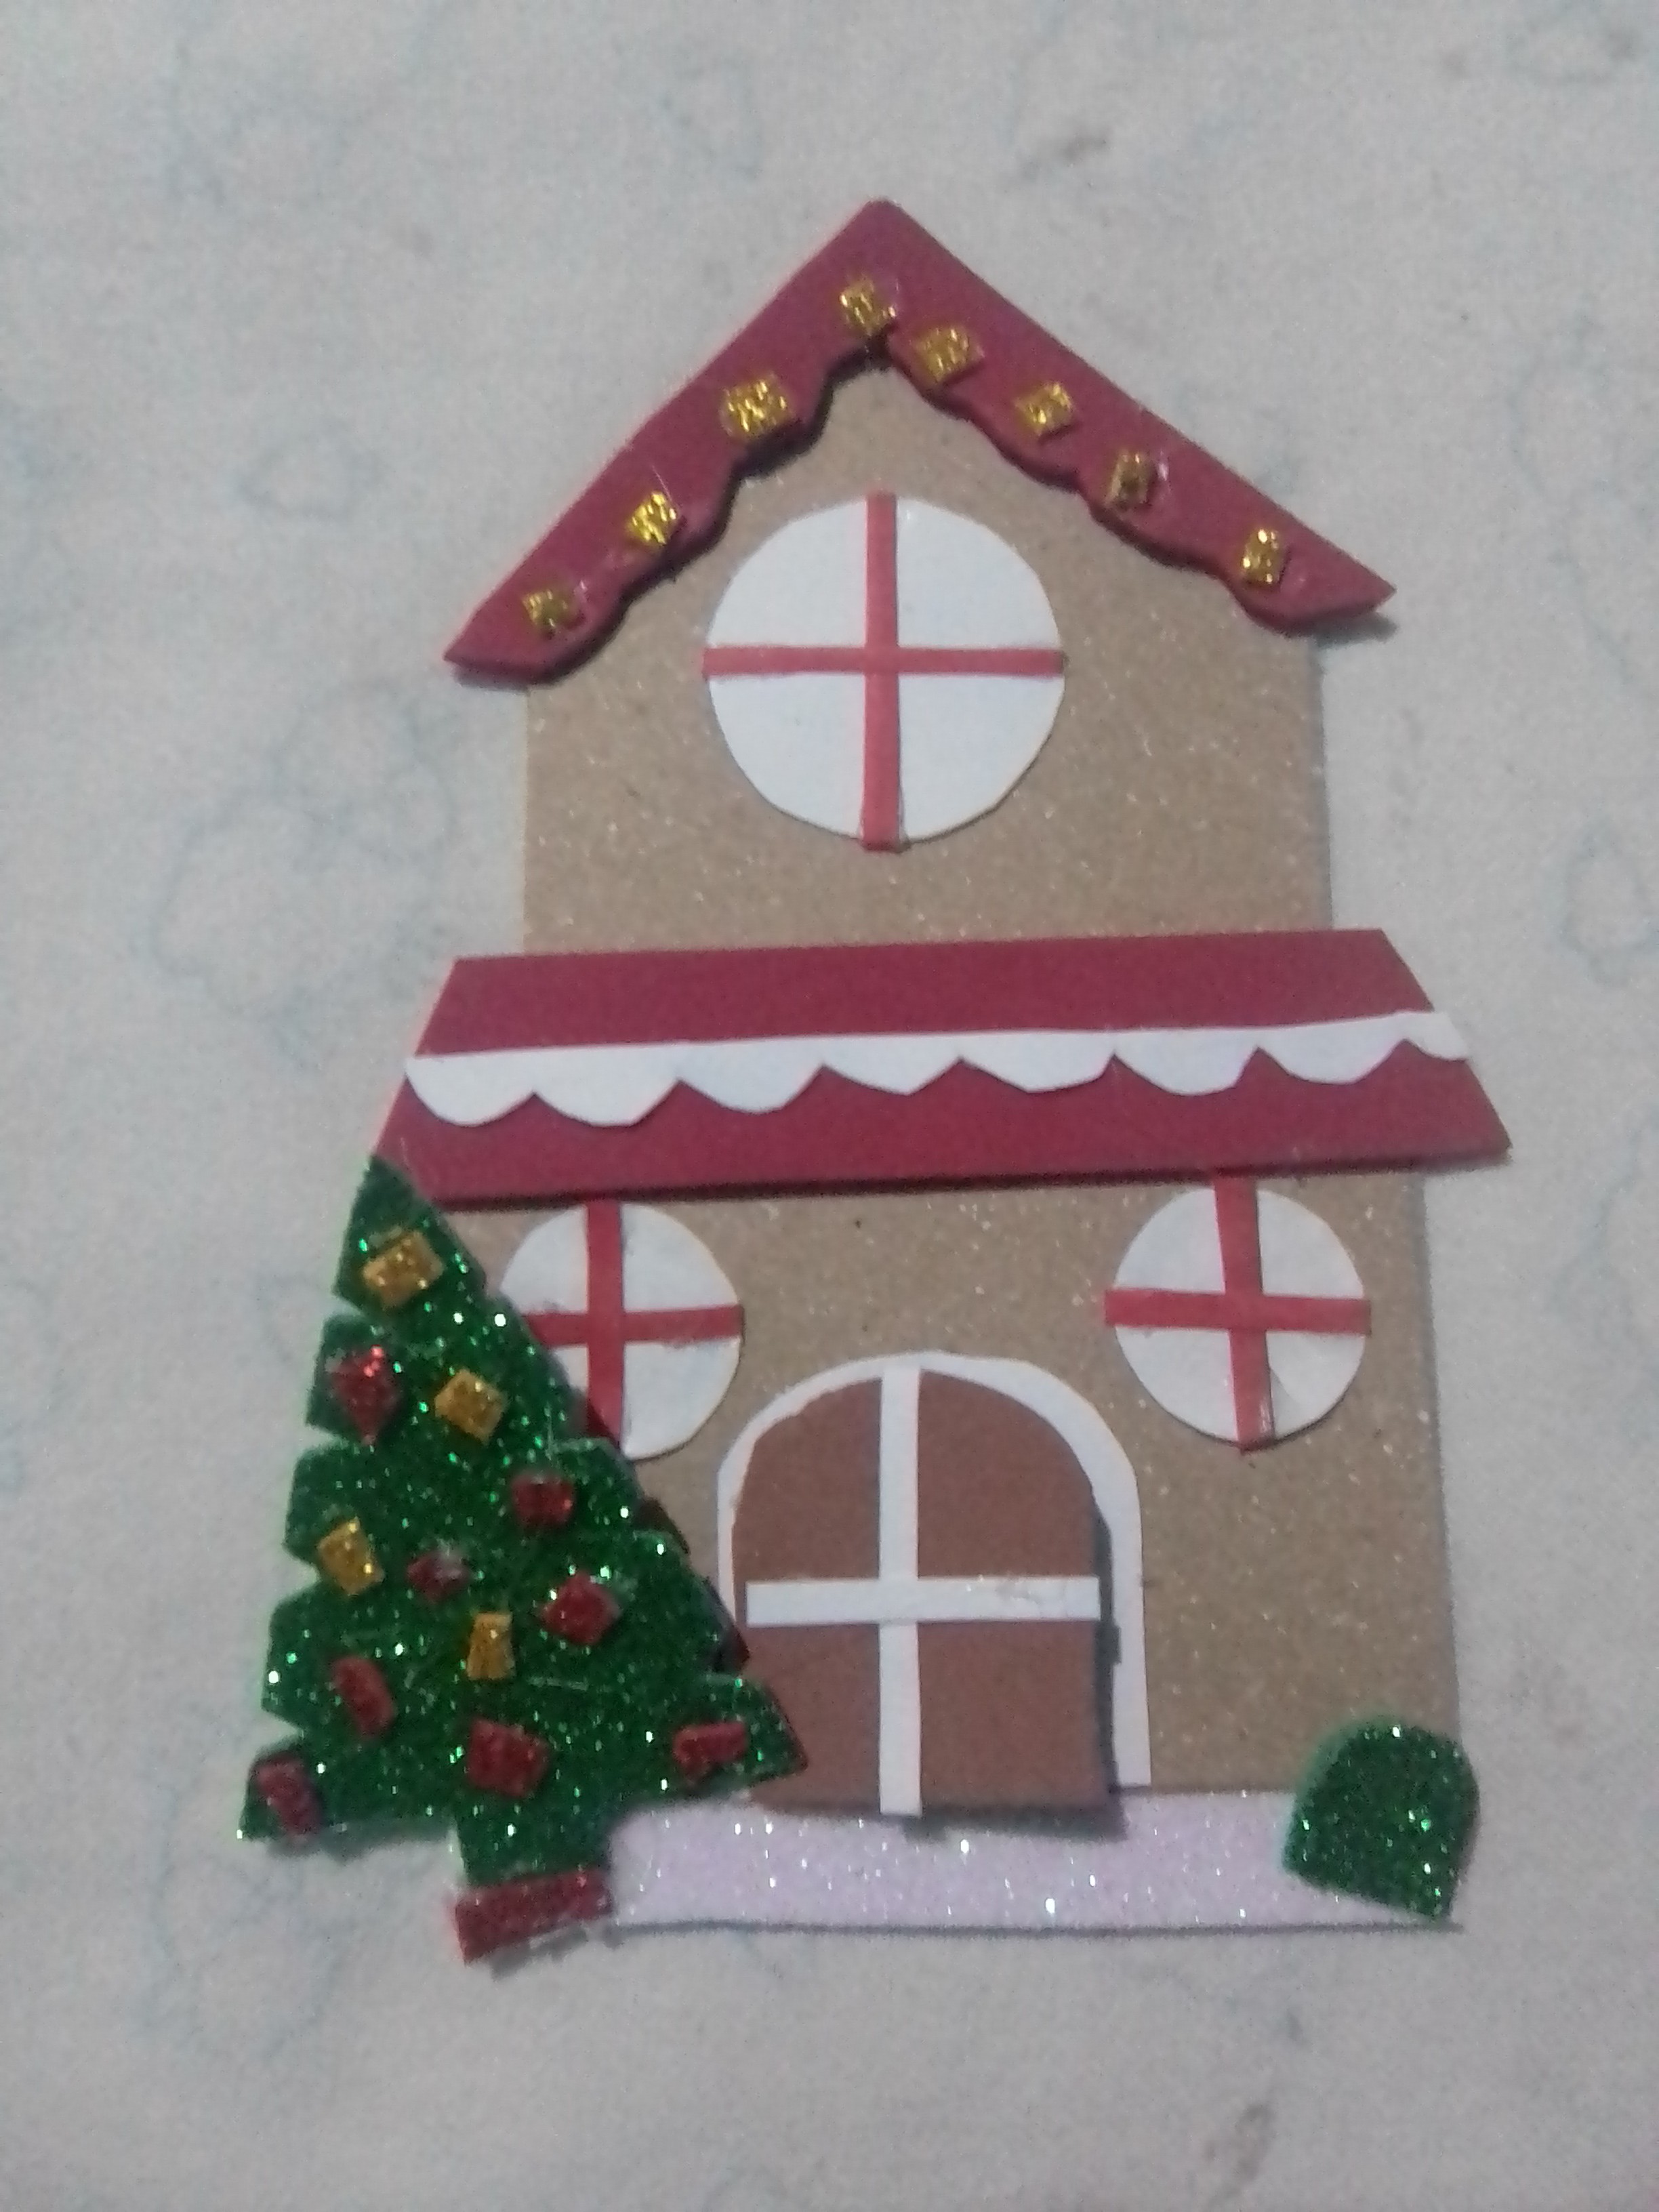
For the next façade, the elements were fixed, in this model the ceilings are made of foam, and the white windows with the divisions in red cardboard, the door with its white frame, but in this one I decided to leave it open and for Christmas decoration a little tree Frosted foami, with details in red and gold. And a nice detail on the ceiling to simulate Christmas lights.
In this way, I made these two models of ornaments for the Christmas tree, and it can even be used in our traditional manger, I hope you liked it and are encouraged to do it at home.
Result

The photos are my property taken exclusively on this project.
The collages of the procedure were made with the tool of my Blue C6 and the main one in Canva
The separators and the banners were edited by me in Canva
The translation was made with
DeepL Translator

Hola queridos amigos de la comunidad de creativos de Hive Diy, ya prácticamente en la temporada navideñas y muy emocionada realizando los ornamentos para la decoración del árbol navideño y del pesebre, me parece más gratificante realizar con mis propias manos estos ornamentos, ya que son muy sencillos de hacer, y me permite elaborar el diseño que más me gusta, usar mis colores preferidos y reciclar algunos materiales para ser amables con el ambiente. Quiero en esta oportunidad mostrarle como realice dos modelos de casitas navideñas, ideales para colgar en el arbolito de navidad o quizá colocar en mi pesebre.


MATERIALES
✓ Cartón
✓ Cartulina de color blanco y rojo
✓ Foami escarchado de color rojo, verde, blanco y dorado
✓ Foami sencillo de color, marrón y rojo
✓ Pistola y barra de silicona
✓ Hojas de reciclaje y lápiz.

PASO A PASO
Las fachadas no son un ornamento muy popular en mis país, para la decoración de los árboles de Navidad, pero siempre me han parecido muy lindas y hay que salir un poco de la zona de confort y permitirnos incorporar elementos novedosos en la decoración.
Lo primero fue el diseño de las fachadas, pues en realidad realice un diseño, un casa de dos plantas tipo americano.

Aparte diseñe los elementos que distintos para cada fachada, una tendrá ventanas redondas, la otra rectangulares, una con puerta redondeadas y la otra con puerta cuadrada, y así los demás elementos como los techos.

Todos los moldes los transferí a los colores correspondiente, los techos fueron realizados en foami rojo y otro en cartulina roja, las ventanas cuadradas las hice con foami verde escarchado, y la redondas en cartulina blanca, las dos puertas en foami marrón y sus marcos en cartulina blanca. Además de cortan en cartulina blanca un detalle para semejar la nieve.

Comencé a ensamblar mi primera fachada, fijando los techos de cartulina roja, y luego armar las ventanas, para ello coloque delgadas tiras de cartulina blanca para formar los marcos y divisiones sobre el foami verde escarchado. Al terminar con las ventanas, procedo a fijarlas con silicona caliente, el ventanal en la parte superior y las pequeñas, en la parte inferior a cada lado.

Culmine está fachada, colocando la puerta marrón sobre un fondo blanco y decorando con nieve los techos. Para simular la nieve en el piso coloque una trozo de foami blanco escarchado y los respectivos adornos navideños en frente, un bastón y dos esferas.

Para la siguiente fachada, se fijaron los elementos , en este modelo los techos son de foami, y las ventanas blancas con las divisiones en cartulina roja, la puerta con su marco blanco , pero en esta decidí dejarla entre abierta y para decoración navideña un arbolito de foami escarchado, con detalles en rojo y dorado. Y un lindo detalle en el techo para simular luces de navidad.


De esta manera realice estos dos modelos de adornos para el arbolito de navidad, e incluso puede ser usado en nuestro tradicional pesebre, espero les haya gustado y se animen a realizar en casa.
Resultado


Las fotos son de mi propiedad tomadas exclusivamente en este proyecto.
Los collages del procedimiento los hice con la herramienta de mi Blue C6 y el principal en Canva
Lo separadores y el banners fueron editados por mi en Canva
La traducción fue realizada con
DeepL Traductor

The rewards earned on this comment will go directly to the people( @mariajcastro28 ) sharing the post on Twitter as long as they are registered with @poshtoken. Sign up at https://hiveposh.com.