Saludos mis arañitas mágicas que somos bendecidos con el arte de hacer muchas cosas, con nuestras manitas.
Ya el otro mes es Julio uno de los meses mas bellos, porque cumplo año, mi hijo se va graduar de Bachiller y mis sobrinos serán también promovidos.
También porque es un mes que me ayuda a generar ingresos bien sea haciendo mis manualidades de carpetas, cotillones, fotografías, aunque este año la demanda bajo mucho por la crisis de nuestro país, siempre sale algo y lo hago con el mayor de los gustos.
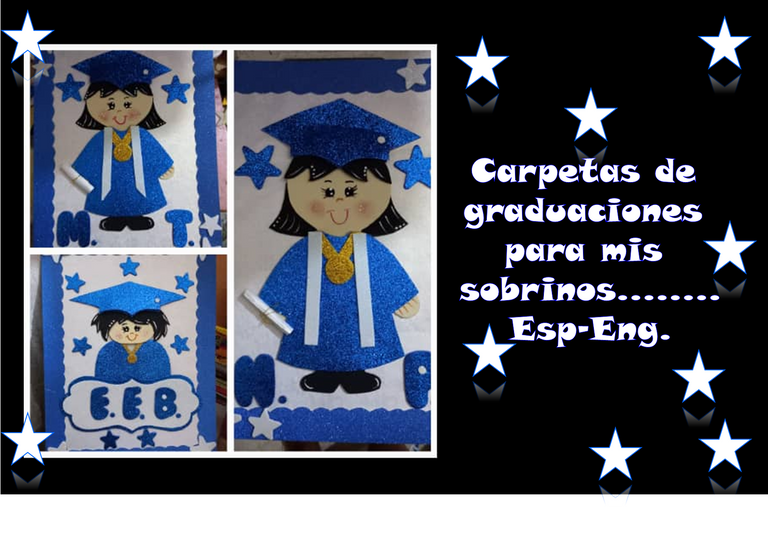
Les presentare primero las carpetas que hice para mis sobrinos, luego en otra publicación el cotillón, después la carpeta de graduación de mi hijo y de sus 123 compañeros.
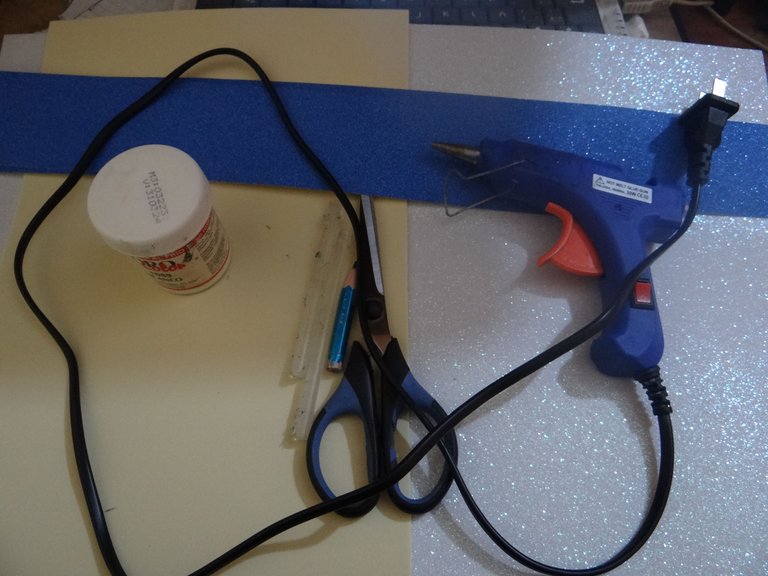
Materiales:
-Carpetas de manila marrón tamaño oficio (no plastificada, hay una de textura seca esto es para que pueda pegar bien el silicon.)
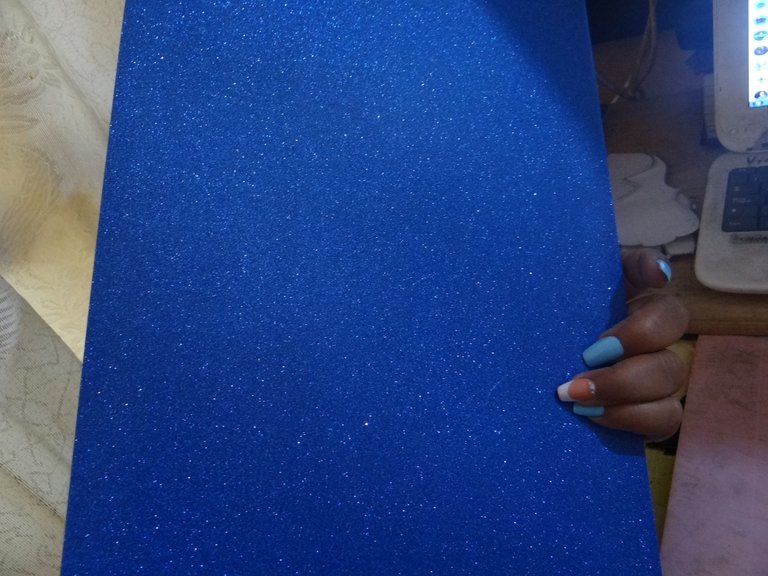
-Cartulina microescarchada azul rey.
-Hoja de papel nacarada.
-Pistola, barras de silicon.
-Lápiz, tijera, regla.
-Foami escarchado: azul rey, blanco nacarado.
-Foami normal: negro, piel.
-Pinturas al frío: negro, marrón, blanco.
-Pincel para ojos.
Paso a paso:
1.La carpeta es tamaño oficio, en la parte de abajo, hacer un doblez hacia adentro de 2 o 3 cms.
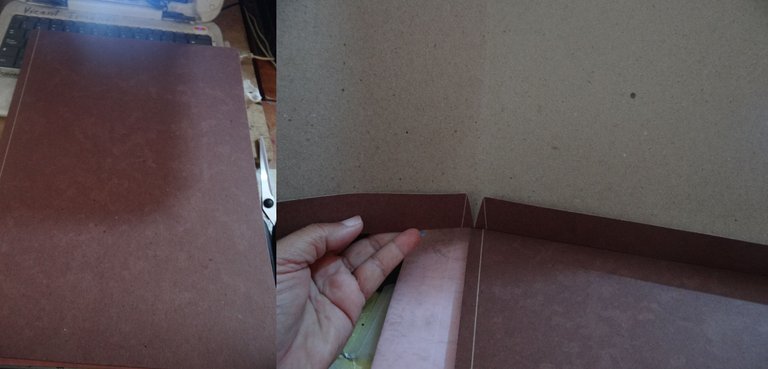
2.Con la cartulina microescarchada colocamos la carpeta para saber cuanto vamos a medir, las medidas fueron de 33 cms de largo ya que doble 2 cms hacia adentro porque mide 35 cms por 32 cms de ancho. Recortamos y reservamos. Me gusta primero cortar todas las piezas para armar todo.
3.La hoja blanca nacarada, que ira en el centro de la carpeta por la parte delantera, se corta como una hoja tamaño oficio.
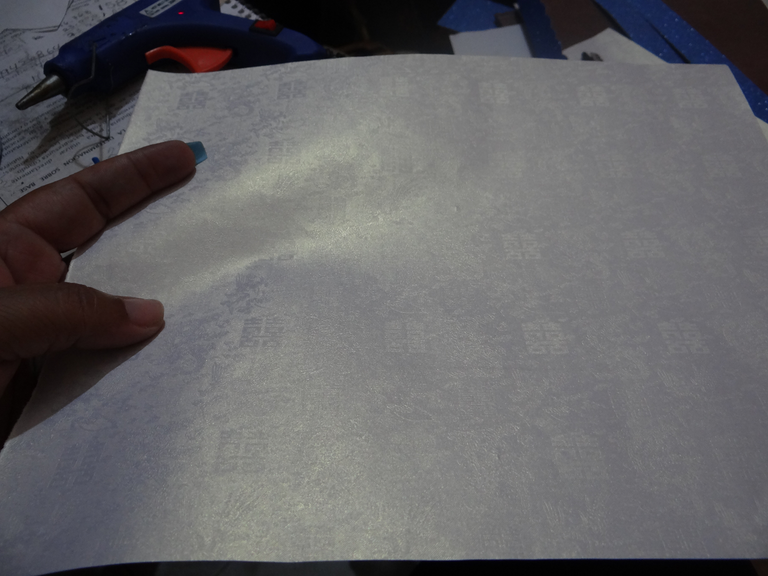
4.Unos rectángulos para los bordes de la misma cartulina microescarchada, se le saca unos bordes hacia la parte interna, ya verán.
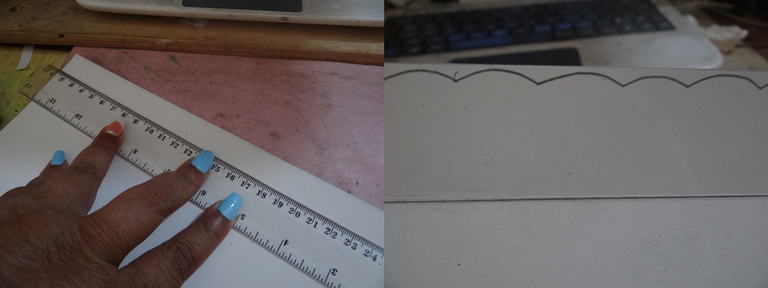
5.Vamos con los patrones de los graduandos eran tres dos para hembras (6to grado) y uno de varón (preescolar).
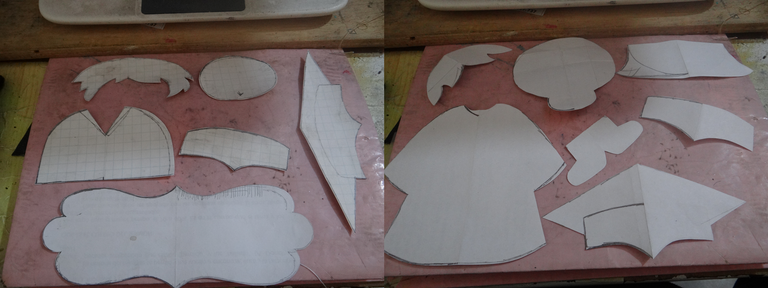
6.Igual con la carpeta marque todos los patrones, corte y reserve.
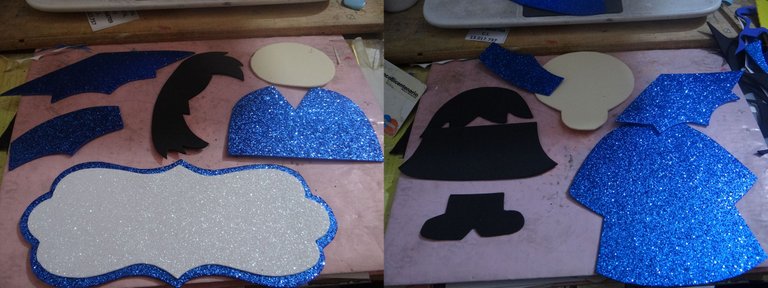
7.Ya que tengo todo listo, procedo armar las carpetas.
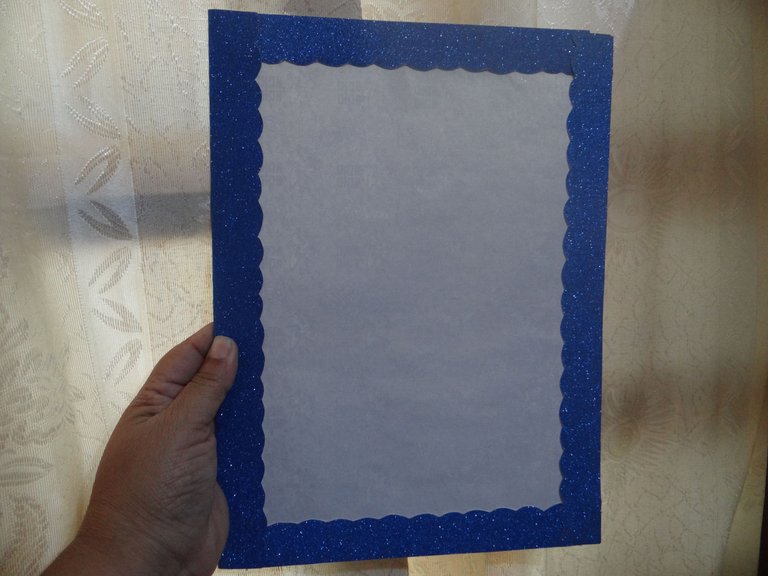
8.La parte de atrás, hago un dobles en la orilla de 2 cms hacia adentro, voy pegando con silicon, con cuidado de no quemarme, antes de hacer este paso, el borde la cartulina que va quedar en el frente, le hago un corte como semi círculos, así mismo haré con los demás rectángulos que van al frente, va quedar como un marco.
9.Antes de pegar los demás bordes pego primero la hoja blanca nacarada en el centro y luego pego los bordes, así como ven en la foto.
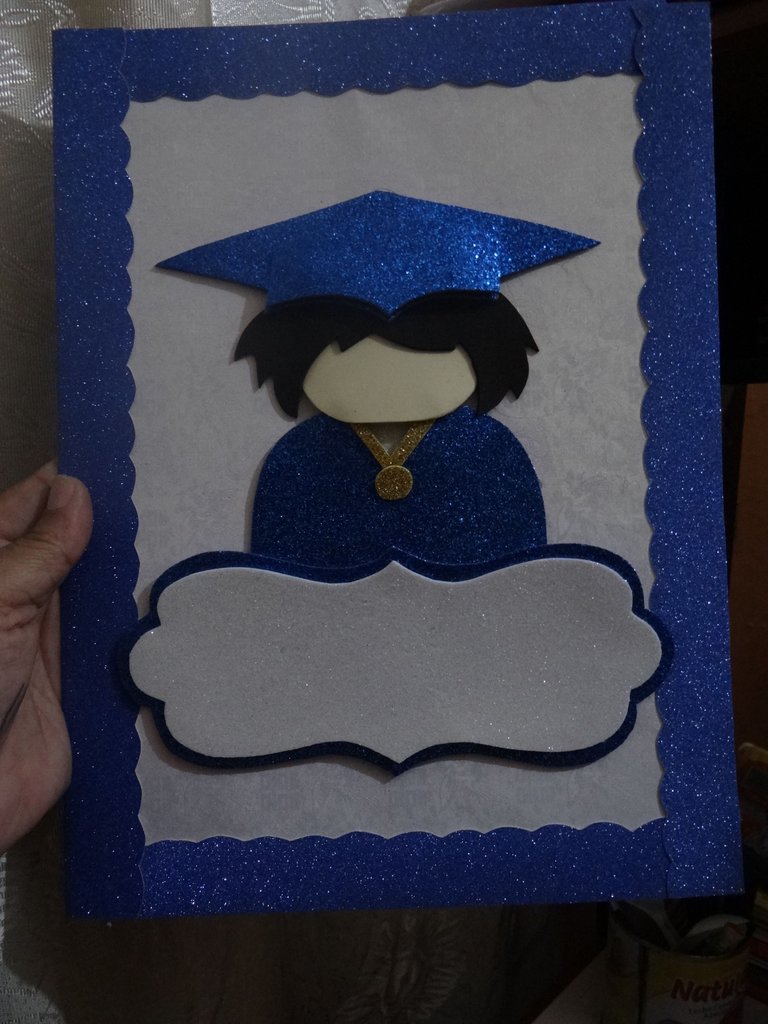
10.Armo los graduandos el de hembra y el de varon, esto es como si fuera un rompecabezas, unas vez armados, los pego en el centro de la carpeta.
11.A las hembras solo las iniciales de los nombres y apellidos, pero uno solo de cada uno, en el varón como lleva un diploma o similar ahí coloque también las iniciales, estas todas las hice en foami azul escarchado. Y unas estrellitas que pegare en los bordes y en el centro de la carpeta.
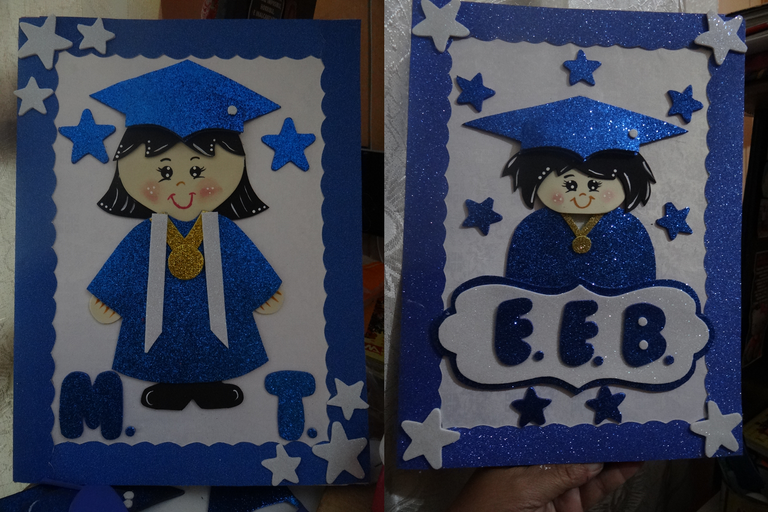
12.Luego pintar las caritas: ojos, boca, nariz, rubor en ls mejillas y unos puntitos blancos en el rostro y cabellos.
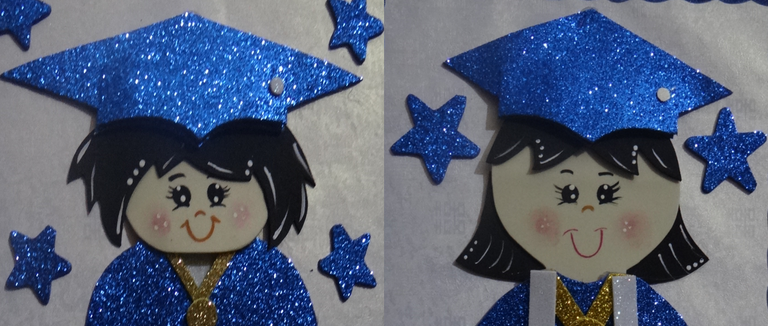
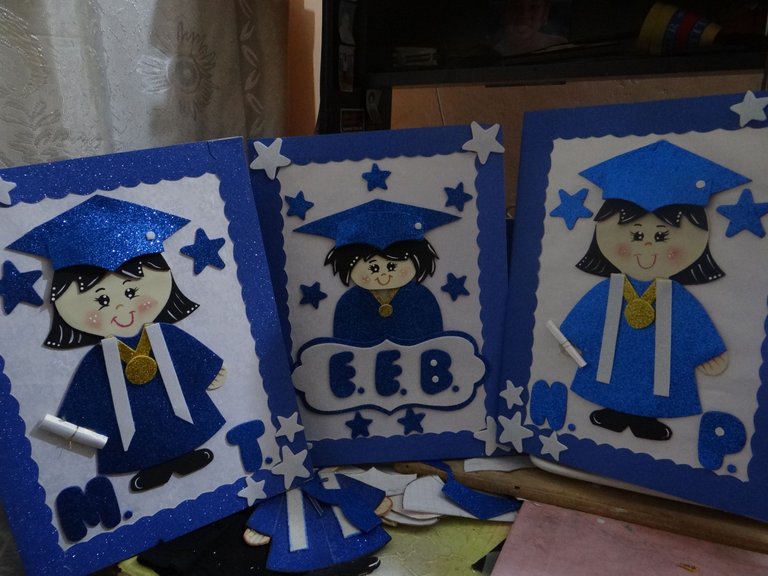
Y ya termine mis carpetas aqui están todas bellas, recuerdo que antes llegue hacer como 150 carpetas o tal vez mas pero para diferentes escuelas, porque yo hacia paquetes de promoción y en el incluía las carpetas.
Mis sobrinos quedaran encantados que bueno que tienen una tia que sabe hacer muchas cosas o sea yo.
Todas las fotos del paso a paso con mi cámara SONY.
Traductor usado DeepL.

Greetings my little magic spiders that we are blessed with the art of making many things with our little hands.
The other month is July, one of the most beautiful months, because I have a birthday, my son is graduating from high school and my nephews will also be promoted.
Also because it is a month that helps me to generate income either by making my handmade folders, cotillions, photographs, although this year the demand is very low due to the crisis in our country, something always comes out and I do it with the greatest pleasure.
I will present first the folders I made for my nephews, then in another publication the cotillion, then the graduation folder of my son and his 123 classmates.

Materials:
-Office size brown manila folders (not laminated, there is a dry texture one, this is so you can glue the silicone well).
-King blue microfrosted card stock.
-Sheet of pearly paper.
-Gun, silicone sticks.
-Pencil, scissors, ruler.
-Frosted foami: royal blue, pearly white.
-Normal foami: black, leather.
-Cold paints: black, brown, white.
-Eye brush.
Step by step:
1.The folder is office size, at the bottom, make an inward fold of 2 or 3 cms.

With the microfrosted cardboard we place the folder to know how much we are going to measure, the measures were 33 cms long and folded 2 cms inward because it measures 35 cms by 32 cms wide. We cut out and set aside. I like to first cut all the pieces to assemble everything.
The pearly white sheet, which will go in the center of the front of the folder, is cut like a legal size sheet.
- Some rectangles for the edges of the same microfrosted cardboard, you can cut some edges towards the inside, you will see.

5.Let's go with the patterns for the graduates, there were three patterns for females (6th grade) and one for males (preschool).

6.Same with the folder mark all the patterns, cut and set aside.

7.Once I have everything ready, I proceed to assemble the folders.
8.The back side, I make a fold on the edge of 2 cm inwards, I glue with silicone, being careful not to burn myself, before doing this step, the edge of the cardboard that will be in the front, I make a cut as semi-circles, so I will do the same with the other rectangles that go to the front, it will be like a frame.
- Before gluing the other edges, first glue the pearly white sheet in the center and then glue the edges, as you can see in the picture.
I assemble the male and female graduates, this is as if it were a puzzle, once assembled, I glue them in the center of the folder.
11.To the females only the initials of the names and surnames, but only one of each, in the male as it carries a diploma or similar there I also put the initials, these all I did in blue frosted foami. And some little stars that I glued on the edges and in the center of the folder.

12.Then paint the little faces: eyes, mouth, nose, blush on the cheeks and some white dots on the face and hair.

And I finished my folders here are all beautiful, I remember that before I made about 150 folders or maybe more but for different schools, because I made promotion packages and included the folders in it.
My nephews and nieces will be very happy that they have an aunt who knows how to make many things, that is me.
All photos of the step by step with my SONY camera. Translator used DeepL.

Que bonito trabajo, es que hasta quisiera graduarme para tener una así je je. Que bonito trabajo.
Y yo tambien ya que antes no existia esto y como se me la haria al menos se que conservare la de mi hijo de bachiller que las voy hacer
Gracias por darte una vueltica por aqui.
Te quedaron hermosas comai felicitaciones éxitos.