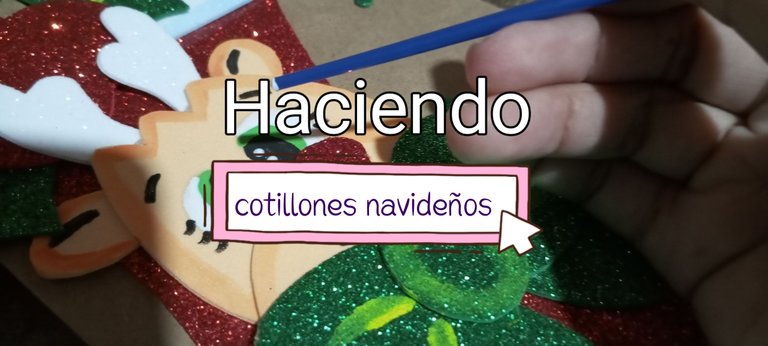
Hoy te muestro cómo hacer cotillones navideños, perfectos para cumpleaños en Navidad. En nuestro caso, fueron cotillones para una despedida navideña, y quedaron muy hermosos.
Para ello haremos dos figuras, una bota con un muérdago y una cabeza de reno.
Así que usaremos los siguientes materiales:
- Foami de los colores de tu preferencia, para estos utilicé blanco, verde, y rojo escarchado. Mientras que el color carne es un foami liso.
- Tijera punta roma.
- Pintura negra, naranja, amarilla, verde y blanca.
- Una bolsa de regalo de papel kraft.
- 2 pinceles, uno número cero, y otro plano.
- Cartulina.
Today I show you how to make Christmas gossip, perfect for birthdays at Christmas. In our case, they were cotillones for a Christmas farewell, and they were very beautiful.
For this we will make two figures, a boot with a mistletoe and a reindeer head.
So we will use the following materials:
- Foami of the colors of your preference, for these I used white, green, and frosty red. While the meat color is a smooth foami.
- Roma tip scissors.
- Black paint, orange, yellow, green and white.
- A Kraft paper gift bag.
- 2 brushes, one zero number, and another plane.
- Cardboard.
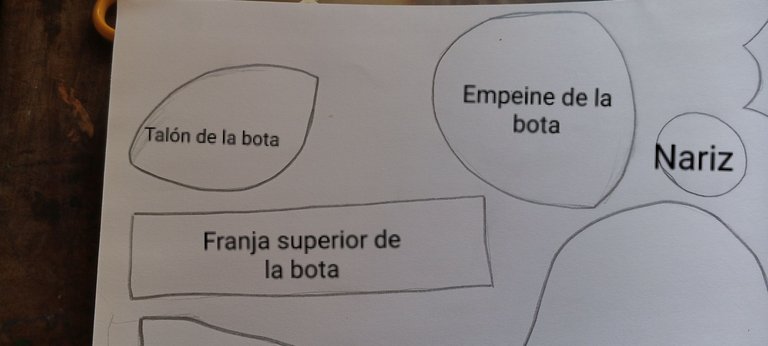
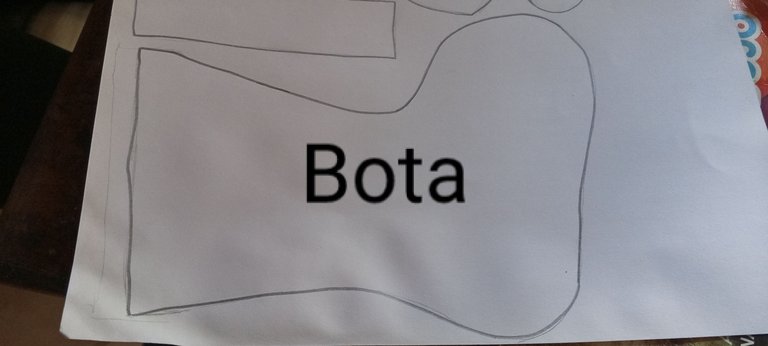

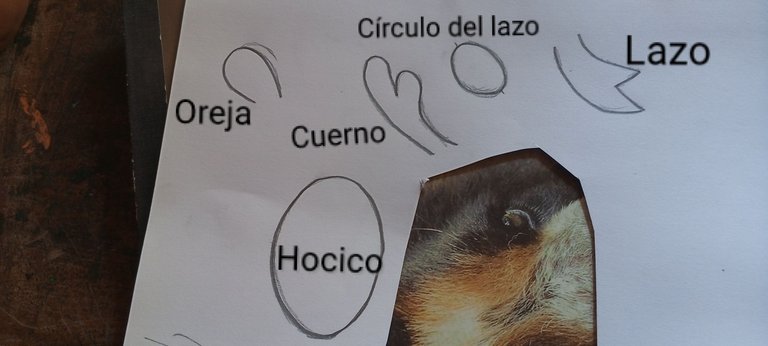
Crear los moldes
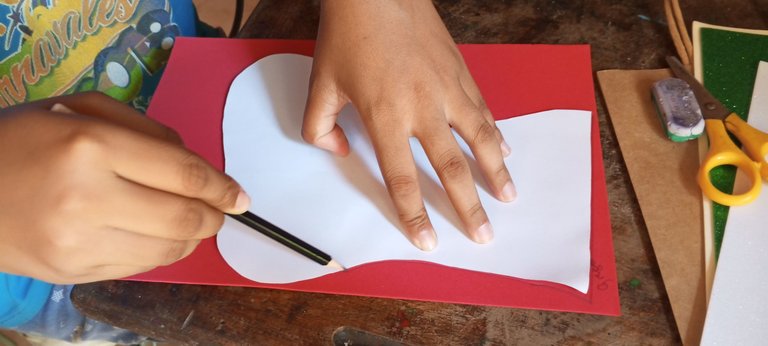
Lo primero que hice fue hacer los moldes en cartulina blanca.
Para la bota: La bota, el talón, el empeine, la franja superior.
Para el muérdago: Un círculo y la hoja.
Para la cabeza del reno: La cabeza de reno, cachos, la nariz, el hocico, las partes del lazo.
Create the molds
The first thing I did was make the molds on white cardboard.
For the boot: the boot, the heel, the instep, the upper strip.
For the Merdago: a circle and the leaf.
For the head of the reindeer: the head of reindeer, chubs, the nose, the snout, the parts of the loop.
Transferir las piezas al foami
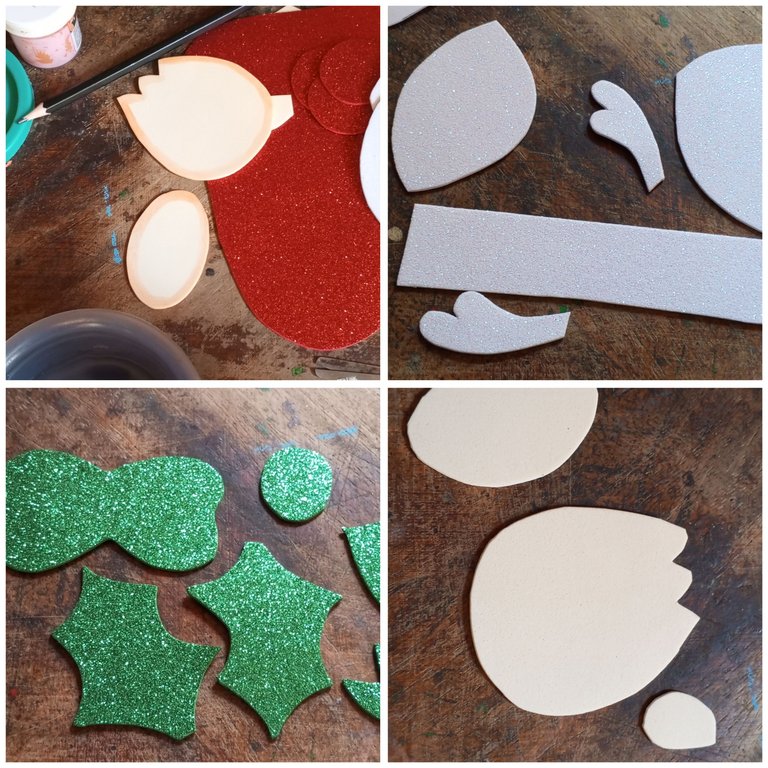
Se pasan todas las piezas que creamos al foami, y se recortan.
Como verás, hay piezas que se repiten, tales como el cuerno, la parte inferior del lazo y la oreja. La debes hacer una figura al derecho, y la otra al revés, de esta manera te quedarán las dos piezas, la del lado derecho y la del izquierdo.
Transfer the parts to the foami
All the pieces that we create to Foami are passed, and are cut.
As you will see, there are pieces that are repeated, such as the horn, the lower part of the loop and the ear. You must make one figure to the right, and the other backwards, in this way you will have the two pieces, the right side and the left.
Agrupas piezas
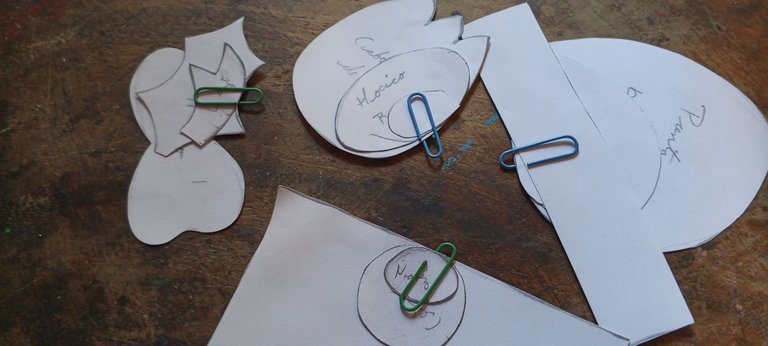
Además de agrupar las piezas ya realizadas en foami, creo que es importante hacer lo mismo con los moldes. Esto ayudará a que no se pierdan las piezas que son más pequeñas, identificar cada grupo por colores, y así no confundirse ni tener que hacer doble trabajo.
Grouping pieces
In addition to grouping the pieces already made in Foami, I think it is important to do the same with the molds. This will help you not miss the pieces that are smaller, identify each group by colors, and thus not be confused or have to do double work.
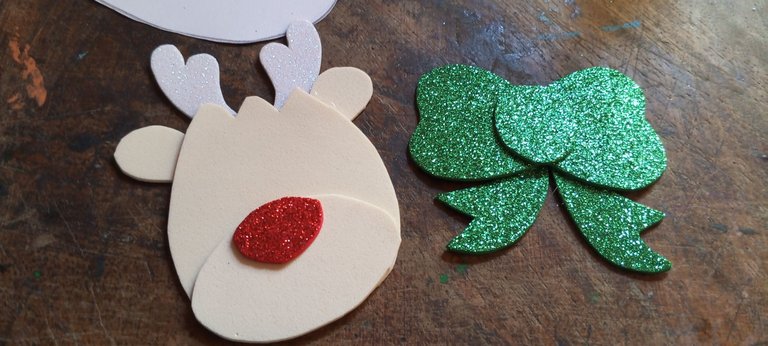
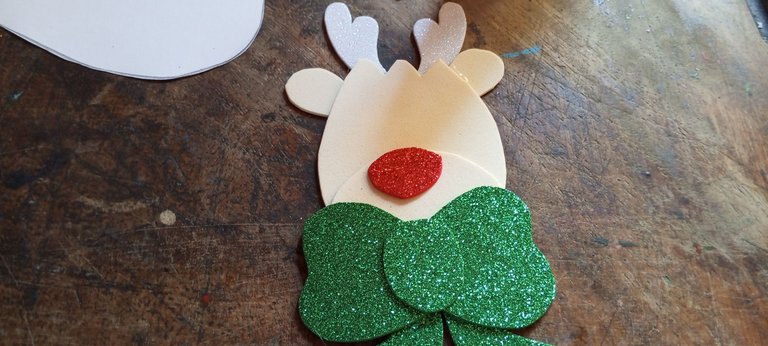
Unir las piezas de la cabeza de reno
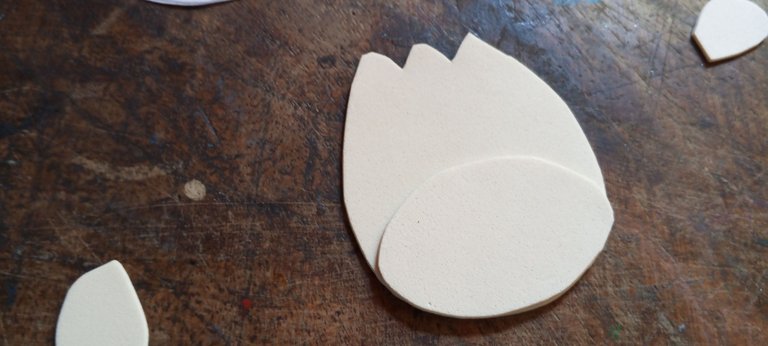
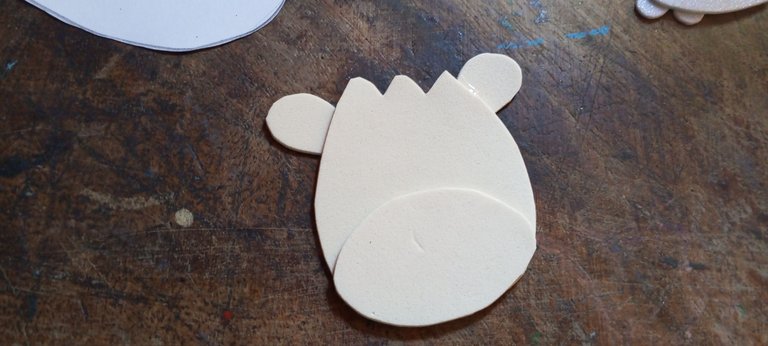
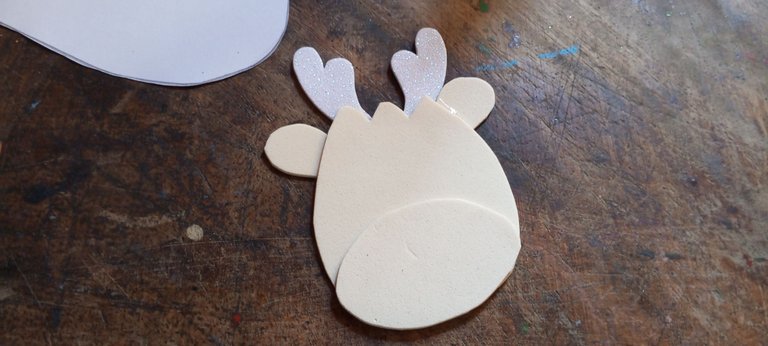
Primero pegas el hocico a la cabeza. Luego las orejas y los cuernos.
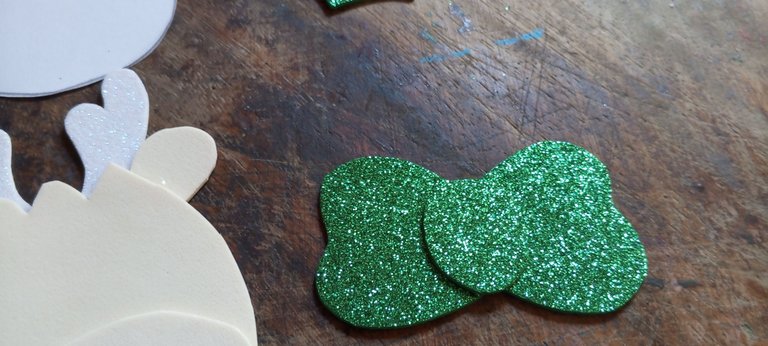
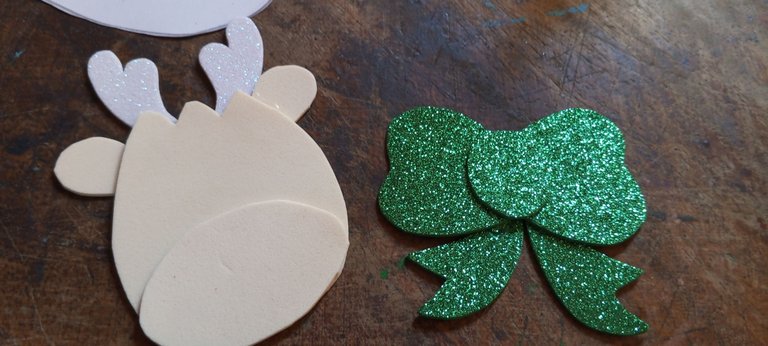
Después se unen las piezas del lazo, comenzando a unir un circulo, la forma del lazo, y los tirantes en la parte de atras.
Se le coloca la nariz al reno. Y luego se pega al reno el lazo.
Join the pieces of the reindeer head
First you hit the snout at the head. Then the ears and horns.
Then the pieces of the loop are joined, beginning to join a circle, the shape of the loop, and the straps in the back.
The nose is placed on the reindeer. And then stick the loop to the reindeer.
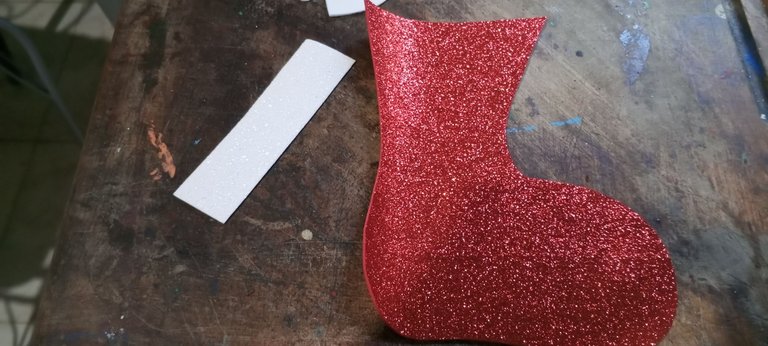
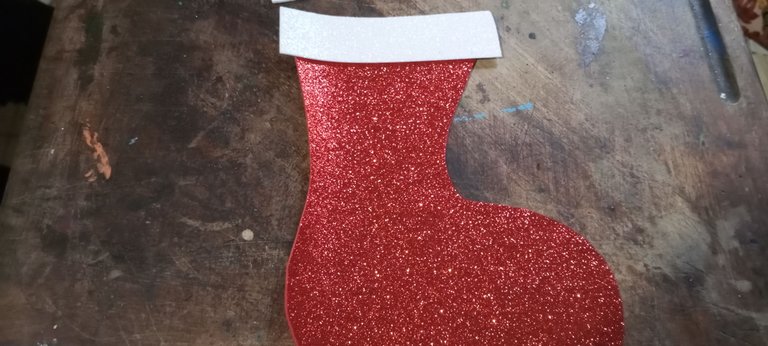
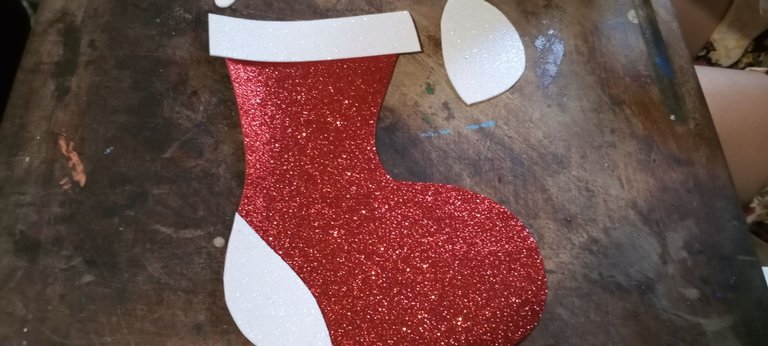
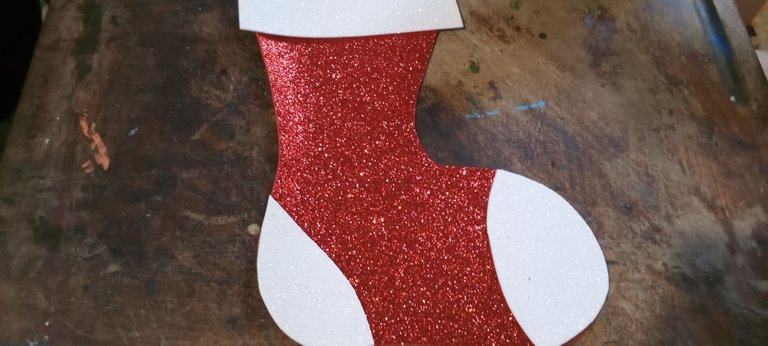
Unir las piezas de la bota
Se coloca sobre la bota la franja superior, el empeine, y el talón.
Join the pieces of the boot
The upper strip, the instep, and the heel is placed on the boot.
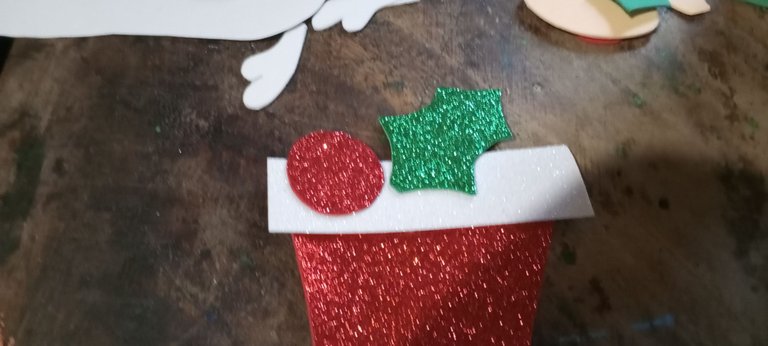
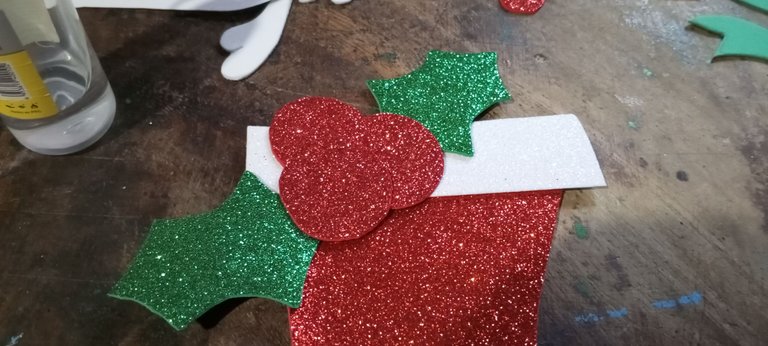
Unir el muérdago
Primero se pegan dos hojas, y encima colocas a tu gusto las esferas rojas. En este caso, decidimos colocarlas como una especie de triángulo.
Join the Merdago
First two leaves stick, and you place the red spheres to your liking. In this case, we decided to place them as a kind of triangle.

Unir todo
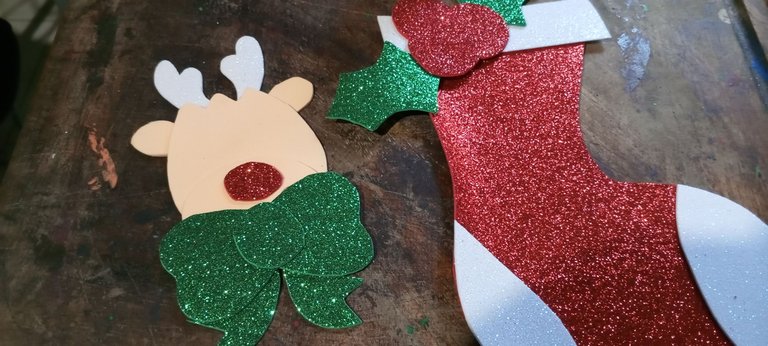
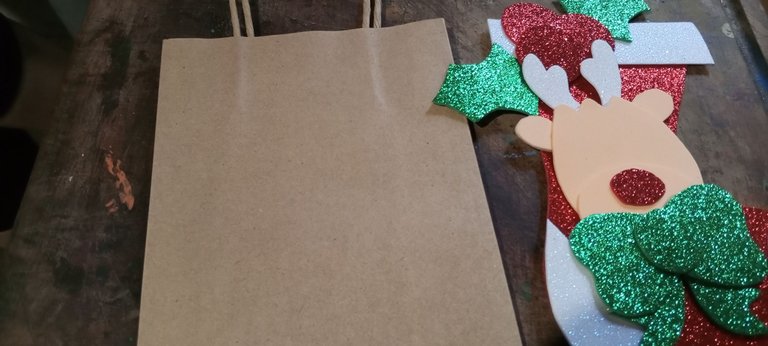
Pegar la cabeza de reno a la bota, y ambas juntas a la bolsa de papel kraft.
Unite everything
Paste the reindeer head to the boot, and both together to the Kraft paper bag.

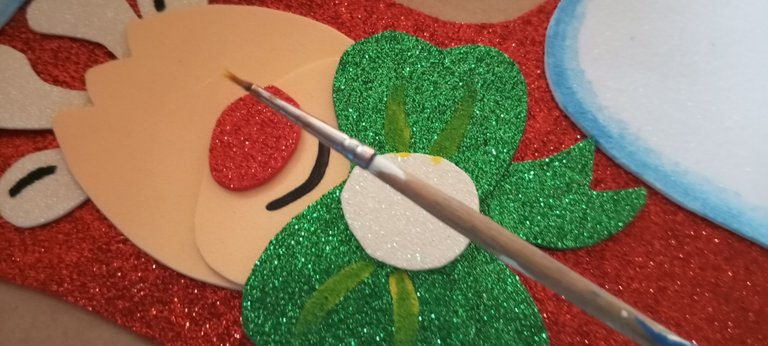
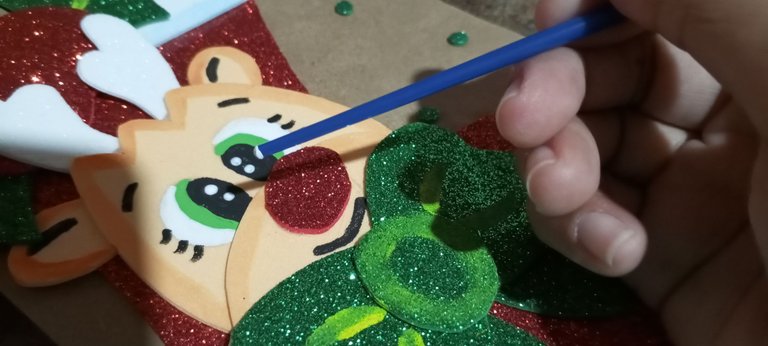
Así usaremos los pinceles...
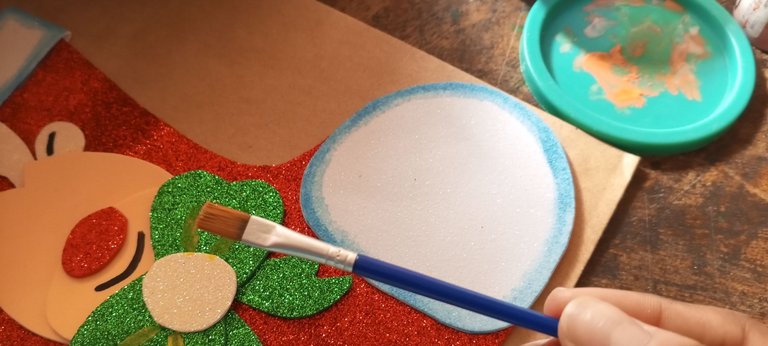
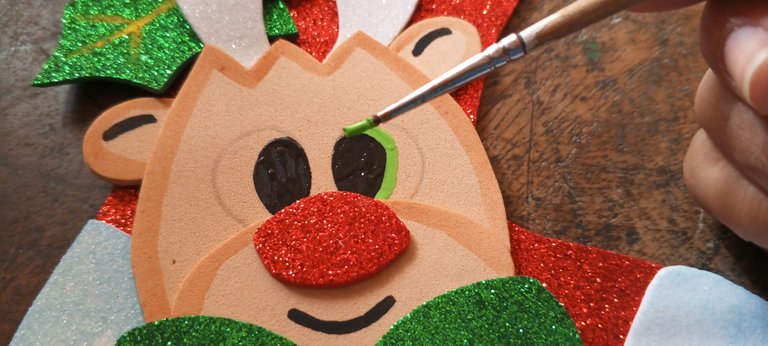
Como te mencioné al principio, usaremos dos pinceles. En las fotografías puedes ver las puntas de ambos.
Con el más fino haremos los detalles de la sonrisa, orejas, ojos, pestañas y cejas.
Mientras con el plano haremos sombras. Para ello hay que mojar ligeramente el pincel en agua, y luego ligeramente en pintura. Esto nos ayudará a diluir la pintura fácilmente. Y la forma del pincel ayuda mucho a hacer esto.
¿Qué pasa si me equivoco?
Cuando la pintura está fresca, se puede retirar con un pañuelo limpio húmedo en algunos casos. En otros solo se disminuye el tono de color de la pintura. Pero en ambos es bastante útil.
Thus we will use the brushes ...
As I mentioned at the beginning, we will use two brushes. In the photographs you can see the tips of both.
With the finest we will make the details of the smile, ears, eyes, eyelashes and eyebrows.
While with the plane we will make shadows. For this, the brush in water must be slightly wet, and then slightly in paint. This will help us to dilute the paint easily. And the shape of the brush helps a lot to do this.
What happens if I'm wrong?
When the paint is fresh, it can be withdrawn with a wet clean scarf in some cases. In others, only the color tone of the paint is reduced. But in both it is quite useful.

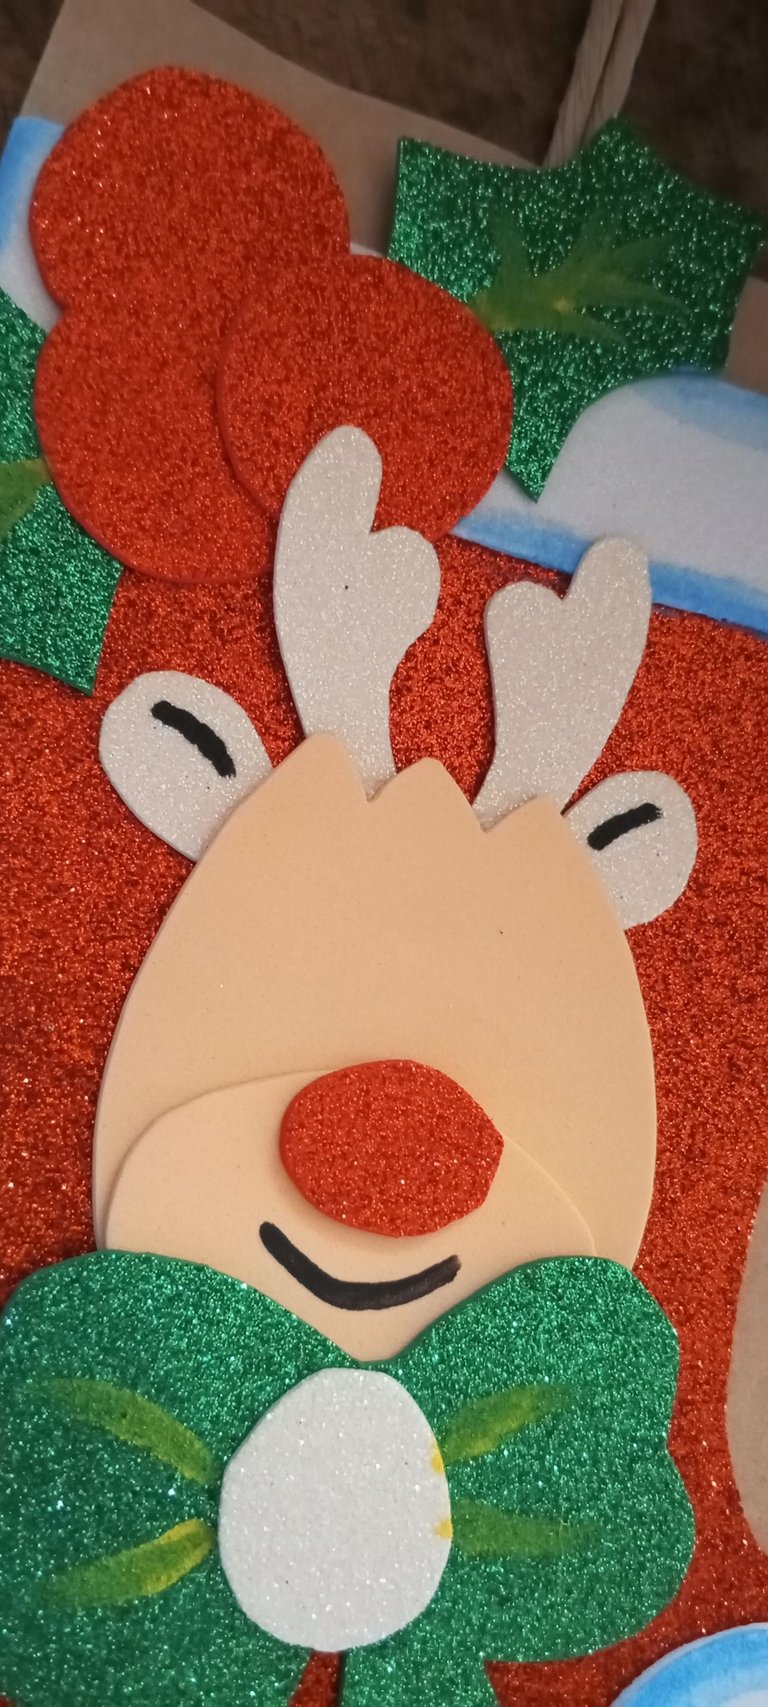
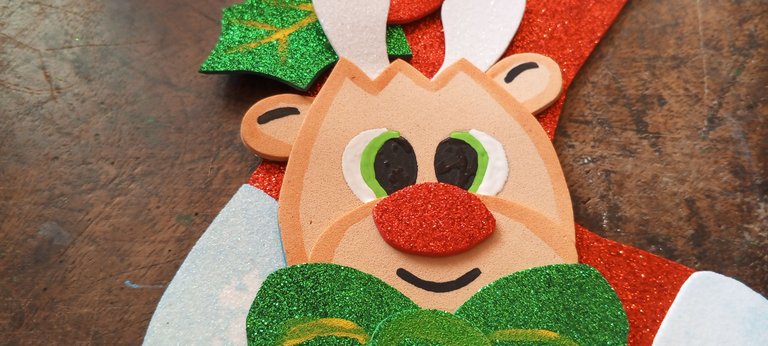

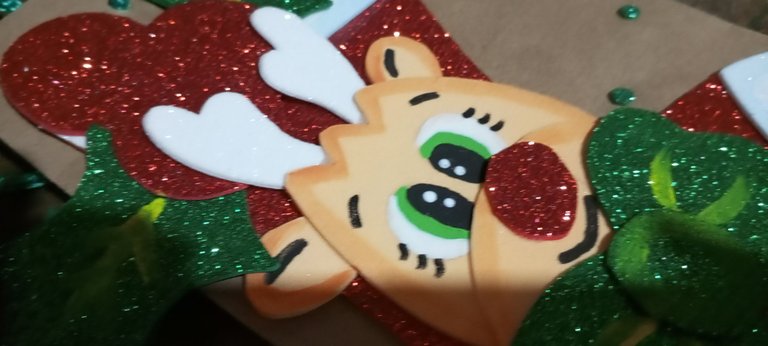
¡Y así quedaría!
Realice 20 cotillones, esto me tomó dos días debido a la cantidad. En el primer día, recorté y uní todas las piezas. Y al segundo pinté cada detalle.
Sobre esto último hay un dato importante, y es que se tarda un poco más porque hay que esperar a que se seque bien la pintura para evitar desastres.
Espero que te hayan gustado, y que los hagas para esos pequeños que aman los regalos en estas fechas.
And so it would be!
Perform 20 cotillones, this took me two days due to quantity. On the first day, I cut and linked all the pieces. And to the second I painted every detail.
On the latter there is an important fact, and it takes a little longer because we have to wait for paint to avoid disasters.
I hope you liked it, and that you do them for those little ones who love gifts at this time.
27/12/24
Texto y fotografías de mi autoría. Imágenes editadas desde la galería de mi teléfono, y en las apps de Meitu y Polish.
Contacto a mis RRSS, o escribe a mi Discord: zulfrontado#2666


Te quedaron preciosos los cotillones, para estas fechas son imperdibles estos detalles.✨💞
Gracias :) me alegra que te gusten <3
Bellos y divertidos se ven esos cotillones. Si mis hijos me traen de una fiesta un cotillón así de bello, lo desarmo y lo guardo... Preciosos
Que bueno saberlo :)