Español
Hola Hola mi bellos amigos de Hive y de todas esas comunidades que la integran, reciban un Bendecido día y un excelente fin de semana para que compartan con sus seres queridos❤.
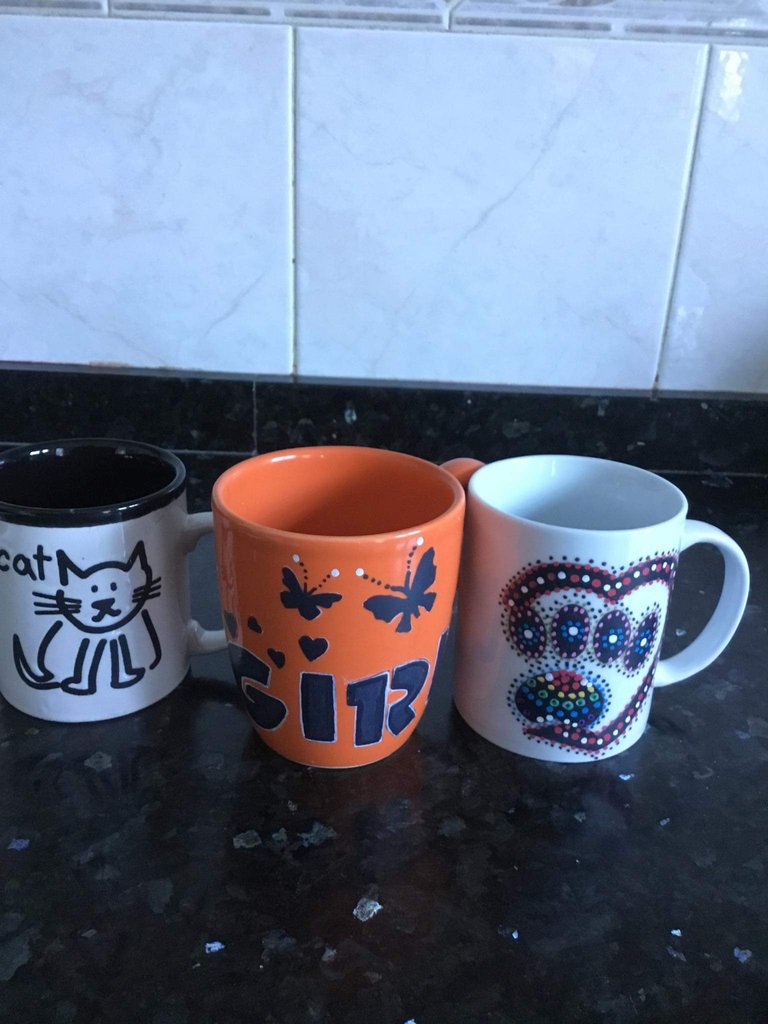
Debido al trabajo y el factor tiempo, se me hace difícil pero no imposible realizar mis creaciones; además es una manera de relajar mi mente realizando mis manualidades😍, en ésta oportunidad les traigo como decorar o personalizar nuestras tazas aburridas o con algún defecto. Como ustedes saben que con el uso y tiempo las tazas le salen como estillas o ranuras como si estuvieran rotas😒 y nos da pena servir el café, café con leche o cualquier otro bebida a una visita que tengamos en casa y no tenemos dinero para comprar nuevas tazas, hoy les traigo una manera muy divertida y ingeniosa de recuperarlas👍.
Les cuento que actualmente en la moda de la decoración rompieron lo tradicional de colocar toda la vajilla igual en la mesa; ahora se colocan diferentes platos, tazas, vasos y demás objetos decorativos y quedan geniales hasta lucen mejor, claro también debemos tener cuidado con los colores y diseños. Imaginemos una mesa decorada con diferentes tazas con distintos dibujos pintados en ellas a cada invitado o personalizar esas tazas sería un detalle que sin duda sorprenderá a sus invitados. El trabajo de hoy es muy fácil de realizar por eso los invito a que me acompañen a ver cada paso para que se animen hacerlo ustedes en sus casas🤗☕🍵.
Los materiales que utilizaremos para decorar nuestras tazas son:
Tazas para café con leche
Pinturas sobre vidrios o marcadores
Pinceles en caso si van a utilizar las pinturas
Moldes o stencil
Cinta de construcción o tirro
Marcador blanco (no permanente)
Papel de revista o hoja blanca
Tijera
Papel contact
Lápiz o bolígrafo
Pañito de cocina
Algodón y alcohol.
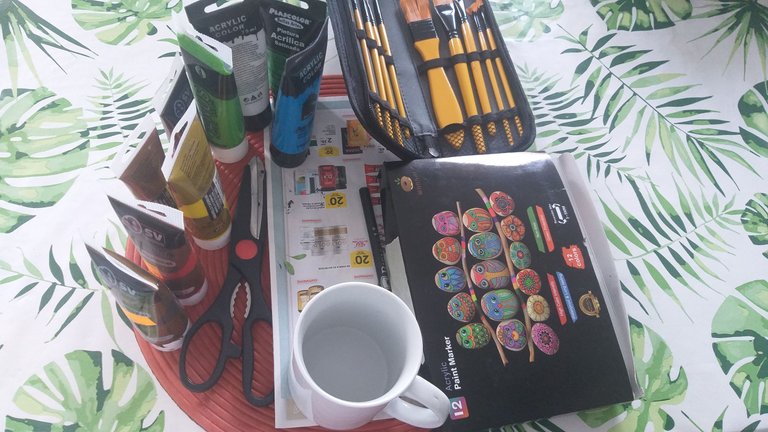
Los Pasos a seguir para diseñar y pintar nuestras tazas son:
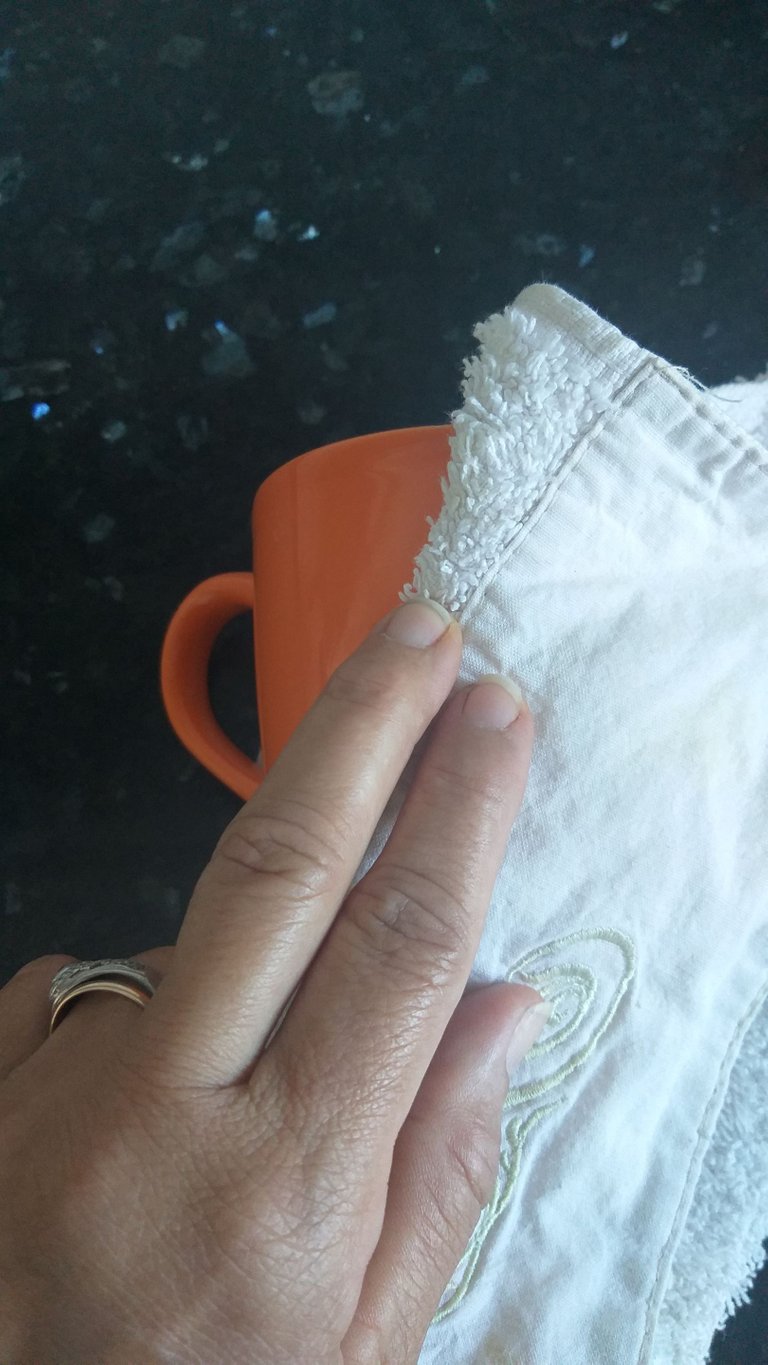
1☕👣. Lo primero que tenemos que hacer es limpiar nuestras tazas para liberarlas de polvo, podemos hacerlo con una pañito de cocina limpio y seco; pueden pasarle con un algodón y alcohol le pasamos por el área donde vamos a trabajar.
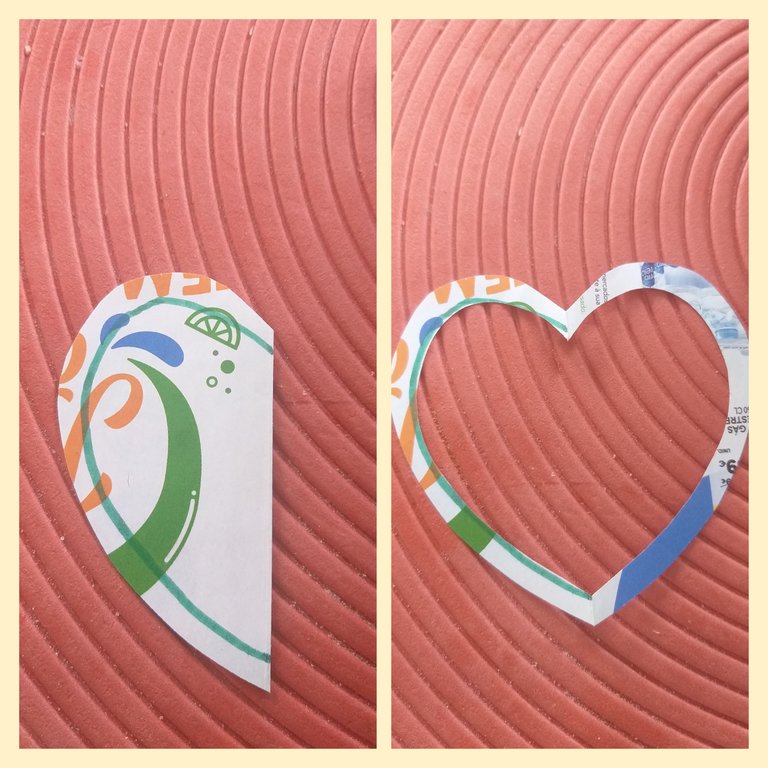
2☕👣. Luego que tengamos las tazas limpias de cualquier impurezas, vamos a crear el diseño que queremos dibujar y pintar en la taza, vamos a mostrale como hacer uno sin la ayuda de un stencil, crearemos nuestro molde con la revista y papel contact. Lo primero que haremos es dibujar un corazón en la hoja y después recortar.
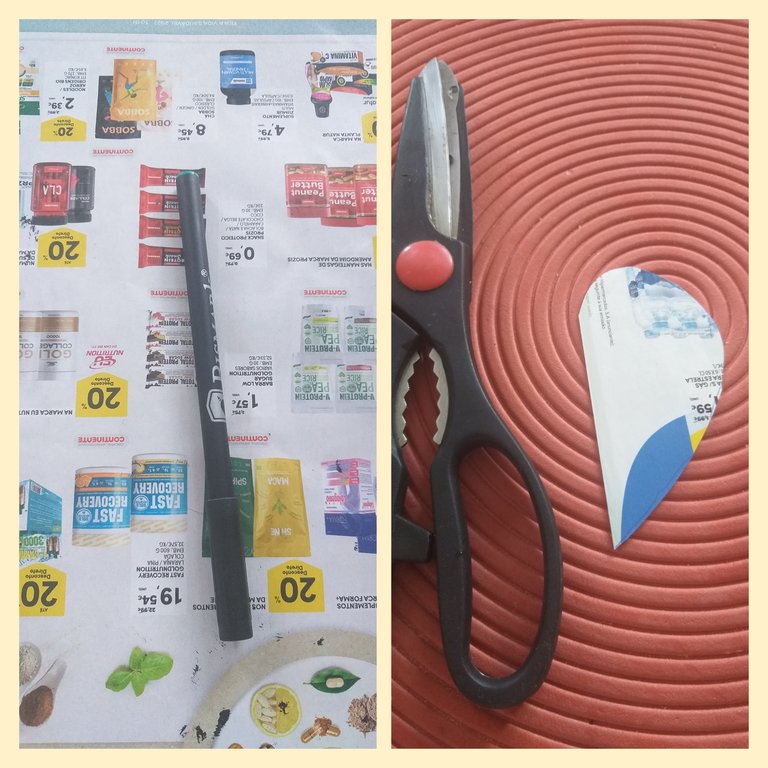
3☕👣. Ahora vamos a recortar el corazón dejándole un centímetro de grosor, observar la imagen.
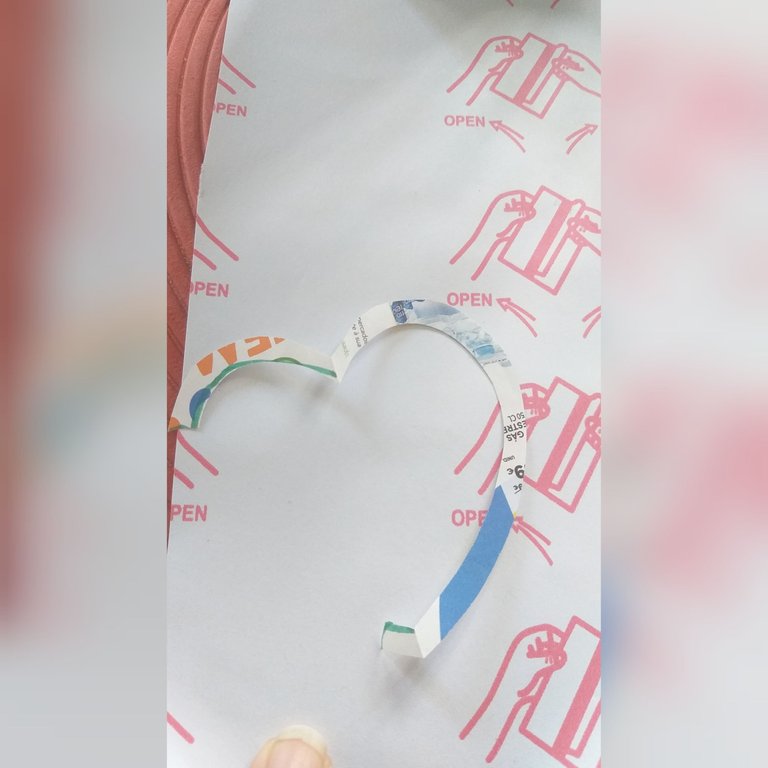
4☕👣. Luego lo que haremos es transferir el molde del corazón al papel contact dibujandolo con el lápiz o bolígrafo y después recortarlo con la tijera.
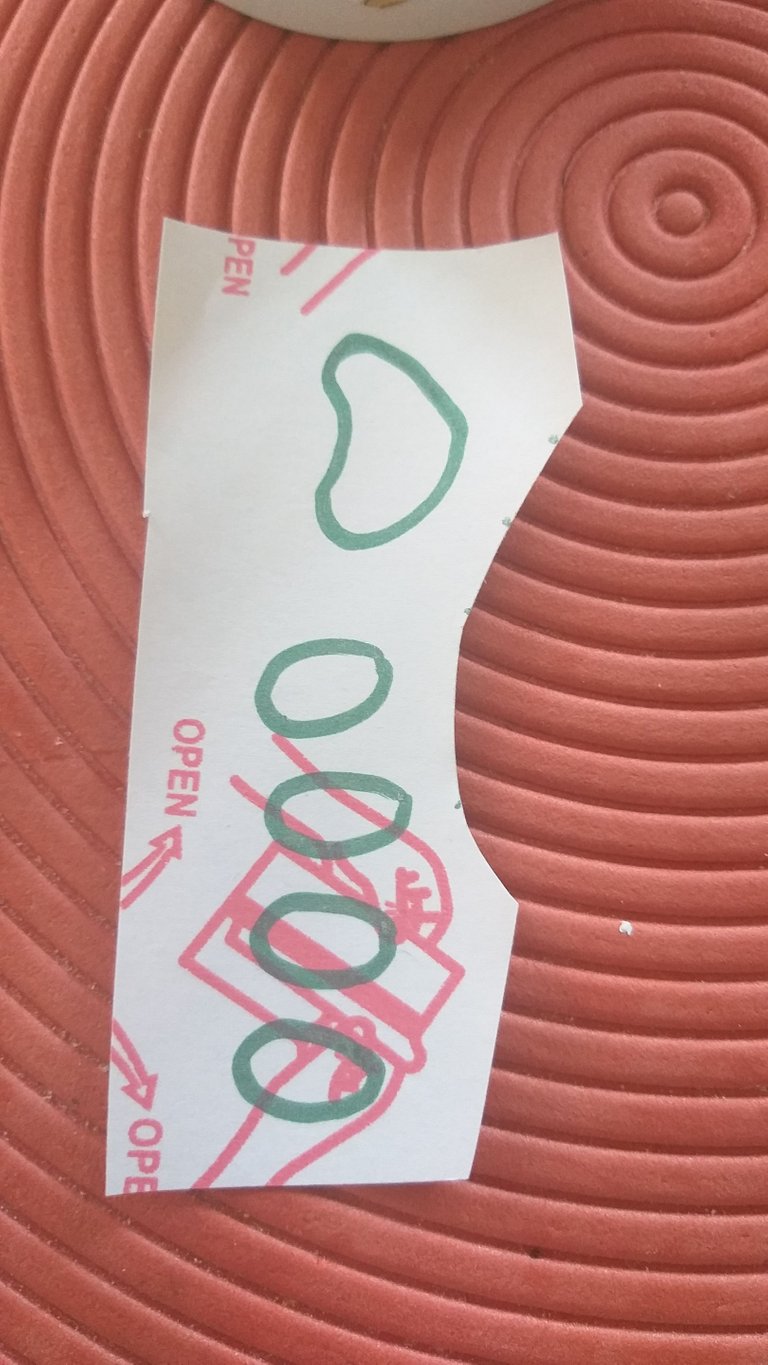
5☕👣. En el mismo papel contact dibujamos como la huella de un perro y después recortar.
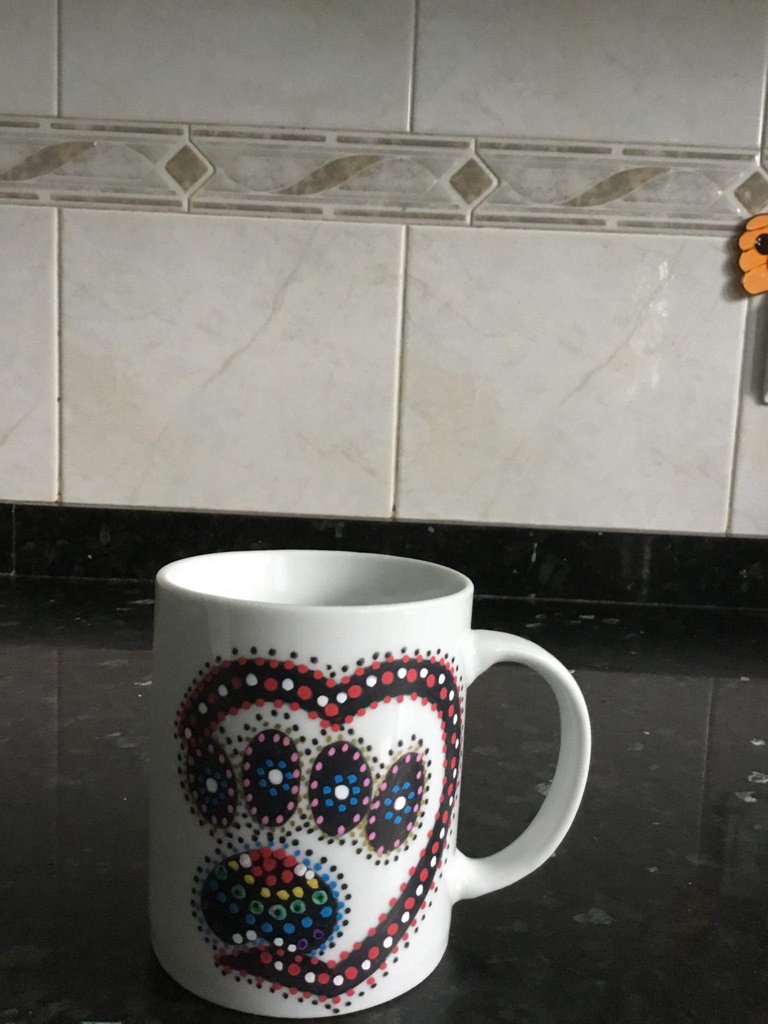
6☕👣. Luego que tengamos las piezas la colocamos en la taza yo le corté un pedazo al corazón donde colocaremos la huella pueden ver la imagen para guía y le pinté el corazón de negro con el marcador.
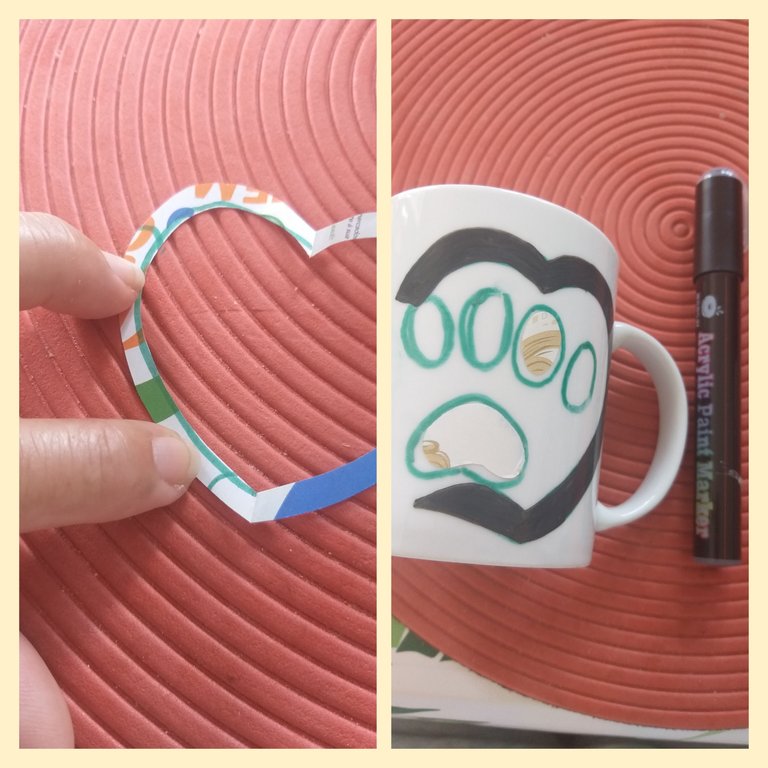
7☕👣. Después retiren la figura de papel contact y pinten de color negro con el marcador o la pintura con el pincel. Estos marcadores sirven para pintar todo tipo de superficies cartón, madera, piedras, vidrio, plástico y metal son muy buenos y los conseguimos de todos los colores.
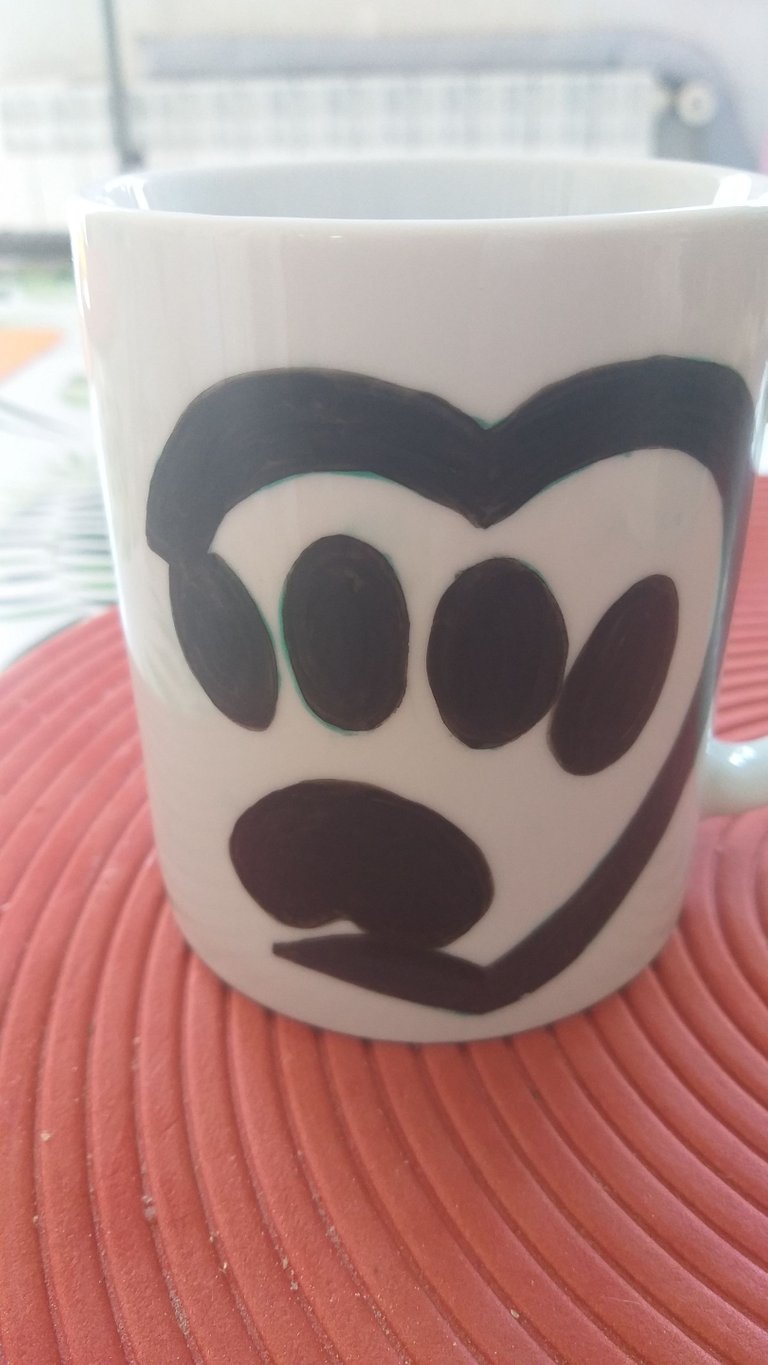
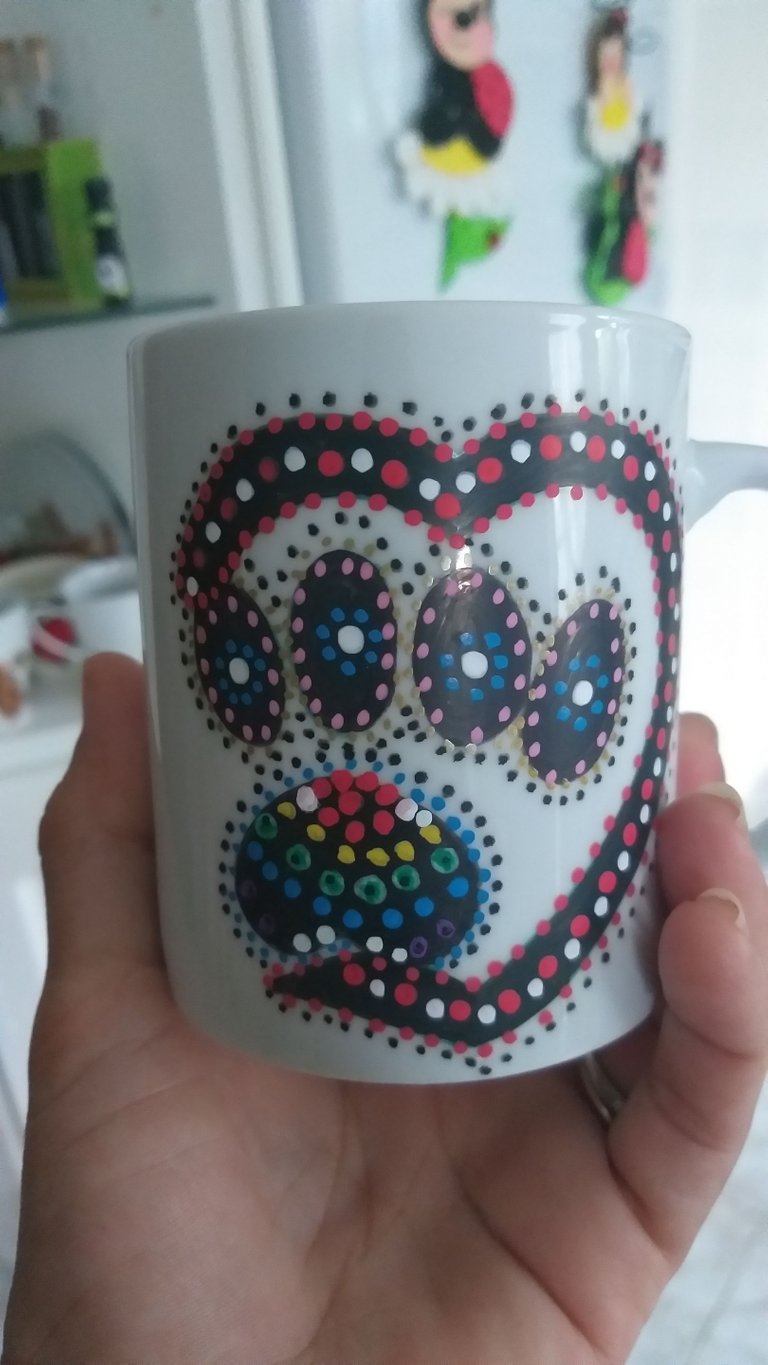
8☕👣. En este paso lo dejaré a la imaginación de cada uno😊😉con la técnica del Puntillismo hagan puntos por cada imagen; recuerden que los colores hagan contrastes claros y oscuros y por supuesto que resalten del color base, que en éste caso es el color negro.
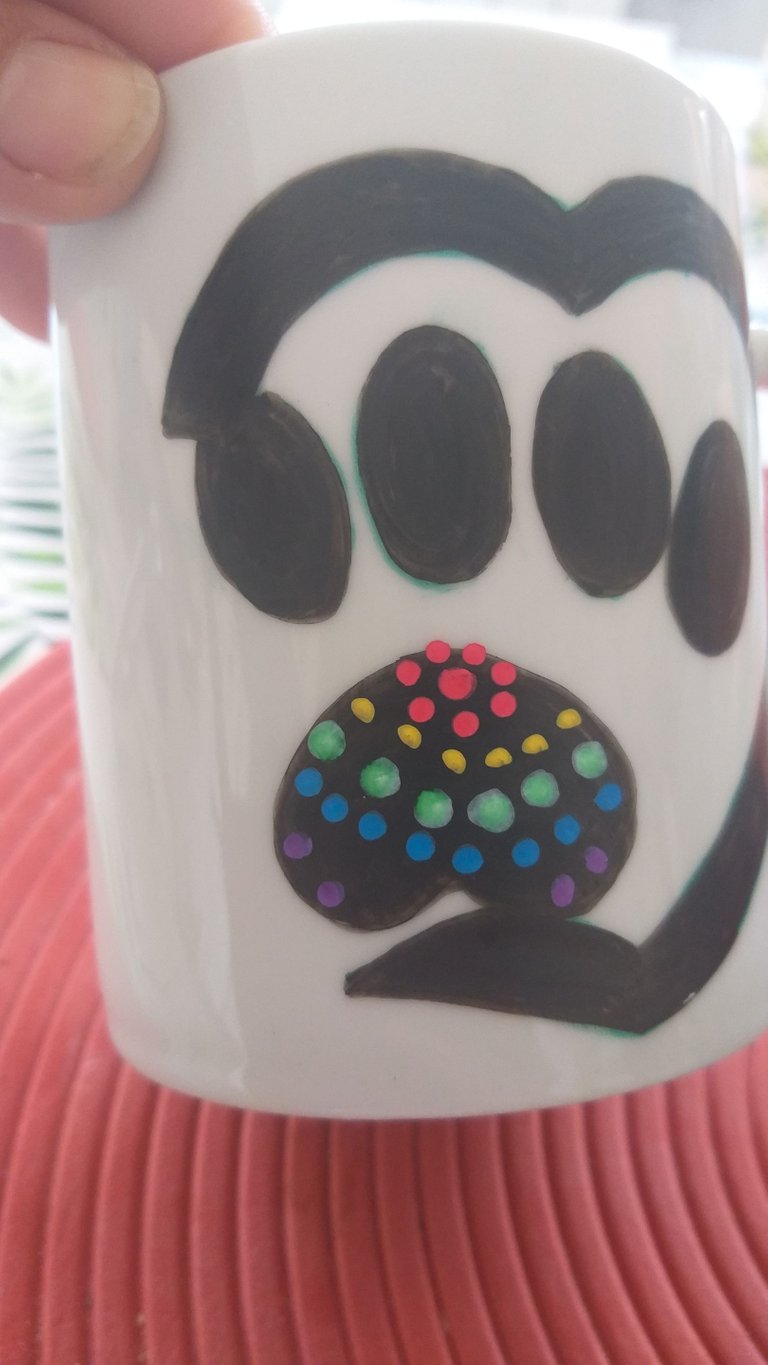
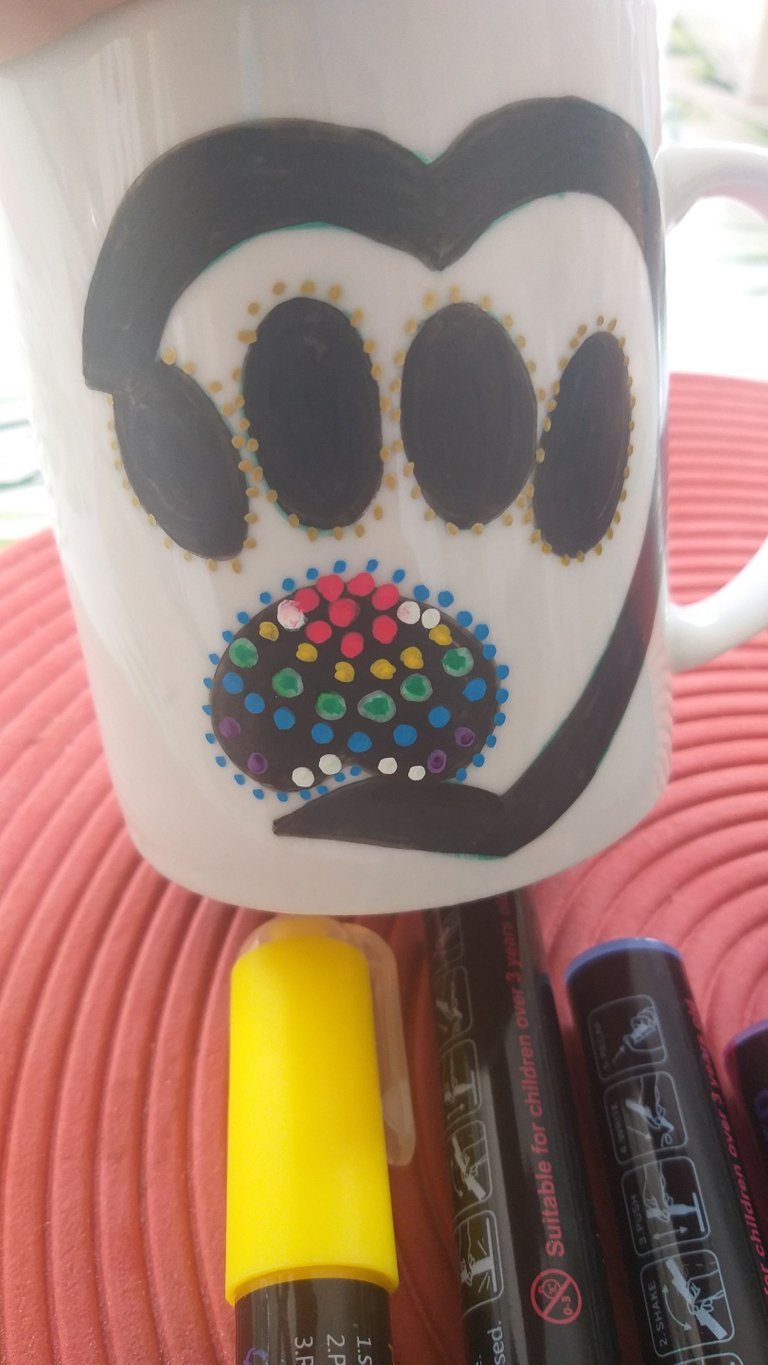
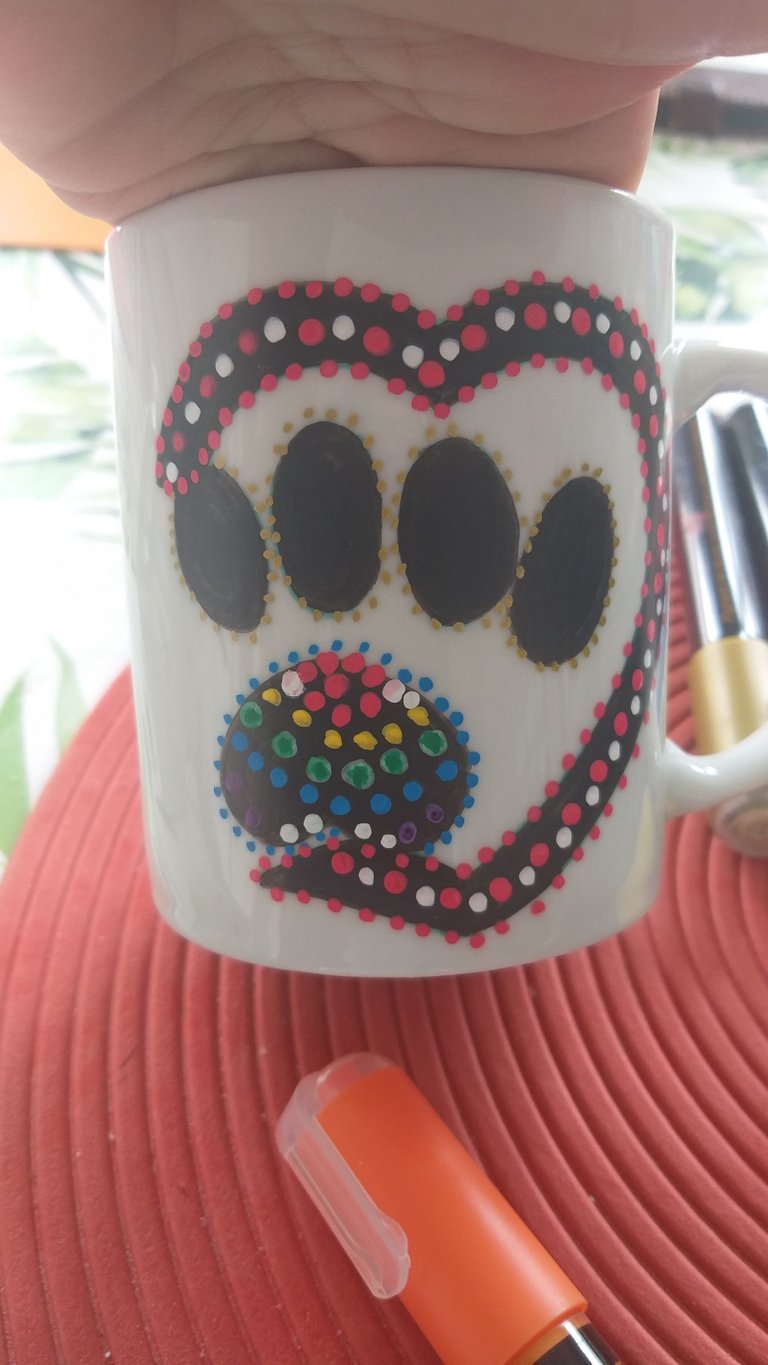
9☕👣. Coloque puntos donde le parezca que quede bien, acá le coloqué al corazón puntos rojos y resaltando con blancos y me gustó como quedó y alrededor de los dedos con puntos de color dorado y por último puntos de color negro. Y listo nuestra taza.
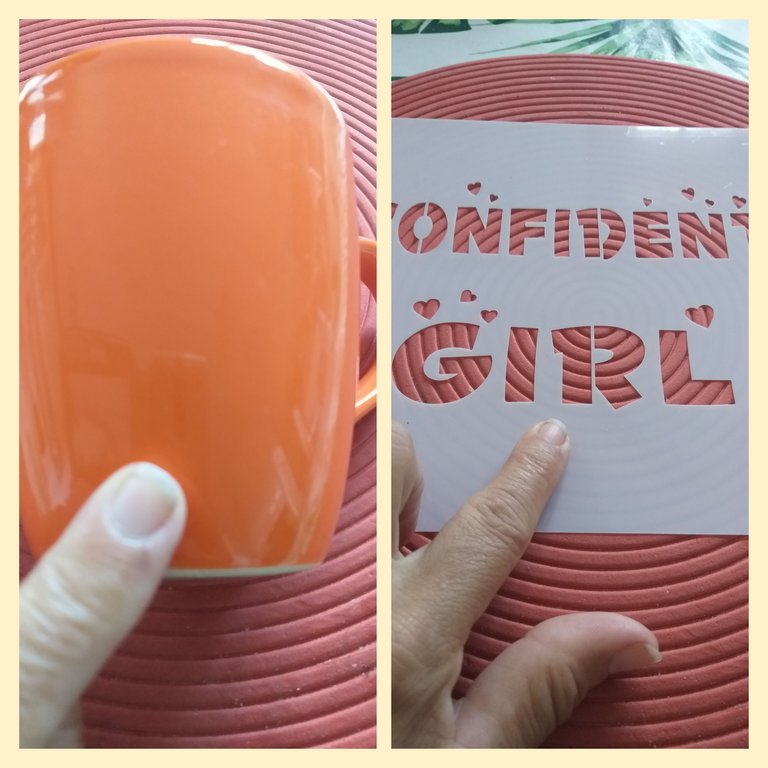
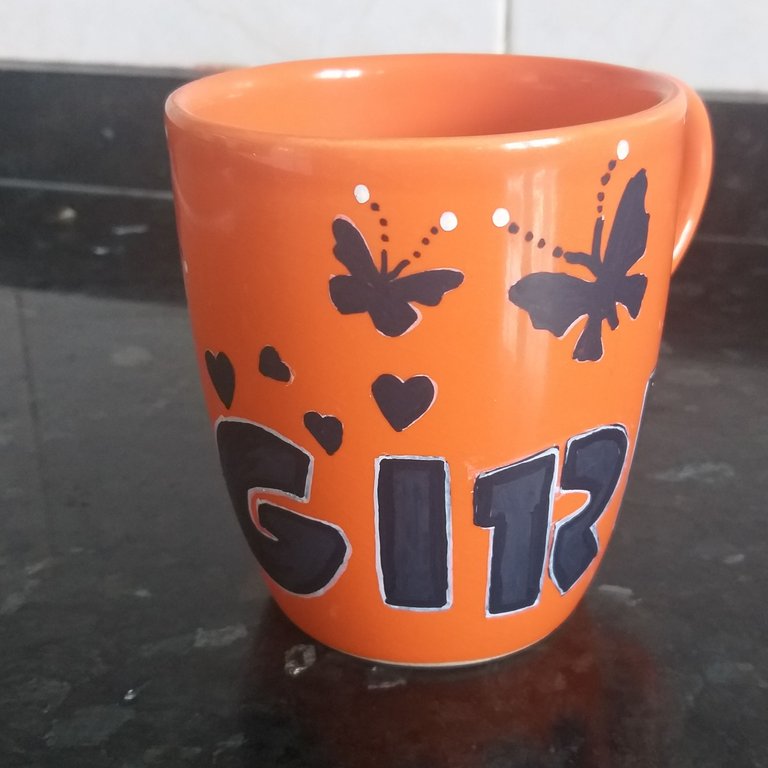
10☕👣. Ahora vamos hacer una con stencil. Fijamos con la cinta de construcción o tirro el stencil. La taza que decoraremos tiene algunas grietas pero aún no está partida y tiene algunos detalles de fabricación🤨.
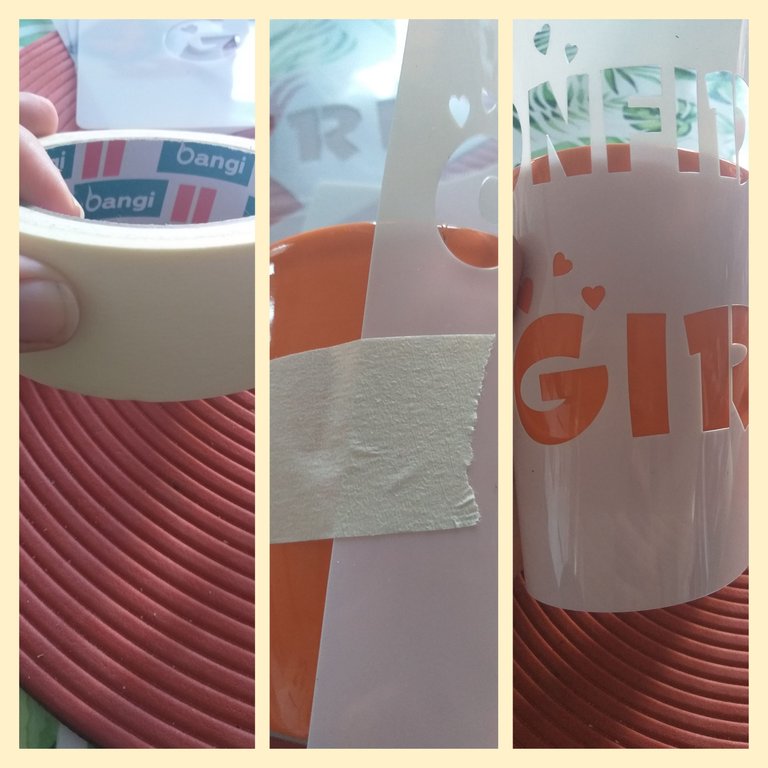
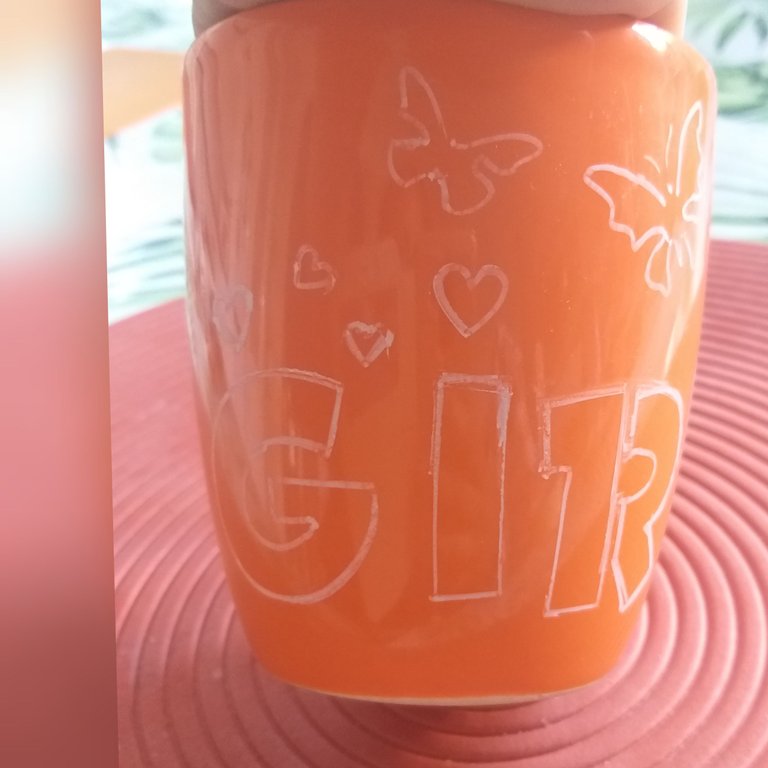
11☕👣. Luego con el marcador de color blanco repasamos por todos los bordes de las letras y figuras, vamos a escribir girl y también le dibujaremos mariposa y corazones.
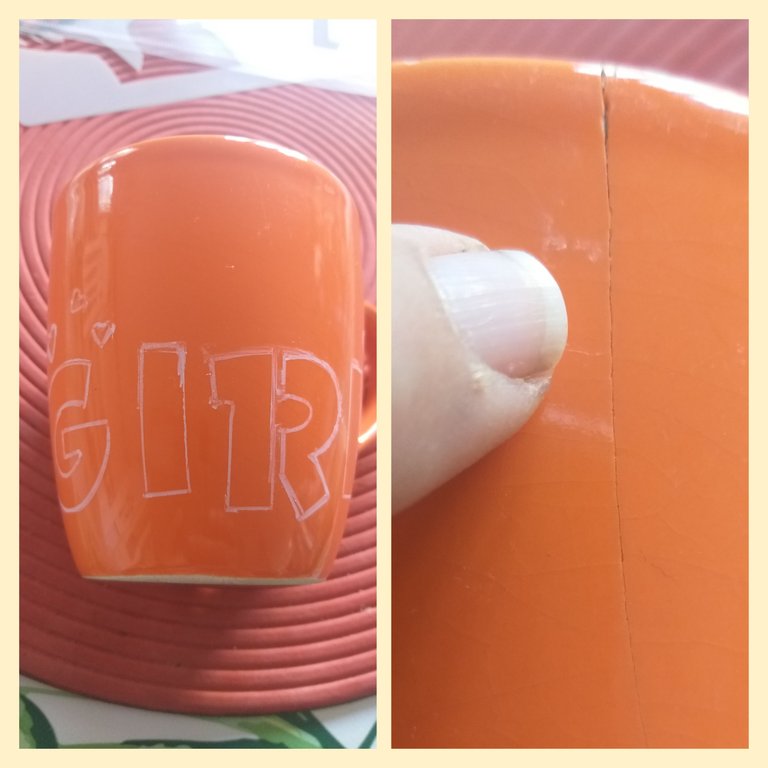
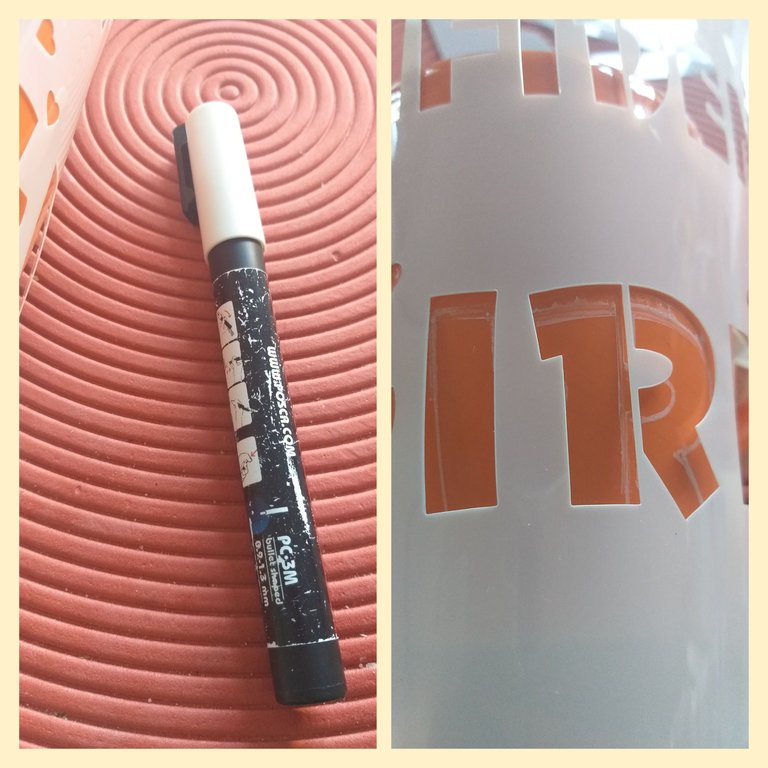
12☕👣. Con el marcador de color negro vamos a pintar todas las letras y figuras. Observar la imágenes
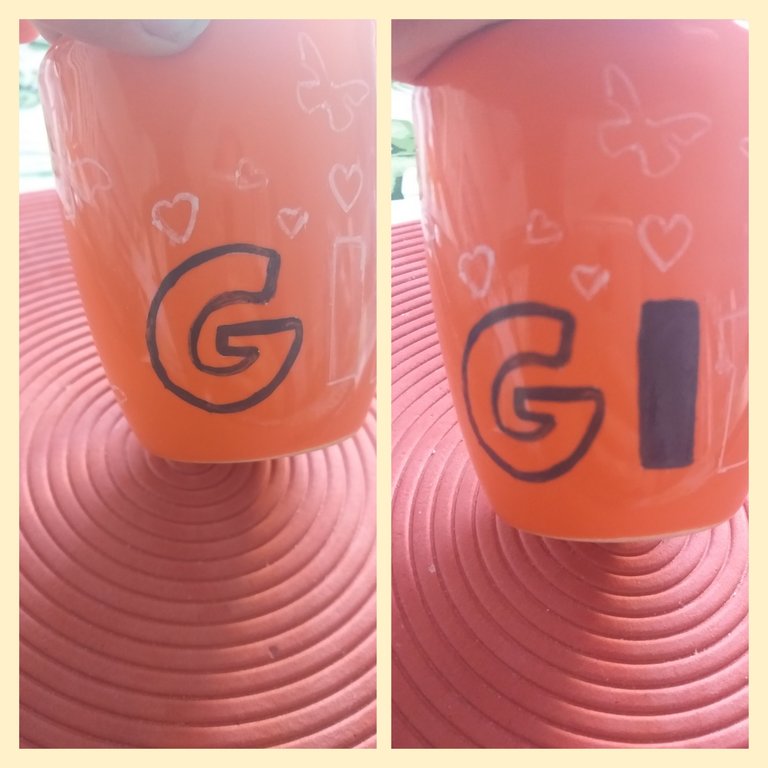
13☕👣. Después que tengamos todo pintado de negro vamos a darle orilla con el marcador de color blanco así quedaría como 3D.
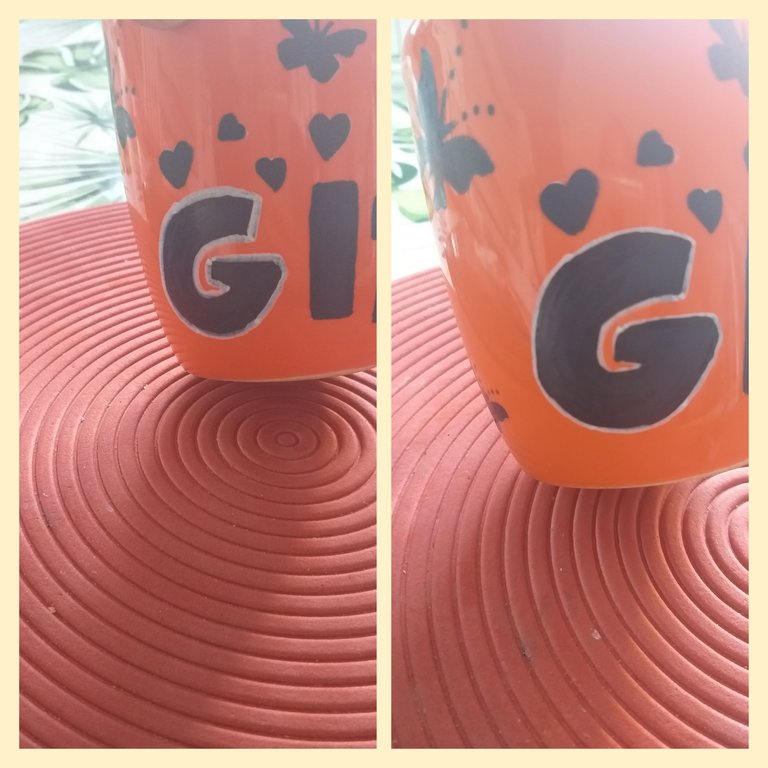
14☕👣. Por último los detallaremos con puntos en las antenas de la mariposa. Los detalles son muy importante en cada manualidad; es lo que le dará vida y vistosidad a tú trabajo.
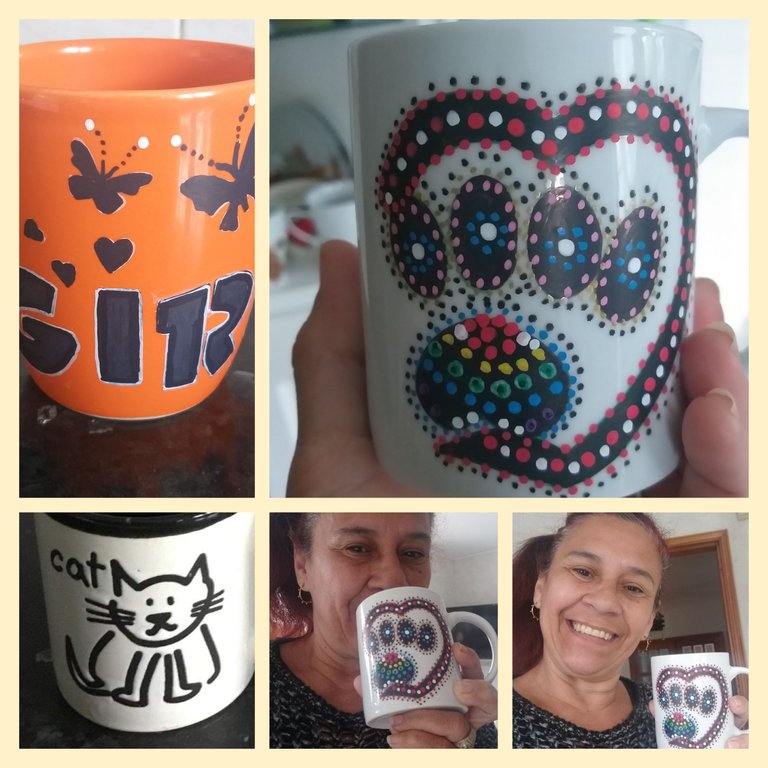
También podemos hacer dibujos y figuras directamente con el marcador guiándonos por una imagen que nos gusten. Espero que este tutorial sirva de inspiración y se animen a realizarlo. Un gran agradecimiento a todos los miembros de ésta gran colmena que me apoyan y dejan hermosos mensajes Dios me los Bendiga.
Las fotos son tomadas pormi teléfono móvil Samsung Galaxy A6 y organizadas por la aplicación GridArt.


English
Hello Hello my beautiful friends from Hive and from all those communities that make it up, have a blessed day and an excellent weekend to share with your loved ones❤.
Due to work and the time factor, it is difficult but not impossible for me to make my creations; It is also a way to relax my mind doing my crafts😍, this time I bring you how to decorate or customize our boring cups or cups with some defect. As you know that with use and time the cups come out like chips or grooves as if they were broken😒 and we feel sorry to serve coffee, coffee with milk or any other drink to a visitor that we have at home and we don't have money to buy new cups, today I bring you a very funny and ingenious way to recover them👍.
I tell you that currently in the fashion of decoration they broke the tradition of placing all the dishes the same on the table; now different plates, cups, glasses and other decorative objects are placed and they look great even they look better, of course we must also be careful with colors and designs. Let's imagine a table decorated with different cups with different drawings painted on them for each guest or personalizing those cups would be a detail that will undoubtedly surprise your guests. Today's work is very easy to do, that's why I invite you to accompany me to see each step so that you are encouraged to do it at home🤗☕🍵.
The materials that we will use to decorate our cups are:
Cups for coffee with milk
Paints on glass or markers
Brushes in case if they are going to use the paints
Molds or stencil
Construction tape or shot
White marker (not permanent)
Magazine paper or white sheet
Scissors
contact paper
Pencil or pen
kitchen cloth
Cotton and alcohol.

The steps to follow to design and paint our cups are:
1☕👣. The first thing we have to do is clean our cups to free them of dust, we can do it with a clean and dry kitchen cloth; they can pass him with a cotton ball and alcohol we pass him through the area where we are going to work.

2☕👣. After we have the cups clean of any impurities, we are going to create the design that we want to draw and paint on the cup, we are going to show you how to make one without the help of a stencil, we will create our mold with the magazine and contact paper. The first thing we will do is draw a heart on the sheet and then cut it out.

3☕👣. Now we are going to cut out the heart leaving it a centimeter thick, observe the image

4☕👣. Then what we will do is transfer the heart mold to contact paper by drawing it with a pencil or pen and then cutting it out with scissors.

5☕👣. On the same contact paper we draw like the footprint of a dog and then cut it out.

6☕👣. After we have the pieces we place it in the cup I cut a piece from the heart where we will place the print you can see the image for guidance and I painted the heart black with the marker.

7☕👣. Then remove the contact paper figure and paint black with the marker or paint with the brush. These markers are used to paint all kinds of cardboard, wood, stones, glass, plastic and metal surfaces. They are very good and we get them in all colors.

8☕👣. In this step I will leave it to the imagination of each one 😊😉 with the Pointillism technique make dots for each image; remember that the colors make light and dark contrasts and of course that they stand out from the base color, which in this case is black.


9☕👣. Place dots where you think it looks good, here I put red dots on the heart and highlighting with white and I liked how it turned out and around the fingers with gold dots and finally black dots. And ready our glass.


10☕👣. Now let's make one with stencil. We fix with the construction tape or I throw the stencil. The cup that we will decorate has some cracks but it is not broken yet and it has some manufacturing details🤨.


11☕👣. Then with the white marker we go over all the edges of the letters and figures, we are going to write girl and we will also draw a butterfly and hearts.


12☕👣. With the black marker we are going to paint all the letters and figures. Observe the images


13☕👣. After we have everything painted black we are going to give it an edge with the white marker so it would look like 3D.

14☕👣. Finally we will detail them with points on the butterfly's antennae. Details are very important in every craft; It is what will give life and eye-catching to your work.

We can also make drawings and figures directly with the marker guided by an image that we like. I hope this tutorial will inspire you and encourage you to do it. A big thank you to all the members of this great hive who support me and leave beautiful messages. God bless you.
The photos are taken by my Samsung Galaxy A6 mobile phone and organized by the GridArt application.


Lovely
Hola 👋 prima me encantaron la decoración que le realizaste a tus tazas te quedaron realmente originales. Dios bendiga esas manos y esa mente para que siempre realices cosas muy bellas. Abrazos
☕!discovery 35
Muchas gracias y Bendecido día👏❤
This post was shared and voted inside the discord by the curators team of discovery-it
Join our community! hive-193212
Discovery-it is also a Witness, vote for us here
Delegate to us for passive income. Check our 80% fee-back Program
Me encanto le quedo súper.. seria genial tener nuestras propias tazas personalizadas..
Así es mi bella y muchas gracias por tu apoyo. Bendiciones amiga
Congratulations @zullyarte! You have completed the following achievement on the Hive blockchain and have been rewarded with new badge(s):
Your next target is to reach 25000 upvotes.
You can view your badges on your board and compare yourself to others in the Ranking
If you no longer want to receive notifications, reply to this comment with the word
STOPHola querida Zully, me encantan tus proyectos, me pregunto si no se borran con el agua cuando las lavamos
Hola mi bella. No porque son marcadores permanentes que sirven para pintar sobre todo tipo de superfie y no se caen cuando los lavamos. Los compré por Amazon😉