Un gran saludo a toda las comunidades de Hive🤗
A big shout out to all the Hive communities🤗

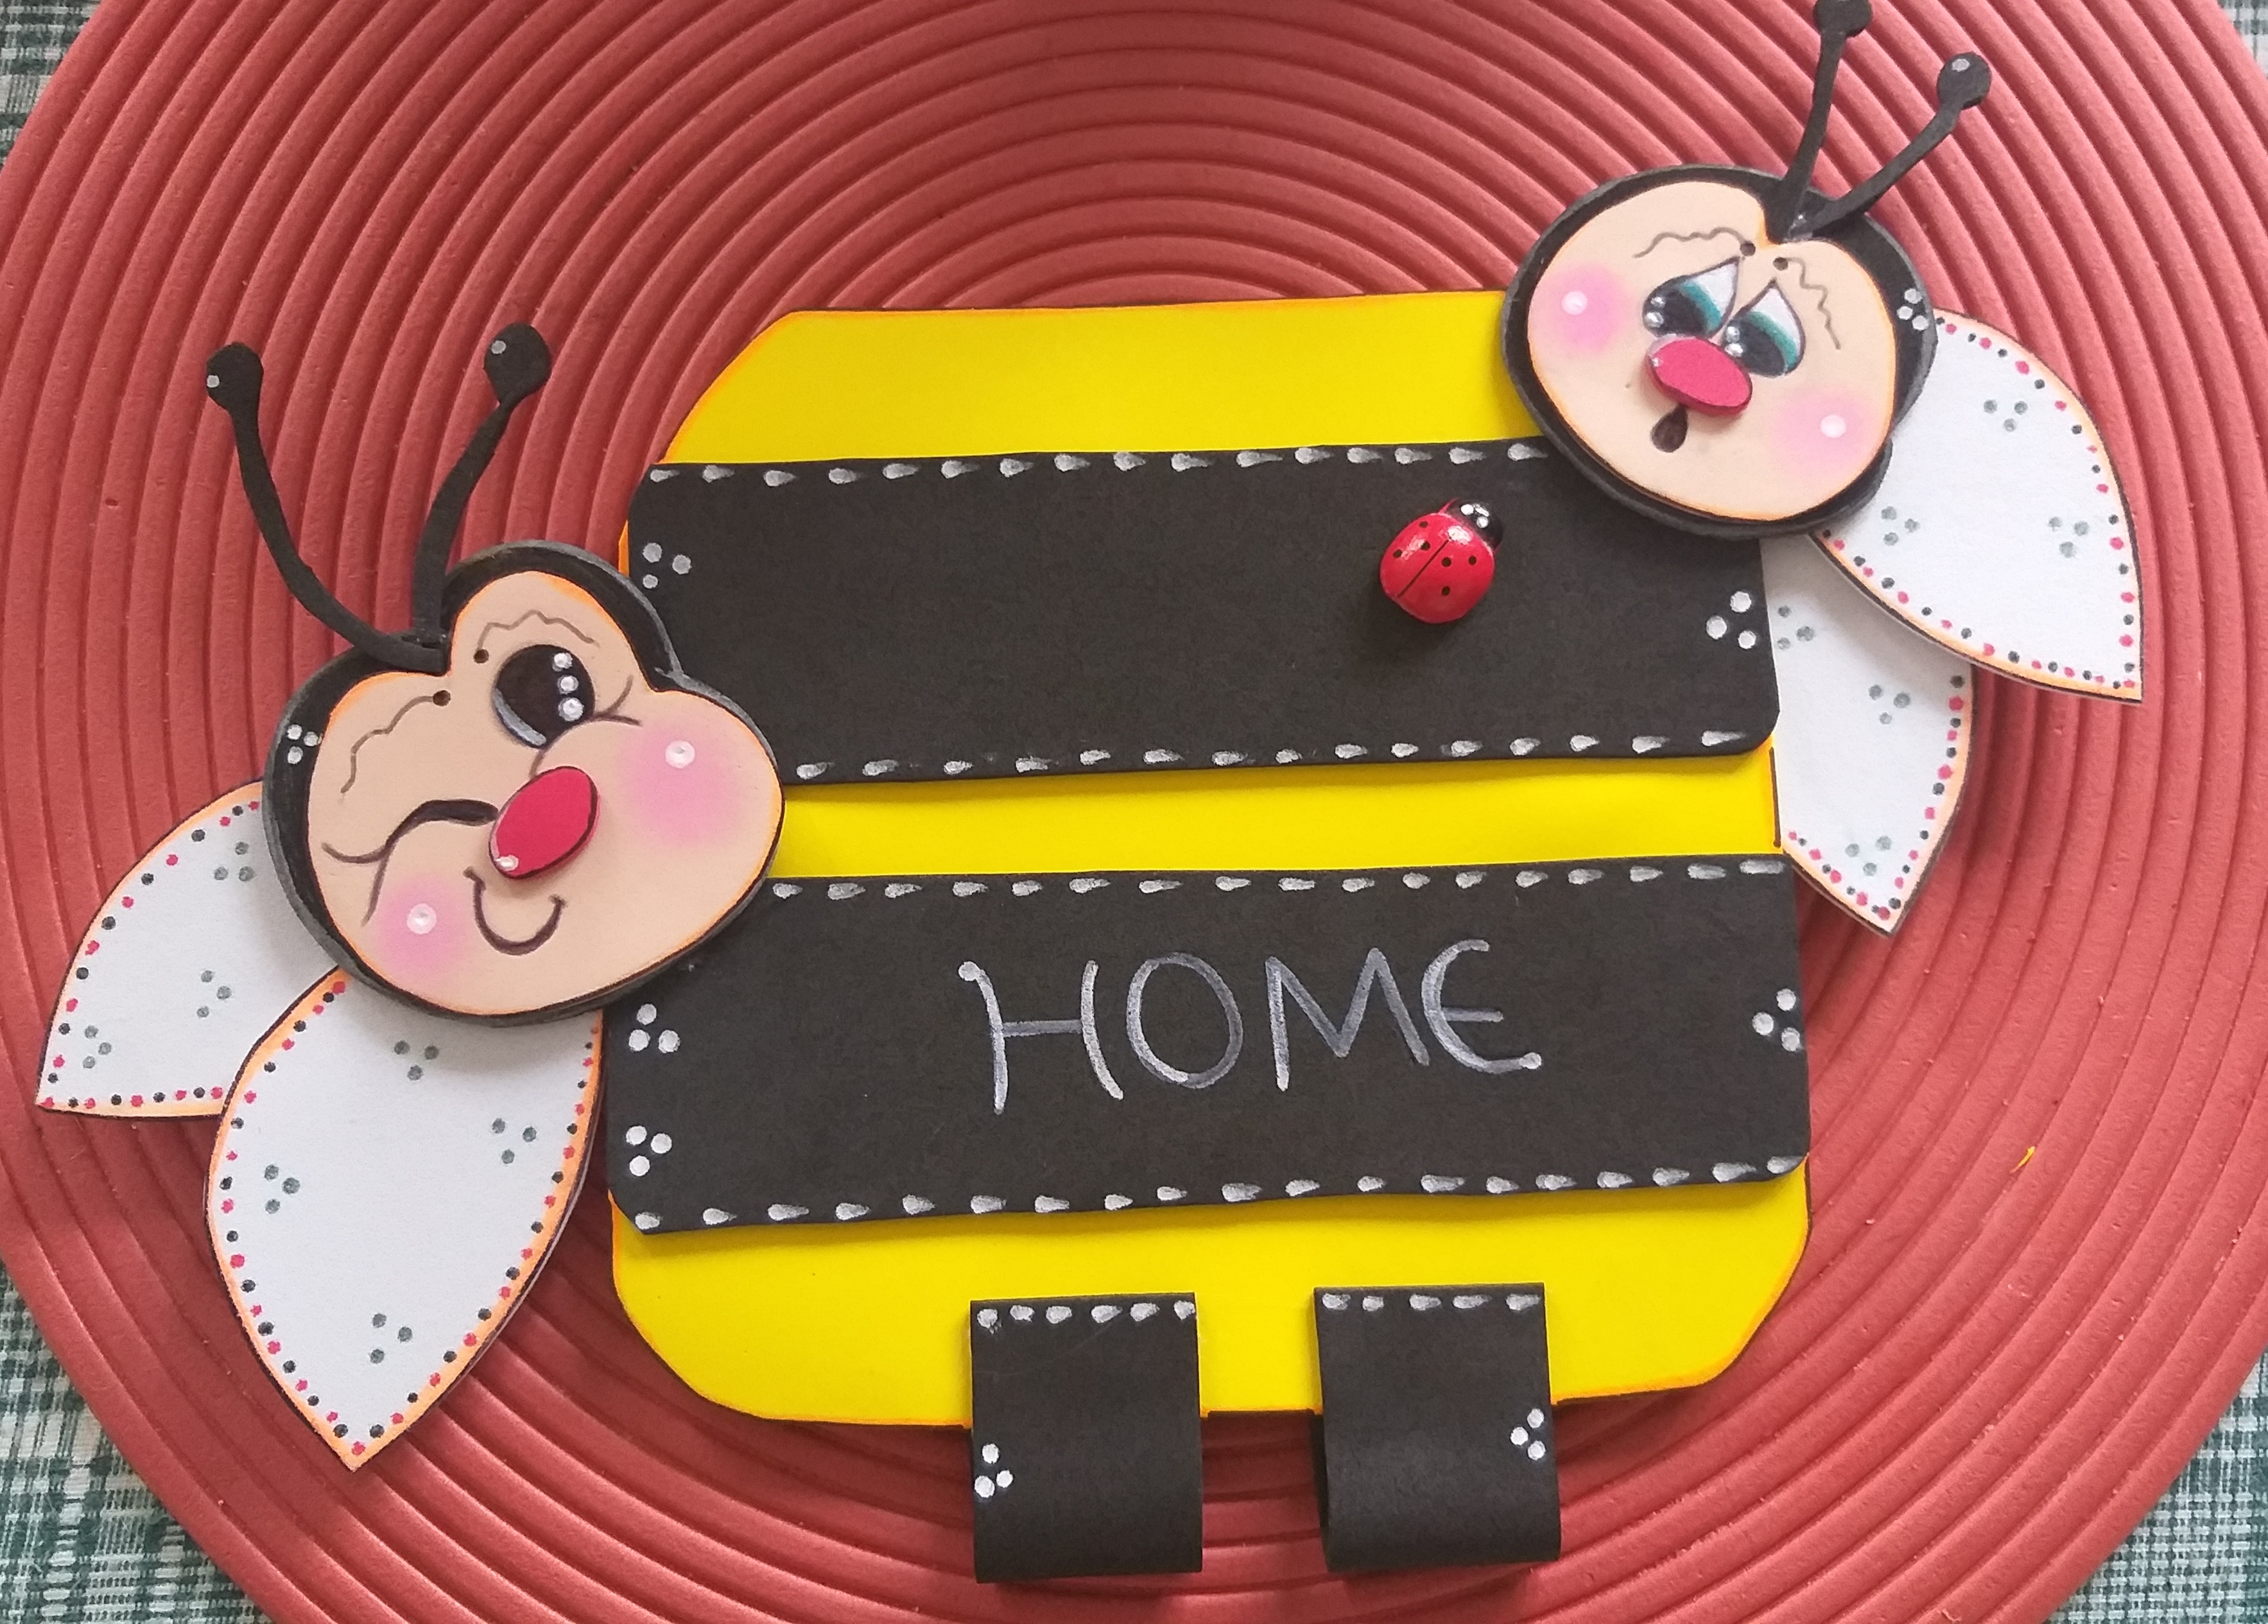
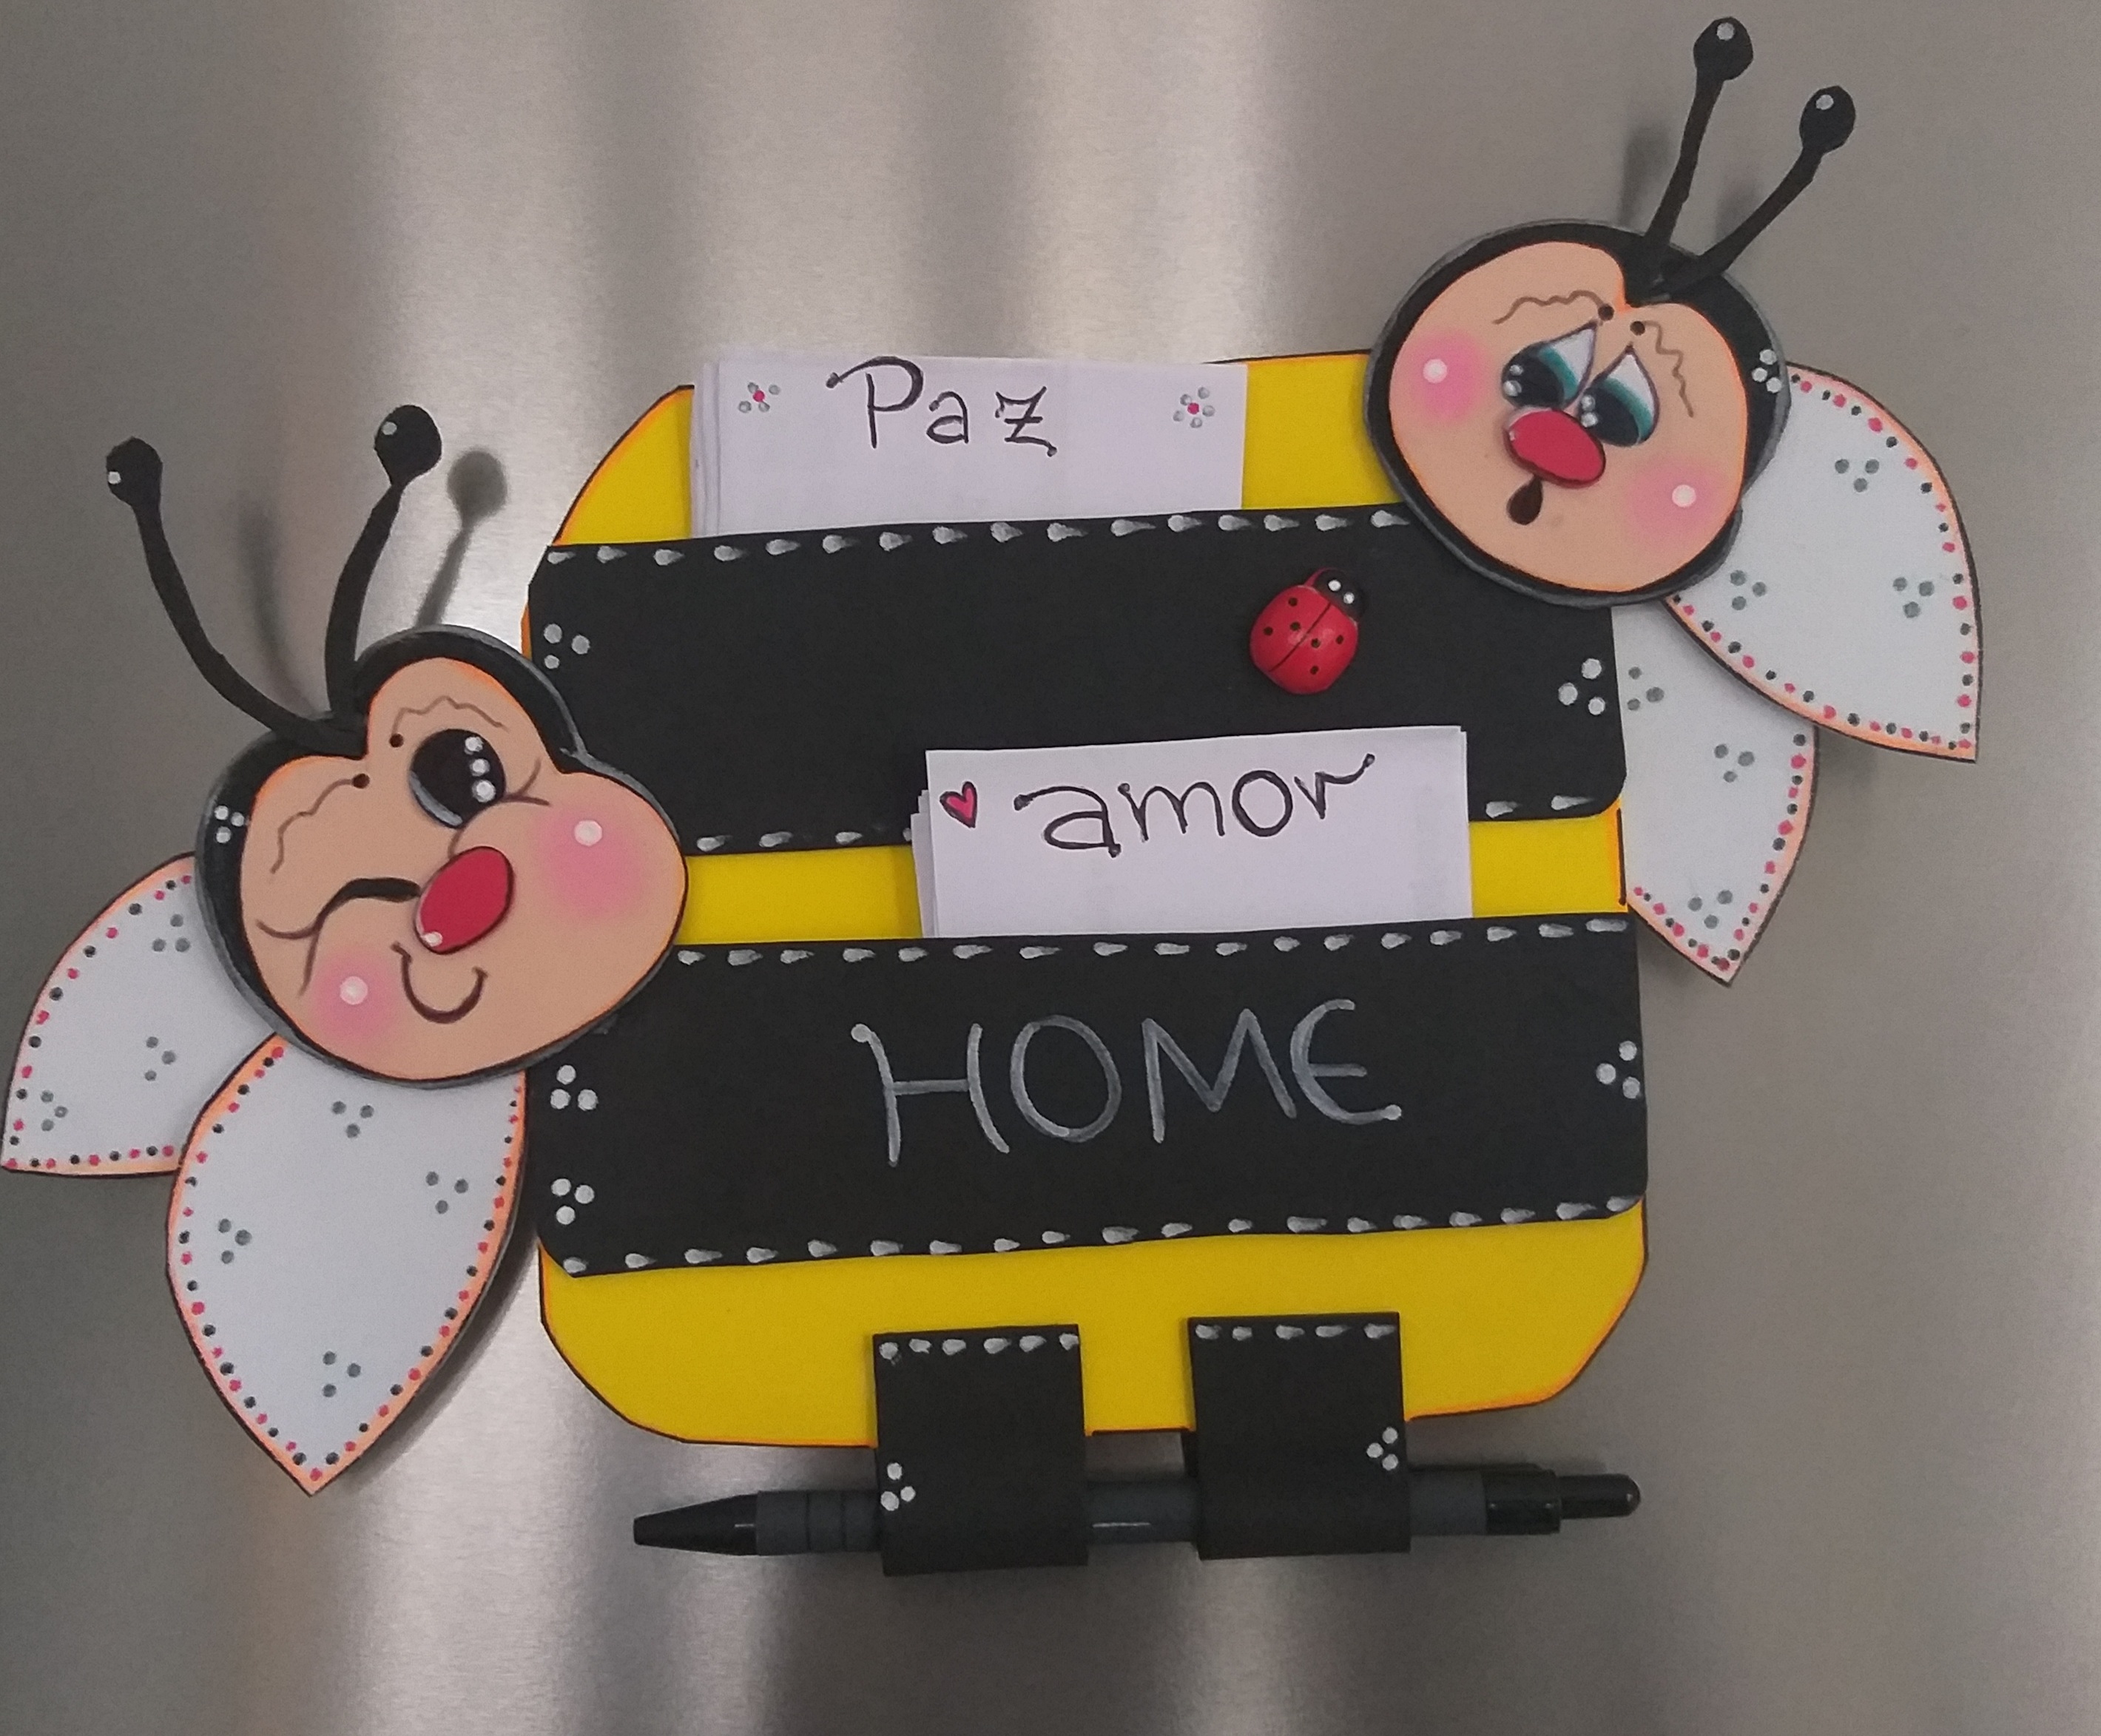
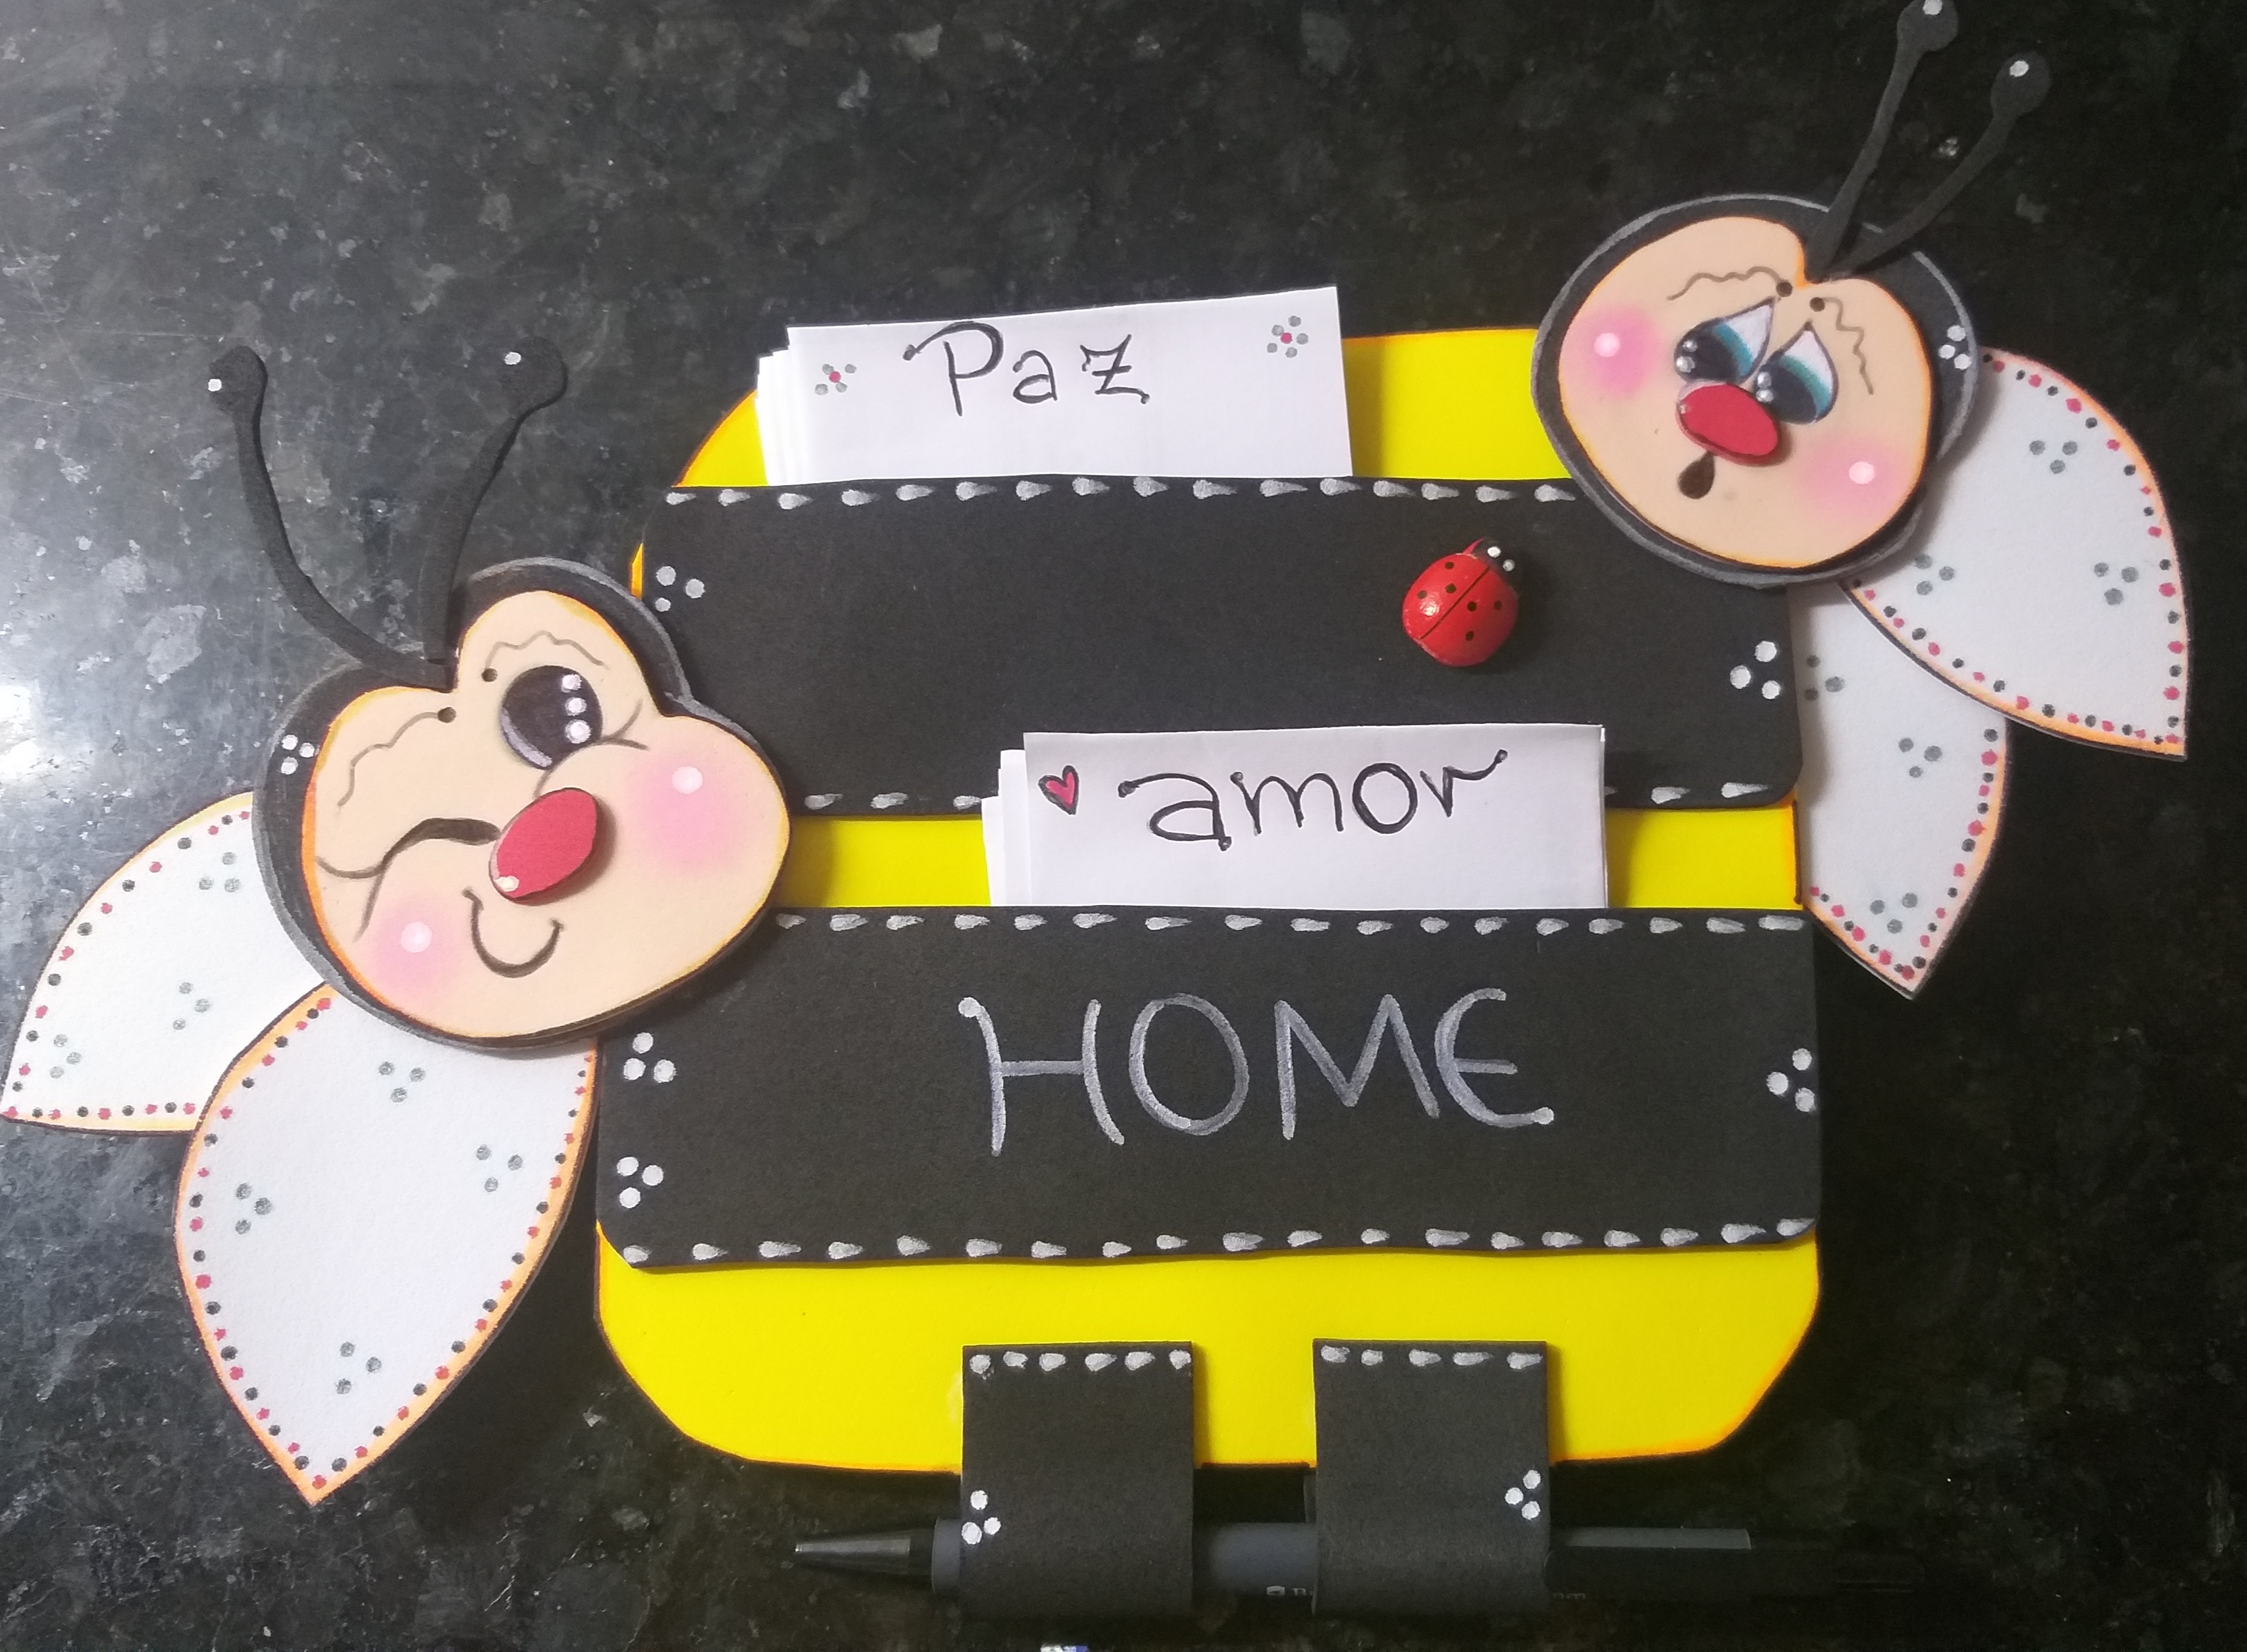
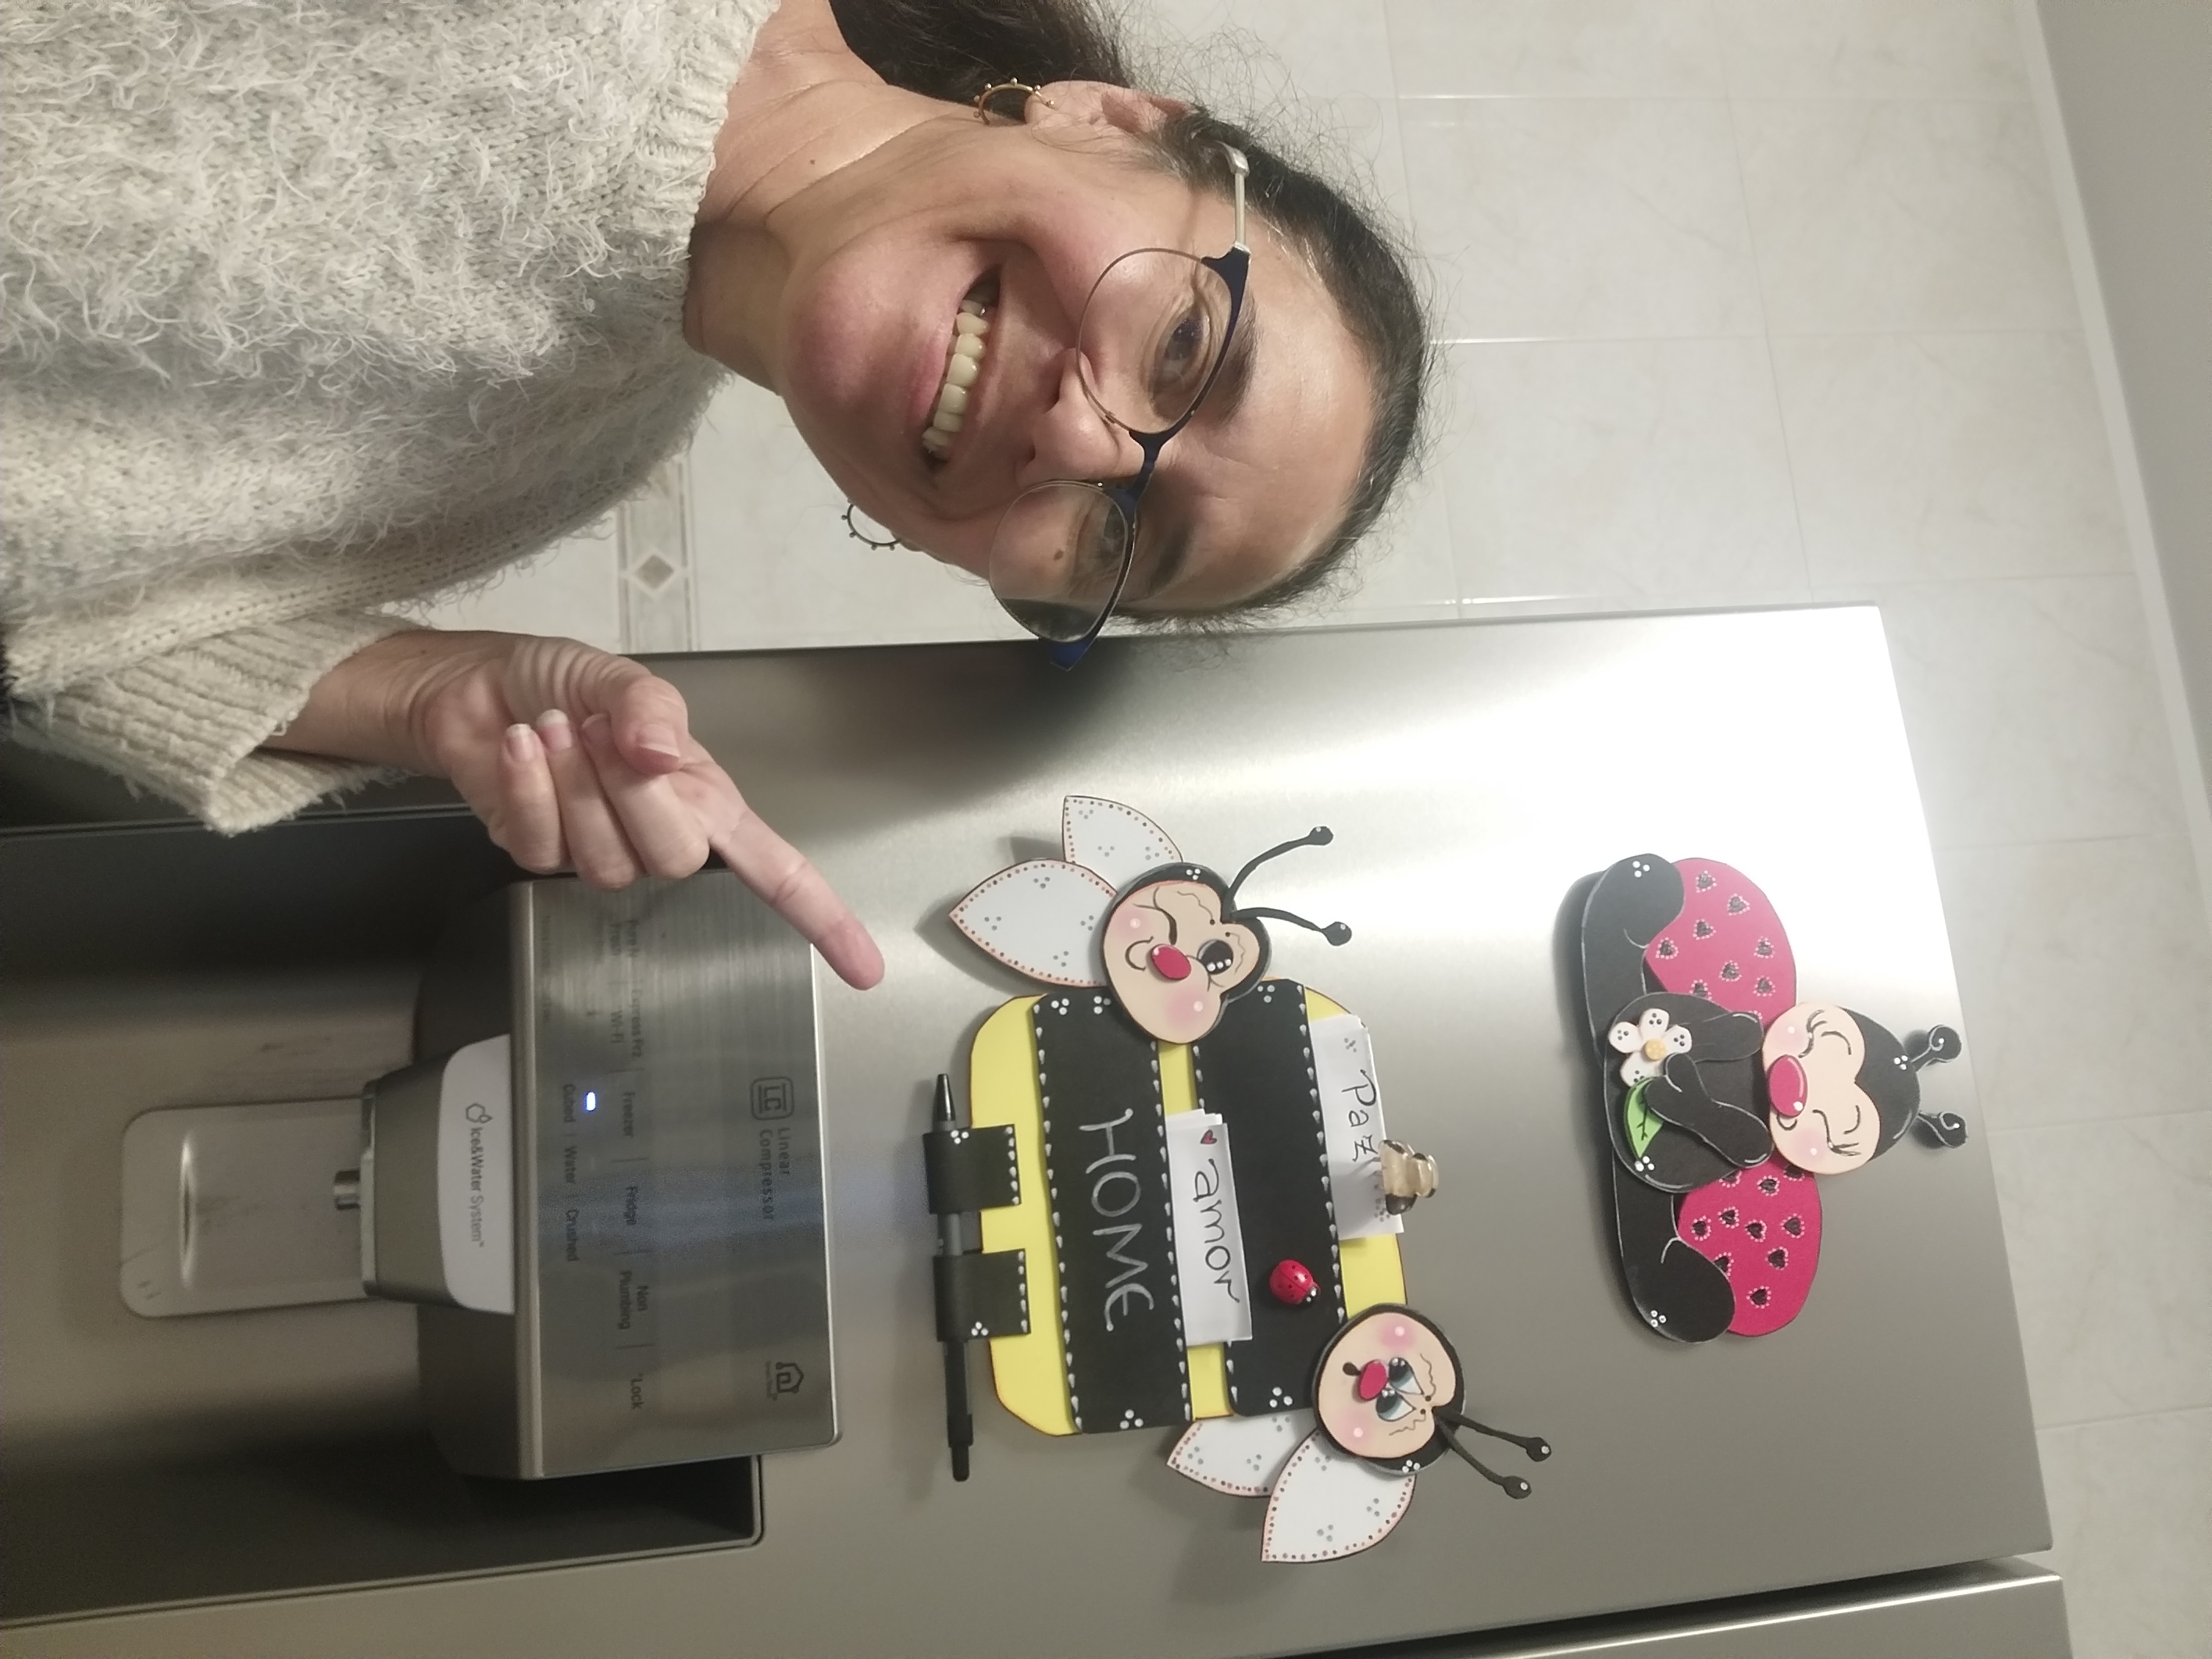
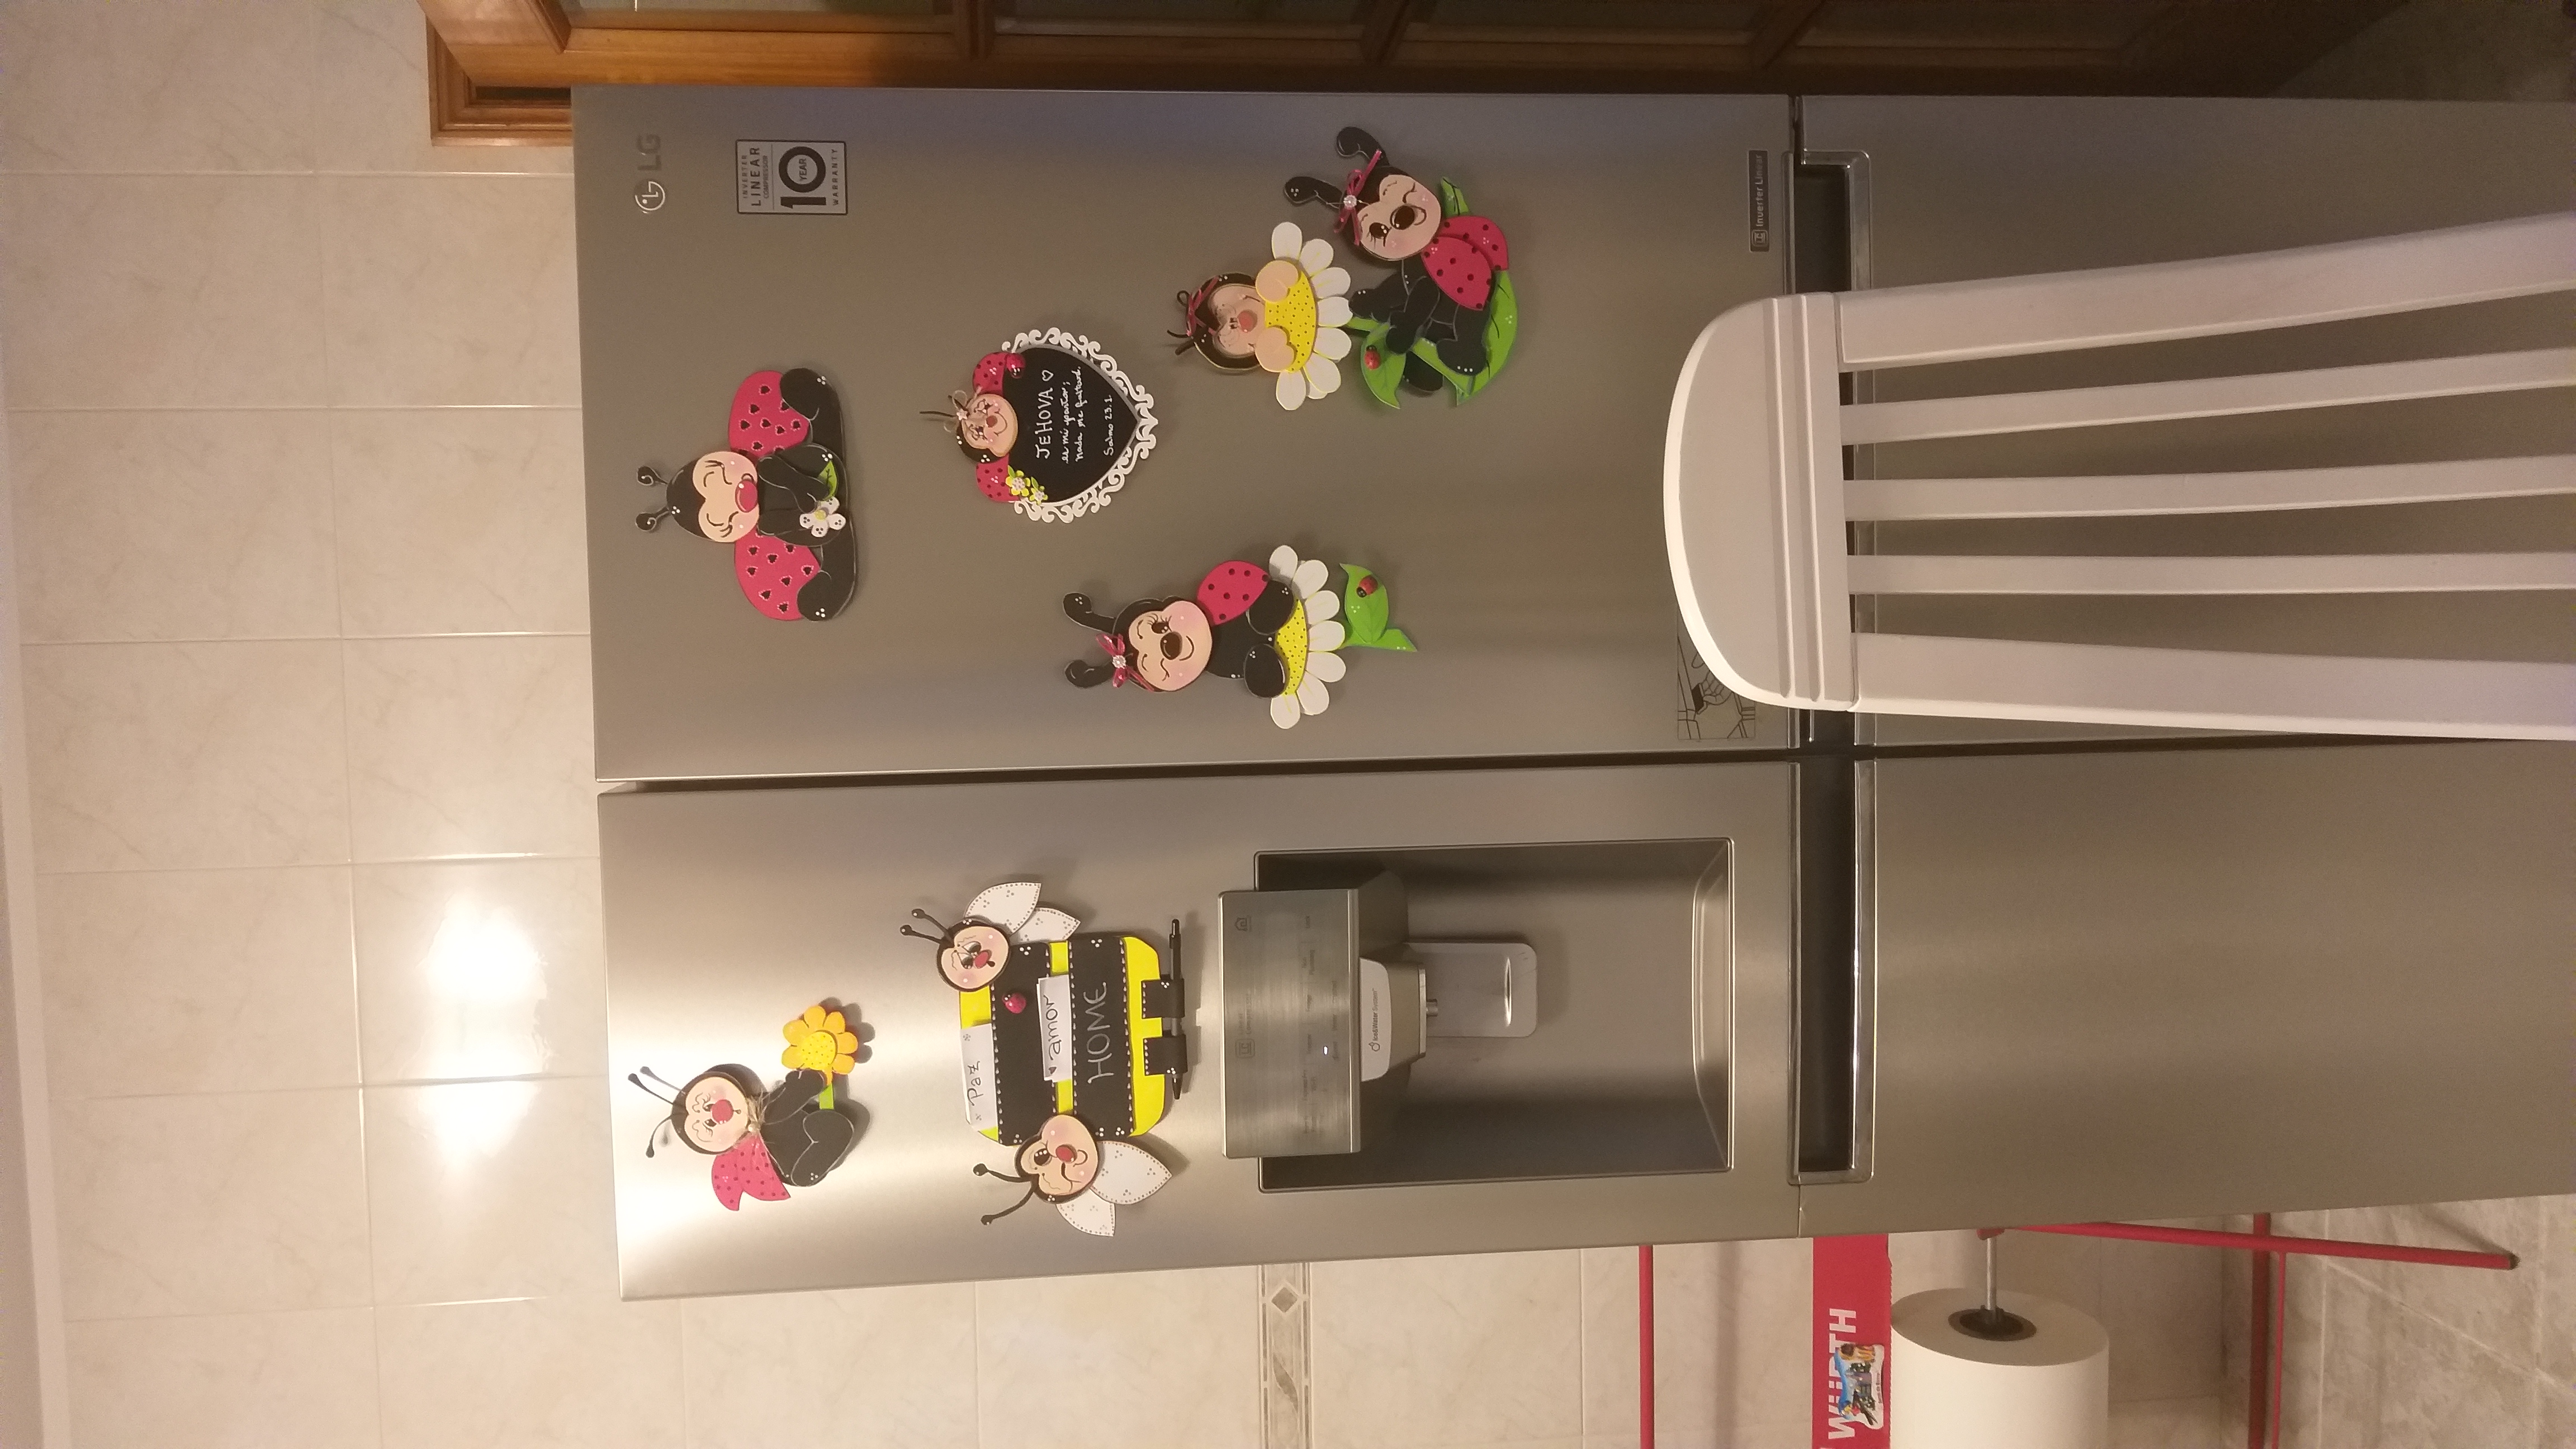
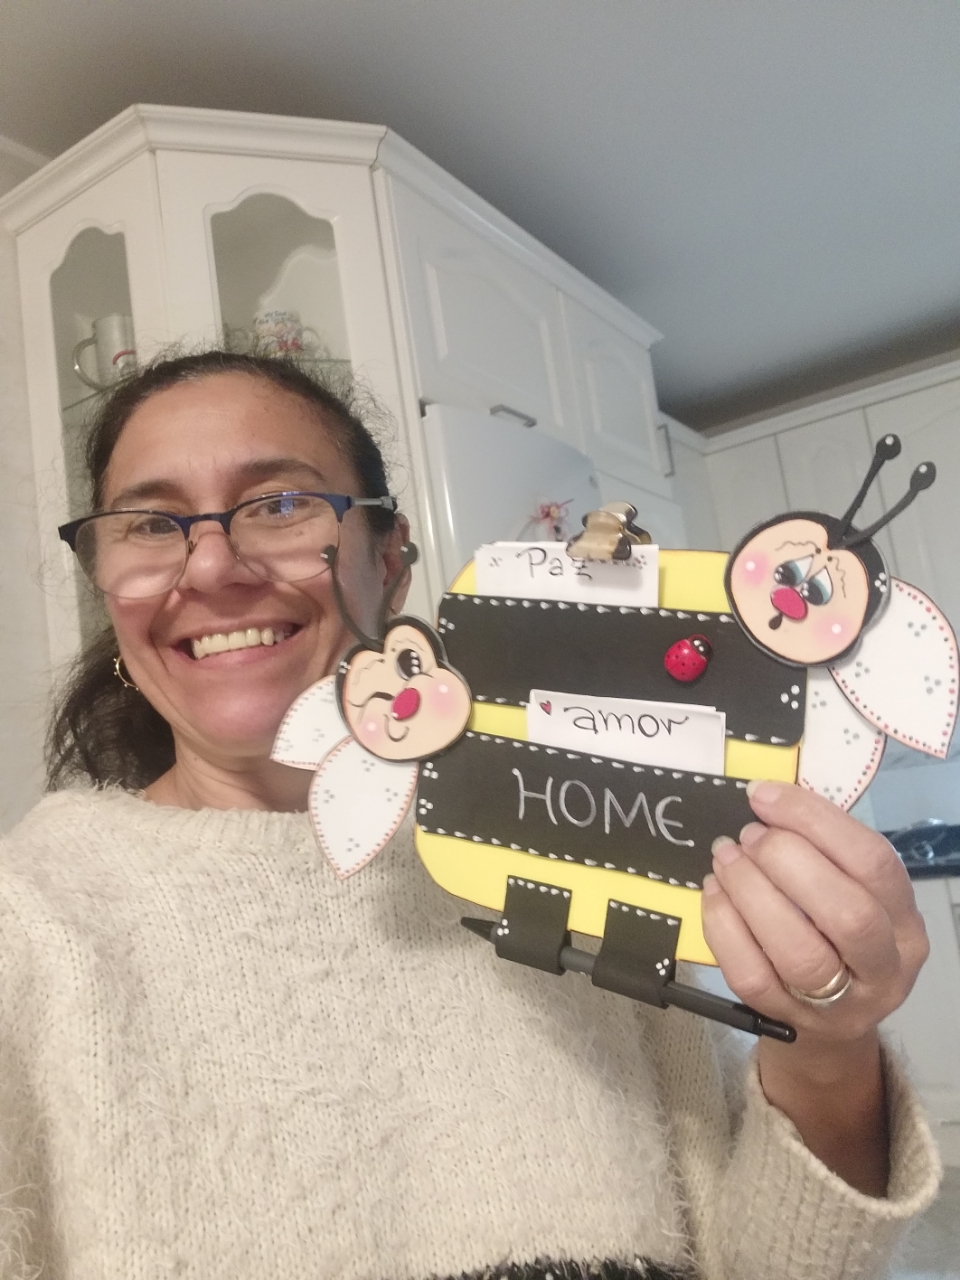
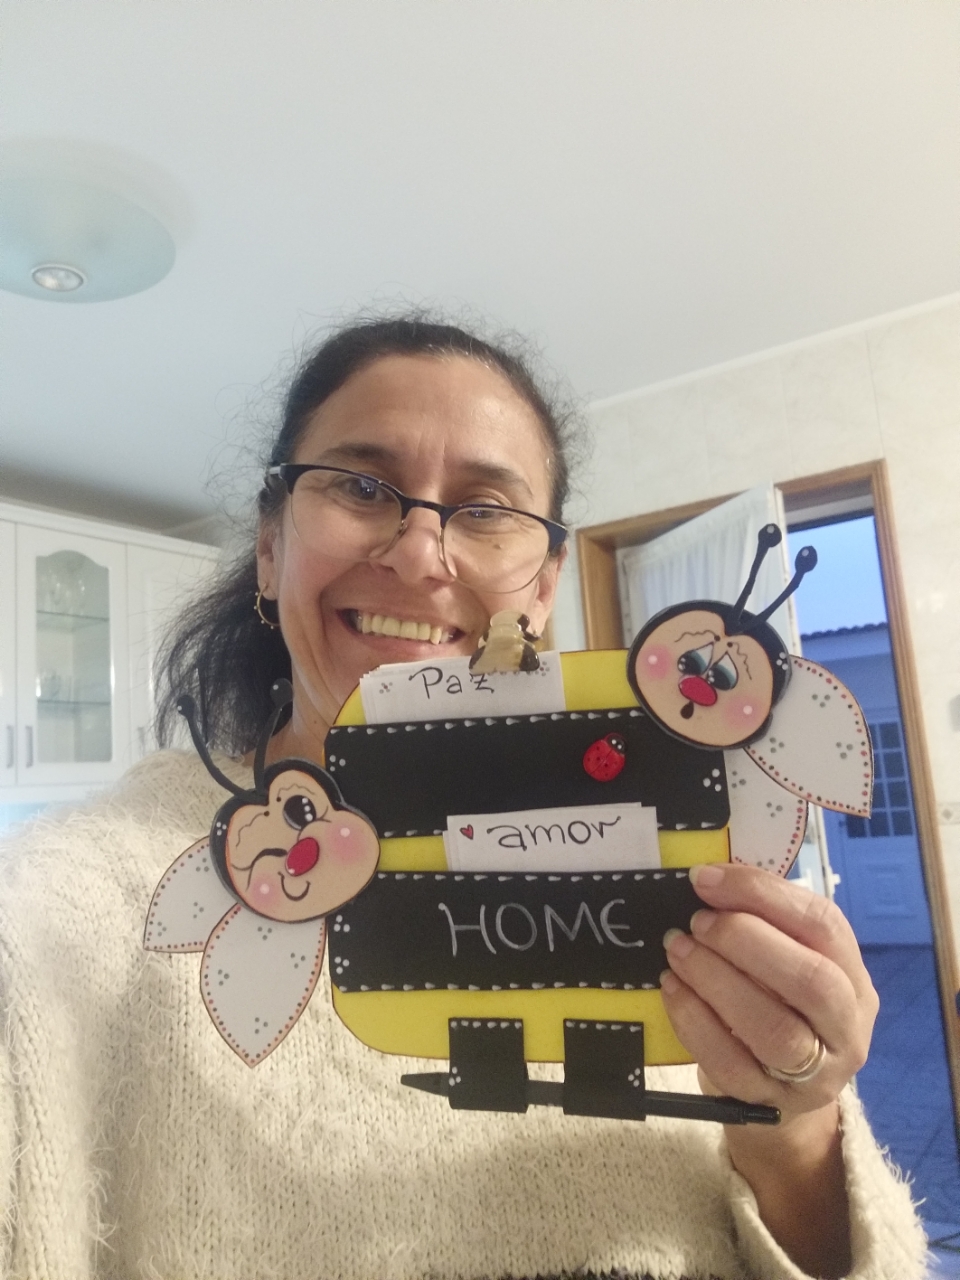
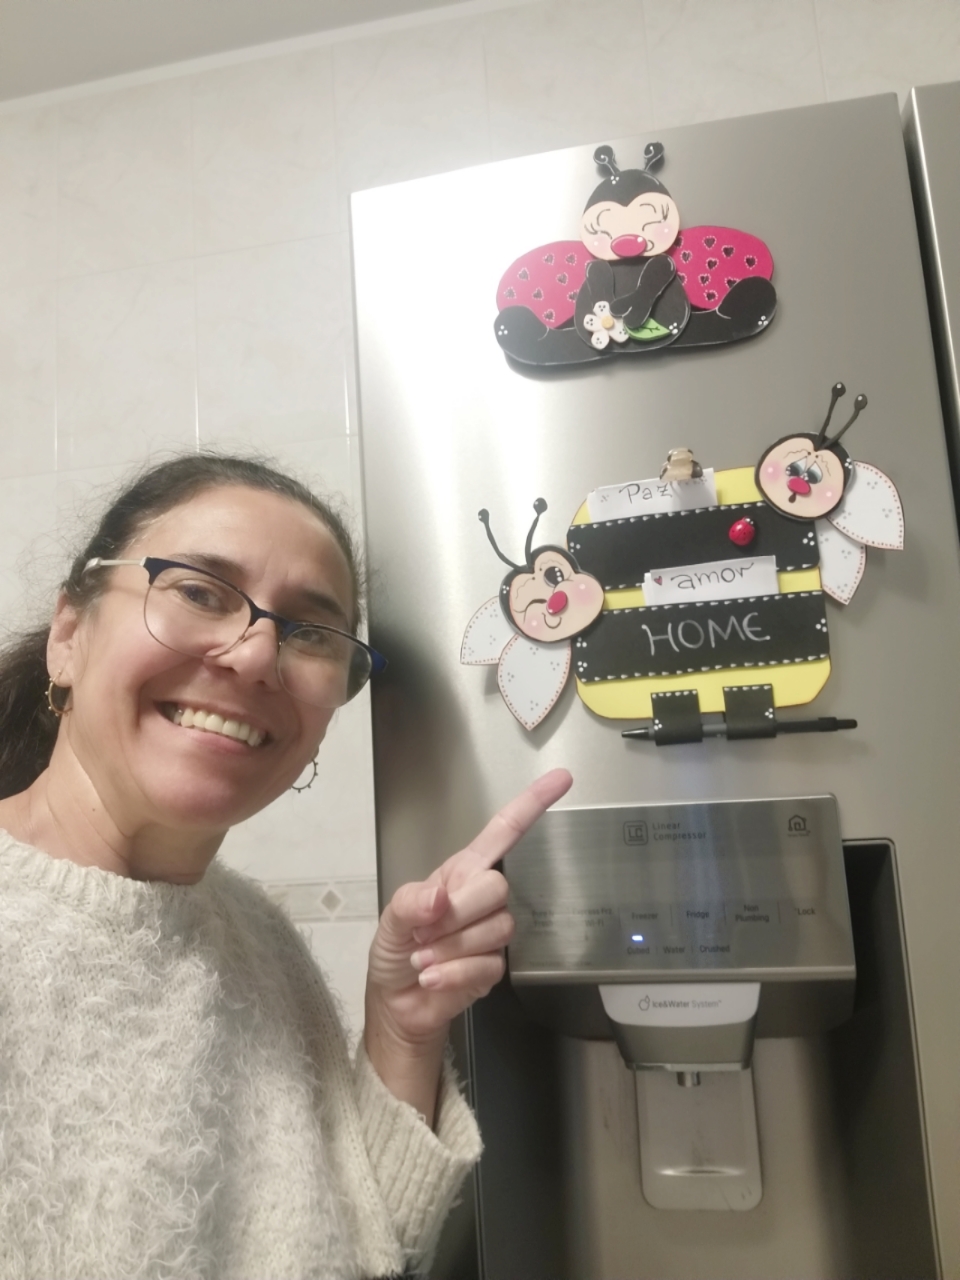
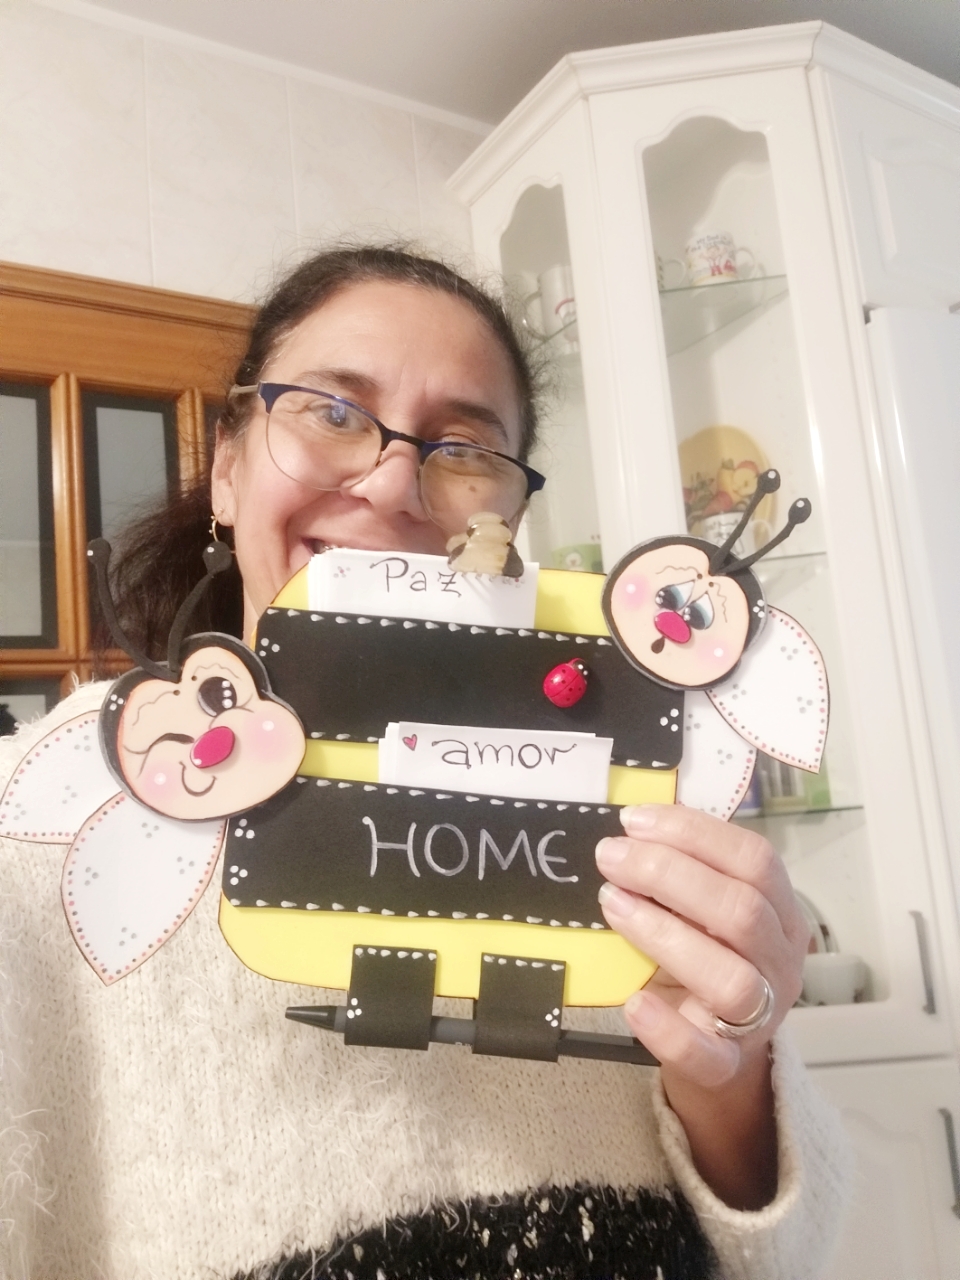
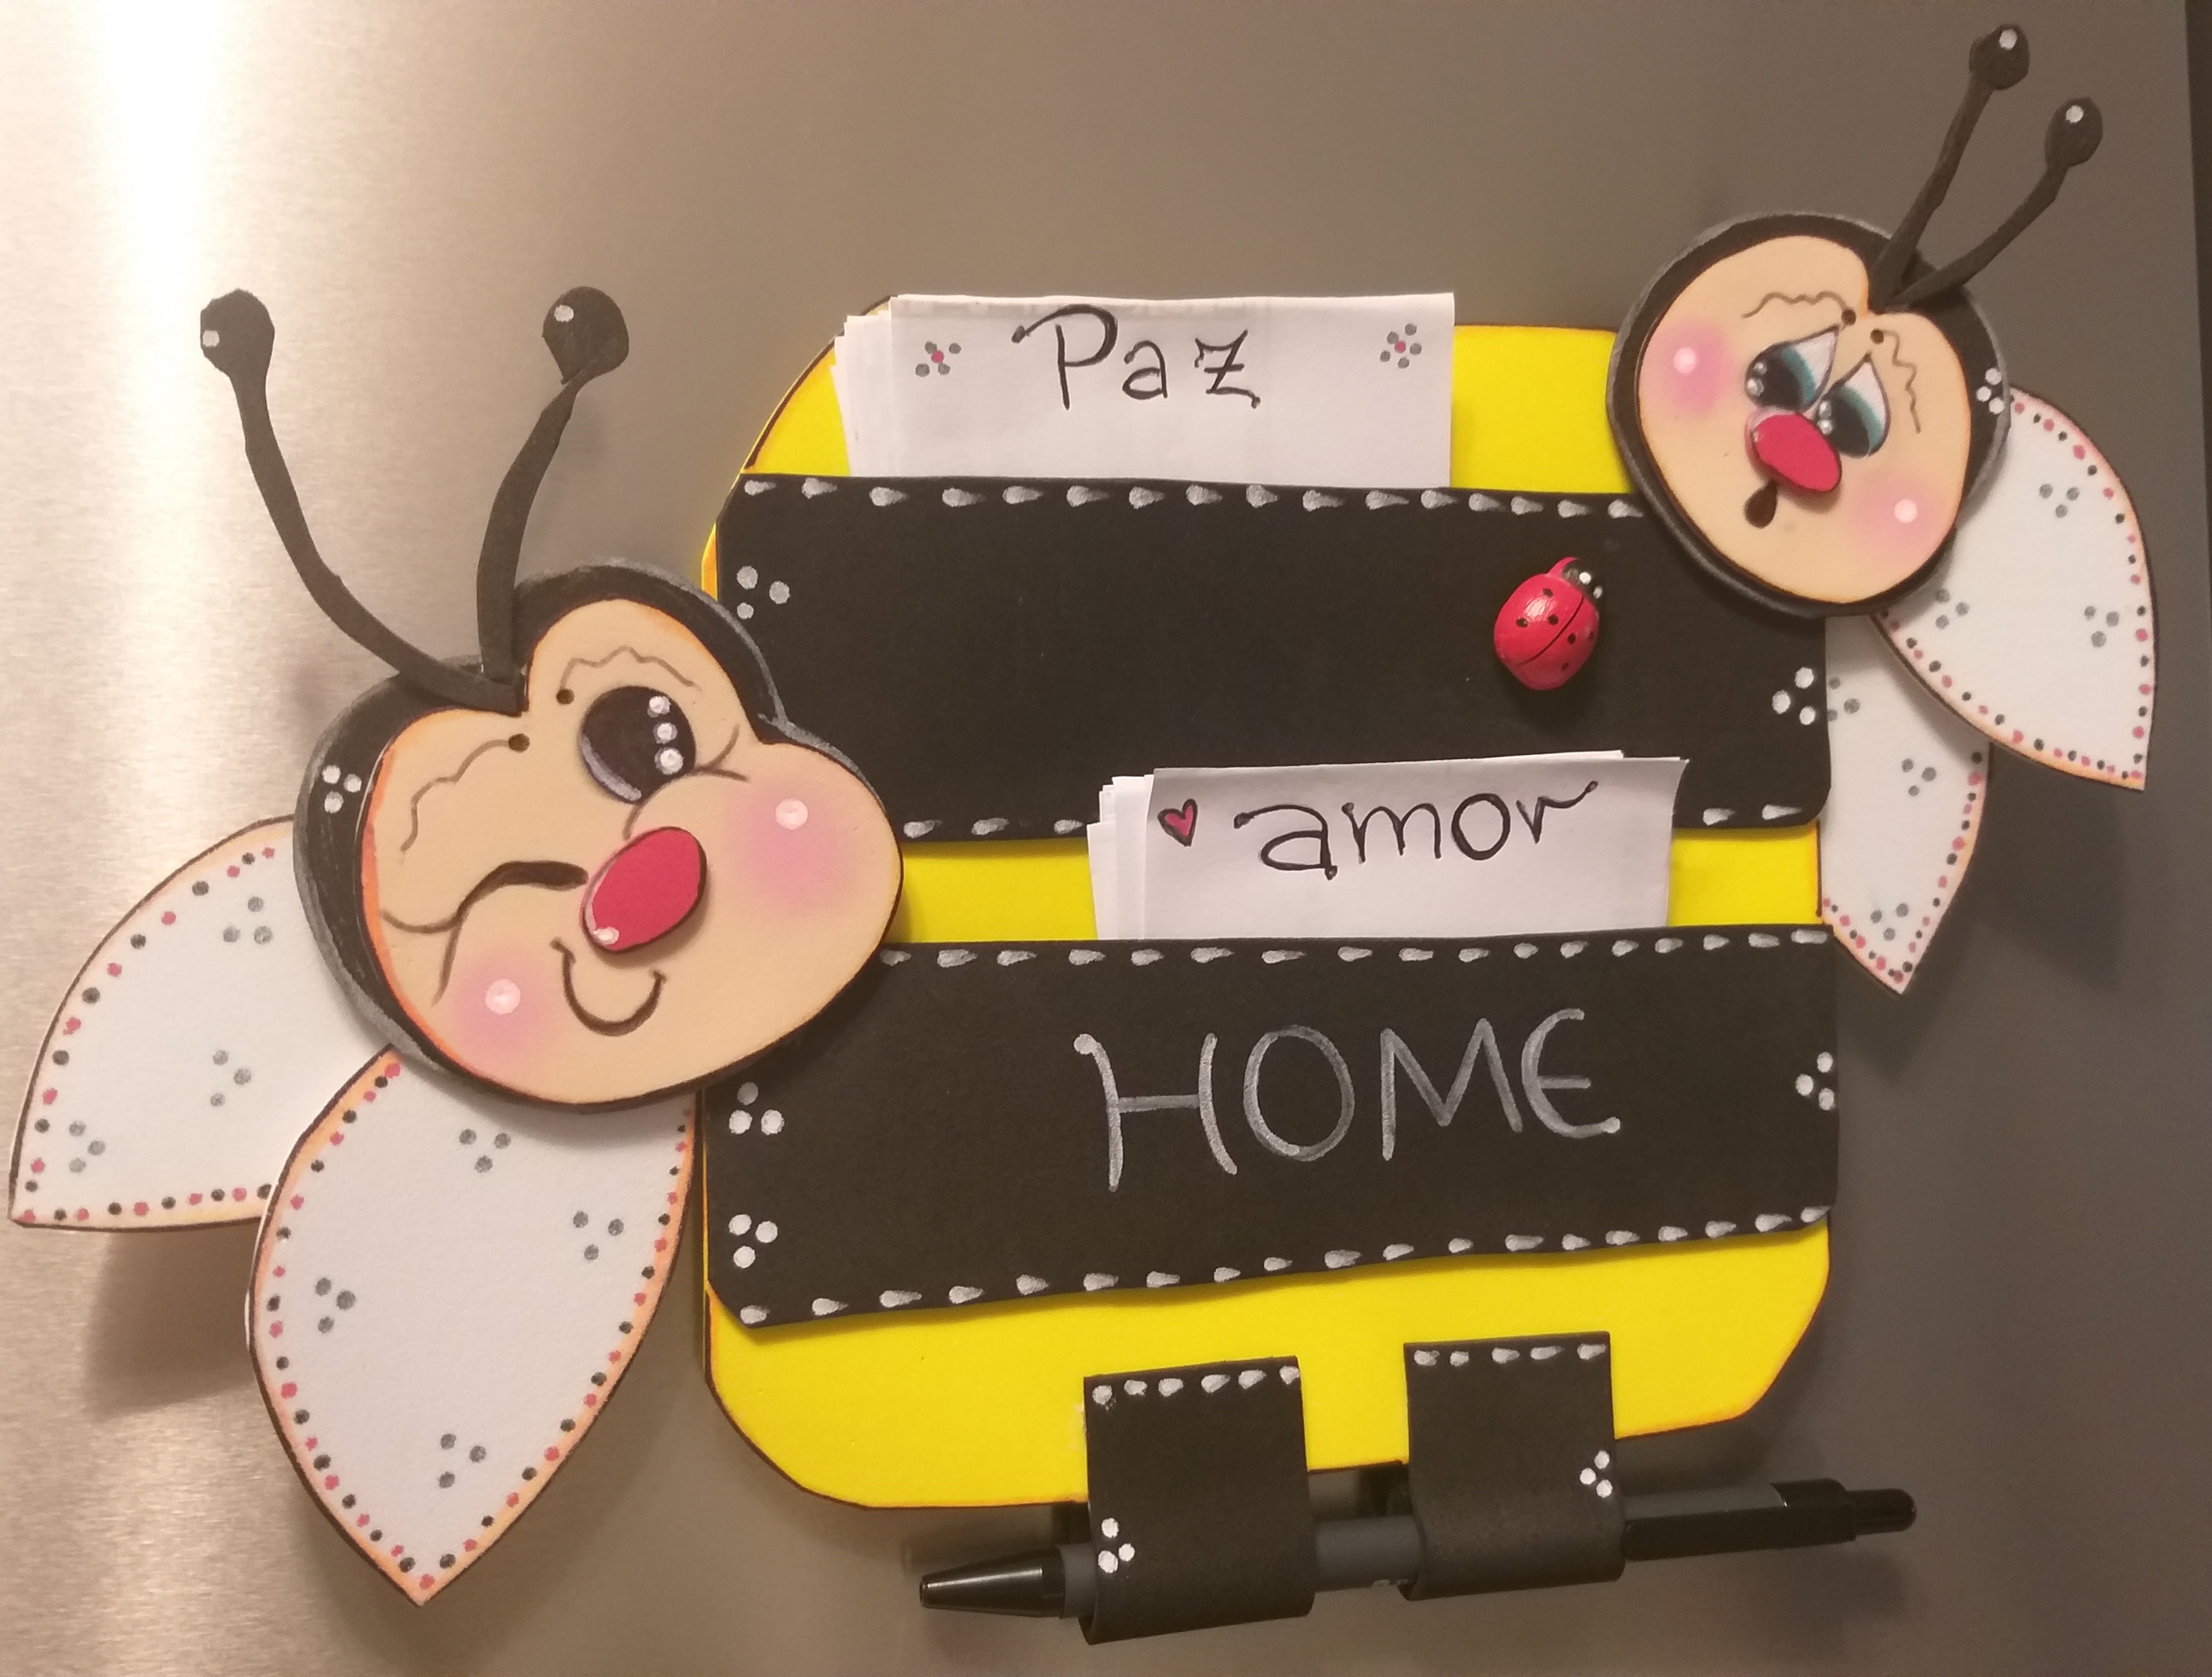
La manualidad de hoy; que es un organizador pero a la vez es un imán para decorar la nevera o refrigerador. Semanalmente hacemos comprar y siempre hago una lista con hojas de desechos que me trae mi esposo y cada vez que me pedía una hoja tenía que estar buscando entre mis carpetas y entonces me dije que iba a solucionar eso pero con una manualidad🤭☺. Realicé una imán con la figura de abejas donde puedo meter cuadros de hojas de desechos, el bolígrafos y clips👍también sirve para colocar en la parte de abajo facturas o cualquier papel que se vaya a necesitar.
Today's craft; which is an organizer but at the same time it is a magnet to decorate the fridge or refrigerator. Weekly we shop and I always make a list with scrap sheets that my husband brings me and every time he asked me for a sheet I had to search through my folders and then I told myself that I was going to solve that but with a craft🤭☺. I made a magnet with the figure of bees where I can put boxes of waste sheets, pens and clips 👍 it also serves to place bills or any paper that is going to be needed at the bottom.

Materiales a utilizar-The materials to use

1. Foami o goma eva de color negro, blanco, rojo, amarillo y color piel
2. Pegamento universal o también puede ser silicon líquido
3. Tijera
4. Caja de cartón fino o cartulina
5. Marcadores negro de punta fina, naranja, rojo y blanco (permanentes)también sirve pinturas acrílicas de esos colores con pincel de punta fina
6. Cinta métrica o regla
7. Hojas de desechos y bolígrafo o lápiz
8. Imanes (3)
1. Foami or EVA rubber in black, white, red, yellow and skin color
2. Universal glue or it can also be liquid silicone
3. Scissor
4. Thin cardboard box or cardboard
5. Fine tip black, orange, red and white markers (permanent) also works acrylic paints of those colors with a fine tip brush
6. Tape measure or ruler
7. Scrap sheets and pen or pencil
8. Magnets (3)


Pasos a seguir- Steps to follow

1er paso. En el foami o goma eva de color amarillo con la regla o cinta métrica marcar con el bolígrafo o lápiz un cuadro de 15cm por 15 cm.
1st step. In the foami or foam rubber of yellow color with the ruler or tape measure mark with the pen or pencil a square of 15cm by 15 cm.
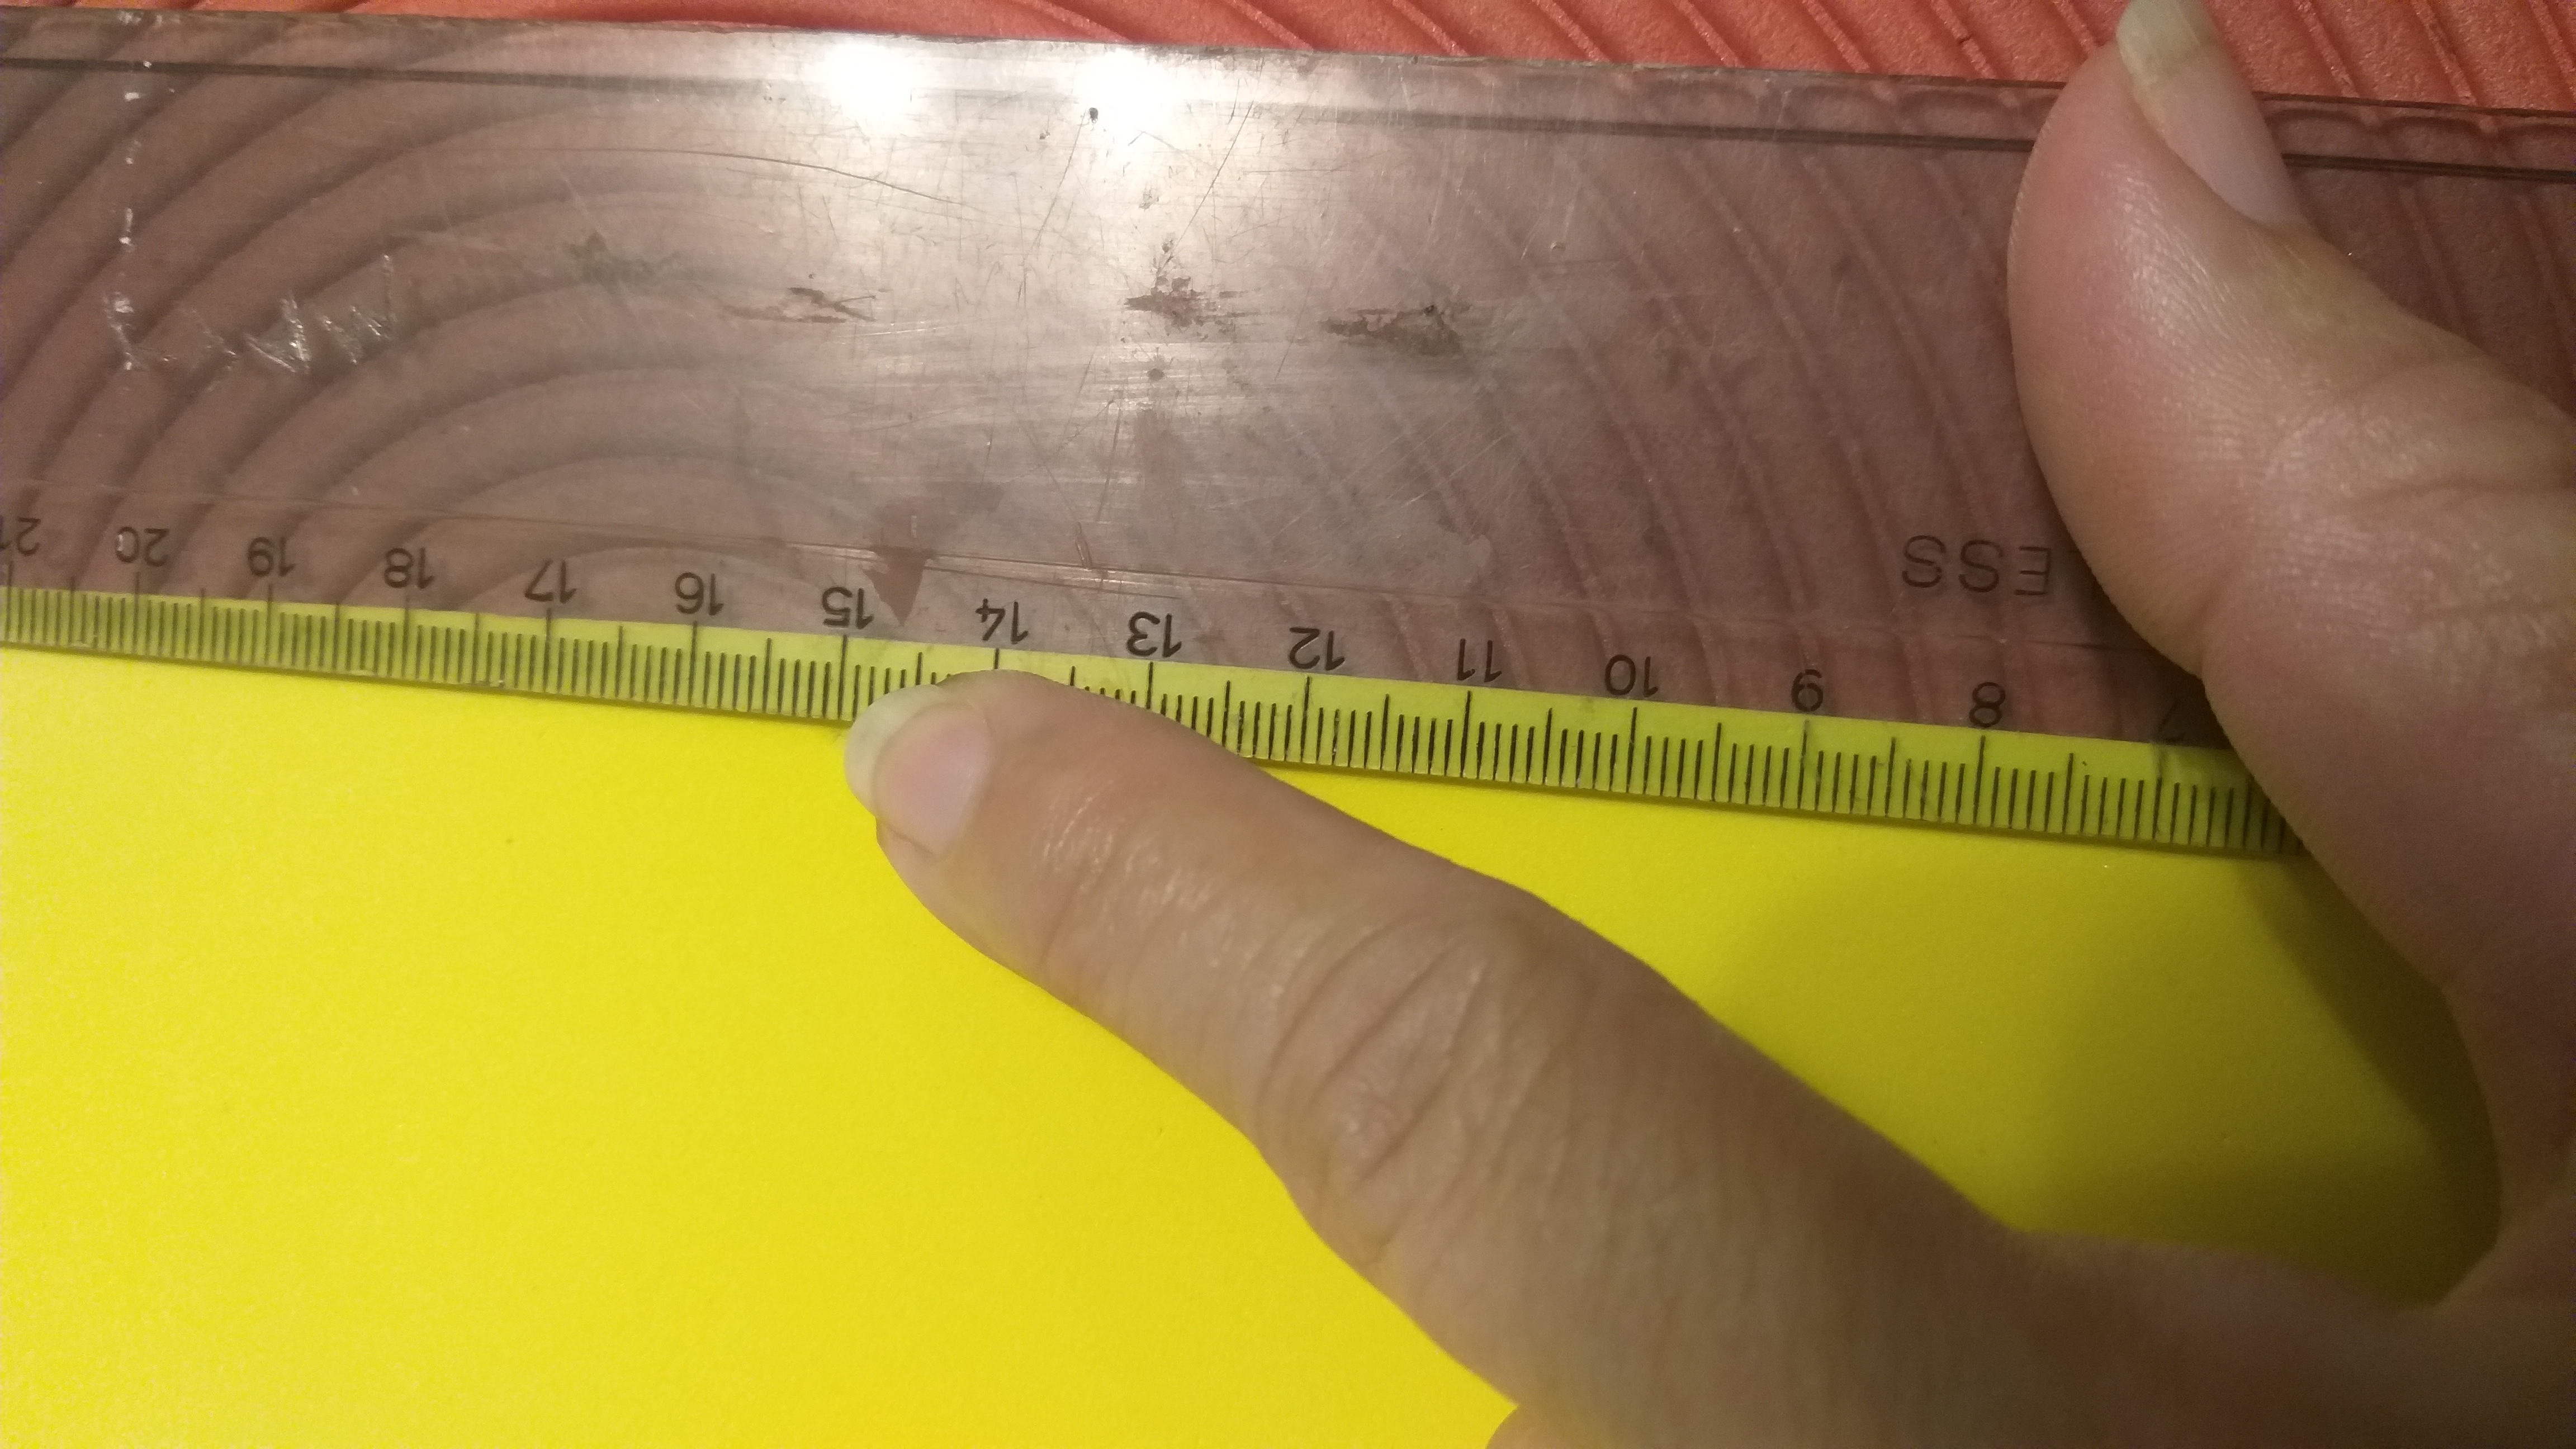
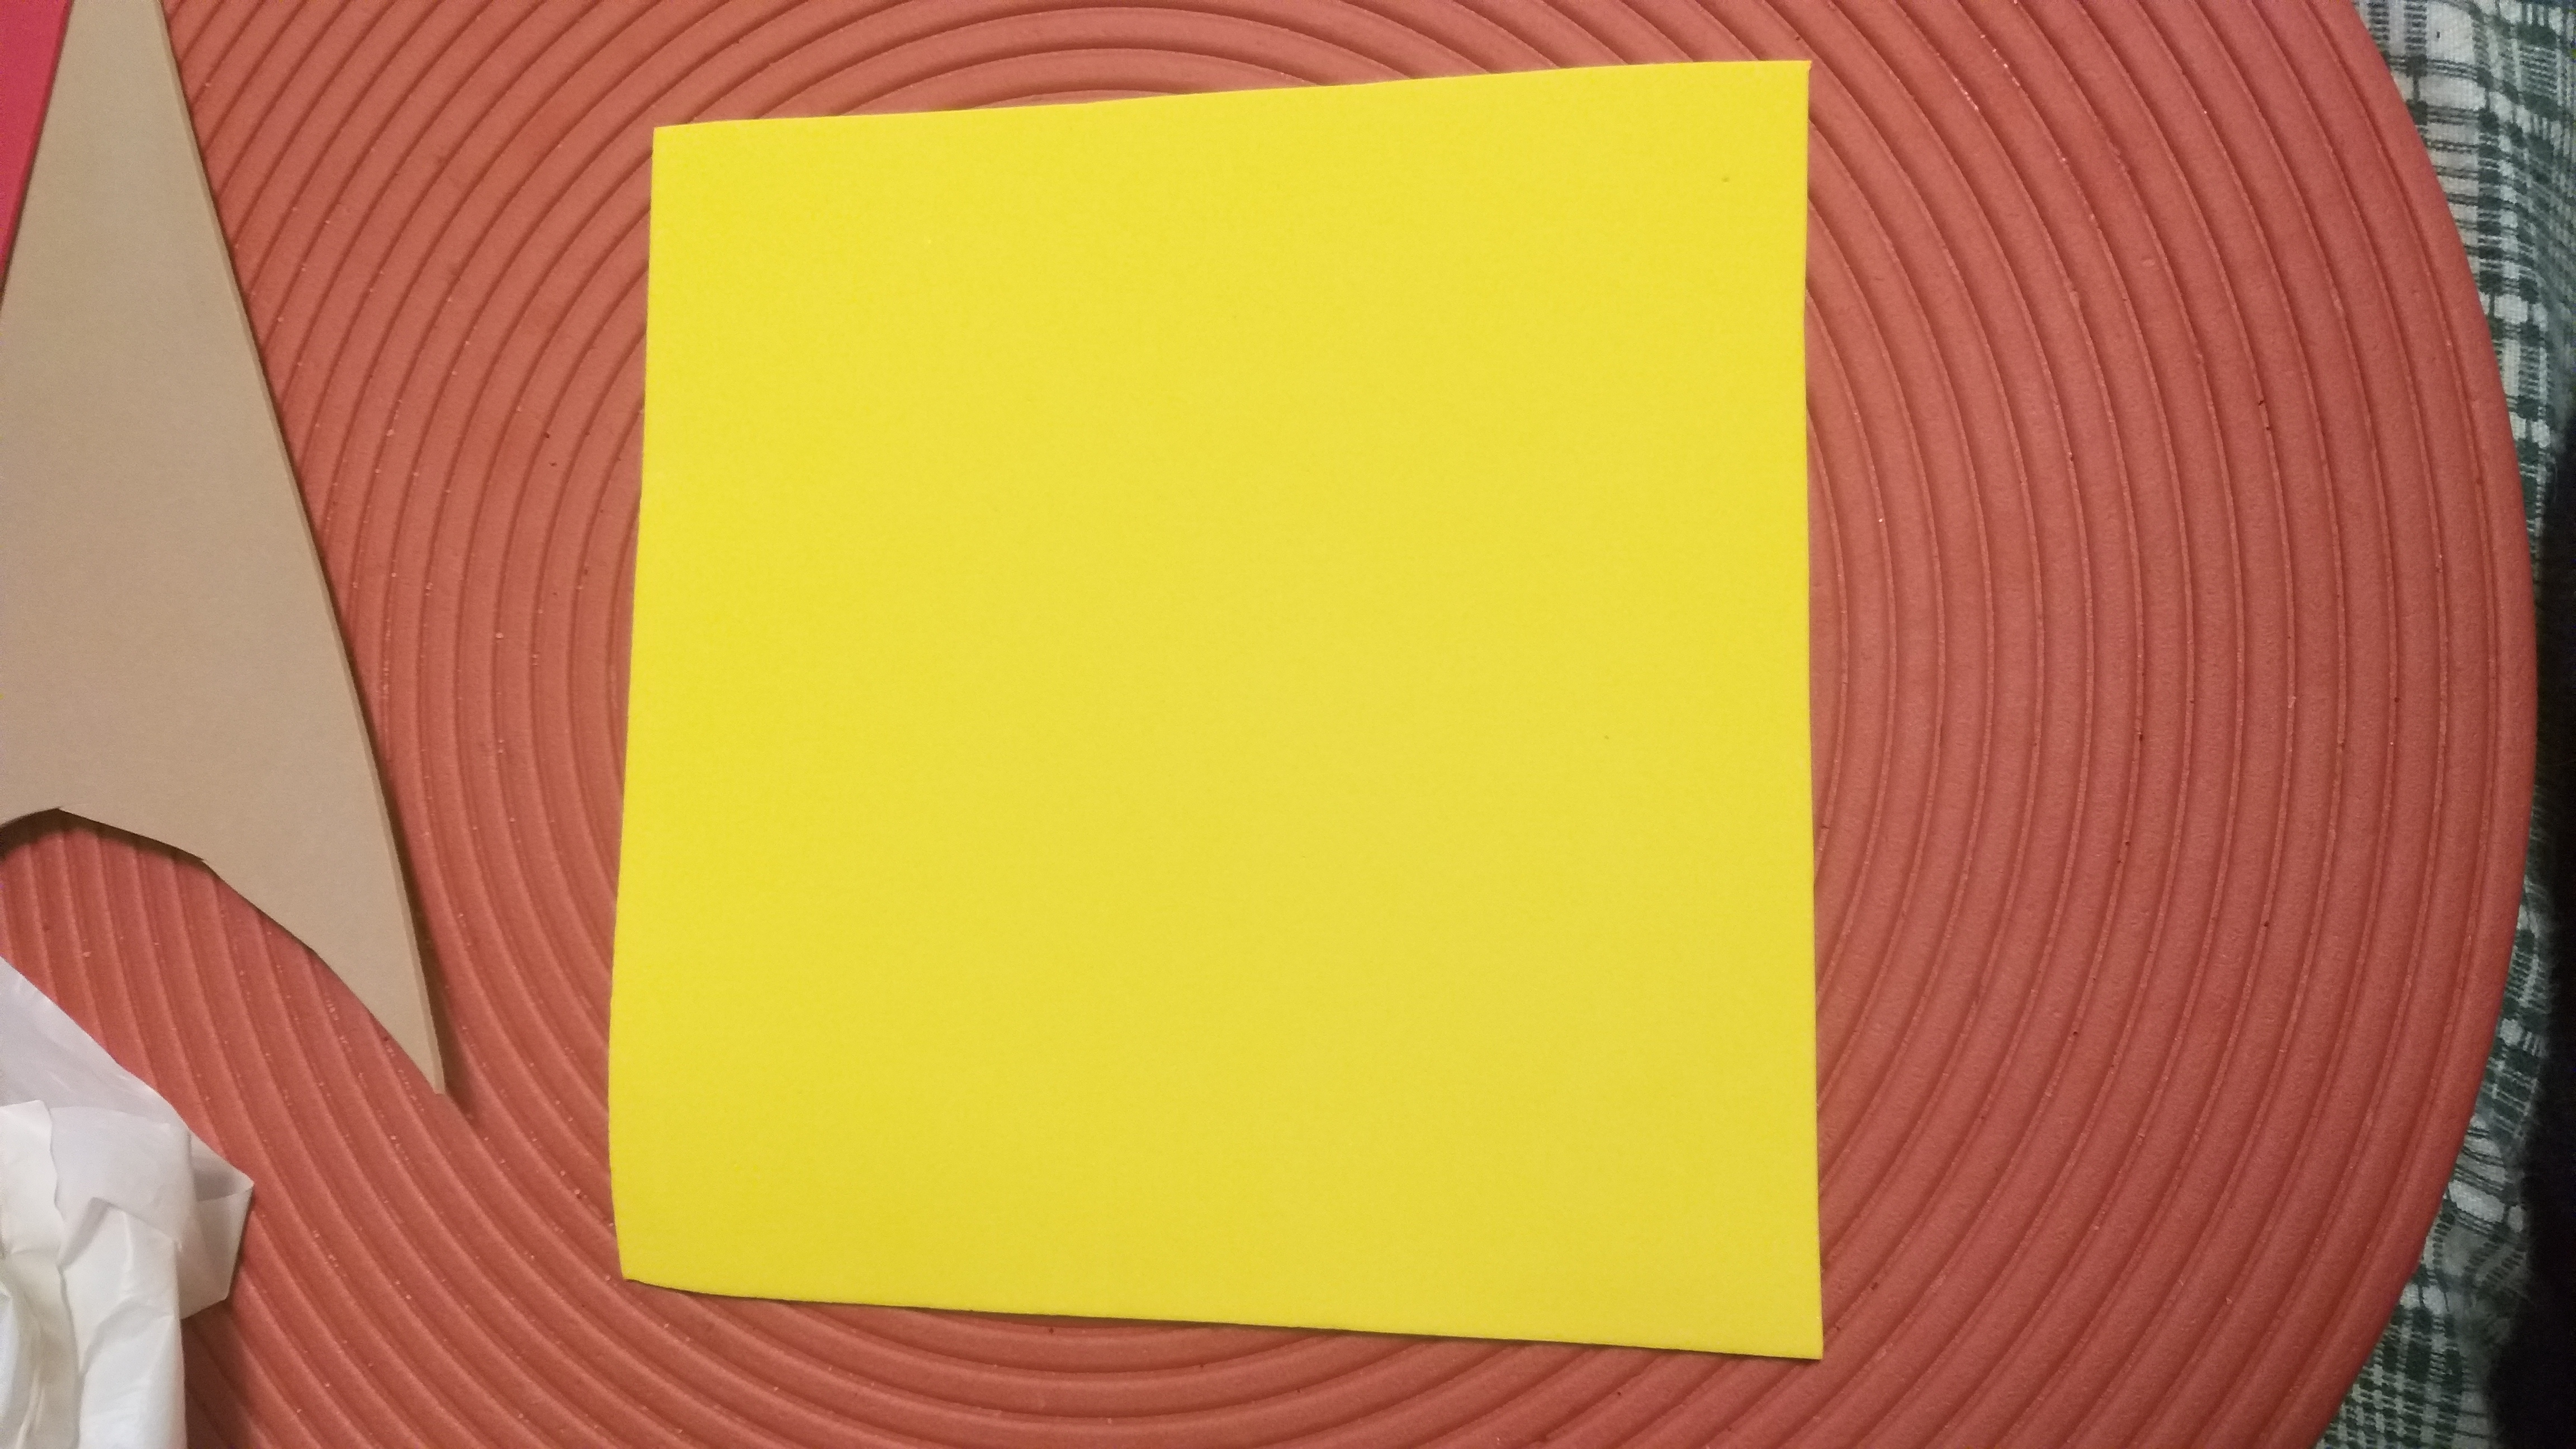
2do paso. Luego de haber marcado el cuadro con la tijera recortar bien para que no le queden picos.
2nd step. After having marked the box with the scissors, cut it well so that there are no peaks left.
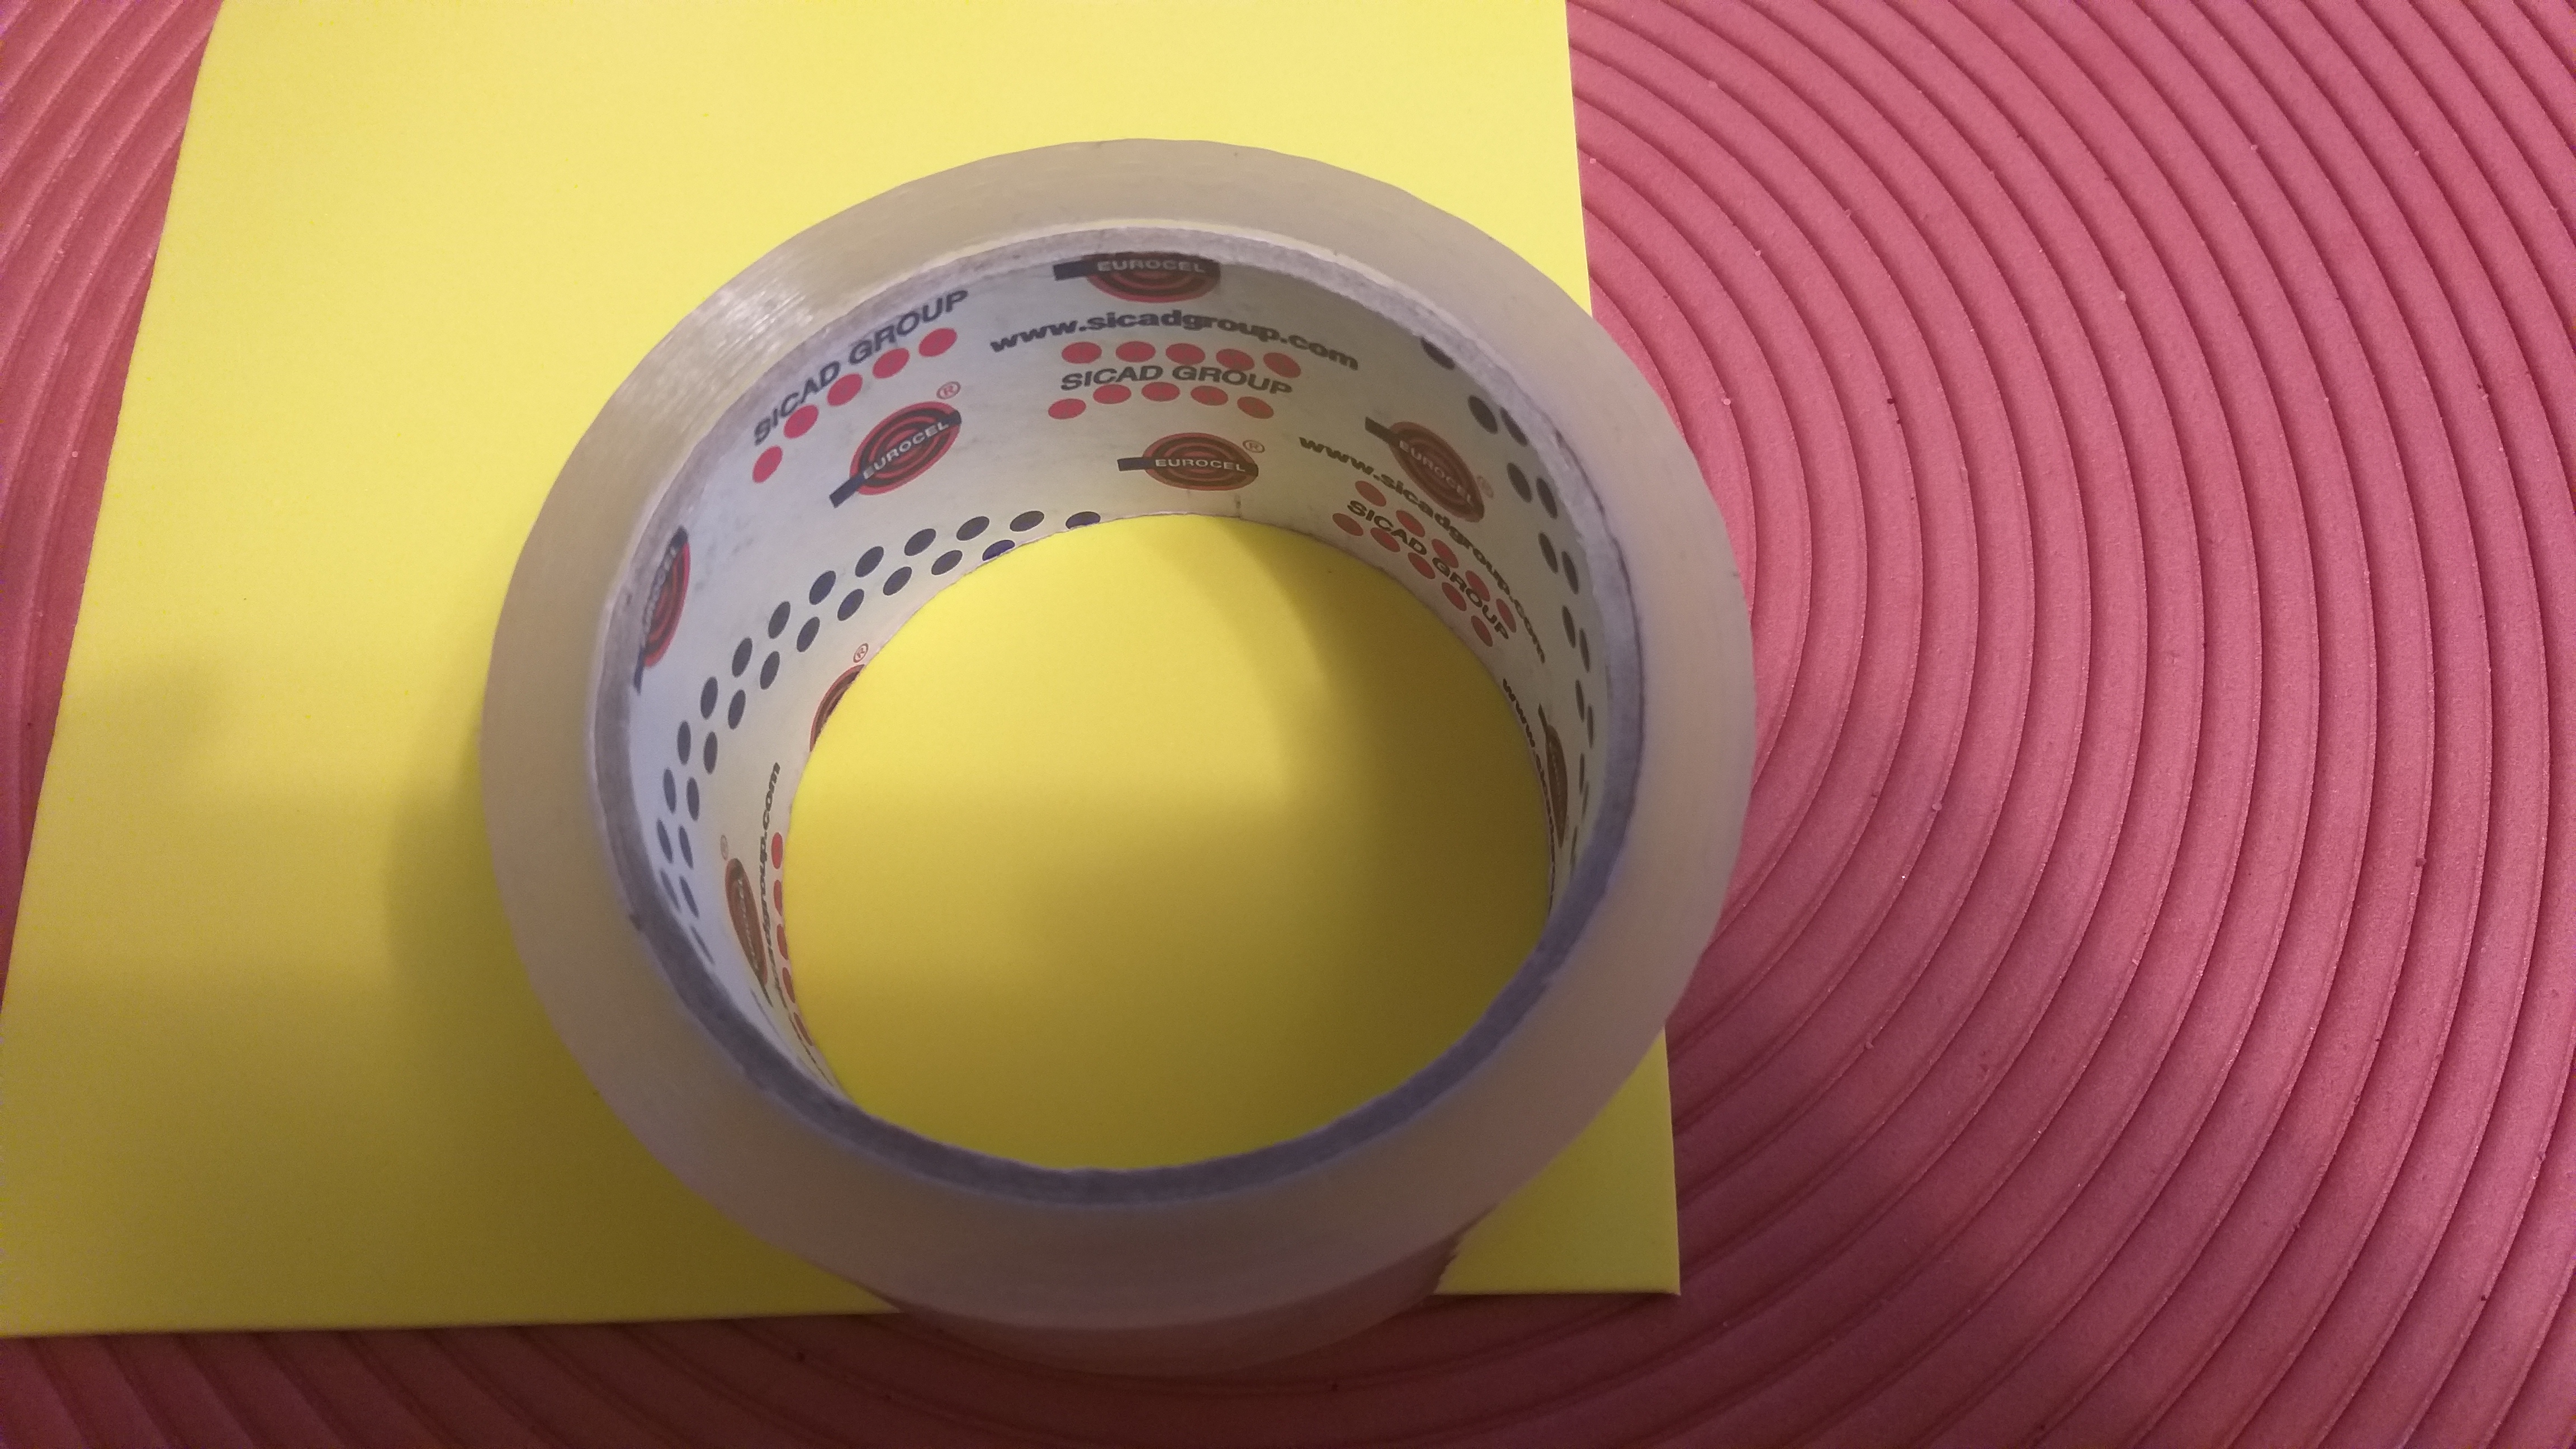
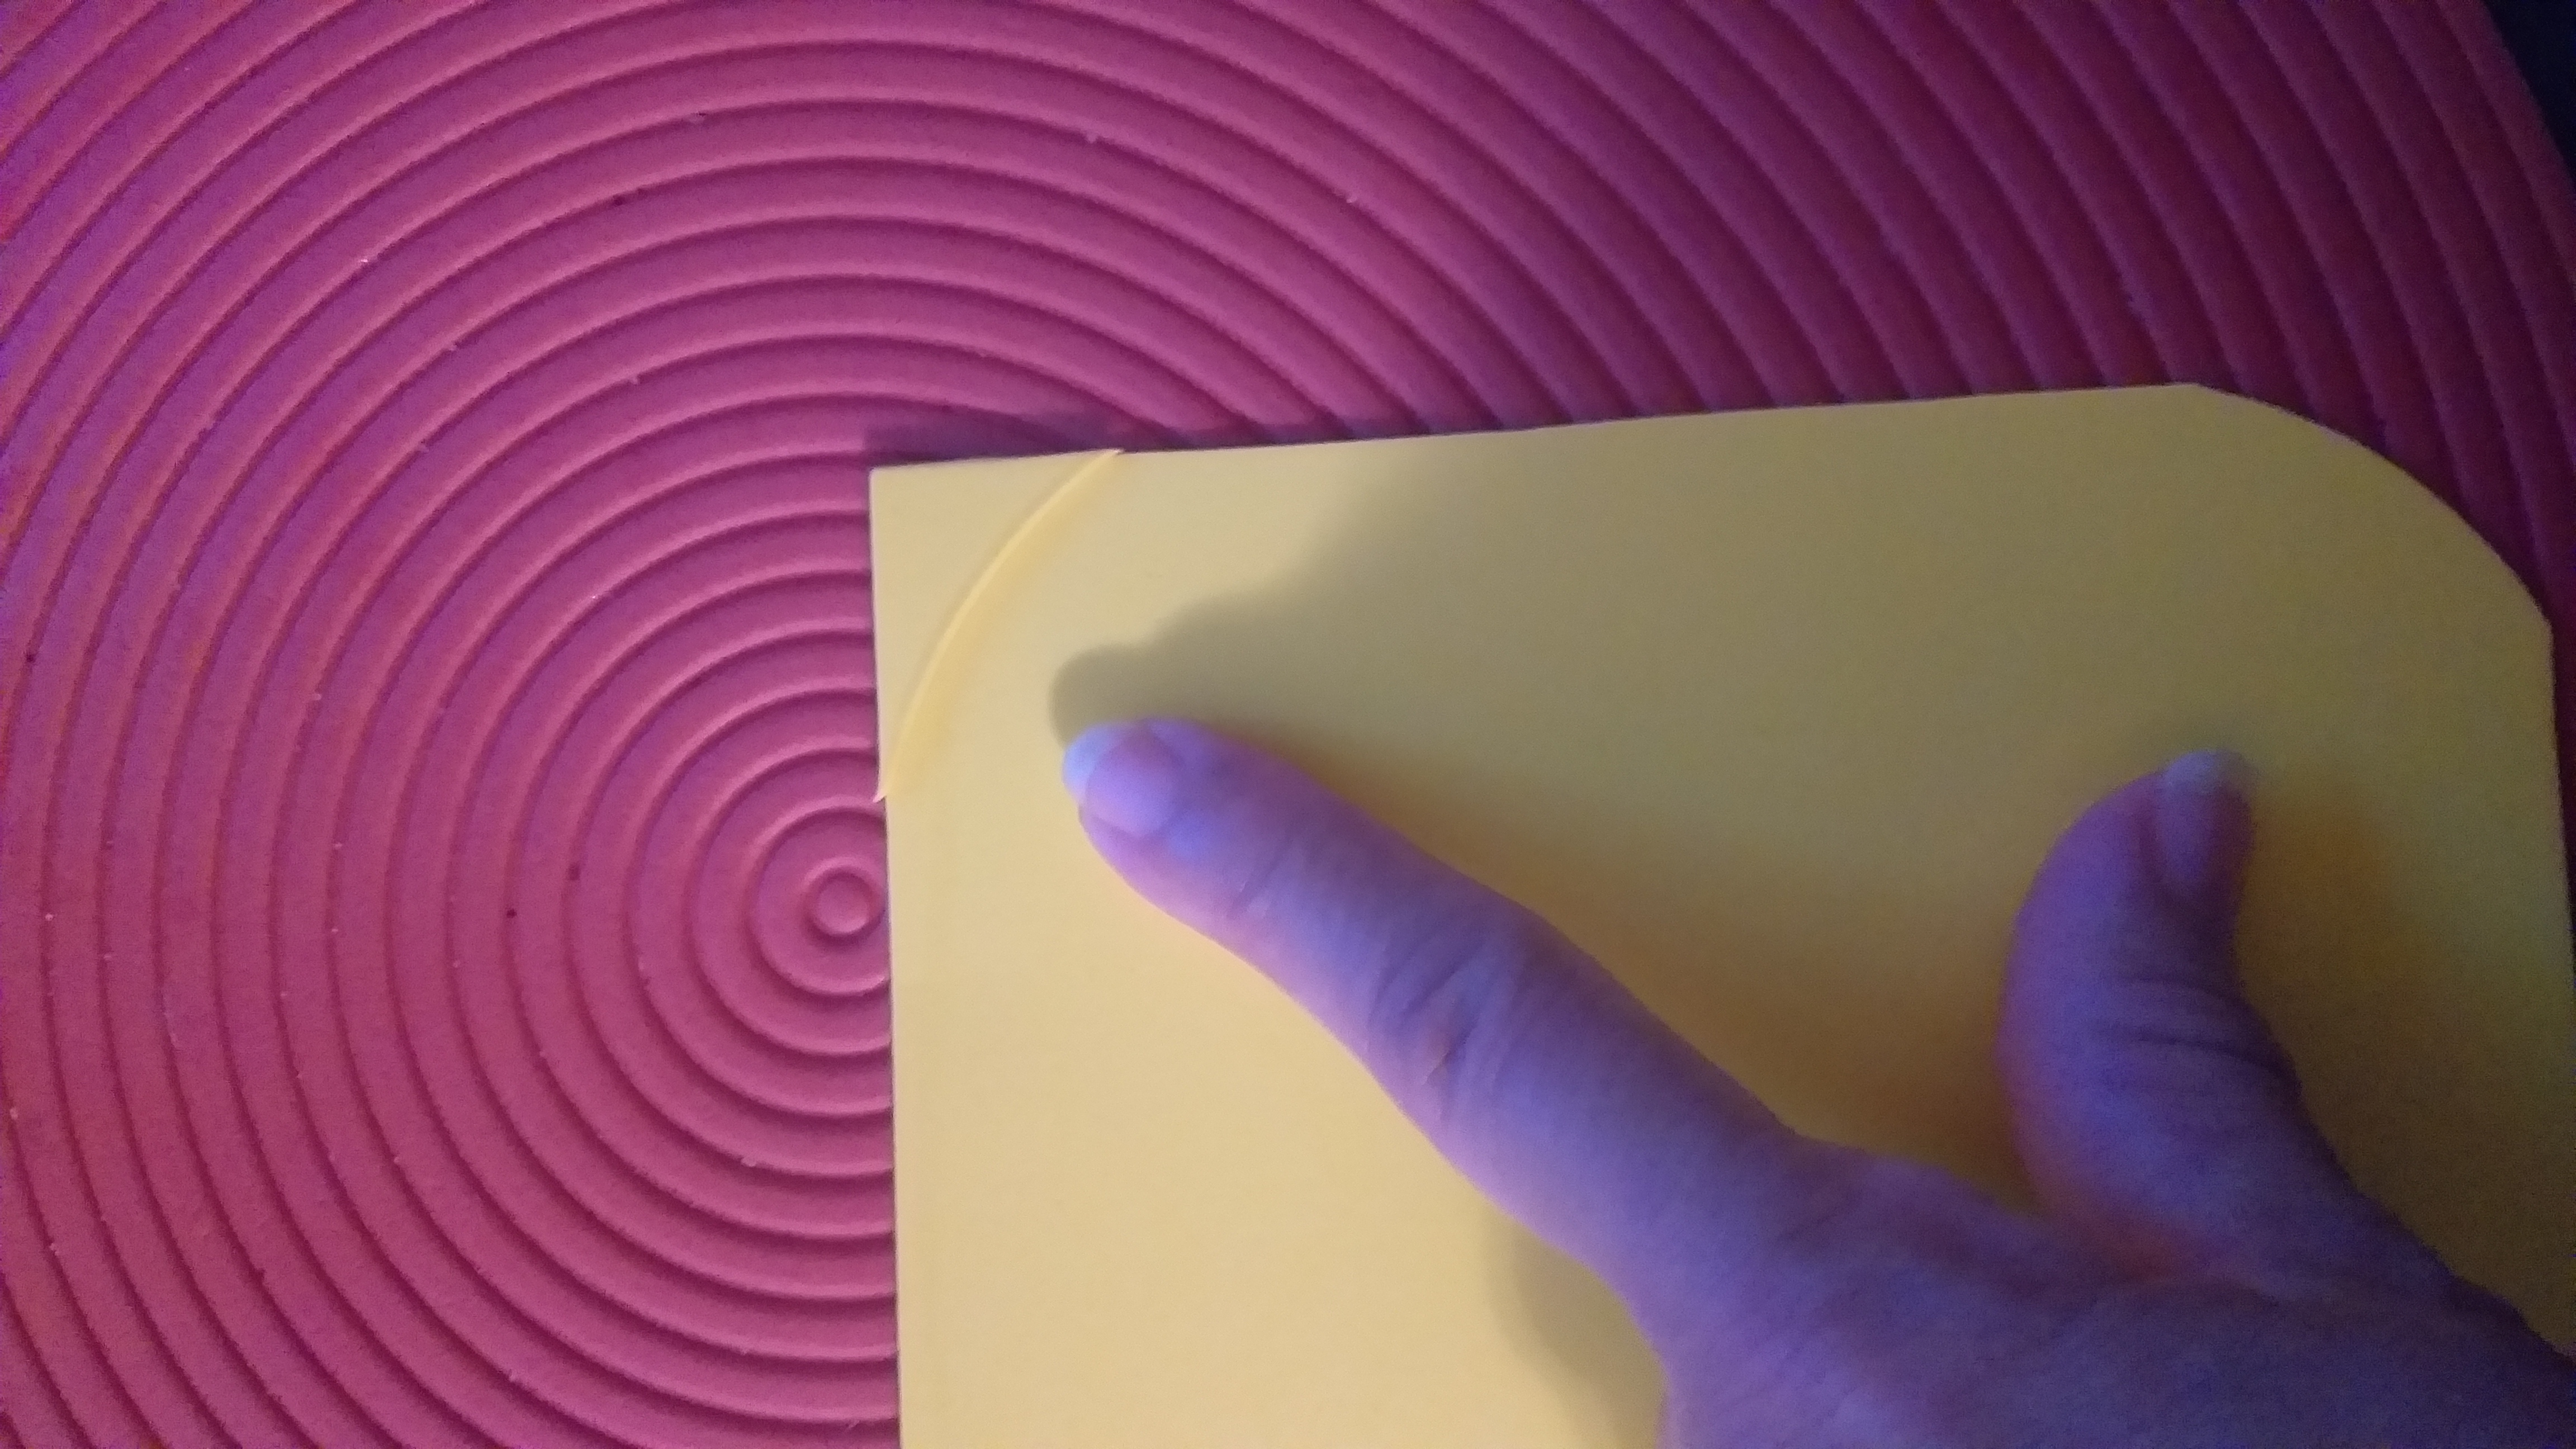
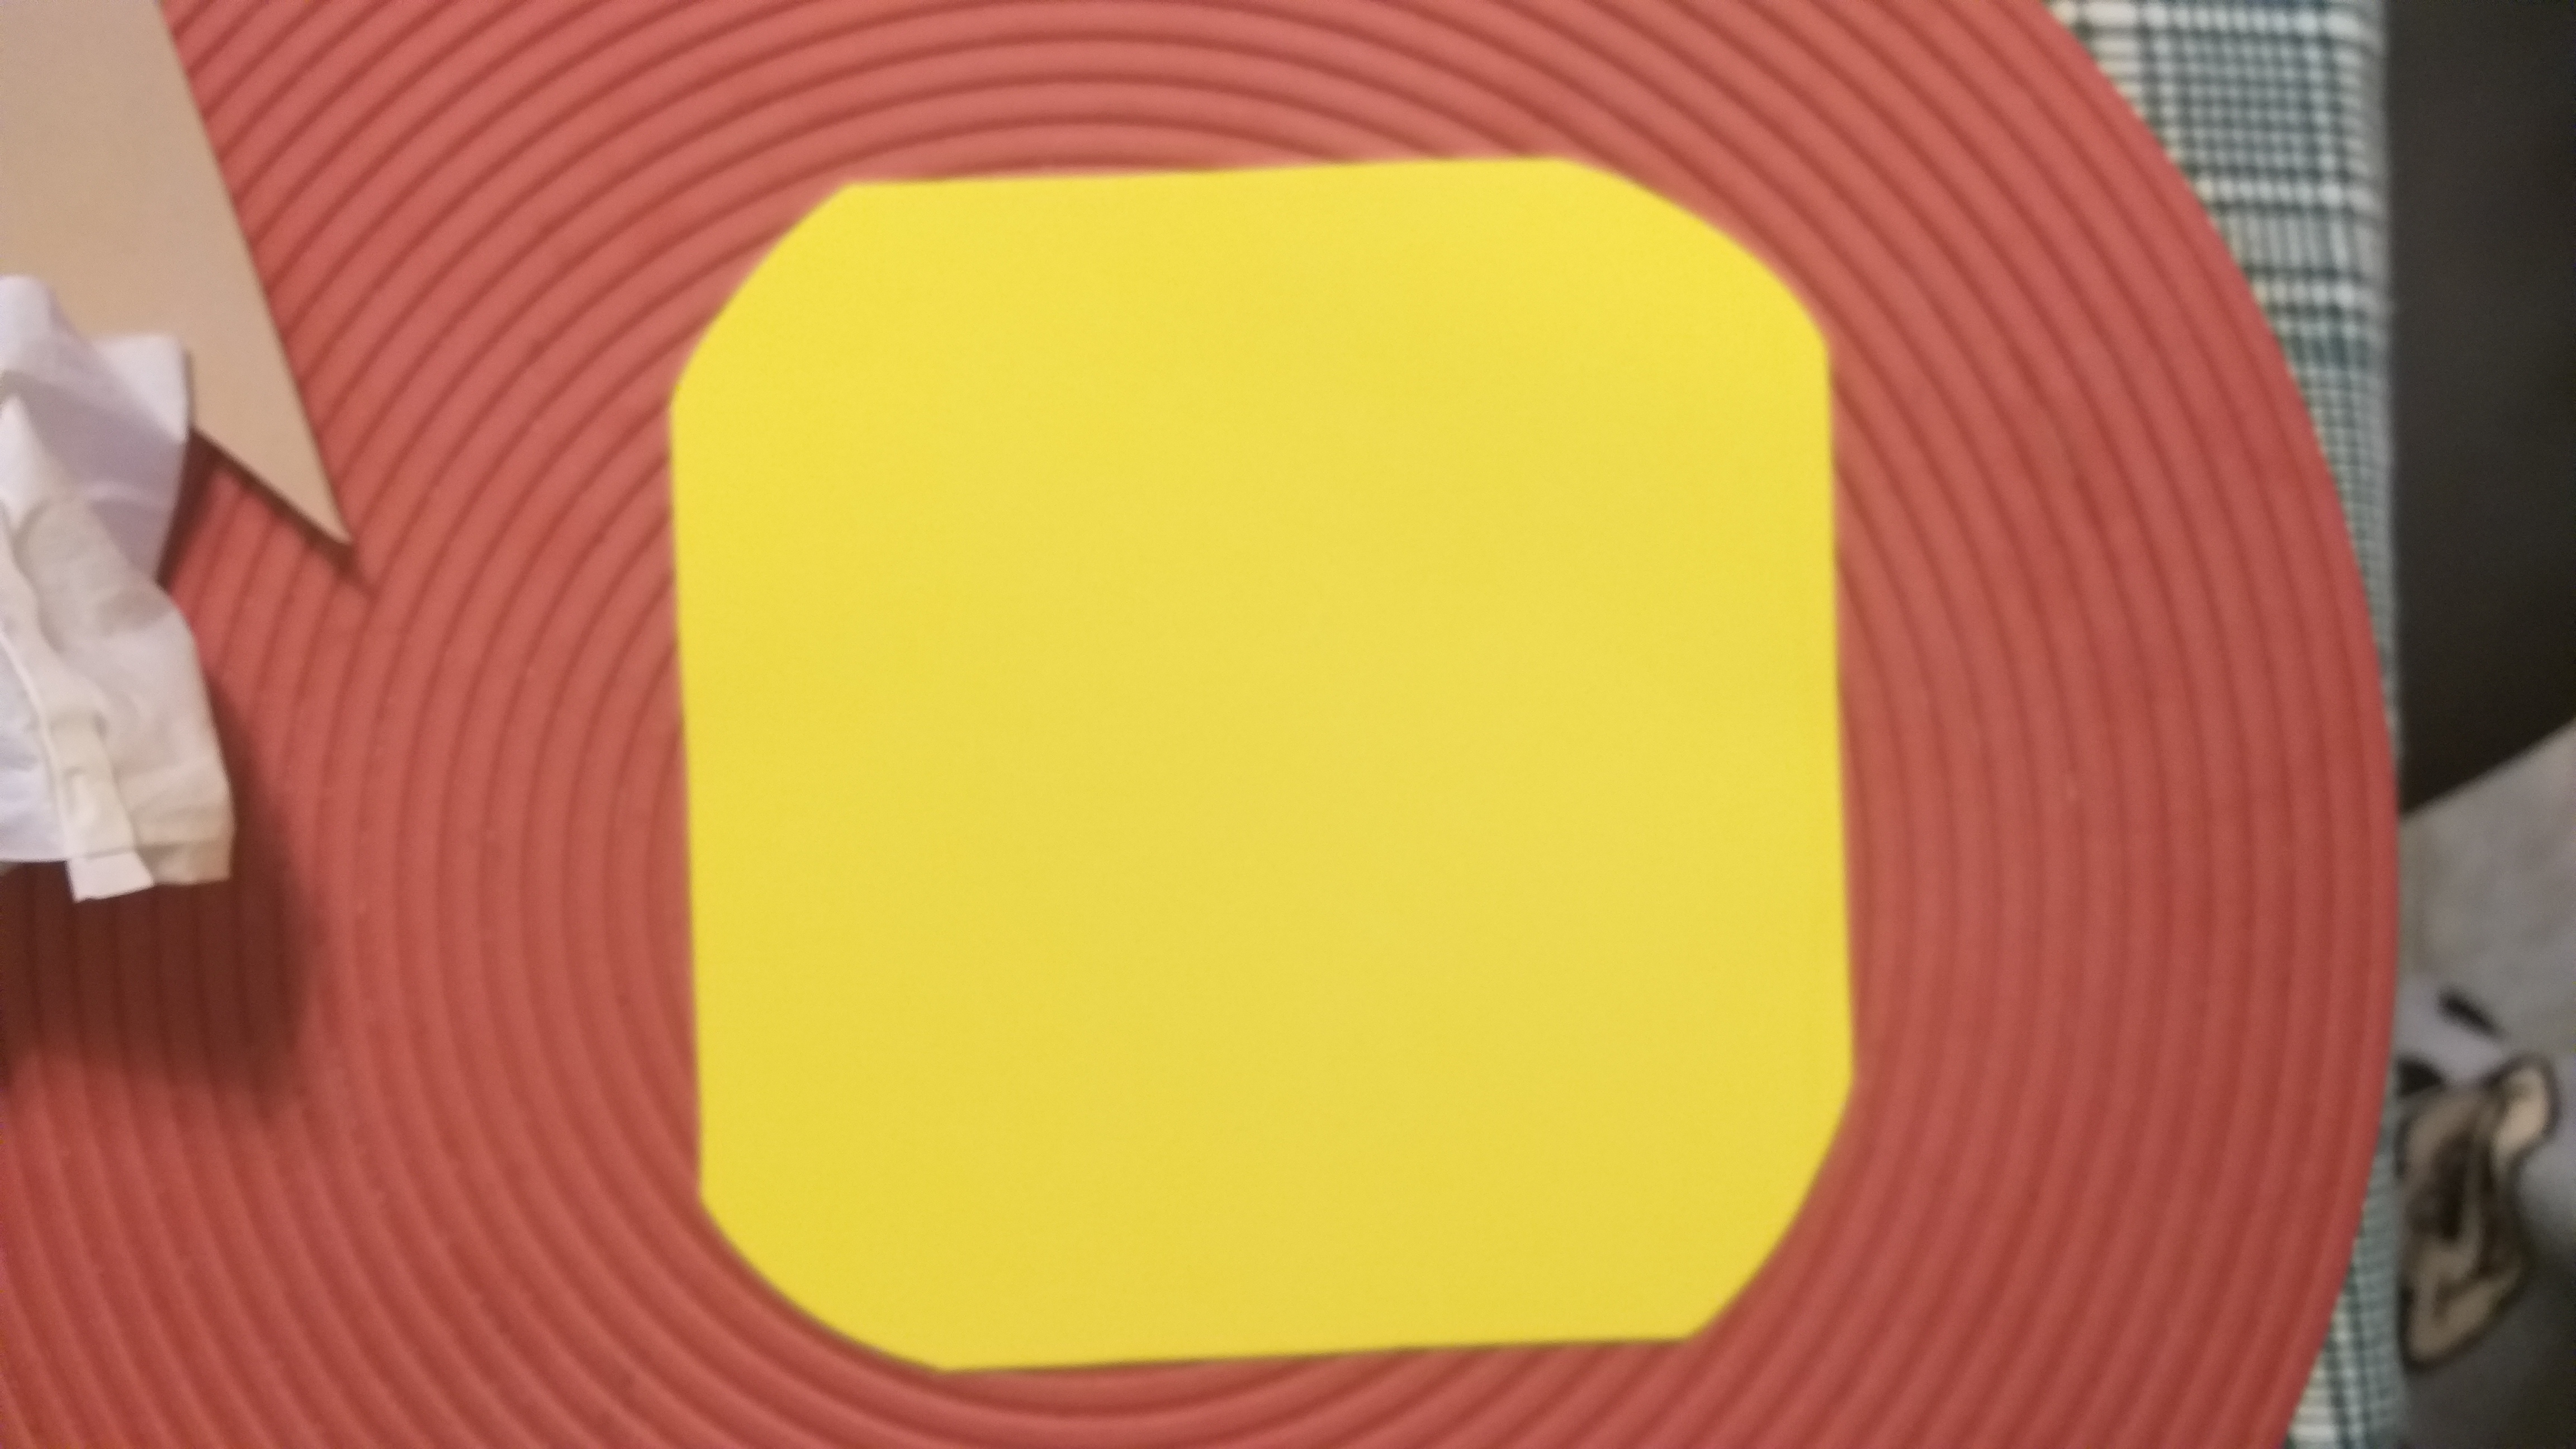
3er paso. Con un objeto redondo como un vaso, plato o en este caso usé un rollo de cinta plástica darle a las puntas redondes y recorte la primera punta y con esa marcar las otras tres puntas y recortar como observan en la imágenes.
3er paso. Con un objeto redondo como un vaso, plato o en este caso usé un rollo de cinta plástica darle a las puntas redondes y recorte la primera punta y con esa marcar las otras tres puntas y recortar como observan en la imágenes.
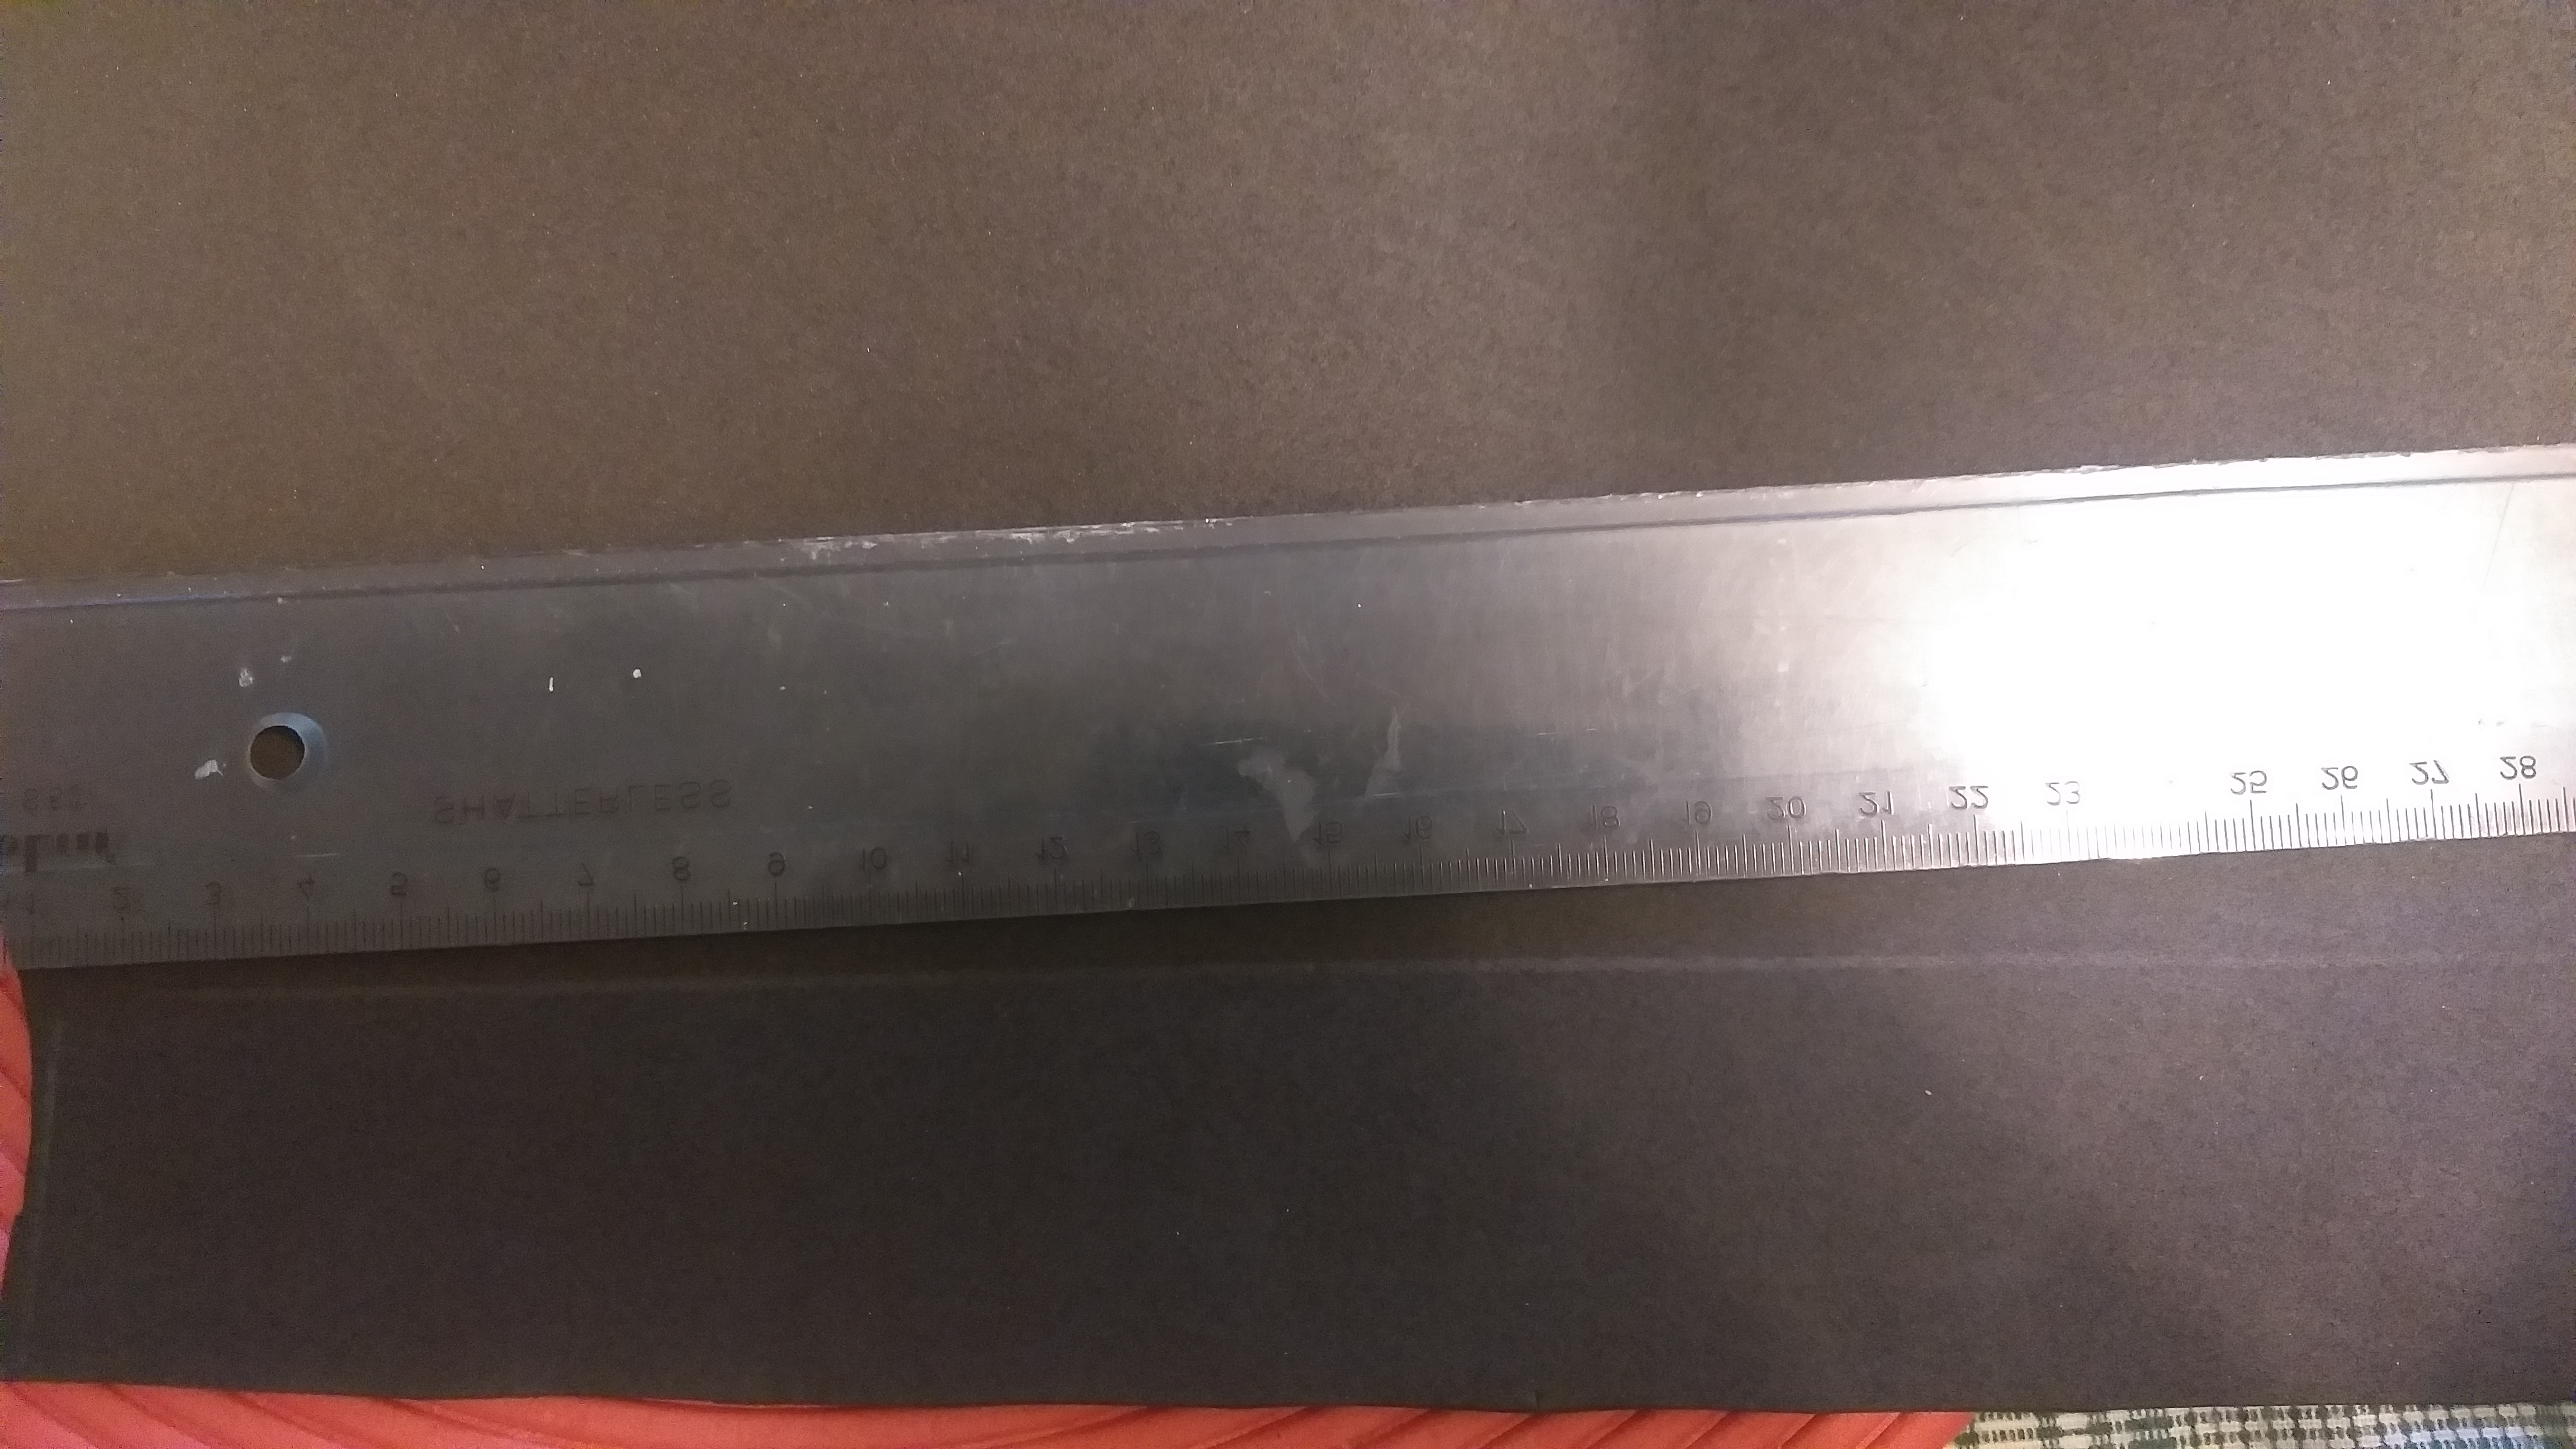
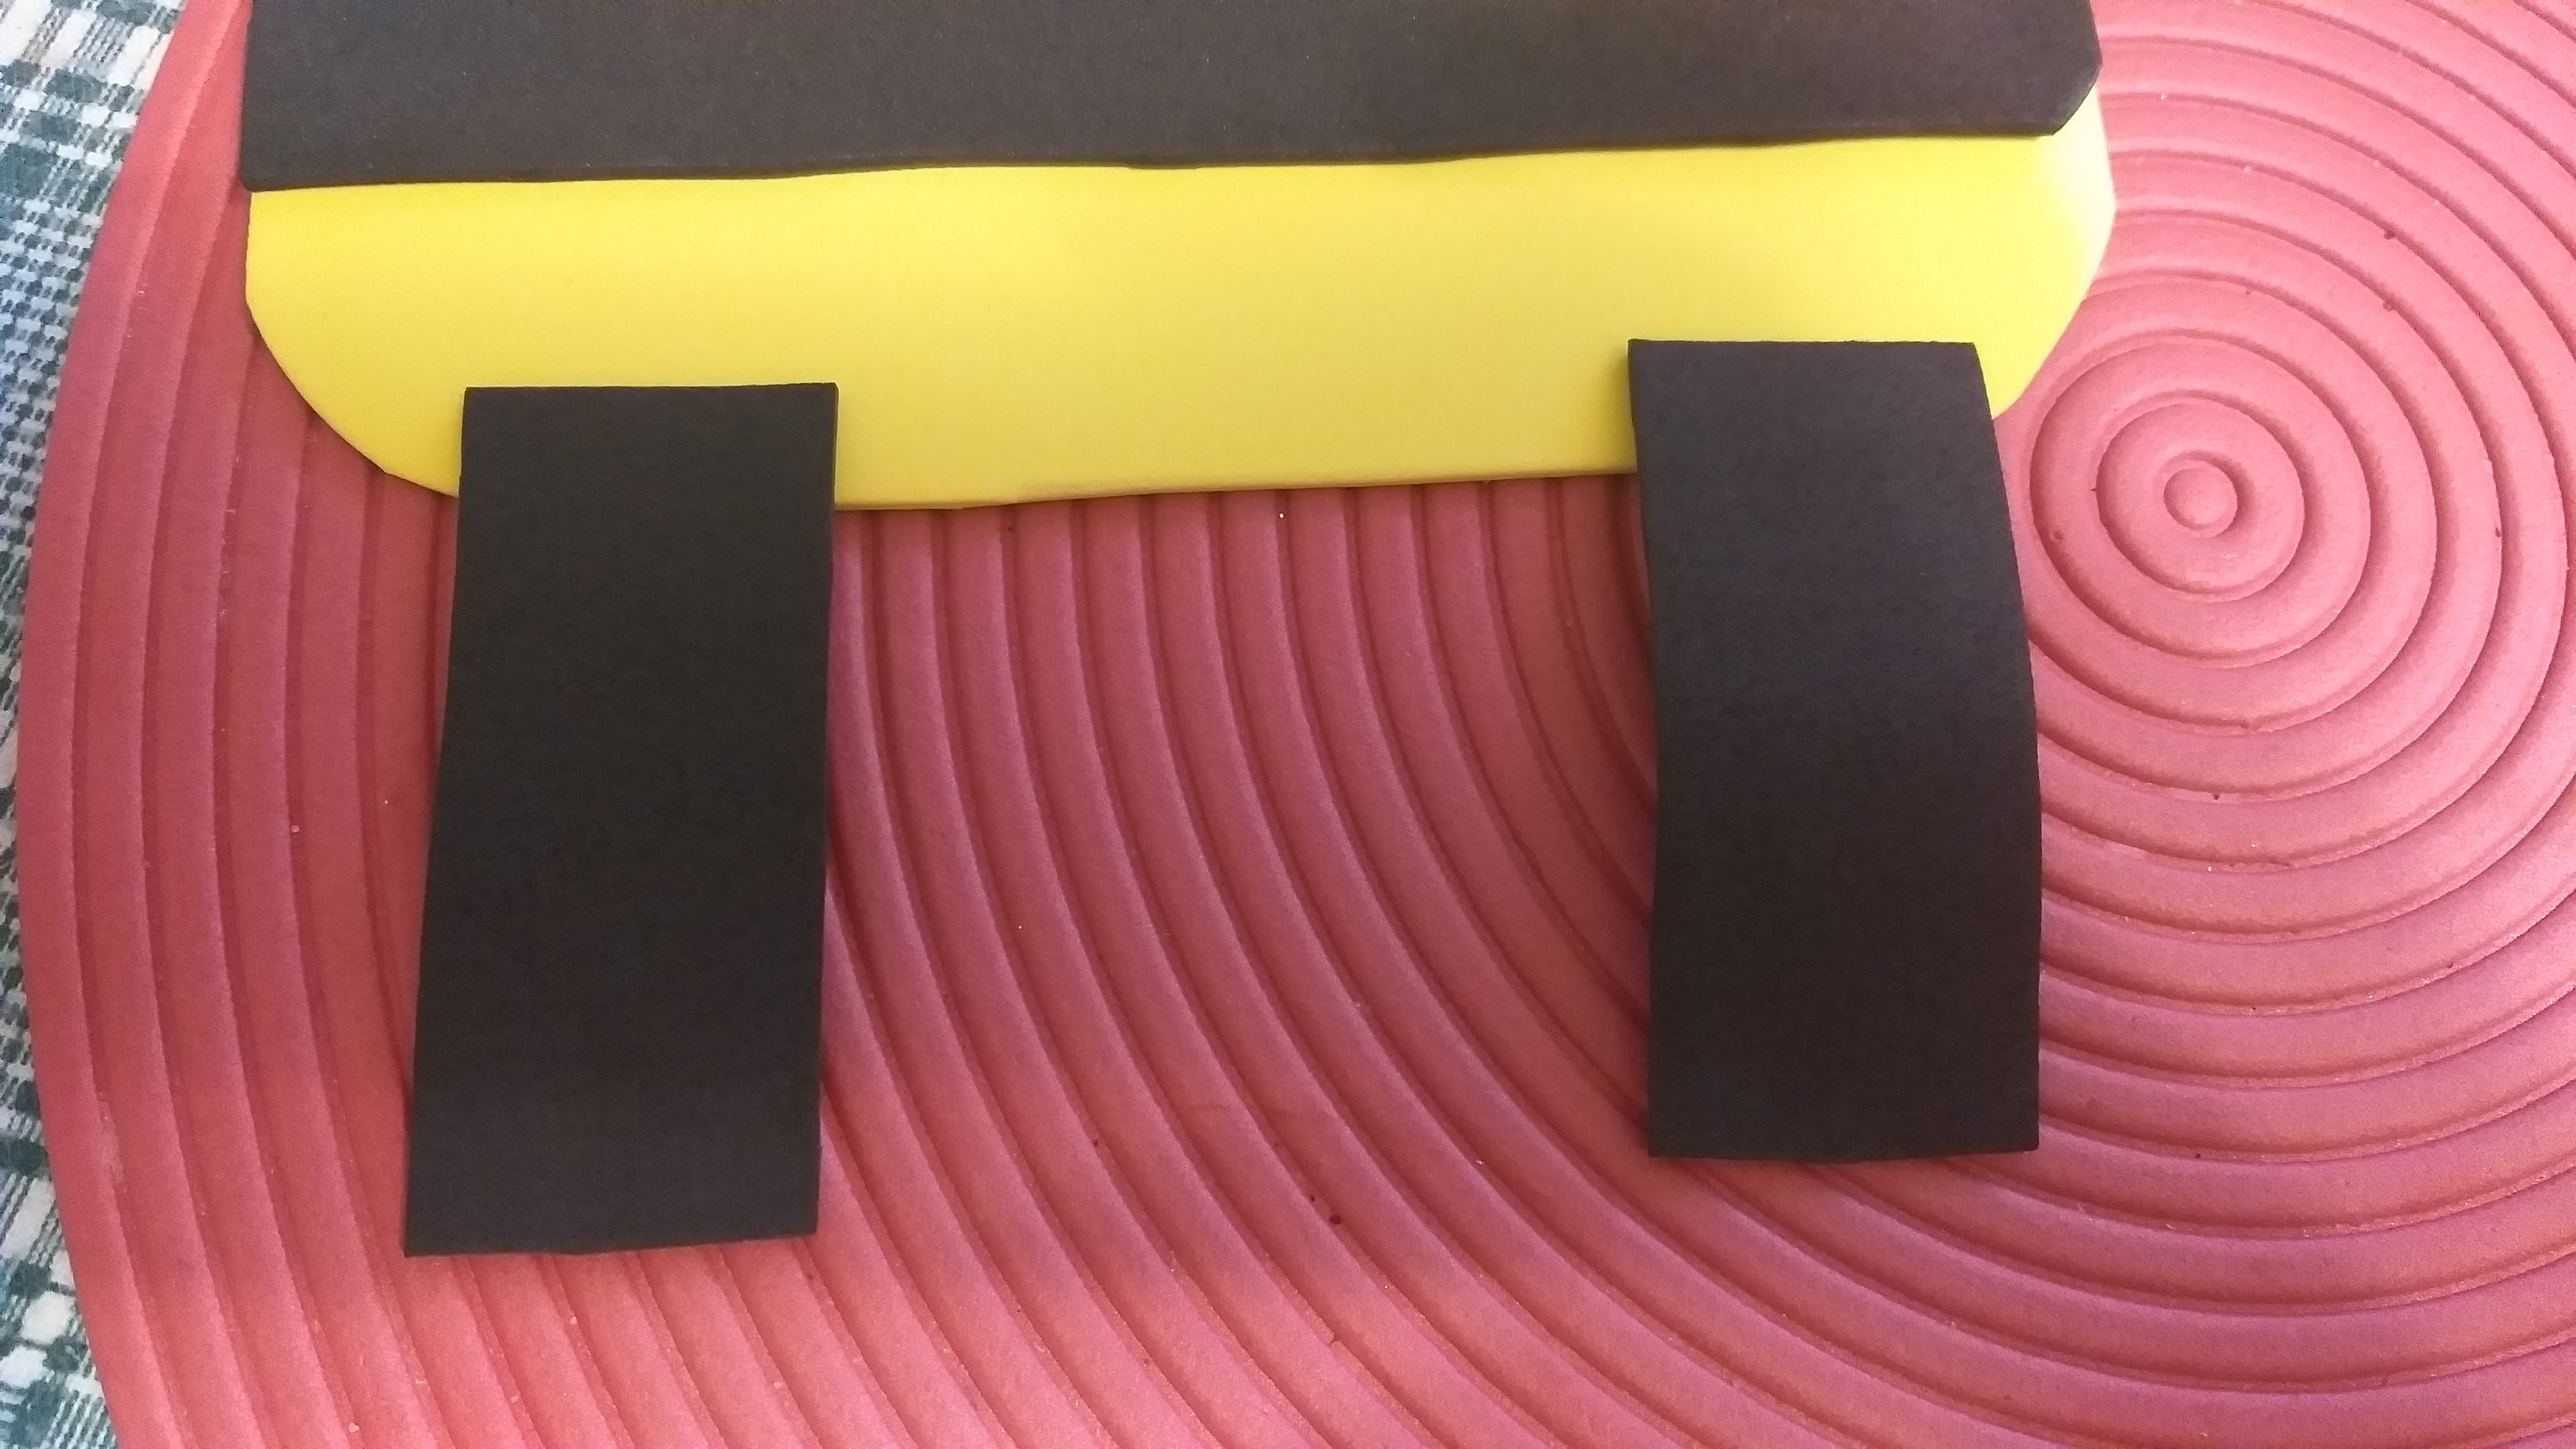
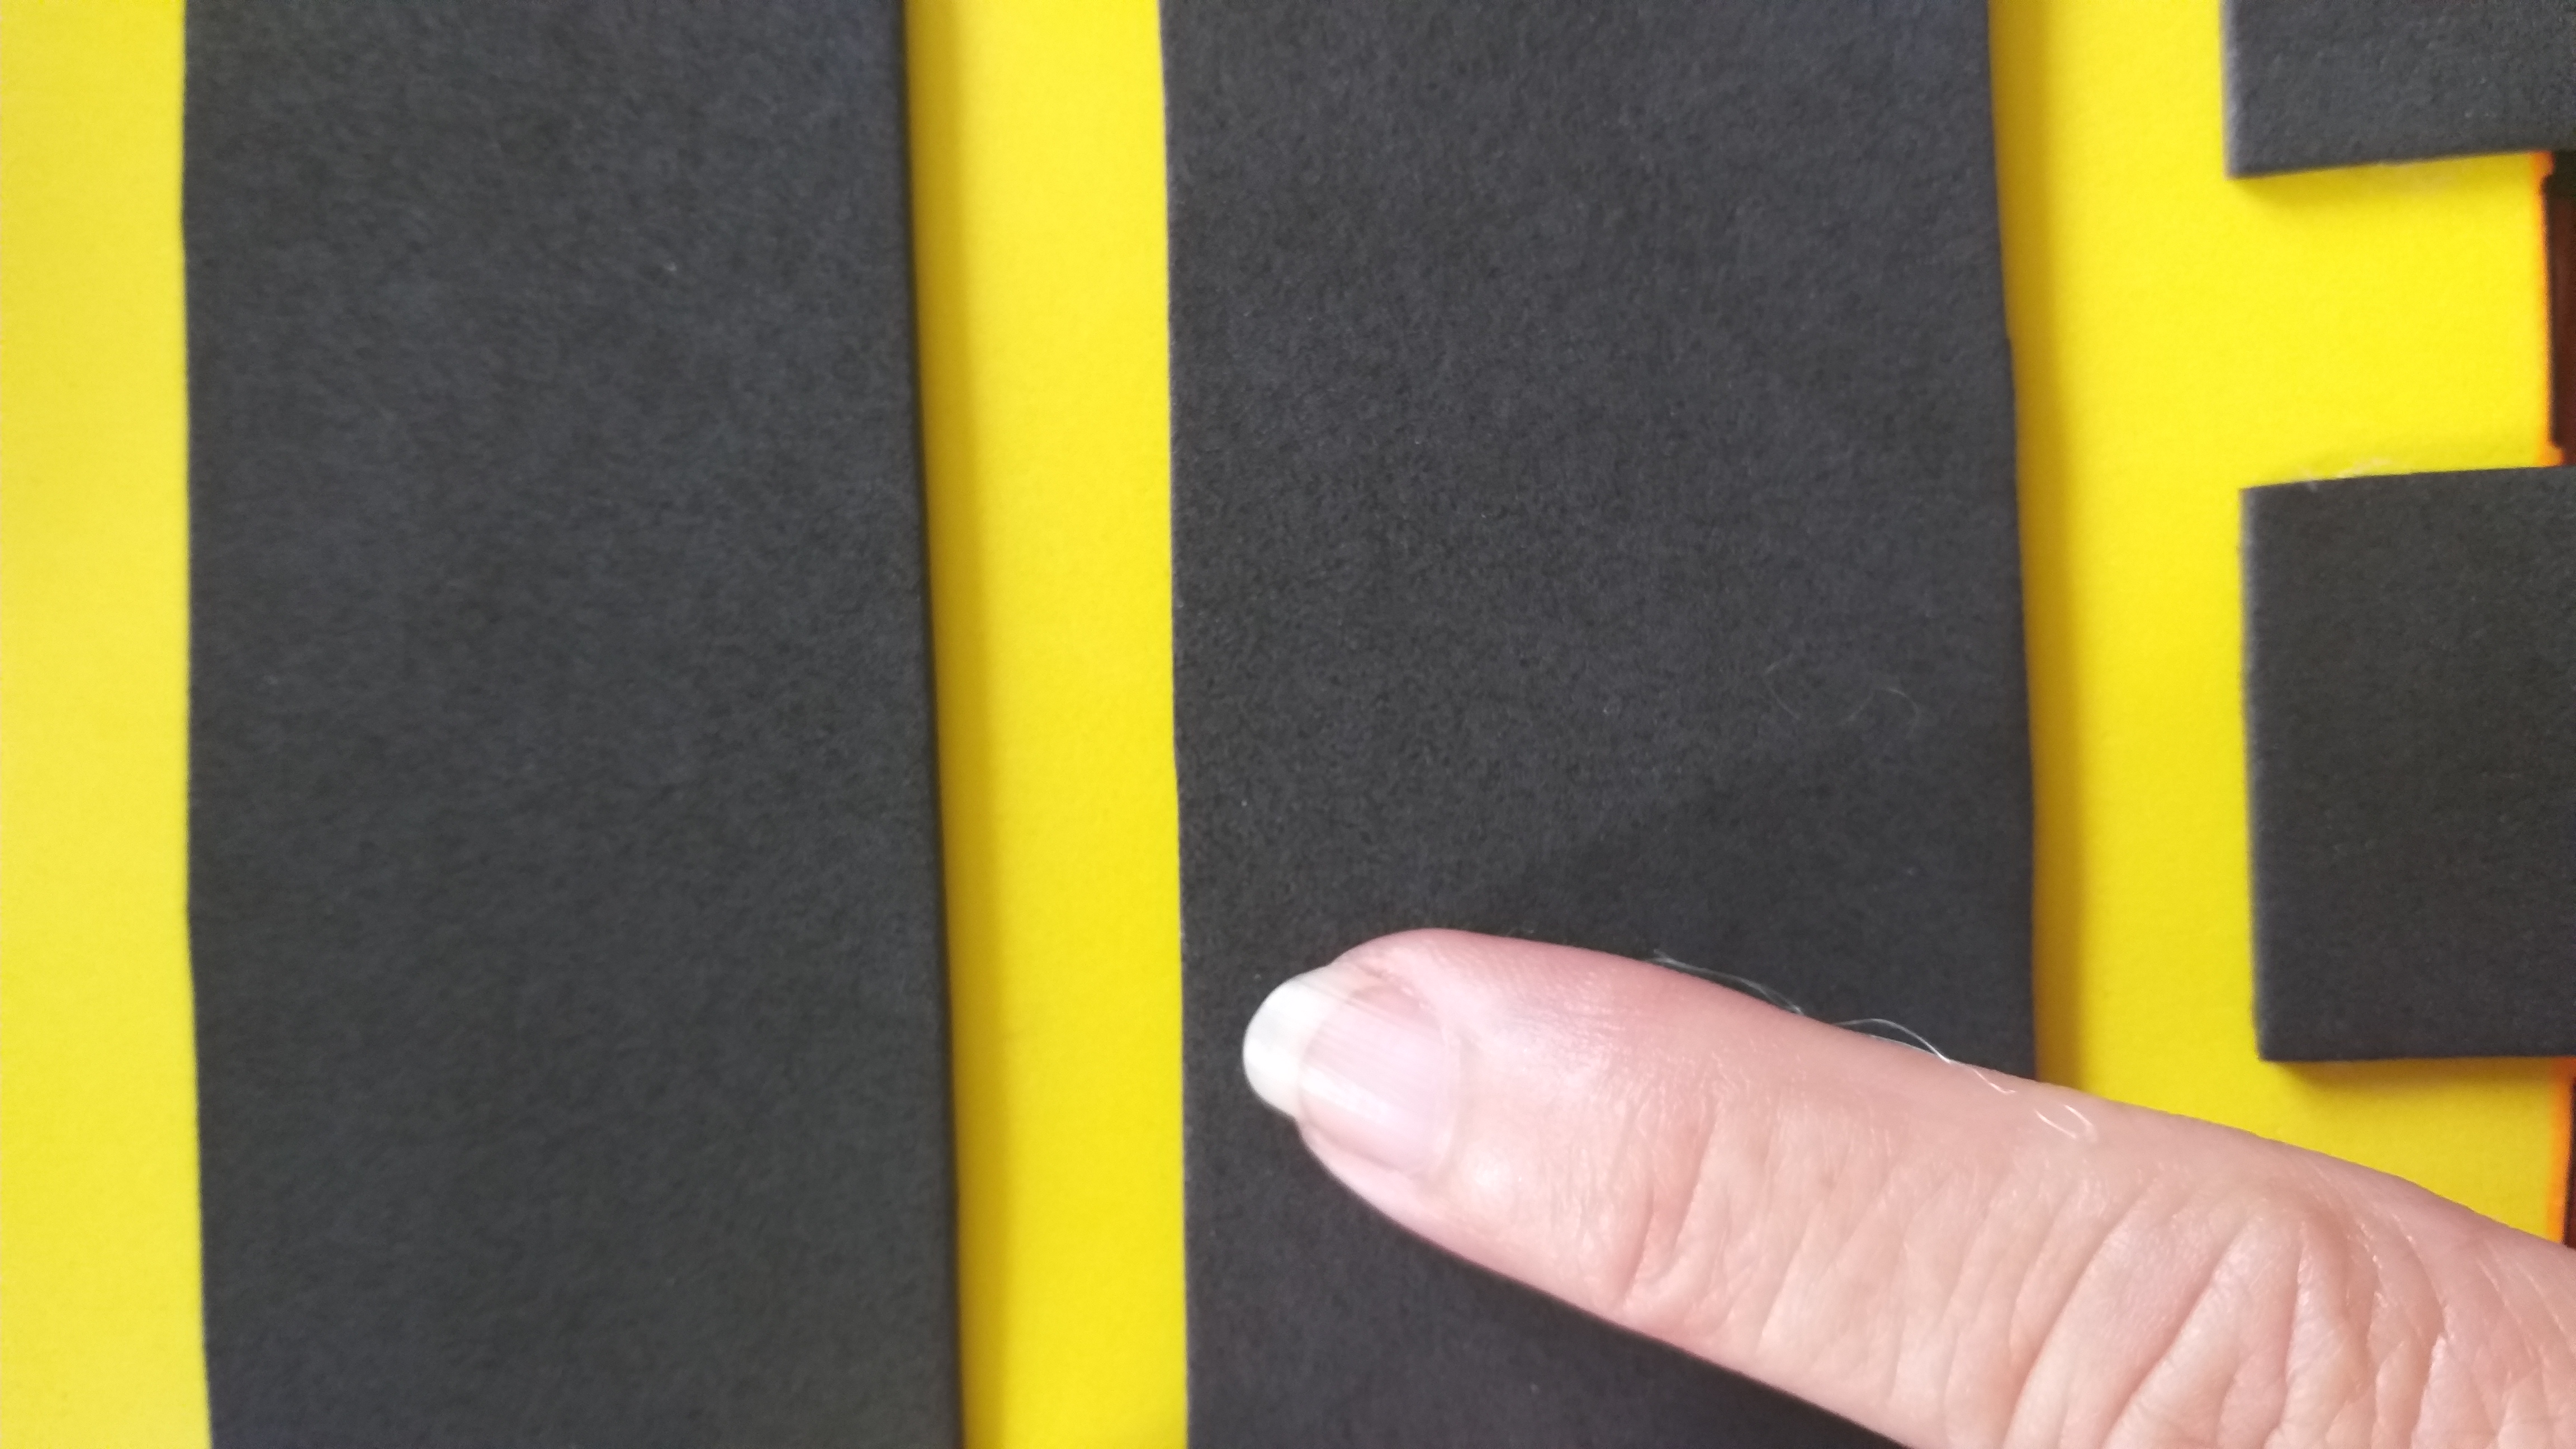
4to paso. Marcar en el foami o goma eva de color negro dos tiras del grosor de la regla de 15cm y recortar con la tijera.
4th step. Mark two strips of the thickness of the 15cm ruler on the black foami or EVA foam and cut with scissors.
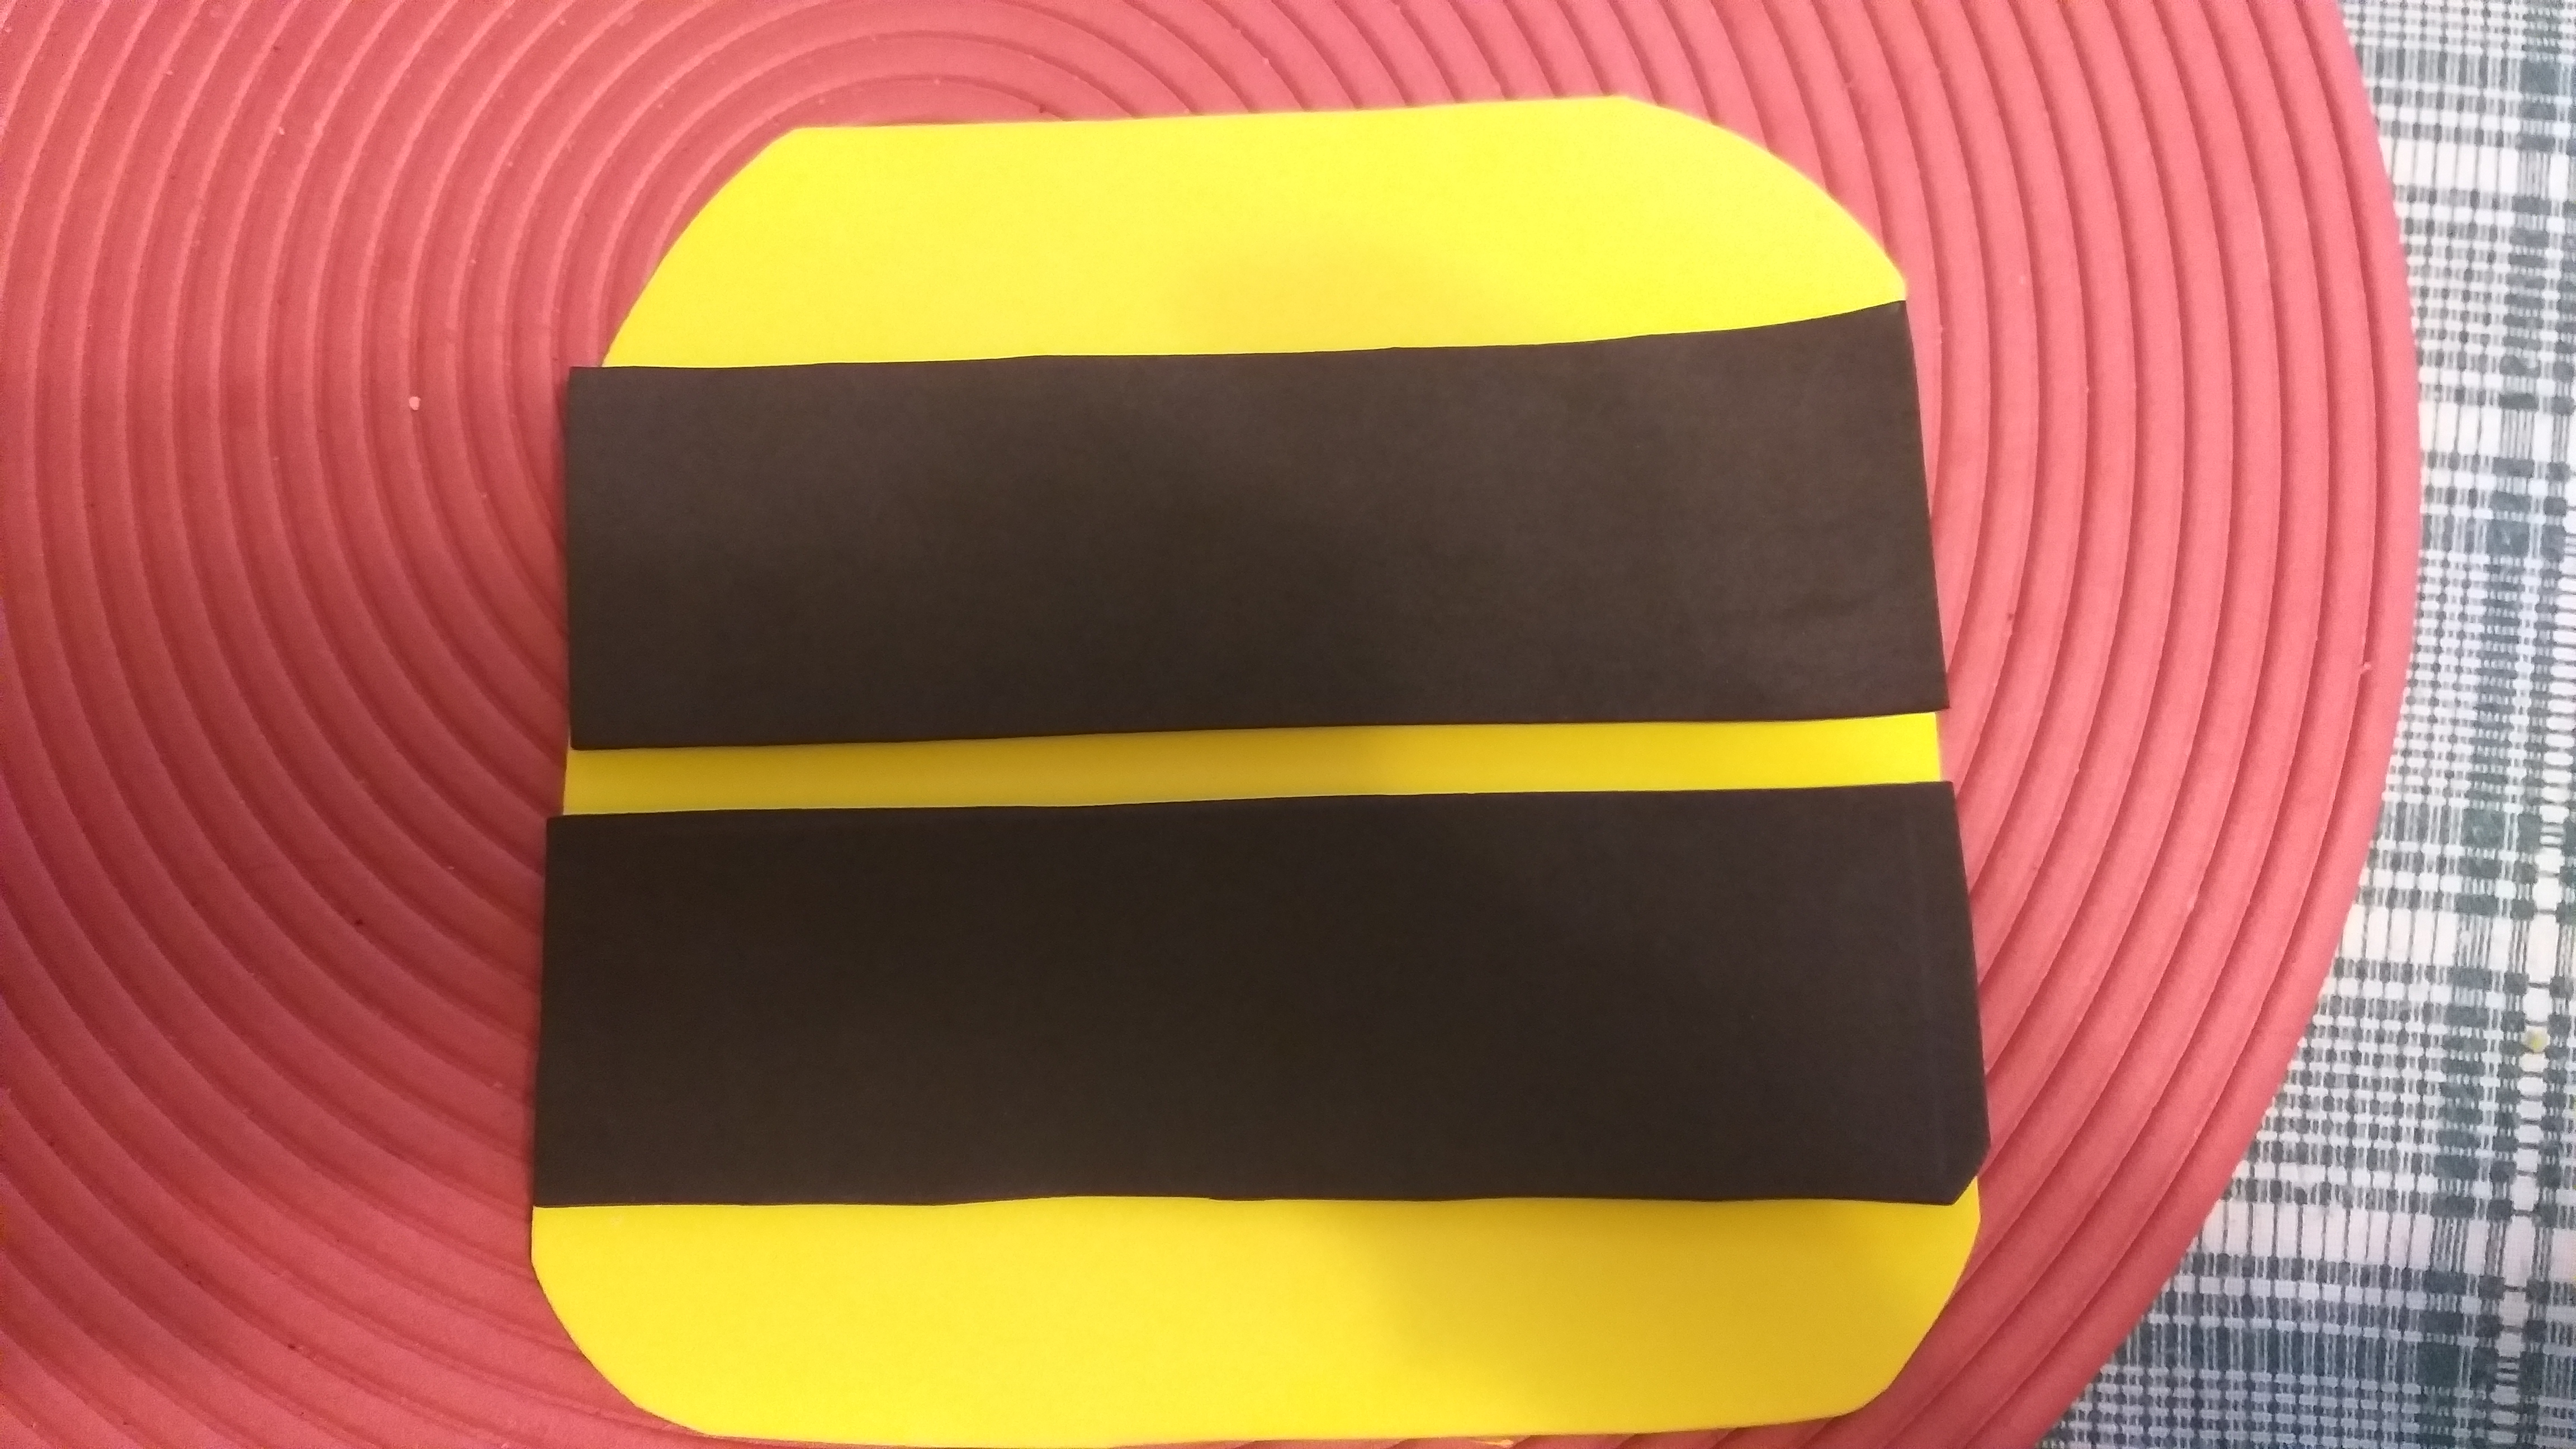
5to paso. Sacar dos tiras del mismo grosor de la regla pero de 7cm cada una y recortar; donde irá metido el bolígrafo.
5th step. Take two strips of the same thickness from the ruler but 7cm each and cut; Where will the pen go?
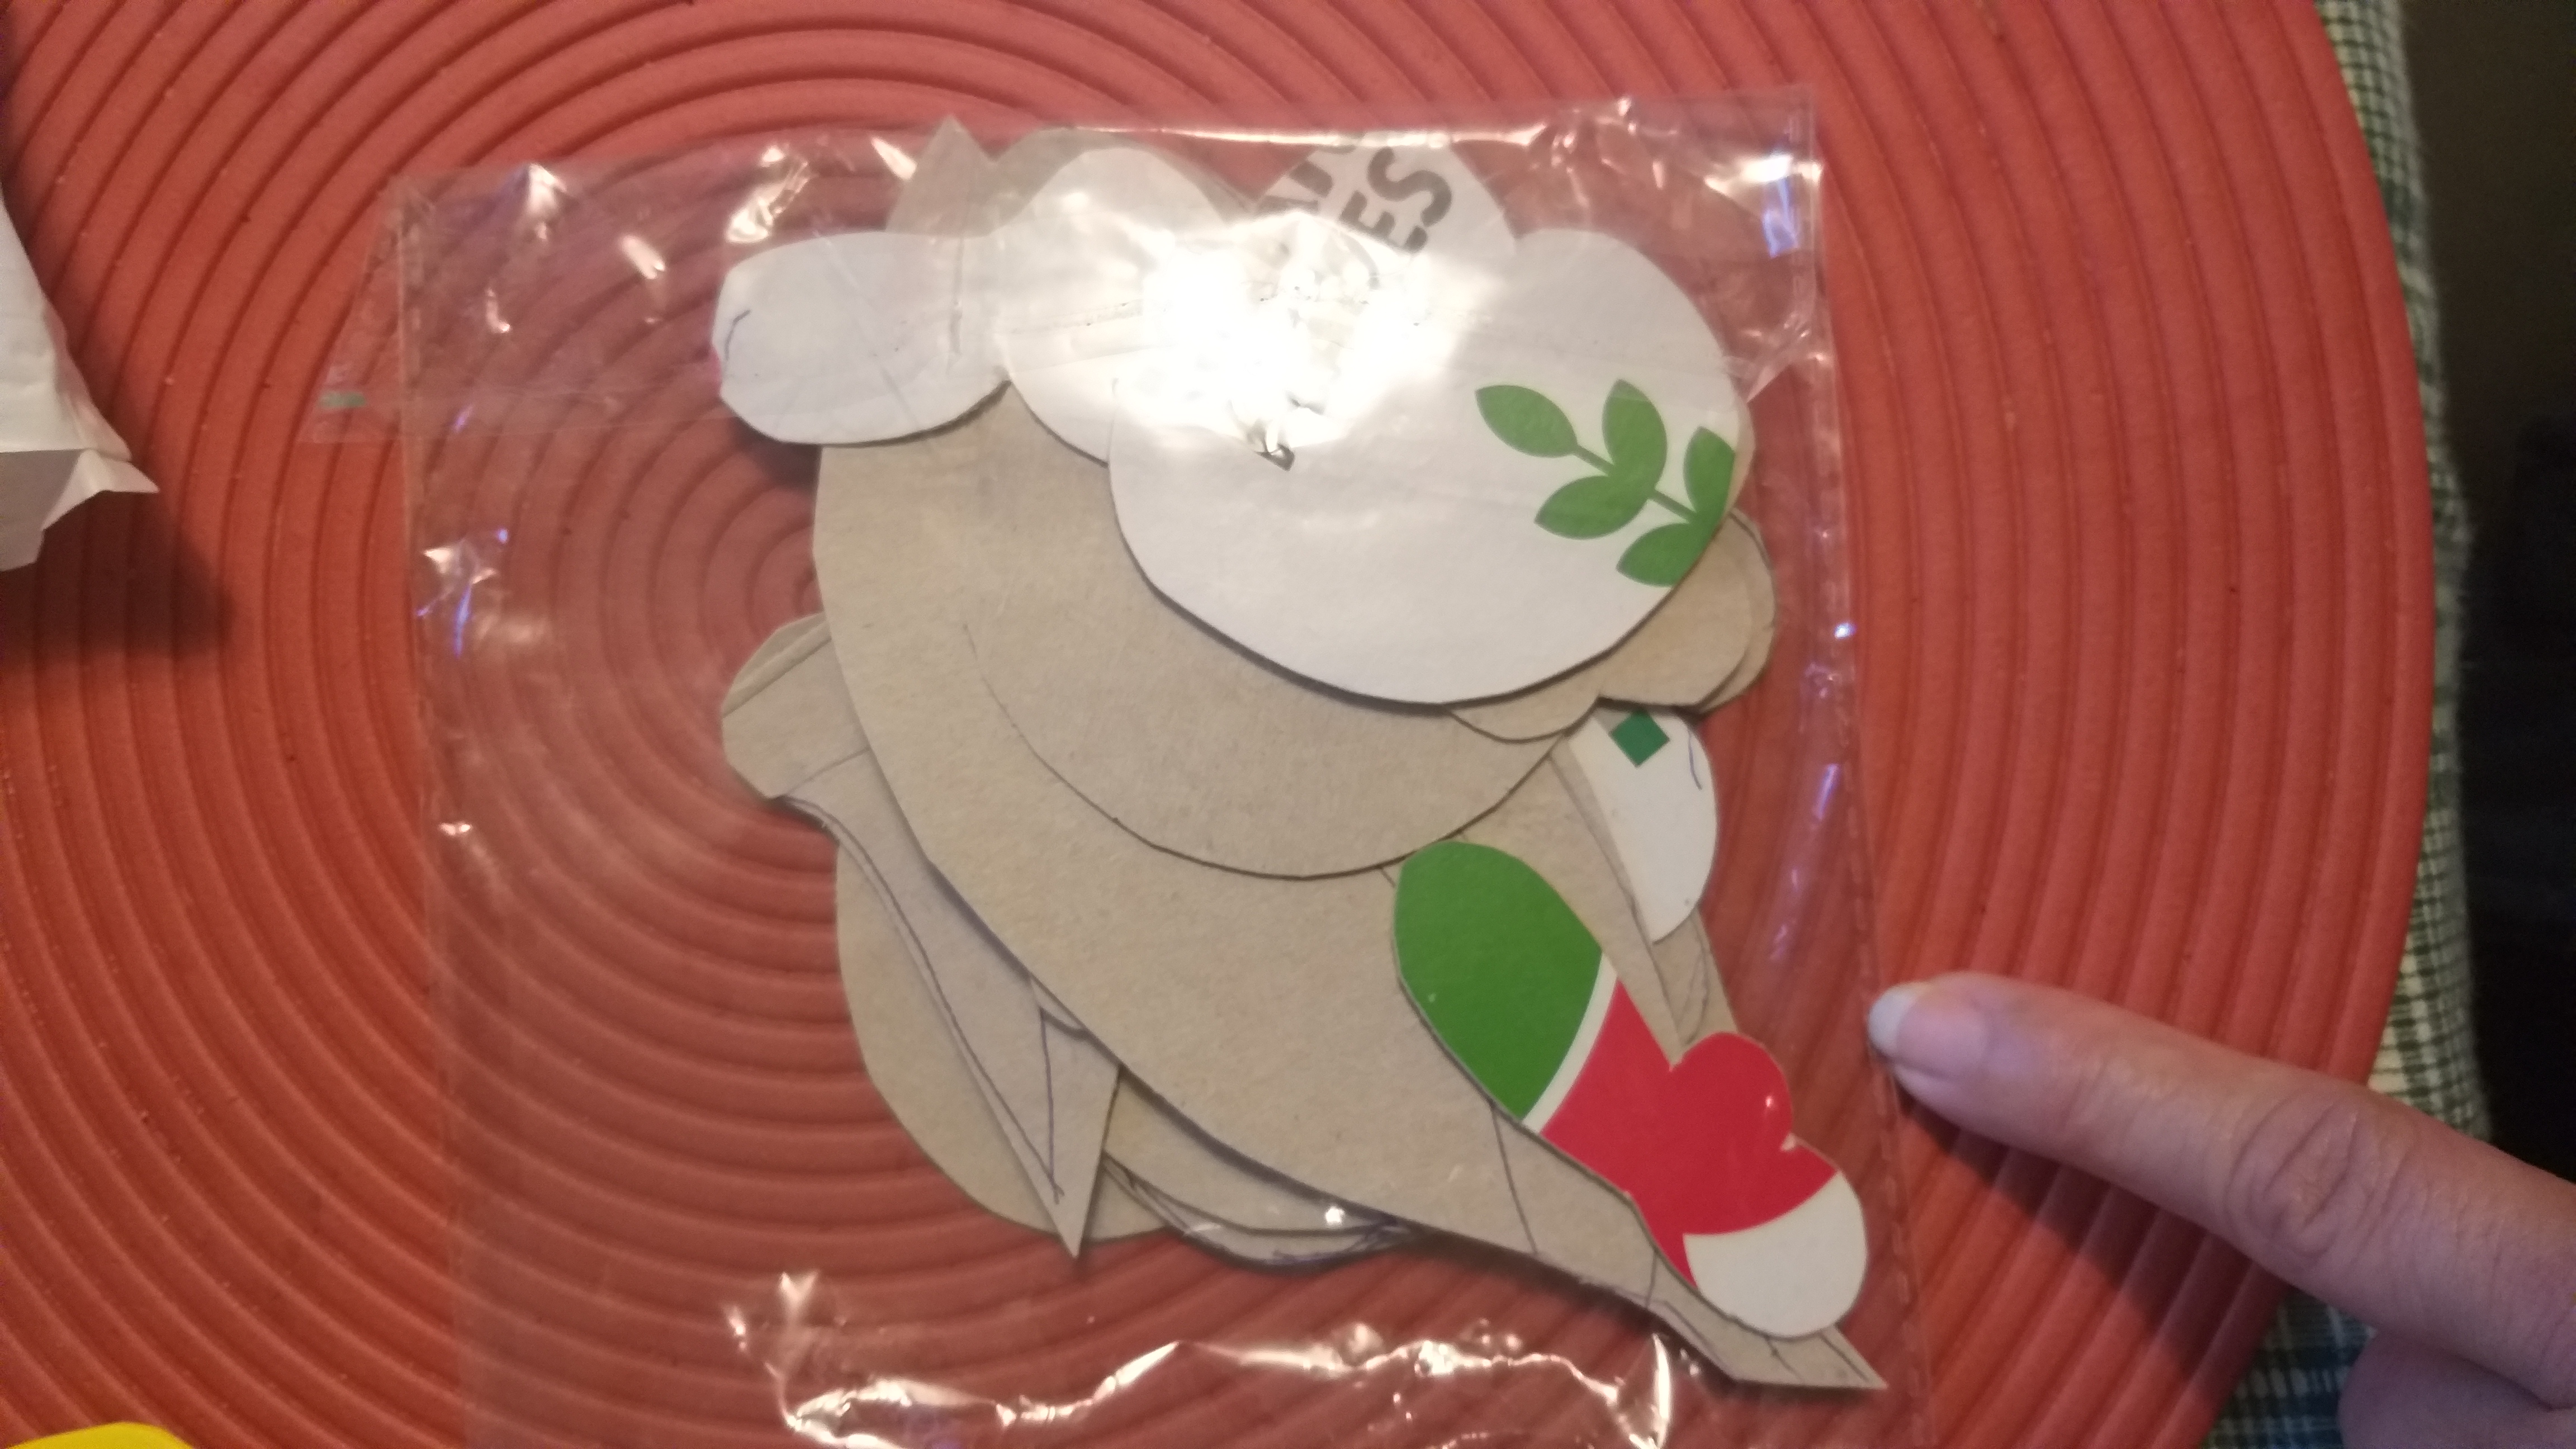
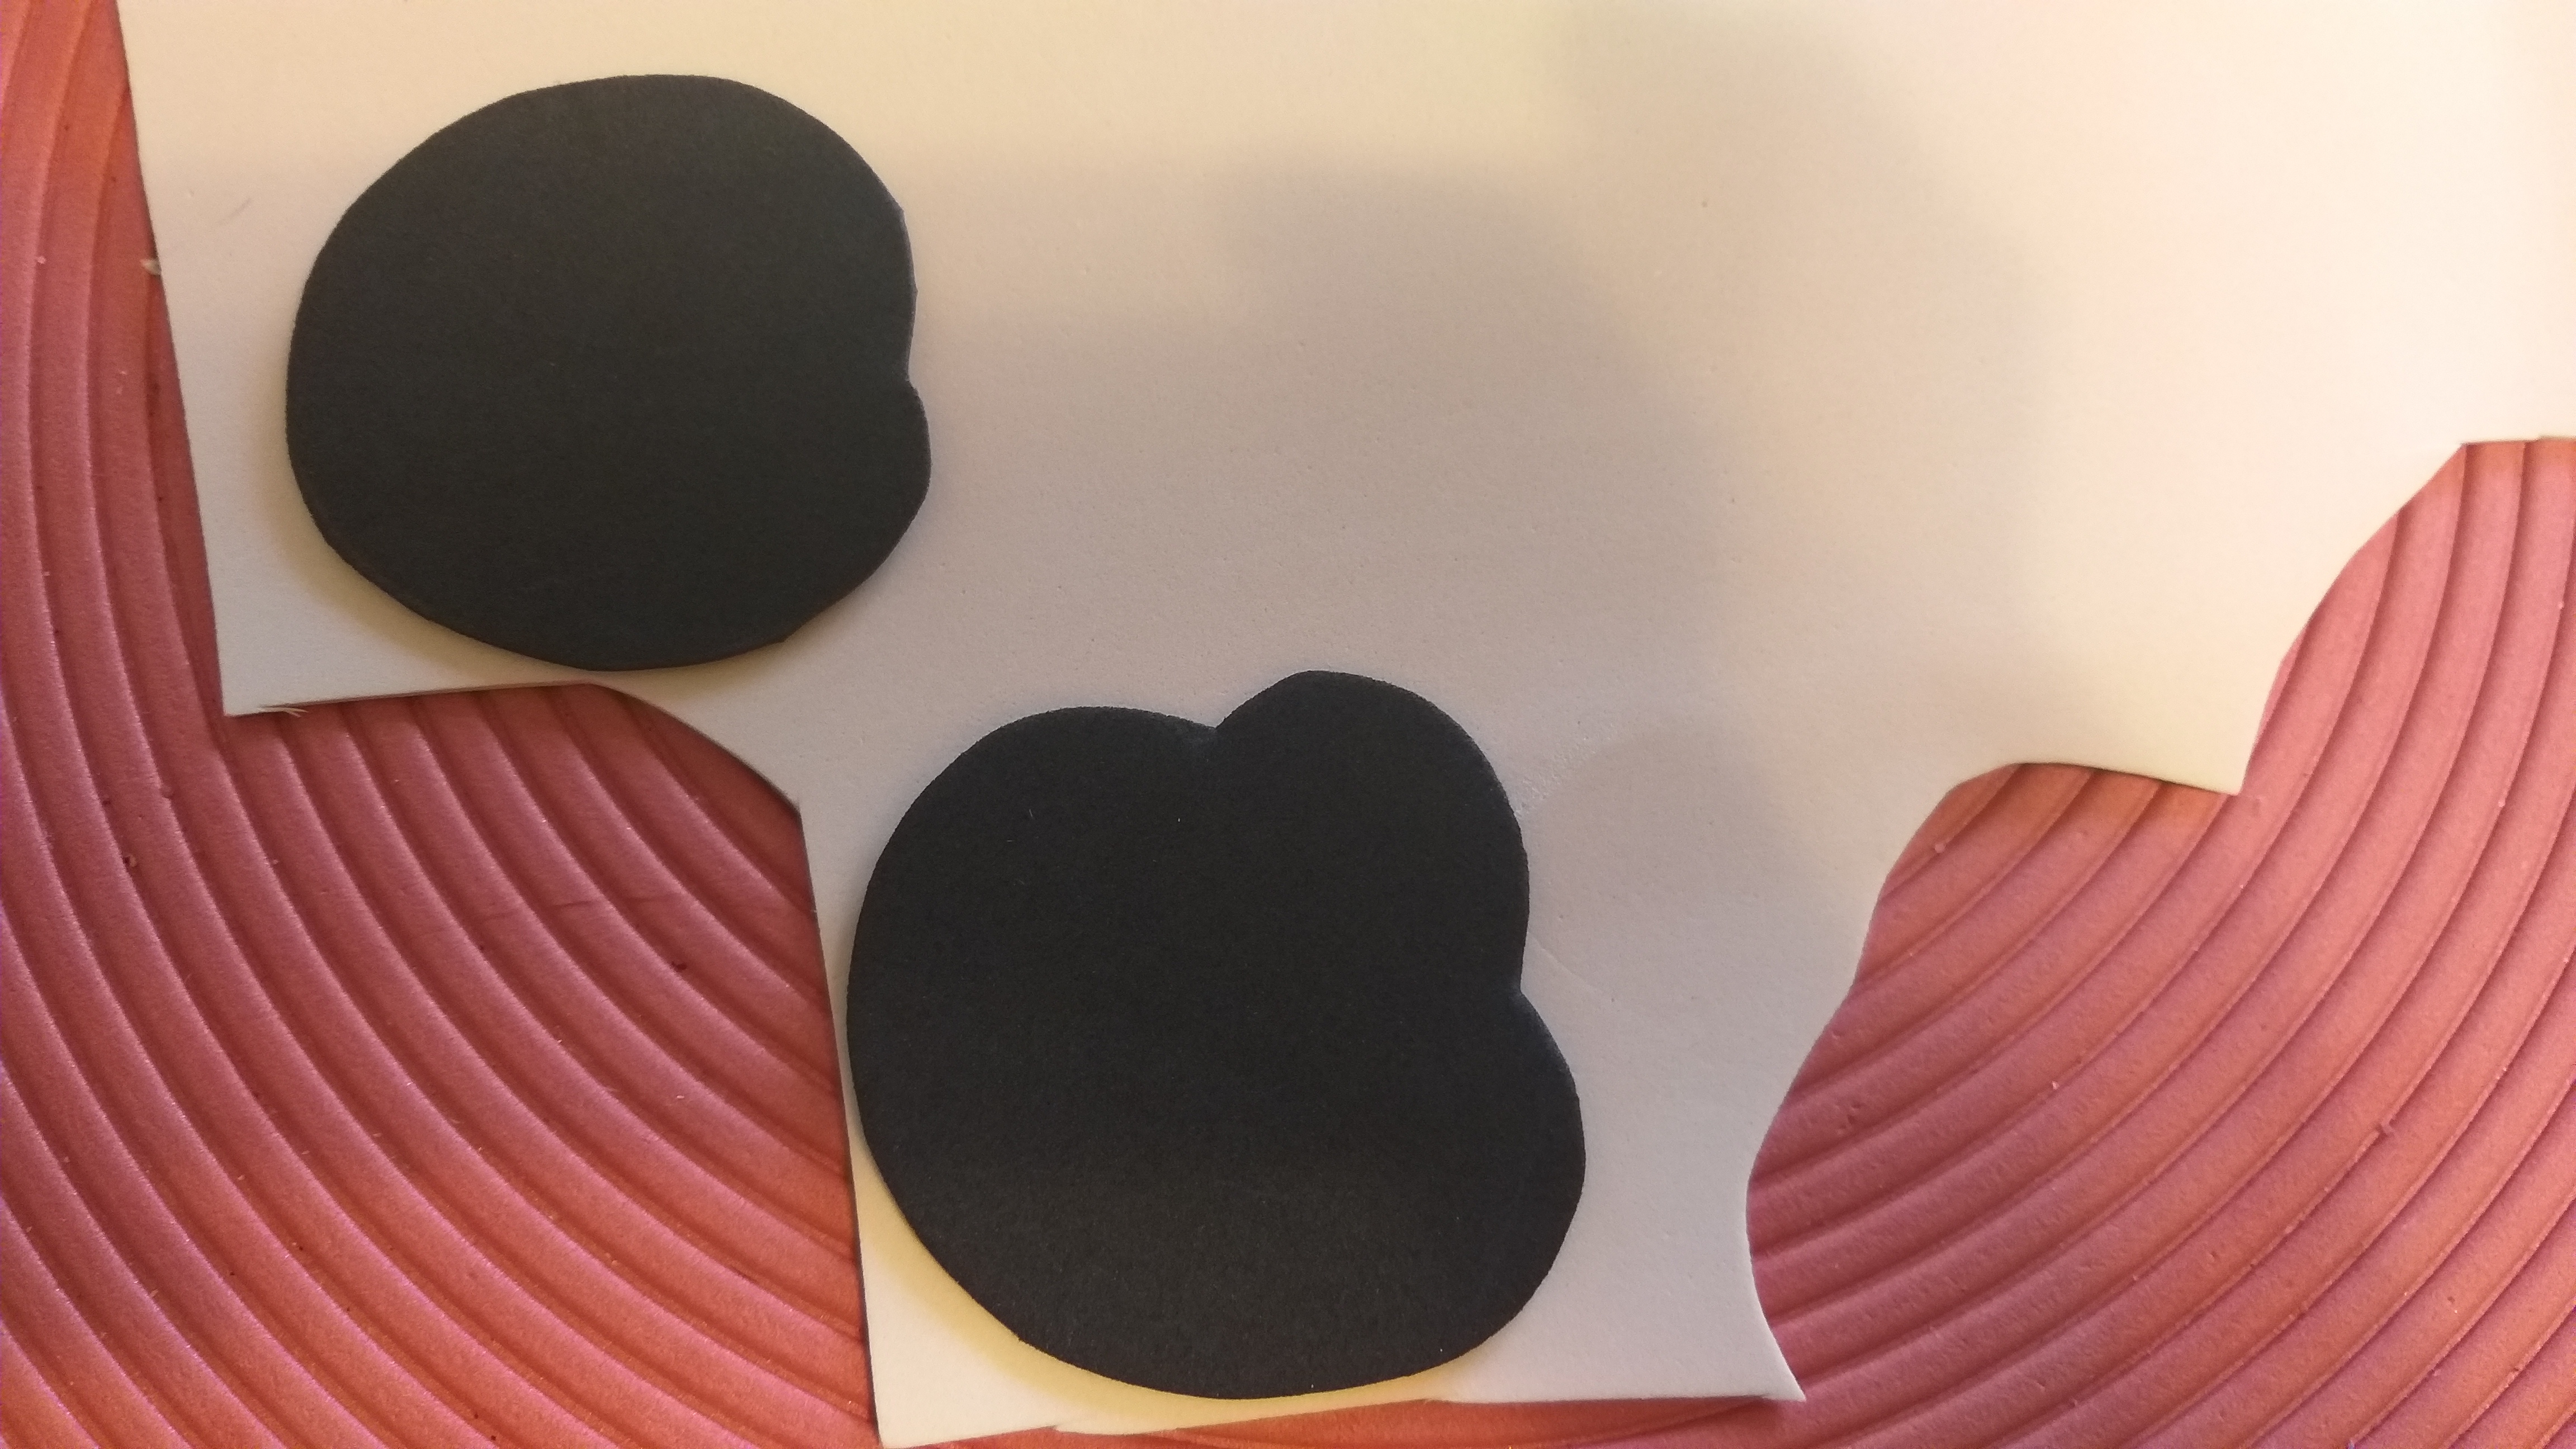
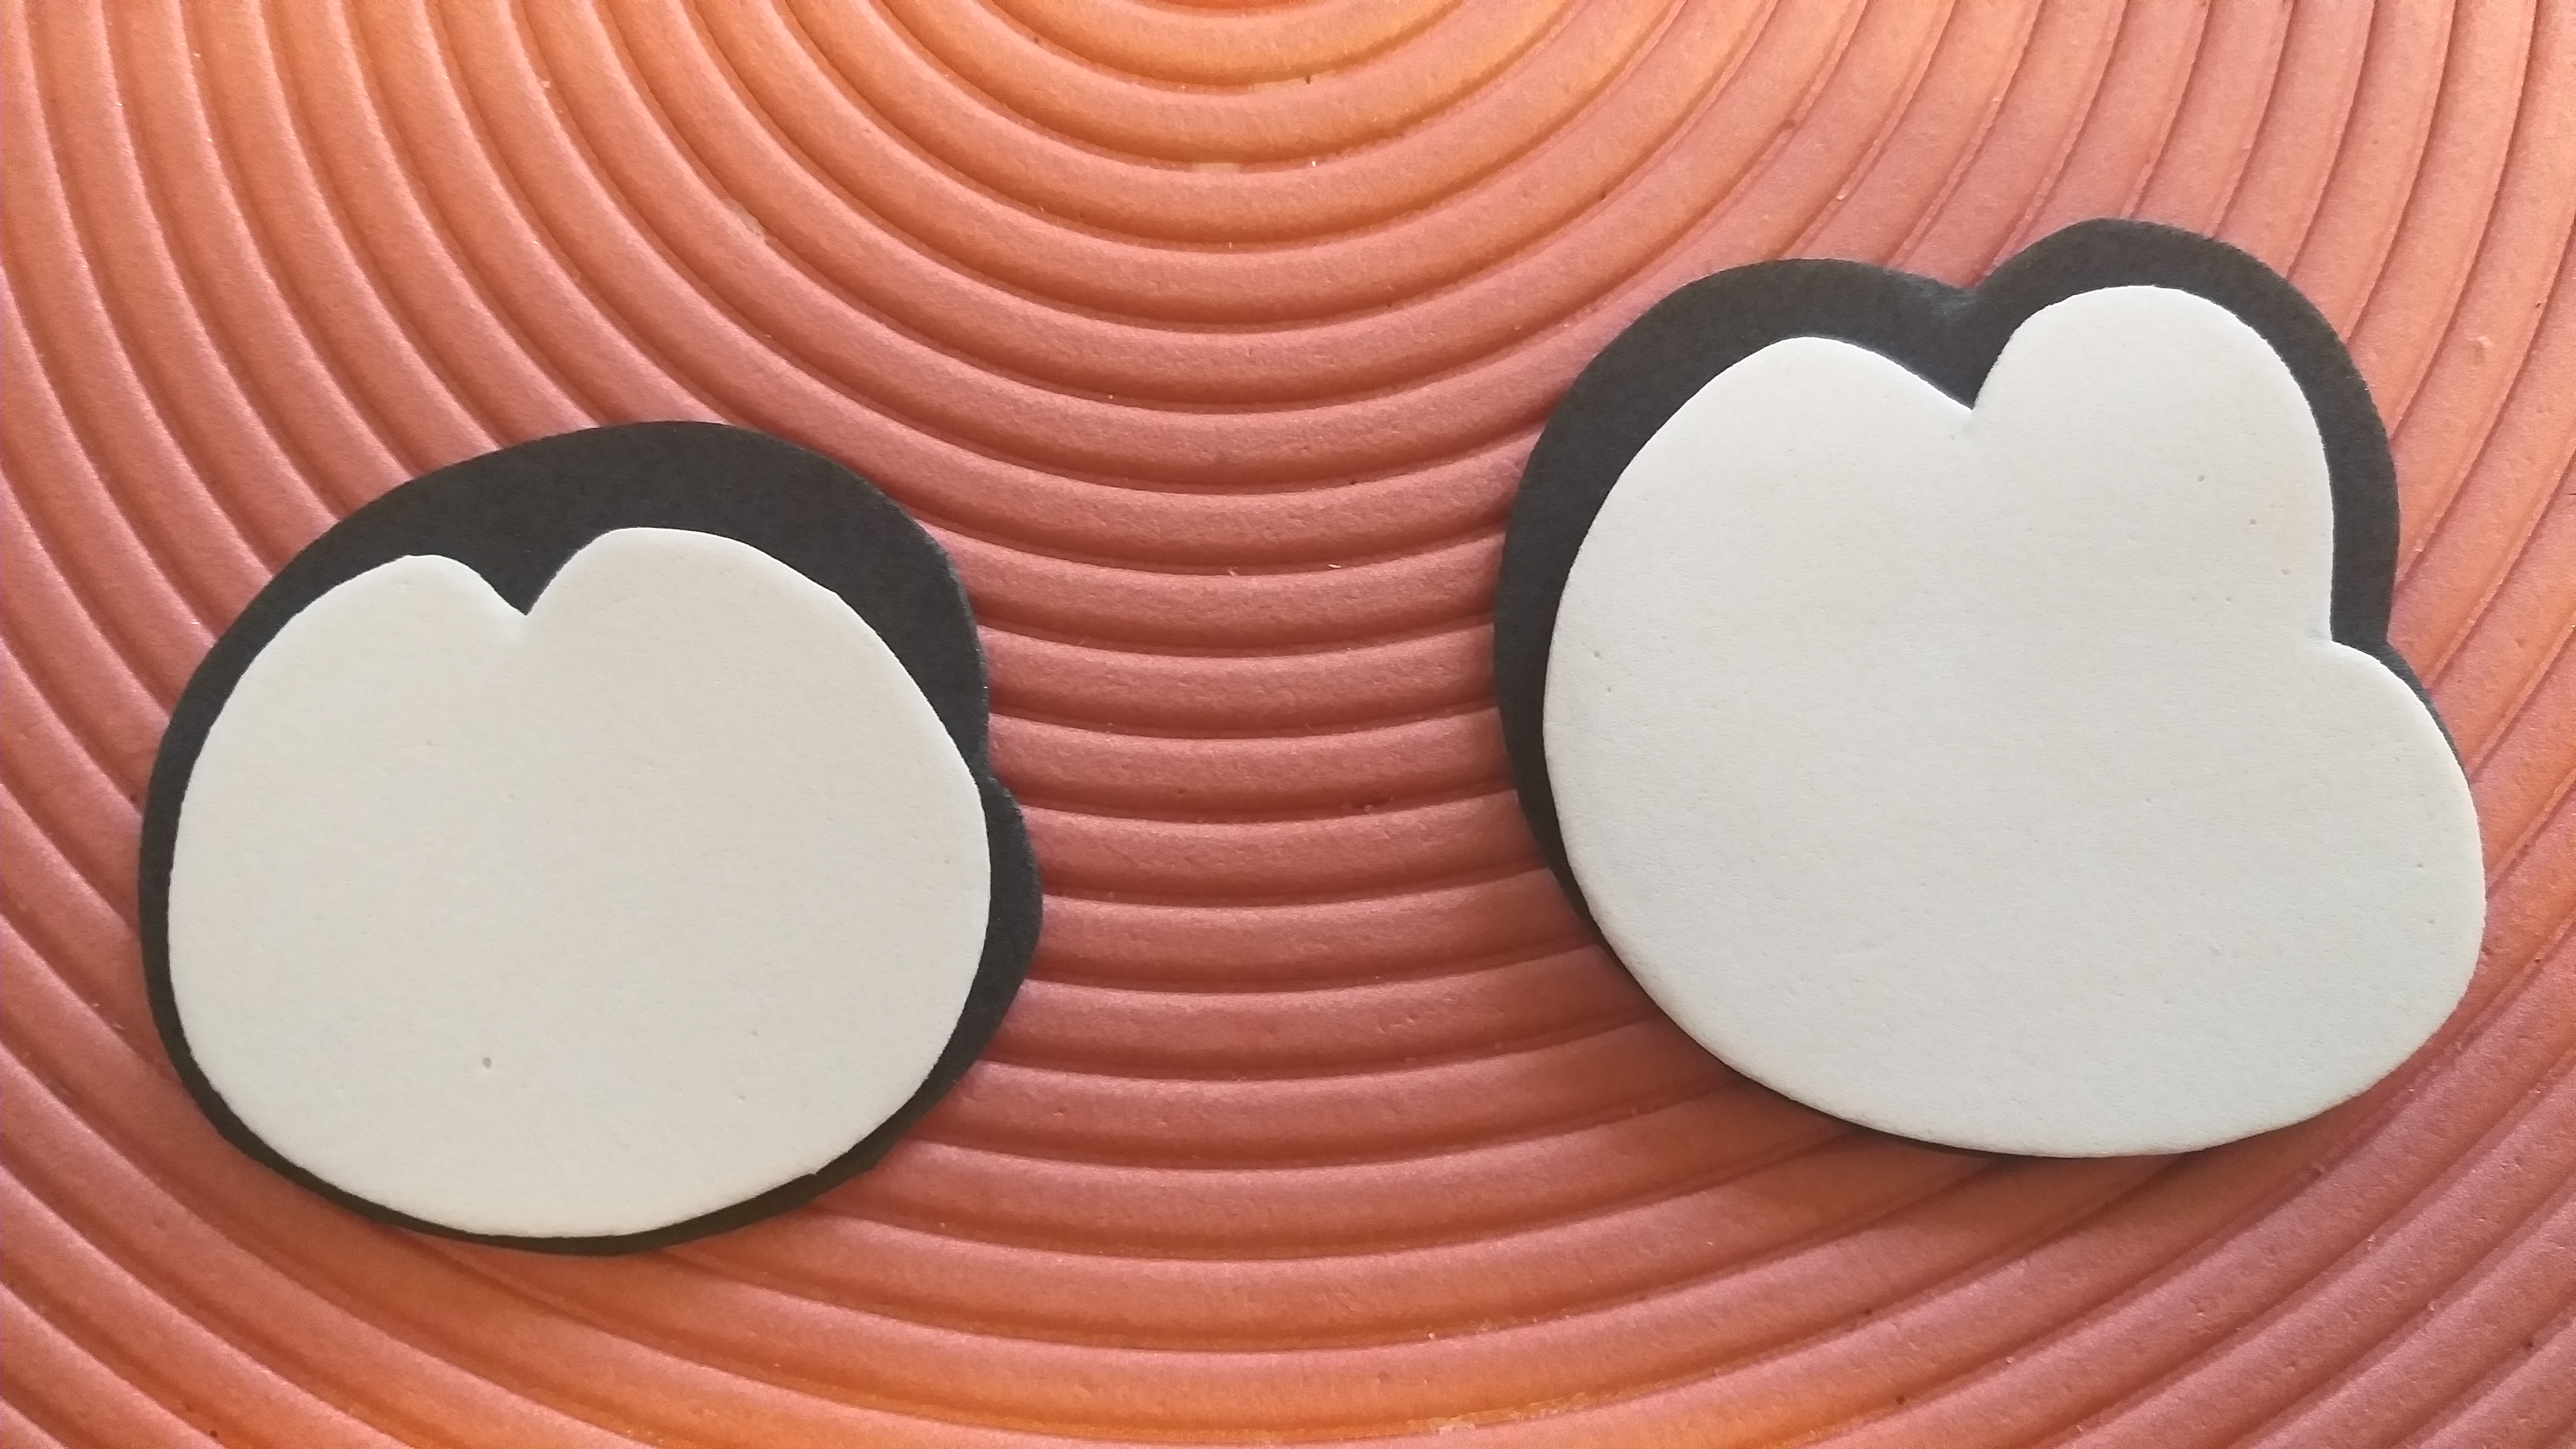
6to paso. Con el bolígrafo o lápiz hacer la cabeza de la abeja y con el patrón transferir al foami de color negro en este caso realicé dos cabezas una más pequeña que la otra; allí le muestro varios patrones que voy guardando.
6th step. With the pen or pencil make the head of the bee and with the pattern transfer to the black foami in this case I made two heads one smaller than the other; there I show several patterns that I am saving.

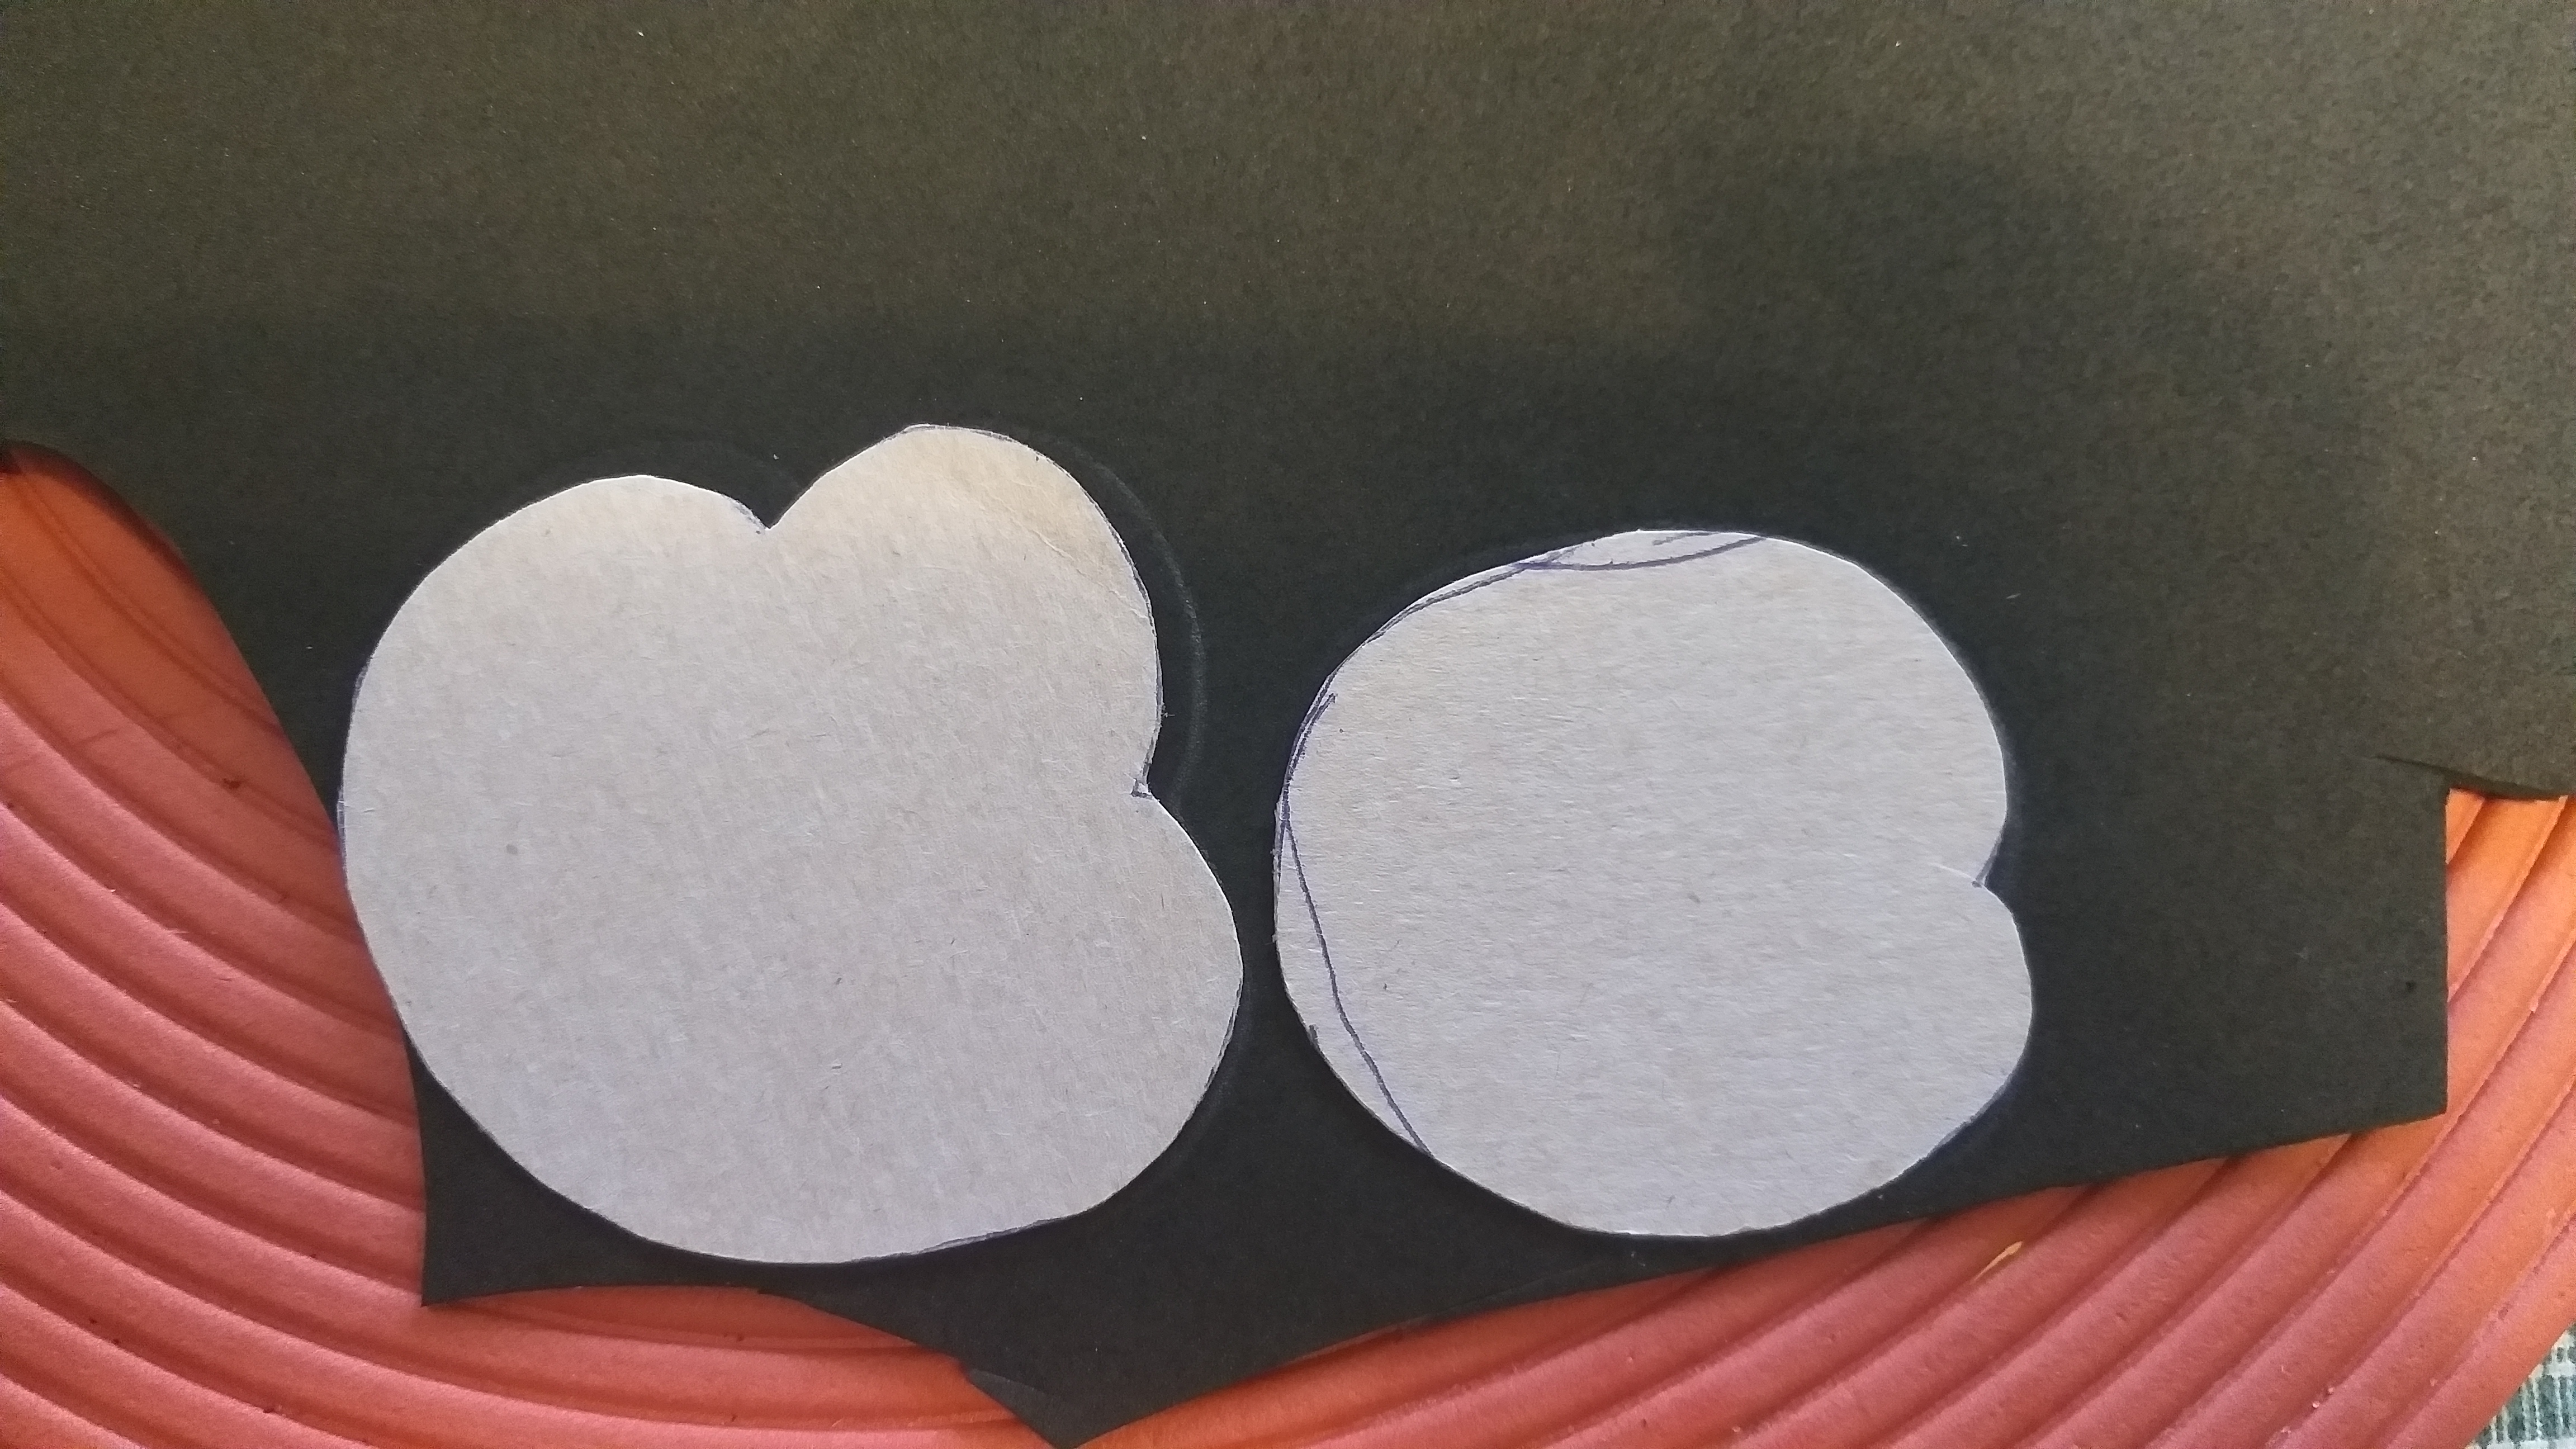
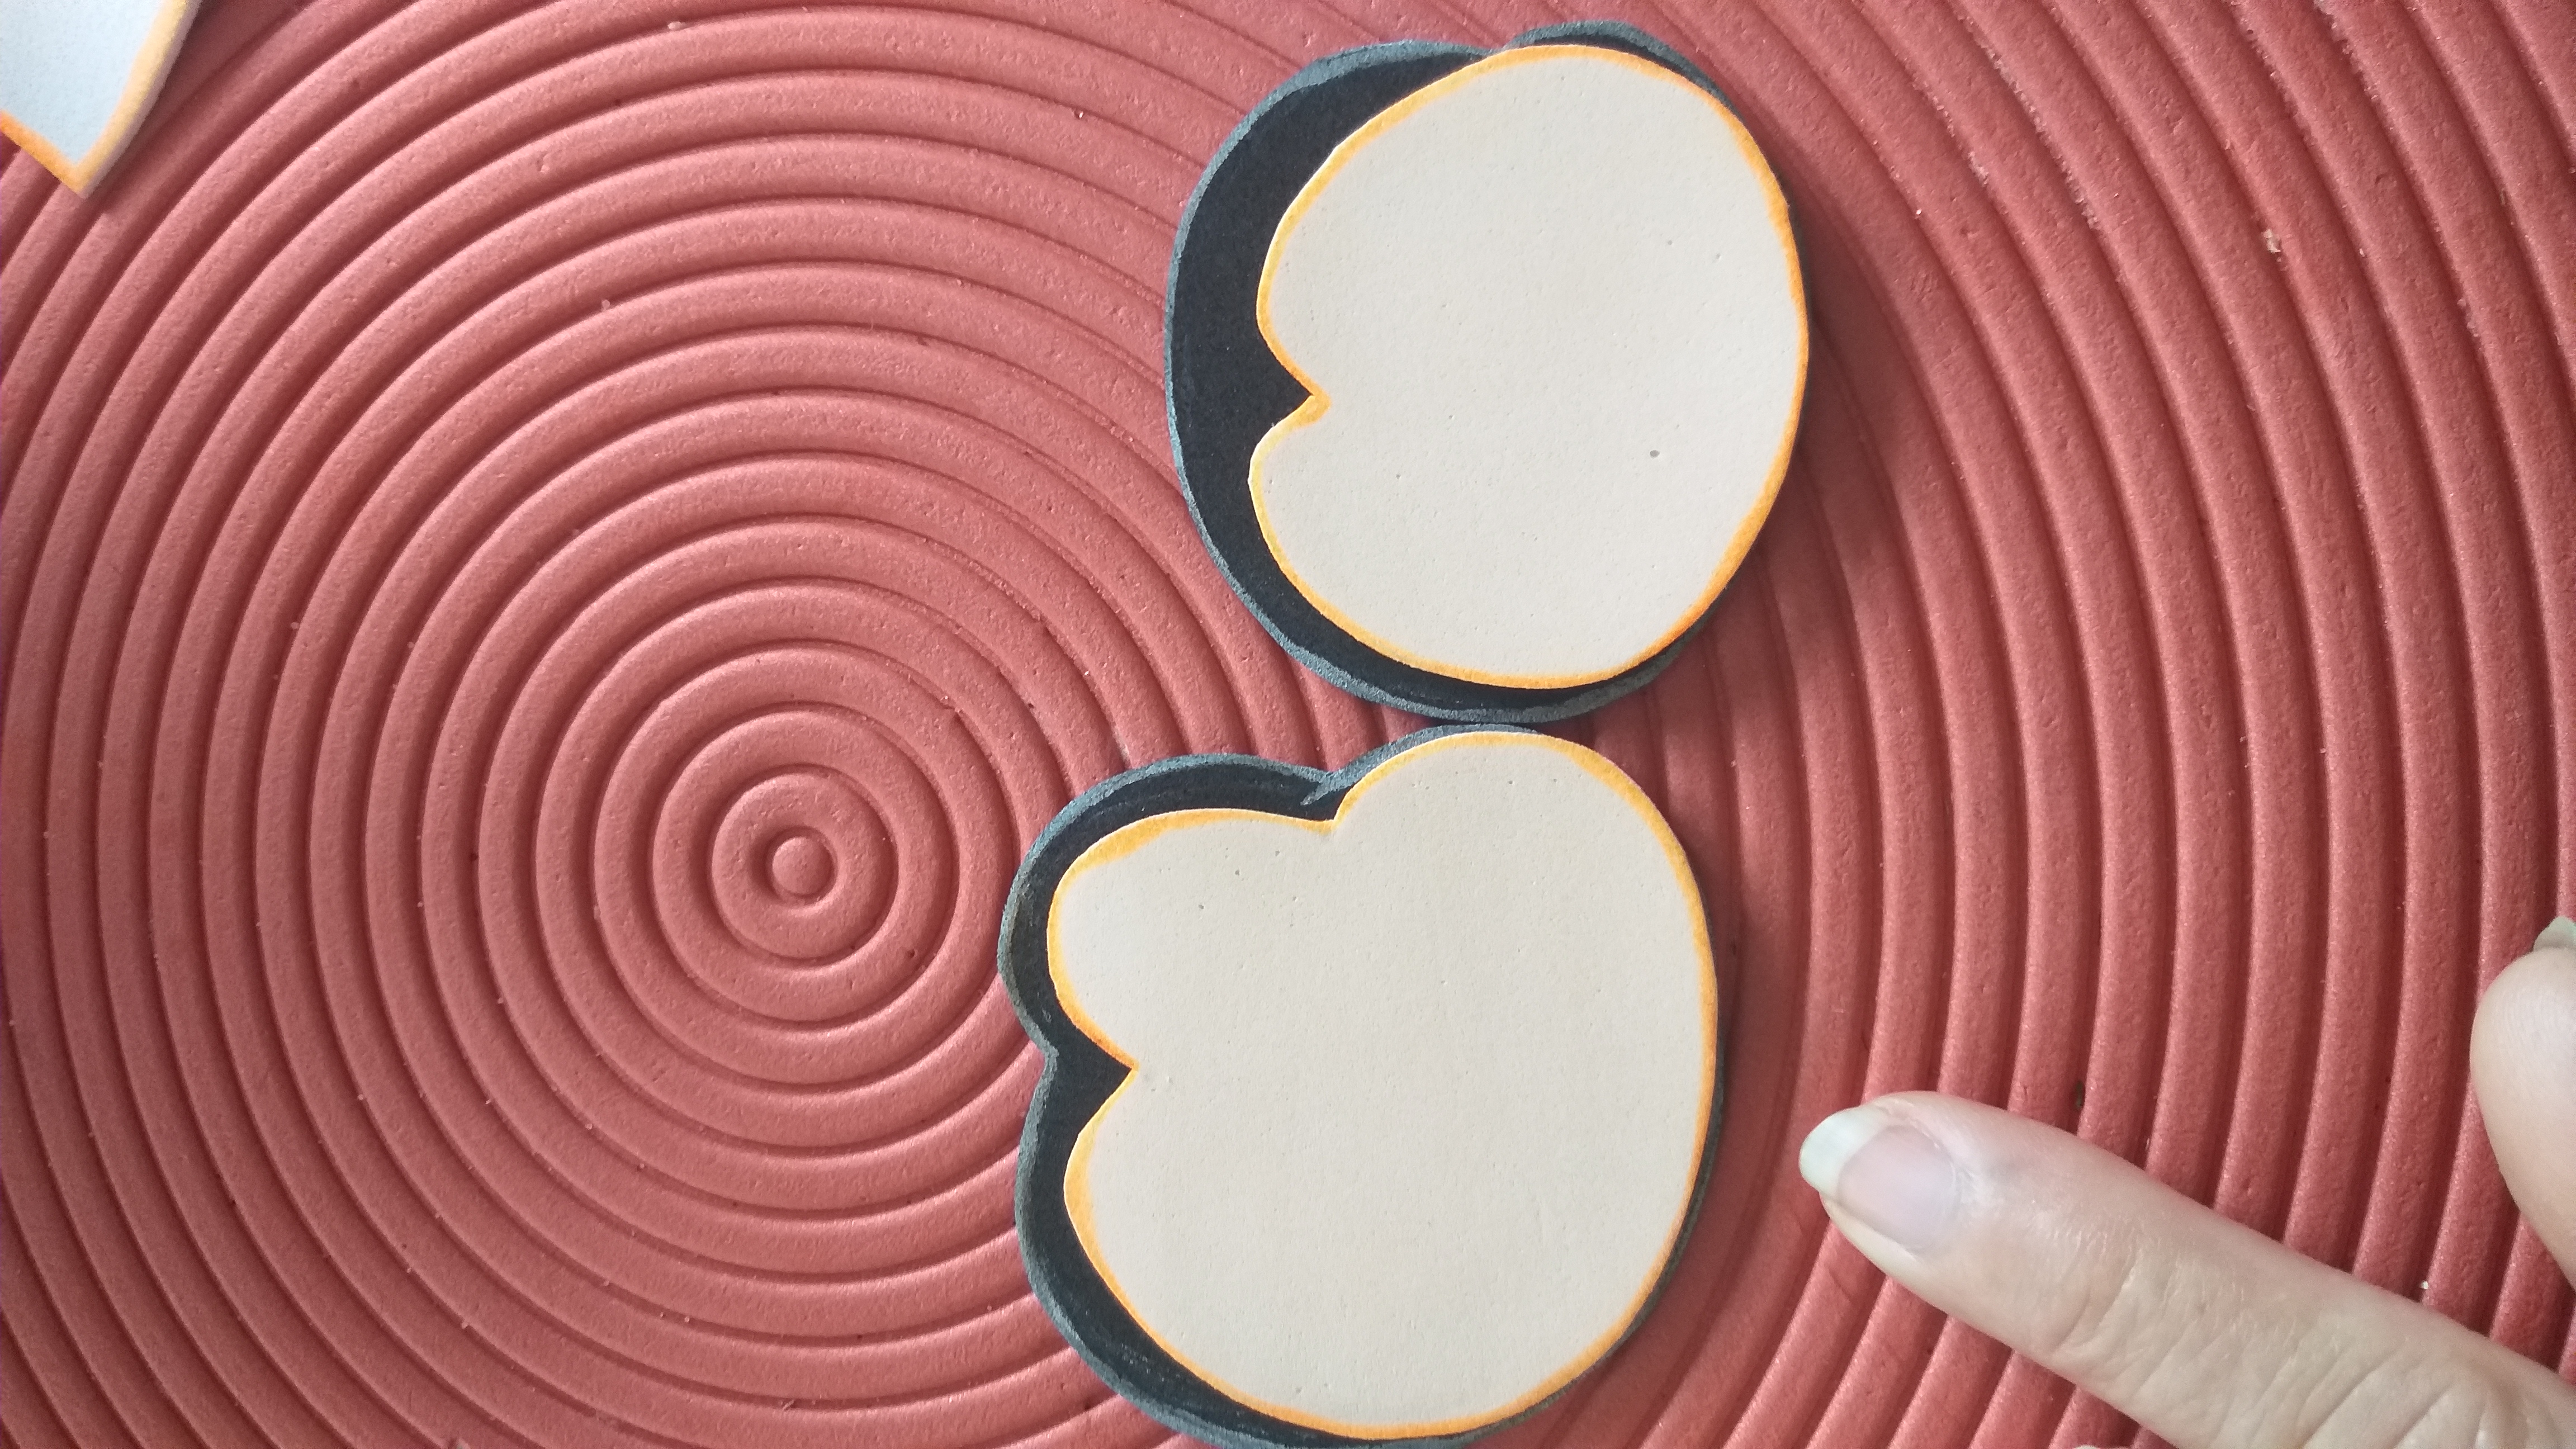
7mo paso. Luego de recortar las cabezas con esos mismos patrones sacar las caras de las abejas y transferir al foami de color piel y con el bolígrafo o lápiz darle la figura a las caras y que se vea la cabeza y recortar con la tijera. Observe la imágenes
7th step. After cutting the heads with the same patterns, take out the faces of the bees and transfer them to skin-colored foami and, with a pen or pencil, shape the faces and show the head and cut with scissors. Look at the images
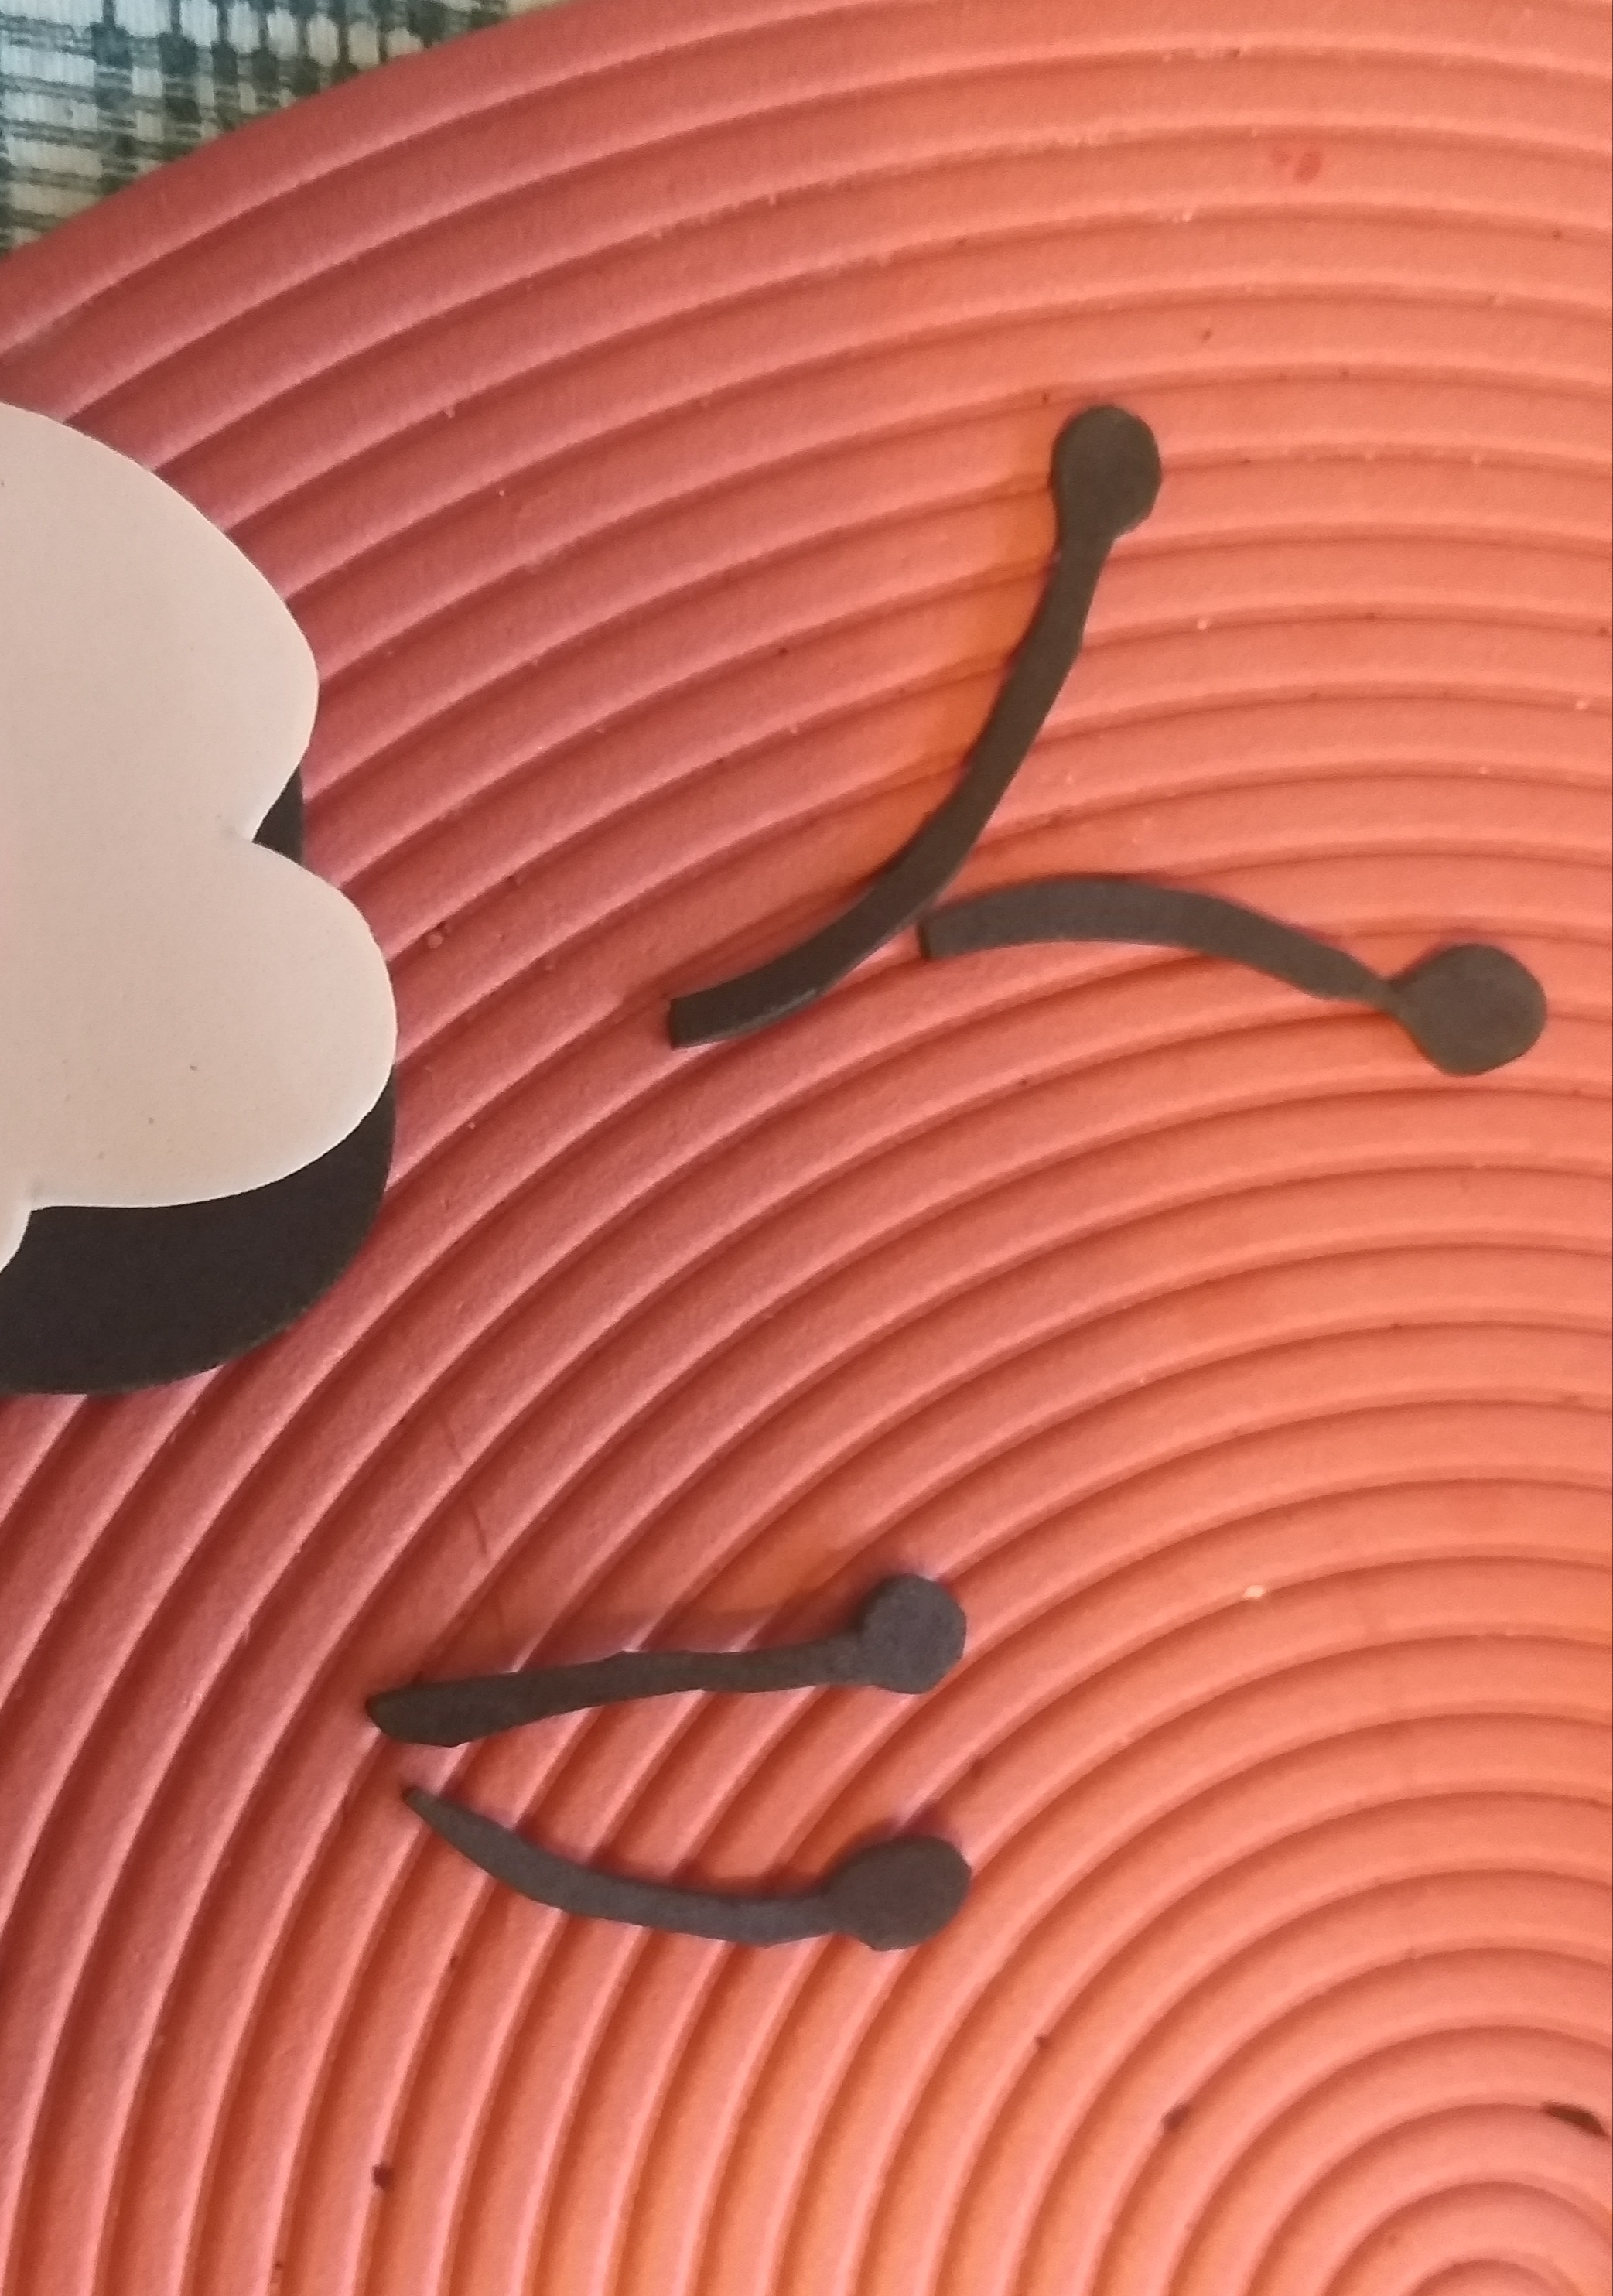
8to Paso. Con los recortes de la cabeza sacar las antenas de cada abeja; en este caso serían 4 antenas.
8th Step. With the head cutouts, remove the antennae of each bee; in this case there would be 4 antennas.
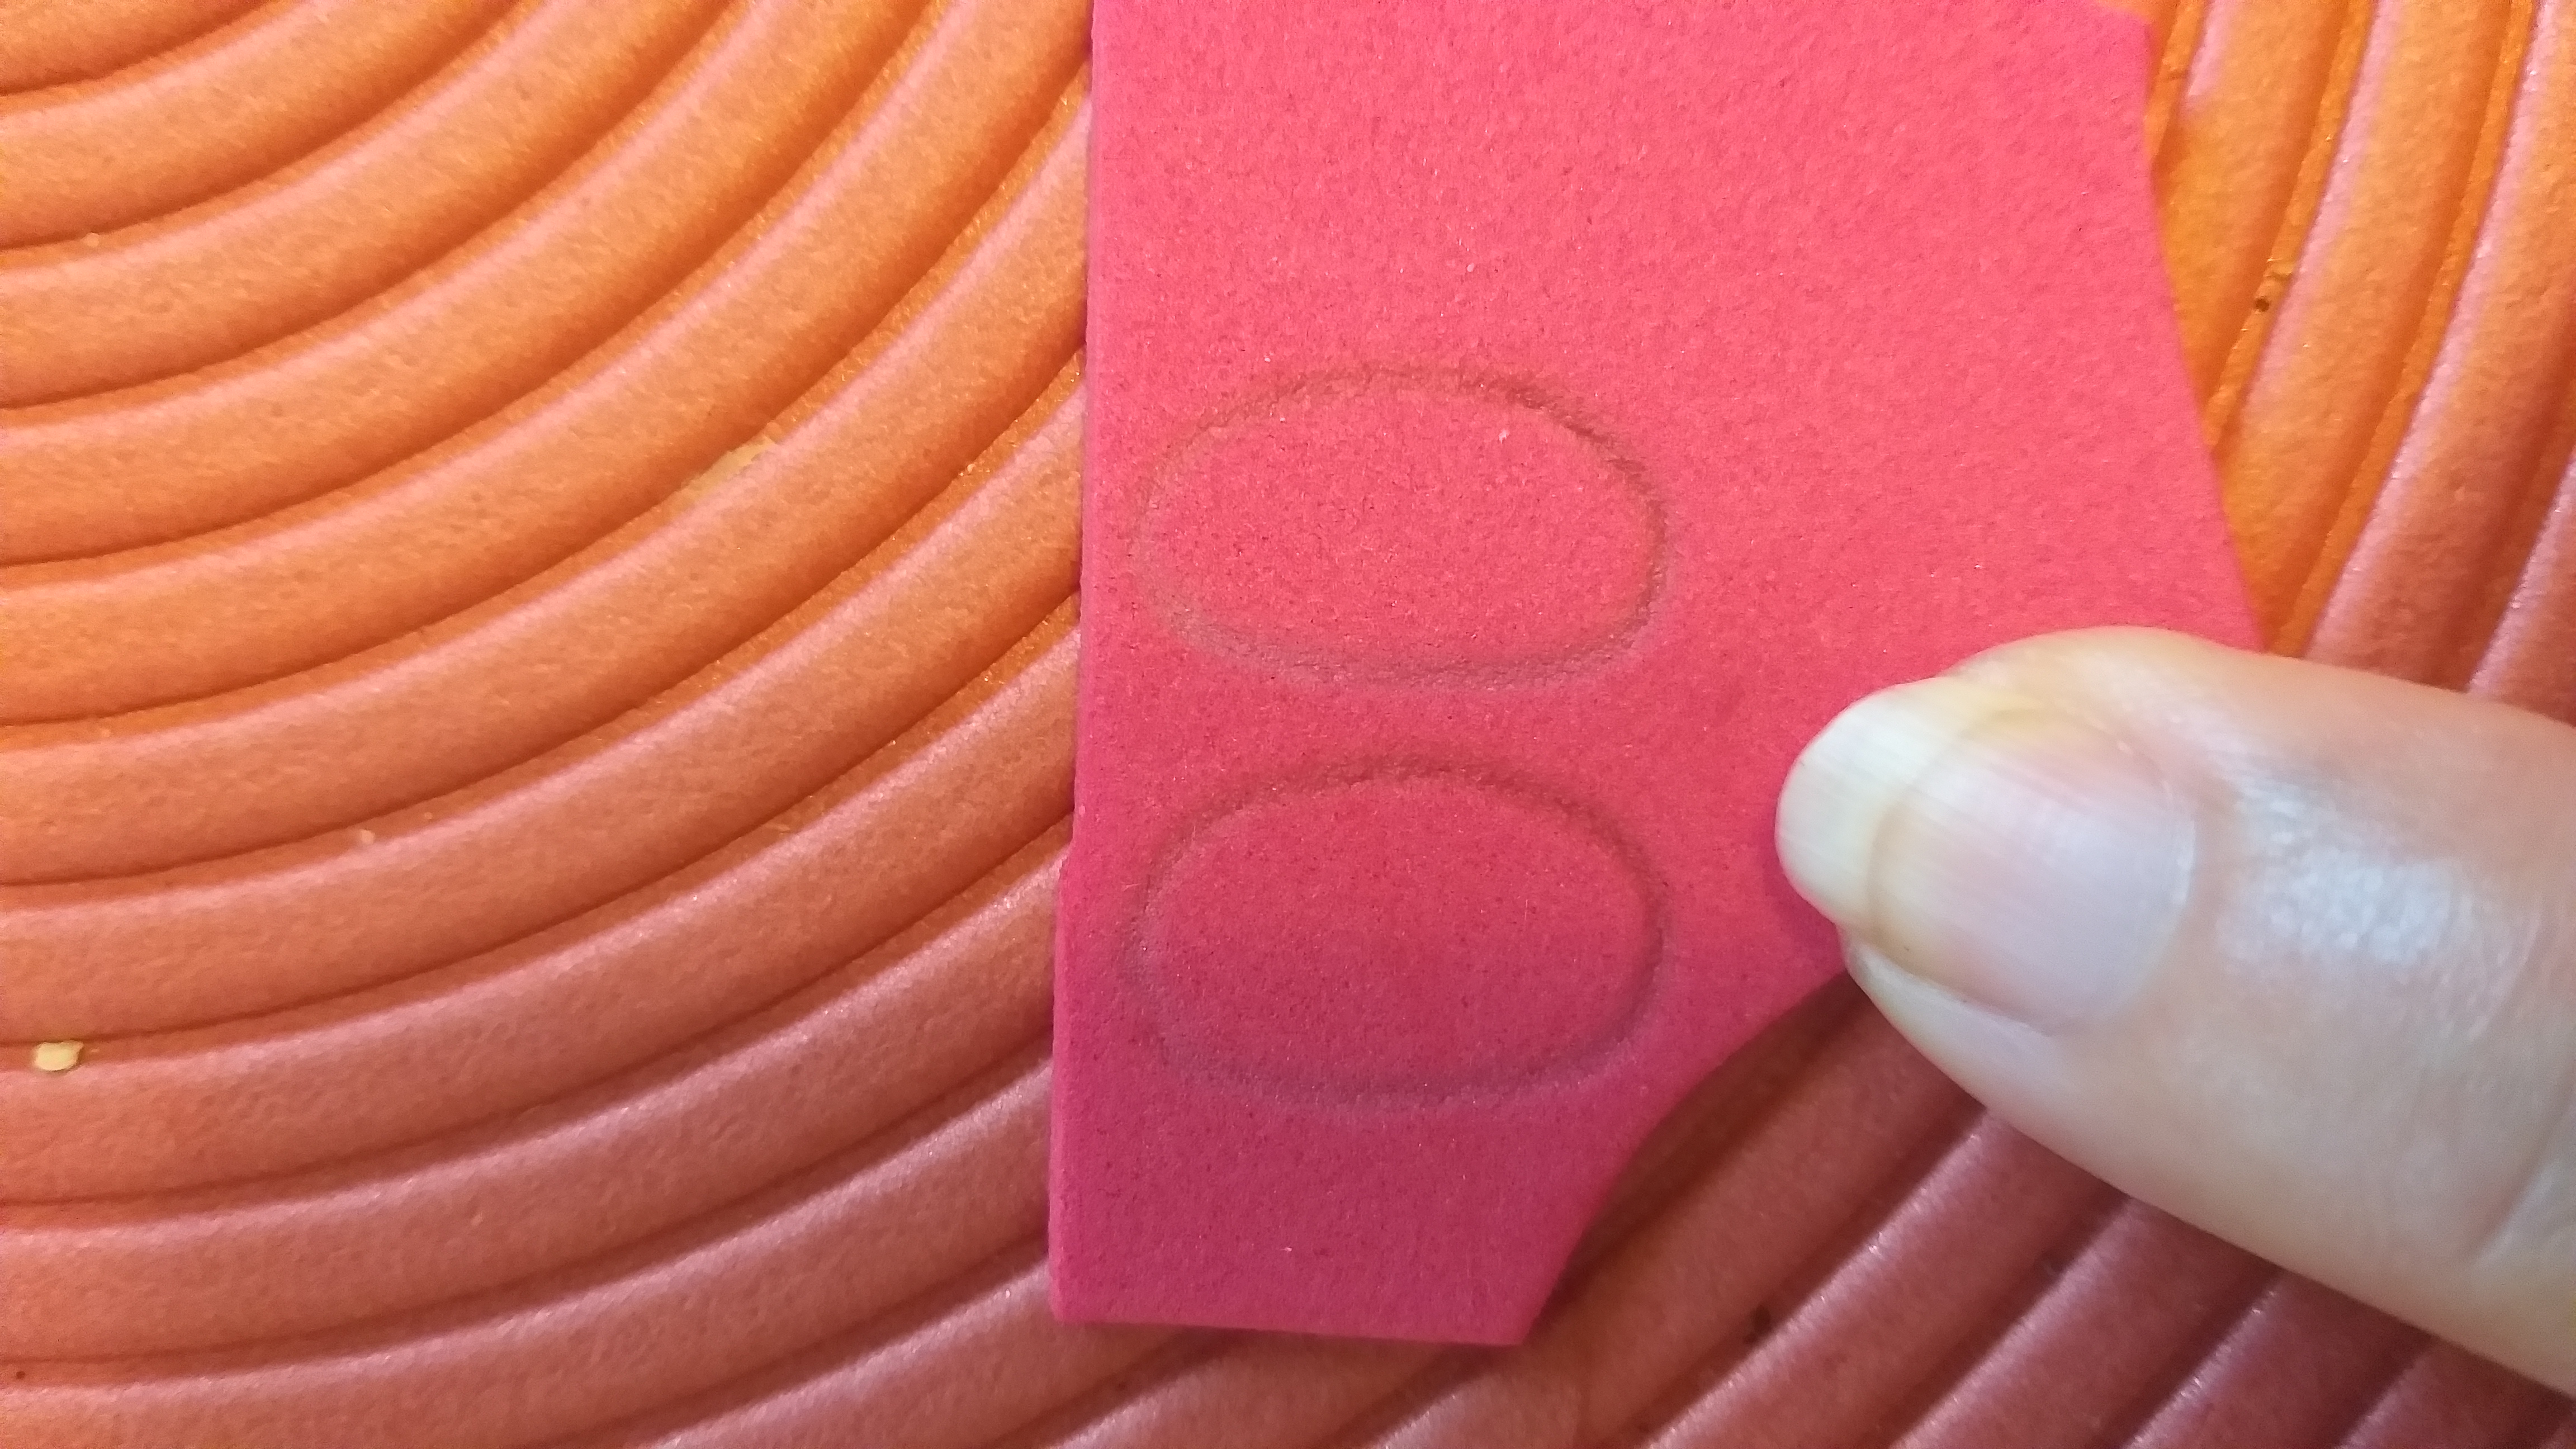
9no pado. Con un pedacito de foami color rojo dibujar con el bolígrafo o lápiz las dos nariz una un poquito más grande que la otra y recortar.
9th step. With a piece of red foami, draw the two noses with a pen or pencil, one a little larger than the other and cut out.
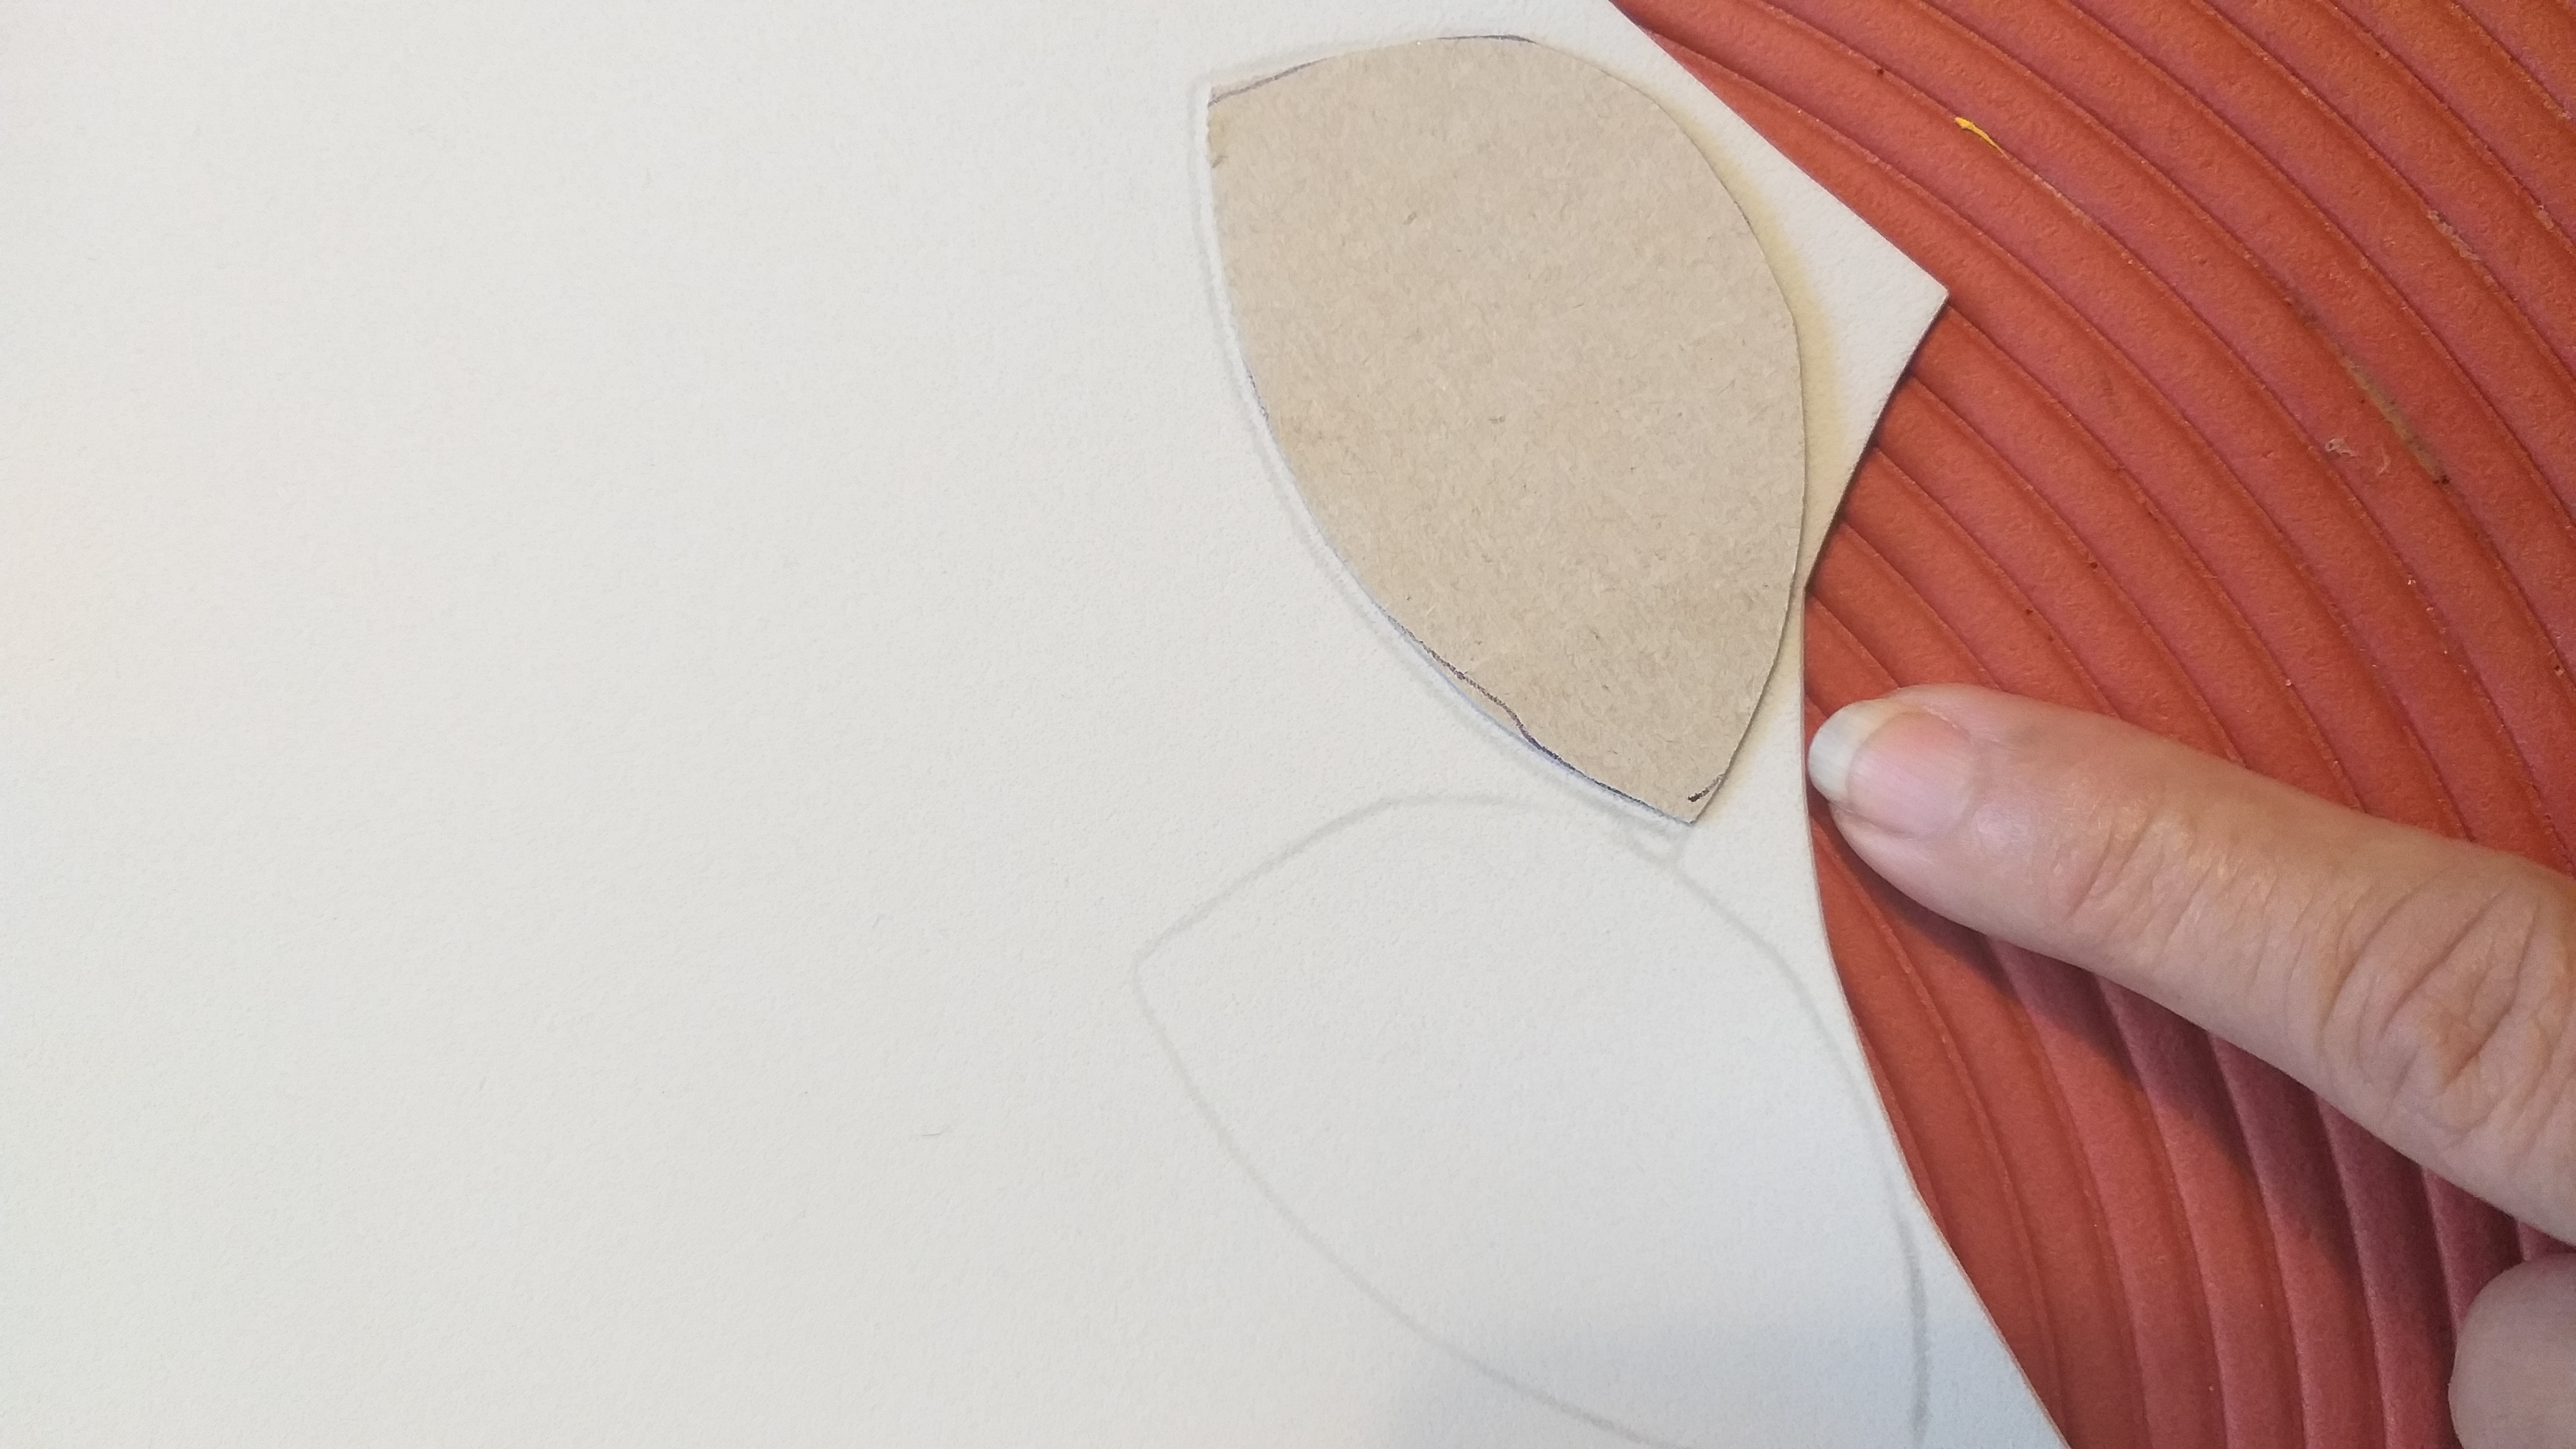
10 paso. En el cartón dibujar dos patrón para las alas una mas pequeña una con medidas de 6cm largo y otra de 8cm de largo y 4 de ancho para ambas. Transferir al foami de color blanco y recortar serían 4 alas.
10 step. On the cardboard, draw two patterns for the wings, one smaller, one measuring 6cm long and the other 8cm long and 4cm wide for both. Transfer to the white foami and cut out 4 wings.
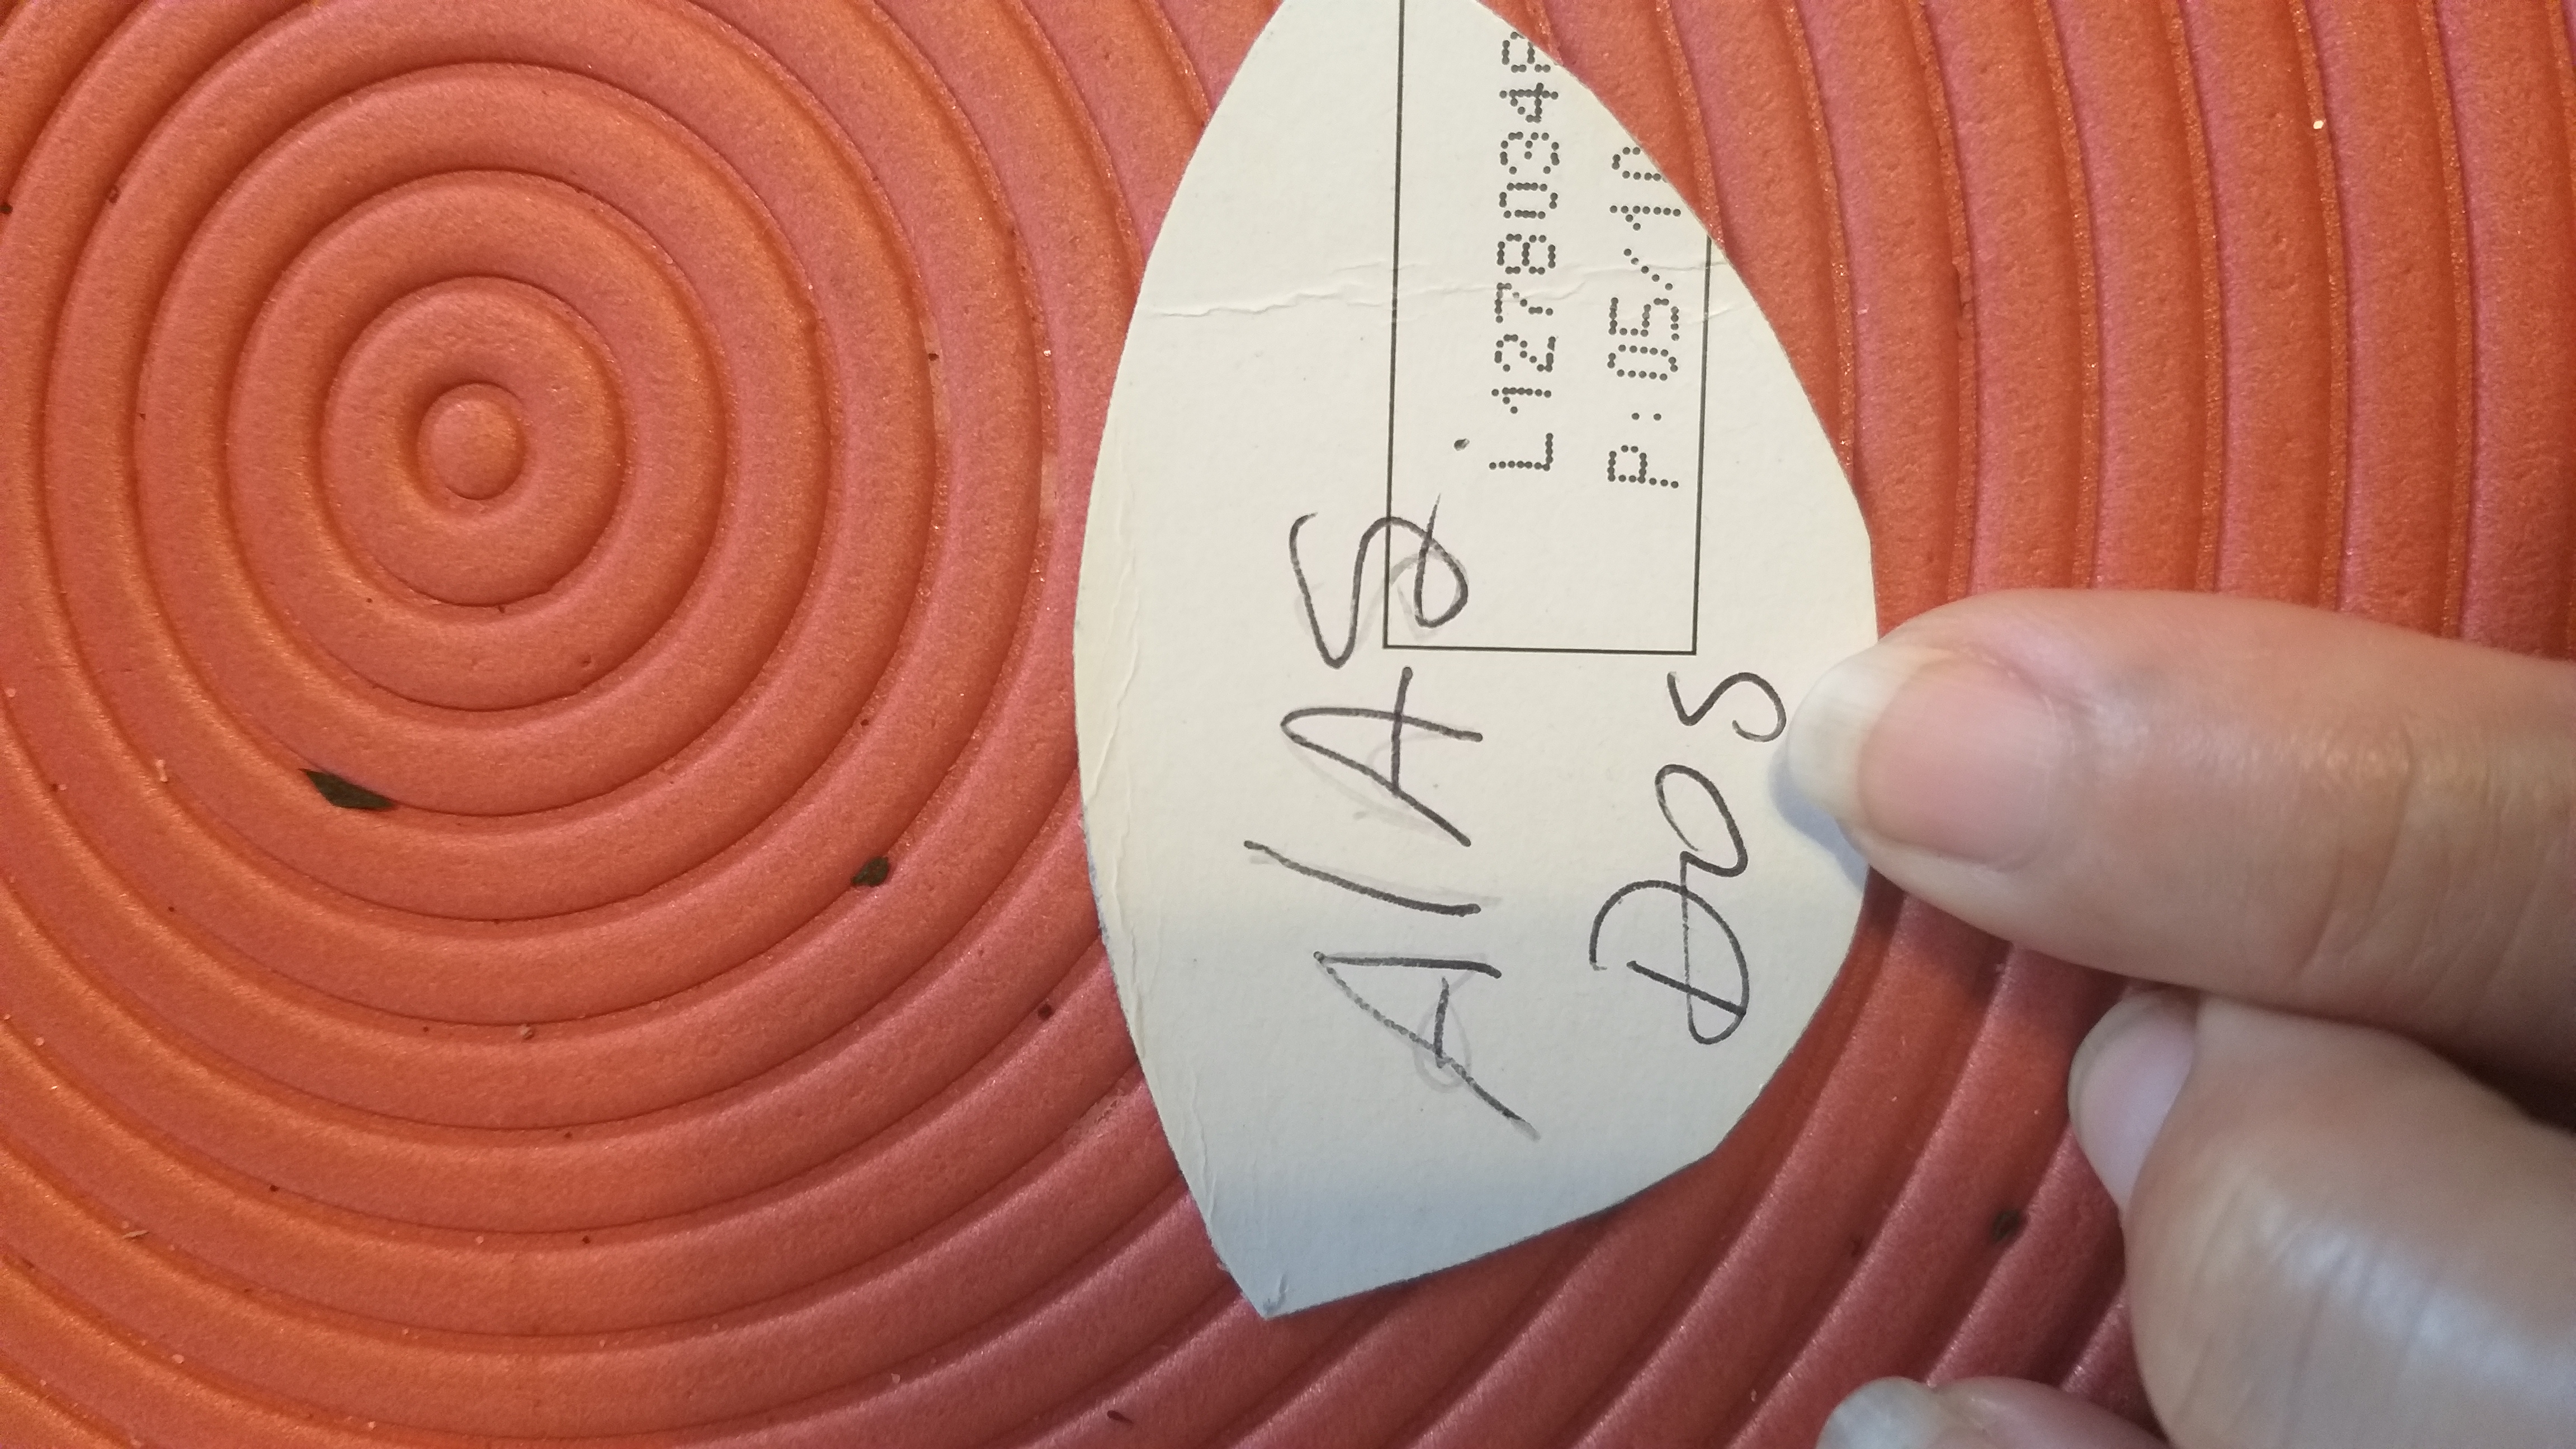
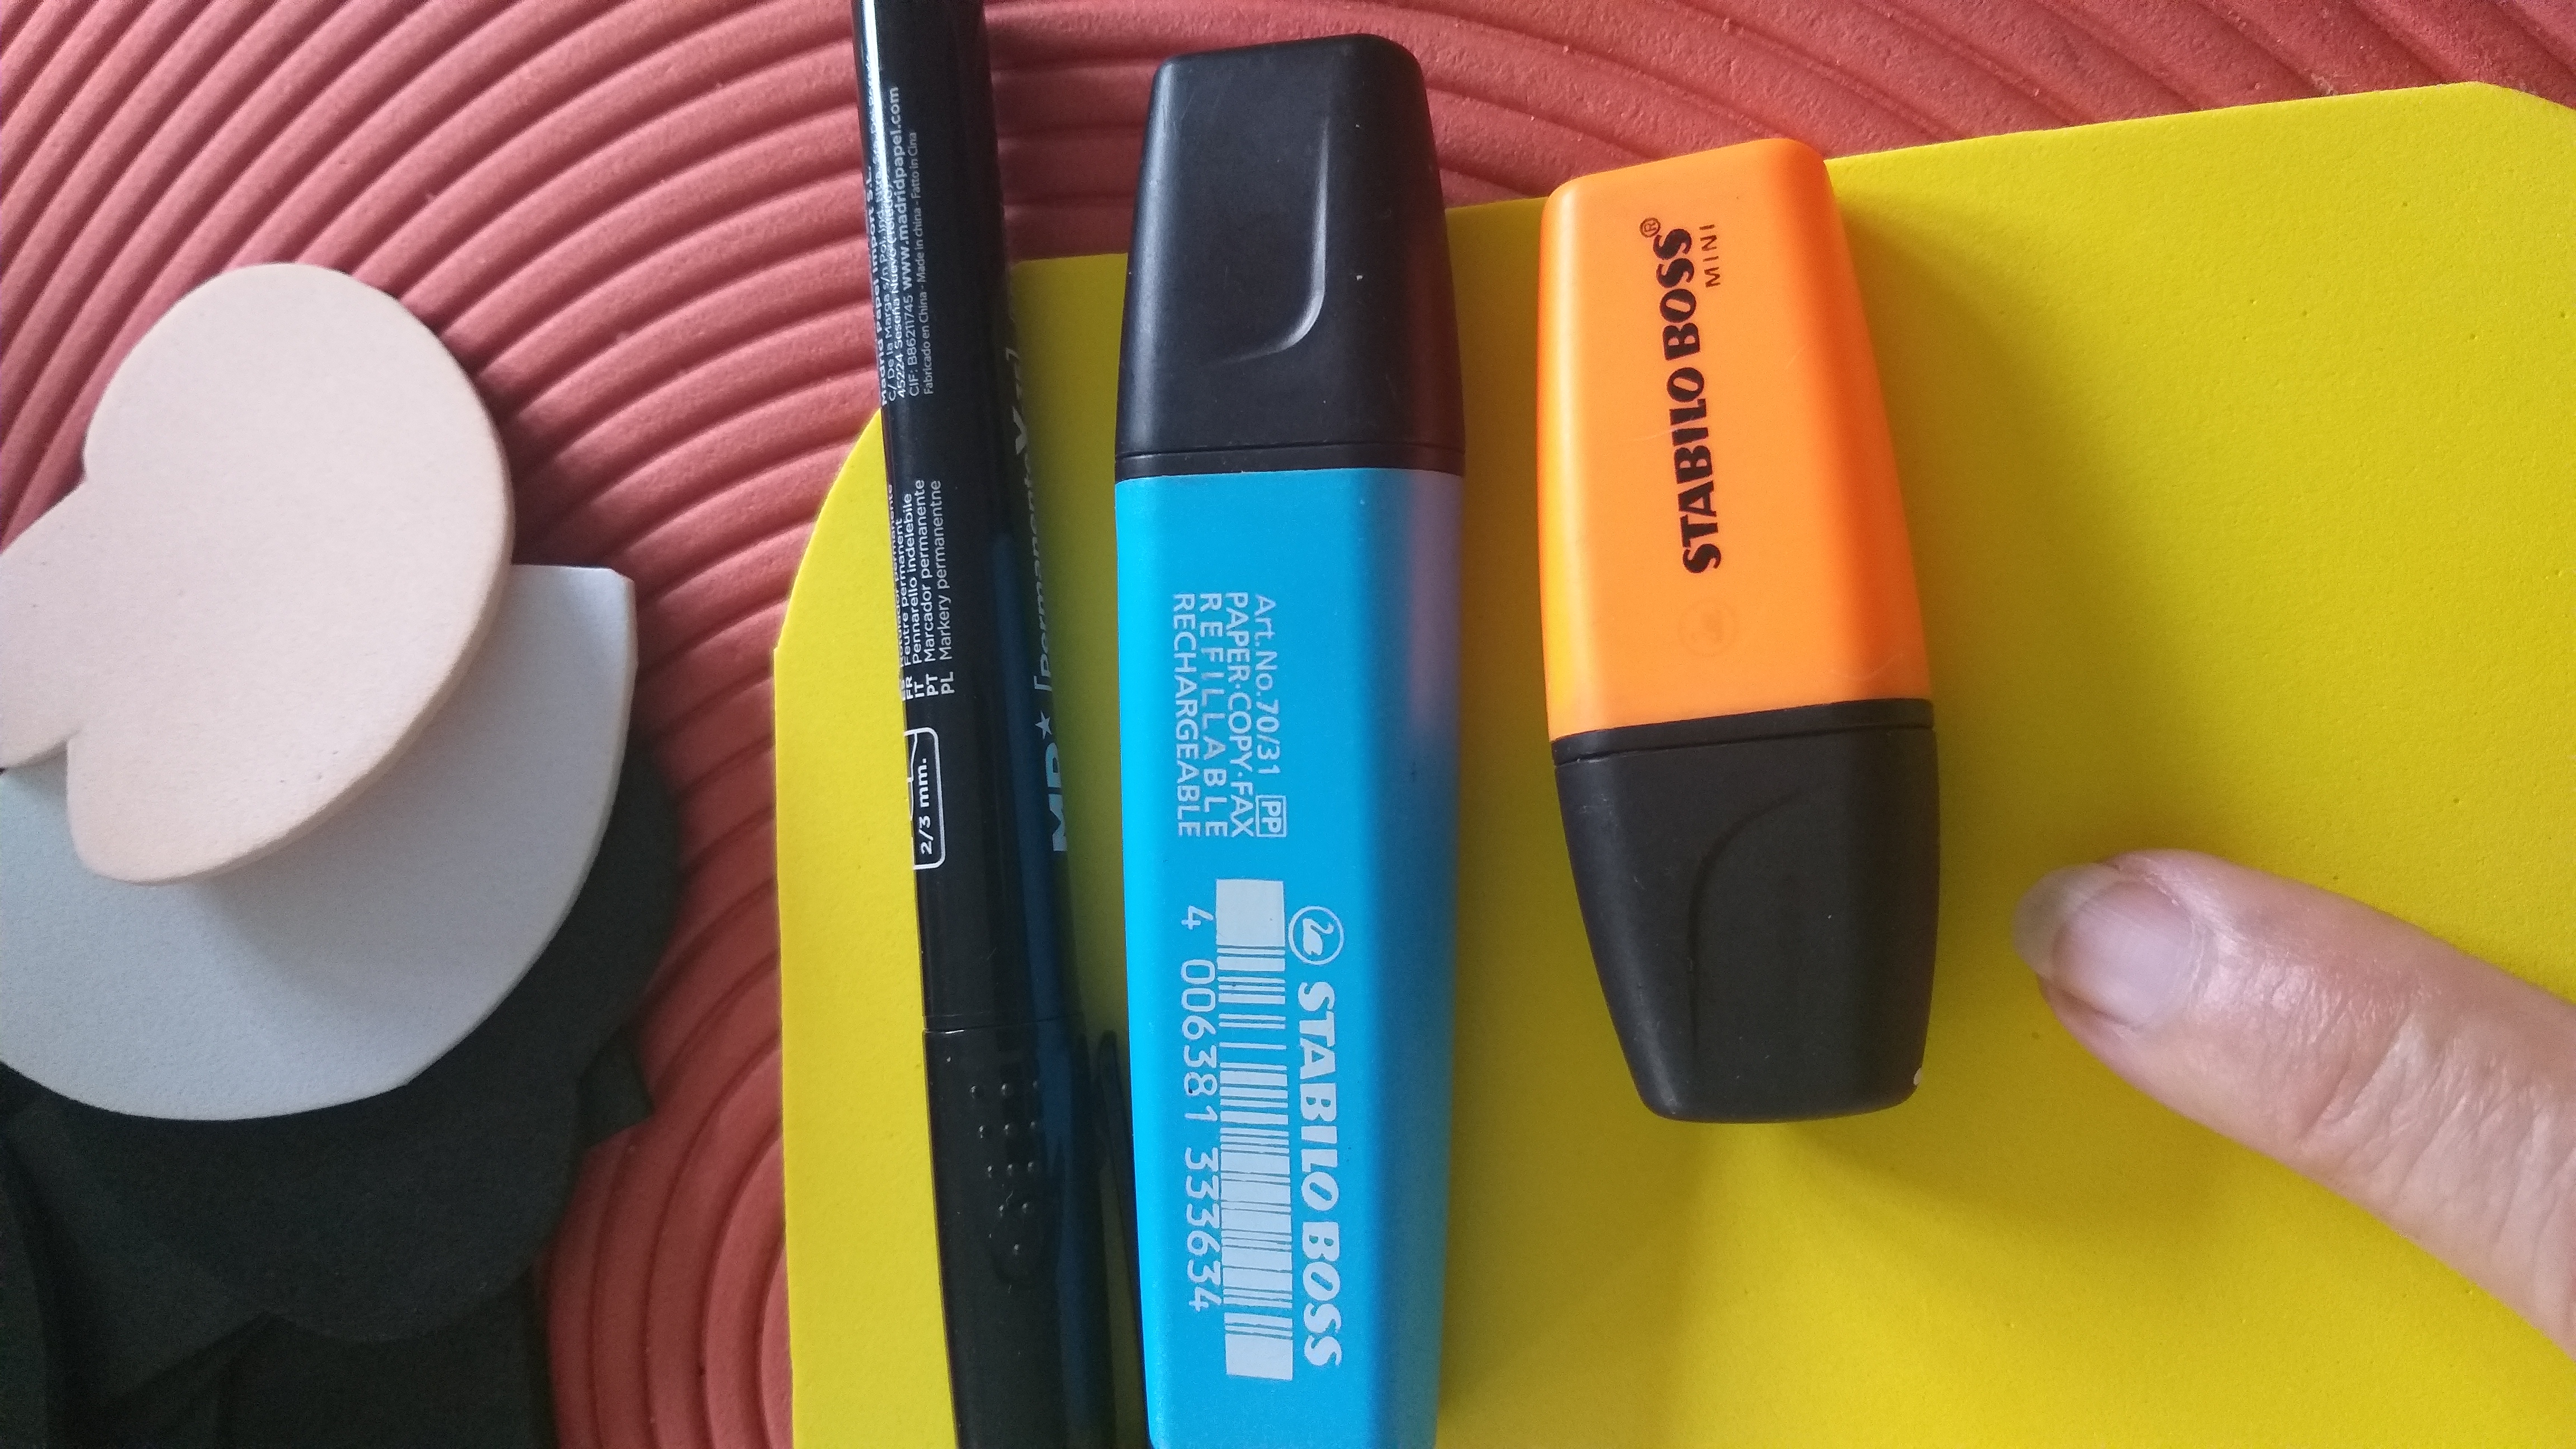
11 paso. Luego de tener todas las piezas listas con los marcadores o pintura acrílica sombrear los bordes de cada pieza la cara, cuadro amarillo y alas de color naranja y luego negro, las piezas negras con el color blanco
11 step. After having all the pieces ready with the markers or acrylic paint, shade the edges of each piece the face, yellow square and wings with orange and then black, the black pieces with the white color.
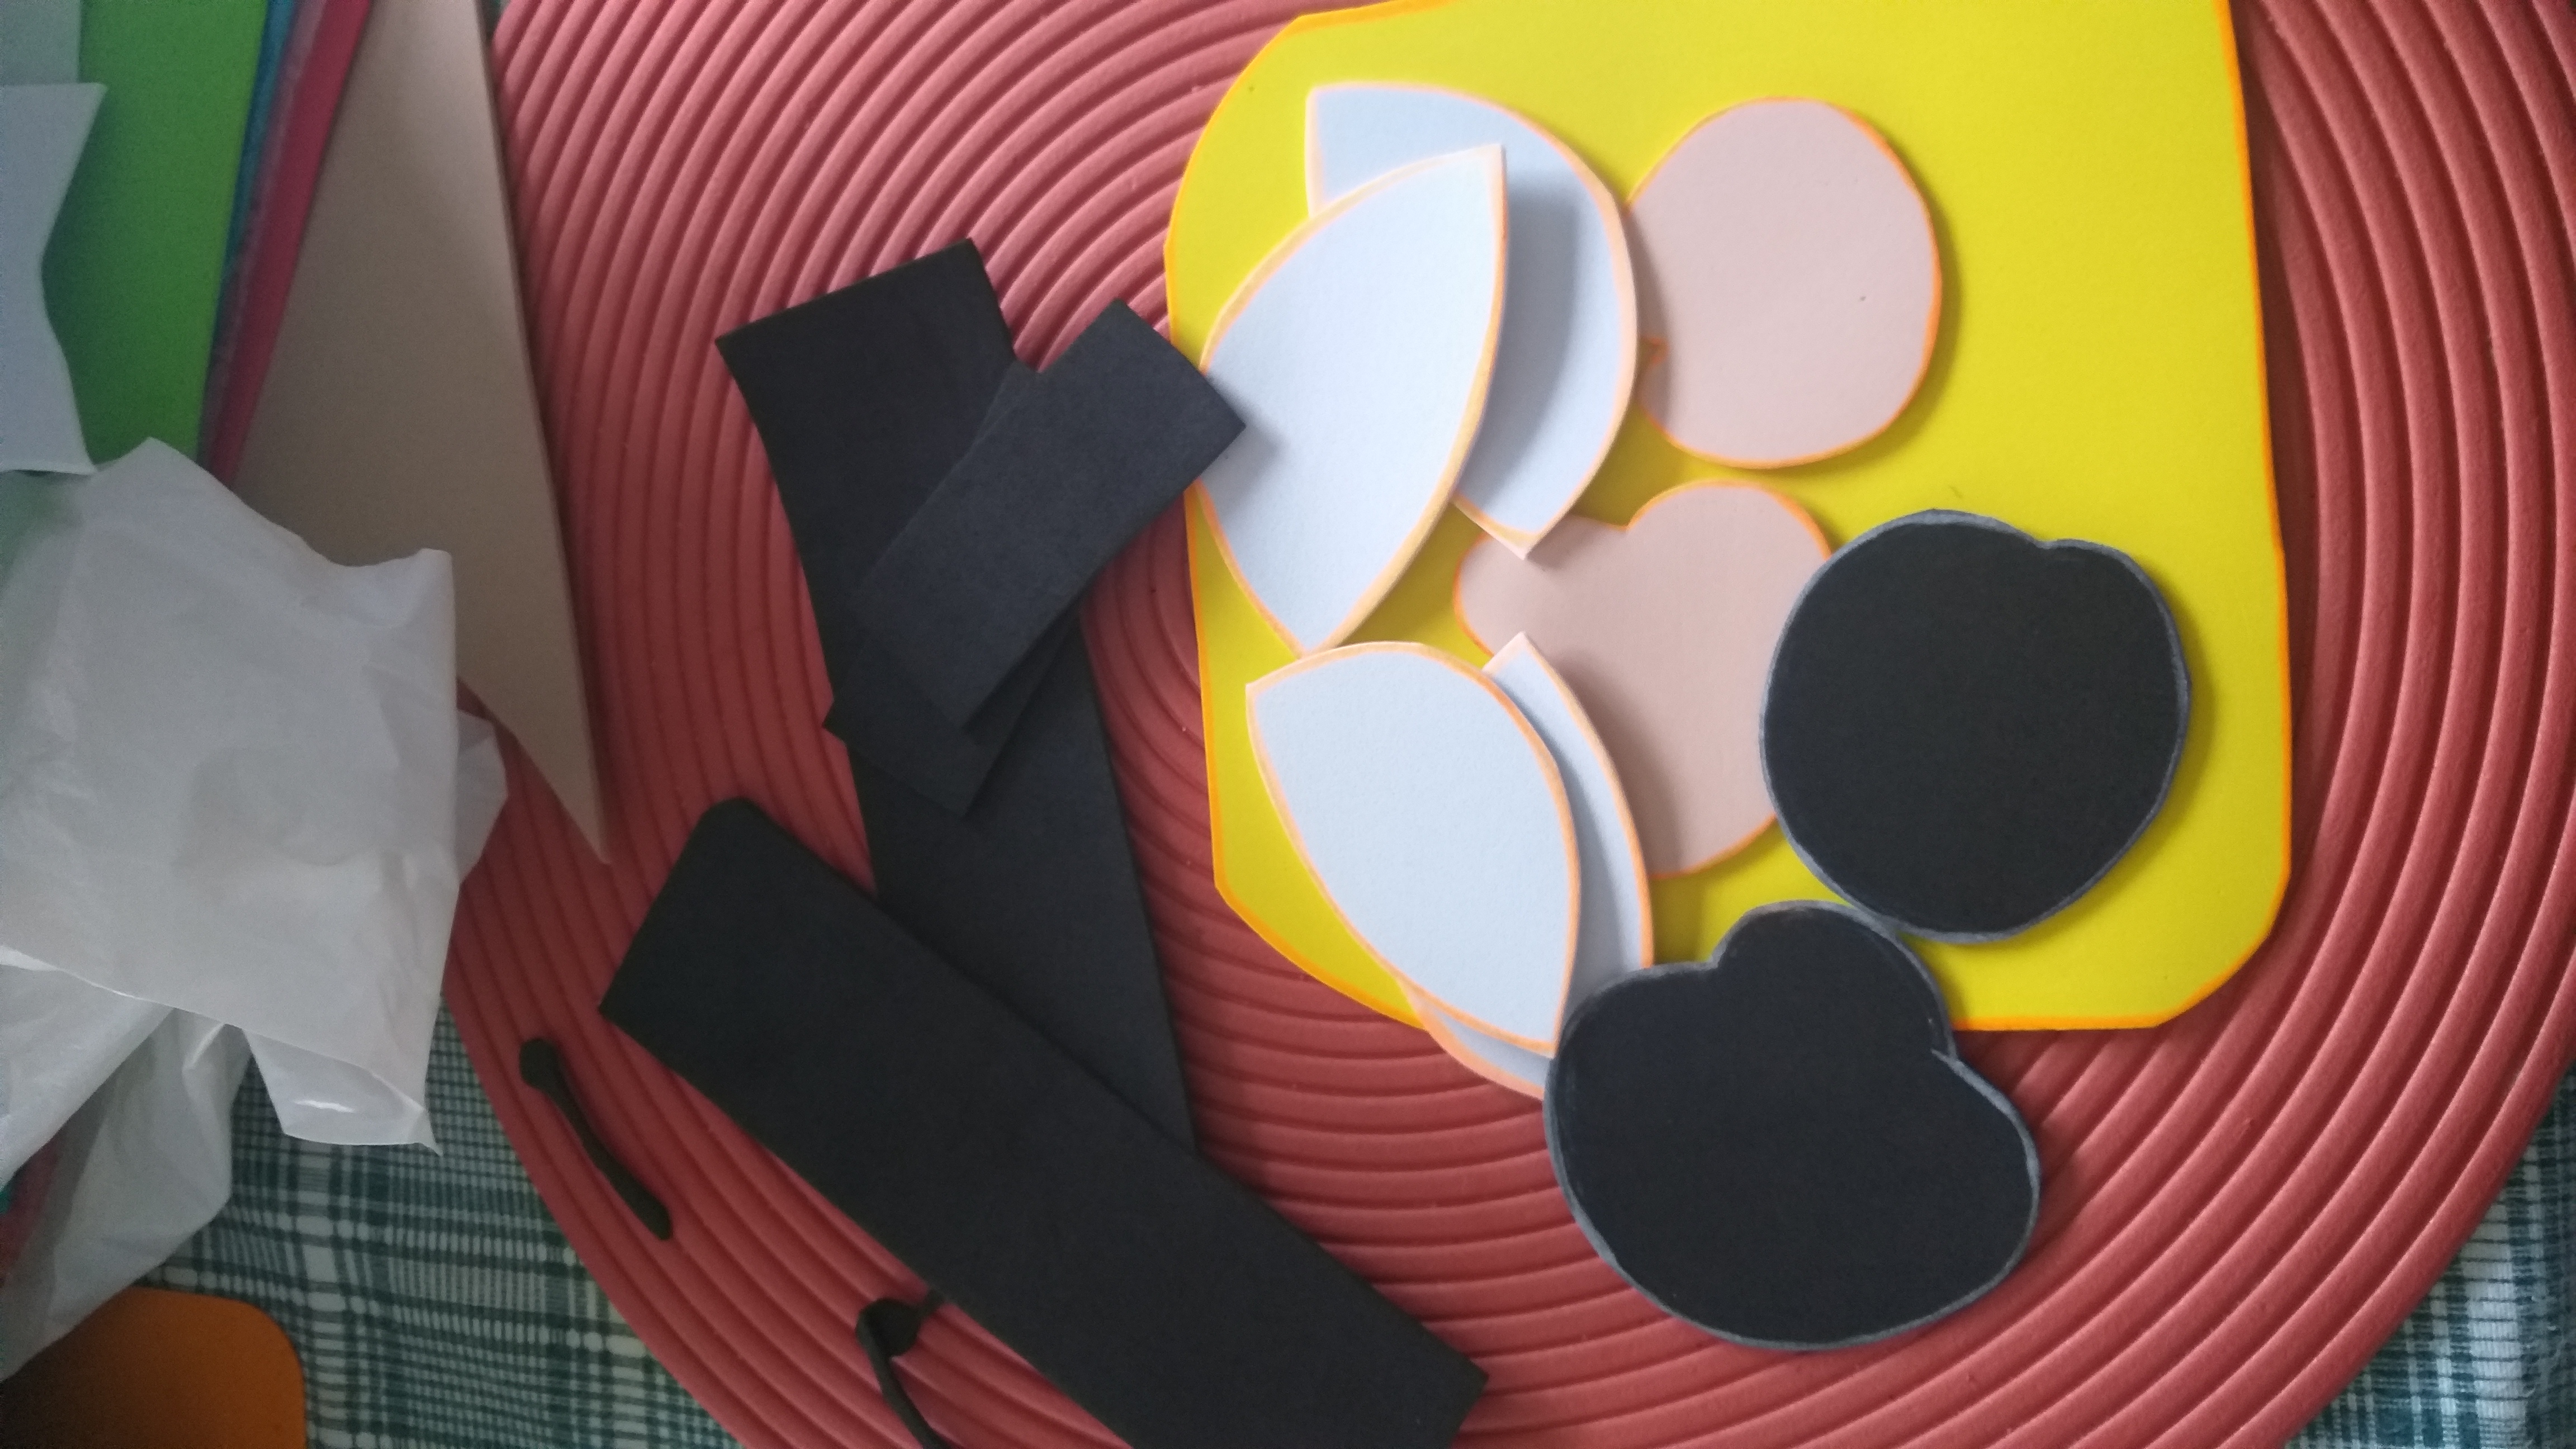
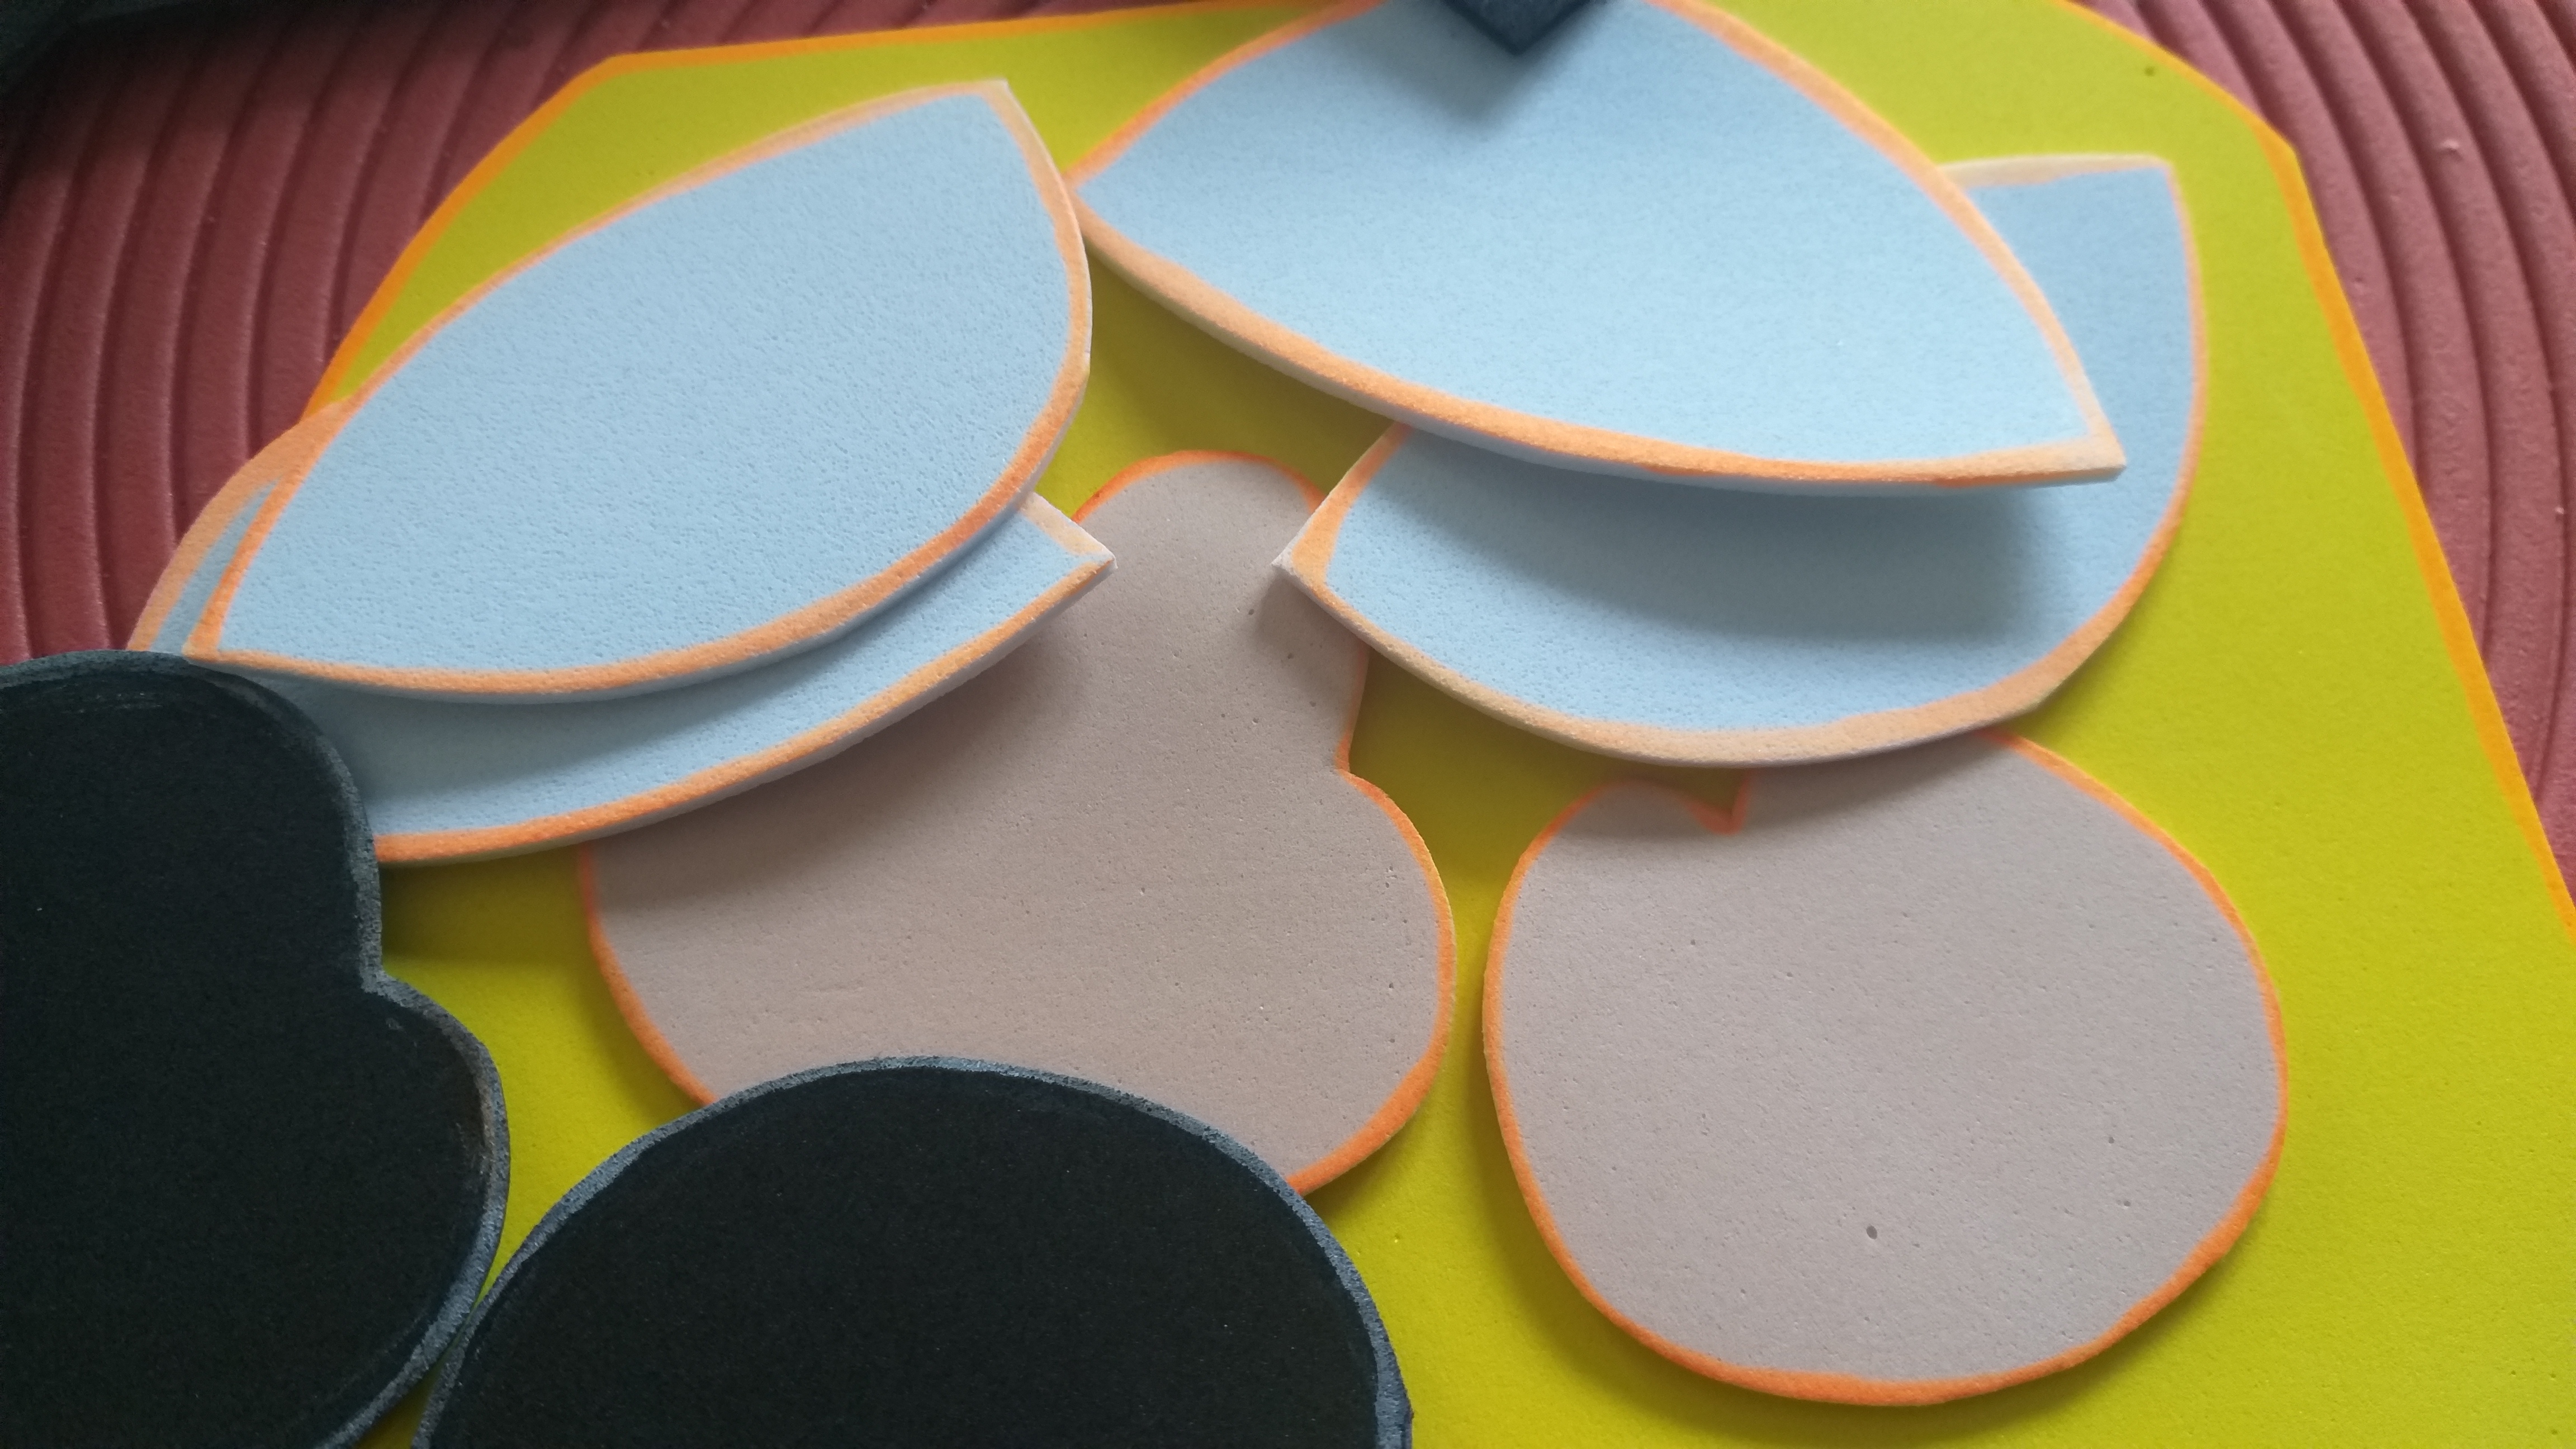
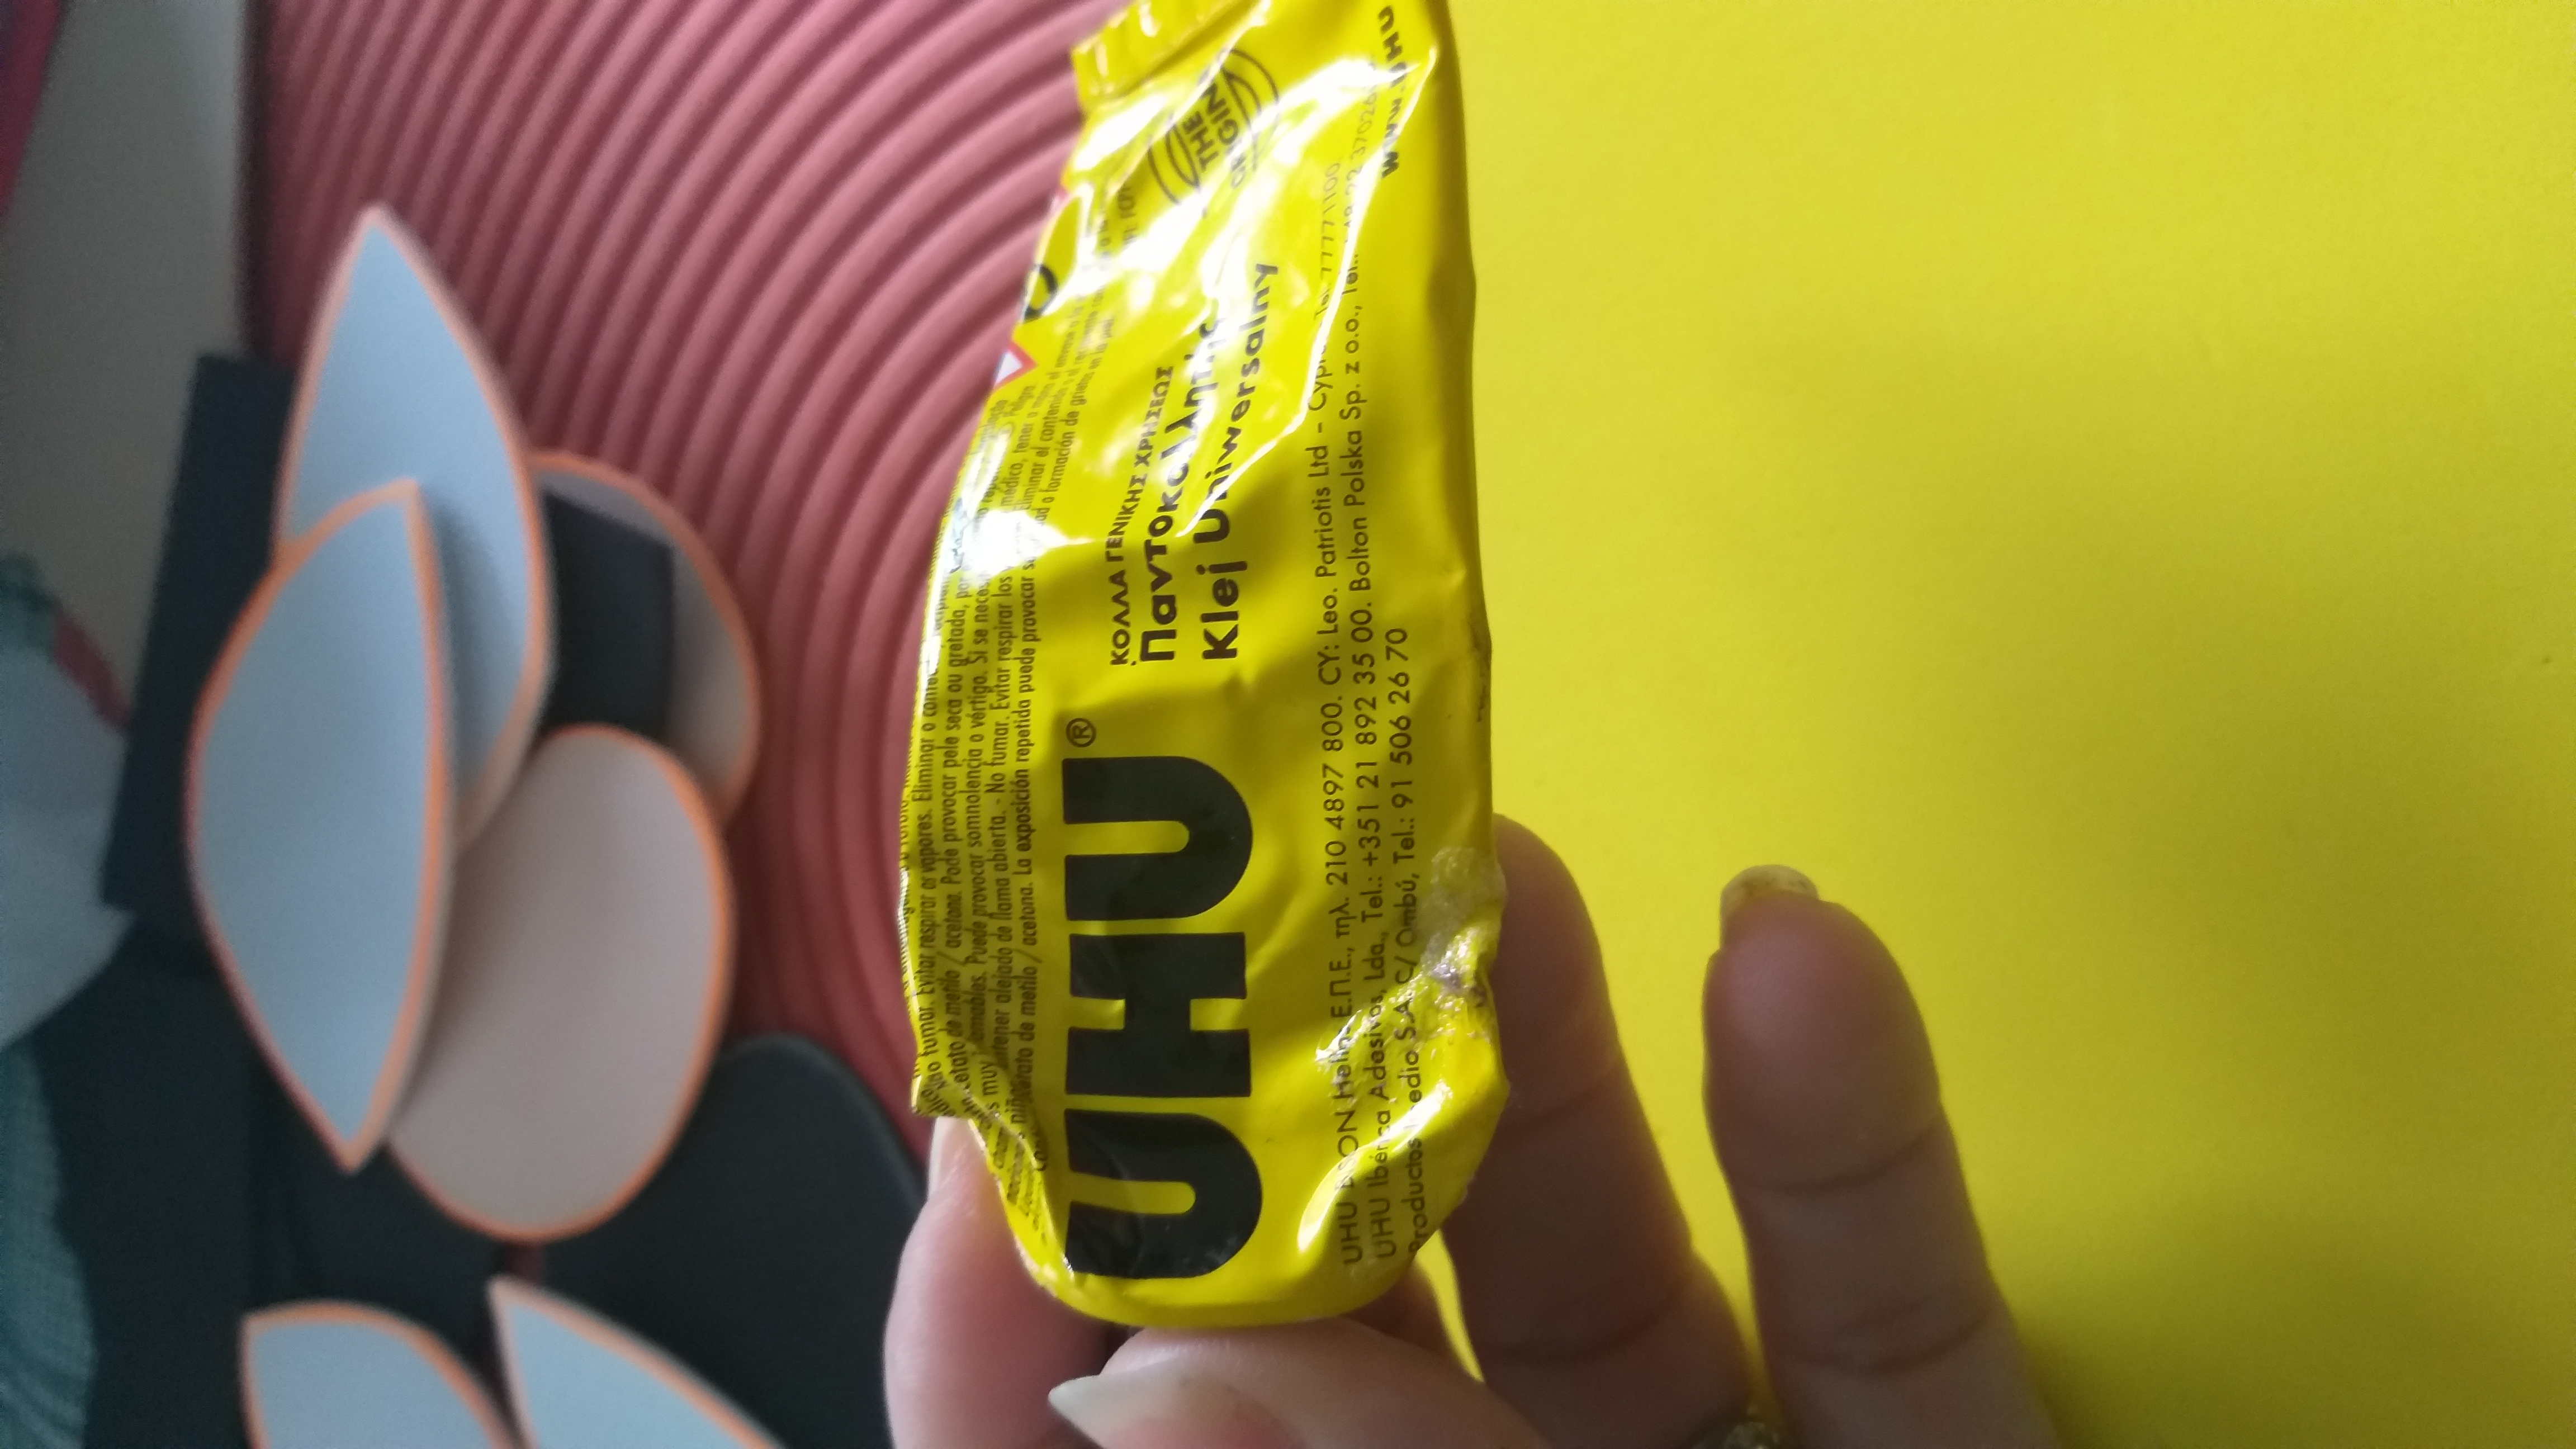
12 paso. Pegar todas las piezas con pegamento universal o cualquier pegamento rápido; también pueden utilizar silicon frio o caliente.
12 step. Glue all the pieces with universal glue or any quick glue; You can also use hot or cold silicone.
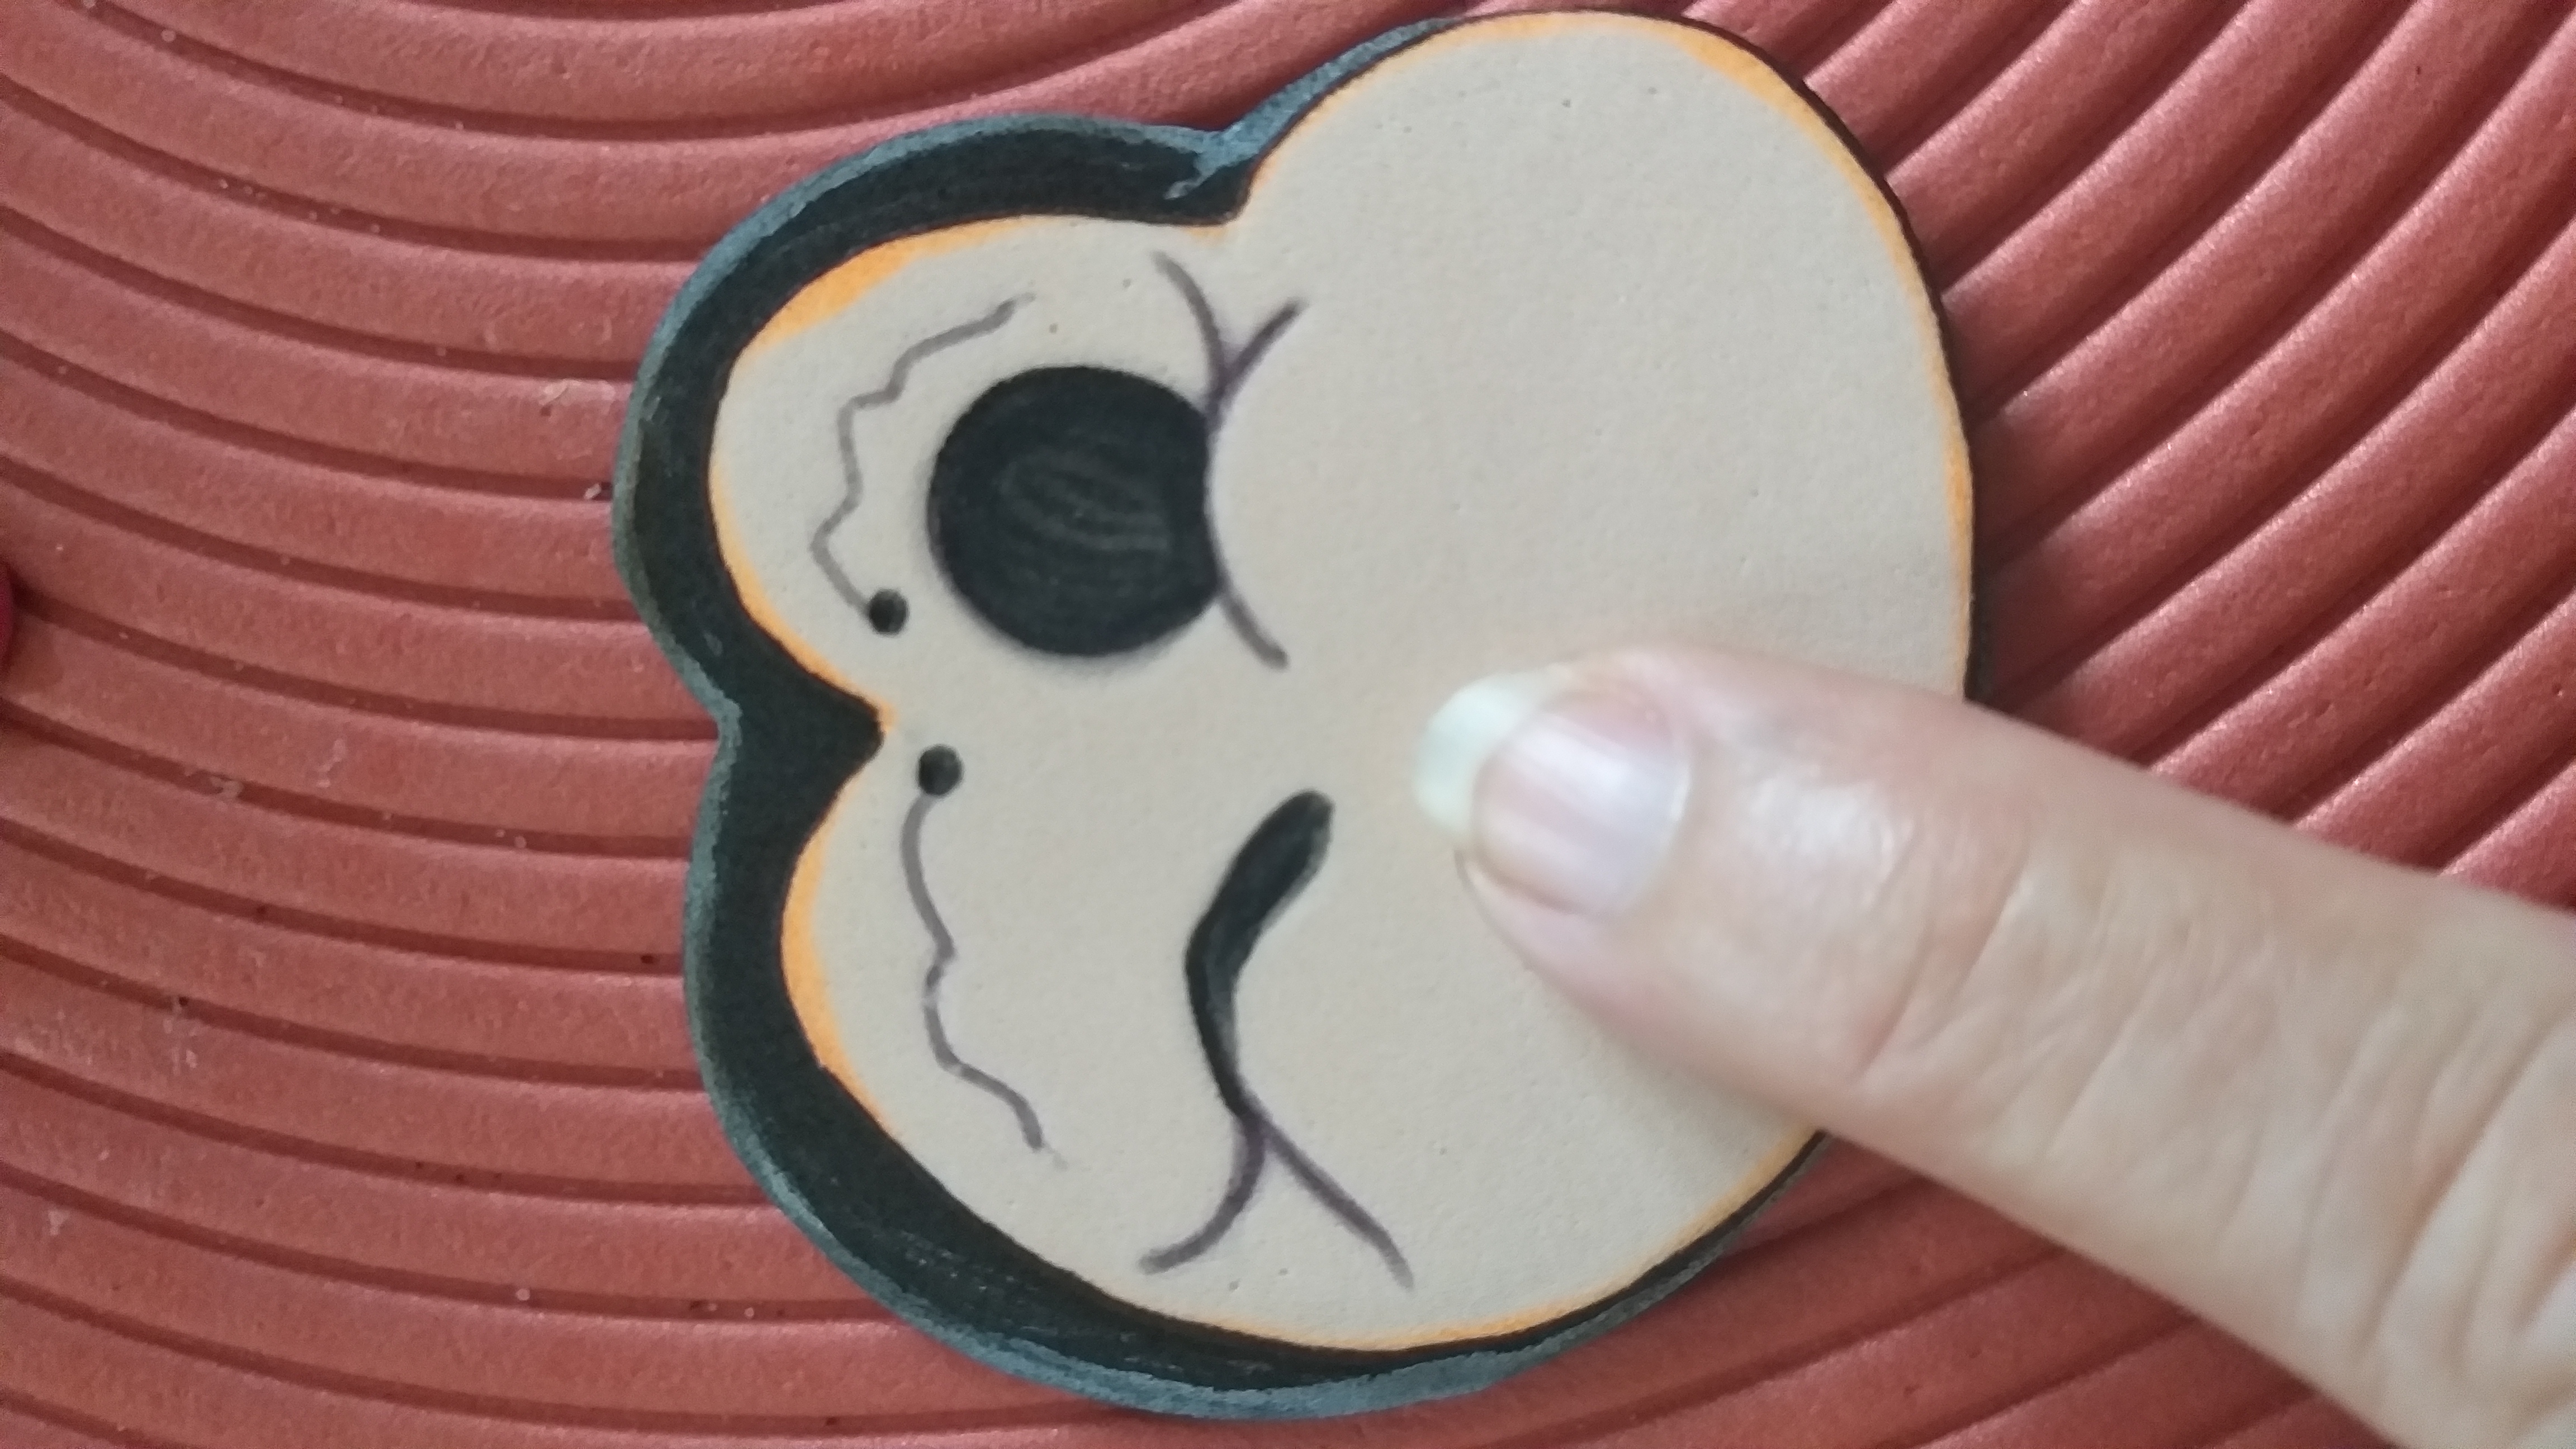
13 paso. Dibujar y pintar los ojos y pegar la nariz y pintar los cachetes pueden pintarlo con el dedo y usar blush o rubor para cara, pintura acrílica y en este caso utilicé pintura de acuarela en polvo.
13 step. Draw and paint the eyes and paste the nose and paint the cheeks you can paint it with your finger and use blush or blush for the face, acrylic paint and in this case I used powdered watercolor paint.
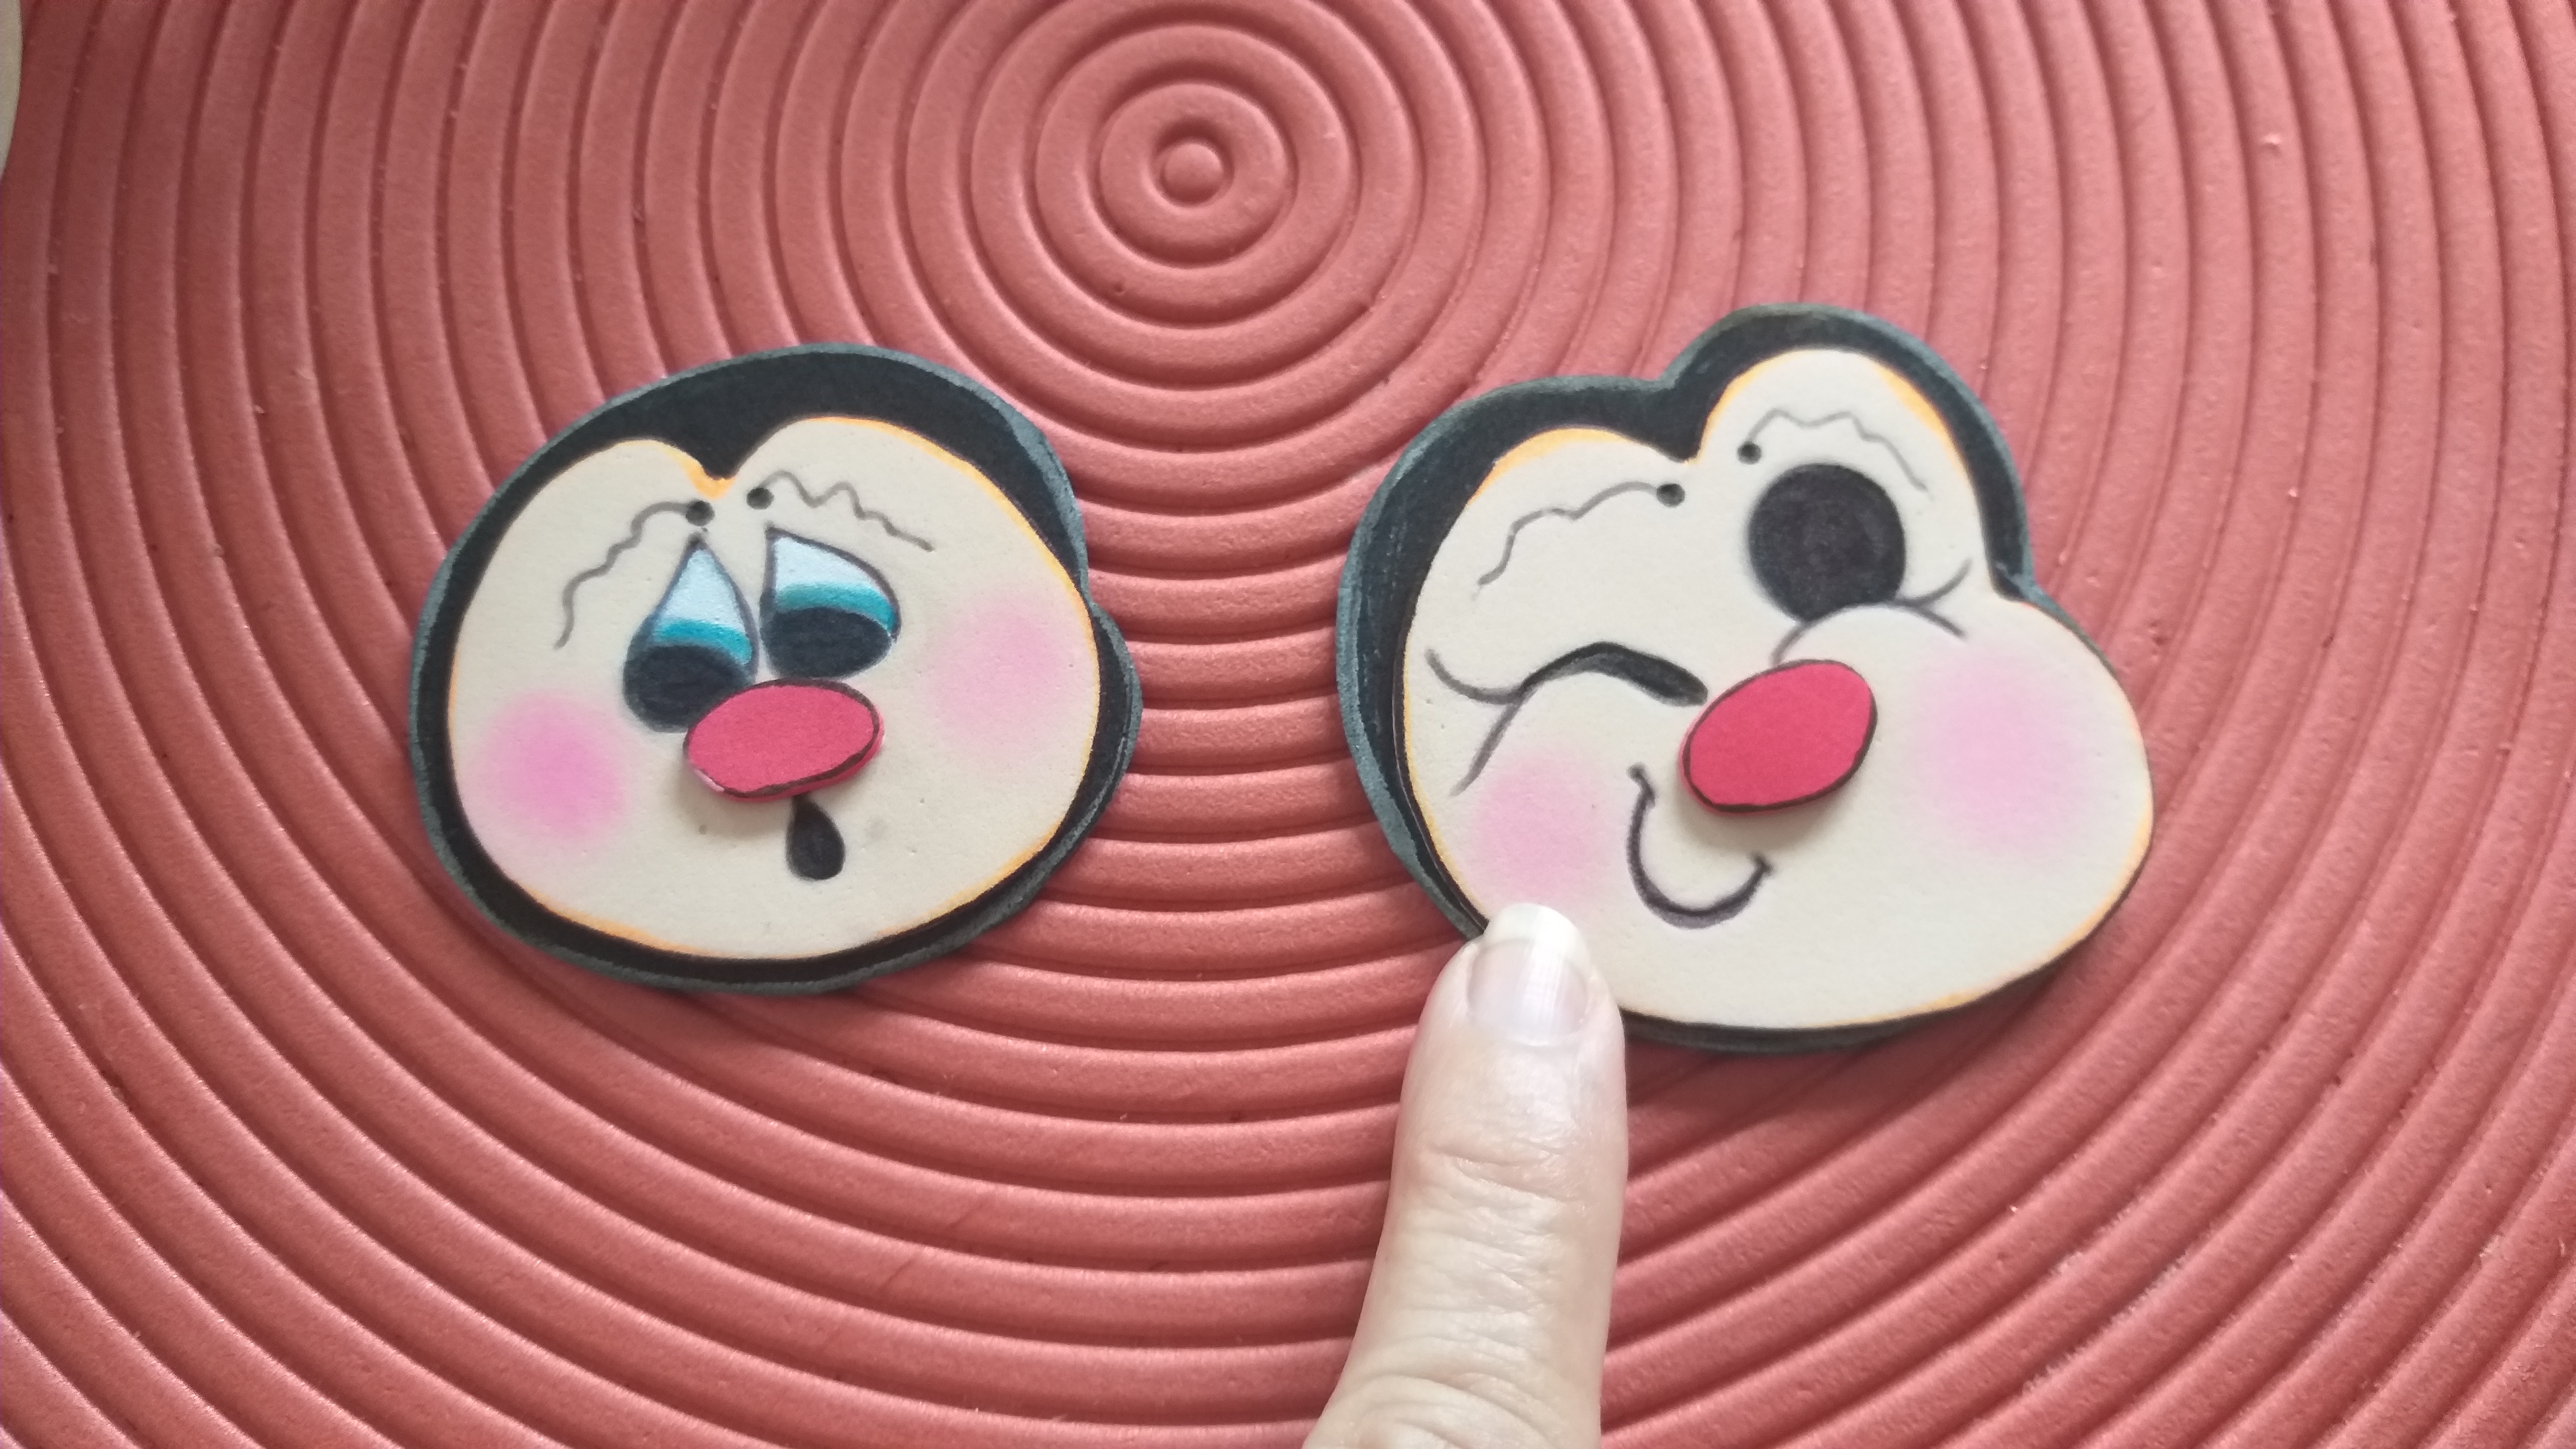
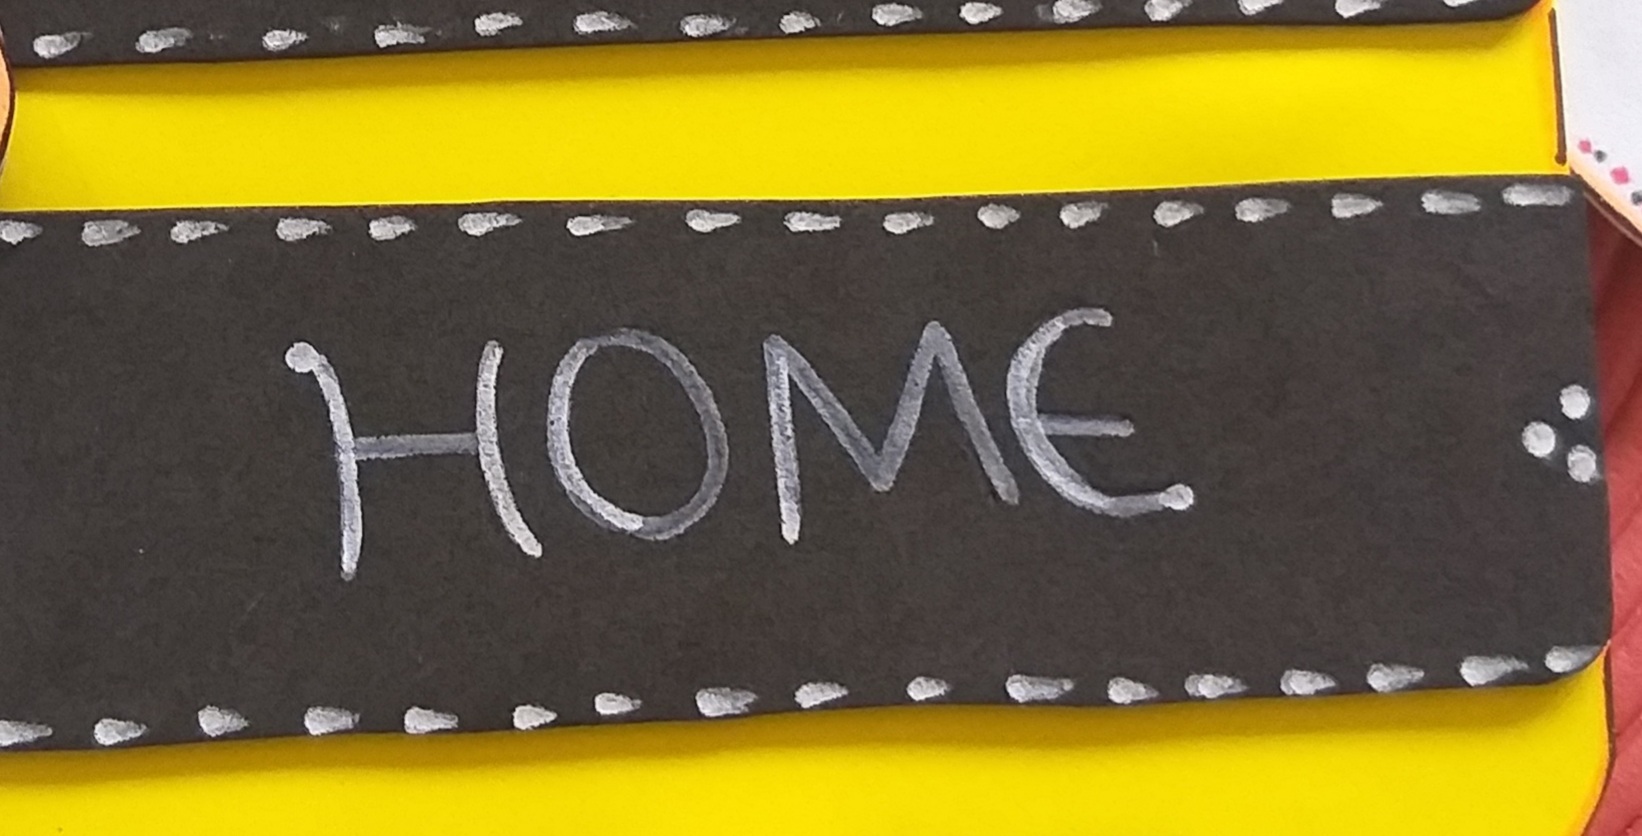
14 paso. Por último detallar la figuras a su gusto. Colocarle líneas alrededor de las tiras de color negro, alrededor de las alas puntos rojos, negro y otros detalles que pueden ser a su gusto y así queda personalizado.
14 step. Finally detail the figures to your liking. Place lines around the strips of black color, around the wings red dots, black and other details that can be to your liking and thus it is personalized.

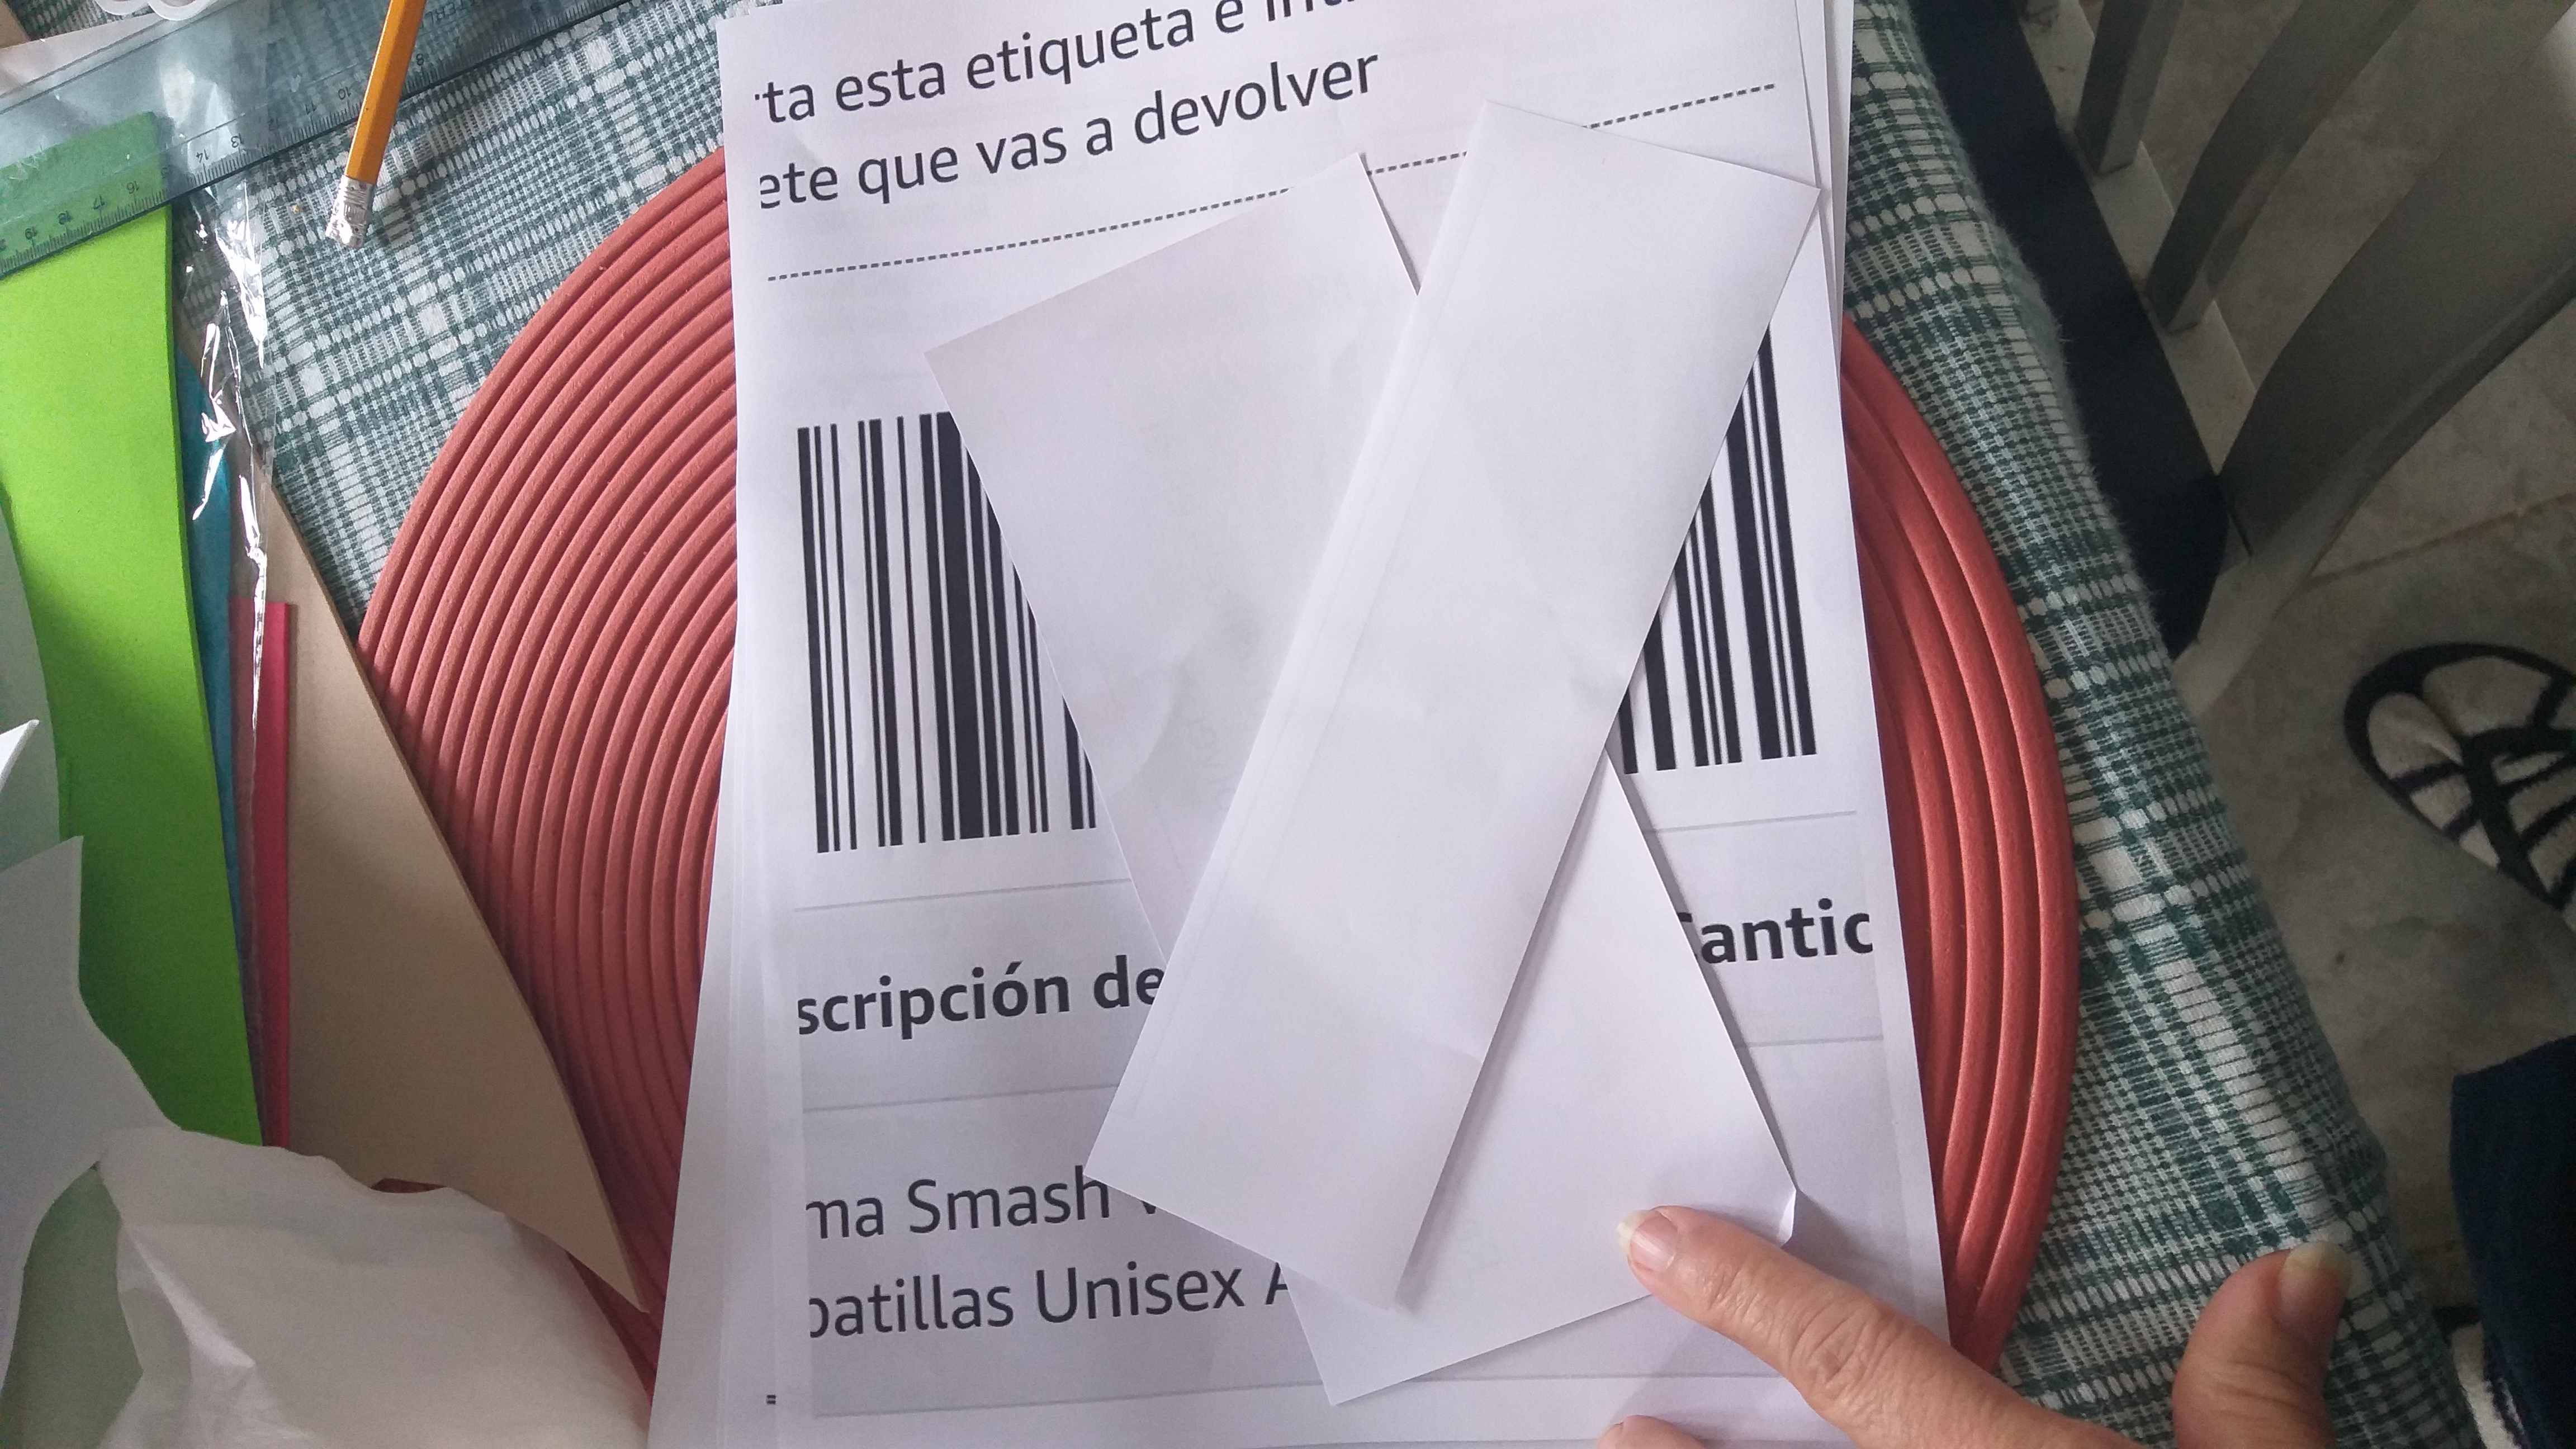
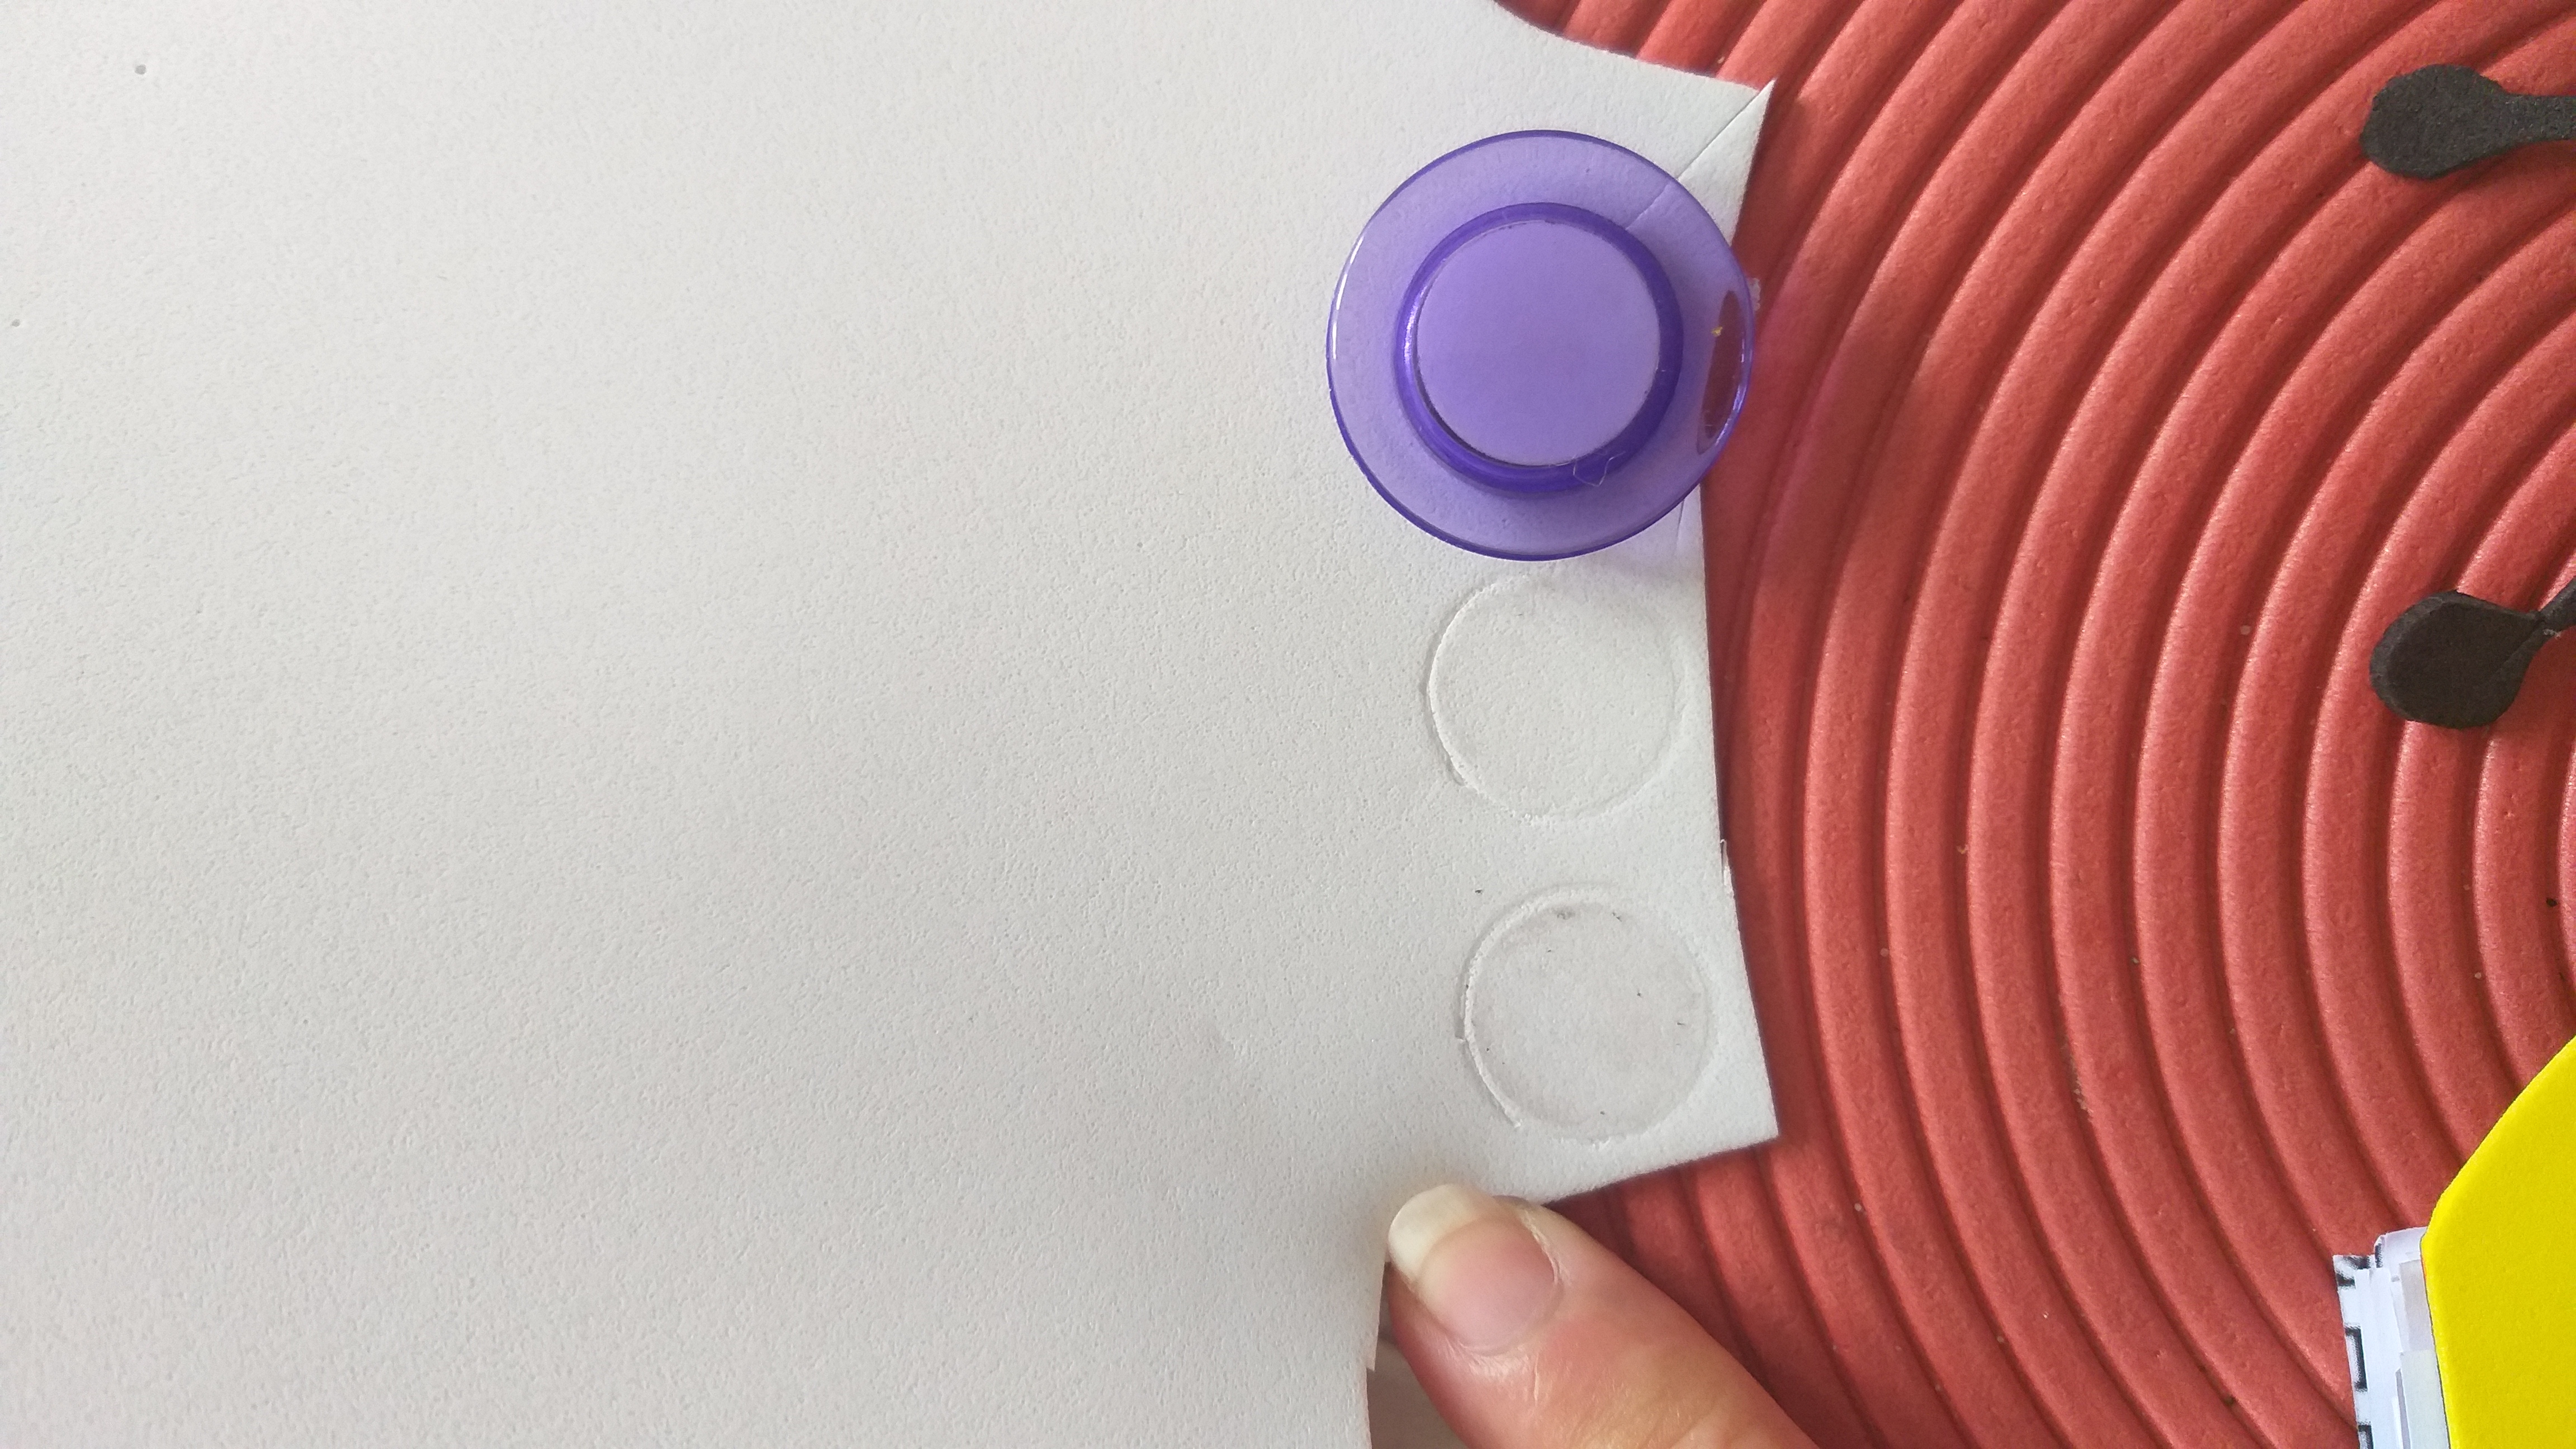
15. Recortar cuadro de papel de desechos y doblar ; puede recortar de tamaños diferentes como pueden ver en las imágenes a la primera hoja le dibuje unas figuras y palabras y pegar los imanes por la parte de atrás, a los imanes le coloqué foami para que no rayen la nevera o refrigerador marco con el mismo imán presionando al foami y luego recorte.
15. Cut out scrap paper box and fold; You can cut in different sizes as you can see in the images. I drew some figures and words on the first sheet and glued the magnets to the back. I put foam on the magnets so they don't scratch the fridge or frame refrigerator with the same magnet. pressing the foami and then cut.

Bueno amigos espero que le haya gustado mi manualidad la cual la realicé con mucho amor como todas mis manualidades y les cuento que a mi esposo le encantó; ya no tiene que estar buscando el papel para anotar las comprad o cualquier cosa al igual que el bolígrafo. Gracias por su tiempo dedicado al ver mis publicaciones, comentarios y apoyo un abrazo 🤗.
Well friends, I hope you liked my craft which I made with a lot of love like all my crafts and I tell you that my husband loved it; You no longer have to be looking for the paper to write down the purchases or anything like the pen. Thank you for your time spent viewing my posts, comments and support a hug 🤗.

Las fotos son tomadas de mi teléfono móvil Samsung Galaxy A6.📲
Gifs compartidos de Google.Tenor
The photos are taken from my Samsung Galaxy A6 mobile phone.📲
Google Shared Gifs.Tenor

Que bonito organizar esta muy bien elaborado saludos
Muchas gracias vanerojas90😍🤗
¡Felicidades! Esta publicación obtuvo upvote y fue compartido por @la-colmena, un proyecto de Curación Manual para la comunidad hispana de Hive que cuenta con el respaldo de @curie.
Si te gusta el trabajo que hacemos, te invitamos a darle tu voto a este comentario y a votar como testigo por Curie.
Si quieres saber más sobre nuestro proyecto, acompáñanos en Discord: La Colmena.
Muchas gracias por su apoyo 🥰❤💯
Your content has been voted as a part of Encouragement program. Keep up the good work!
Use Ecency daily to boost your growth on platform!
Support Ecency
Vote for new Proposal
Delegate HP and earn more
Thank you very much for your support; a strong hug and blessings to the group🤗😍
Que hermoso muy agradecida por el apoyo ❣🤩❤🤗
Congratulations @zullyarte! You have completed the following achievement on the Hive blockchain and have been rewarded with new badge(s):
Your next target is to reach 20000 upvotes.
You can view your badges on your board and compare yourself to others in the Ranking
If you no longer want to receive notifications, reply to this comment with the word
STOPCheck out the last post from @hivebuzz:
Support the HiveBuzz project. Vote for our proposal!
Very grateful for your support; to the whole team congratulations for your work💯🤩❤🤗
Hermosos 🥰😻 de pequeña trabajaba mucho en foami, me encanta, pero la verdad tengo tiempo sin hacerlo. Con este post me animé a retomar mis manualidades en foami 🥰😍
Me alegra que te haya gustado y que te traiga bonitos recuerdos. Muchas gracias por tu comentario🥰😘