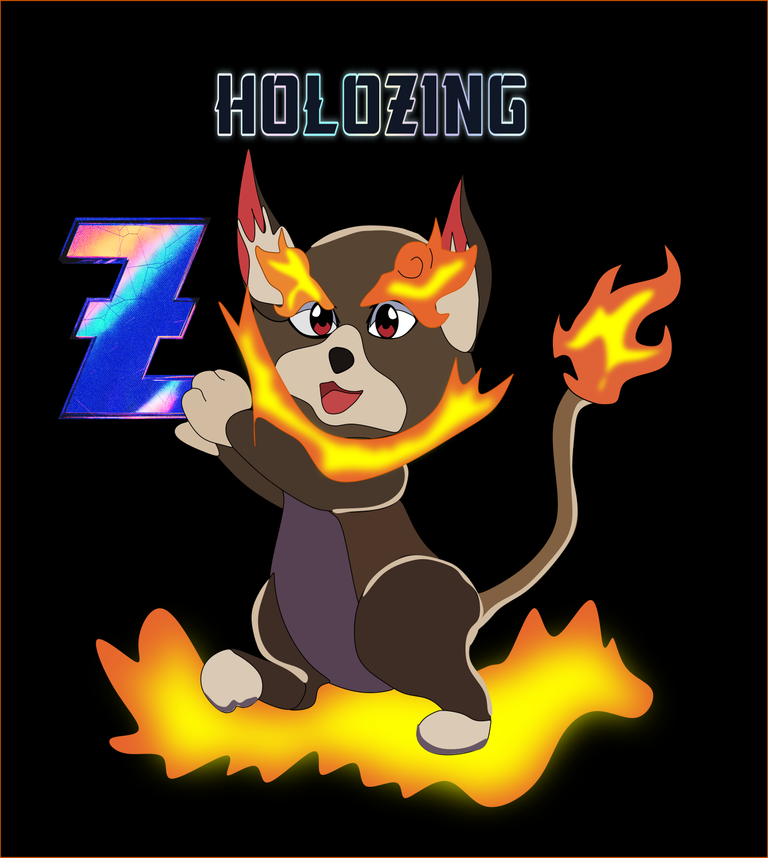
Greetings friends of Colmena and the #Holozing Community, today again I present you an illustration of a character from the game Holozing , called Fire Wolf, this illustration was made with the vector tool Inkscape . Next I am going to show how was my process of the design:
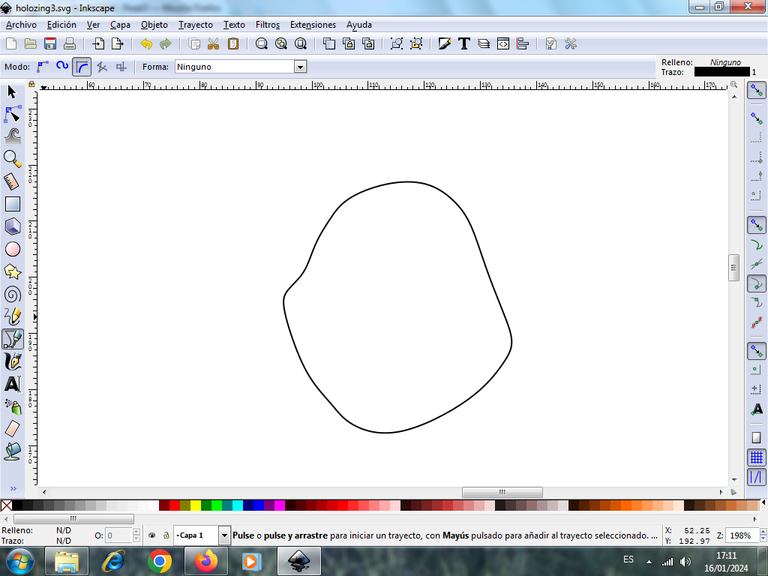
Step 1:
We open the Inkscape tool and we start the head of the character, which is oval in shape, using the Bézier curves option, which is in the toolbar, on the left.
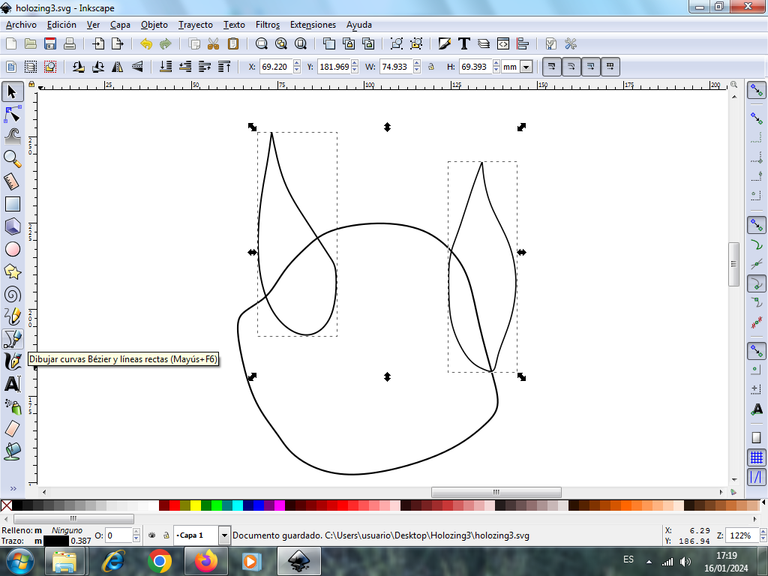
Step 2:
We continue by tracing two shapes on both sides of the head, which are the ears, with the same tool .
Step 3:
Next we trace the body part or what we call the belly, with the Bézier curves tool.
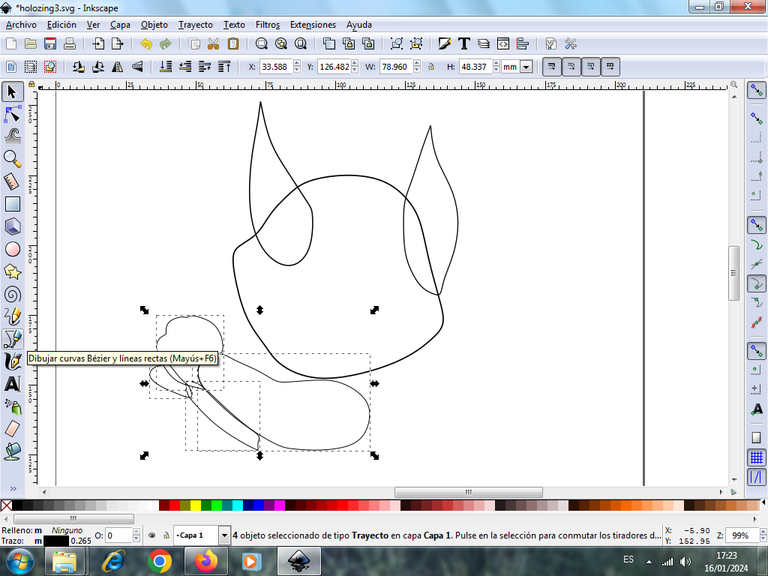
Step 4:
Then we trace on the left side we start tracing two figure which are the legs of the character, using the same tool.
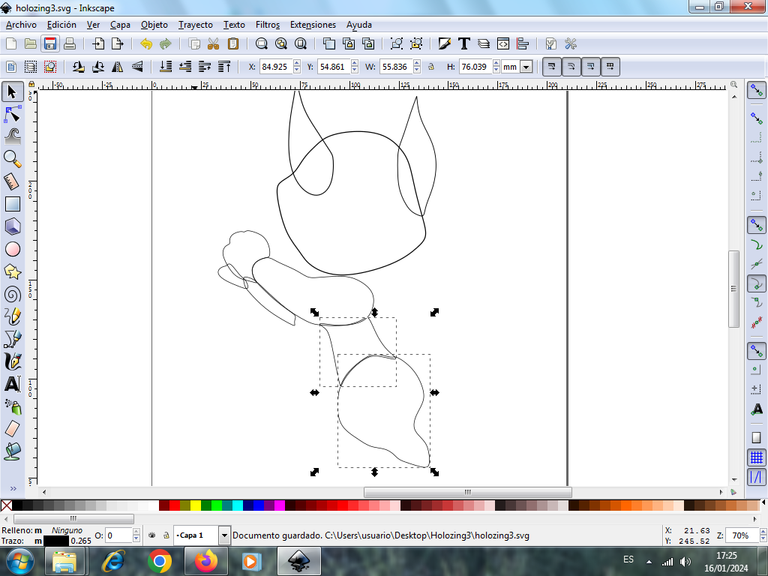
Step 5:
We continue tracing the two legs, and the chest of the character, using the Bézier curves tool.
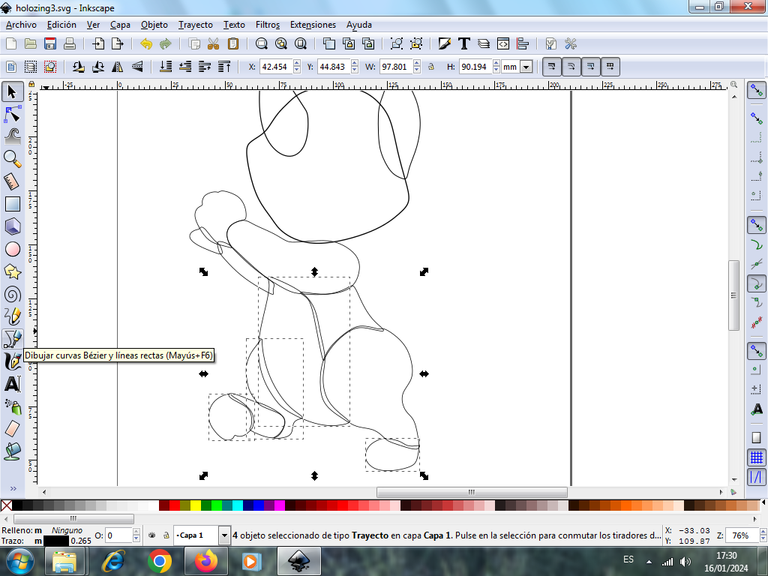
Step 6:
Then we draw the tail on the right side and on the tip a fire-shaped figure of the character.
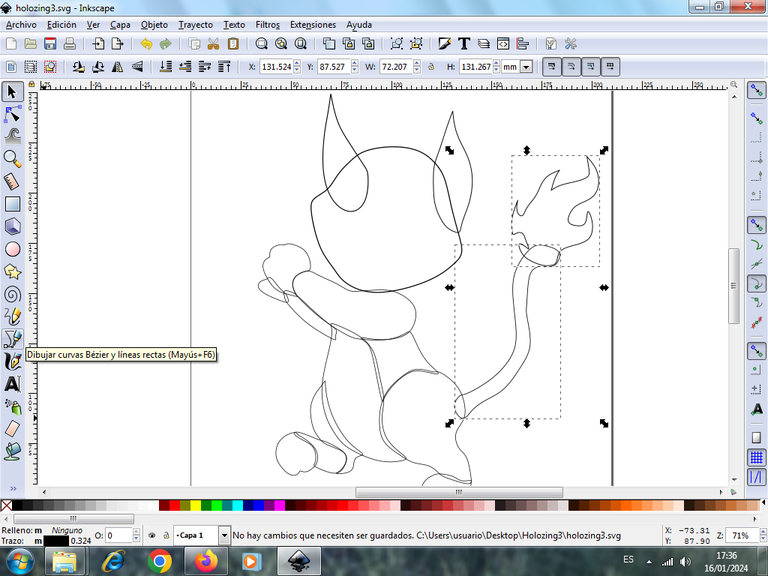
Step 7:
Next we draw the letter Z, which is held by the two legs of the character, using the Bézier curves tool.
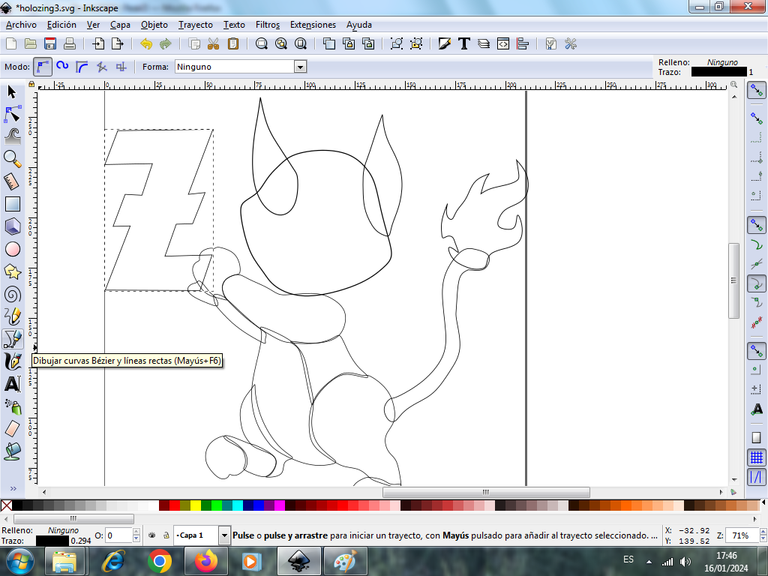
Step 8:
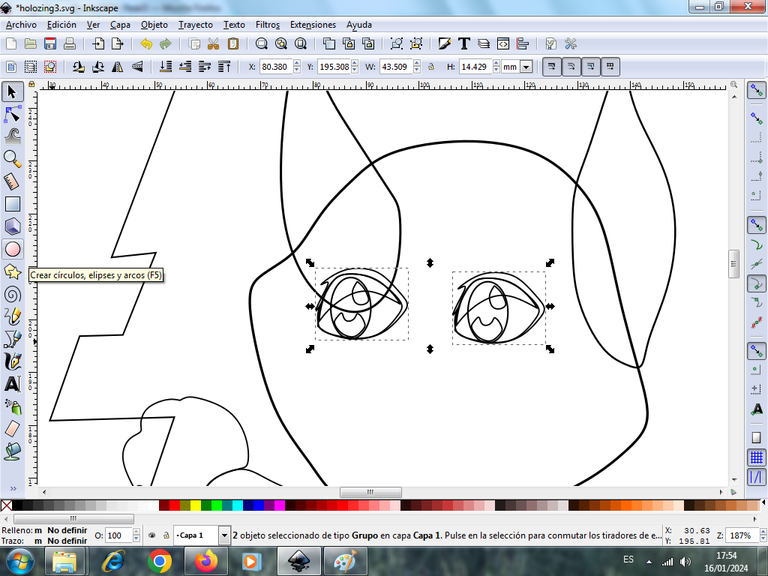
We trace three semi-oval shapes, with the tool to create circles, in this way we trace parts of the eye, which carries several figures to give the effect.
Step 9:
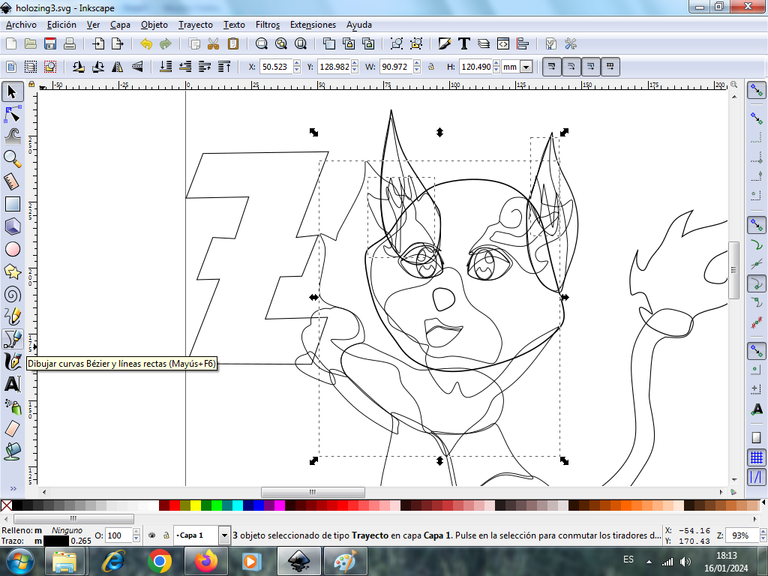
Then we trace the shapes in the form that go inside the eye.
Step 10:
Once finished the figures above the eyes, it would not be missing to make the shapes that will have in each of the edges, of the body, for this we are going to work with layers to have two, layer 1 and layer 2, where we will have all the effects of each figure.
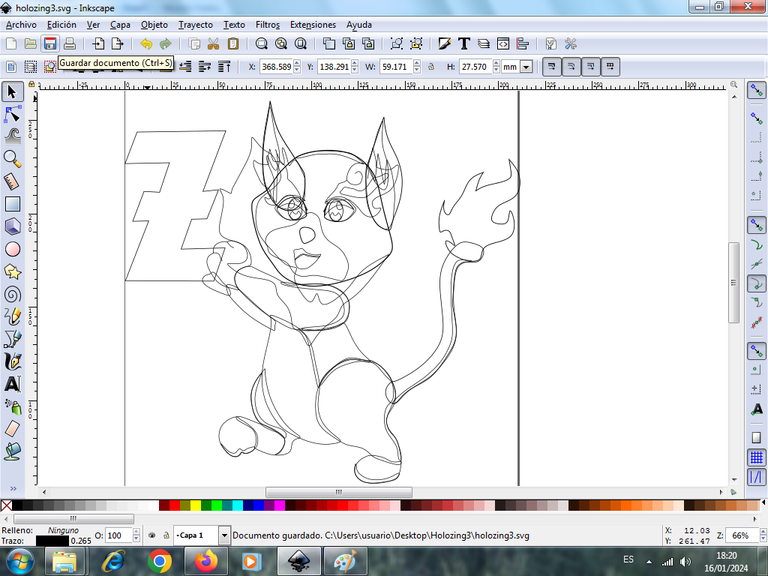
These strokes we are going to draw them equally with the Bézier curves tool.
Step 11:
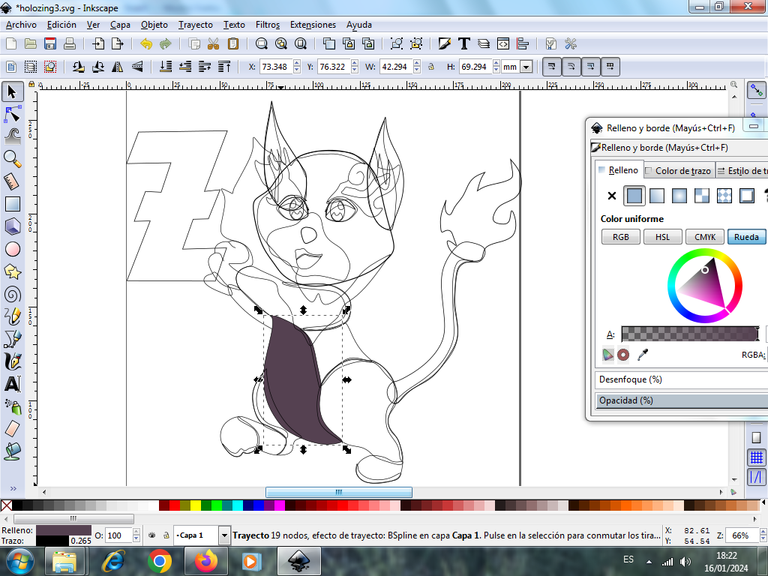
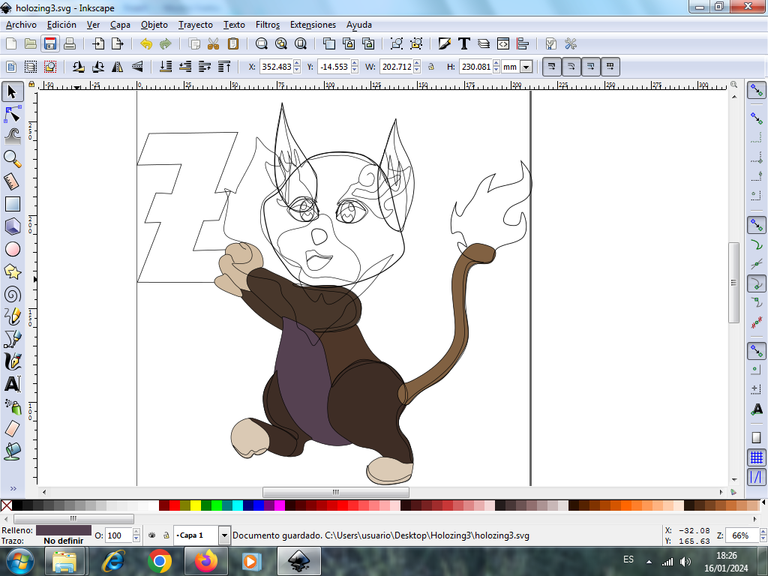
Now we begin to give color to our character, we select the chest part and choose the color in the color palette at the bottom of the application.
Step 12:
Once the borders are ready, now we go giving color to our illustration, starting with the head and in this way we will have the character with colors, all these changes we made in layer 1.
Step 13:
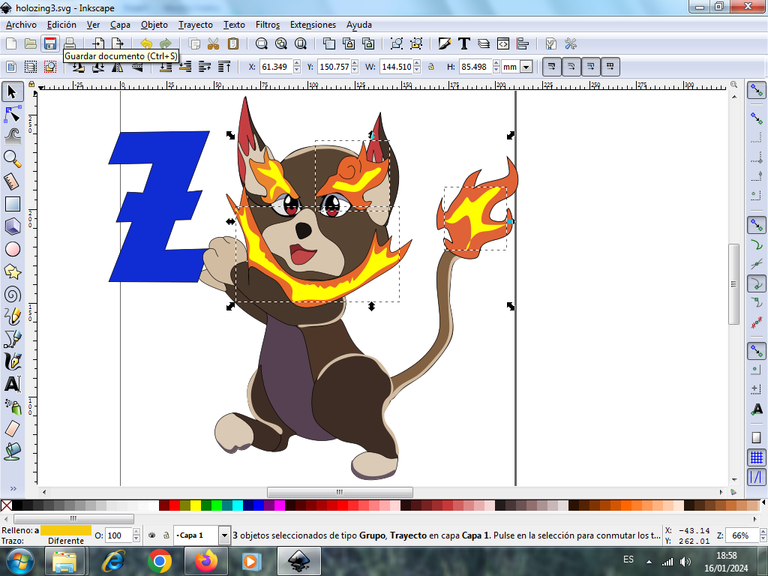
We click on layer 2, to color the shapes that are the edge effects of the illustration, some with light green and light brown, in the fire shape orange and yellow, as shown below.
Step 14:
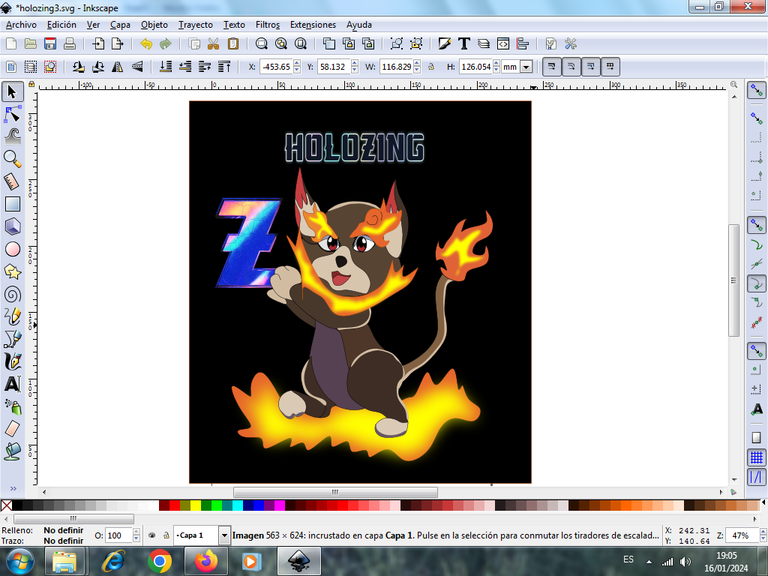
To apply the gradient effect on the fire-shaped figures of the character we apply the gradient on the yellow color. We place on the bottom another figure in the form of fire and also apply the gradient and in this way we finish our design.

I hope you liked it, and I encourage you to invest and promote this Holozing game.
Design applications used: Inkscape
The logo and the figure of the Holozin.com site were used.

Vote la-colmena for witness By @ylich

Saludos amigo, este diseño está muy bueno y me gusto ese toque le das a esa gran criatura y de esa manera lograr que sea más atractivo, de risa y sobre todo con eso del token, es increíble la facilidad con que diseñas y creas mediante ese programa y conseguir muy buenos resultados. He visto las demás criaturas que has creado del proyecto y ahora te toca unir a todos en un mismo diseño.
Saludos amigo, si ahí vamos, aprendiendo el manejo de esta herramienta, gracias por tu comentario amigo.
Fantastic work on illustrating the Fire Wolf character from Holozing! Your step-by-step guide using Inkscape is incredibly helpful making it accessible for others to follow your creative process. The attention to detail from the head to the fiery tail is impressive. Your dedication to promoting Holozing shines through. Keep up the excellent work!
Greetings friend, thank you for your comment
Muy lindo! felicidades
Hola amiga, gracias.
The rewards earned on this comment will go directly to the people( @lisbethseijas, @cetb2008 ) sharing the post on Reddit as long as they are registered with @poshtoken. Sign up at https://hiveposh.com.https://reddit.com/r/holozing/comments/198imr7/drawingfirewolffromtheholozinggameininkscape/ https://reddit.com/r/holozing/comments/198io75/drawing_fire_wolf_from_the_holozing_game_in/
Looks amazing!! This step by step pictures really show the thought process while drawing it.