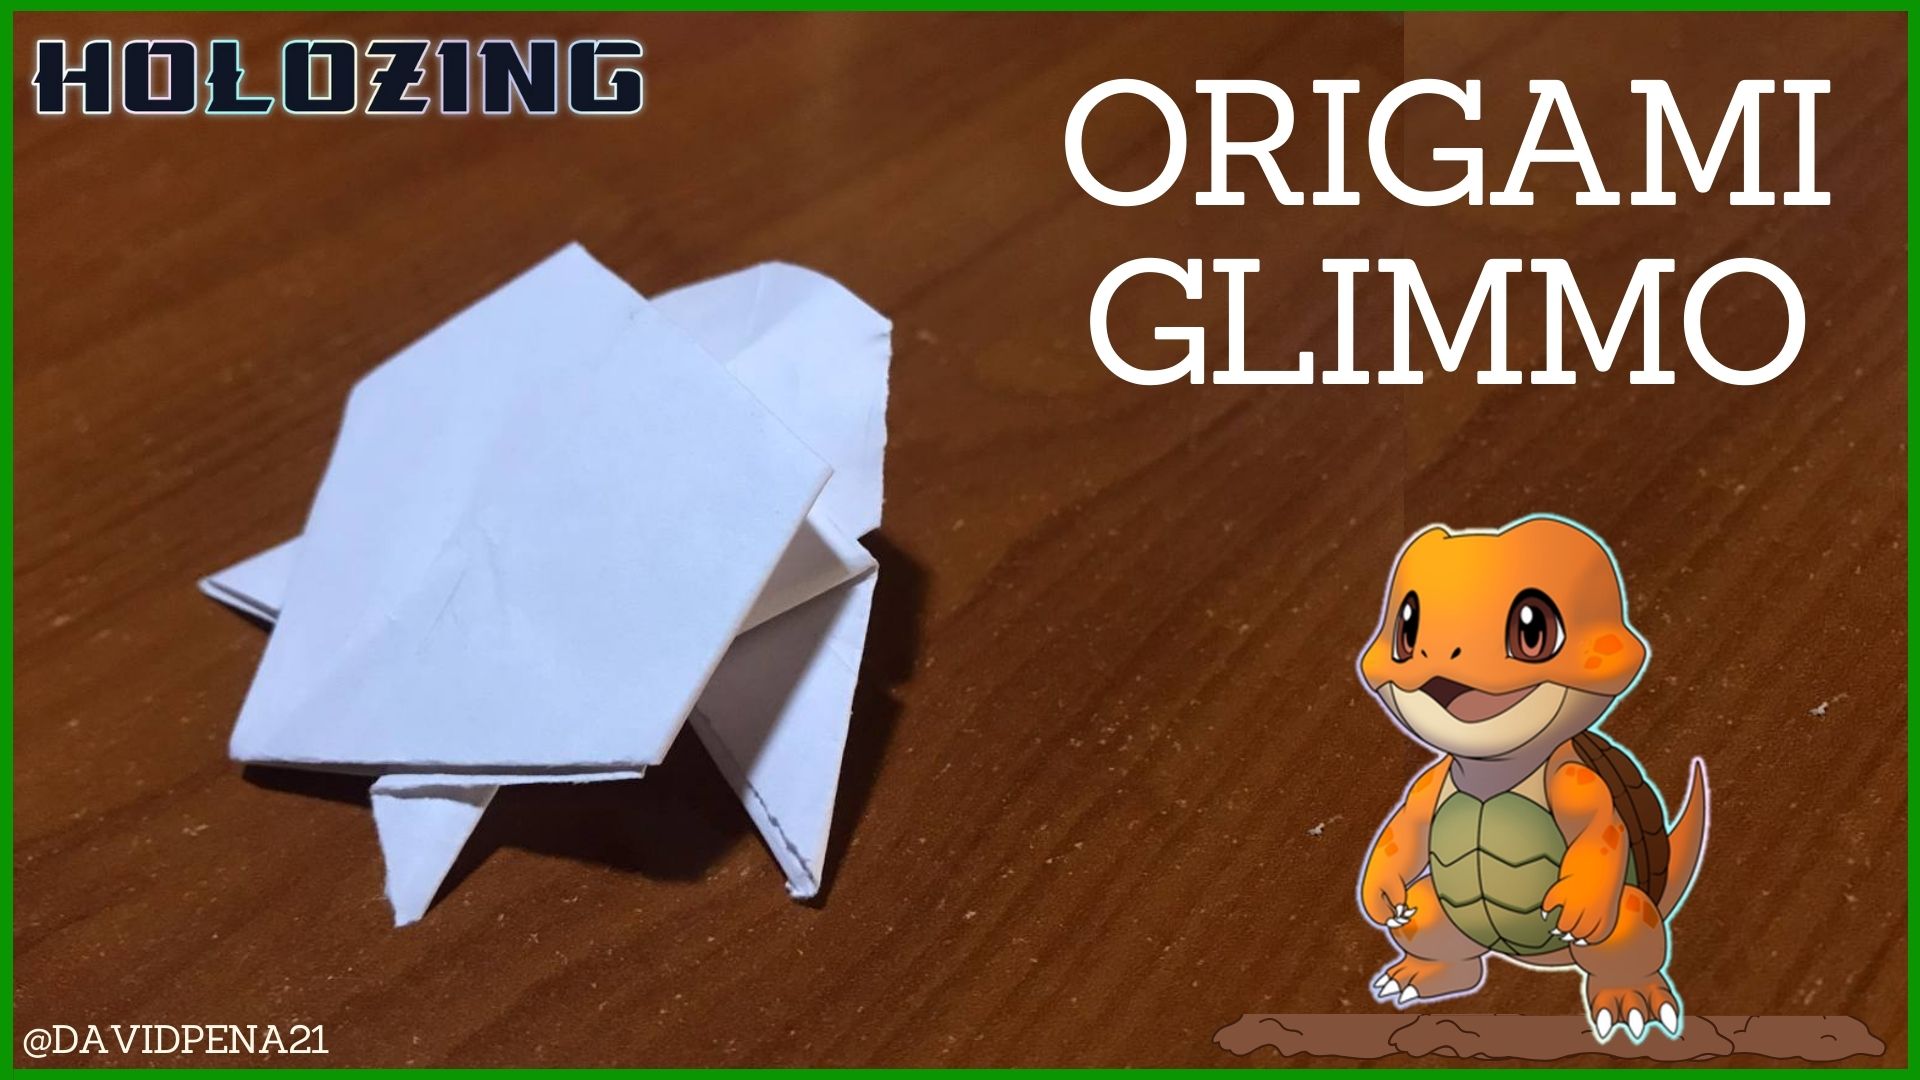
Greetings friends, we continue to follow every detail that are placing this project, where you can already buy the Alpha Vials of the game, we can also see a lot of creatures of different species, which each of them has its names and abilities within this game. A few days ago, they revealed two new creatures that were needed to complete a great variety of animal species in the project, being something very good and creative. One of those is a turtle known as Glimmo, which is characterized by having a solid defense and the funny thing is that it will be a very fast turtle and sure to cause a lot of damage. So to represent it I was encouraged to make a small paper figure, to make the most similar version.
Saludos amigos, seguimos pendiente de cada detalle que van colocando de este proyecto, donde ya se puede comprar el Alpha Vials del juego, además ya podemos ver una gran cantidad de criaturas de distintas especies, la cual cada una de ellas tiene sus nombres y habilidades dentro de este juego. Donde hace unos días nos revelaron dos nuevas criaturas que hacían falta para completar una gran variedad de especie de animales en el proyecto, siendo algo muy bueno y creativo. Una de esas es una tortuga conocida como Glimmo, que se caracteriza por tener una defensa sólida y lo divertido es que será una tortuga muy rápida y seguro de que causará mucho daño. Así que para representarla me anime a realizar una pequeña figura de papel, para hacer la versión más parecida.

To start making this new paper figure, the first thing we have to do is to take a sheet of any color of our presence so we can start folding. In addition, with the help of a scissors we will cut it to be 15 * 15 cm.
Para comenzar a realizar esta nueva figura de papel, lo primero que tenemos que hacer es tomar una hoja de cualquier color de nuestra presencia para así poder comenzar a doblar. Además, con la ayuda de una tijera vamos a cortarla para queda de 15 * 15 cm.

|
 |
Next, we are going to fold along the two diagonals of our sheet, and we are also going to fold in the center with the idea of getting all the marked lines. Right there we are going to take three of the ends towards the center folding very well so that it does not disassemble, while the other end that remains we are going to fold it backwards and we will have a kind of a square.
Seguidamente, vamos a doblar por las dos diagonales de nuestra hoja, además vamos a doblar por el centro con la idea de obtener todas las líneas marcadas. Allí mismo vamos a llevar tres de las puntas hacia el centro doblando muy bien para que no se desarme, mientras que la otra punta que nos queda la vamos a doblar hacia atrás y nos quedará especie de un cuadrado.

|

|

|
Now we are going to turn our leaf, so that the triangle that came out is at the bottom. Then we will push inward both parts of the sheet, as a kind of a fold, so that we have a smaller triangle, as shown in the photo.
Ahora vamos a girar nuestra hoja, para que el triángulo que salió nos quede en la parte de abajo. Luego vamos a empujar hacia adentro ambas partes de la hoja, como especie de un pliegue, para que así nos quede un triángulo más pequeño, como se nota en la foto.

|
 |
Once this smaller triangle is achieved, we will begin to assemble our paper turtle, so a lot of concentration is needed. We are left with a free triangle of paper, which we are going to fold downward forming a smaller triangle, and then fold the diagonals in that same part of the sheet. Without disassembling anything and very carefully we assemble the turtle's head.
Una vez logrado ese triángulo más pequeño, vamos a comenzar a armar nuestra tortuga de papel, por ende se necesita de mucha concentración. Nos queda un triángulo de papel libre, el cual vamos a doblar hacia abajo formando un triángulo más pequeño, para luego doblar las diagonales en esa misma parte de la hoja. Sin desarmar nada y con mucho cuidado armamos lo que sira la cabeza de la tortuga.

|
 |

|
 |
To get the back legs of our turtle, what we have to do is to take out a piece of leaves that is on the sides of our origami. We take it apart a little bit so we can bring it to the front as shown in the pictures. Right there we fold it down and the leg will be ready, we repeat on the other side of our sheet.
Para conseguir las patas traseras de nuestra tortuga, lo que tenemos que hacer es sacar un pedazo de hojas que está en los laterales de nuestro origami. Desarmamos un poco para así poder llevarlo hacia el frente como se nota en las fotos. Allí mismo doblamos hacia abajo y estará lista la pata, repetimos por el otro lado de nuestra hoja.

|

|

|
Now, to remove the front legs, we have to make a small, double, where we will bring the ends of the sheet inward marking very well, and then bend outward again along the line we got from the previous step. We repeat the same thing on the other side and when we realize, the legs will be ready.
Ahora, para sacar las patas delanteras, tenemos que hacer un pequeño, dobles, donde vamos a llevar los extremos de la hoja hacia adentro marcando muy bien, para luego volver a doblar hacia fuera por la línea que conseguimos del paso anterior. Eso mismo lo repetimos del otro lado y cuando nos damos cuenta, ya estarán listas las patas.

|
 |
To make the shell, we are going to flip our leaf, where at each of the ends of our leaf, we lay two points, where right there we are going to bring them inwards with a small fold and repeat on both parts of our leaf.
Para hacer el caparazón, vamos a voltear nuestra hoja, donde en cada uno de los extremos de nuestra hoja, tendemos dos puntas, donde allí mismo vamos a llevarlas hacia adentro con un pequeño pliegue y repetimos en ambas partes de nuestra hoja.

|

|

|
Finally, to assemble the head of our turtle, we are going to fold the tip inwards a little and to give it a little more volume, we fold the whole turtle in half and that way the origami will be ready.
Por último para armar la cabeza de nuestra tortuga, vamos a doblar un poco la punta hacia adentro y para darle un poco más de volumen, doblamos toda la tortuga por la mitad y de esa manera estará listo el origami.

|
 |

Result // Resultado

So friends, I hope you liked this great origami work, where it took me a while to achieve every detail of the turtle, since the sheet used is somewhat small and each double needs more concentration, without a doubt, the version of Glimmoen origami was achieved. Let me know in the comments what you think of it.
Así que amigos, espero que les haya gustado este gran trabajo de origami, donde me tardo un poco para poder lograr cada detalle de la tortuga, ya que la hoja que se usa es algo pequeño y cada doble necesita de más concentración, sin duda, se logró la versión de Glimmoen origami. Me dejan en los comentarios qué tal les pareció.

Photos prises avec un iPhone 7 // Fotos tomadas con un Iphone 7.Main image edited in Canva. @holozing


the results are good👍
Thank you, you should be encouraged to do so...
Sending Love and Ecency Curation Vote!
 Follow Eceny's curation trail to earn better APR on your own HP. : )
¡Felicitaciones!
1. Invierte en el PROYECTO ENTROPÍA y recibe ganancias semanalmente. Entra aquí para más información.
3. Suscríbete a nuestra COMUNIDADEntra aquí para más información sobre nuestro trail., apoya al trail de @Entropia y así podrás ganar recompensas de curación de forma automática.
4. Creación de cuentas nuevas de Hive aquí.
5. Visita nuestro canal de Youtube.
Atentamente
El equipo de curación del PROYECTO ENTROPÍA
Gracias por el apoyo, saludos.