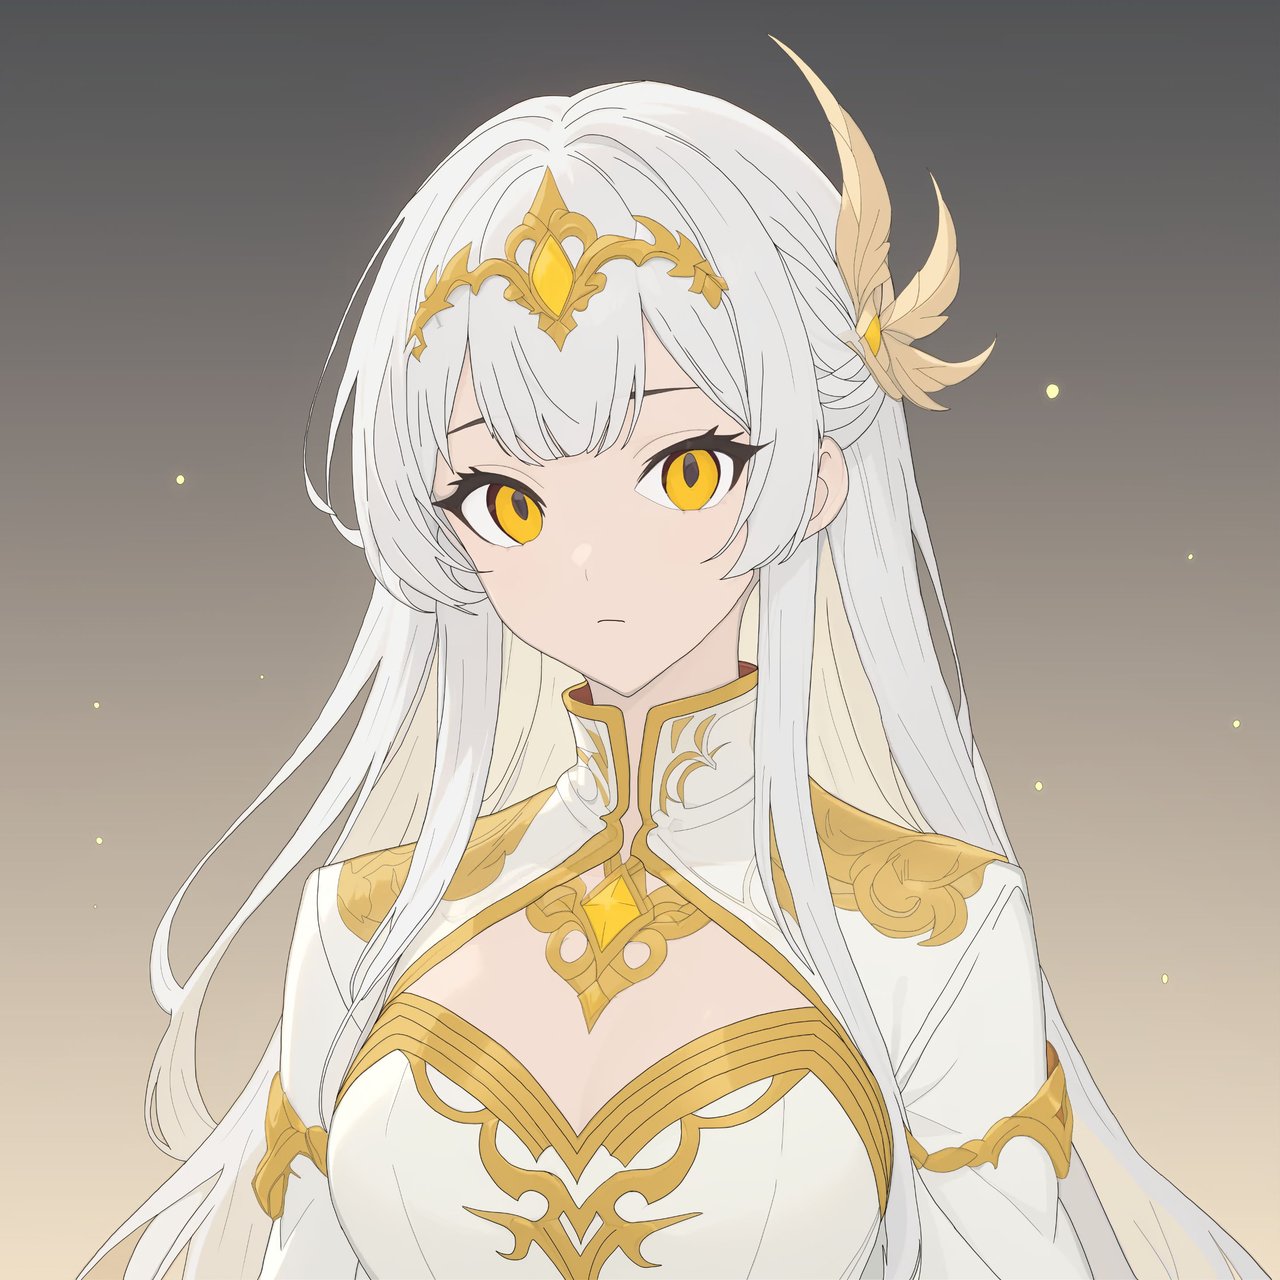
Greetings holo-fans. Today I come to show you another of my fan art drawings, but this time I will do something different. Normally, what I do is to create a reinterpretation of some of Holozing's creatures or characters, but this time it won't be like that. This time, what I will do is to use the light healer's own design to change the style of her clothes and hairstyle a little bit.
Saludos holo-fanáticos. El día de hoy vengo a mostrarles otro de mis dibujos fan art, pero en esta ocasión haré algo diferente. Normalmente, lo que hago es crear una reinterpretación de algunas de las criaturas o personajes de Holozing, pero esta vez no será así. Esta vez, lo que haré será utilizar el propio diseño de la sanadora de la luz para cambiarle un poco el estilo de la ropa y el peinado.
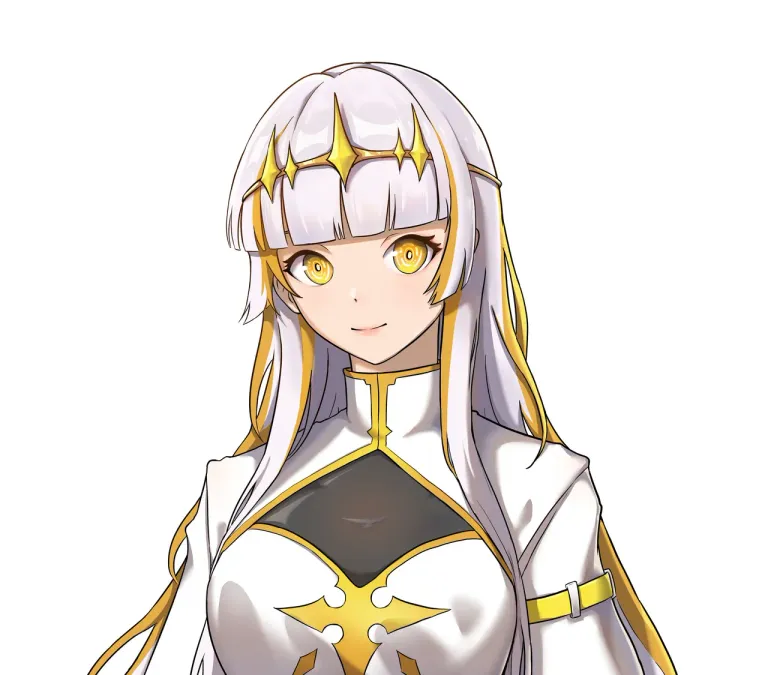
The framing, position and body distribution will be the same; I will only make some changes in the hair, clothes and facial expression. I will also add new elements to the drawing, such as the hair ornament and, of course, I will replace the eyes for bigger ones based on the anime style that I like so much. So, next, I will show you the step by step of how I did this change of look. I hope you like it.
El encuadre, posición y distribución corporal serán las mismas; solo haré algunos cambios en el cabello, la ropa y la expresión facial. También agregaré elementos nuevos al dibujo, como es el adorno del cabello y, como no podría ser de otra forma, reemplazaré los ojos por otros más grandes y basados en el estilo anime que tanto me gustan. Así que, a continuación, les mostraré el paso a paso de cómo hice este cambio de look. Espero que les guste.
Step by step // Paso a paso
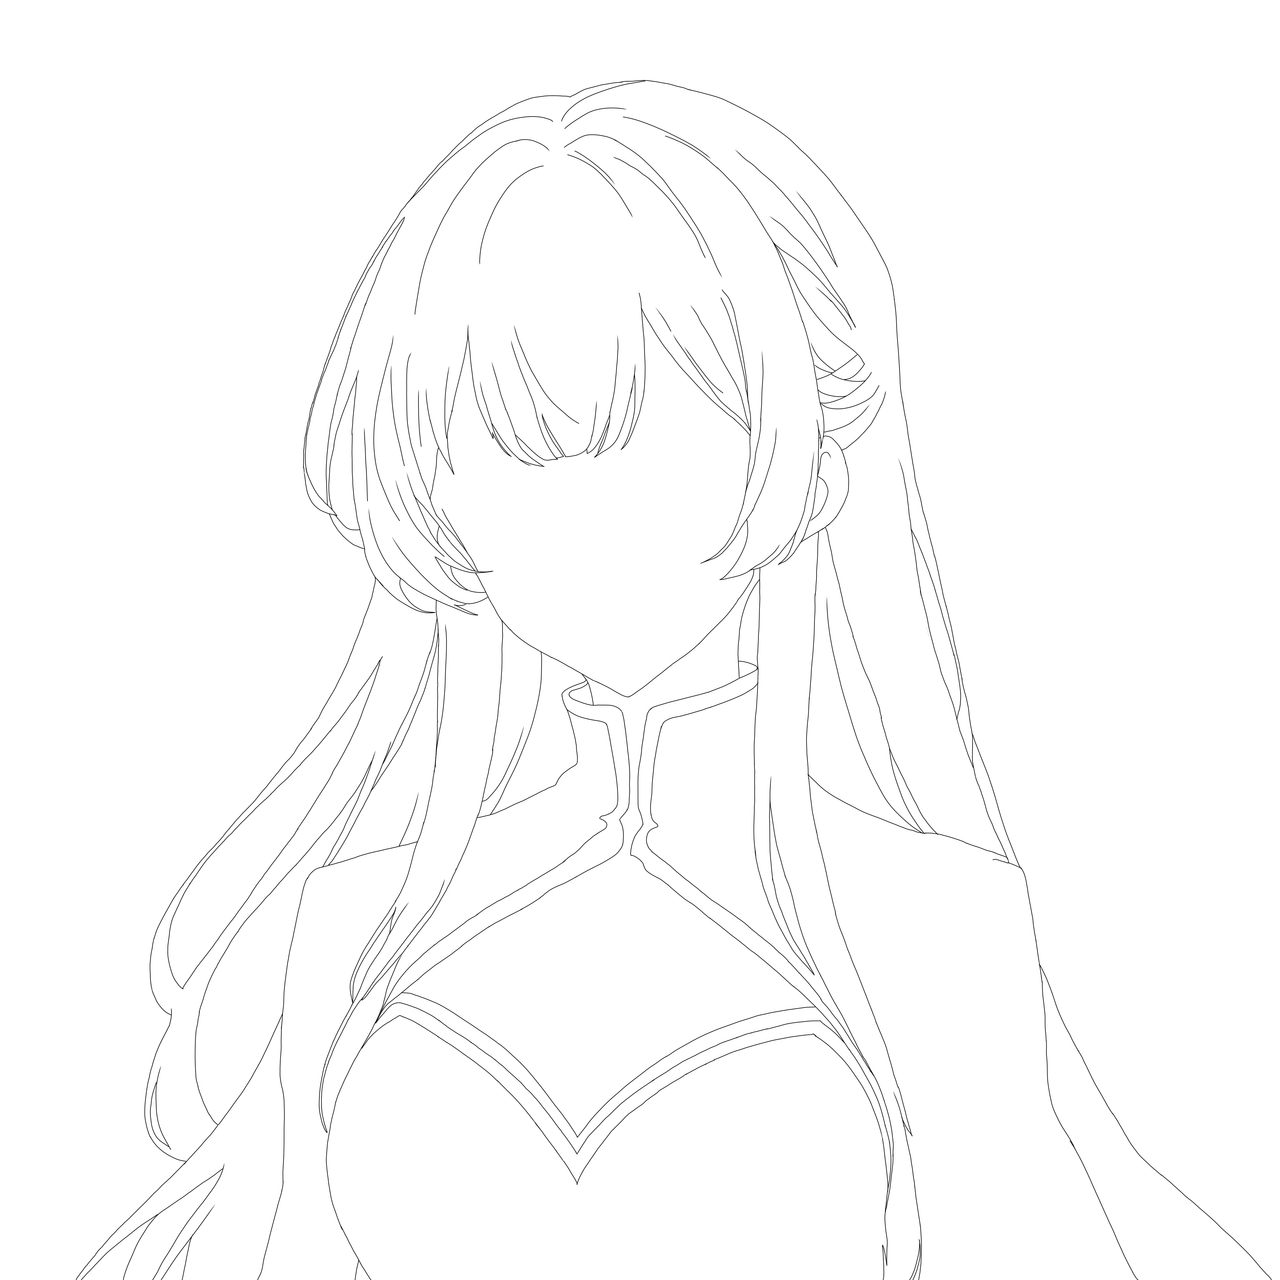
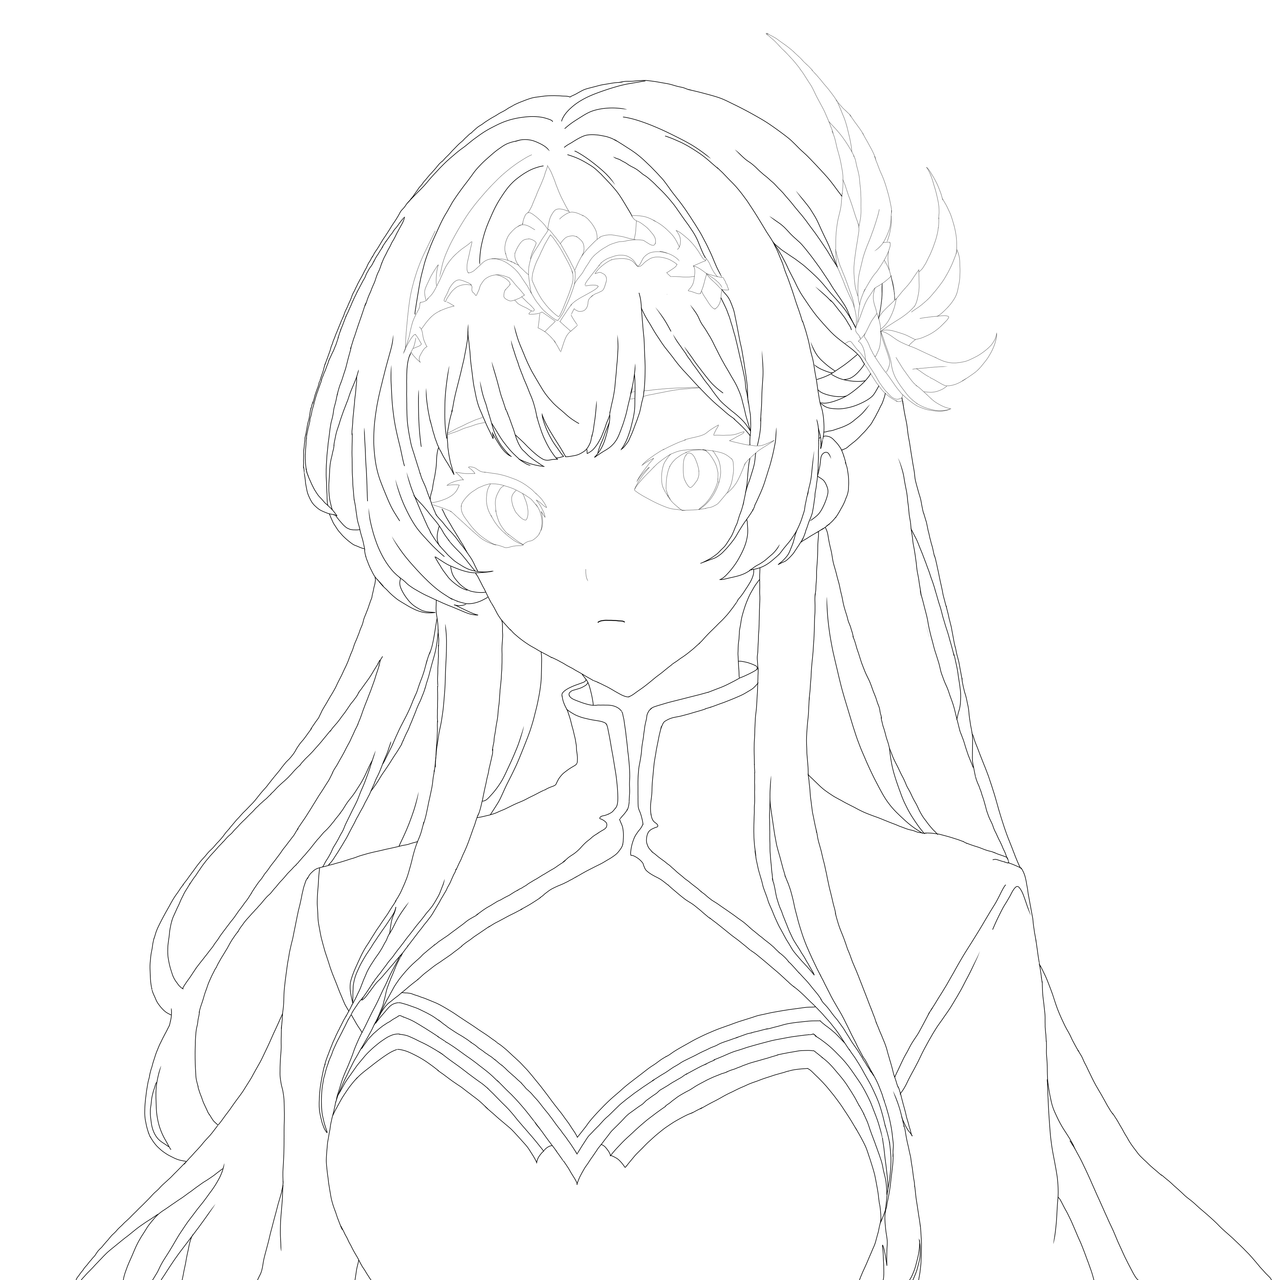
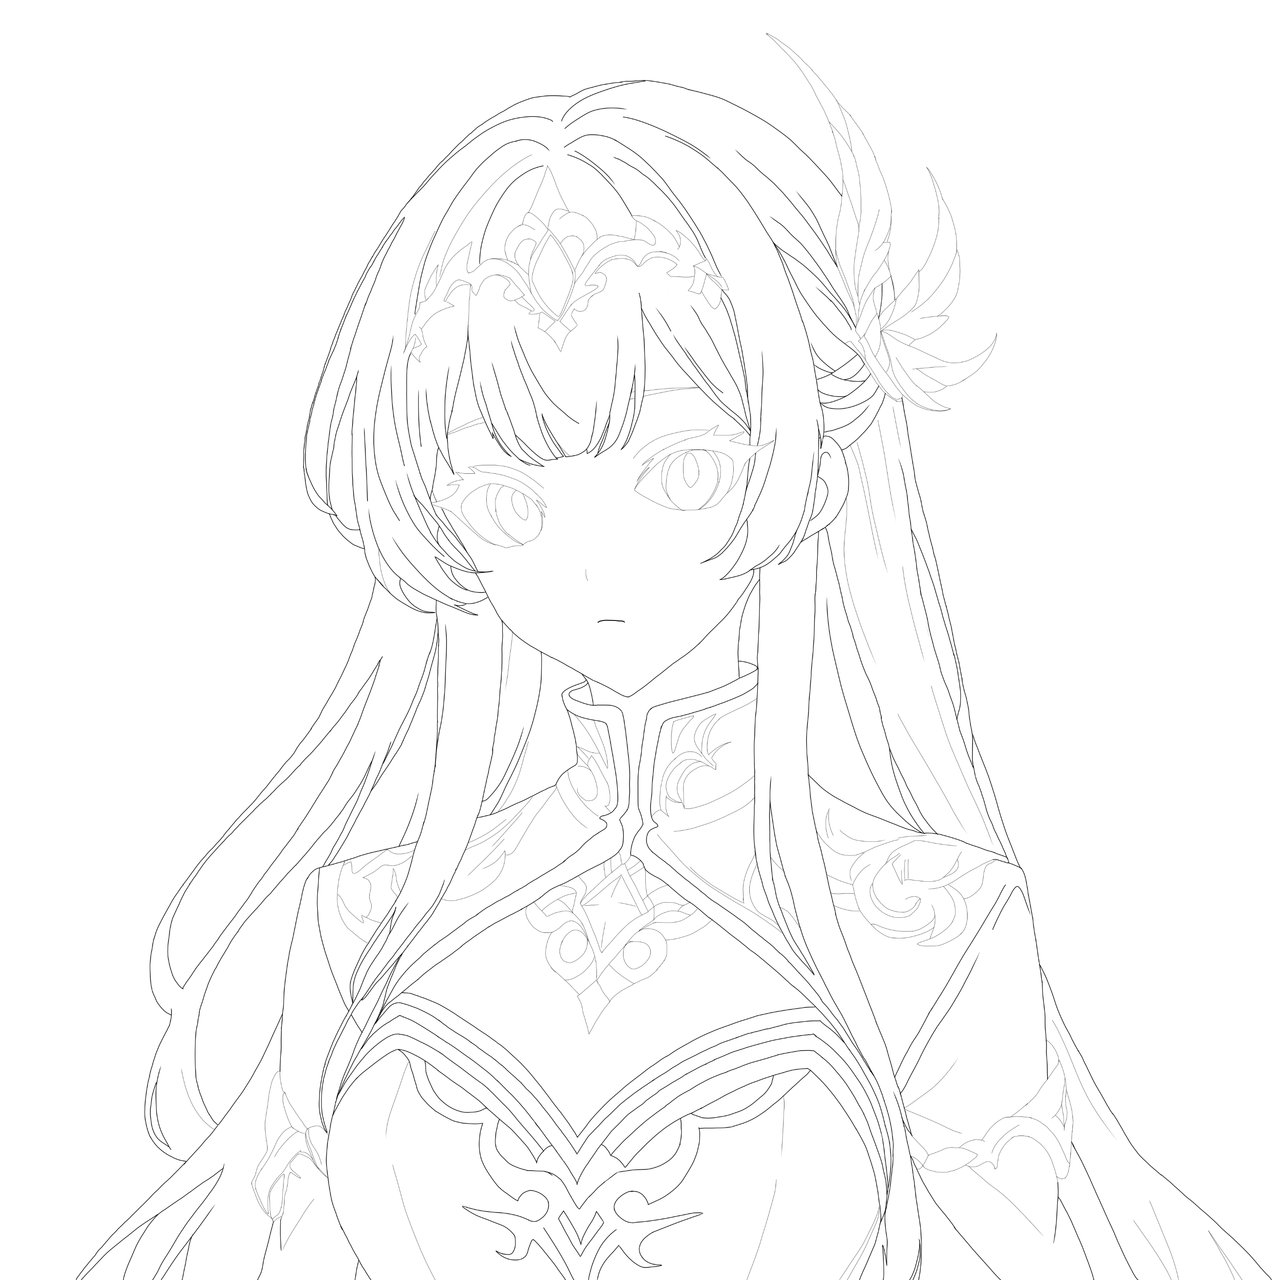
Since I already had a guide of the body proportions and the distribution of the character within the canvas, it was easier for me to create the line art. Still, I started as usual with the hair, face and the silhouette of the body. Then I added more details to the clothes, such as the golden ornaments on the arms and shoulders. At the end I finished the line art drawing the eyes and the hair accessories. These last ones I did with the feather brush and a thickness of 1px, that's why they stand out less than the other strokes.
Como ya tenía una guía de las proporciones corporales y la distribución del personaje dentro del lienzo, se me hizo más fácil crear el line art. Aun así, empecé como de costumbre por el cabello, rostro y la silueta del cuerpo. Luego fui agregando más detalles a la ropa, como son los adornos dorados de los brazos y hombros. Al final terminé el line art dibujando los ojos y los accesorios del cabello. Estos últimos los realicé con el pincel pluma y un grosor de 1px, es por ello que resaltan menos que los demás trazos.
 |
 |
 |
 |
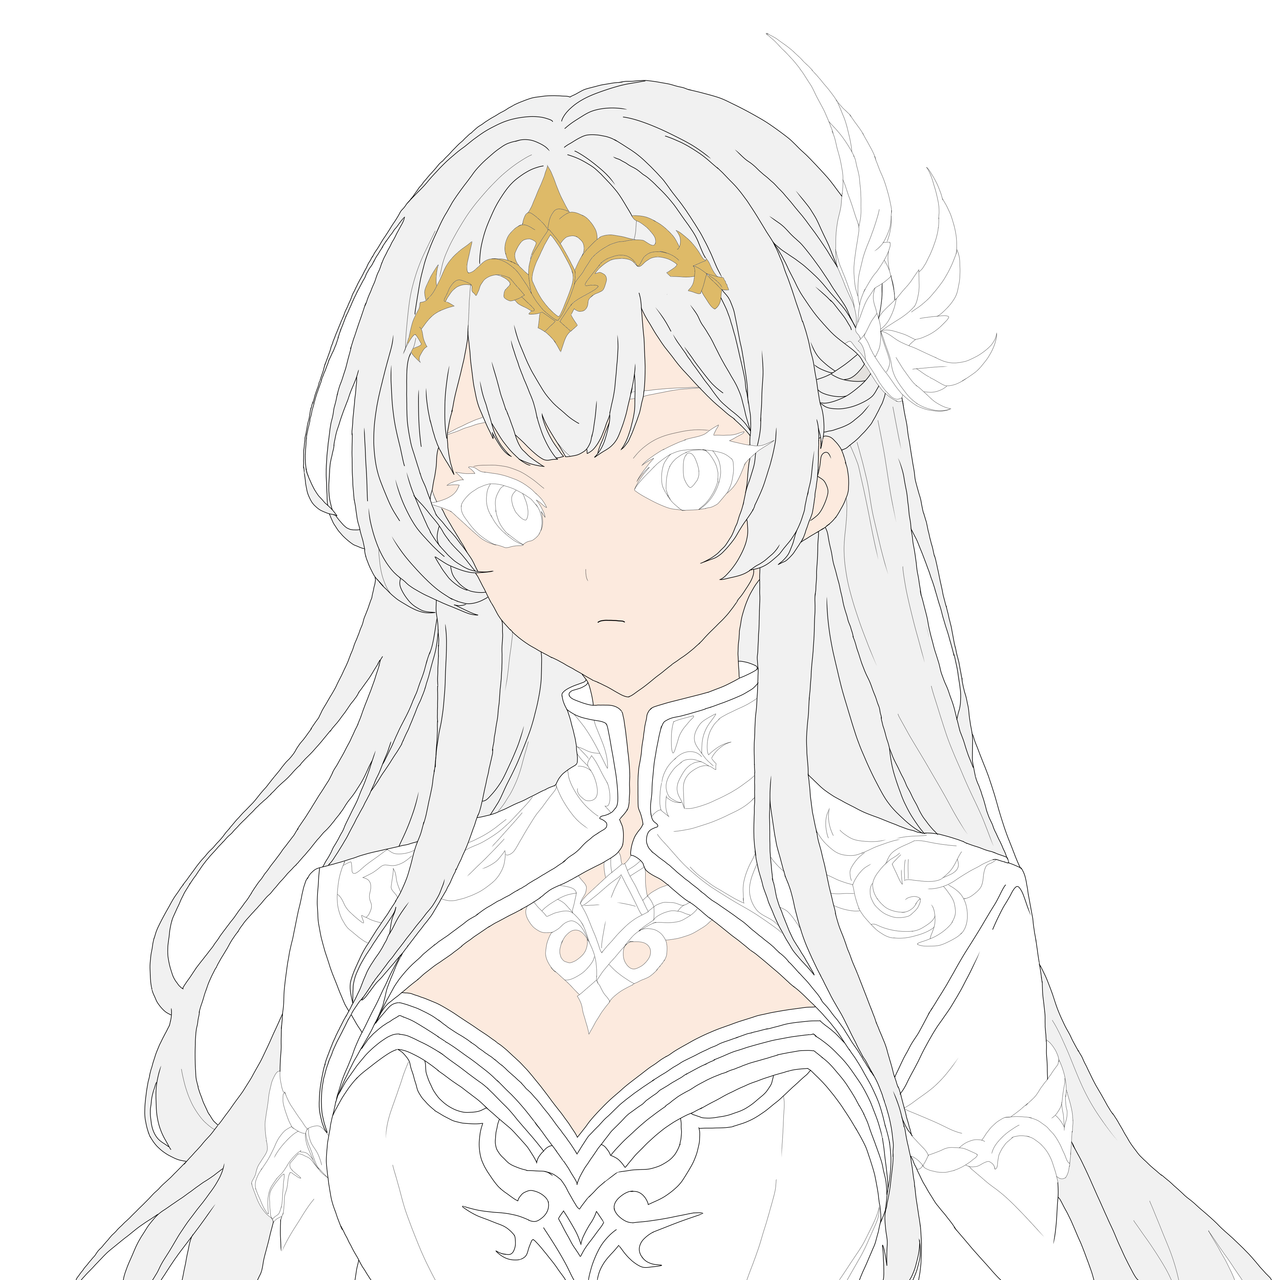
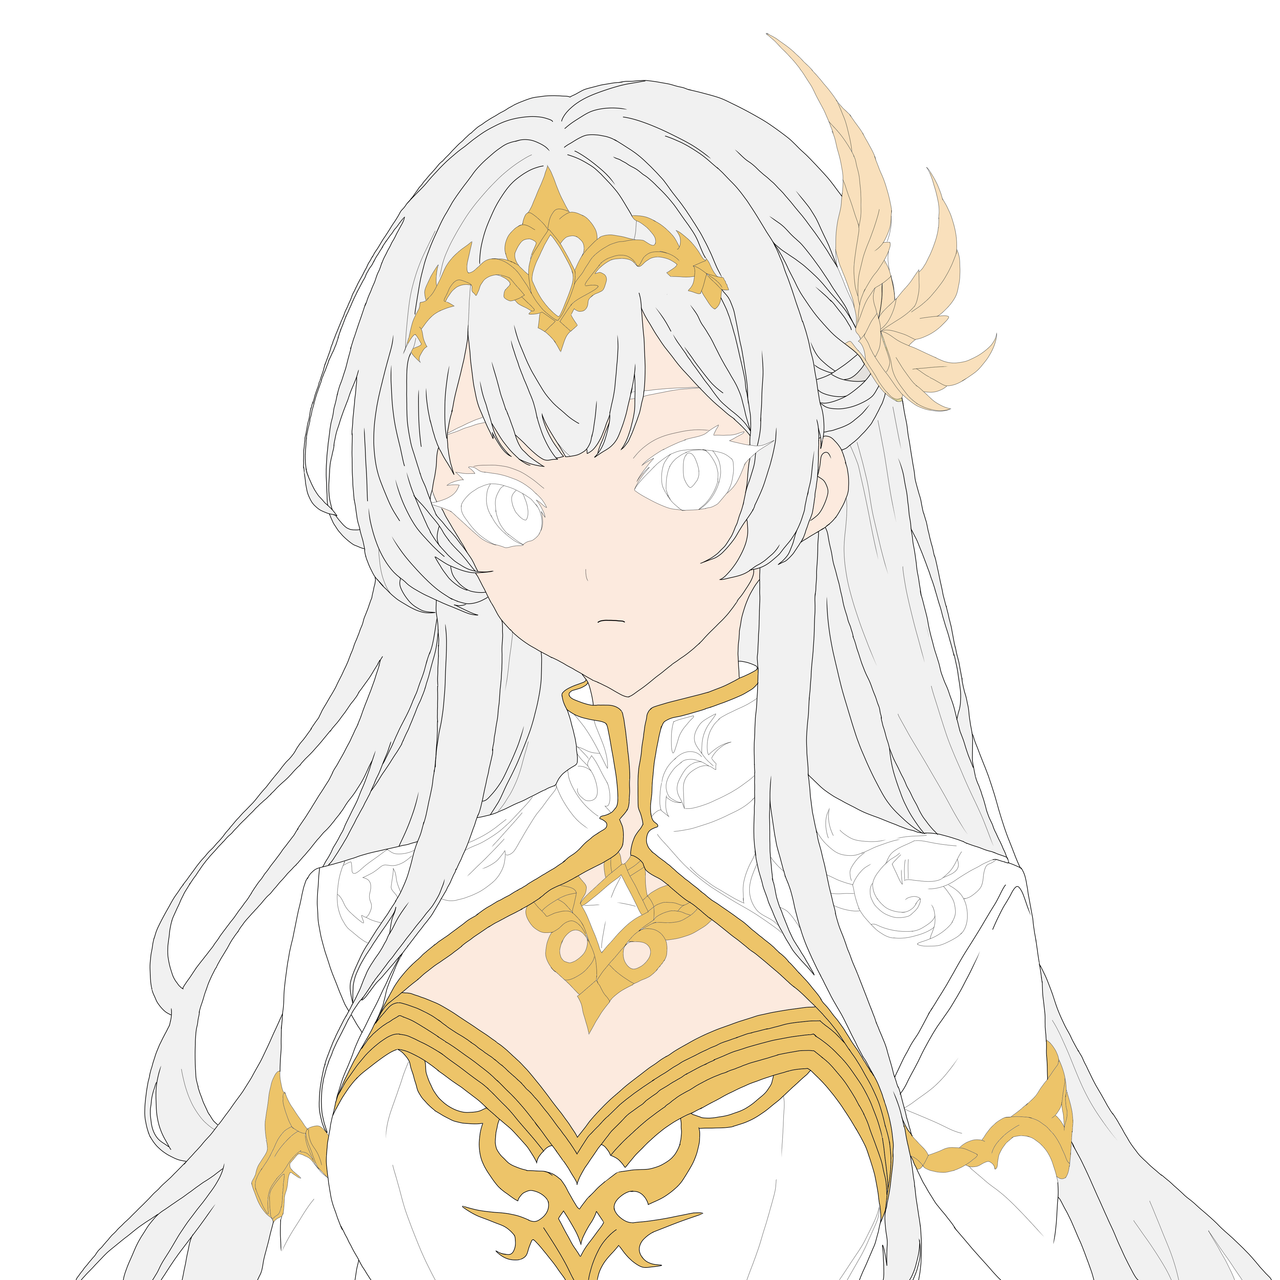
With the line art ready, I created a new layer with the clipping option activated and began to fill the different areas of the drawing with the colors I had previously selected. In this drawing, the coloring process was very simple, since shades of gray, white and golden yellow predominate. That is why in this same step I added the creation of the background, which, although it is in a new layer, is a vertical gradient of two shades of dark gray and light yellow.
Con el line art listo, creé una nueva capa con la opción de recorte activada y comencé a rellenar las distintas áreas del dibujo con los colores que previamente había seleccionado. En este dibujo, el proceso de coloreado fue muy sencillo, ya que predominan tonos de gris, blanco y amarillo dorado. Es por ello que en este mismo paso agregué la creación del fondo, el cual, a pesar de que está en una nueva capa, es un degradado vertical de dos tonos de gris oscuro y amarillo claro.
 |
 |
 |
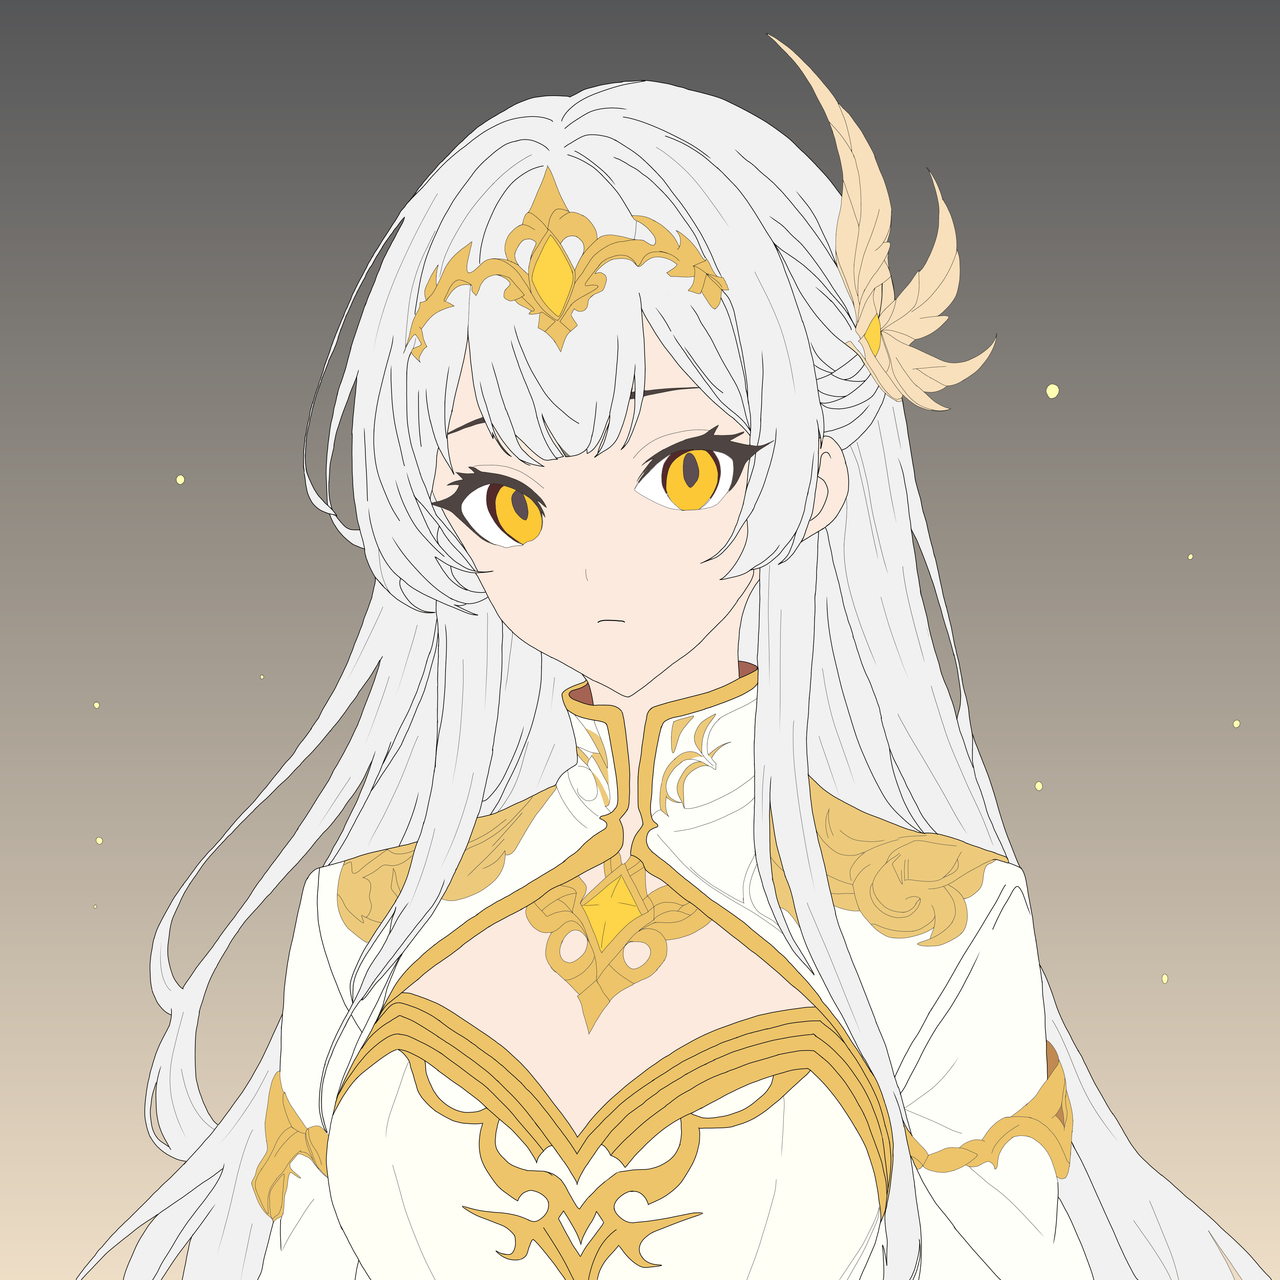 |
After giving color, I start to fill the small white spaces left by the fill brush, and then I start to give the first highlights. For the shadows, I decided to try a layered shading system, which consists of shading in a separate layer from the color layer, but at the same time duplicating this layer several times. This way you can efficiently control the intensity in some of them. Although the result is incredible, I don't think I can apply this technique in drawings with a lot of details. But I'm glad I tried it.
Luego de dar color, empiezo a rellenar los pequeños espacios en blanco que deja el pincel de rellenar, para seguidamente empezar a dar las primeras iluminaciones. Para las sombras, decidí probar un sistema de sombreado por capas, el cual consiste en dar un sombreado en una capa independiente a la del color, pero a la vez duplicar esta capa varias veces. De esta forma se puede controlar eficientemente la intensidad en algunas. Si bien el resultado es increíble, no creo poder aplicar esta técnica en dibujos con muchos detalles. Pero me alegro de haberla probado.
 |
 |
 |
Finished Drawing // Dibujo Terminado
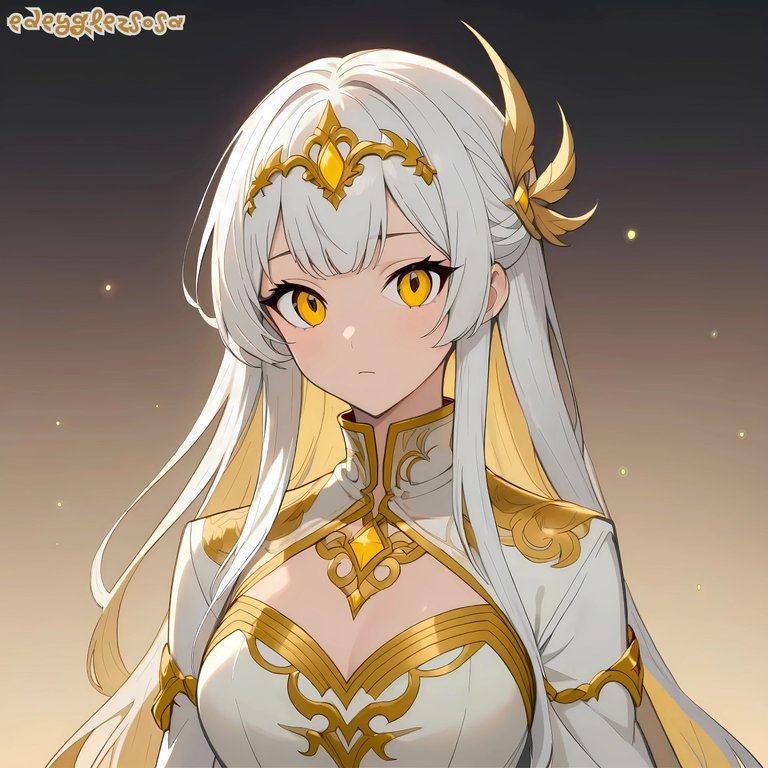
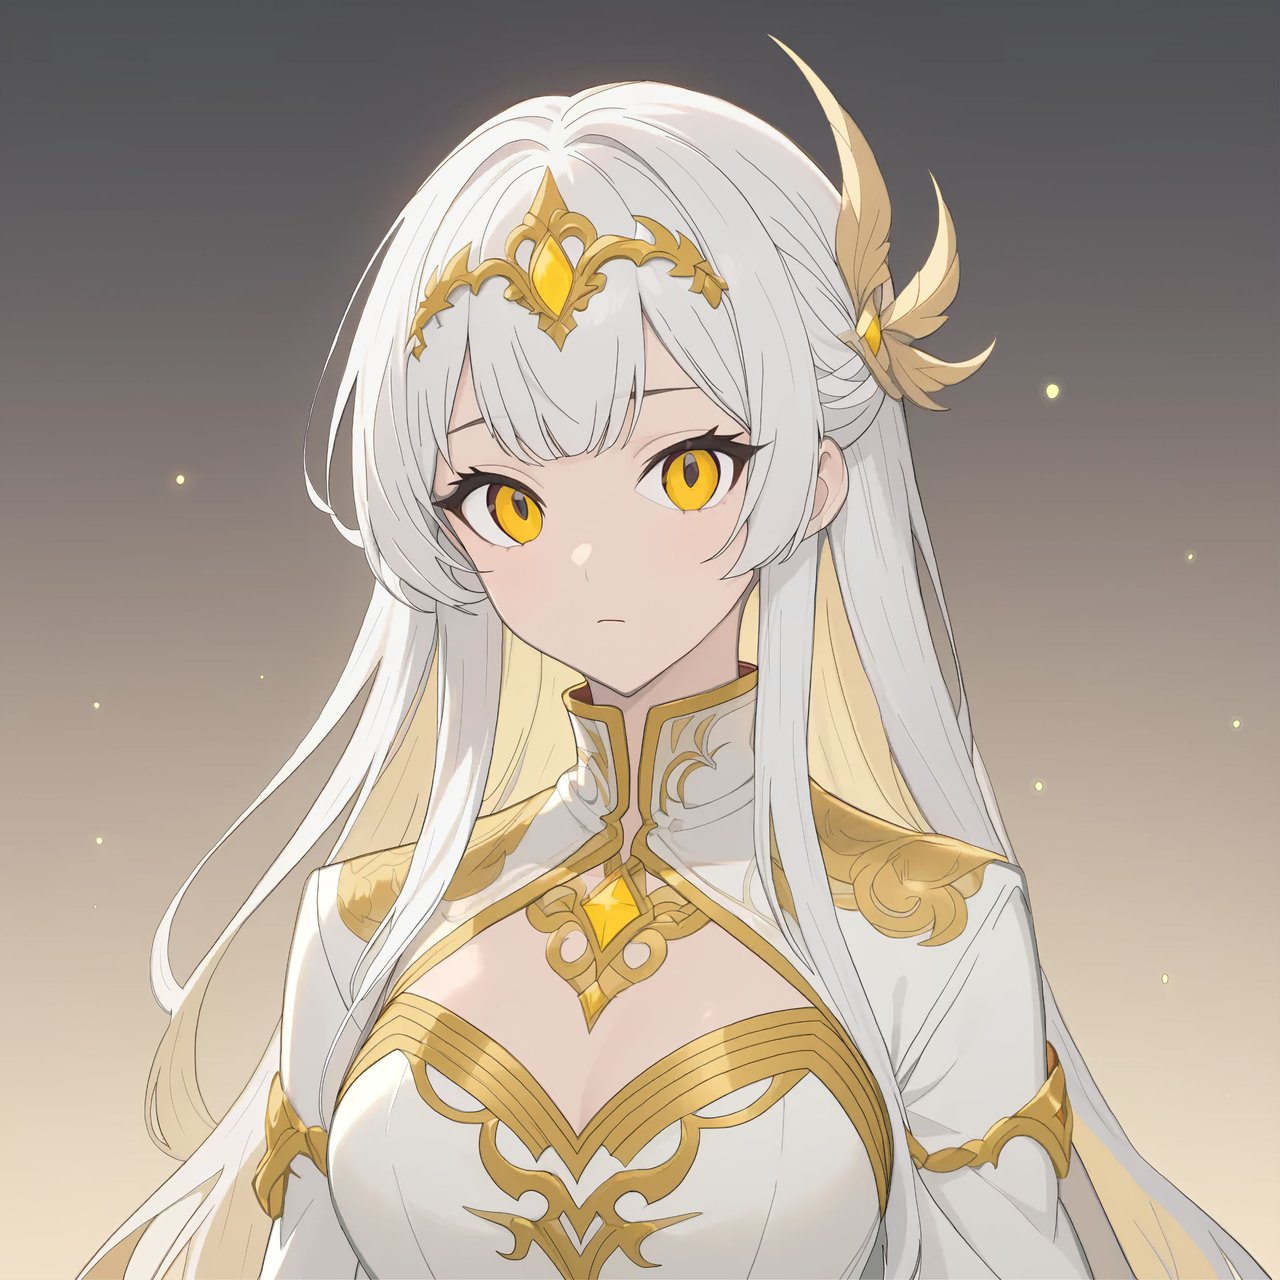
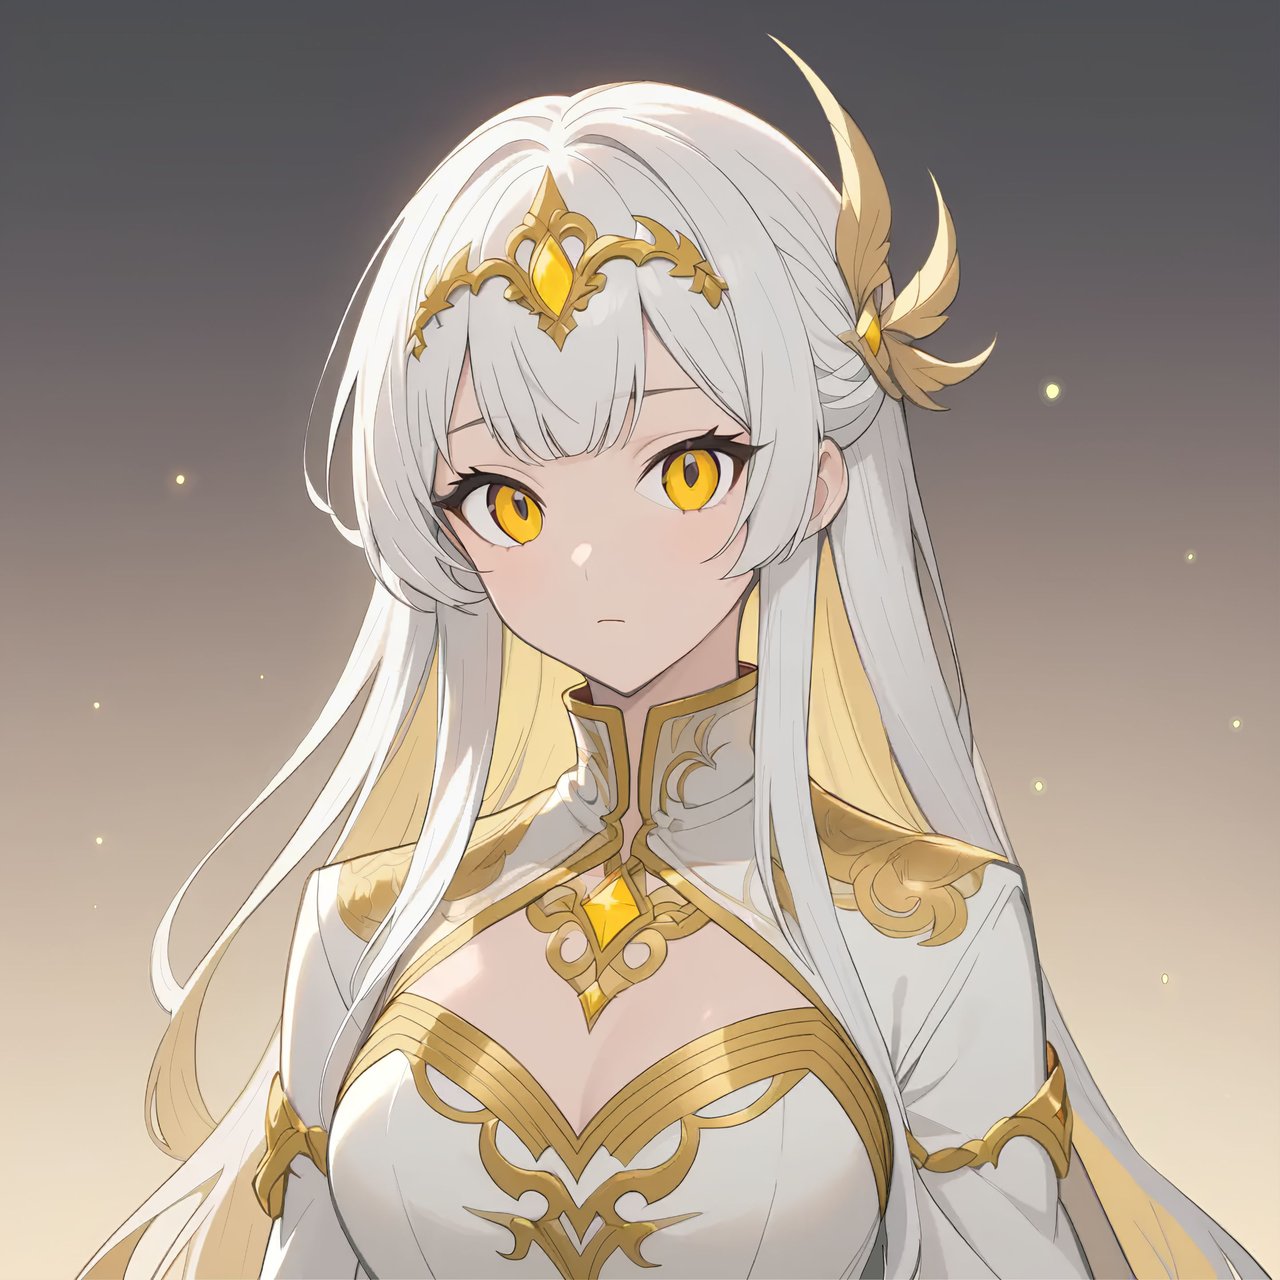
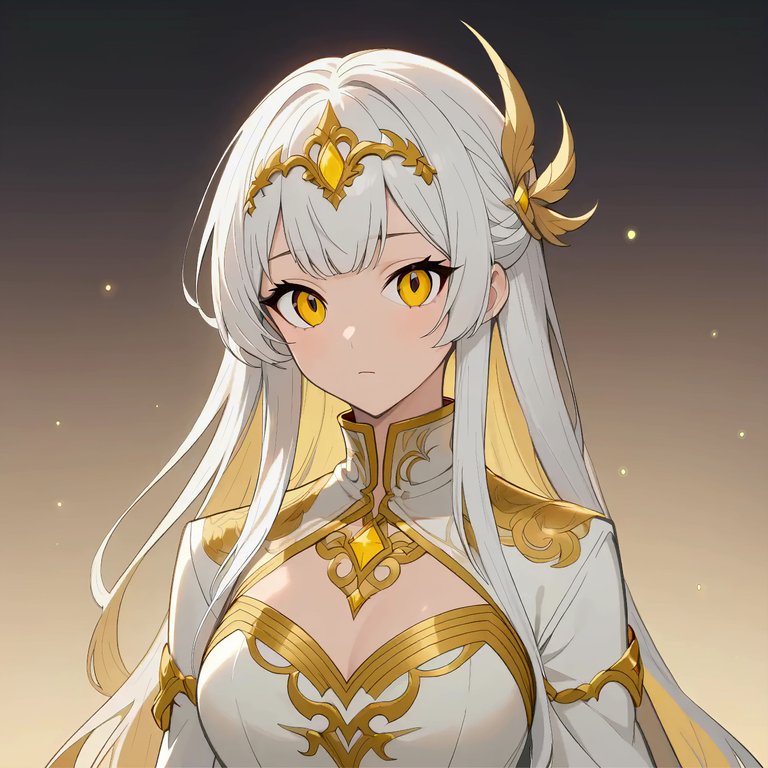
Finally, I export the drawing in PNG format and use the filters “remaster” and “accentuate color” from my phone's gallery to get the result I show you below. I hope you like it.
Ya para finalizar, exporto el dibujo en formato PNG y utilizo los filtros "remasterizar" y "acentuar color" de la galería de mi teléfono para obtener el resultado que les muestro a continuación. Espero que les guste.

Credits and Resources // Créditos y Recursos
Cover page created in Canva
Translated by DeepL
Drawn using MediBang Paint
Image edited with my Samsung Galaxy A53

Cover page created in Canva
Translated by DeepL
Drawn using MediBang Paint
Image edited with my Samsung Galaxy A53
Beautiful drawing my friend, quite professional. You should record yourself doing the drawing and upload it to 3Speak, it would be great to see a timelapse of this kind of drawing, at least I really enjoy watching the step by step, it's relaxing.
I think this is a very good suggestion. I will keep it in mind for future work. Although I don't know how the time lapse works in Medibang Paint as I once tried to save one and it saved in small fragments.
Yo this looks amazing! Have you checked out the top pinned post in holozing? we will be offering artists a chance to buy and showcase their works in our collection set so something to consider in the future to make sure the artworks fit well dimensionally into the card!
I will check the publication for the required dimensions and at the end of my publications I will add an extra image with one of the frames on top. Anyway each of my drawings are 100% available to the community.
Thank you very much for all the support.