######. ENGLISH VERSION
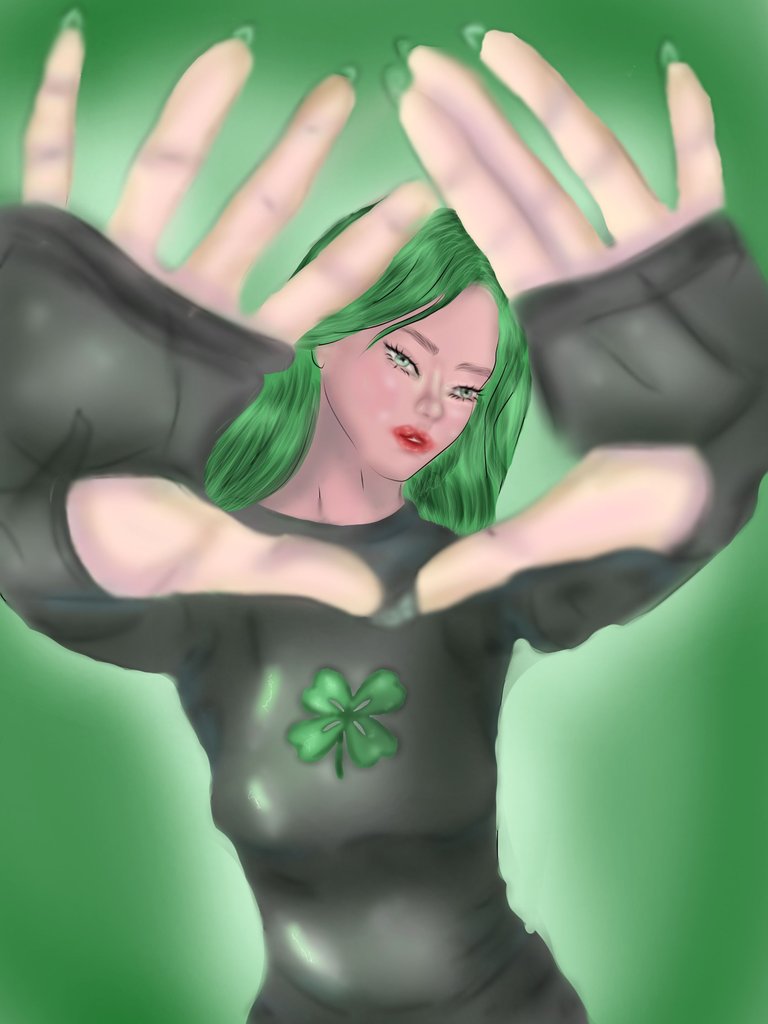
Hello everyone, today I have the pleasure of publishing again in this beautiful community of #HOLOZING. Today I bring you a digital drawing of the Forest Healer. Without further ado I explain how I made my drawing.
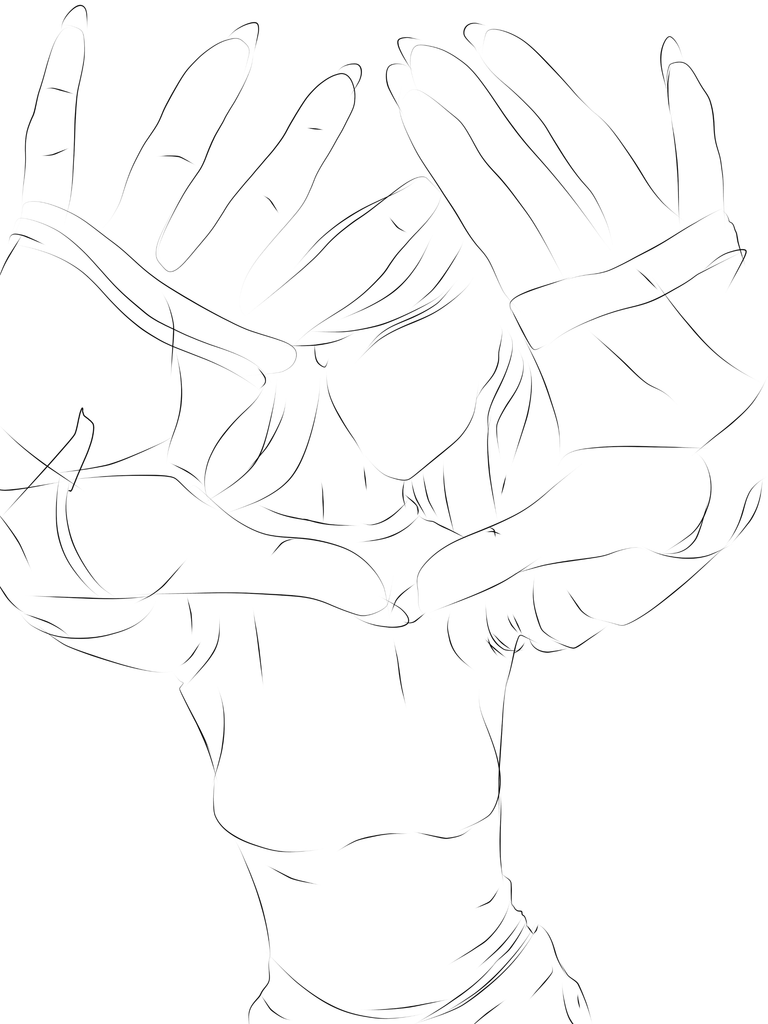
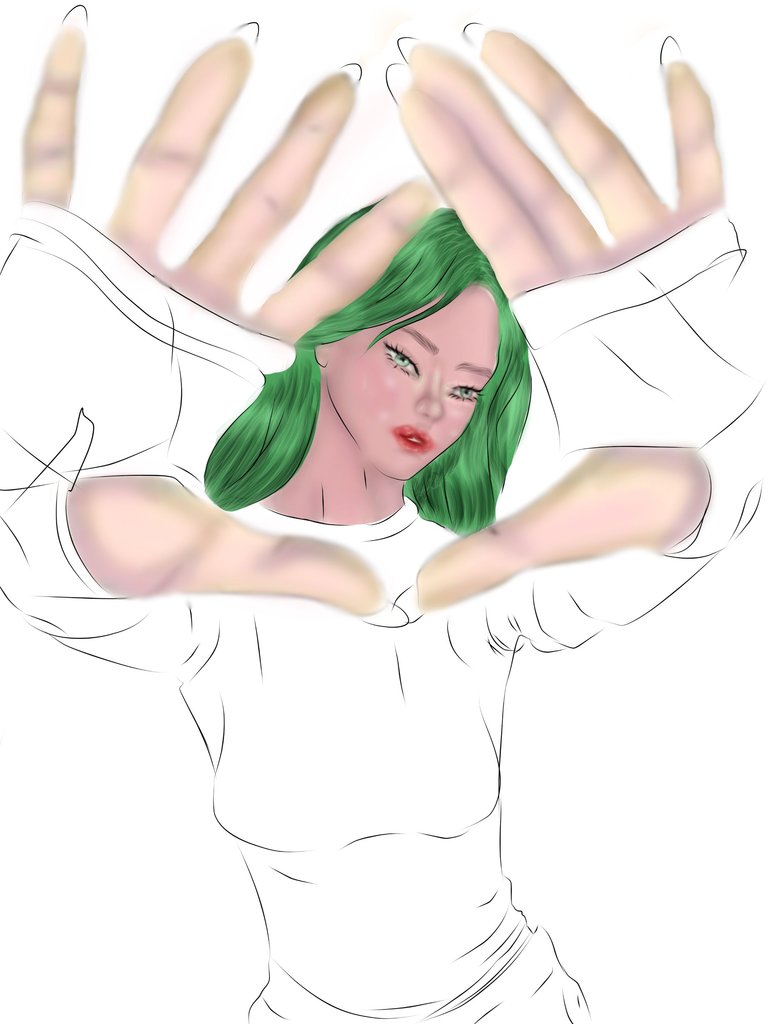
SKETCH
To make the lines of the sketch I used the soft feather brush.
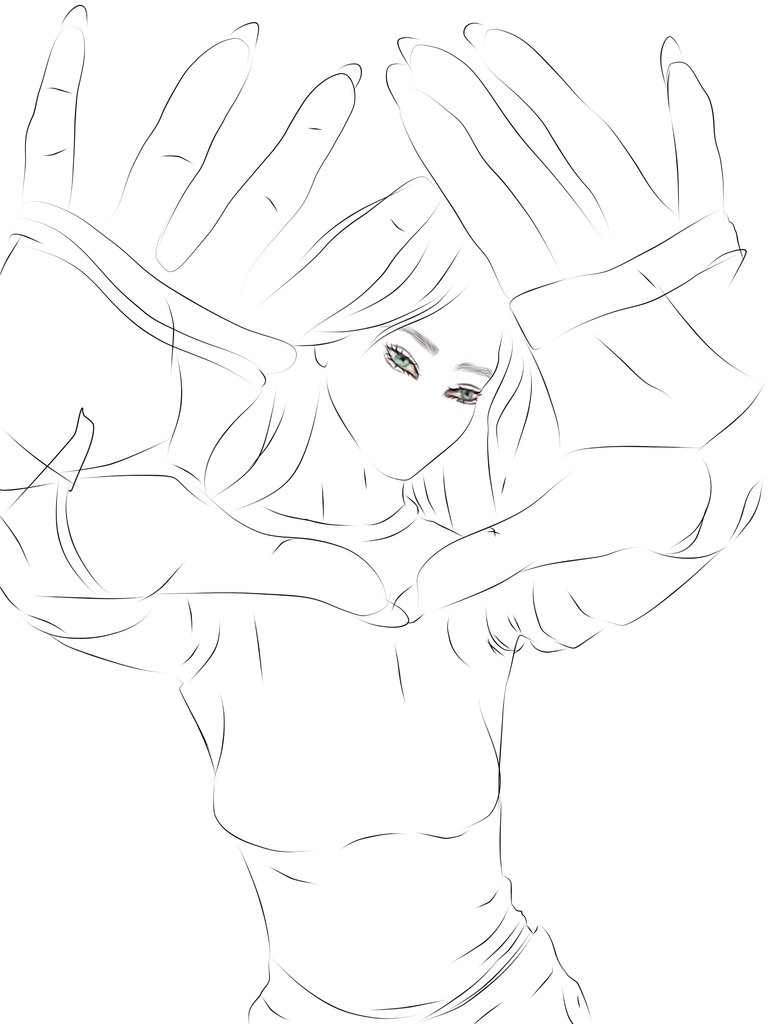
EYES
On this occasion I made the eyes before filling in the skin. For the eyes I used the soft feather in the sketch of these, the smudged pencil for the pupils and the normal airbrush for the sclera of the eye, with the brush Whi is your door not locked I gave the shadows in the pupils and in the sclera and the touch of redness at the tip of the eye. I made the eyelashes with the eyelashes brush and the eyebrows with the soft feather brush.
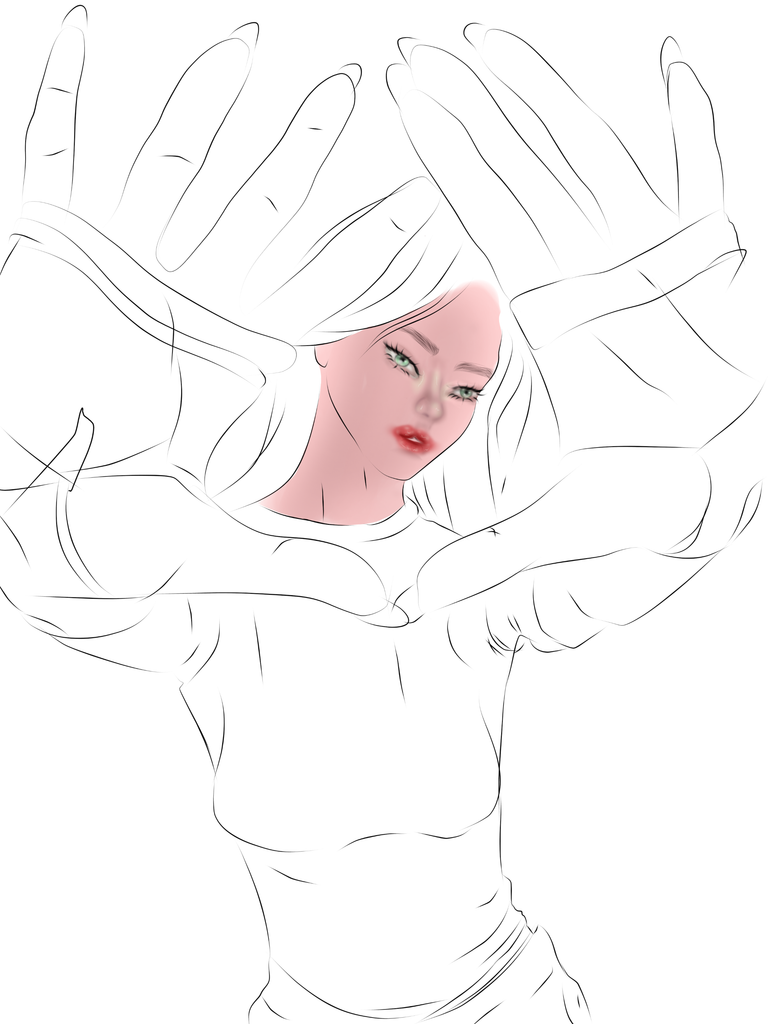
SKIN
The next thing I did was the skin, I gave the base with the pencil brush and the shadows with the normal airbrush with a tone a little darker than the skin and with a dark Violet and the intensity of the brush below the middle. Then with the blur tool I blurred the shadows for a better finish. For the shine of the skin I used the normal airbrush with a light green color and after blurring it with the blur tool with the soft feather brush and the white color I made some lines on it.

NOSE AND MOUTH
For the nose I used the normal airbrush with a tone a little darker than the skin color and the blue and pink colors for the volume and the shadows and for the shine of the nose I used the flat watercolor brush with a light green color with the blur tool I blurred the stroke and with the soft feather brush I made some white strokes for a better finish.
For the mouth I used the smudge pencil brush and a pink tone for the base and with the normal airbrush in a shade a little darker than the base I painted the edge of the mouth and the center then with the smudge tool in a thin line I made some strokes on the mouth to simulate the shadows. With the normal airbrush and a white tone I made some highlights and with the soft feather brush I gave it a better finish. With the blur tool I gave a final touch to the edge of the lips.
HAIR
For the hair I used the smudge pencil brush for the base and for the volume the Hair detail 4 brush by Chris. So that the hair didn't look so dark I used the Hair brush with the same color as the base and a normal airbrush for the shine of the hair.
CLOTHES
For the clothes I used the smudge pencil brush on the back and the shadows of this I made with the normal airbrush in a darker color than the back. For the shine I used the flat watercolor brush and with the blur tool I blurred then with the soft feather brush I gave it some touches of shine.
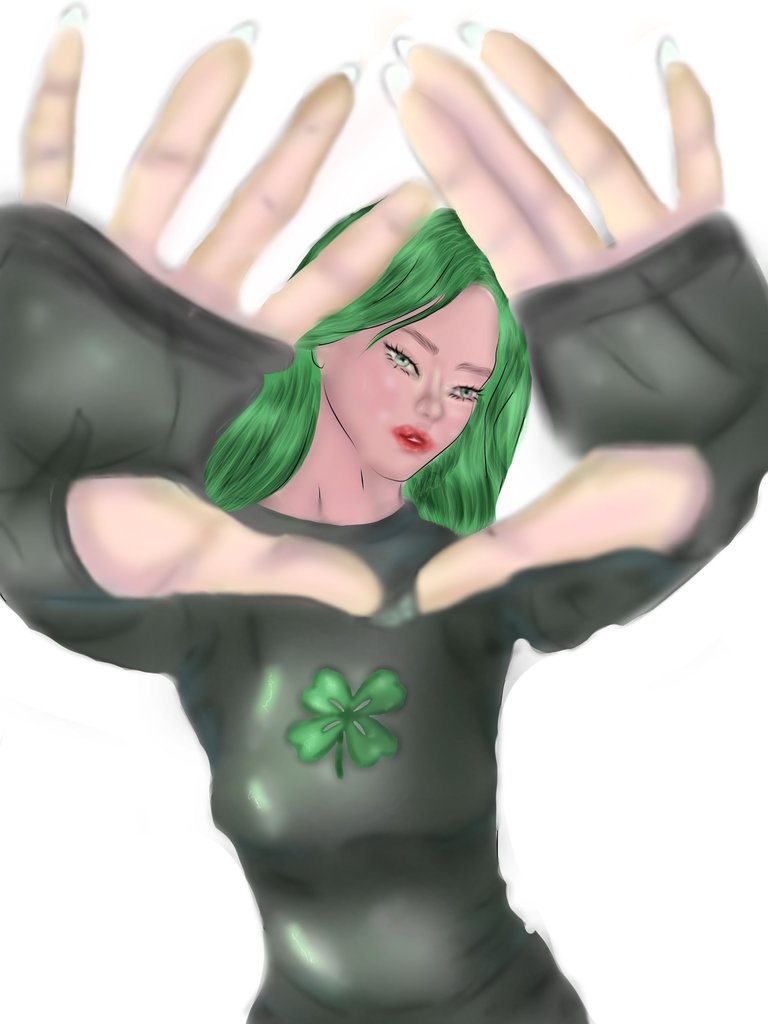
And this was the result of my drawing I hope you like it as much as I do. I just have to wish you all a happy and wonderful day ☀️.
The text was translated by Deepl.com
VERSIÓN EN ESPAÑOL
Hola a todos hoy tengo el placer de publicar nuevamente en esta hermosa comunidad de #HOLOZING. Hoy les traigo un dibujo digital de la Sanadora del Bosque. Sin más preámbulos les explico cómo realicé mi dibujo.
BOCETO
Para realizar las líneas del boceto utilicé el pincel pluma suave.
OJOS
En esta ocasión realicé los ojos antes de realizar el relleno de la piel. Para los ojos utilicé la pluma suave en el boceto de estos, el lápiz difuminado para las pupilas y el aerógrafo normal para la esclerotica del ojo, con el pincel Whi is your door not locked di las sombras en las pupilas y en la esclerótica y el toque de enrojecimiento en la punta del ojo . Las pestañas las hice con el pincel pestañas y las cejas con el pincel pluma suave.
PIEL
Lo siguiente que hice fue la piel ,la base la di con el pincel lápiz difuminado y las sombras con el aerógrafo normal con un tono un poco más oscuro que el de la piel y con un Violeta oscuro y la intencidad del pincel más abajo de la mitad . Luego con la herramienta borrosidad difumine las sombras para un mejor acabado . Para el brillo de la piel utilicé el aerógrafo normal con un color verde claro y luego de difuminarlo con el instrumento borrosidad con el pincel pluma suave y el color blanco hice algunas líneas sobre el .
NARIZ Y BOCA
Para la nariz utilicé el aerógrafo normal con un tono un poco más oscuro que el color de la piel y los colores azul y rosado para el volumen y las sombras y para el brillo de la nariz utilicé el pincel acuarela plana con un color verde claro con la herramienta borrosidad difumine el trazo y con el pincel pluma suave hice algunos trazos en blanco para mejor acabado.
Para la boca utilicé el pincel lápiz difuminado y un tono rosado para la base y con el aerógrafo normal en un tono un poco más oscuro que la bace pinte el borde de la boca y el centro luego con la herramienta difuminado en una linea fina realicé algunos trazos sobre la boca para simular las sombras . Con el aerógrafo normal y un tono blanco hice algunos brillos y con el pincel pluma suave le di mejor acabado. Con el instrumento borrosidad le di un toque final al borde de los labios.
PELO
Para el pelo utilicé el pincel lápiz difuminado para la bace y para el volumen el pincel Hair detail 4 by Chris. Para que el pelo no se viera tan oscuro utilicé el pincel Hair con el mismo color de la bace y un aerógrafo normal para el brillo del pelo.
ROPA
Para la ropa utilicé el pincel lápiz difuminado en la bace y las sombras de este las hice con el aerógrafo normal en un color más oscuro que la bace . Para el brillo utilicé el pincel acuarela plana y con la herramienta borrosidad difumine luego con el pincel pluma suave le di unos toques de brillo.
Y este fue el resultado de mi dibujo espero que les guste tanto como a mí. Solo me queda decearles a todos un feliz y maravilloso día ☀️.
El texto fue traducido por Deepl.com