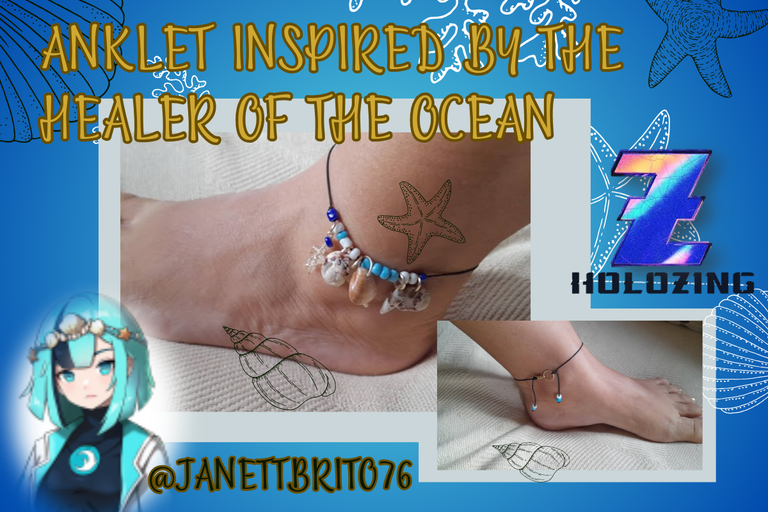


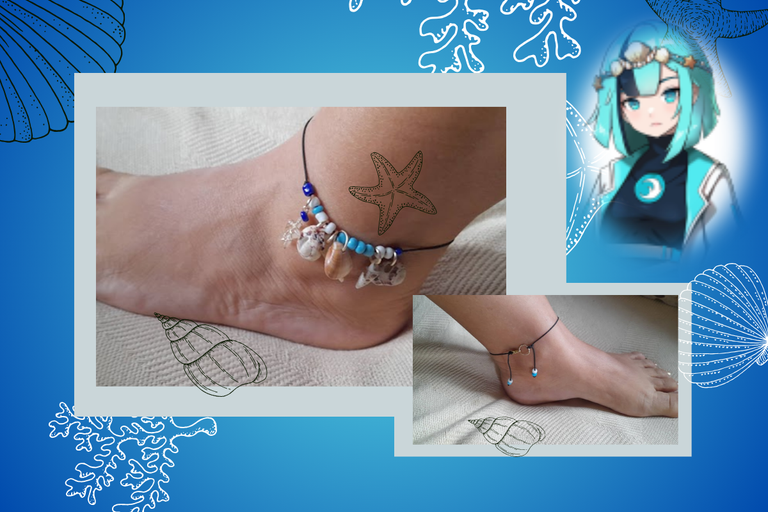
Welcome everyone to my blog, I hope you find it cool. It's my first time here, thanks to a friend who told me about this community, although I have seen that they have made many things inspired by the famous holozing characters, as well as drawings, crafts and jewelry and I thought! why not create something nice and beautiful for the holizing community, and I started to review some characters of this great game that they are creating and I called my attention to the healer characters. Since I live very close to the sea, I'm always collecting shells and snails from the shore every time I take my weekend walk, that's why I bring you today a beautiful anklet with seashells inspired by the female Ocean Healer (which is a healer that will have two or more creatures of type Water and Ice) so I can give use to those seashells I have at home.
Dear friends, don't miss this step by step to create this beautiful anklet with seashells. Let's get to work!
Happy Tuesday to all those Friends who make life in this great platform of #HIVE and especially to the community of #holozing .✨.

Bienvenidos todos a mi blog, espero se encuentren chévere. Es mi primera vez que estoy por aquí, gracias a una amiga que me comento de esta comunidad, aunque si he visto que han elaborado muchas cosas inspiradas en los famosos personajes de holozing, así como dibujos, manualidades y bisuterías y pensé! porque no crear algo lindo y hermoso para la comunidad de holizing!, y me puse a revisar algunos personajes de este grandioso juego que están creando y me llamo mucho la atención los personajes de sanadores. Pues como vivo muy cerca del mar, siempre estoy recogiendo conchas y caracoles de la orilla cada vez que realizo mi caminata del fin de semana, es por eso que les traigo hoy una preciosa tobillera con conchas de mar inspirada en la Sanadora del Océano hembra (la cual es una sanadora que tendrá dos o más criaturas de tipo Agua y Hielo) para así poder darle utilidad a esas conchas de mar que tengo en casa.
Apreciadas amigas no se pierdan este paso a paso para crear esta preciosa tobillera con conchas de mar. Bueno ¡¡Manos a la obra!!Feliz martes para todos aquellos Amigos que hacen vida en esta estupenda plataforma del #HIVE y en especial a la comunidad de #holozing .✨

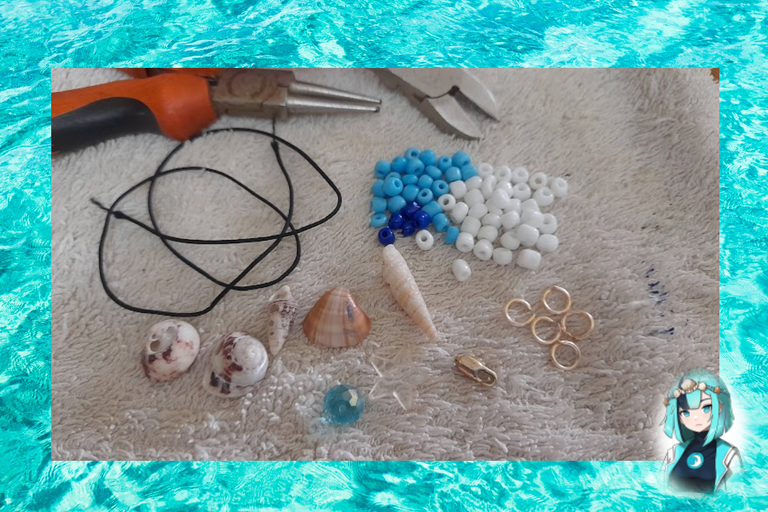
Seashells
Beads (white, light blue and dark blue)
Rings
Transparent star
Pin
Chinese thread (black)
Dremel
Round nose pliers

Conchas de mar
Mostacillas (Blancas, azules claro y oscuro)
Argollas
Estrella transparente
Pasador
Hilo chino(negro)
Dremel
Pinza de punta redonda


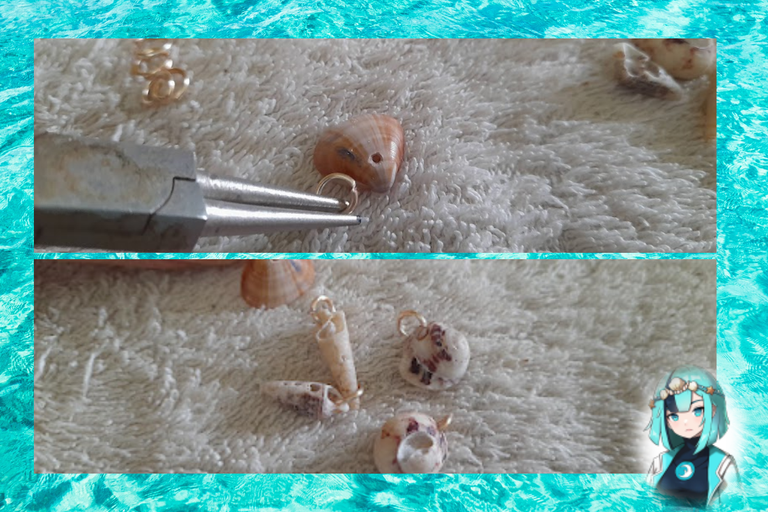
1: To start creating our anklet, first we take our sea shells and clean them very well, then with the help of the dremel we proceed to make a small hole in the top of each of our shells, being very careful not to break them.

1: Para iniciar a crear nuestra tobillera, primero tomamos nuestras conchas de mar y las limpiamos muy bien,luego con la ayuda del dremel procedemos a realizarle un pequeño agujero en la parte superior de cada una de nuestras conchas, teniendo mucho cuidado para no romperlas.
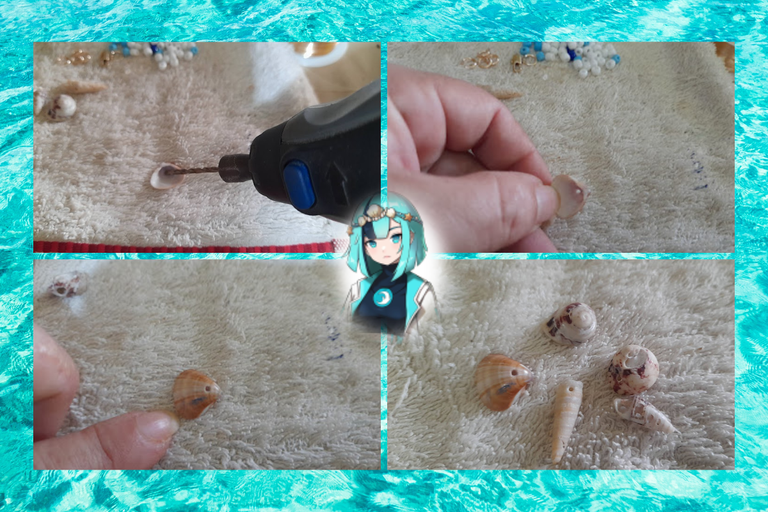


2: Once the holes have been drilled, we proceed to insert the rings to each of the shells, with the help of our round nose pliers, as you can see in the image.

2: Una vez realizado los agujeros procedemos a insertar las argollas a cada una de las conchas,con la ayuda de nuestra pinza punta redonda, como pueden observar en la imagen.


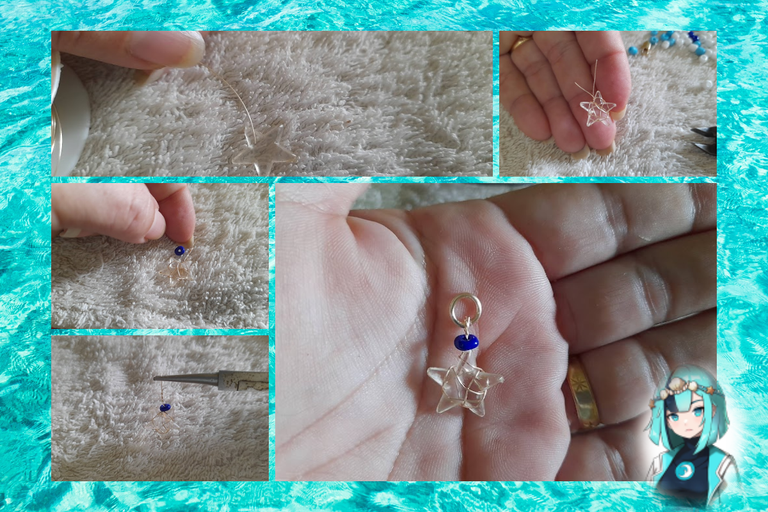
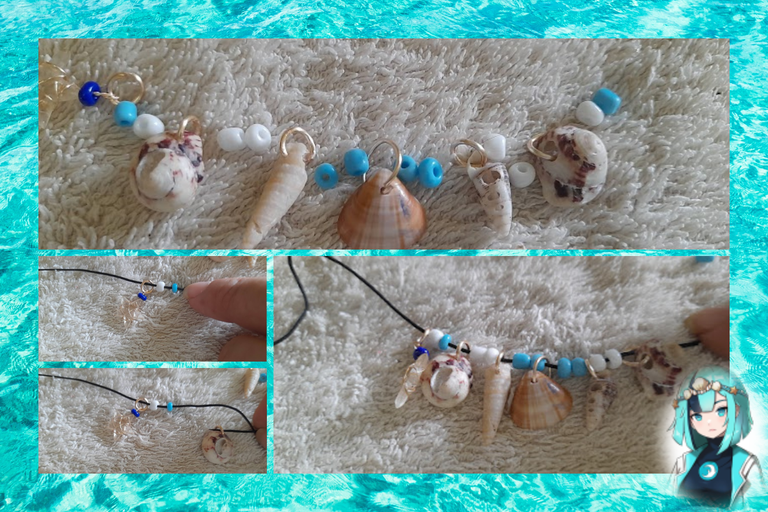
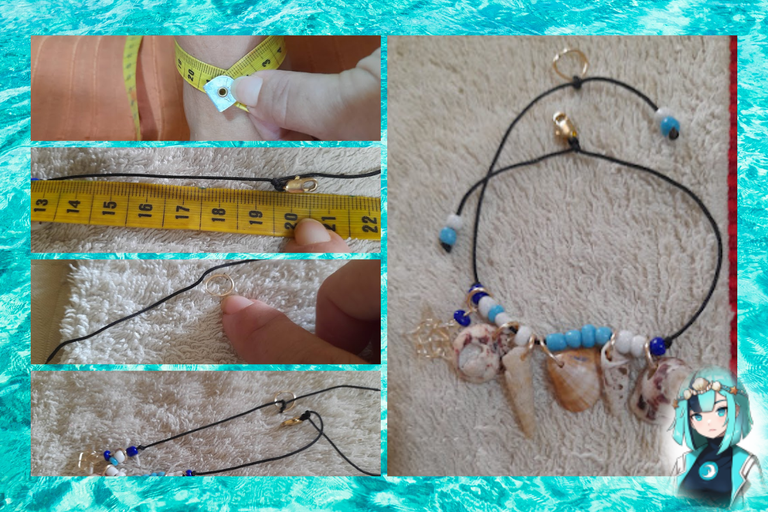
3: Now with the 28 gauge wire we proceed to twist the star, then we insert a dark blue bead at the top and close it with a small ring to insert the other ring. Then we present the pattern we are going to follow to make our anklet. Then we take the black thread and proceed to insert each of our pieces, then we place a dark blue bead on each end and close it with a knot so that the pieces do not move, as you can see in the pictures.

3: Ahora con el alambre calibre 28 procedemos a entorchar la estrella, luego le insertamos una mostacilla azul oscuro en la parte superior y la cerramos con una pequeña argollita para insertar la otra argolla. Después presentamos el patrón que vamos a seguir para elaborar nuestra tobillera. Seguidamente tomamos el hilo negro y procedemos a insertar cada una de nuestras piezas, luego en cada punta le colocamos una mostacilla azul oscuro y cerramos con un nudo para que no se muevan las piezas, como pueden observar en las imágenes.
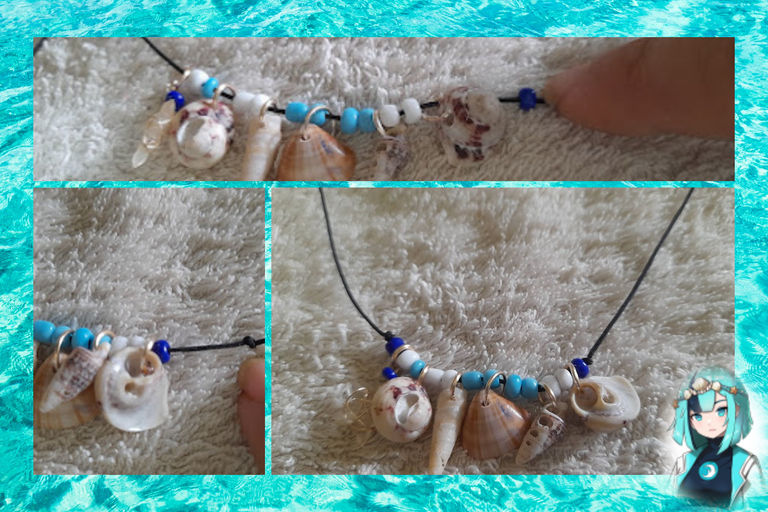


4: Now we proceed to measure our ankle contour, then we take our anklet and we put the pin and the ring, to avoid cutting the excess thread I put a white bead and a blue one at each end to decorate a little more my anklet. Done!

4: Ahora procedemos a medimos nuestro contorno del tobillo,luego tomamos nuestra tobillera y le colocamos el pasador y la argollita, para no cortar el excedente de hilo le coloque una mostacilla blanca y una azul a cada punta para decorar un poco mas mi tobillera. Listo!


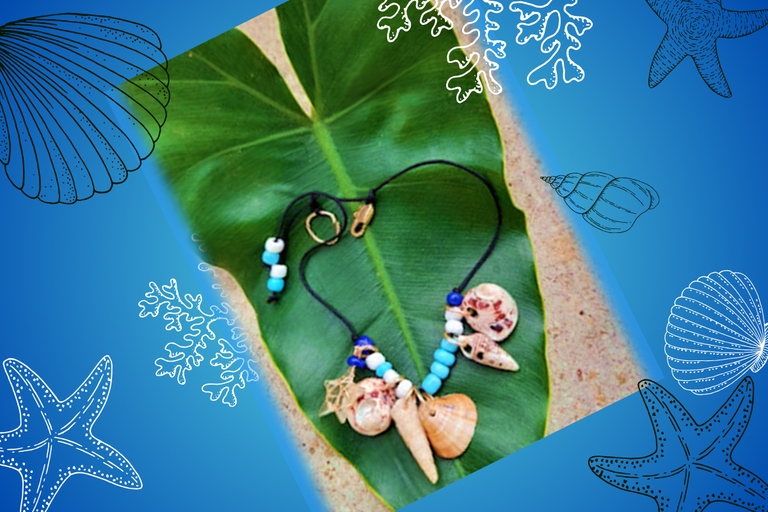
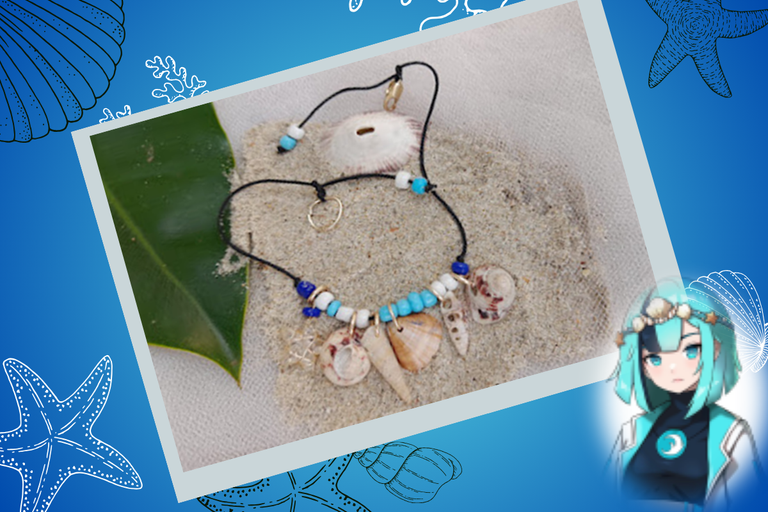
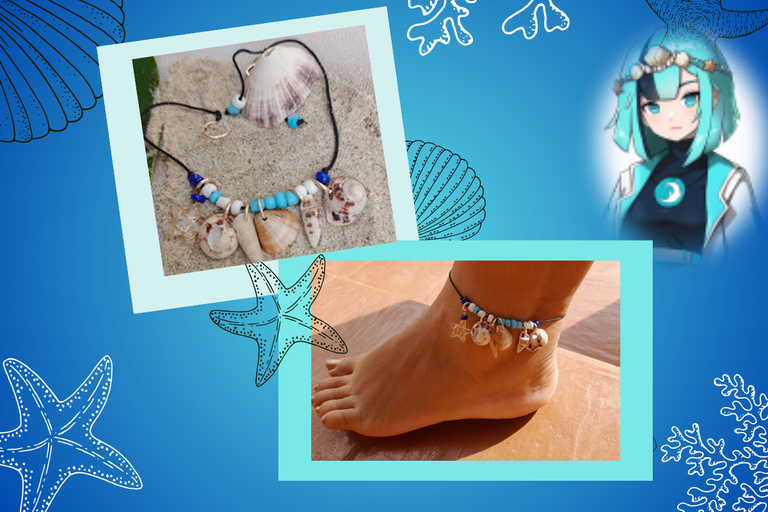
Ready my friends! here I show you how this beautiful anklet has turned out, in shades of blue and white, also highlighting those beautiful seashells. I hope you like my creation today! and I encourage you to create this nice and simple anklet to look pretty on the beach. **Until next time!

Listo mis amigos! aquí le muestro como han quedado esta preciosa tobillera, en tonos azules y blanco, ademas resaltando esas hermosas conchas marinas. Espero les guste mi creación del día de hoy! y se animen a crear esta linda y sencilla tobillera para lucir lindas en la playa. ¡Hasta una próxima oportunidad!

Recursos: App: Canva link
Pixabay link
📷 teléfono inteligente Samsung A12
Traducido con Deepl.com link Contenido original del autor.@janettbrito76
Resources: App: Canva link
pixabay link
📷Samsung A12 smartphone
Translated with Deepl.com link Original content from the author.@janettbrito76


Que lindo.