Welcome to my blog!
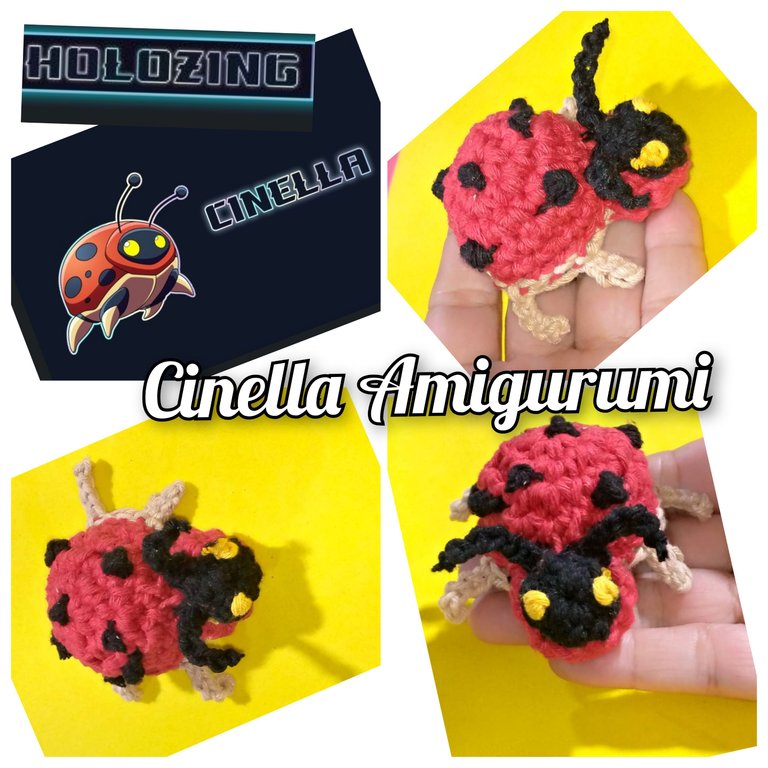
Good evening to all #holozing members, long time no post in one of my favorite communities. But today I'm back, activated again. God bless you, I hope you are resting in your homes. Me in what I love and am passionate about. Blessings.
I want to show through a tutorial how to make a crochet Amigurumi of a ladybug, inspired by a new character of the holozing game, called: Cinella, is a very fast and agile ladybug. Without further ado, let's go to the materials.
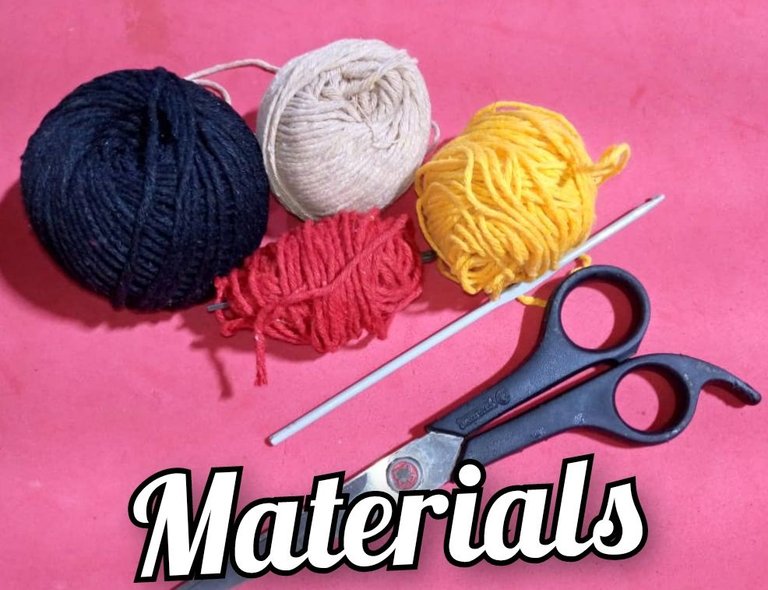
Materials for the realization of Cinellaen Amigurumi
- Knitting yarns, colors: beige, black, yellow and black.
- Knitting needle, number 3.
- Scissors.
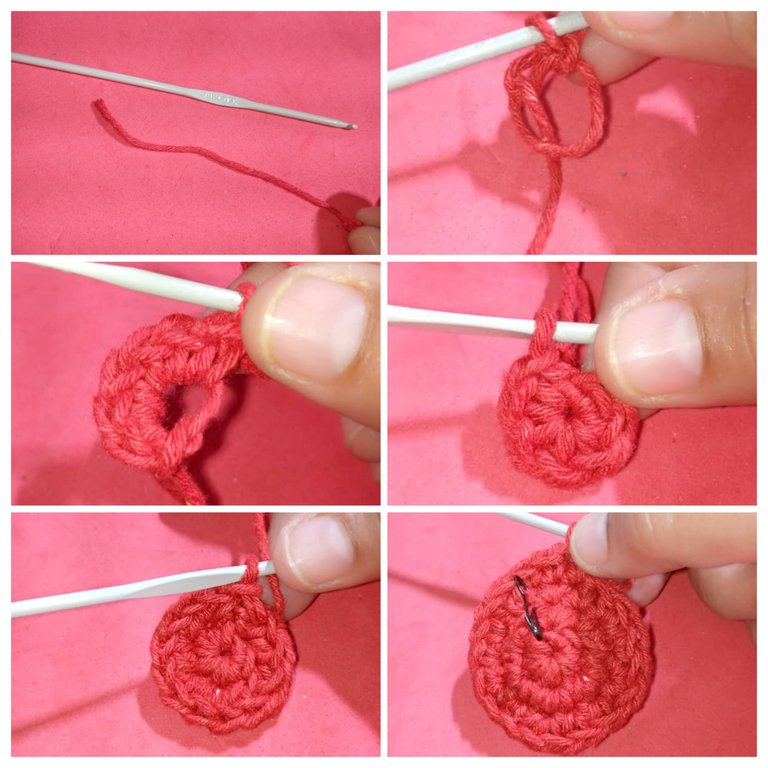
Making the Amigurumi:
- The first thing we will do is ,take the red yarn along with the needle and start making a magic ring, inside the ring put 6 low stitches. That would be the first round, for the second, you are going to make an increase in each stitch for a total of 12 stitches.
- For the third row, we make one stitch and one increase, that would be 18 stitches. For the fourth row, two stitches and one increase, that would be 24 stitches. We make a slip stitch and cut the yarn.
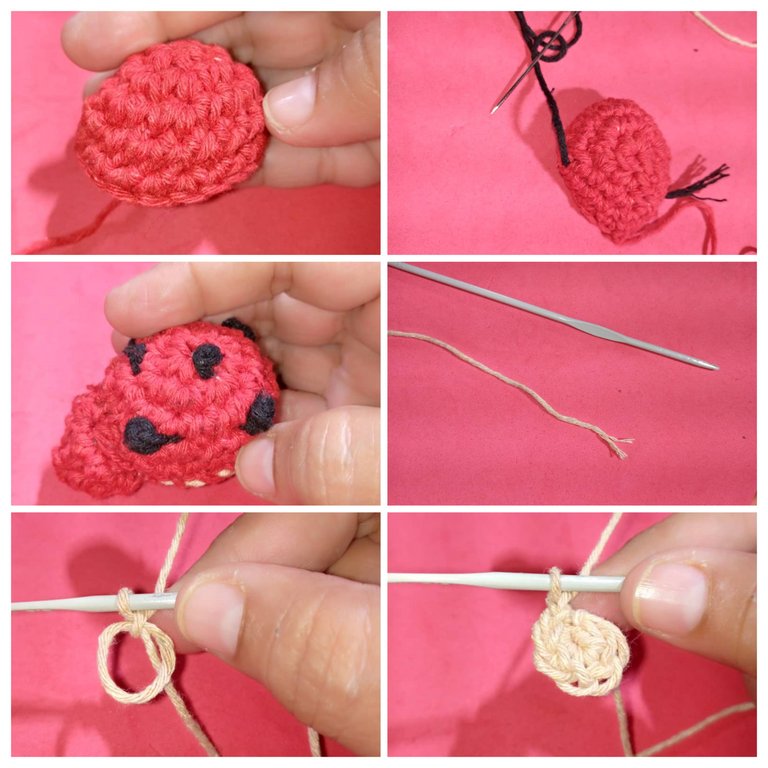
- Once the first piece of the Amigurumi is finished, we continue with the bottom part of the ladybug. We change the yarn, we take the beige one. We do the same as the first motif, but only 4 turns.
- The first motif we place with black thread the little dots that the ladybug has.
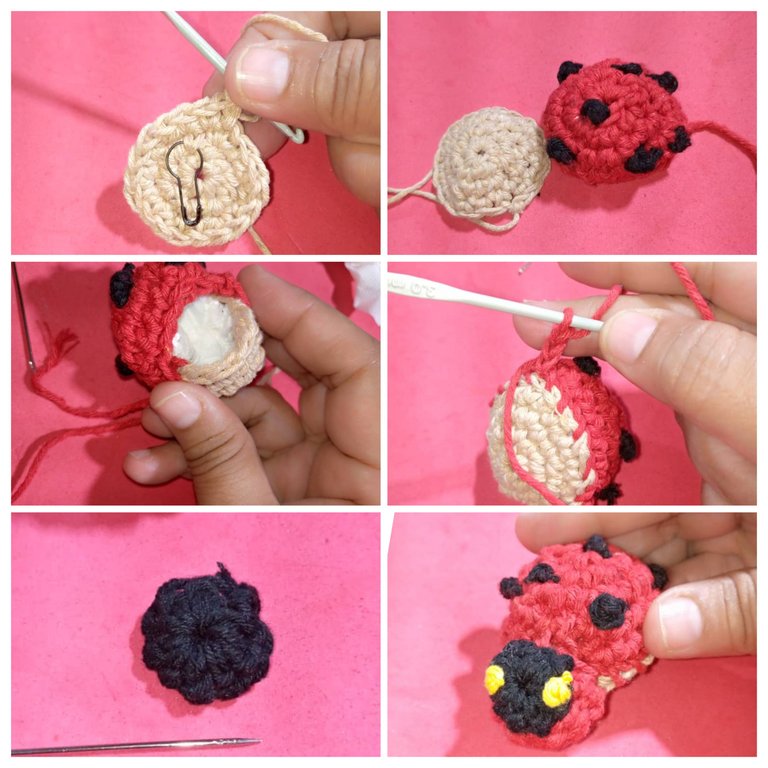
- Then we sew with thread, the two parts, using the wool needle. We leave a space to fill it.
We make the head of the ladybug, with red thread we make a magic ring, we put 6 single crochet stitches, then 2 stitches in the same stitch and for the third round a single crochet and an increase. In this way we make the head.
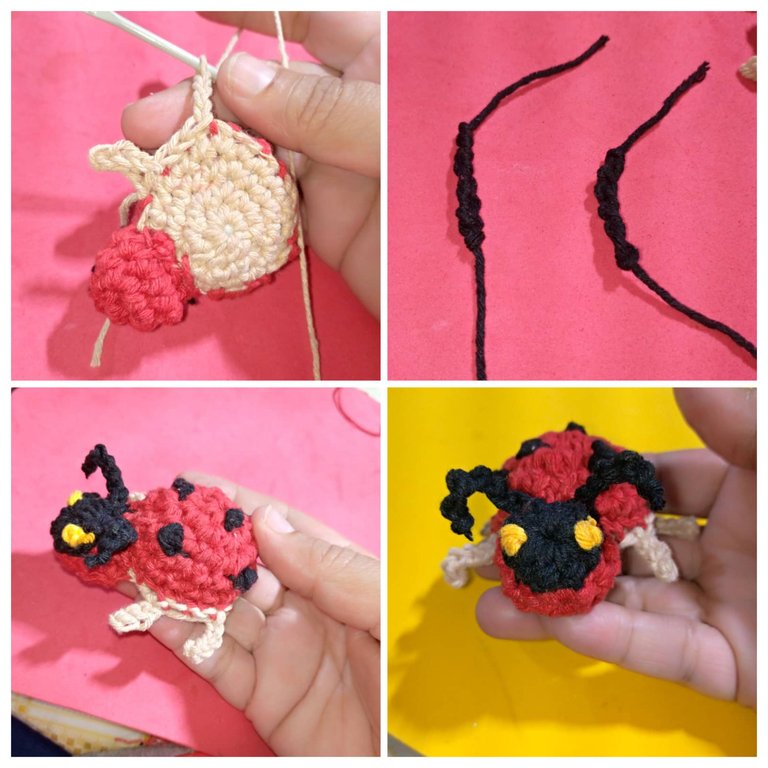
With black yarn we make a ring and cast on 8 single crochet stitches, we close with slipped stitches. With yellow yarn we place the eyes and with black yarn the antennae.
We use the beige thread to make the legs, glue with the thread near the top and bottom of the Amigurumi.
Now we have the beautiful ladybug ready. I hope you liked it
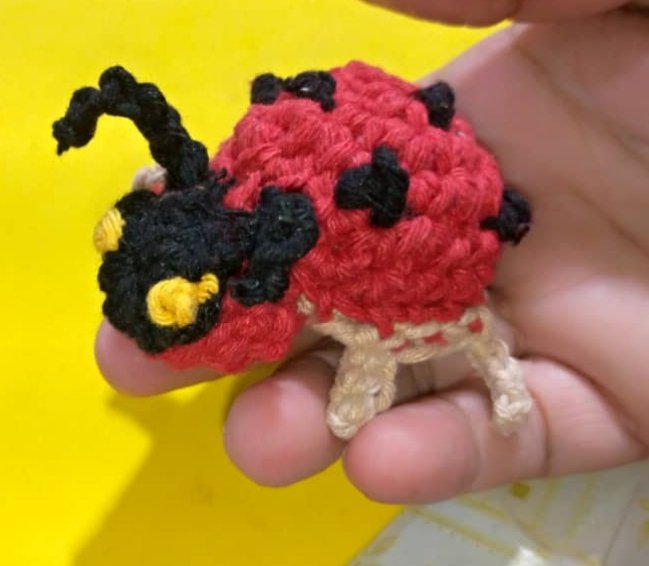
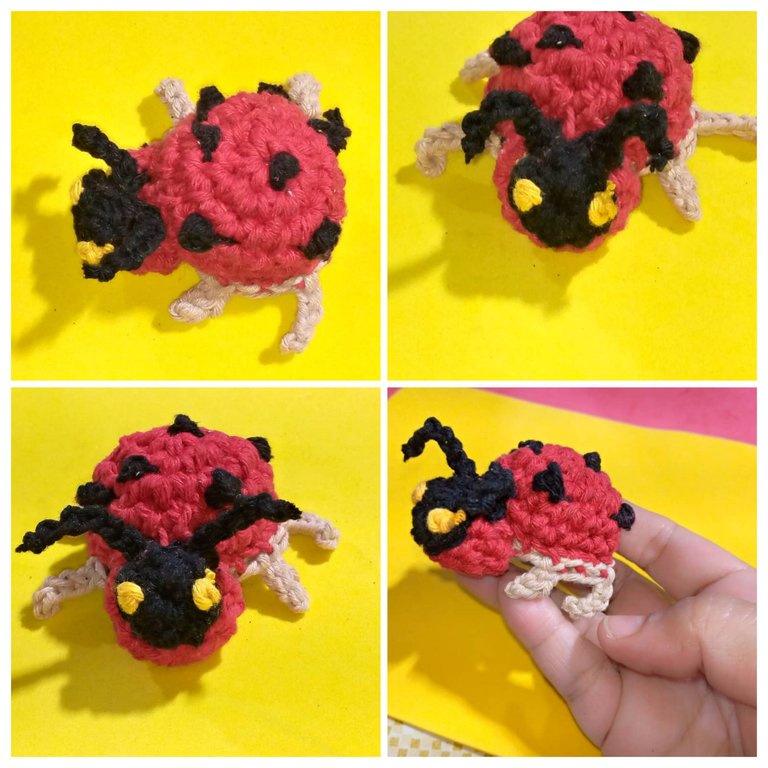
Here is the final result of the cute ladybug in Amigurumi.
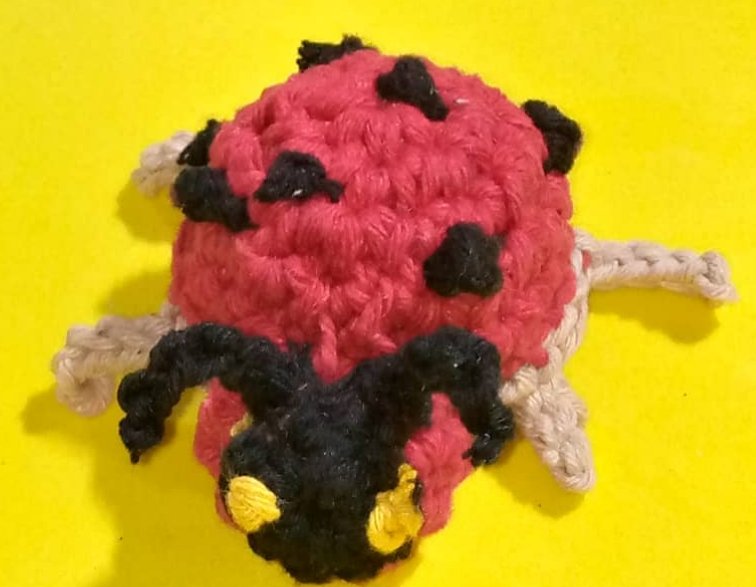
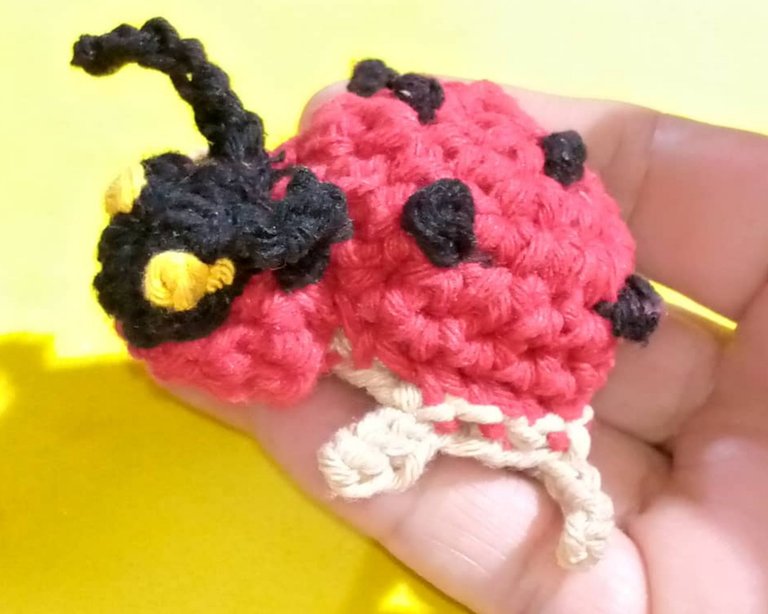
Thank you for reading and commenting on my post, I hope you like it. Many blessings and see you next time. The photos are mine taken with infinix phone, edited with incollage and translated with Deepl.

Nice work! Looks exactly like the artwork.
Si @solumviz esa es la idea . Saludos y bendiciones.