Yesterday I had some extra time, so I started drawing. Sometimes I imagine one thing, but the truth is I find something else. I guess that's how it is, sometimes there isn't that mind-hand connection. However, I consider that all the processes add up, they are learning. On this occasion I made a FanArt of the Healer of Light, she is one of my favorites along with the Healer of the Ocean. I wanted something quite focused on her, that's why I chose a dark background that would give a boost to the enhancement of my character.
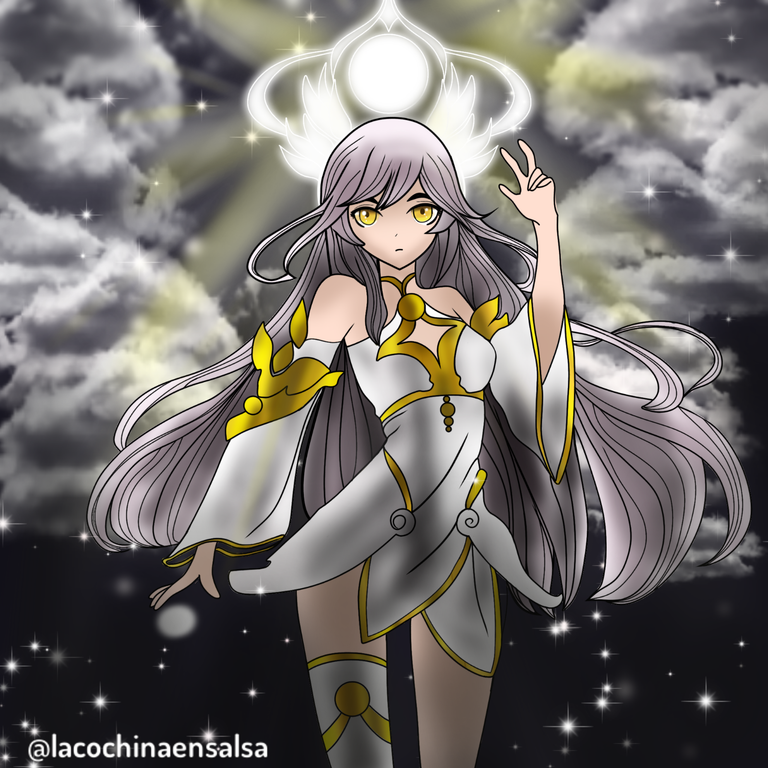
The result, according to my husband, is good. But I don't know, it's like when you feel that something doesn't quite convince you. But I decided to leave it like that, I had a bad headache and I preferred to leave it for peace of mind haha. I love the scene, the Healer and her light, slide through the dense night and her gaze captures us. I really liked the composition. It reminds me of my favorite Mortal Kombat character, Ashra.
Beyond that, I took the opportunity to practice with the illustration an effect that I am learning, I saw Mental Canvas and I fell in love haha. Although the availability of resources took me to the first shores of Prisma 3D. The effect is quite similar and I can do it from my devices.
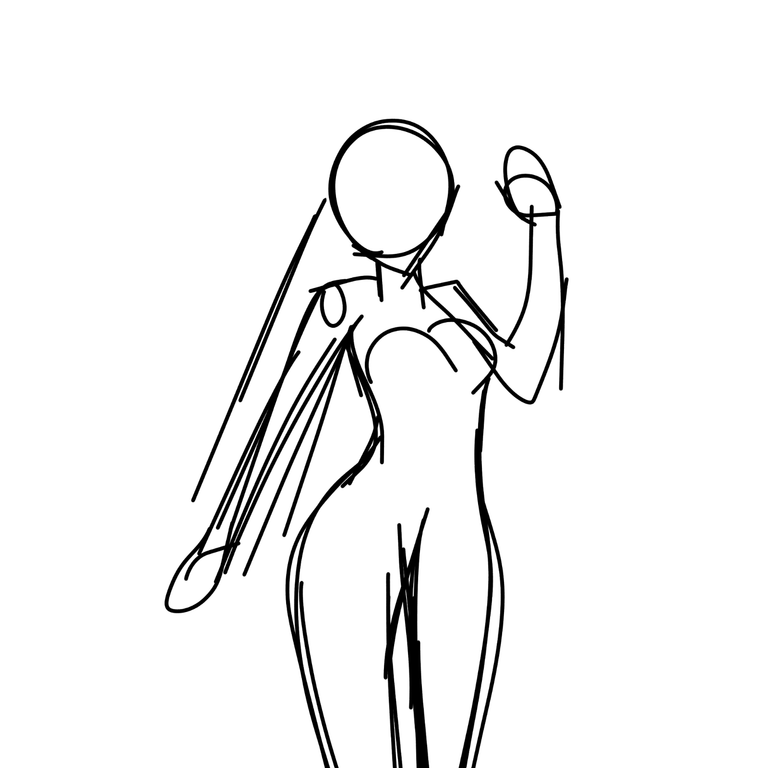
Let's quickly see Drawing process:
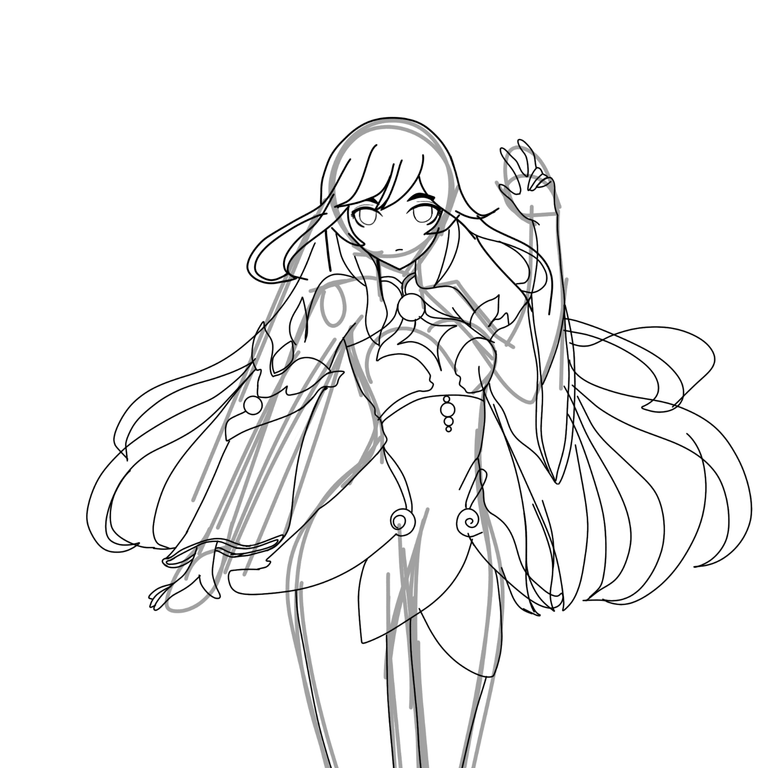
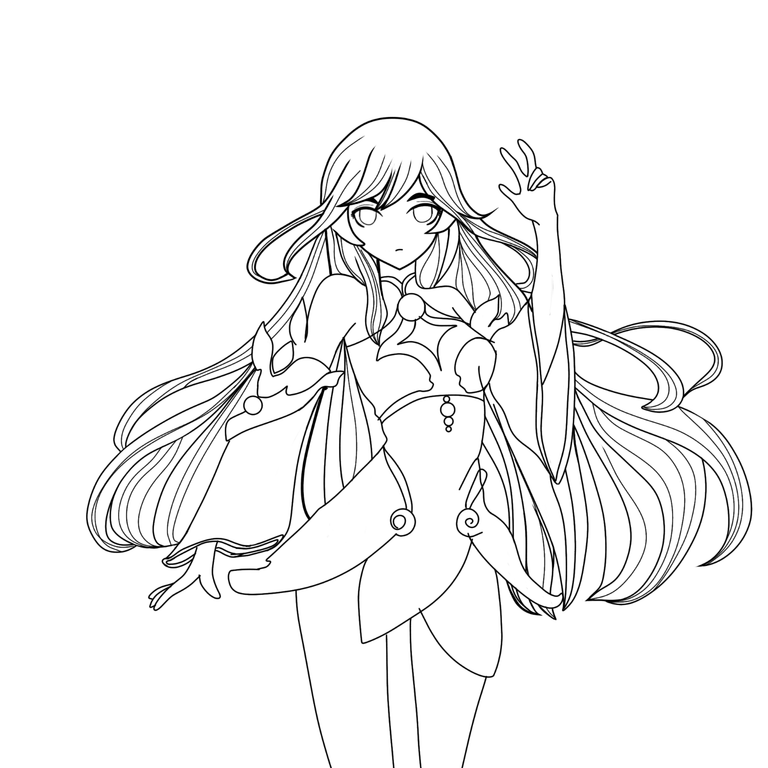
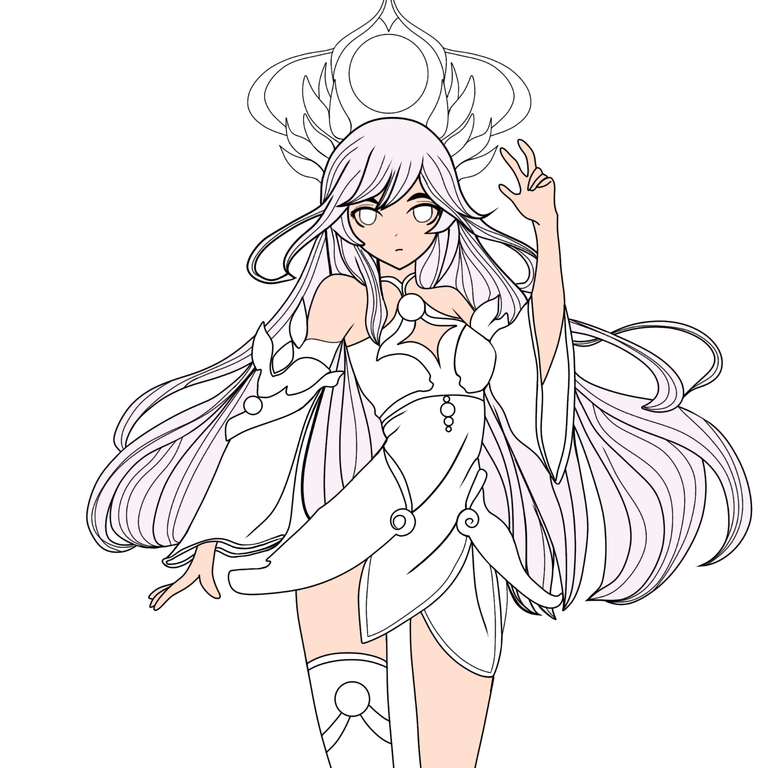
I started with a quick sketch, at this point I didn't have the slightest idea of what I would like the background to look like. Many of the things I draw flow as I go along, sometimes I like it and sometimes I get confused haha. But then I moved on to an outline accompanied by cleaning, to erase those strokes that were out of place or that weren't complete.
 |  |  |
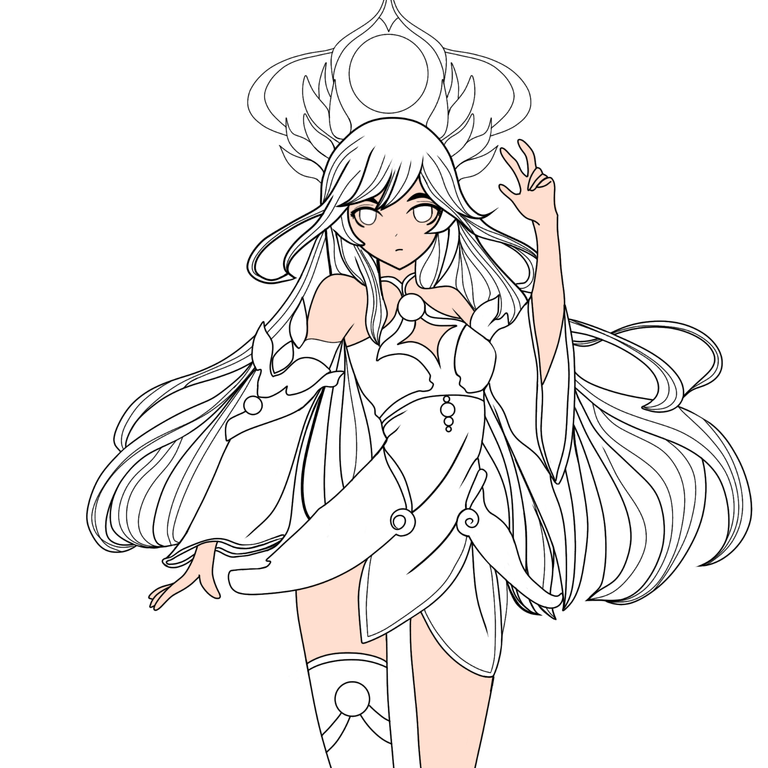
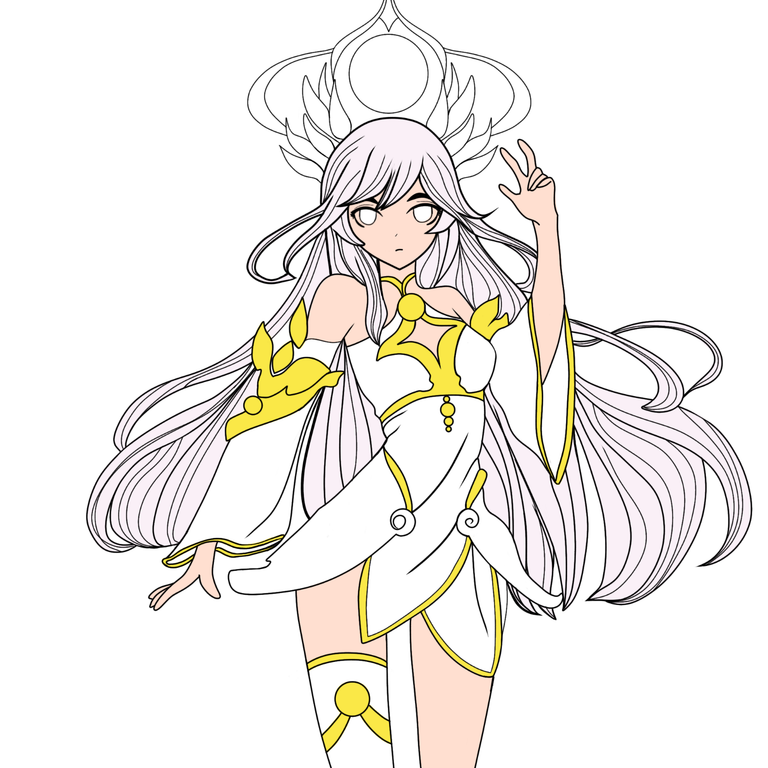
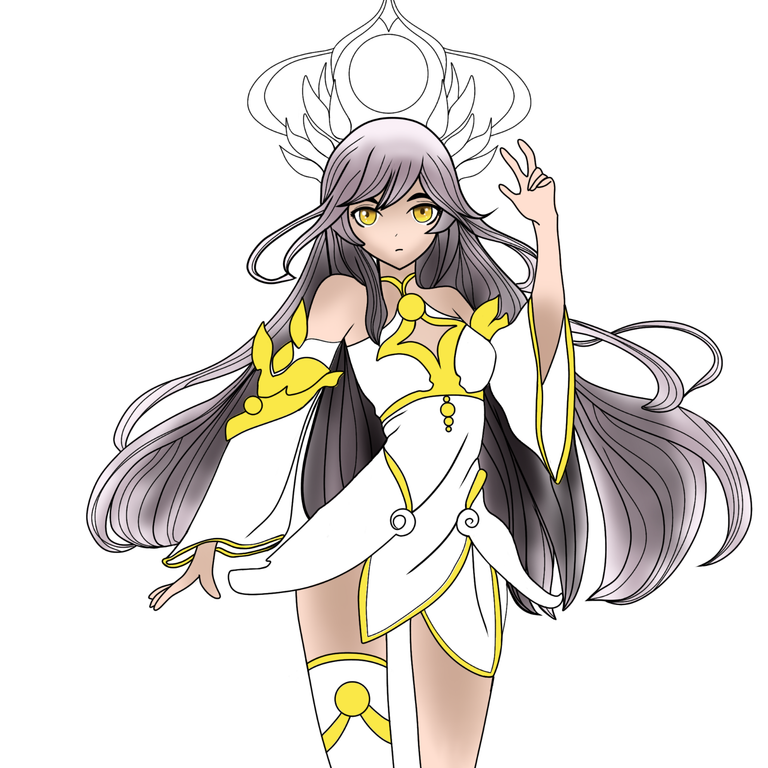
When I've finished the sketch, I move on to coloring. I place the base colors. For this, I used a palette very similar to the Healer of Light, original art. For the coloring I used the paint bucket, to make this step easier.
 |  |  |
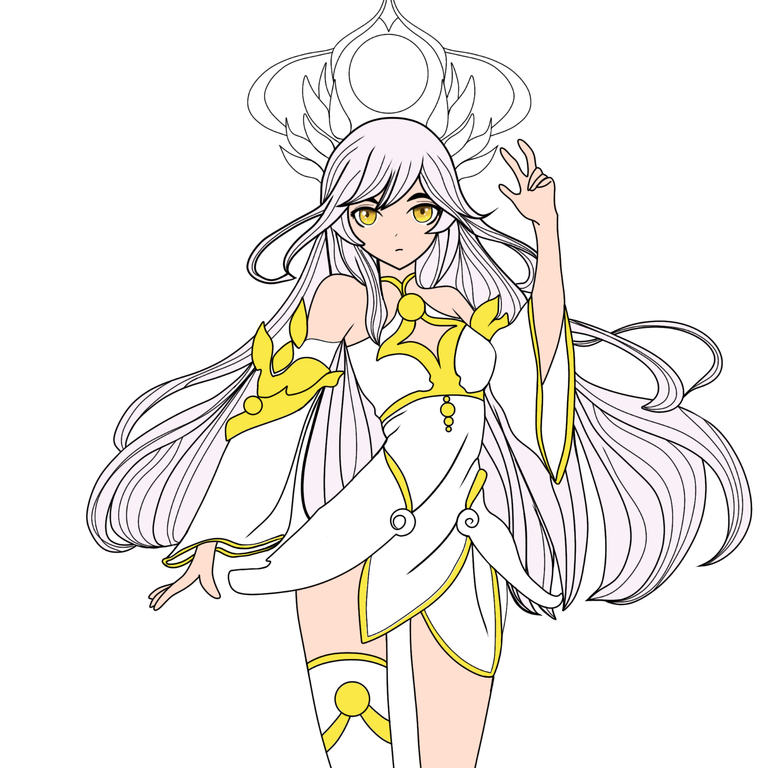
Then, I moved on to a stage of light and shadow. Now that I think about it, I would have used softer shadows. For this stage I used an airbrush and a blender. Some layers like luminosity and soft light, accompanied by a Gaussian effect.
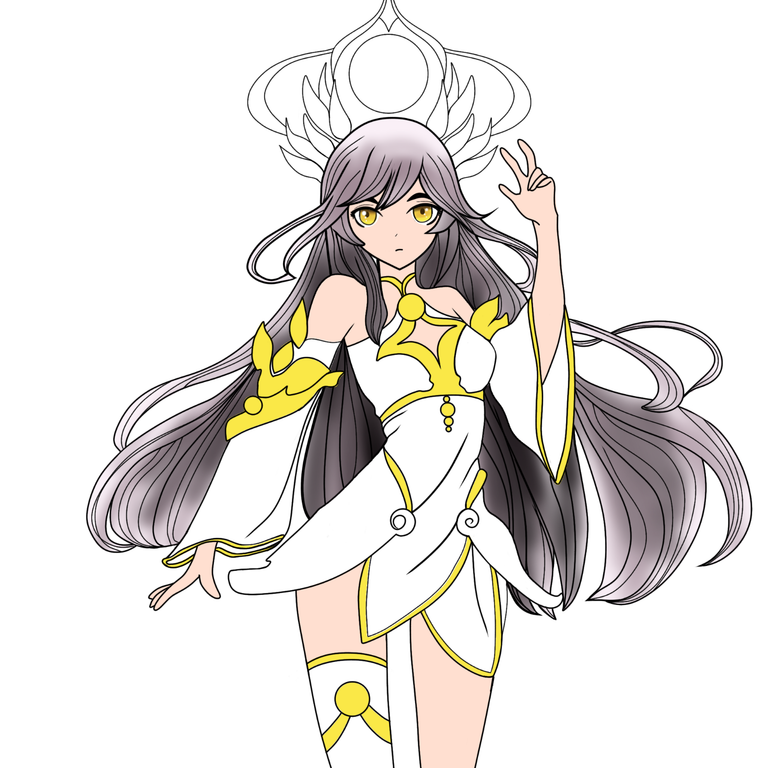 |  | 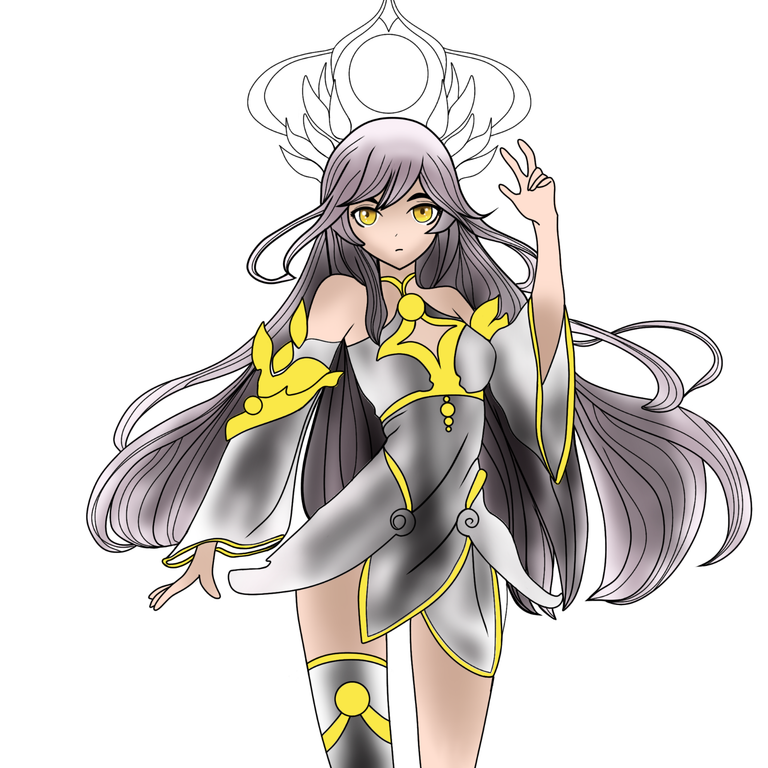 |
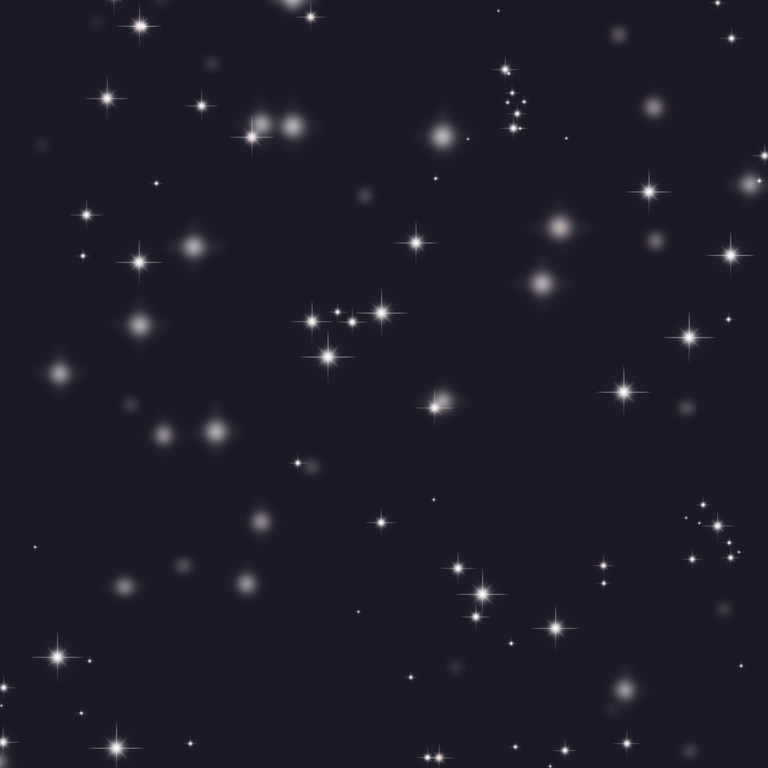
With my character ready, I moved on to work on the background. I used a dark color, then a clipping mask so I could add touches with a brush called "stars." On a separate layer I made the clouds.
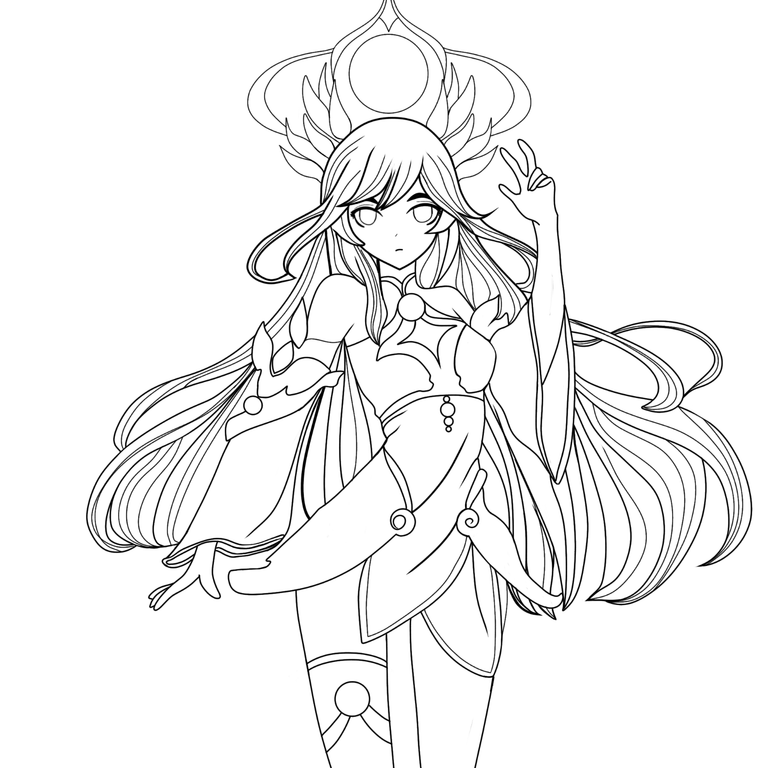
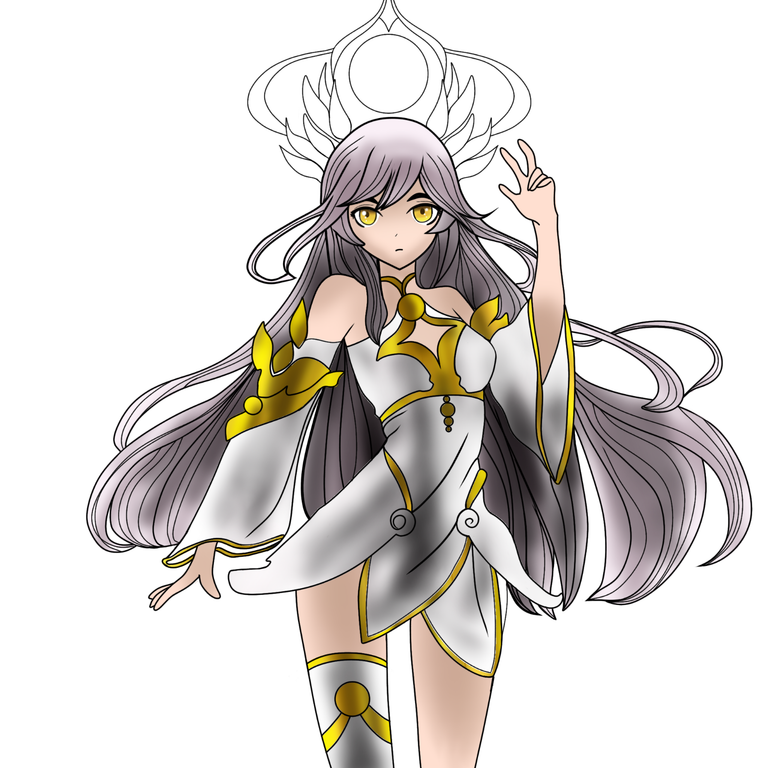
I forgot, the top part, which is a floating crown type, I gave it a yellow base and the sphere in white and then I turned a top layer into luminosity.
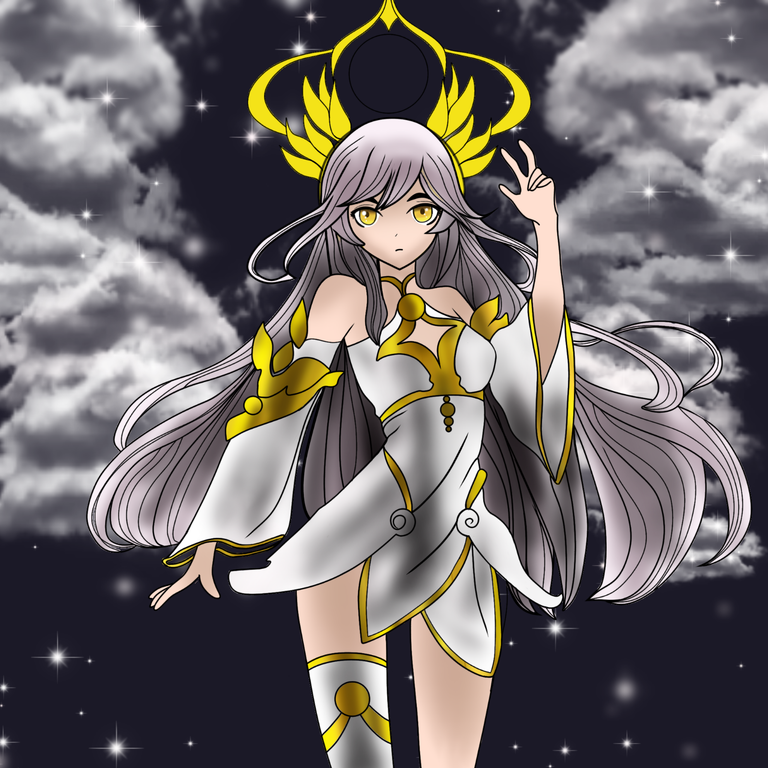
Finished illustration:
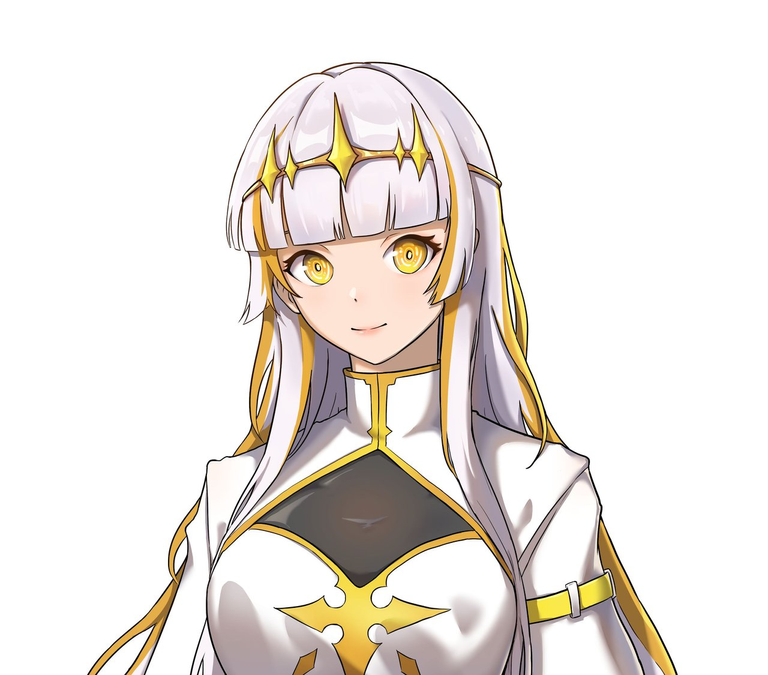 |  |
Original art by Holozing / FanArt
Drawing Program: HiPaint.
Translation: Google Translator.
Texts, photographs, screenshots and editions of my authorship/original content.