Hello, How are you? I am back with another piece of fan art, but this time, my subject is Light Healer. I hope you like it. :D
The Process:
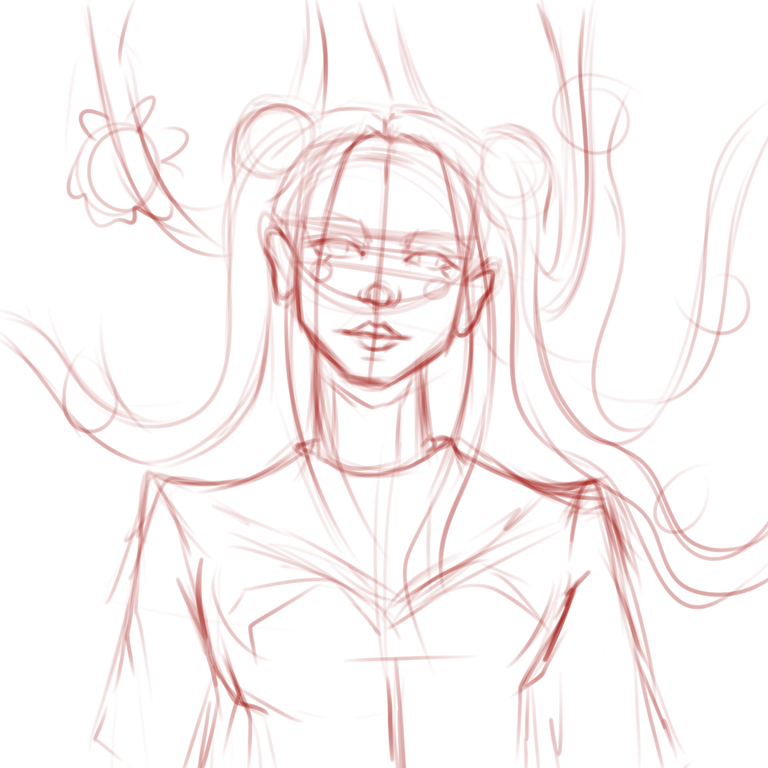
For the sketch, it took me only one layer before I drew the line art, which is a good sign for me sometimes when it takes me three layers before I achieve the sketch I want. It is just me correcting the proportions. I used the marker details on this part and light pressure to sketch my subject.
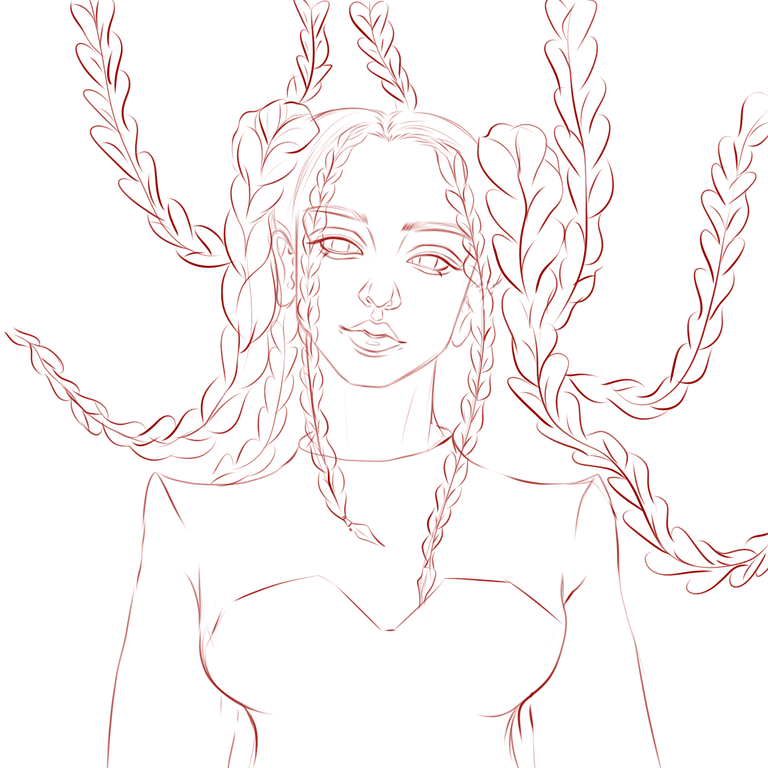
This is what it looks like when the line art is final.
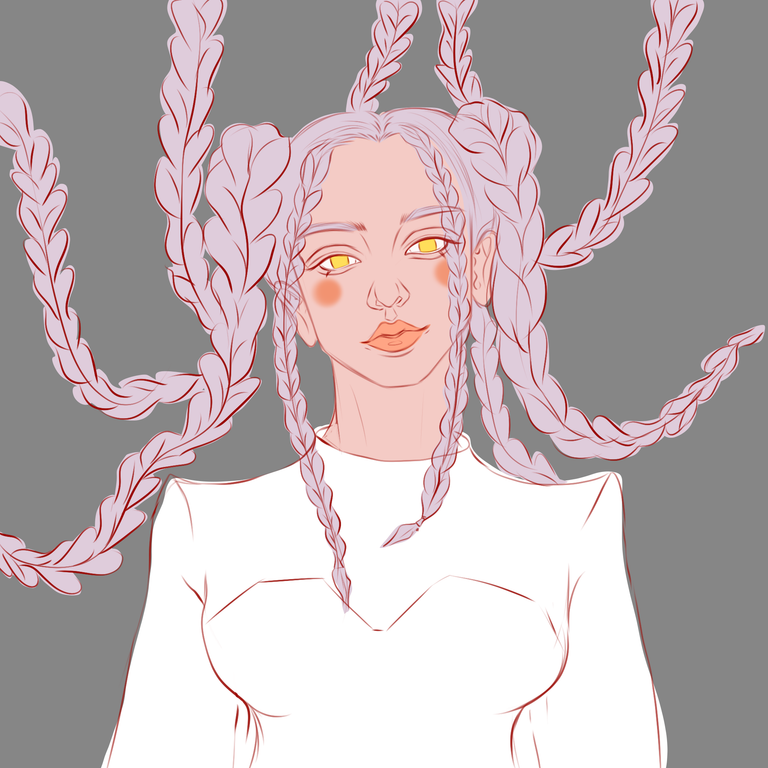
Now that the line art is done, the next thing I am going to do is add the base color of each part with its layer to make it easier to render later. I used a shape-fill brush to make it easier to color each part. Because her clothes were white, I darkened the background so that it was easier to see.
Now that the base colors are added, It is time to render the part that needs to be rendered. The first part I render is the skin I added the place where the shadow needed to be placed and then I added highlights of yellow on her hair because that is what is in the original character.
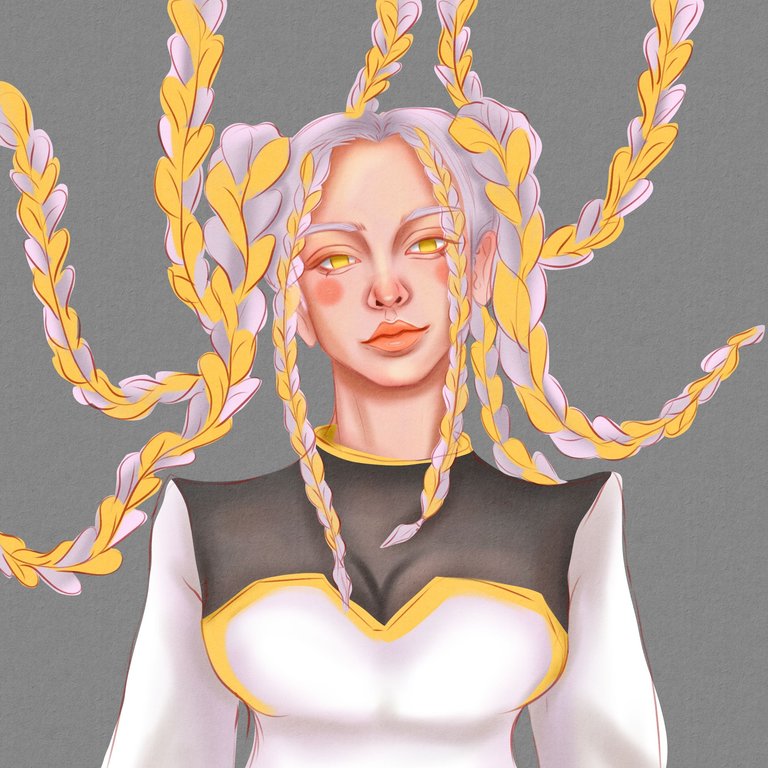
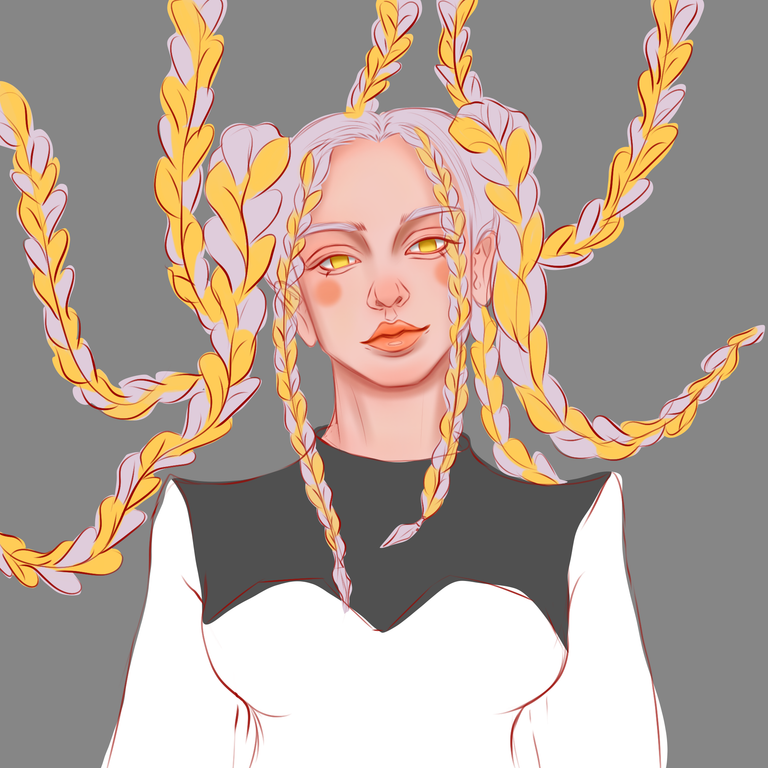
After adding the base render, I then add texture to the canvas what I do is I add a fill layer and then choose the default paper pattern after that I set the blending mode to soft light and for the final step I lower the opacity to 30%, now I have texture canvas. I added more shadow on the hair, eyes, lips, and clothes. By the way, I used an airbrush soft brush to render.
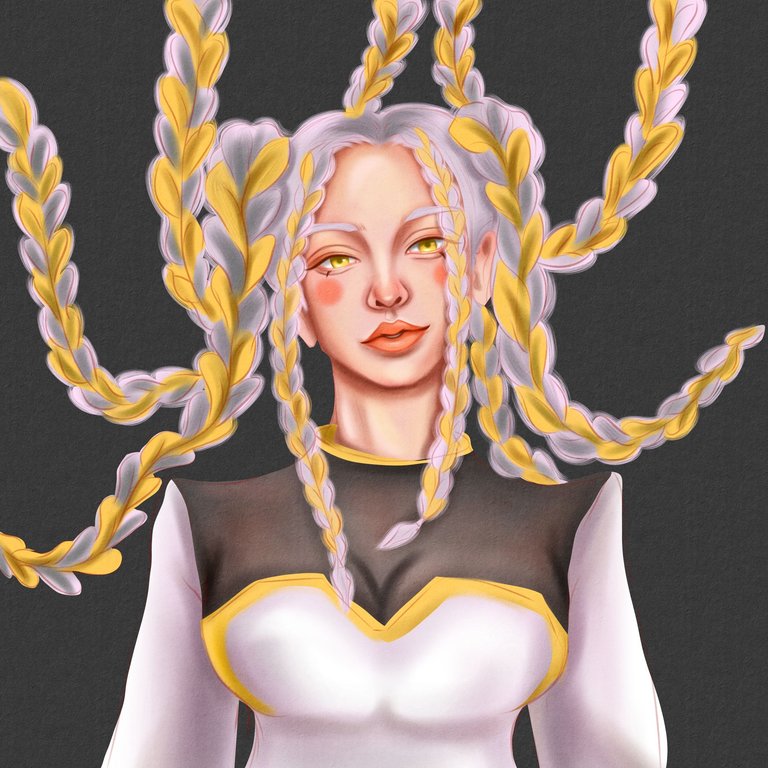
In this next process, I darkened the background more and I instantly saw a lot of difference the subject popped out more, and then I started to render in detail the hair I used a rake bristle dry brush to add strands of hair to make it look more realistic.
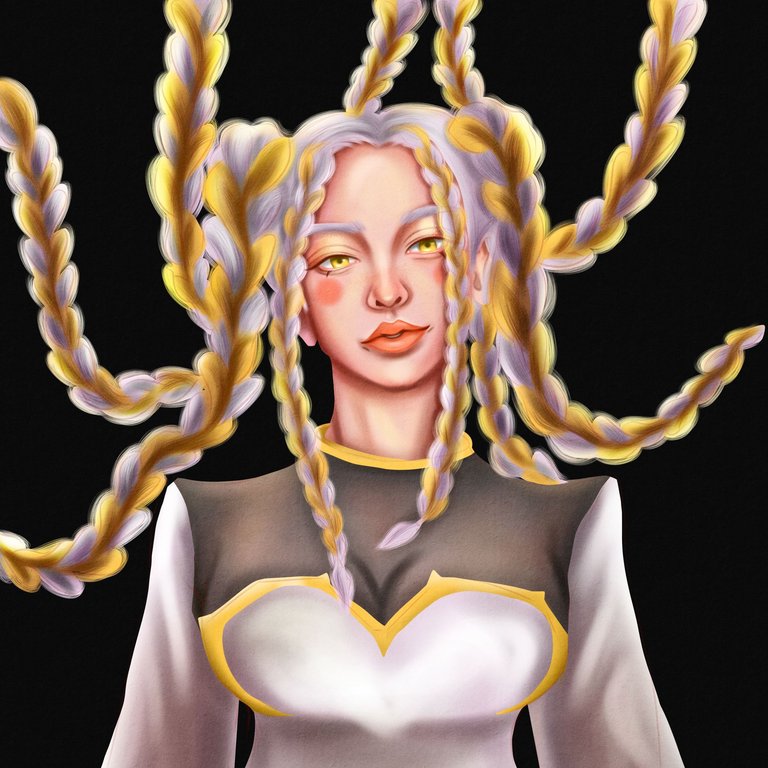
For this process, I completely darkened the background, I am planning to add lighting behind her so that I add more darker shade on her hair and the side of her hair highlights.
For the final process, I added a ring of light that reflects behind her and then I added a halo with rays around it. To add a glow around it I just duplicated that layer and set the blending to addition and then I used the blur filter Gaussian blur, that is how I do the glow.
Thank you for visiting, see you on my next blog. :D
Please take care of your mental health as well.
I hope you are okay today :))
Please take care of your mental health as well.
I hope you are okay today :))
Materials used:
- Graphic Tablet
- Duration: 5 hours
- Krita