
Muy felíz y bendecida noche comunidad Holozing, espero se encuentren bien ya casi llega el fin de semana, quería compartir este post un poco antes pero debido a los cortes de electricidad en mi país se me dificulta, más sin embargo esto no será problema para seguir creando tanto para la comunidad Holozing entre otras.
Very happy and blessed night Holozing community, I hope you are well, the weekend is almost here, I wanted to share this post a little earlier but due to the electricity outages in my country it is difficult for me, however this will not be a problem to continue creating so much for the Holozing community among others.
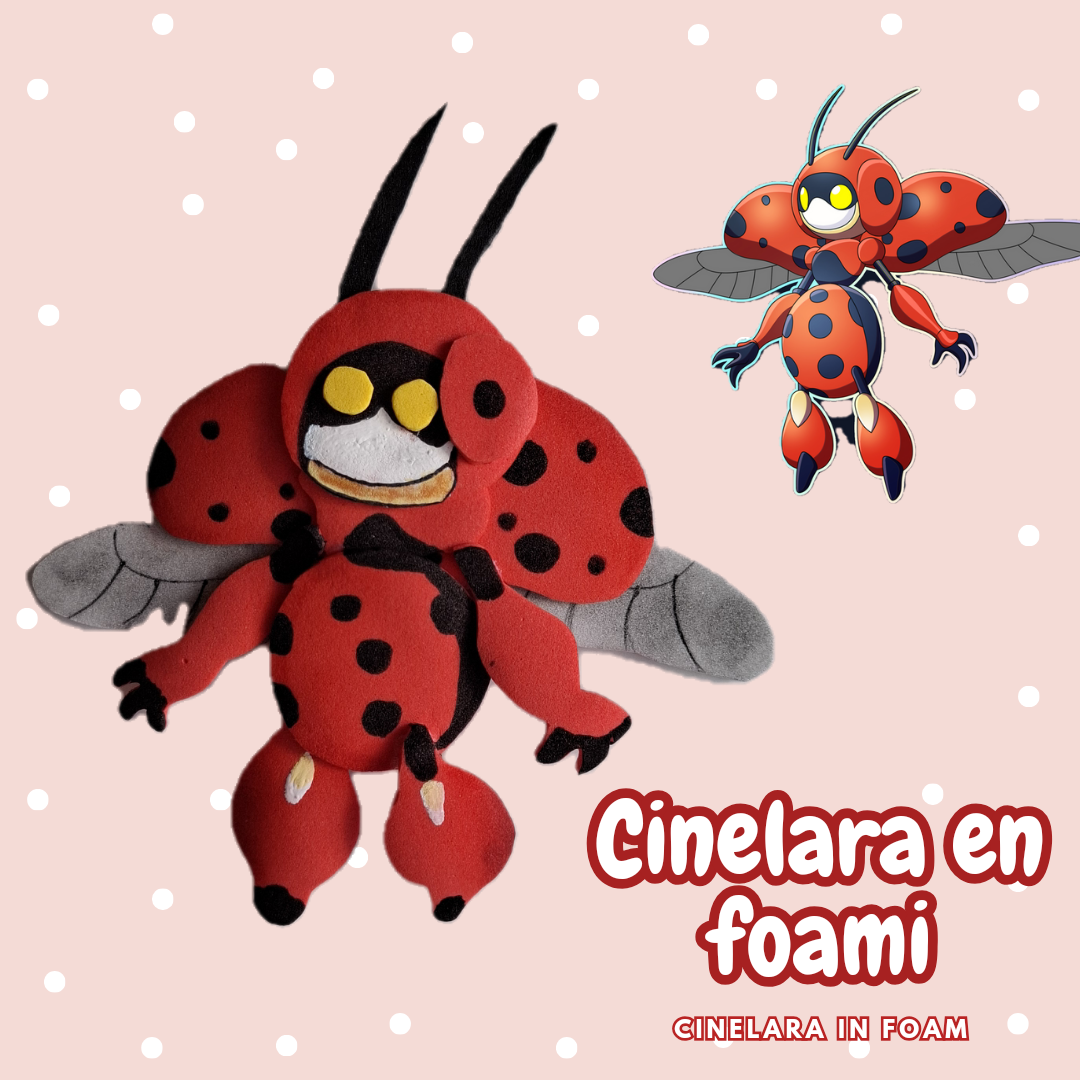
En esta ocasión les quiero compartir como realicé a Cinelara en foami, de forma fácil utilizando pocos materiales, su evolución me parece linda y fuerte, a continuación les muestro el paso a paso.
On this occasion I want to share with you how I made Cinelara in foam, easily using few materials, its evolution seems beautiful and strong, below I show you the step by step.

Materiales:
✅Tijera.
✅Silicón.
✅Palillo.
✅Foami rojo.
✅Foami blanco.
✅Sombra negra.
✅Foami amarillo.
✅Pintura blanca.
✅Marcador negro doble punta.
Materials:
Scissors.
Silicone.
Toothpick.
Red foam.
White foam.
Black shadow.
Yellow foam.
White paint.
Double-ended black marker.
Paso a paso / Step by step
El primer paso se trata de dibujar en papel la la figura completa de Cinelara, luego voy a marcar las partes y cortar cada una para pasarla al foami.
The first step is to draw the complete figure of Cinelara on paper, then I am going to mark the parts and cut each one to transfer it to the foam.
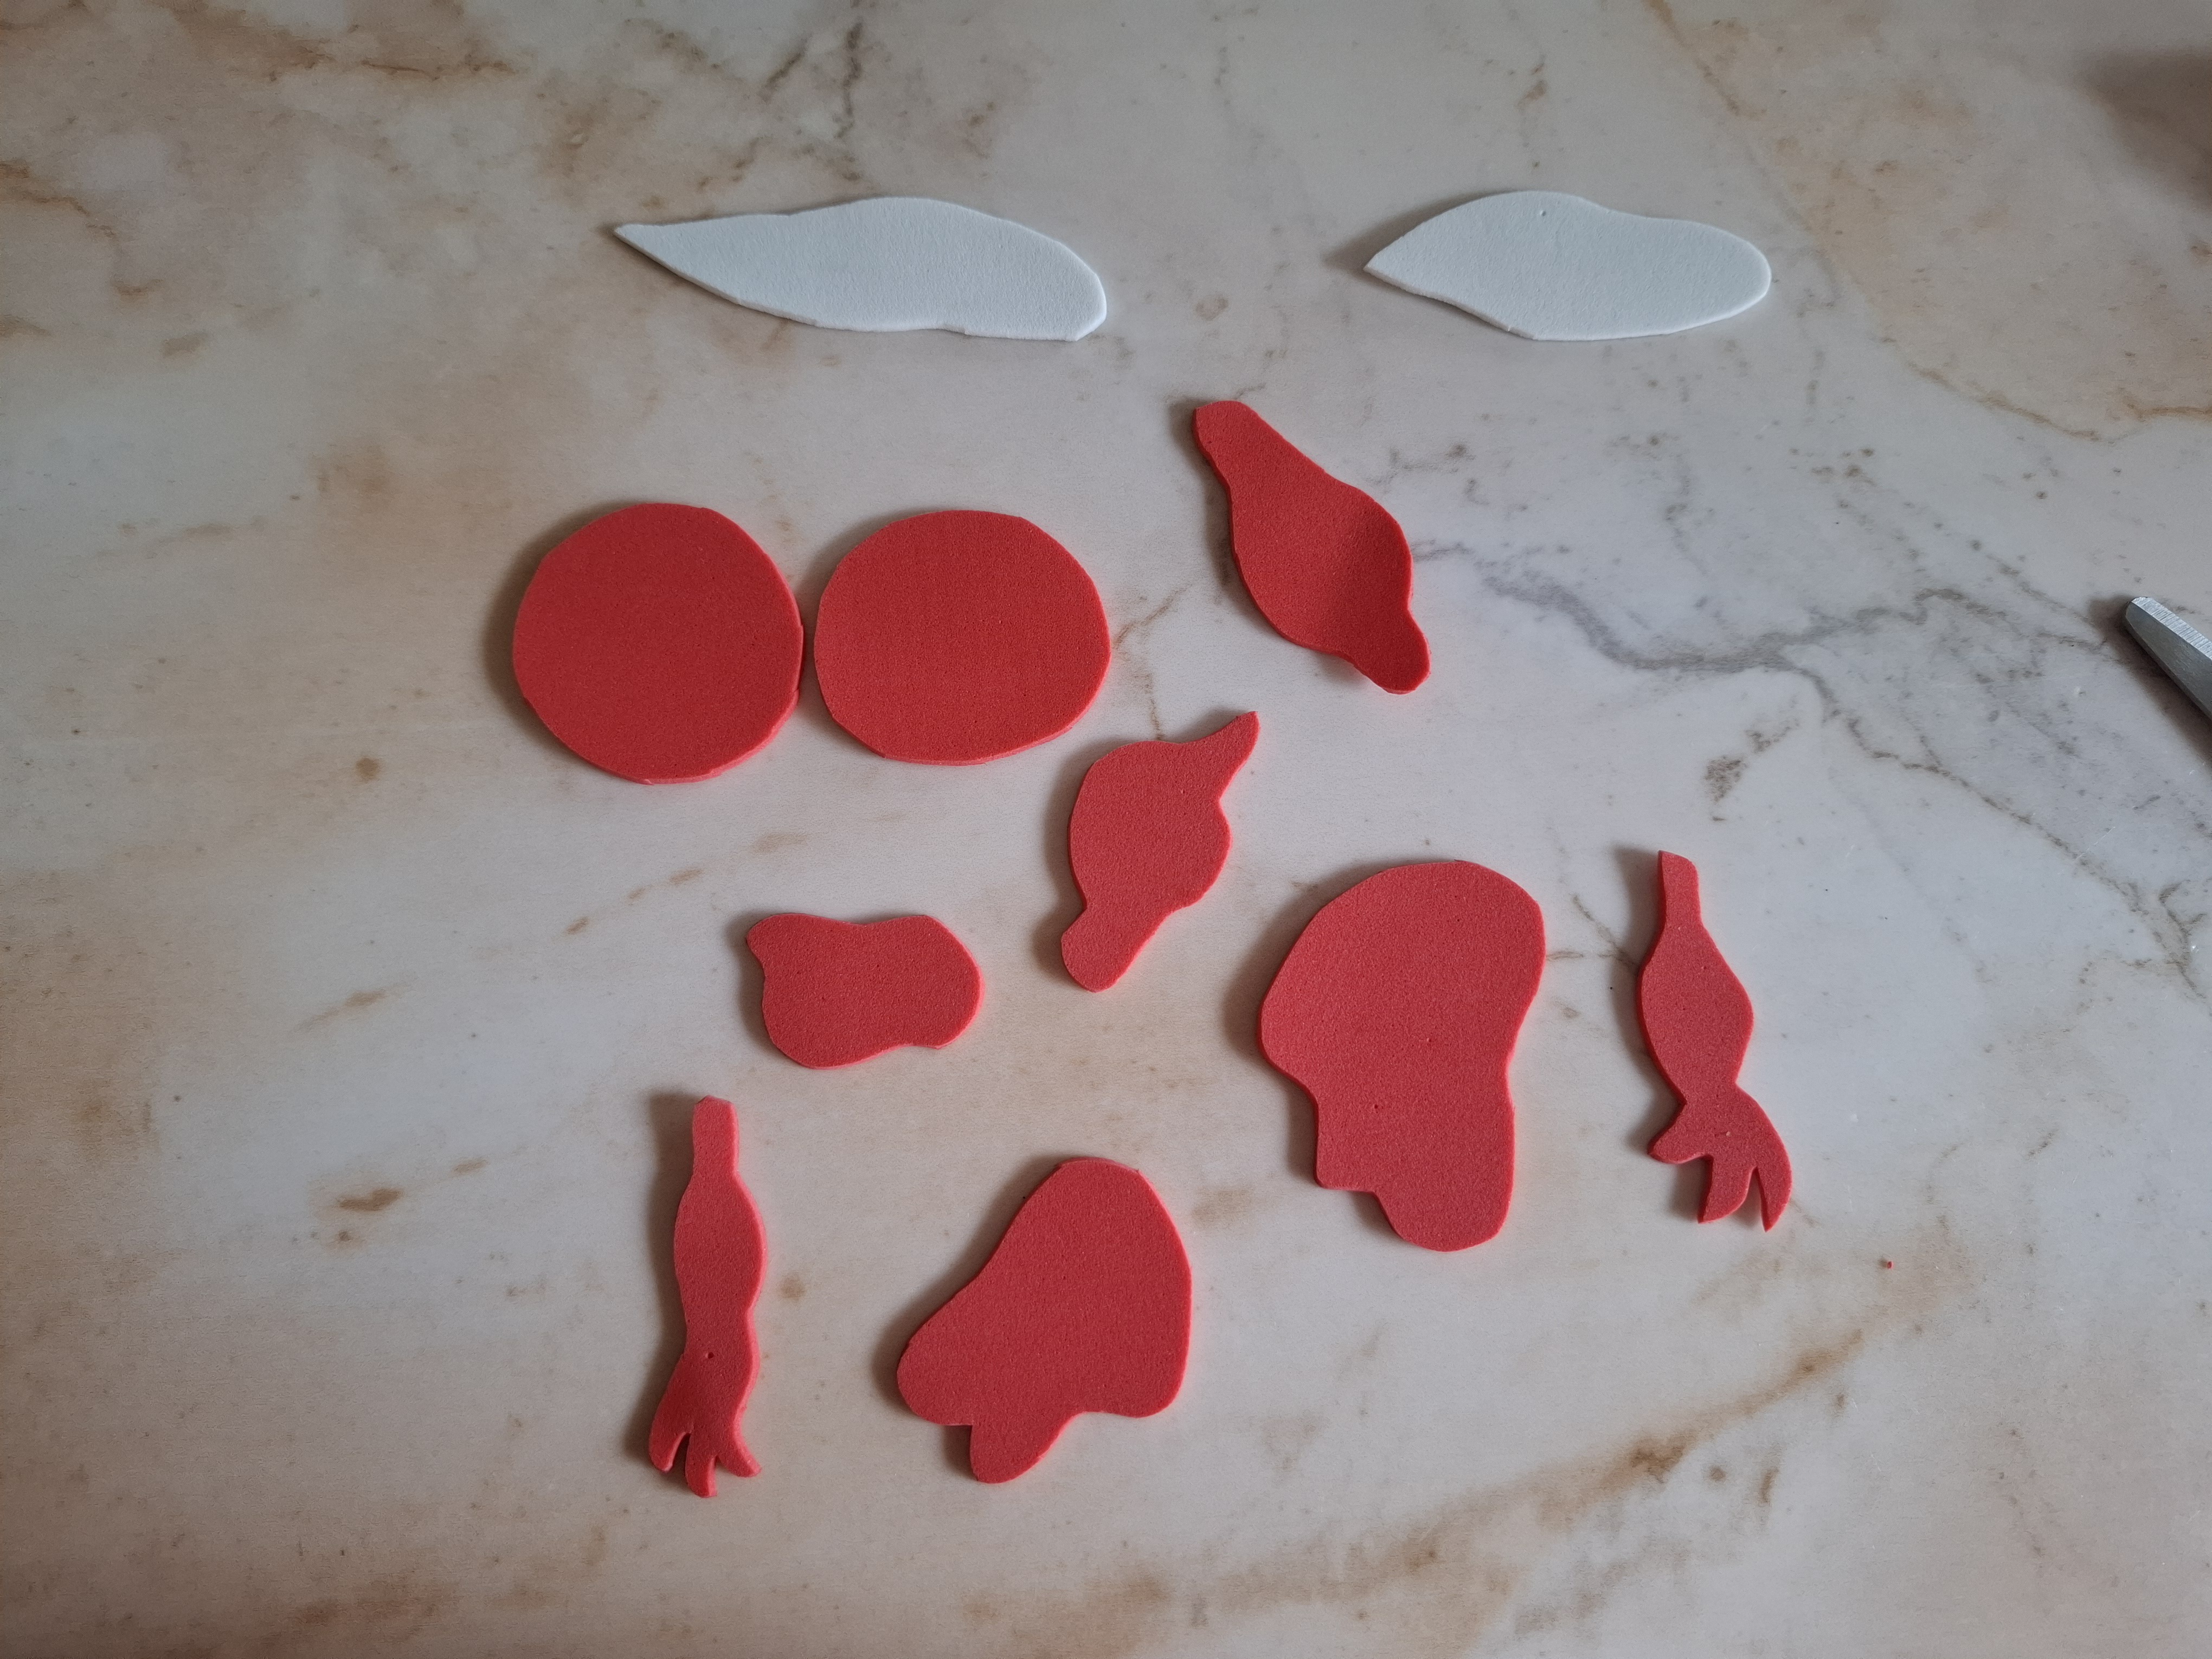
Luego de ubicar en foami rojo la mayor parte de la figura, exepto las alas que las haremos en foami blanco.
After placing most of the figure in red foam, except for the wings, which we will make in white foam.
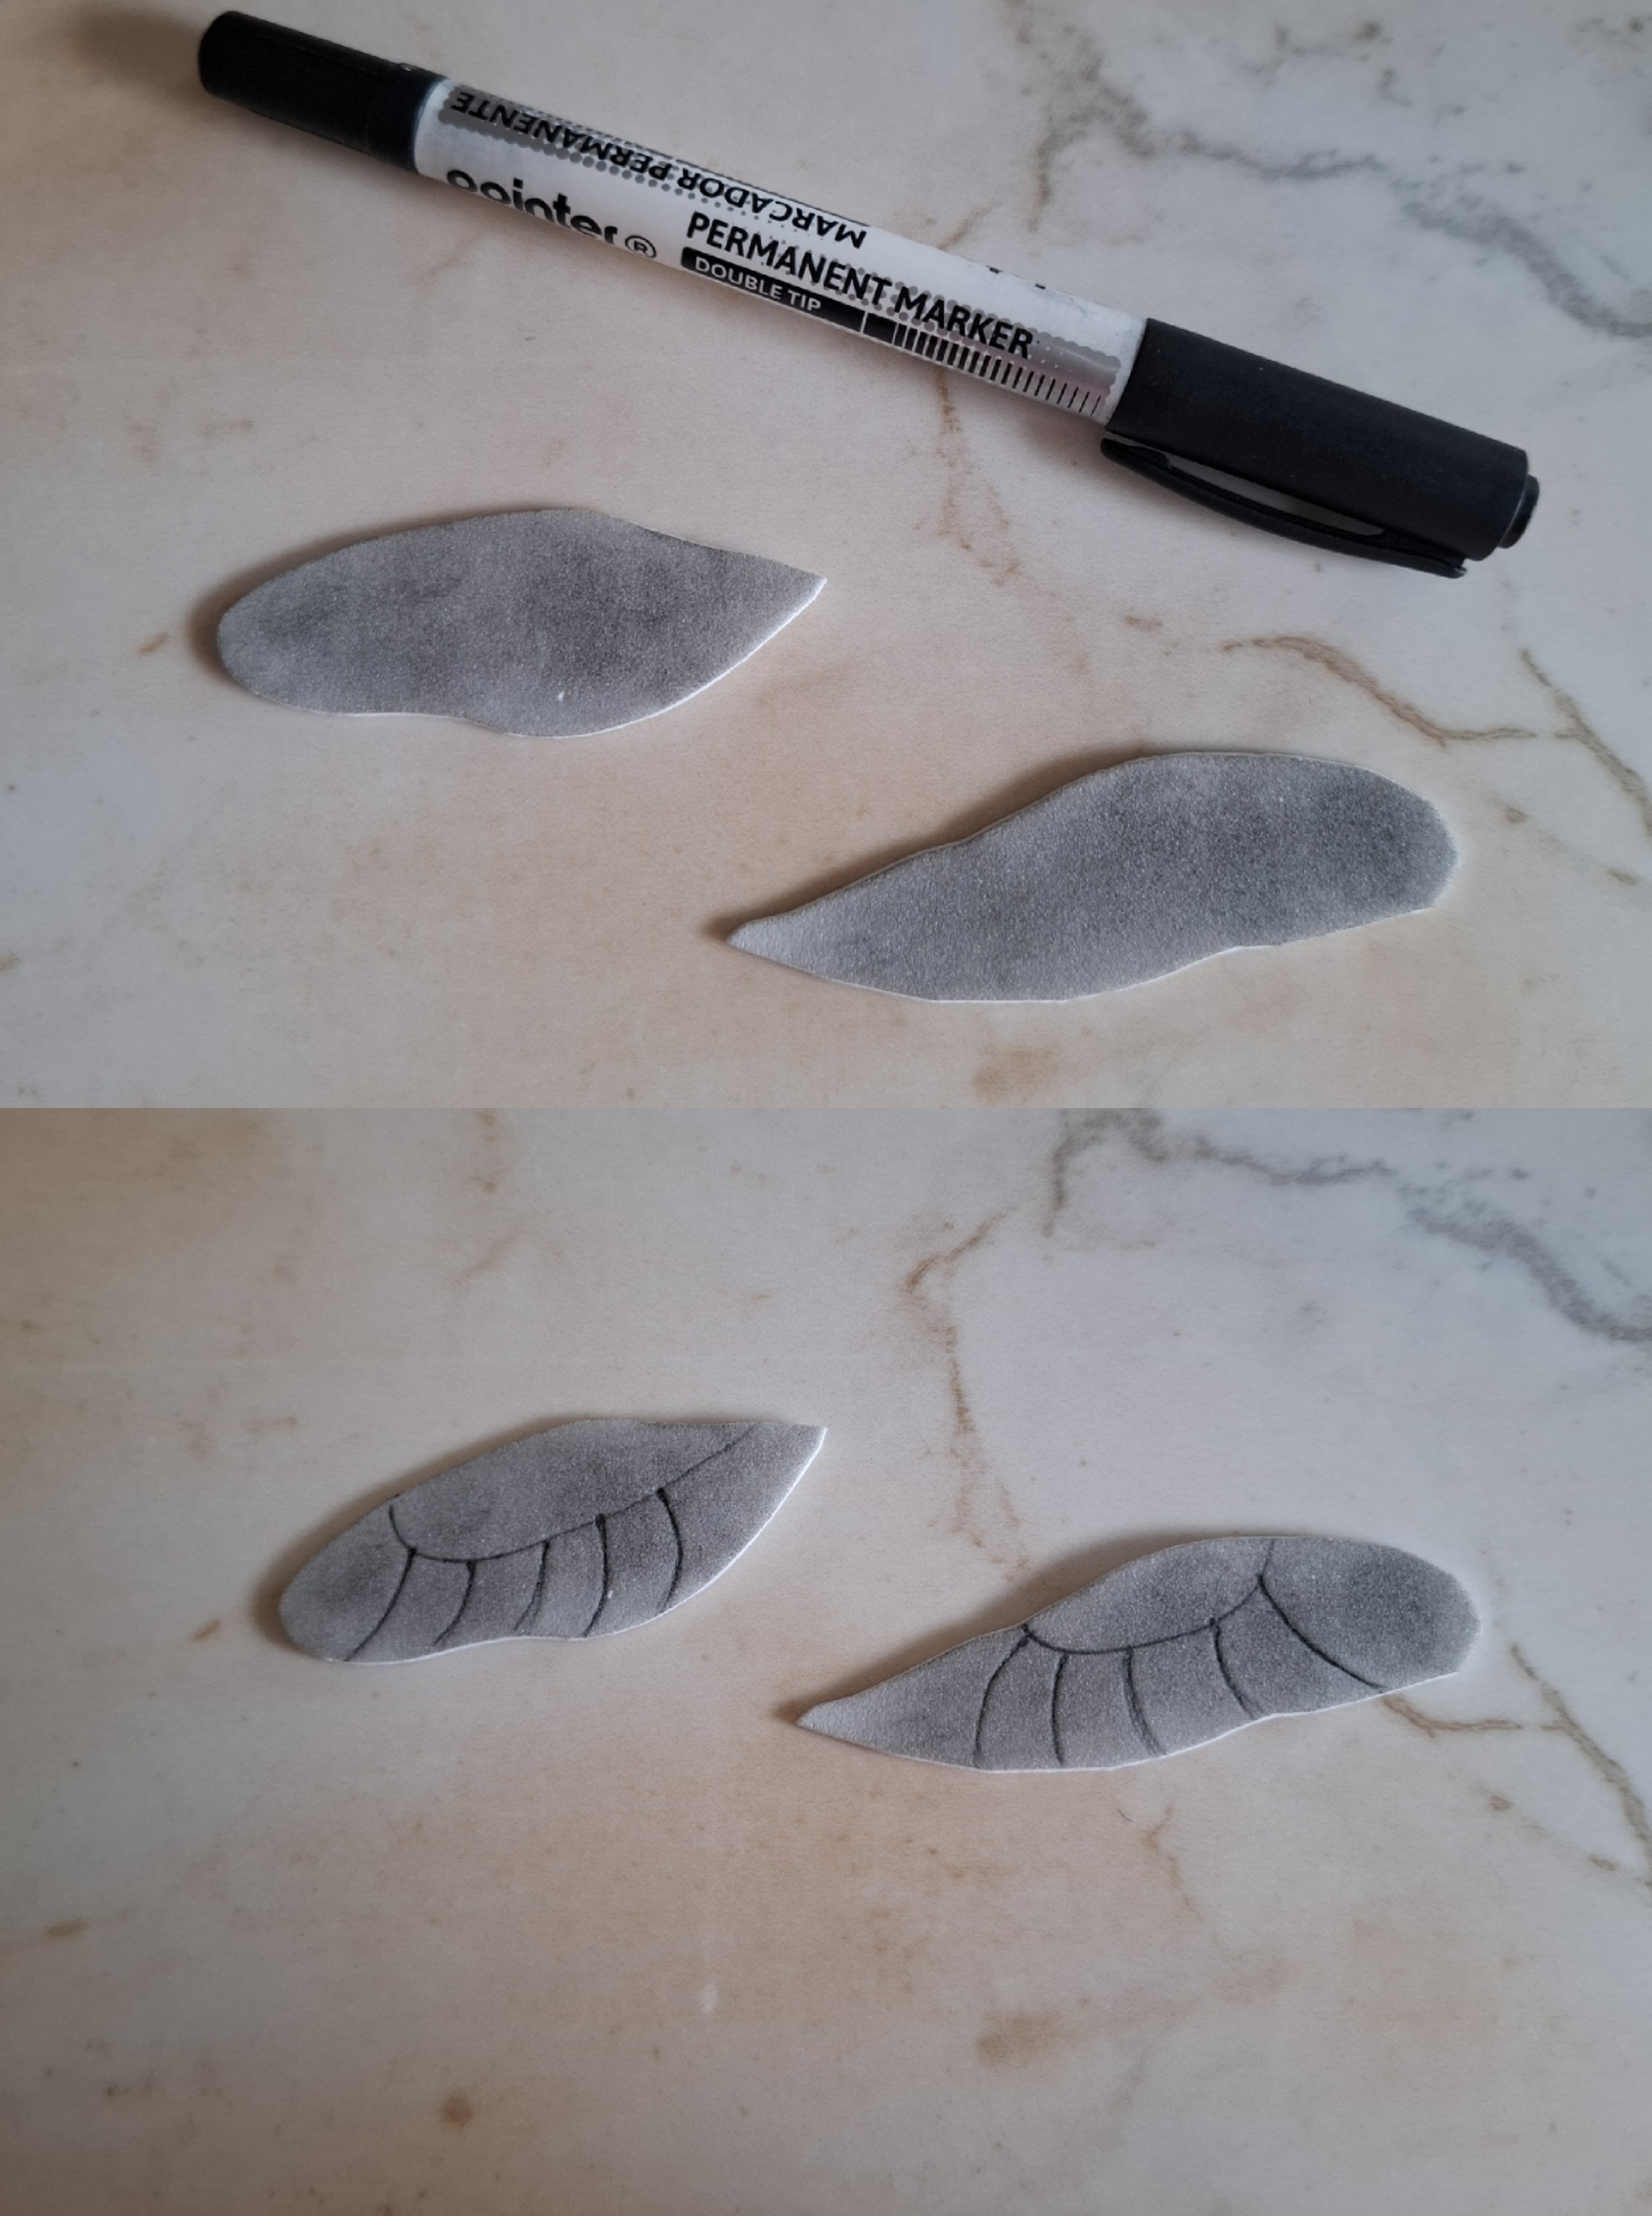

Voy aplicar sombra negra al foami, la idea es difuminar bien para dar el tono gris, si no tienes este color de foami es una buena alternativa, también voy a marcar las líneas con un marcador punta extra fina.
I am going to apply black shadow to the foam, the idea is to blend well to give the gray tone, if you do not have this color of foam it is a good alternative, I am also going to mark the lines with an extra fine tip marker.
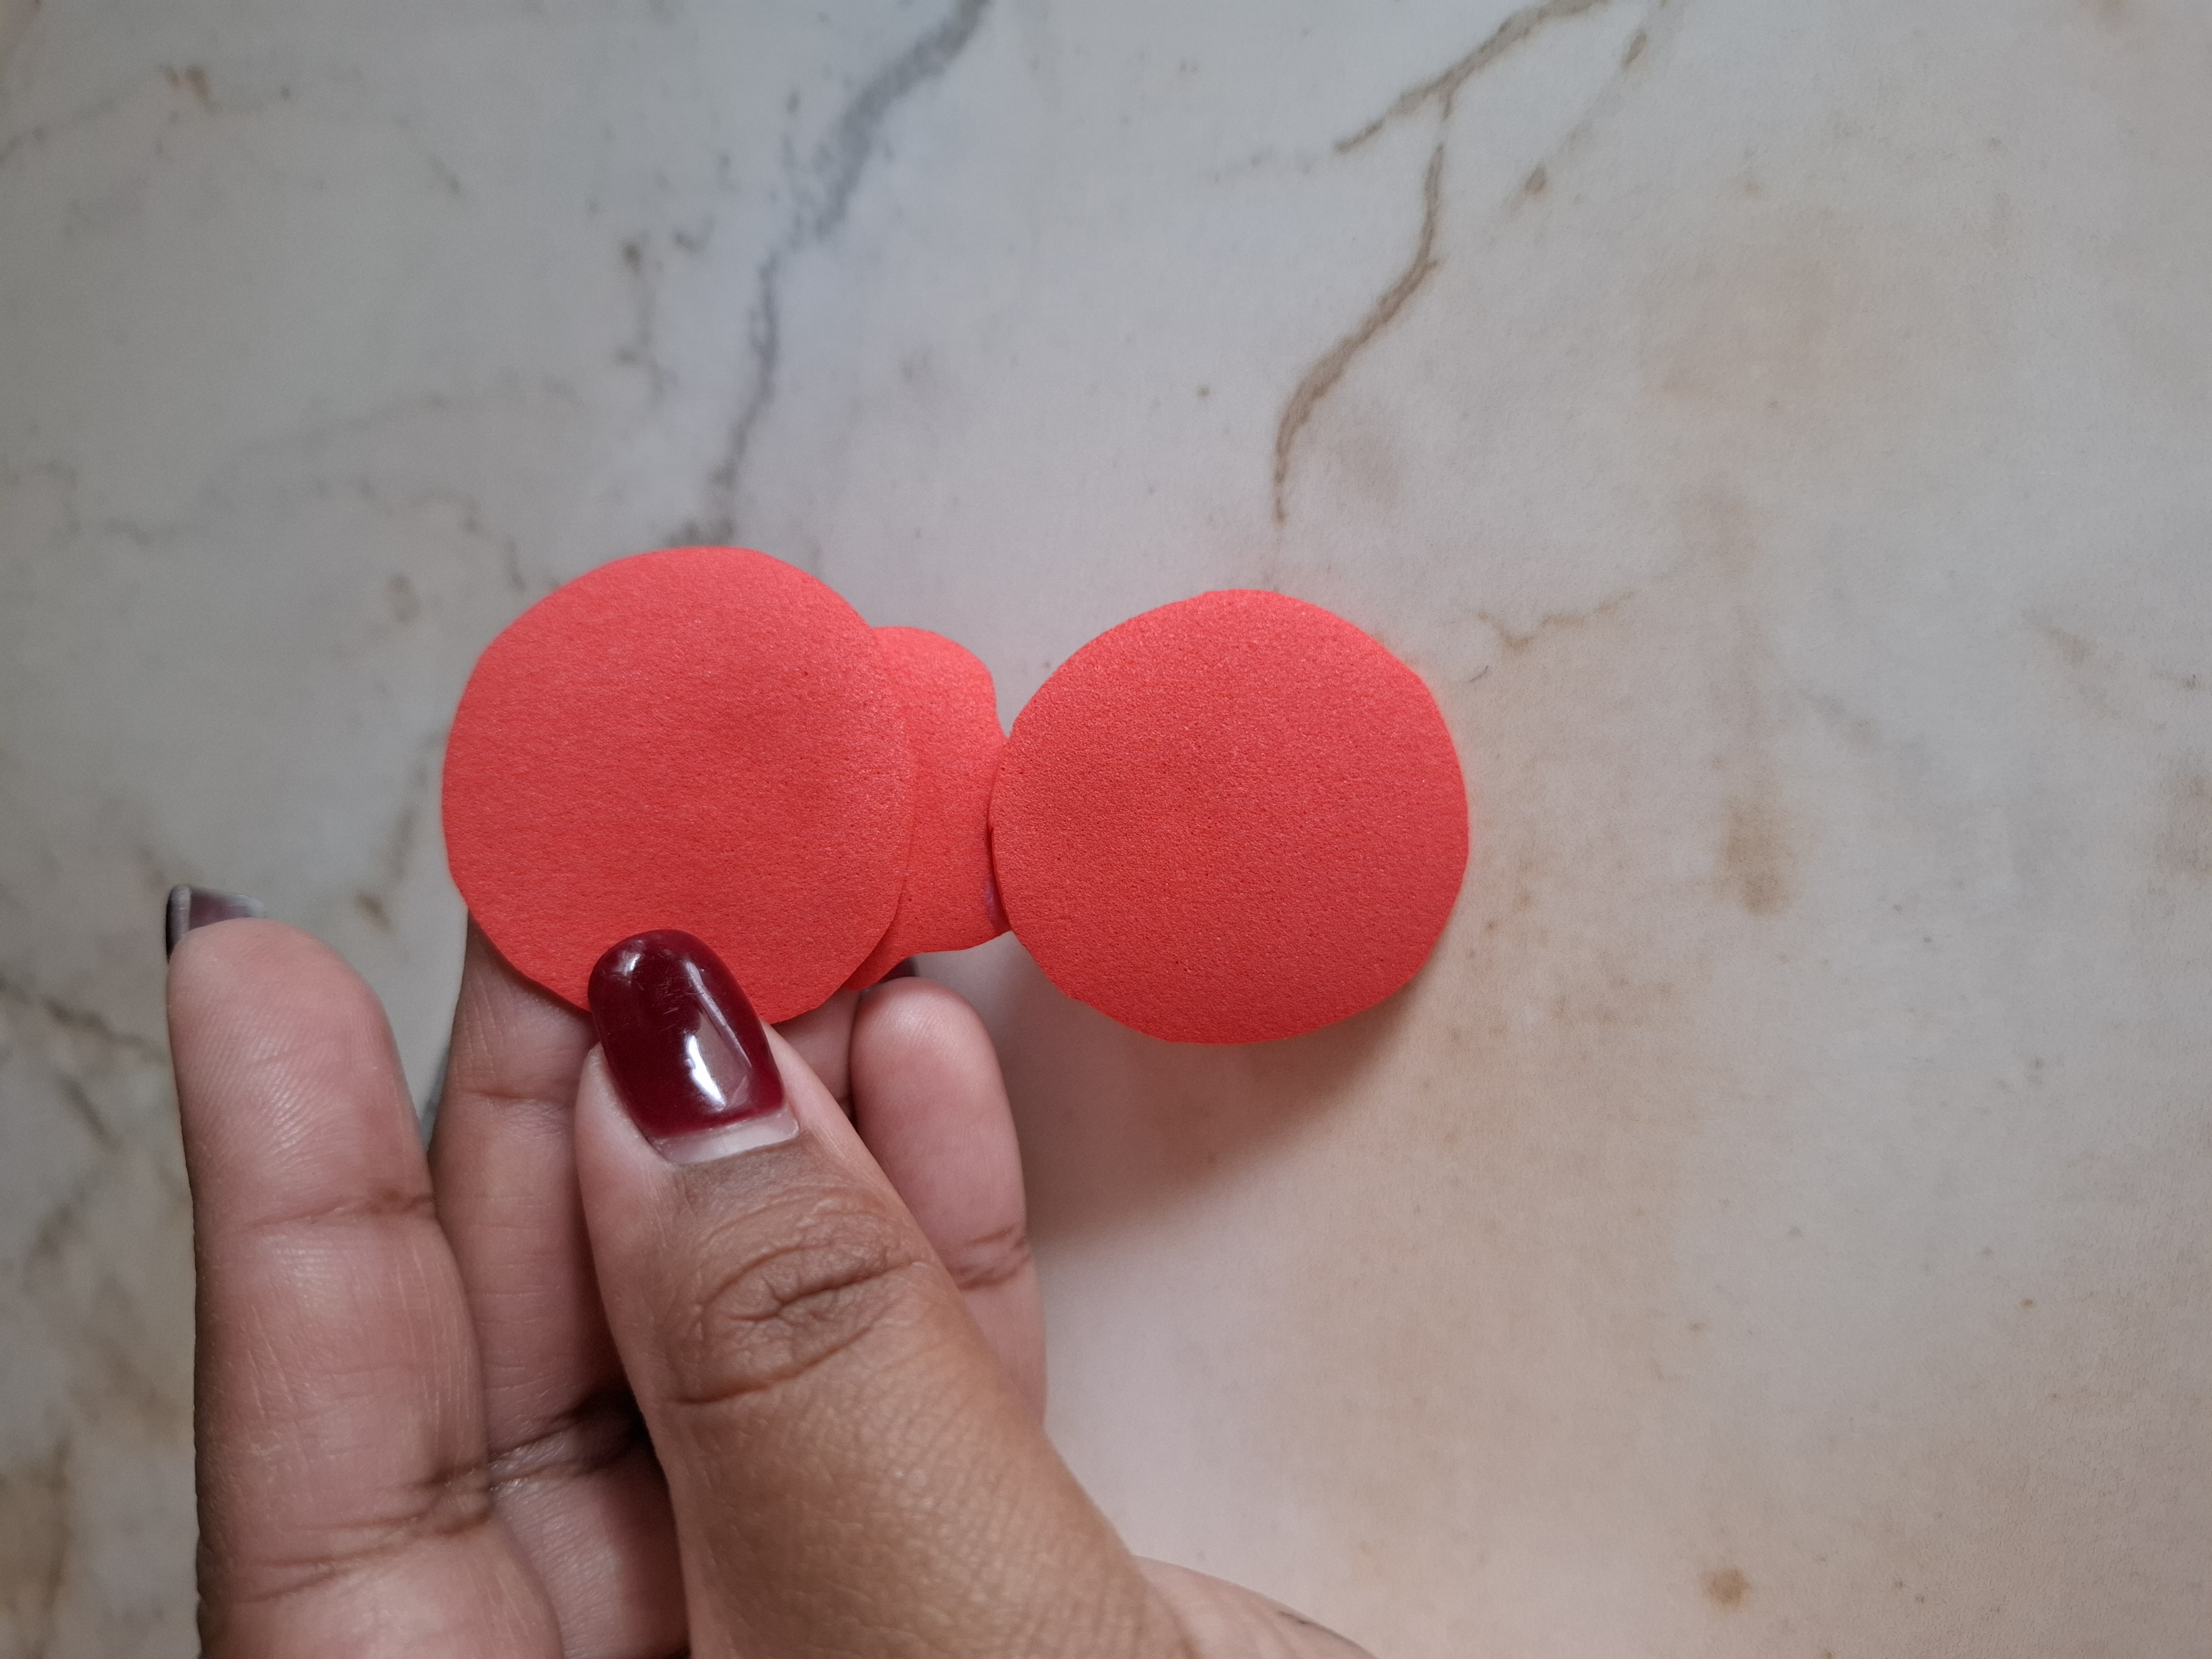

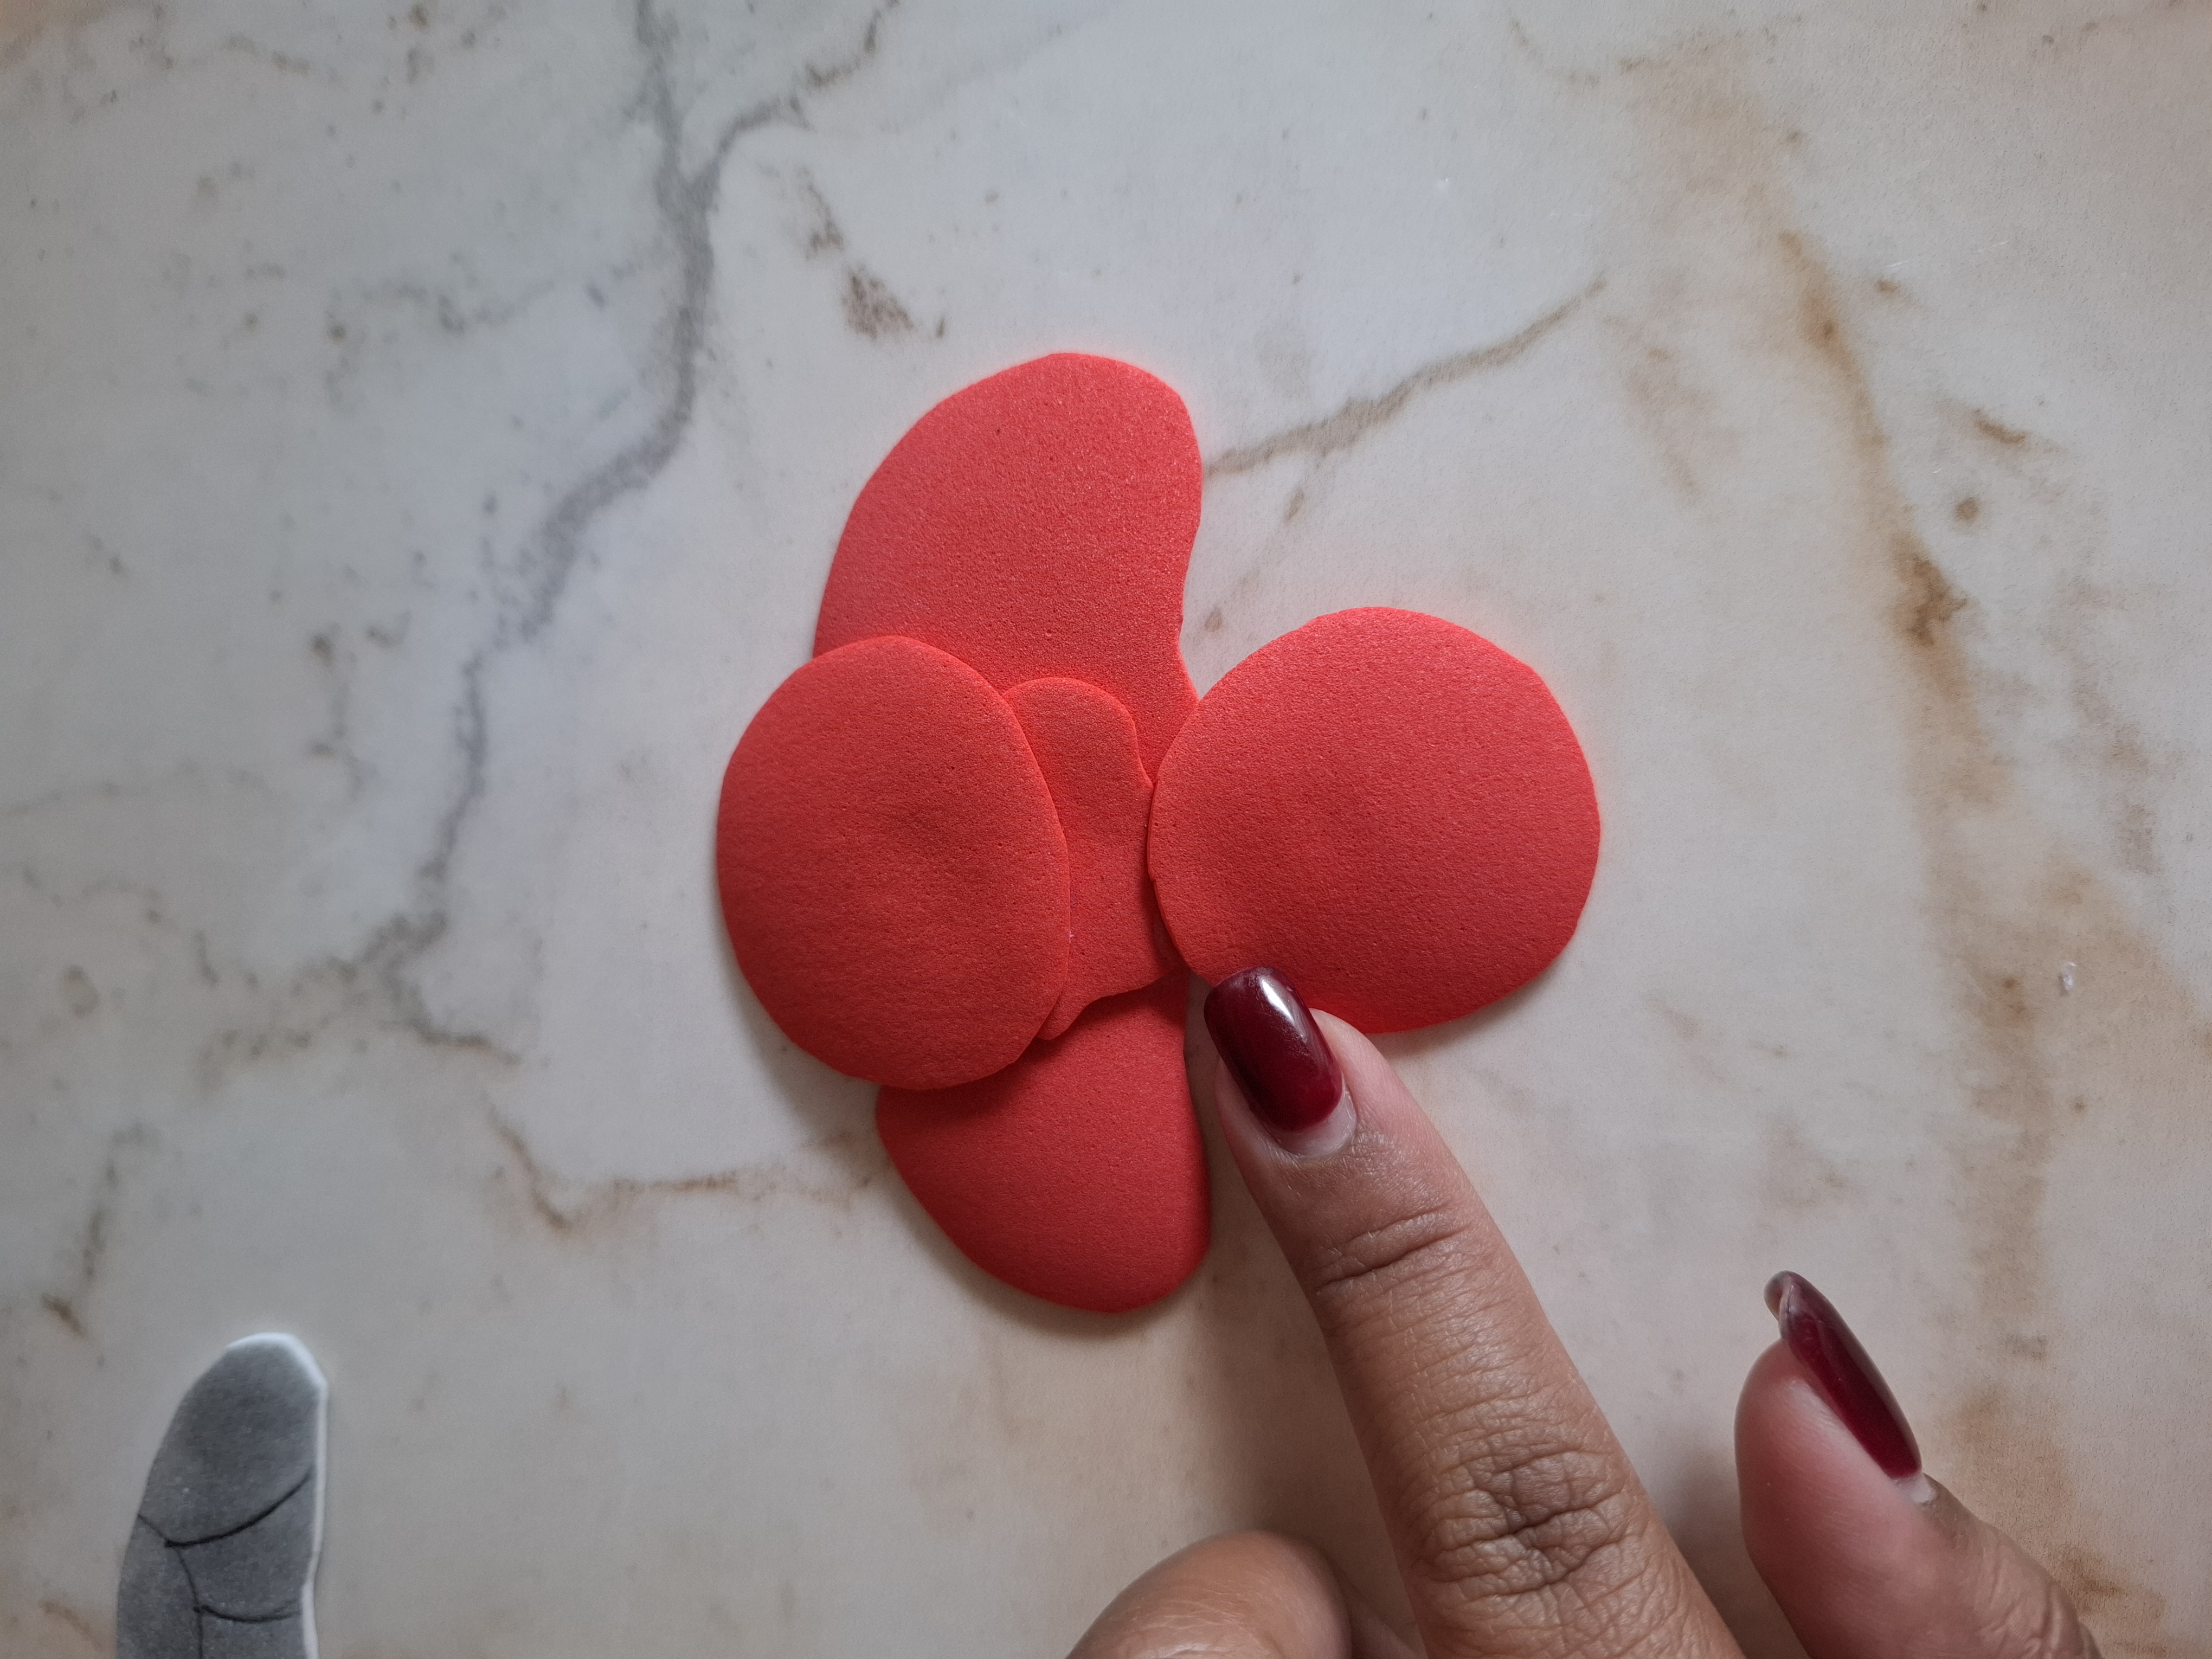
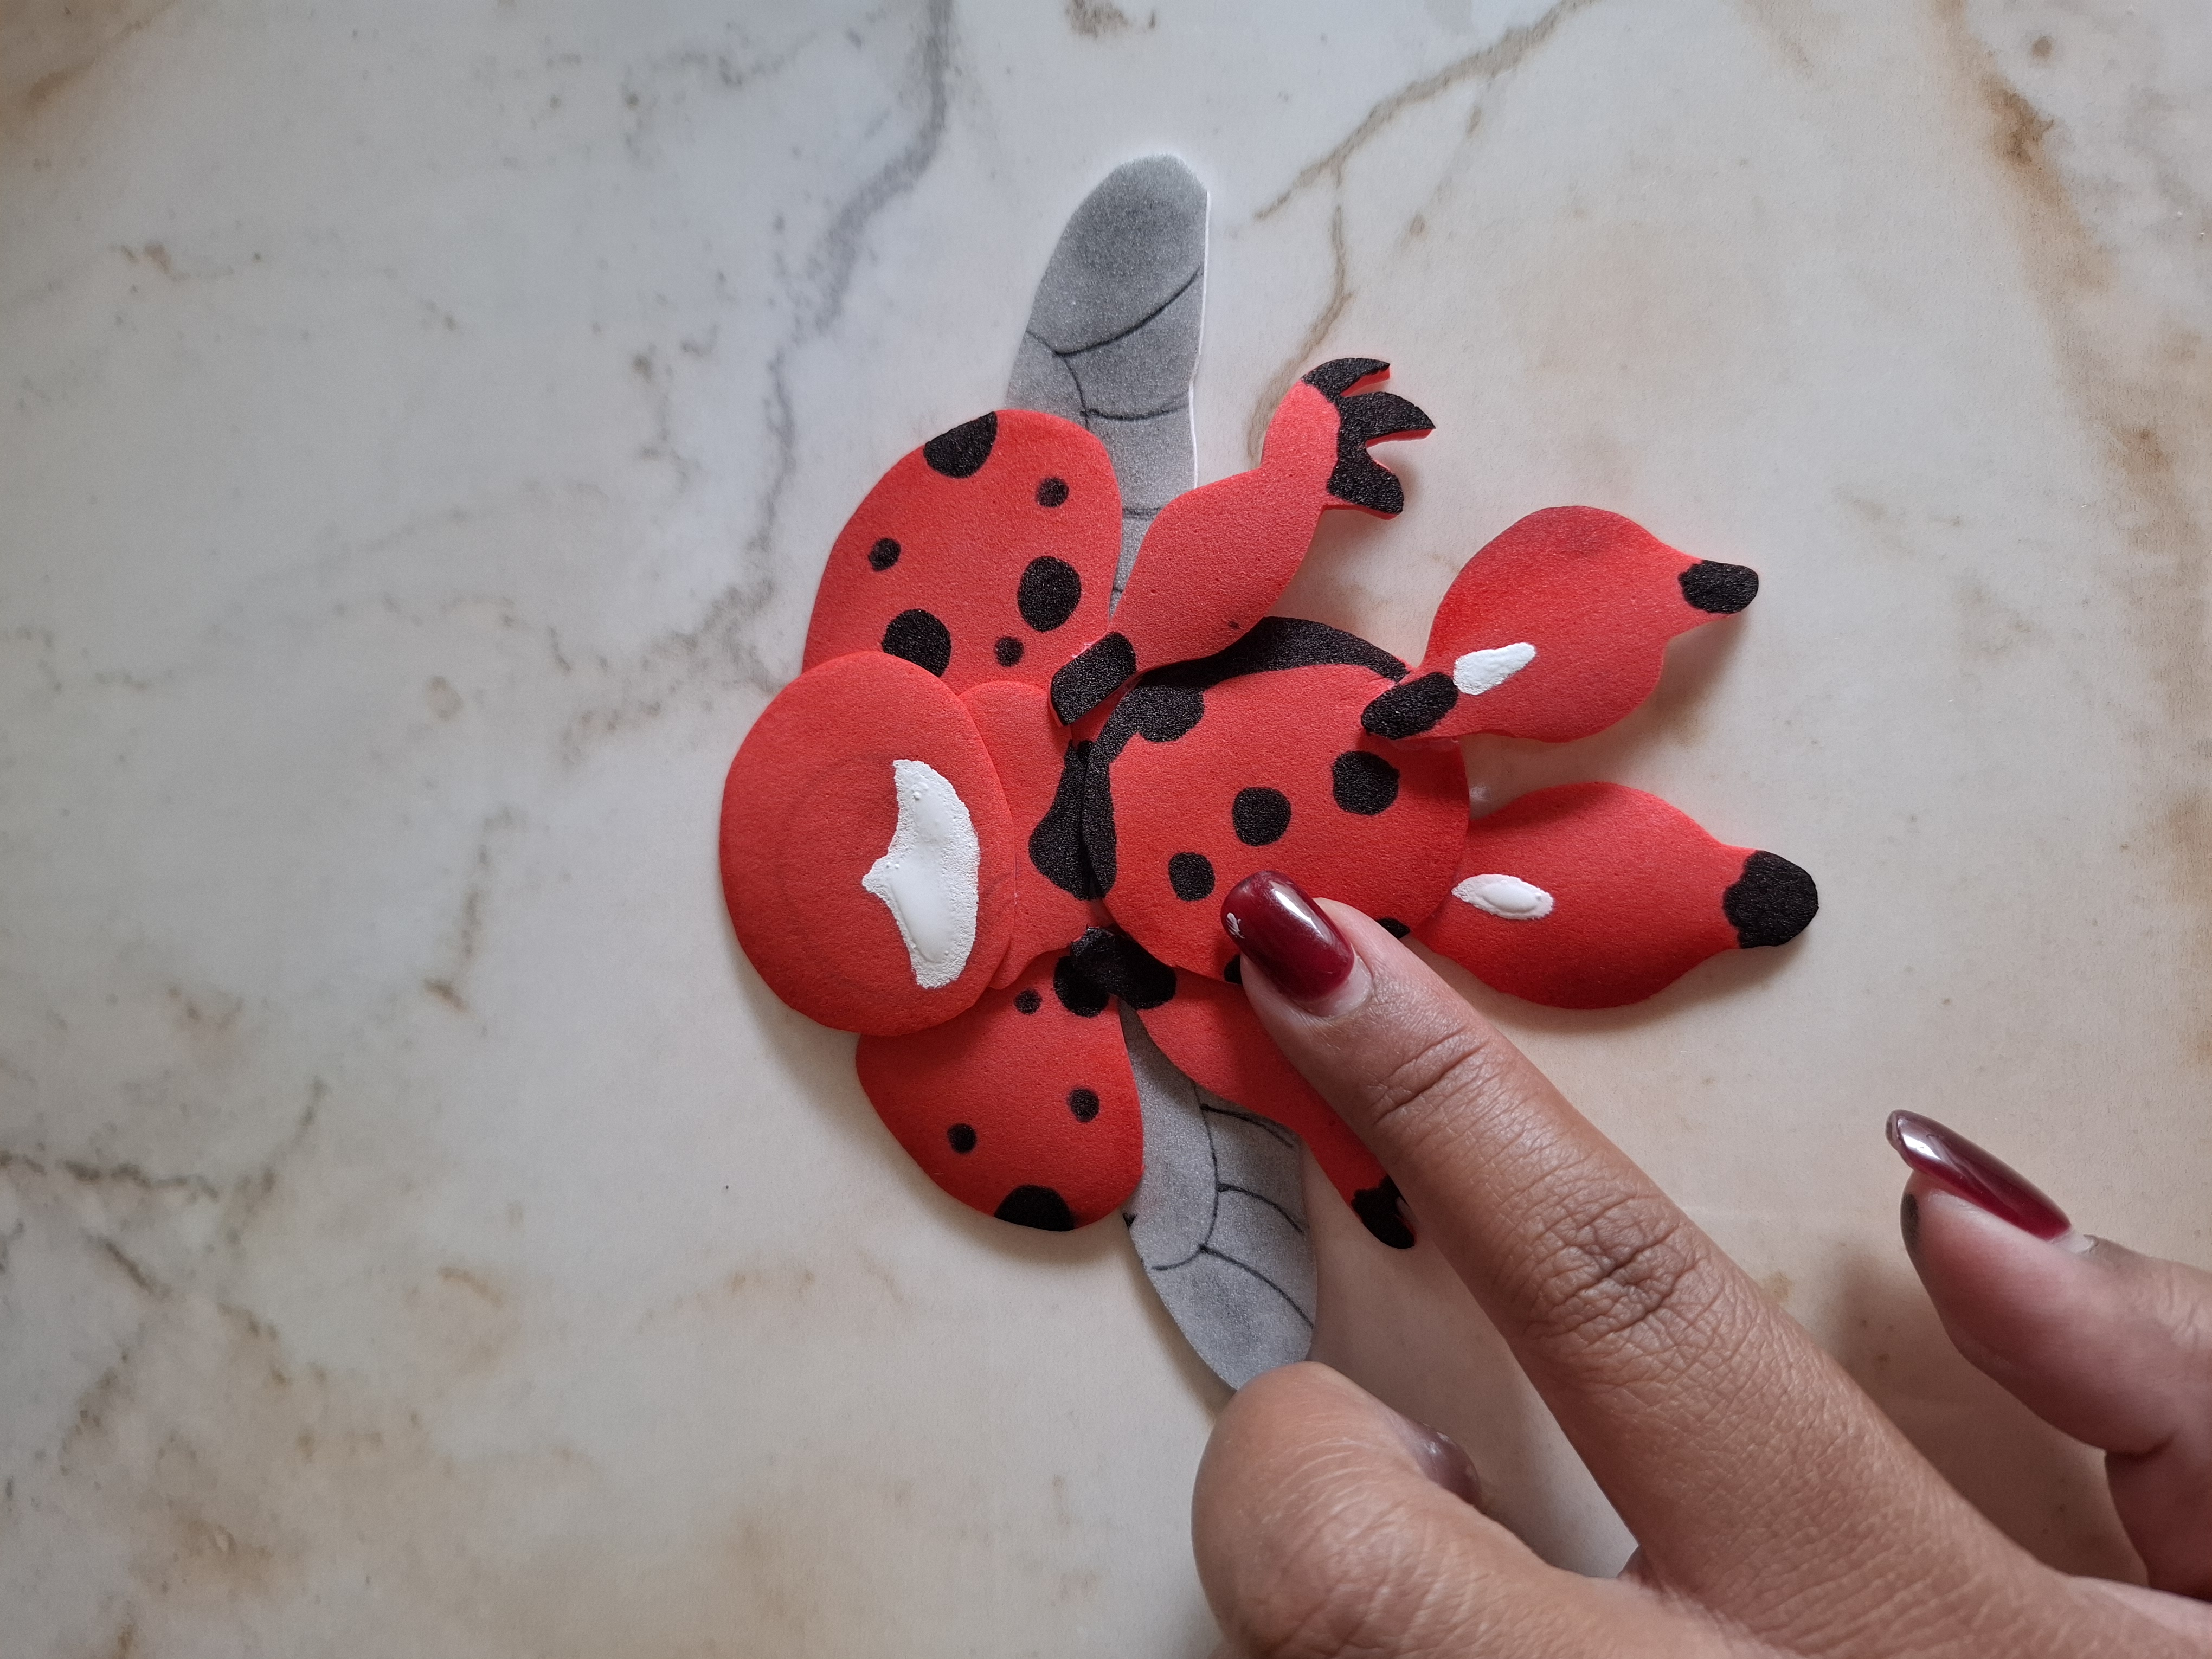
Seguido de esto comenzamos a pegar las partes del cuerpo, vamos marcando los círculos con marcador negro, para su cara voy a realizar la parte blanca con pintura y la parte negra con marcador, realicé sus antenas con foami negro.
Following this we begin to glue the body parts, we mark the circles with black marker, for his face I am going to make the white part with paint and the black part with marker, I made his antennas with black foam.


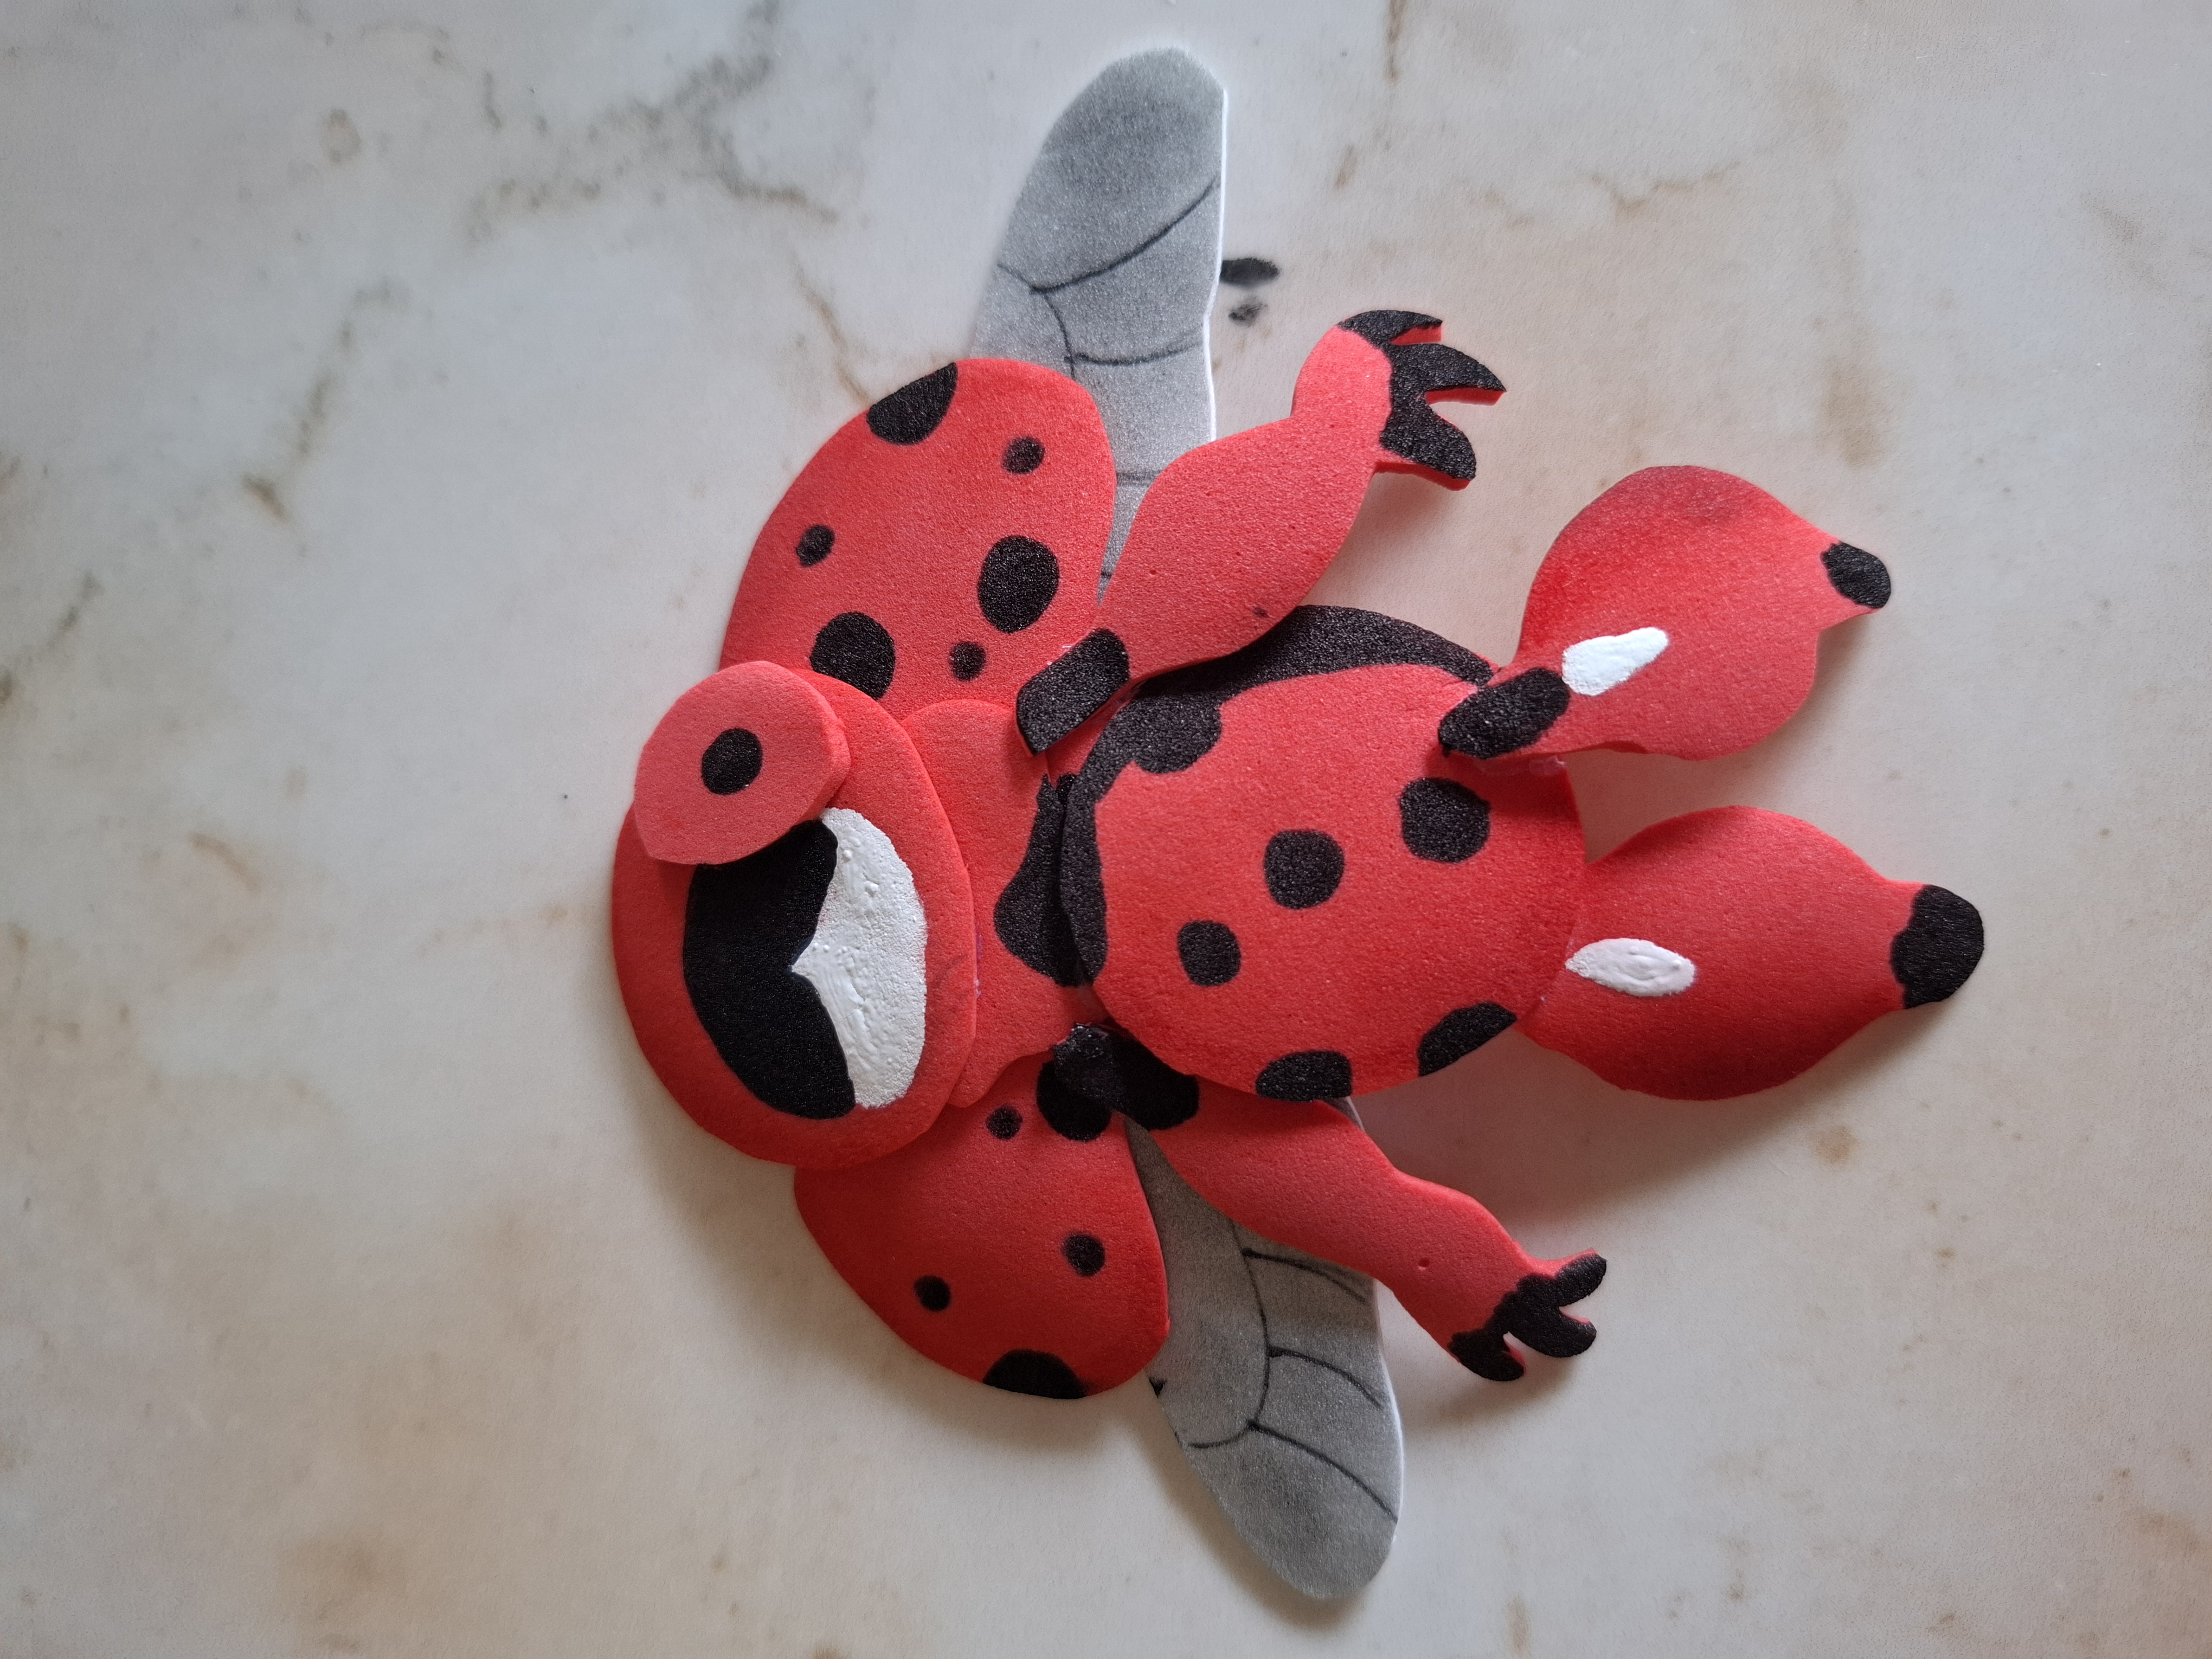
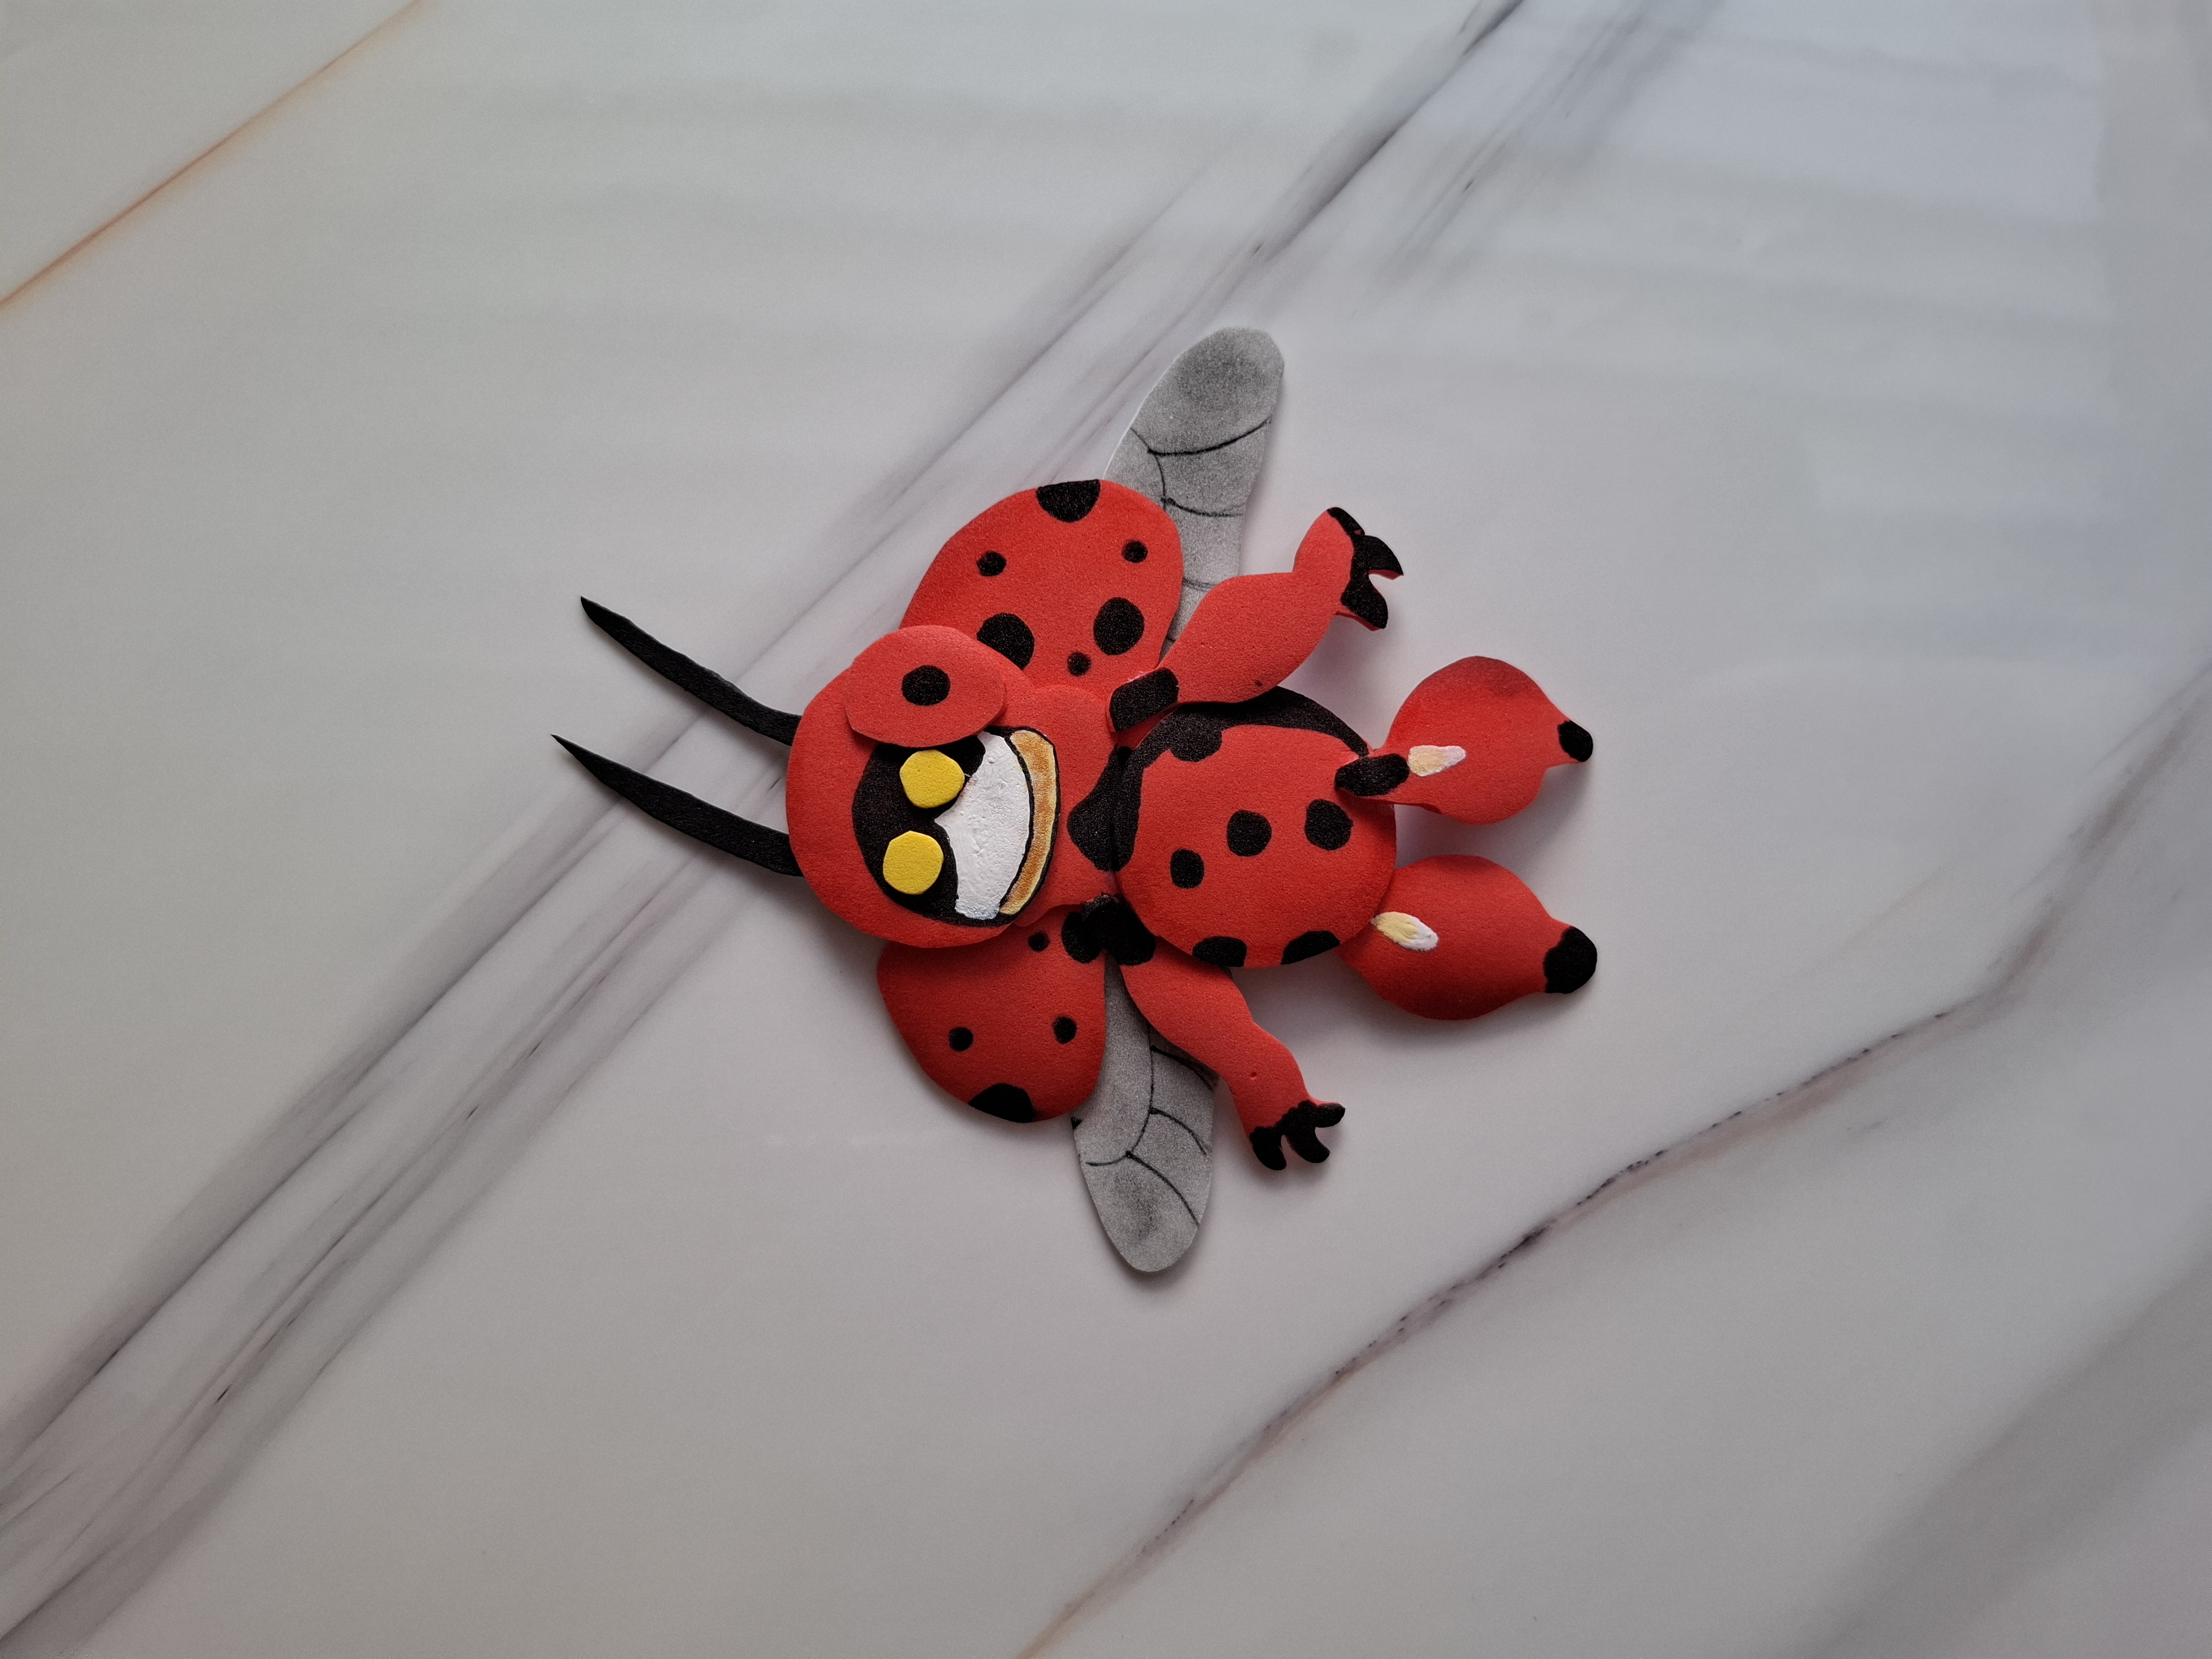
De esta forma terminé a Cinelara, estoy satisfecha con el resultado, espero también les haya gustado, muchas gracias por visitar mi publicación, nos vemos en una próxima oportunidad con más ideas creativas.
This is how I finished Cinelara, I am satisfied with the result, I hope you liked it too, thank you very much for visiting my publication, see you next time with more creative ideas.


Amazing idea 👍
¿ᴺᵉᶜᵉˢᶦᵗᵃˢ ᴴᴮᴰ? ᵀᵉ ˡᵒ ᵖʳᵉˢᵗᵃᵐᵒˢ ᶜᵒⁿ
Delegations welcome! You've been curated by @amazingdrinks!