Larvie!
Hi Holozing Friends! 😄
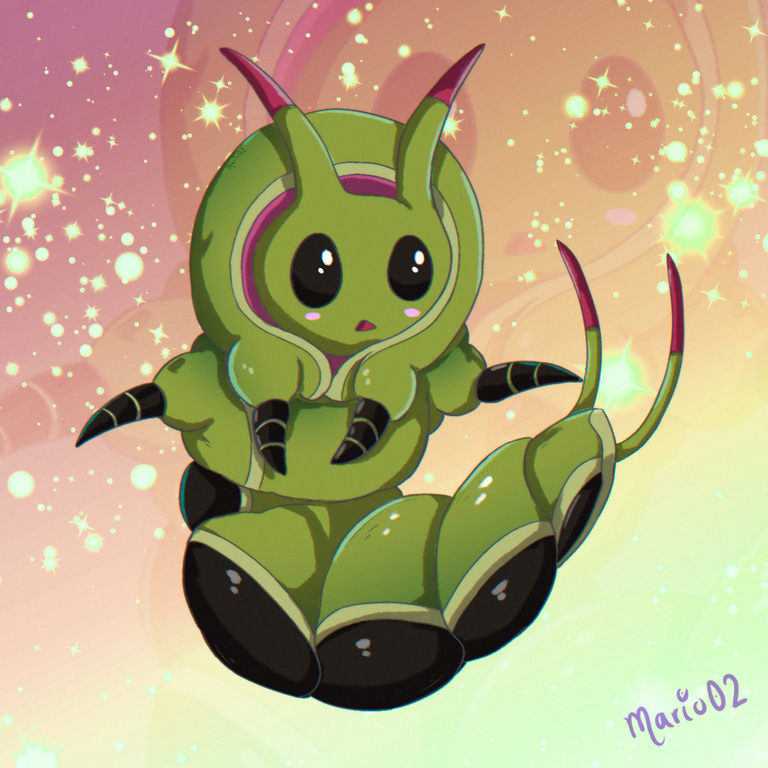
Taking advantage of this day off, I want to share with the whole community a new Fanart illustration I was working on this morning. As a character I chose Larvie, this one since I saw it caught my attention because of its adorable design, but I hadn't had the opportunity to work on it; finally today I decided to make my own version of it and I took the opportunity to try some brushes and experiment with a different finish. Let's start!
Hola amigos de Holozing! 😄
Aprovechando este día de descanso, quiero compartir con toda la comunidad una nueva ilustración Fanart en la que estuve trabajando está mañana. Como personaje escogí a Larvie, este desde que lo vi me llamo mucho la atención por su adorable diseño, pero no había tenido la oportunidad de trabajar en el; finalmente el día de hoy decidí hacer mi propia versión del mismo y aproveche la ocasión para probar algunos pinceles y experimentar con un acabado diferente. ¡Comencemos!

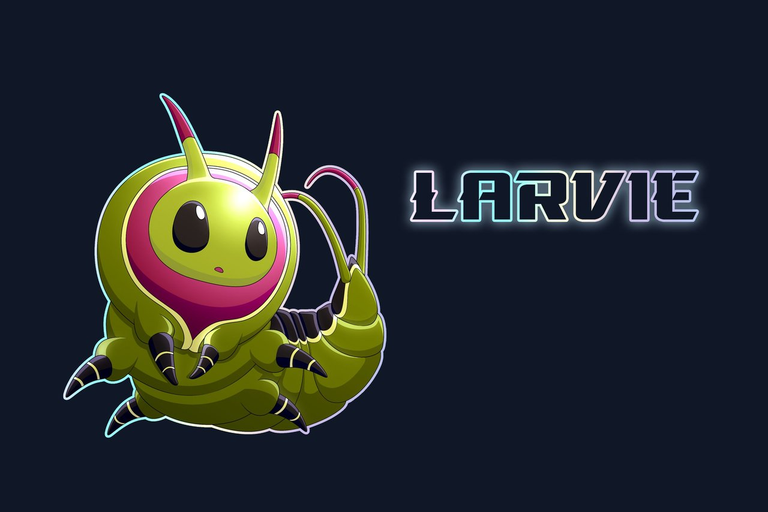
REFERENCE
Creative Process | Proceso Creativo📘✏️
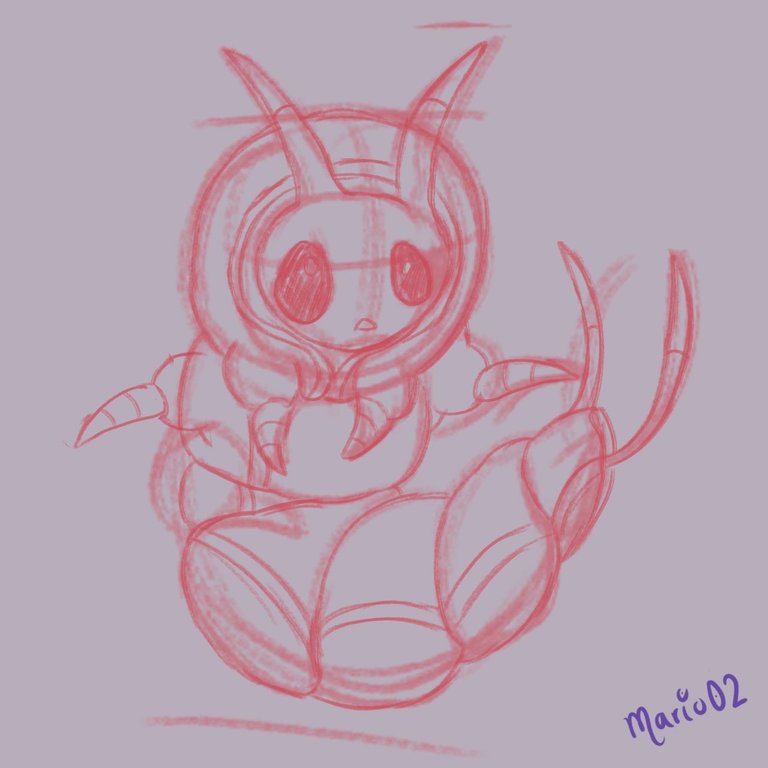
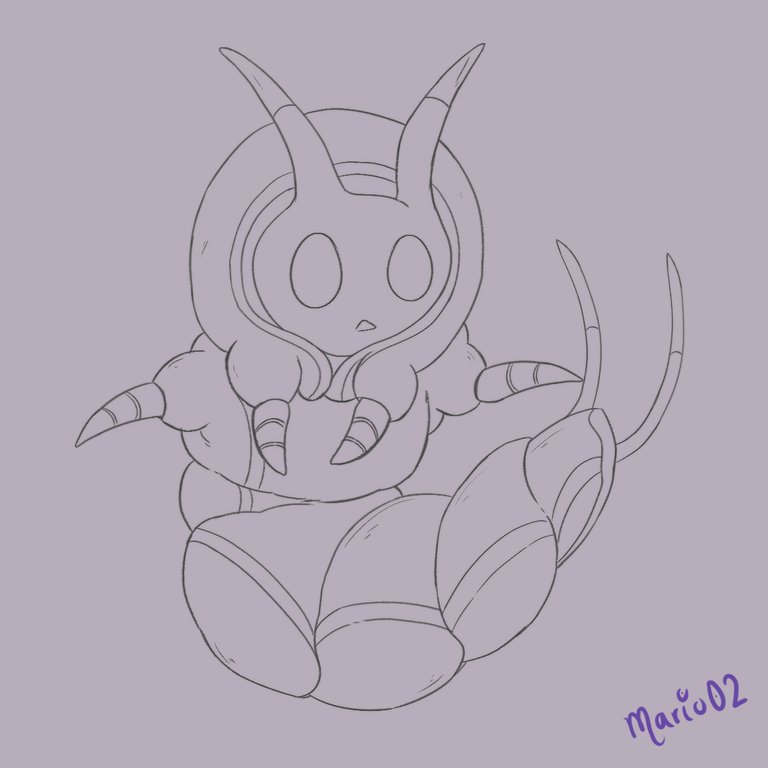
I started with the sketch of the character, I wanted it to have an Anime style so I made some compositions in thumbnail format, this allowed me to make a very small sketch without so many details, which I then enlarged to add and correct the details. Later I lowered the opacity of the sketch and began to make the lineart, here I was trying a brush with a different texture and thickness to vary the finish of the lines.
Comencé con el boceto del personaje, quería que tuviese un estilo Anime por lo que realice algunas composiciones en formato thumbnail, esto me permitió hacer un boceto muy pequeño sin tantos detalles, que luego amplié para ir agregando y corrigiendo los detalles. Posteriormente baje la opacidad del boceto y comencé a realizar el lineart, aquí estuve probando un pincel con una textura y grosor diferente para variar el acabado de las líneas.
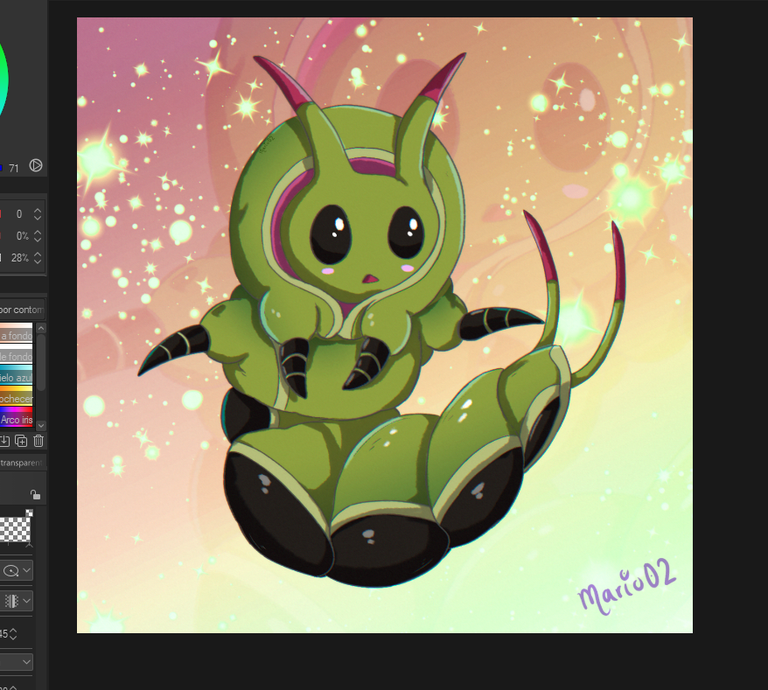
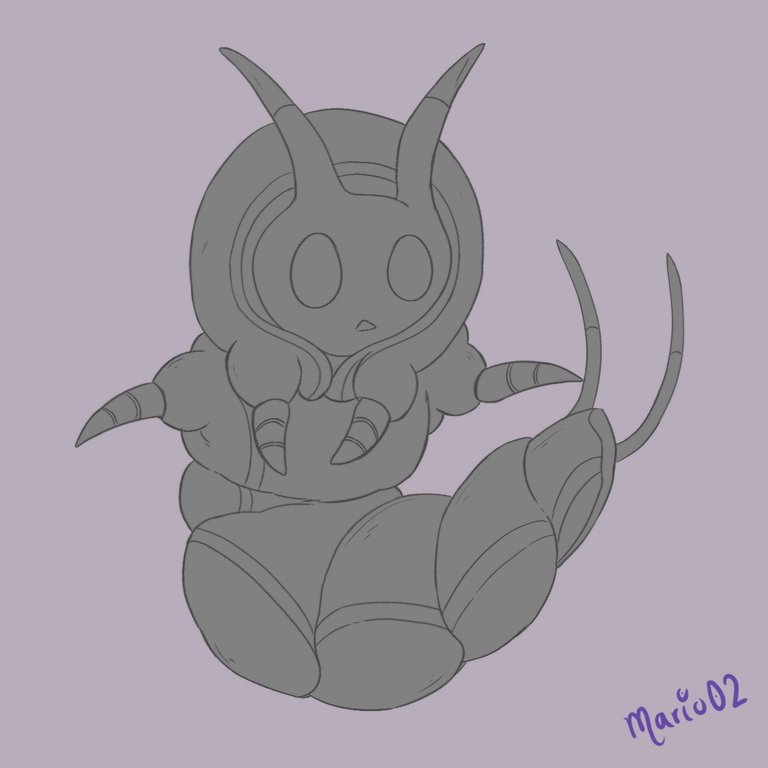
In a layer below the line, apply a Gray color to define the silhouette of the character and above this, I applied the base colors to the character, using tones a little less saturated than those of the reference.
En una capa por debajo de la línea, aplique un color Gris para definir la silueta del personaje y por encima de esta, fui aplicando los colores base al personaje, utilizando tonos un poco menos saturados que los de la referencia.
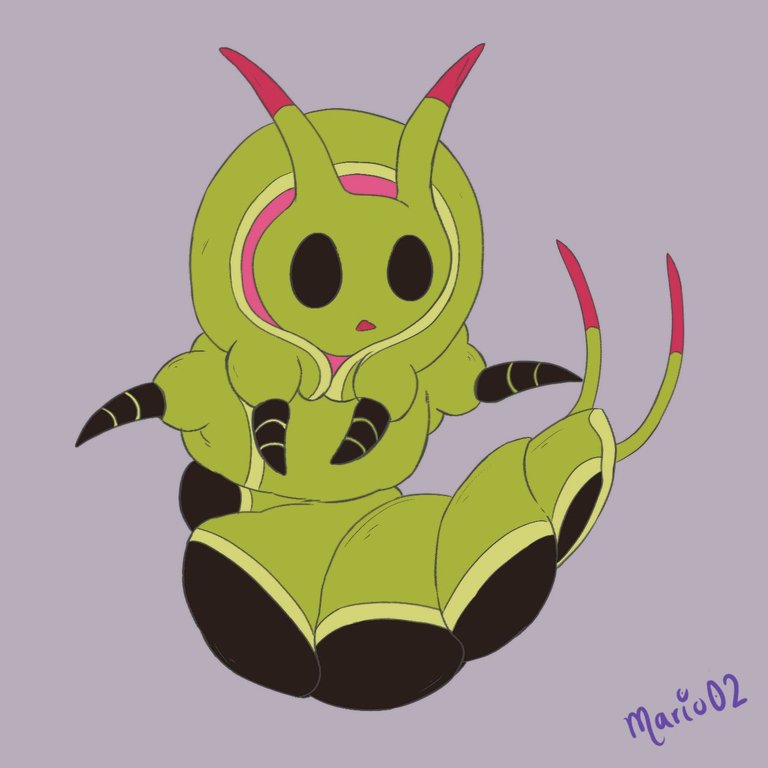
Then with the help of a brush with a Crayon texture, I applied the shadows to the character, following the Cell Shading style which suits the character very well.
Then I started to give the final details, I added some gradients and light colored dots to give a bright feeling and on top of it all I put a layer of Blue solid color to regulate the colors of the character. Then I copied my character and used it as a resource for the background.
Luego con ayuda de un pincel con textura de Crayón, apliqué las sombras al personaje, siguiendo con el estilo de Cell Shading el cual le va muy bien al personaje.
Después comencé a dar los detalles finales, agregue algunos degradados y puntos de color claro para dar sensación de brillo y encima de todo coloque una capa de color solido Azul para regular los colores del personaje. Luego copie mi personaje y lo use como recurso para el fondo.
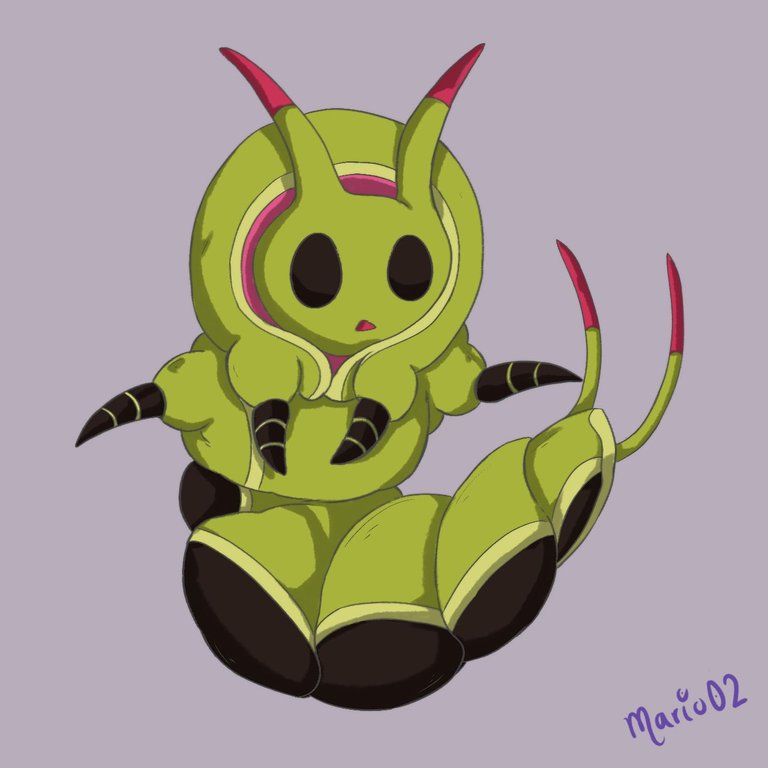
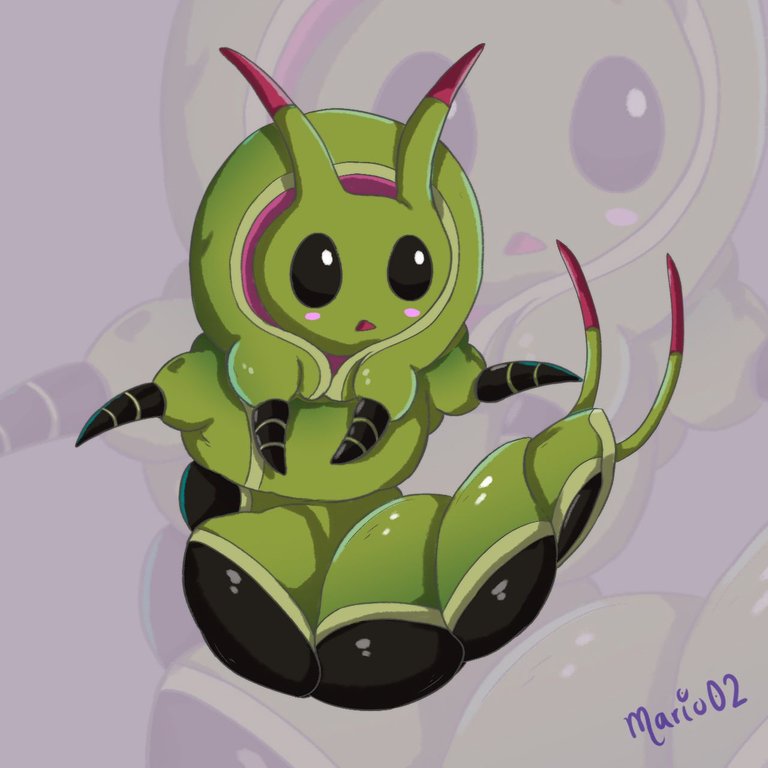
Final Art | Arte Final
Finally, I worked a little more on the background adding some resources such as gradients and sparkles to give that magical effect to the illustration. I also added some noise to the character to unify a little better all the effects.
Thanks so much for watching and see you next time! 🙏
Para finalizar, trabaje un poco mas en el fondo agregando algunos recursos como degradados y destellos para dar ese efecto mágico a la ilustración. También agregue algo de ruido al personaje para unificar un poco mejor todos los efectos.
¡Muchas gracias por ver y hasta la próxima! 🙏


Join Here!
Tools Used | Herramientas Utilizadas:
- Photoshop CC versión 64 bits
- Tablet Huion H610 PRO V2

The illustration and separators used in the post are my property.
Translated with DeepL (free versión)
