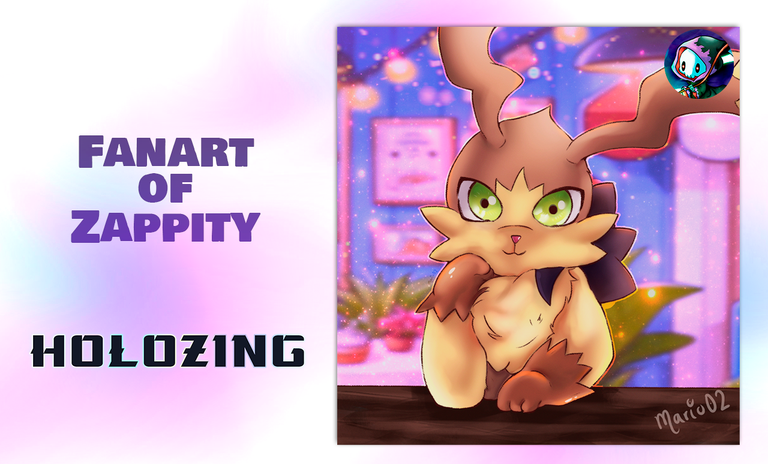

¡Saludos comunidad! Espero se encuentren bien el día hoy. 🙏
Zappity. Como ya lo habrán notado este personaje es de mis favoritos y siempre me gusta hacer diferentes versiones del mismo.
En está ocasión quiero compartir una nueva ilustración de @holozing, tomando como referencia al personaje
Para está ilustración quise hacer algo un poco diferente, estuve utilizando por primera vez algunos recursos como imágenes de IA para hacer el fondo y trate de contar una pequeña historia con esta ilustración. Espero les guste esta versión del personaje y a continuación les contare un poco de mi proceso para hacer esta ilustración.
English version
Zappity. As you may have already noticed this character is one of my favourites and I always like to make different versions of him.
For this illustration I wanted to do something a bit different, I was using for the first time some resources like AI images to make the background and I tried to tell a little story with this illustration. I hope you like this version of the character and next I will tell you a little bit about my process to make this illustration.
Greetings community! I hope you're feeling well today. 🙏 This time I want to share a new illustration by @holozing, taking as a reference the character
Creative Process | Proceso Creativo📘✏️
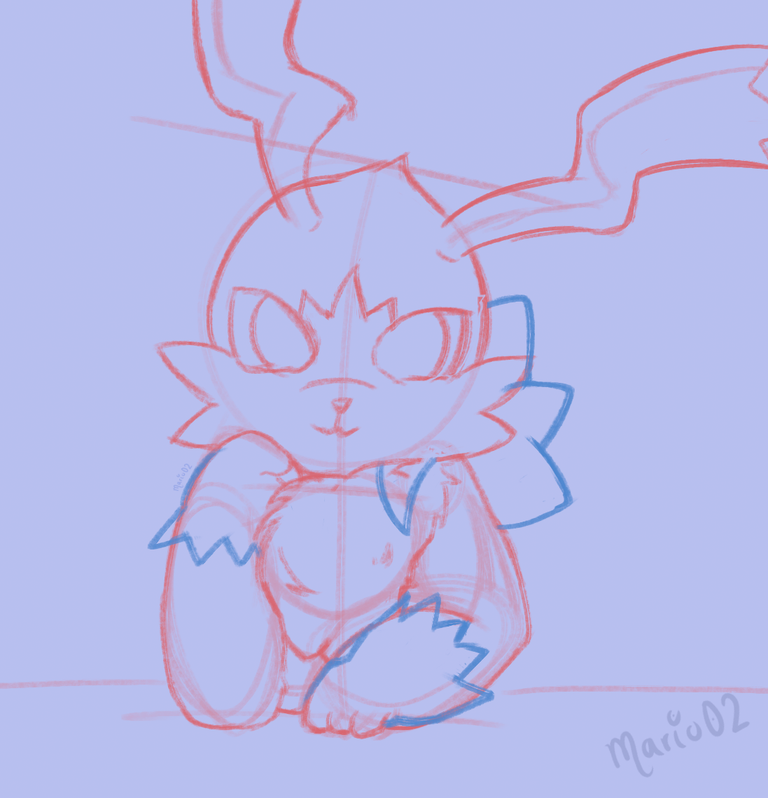
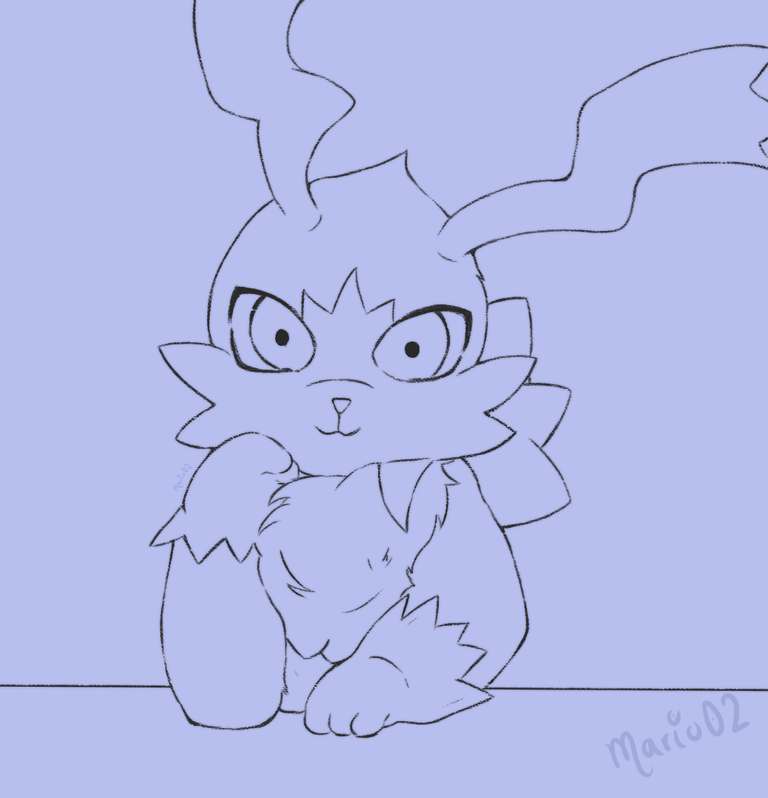
Comencé realizando el boceto del personaje, aquí utilice una línea de acción para situar al personaje, luego fui trabajando en la composición y también fui agregando los elementos del personaje. Una vez me gusto la idea, pase a realizar un lineart para limpiar y definir las líneas. En este paso utilice un pincel con textura de lápiz, para probar un acabado diferente en la línea.
English version
I started by making a sketch of the character, here I used a line of action to place the character, then I worked on the composition and I also added the elements of the character. Once I liked the idea, I made a lineart to clean and define the lines. In this step I used a brush with a pencil texture, to try a different finish in the line.
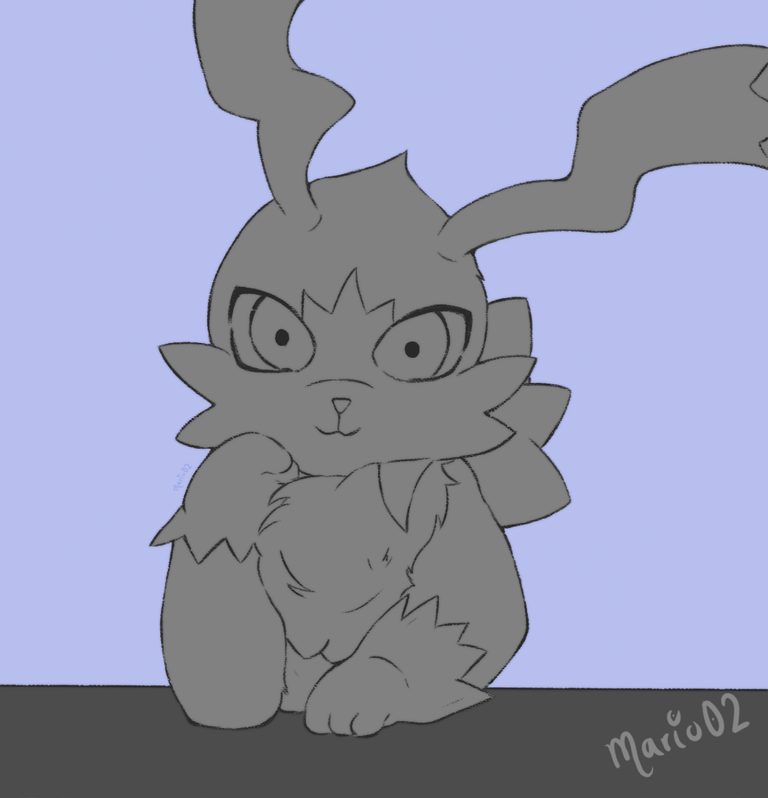
Una vez termine con la línea pase a trabajar en el color, aquí agregue una capa base en color gris para rellenar a todo el personaje, en este paso decidí probar un coloreado a base de escala de grises, pero primero aplique los colores base en los elementos para reservarlos para después.
English version
Once I finished with the line I went on to work on the colour, here I added a base layer in grey to fill the whole character, in this step I decided to try a greyscale colouring, but first I applied the base colours on the elements to reserve them for later.
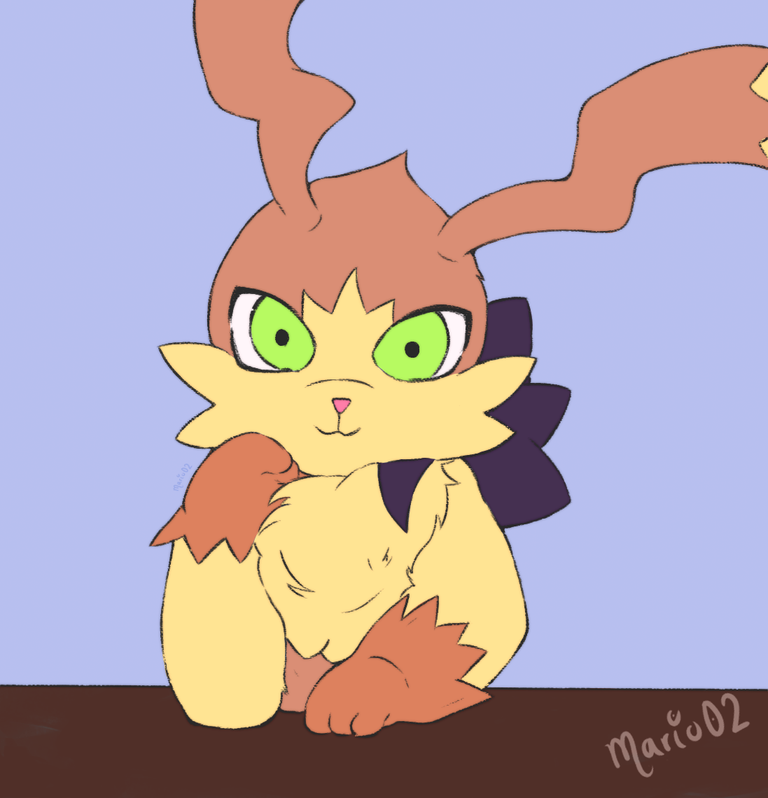
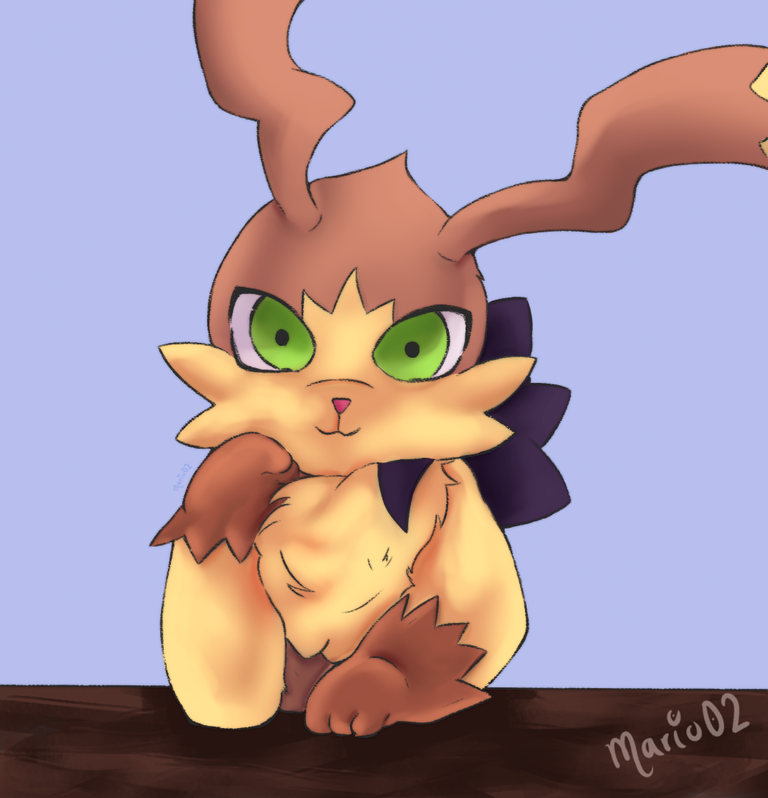
Luego de aplicar los colores base comencé a trabajar en las sombras por medio de la escala de grises, en este paso realmente me tome algo de tiempo ya que aun no manejo esta técnica, aun así no quise rendirme y seguí con el proceso, primero agregue una capa de sombras mas suave las cuales fui haciendo mas oscuras en zonas donde hubiera menos luz.
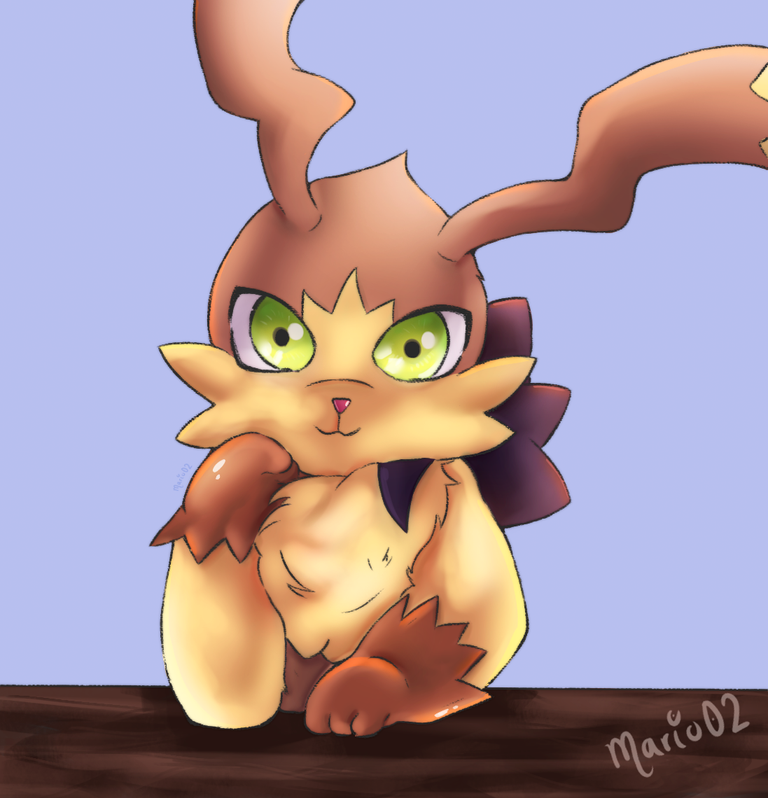
En una nueva capa comencé a trabajar en las iluminaciones ya que el dibujo estaba muy apagado, aquí utilice los modos de fusión de capa para lograr integrar de mejor manera las iluminaciones con los colores del personaje. Por último los colores base los puse en modo luz Fuerte para dar color a la escala.
English version
After applying the base colours I started to work on the shadows by means of the greyscale, in this step I really took some time since I still don't handle this technique, even so I didn't want to give up and I continued with the process, first I added a layer of softer shadows which I made darker in areas where there was less light.
In a new layer I started to work on the illuminations as the drawing was very dull, here I used the layer blending modes to better integrate the illuminations with the colours of the character. Finally I put the base colours in Strong light mode to give colour to the scale.
Final Art | Arte Final
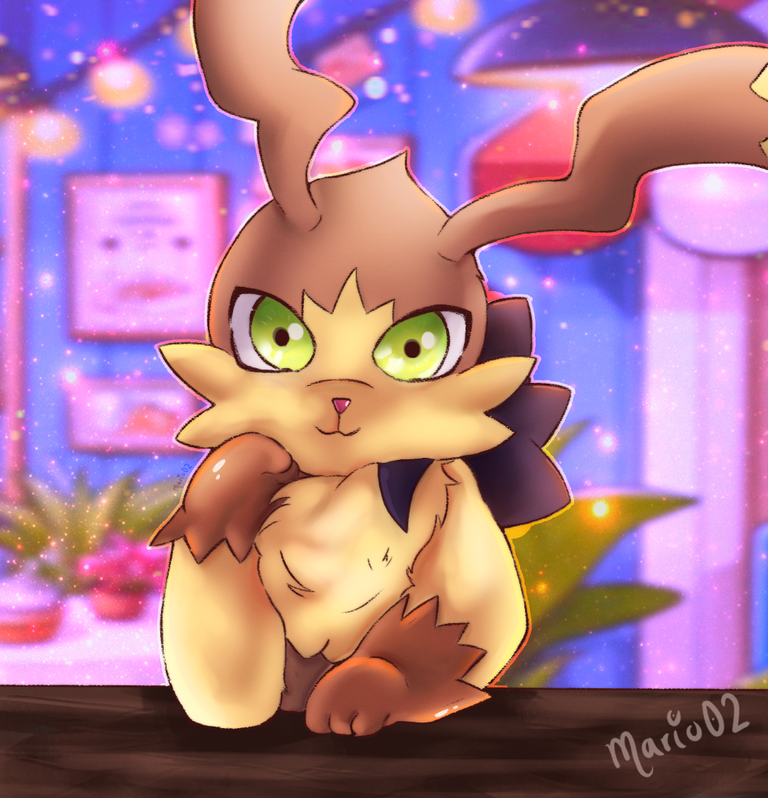
Por último comencé a trabajar en los detalles finales, aquí utilice una imagen de IA para en fondo el cual modifique para integrarlo con el personaje, también agregue partículas y ruido para lograr un acabado mas suave en la ilustración. ¿Que les pareció este fanart? Espero les haya gustado y nos vemos en un próximo post.
¡Muchas gracias por todo el apoyo! 🙏
English version
Finally I started working on the final details, here I used an AI image for the background which I modified to integrate it with the character, I also added particles and noise to achieve a smoother finish to the illustration. What did you think of this fanart? I hope you liked it and see you in a next post.
Thank you so much for all the support! 🙏

Tools Used | Herramientas Utilizadas:
- Photoshop CC versión 64 bits
- Tablet Huion H610 PRO V2
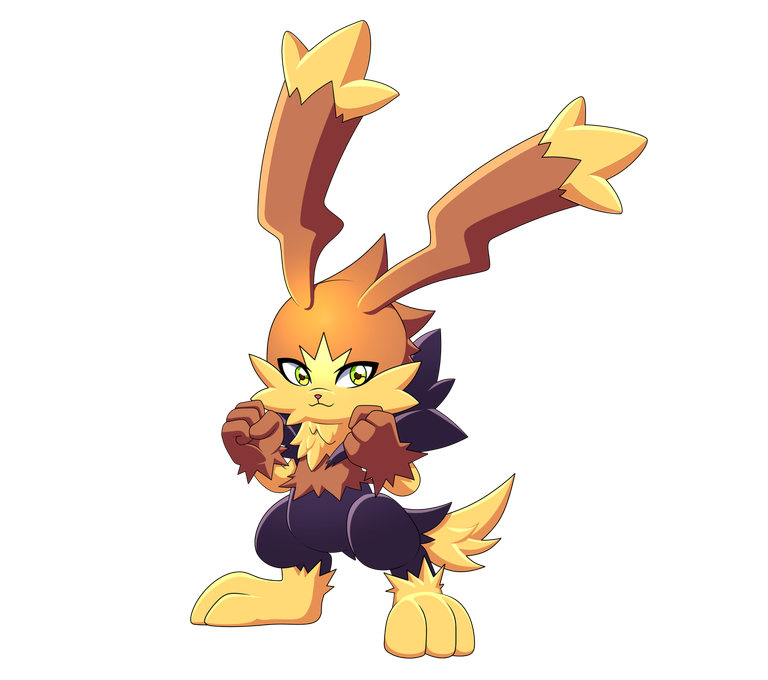
REFERENCE

The illustration and separators used in the post are my property.
Translated with DeepL (free versión)
!PIZZA
$PIZZA slices delivered:
(5/10) @danzocal tipped @mario02
Genial ...la imagen está excelente!!
el contraste de colores y el dinamismo que le imprimes...
muy buen producto final.
!HUESO
!LUV