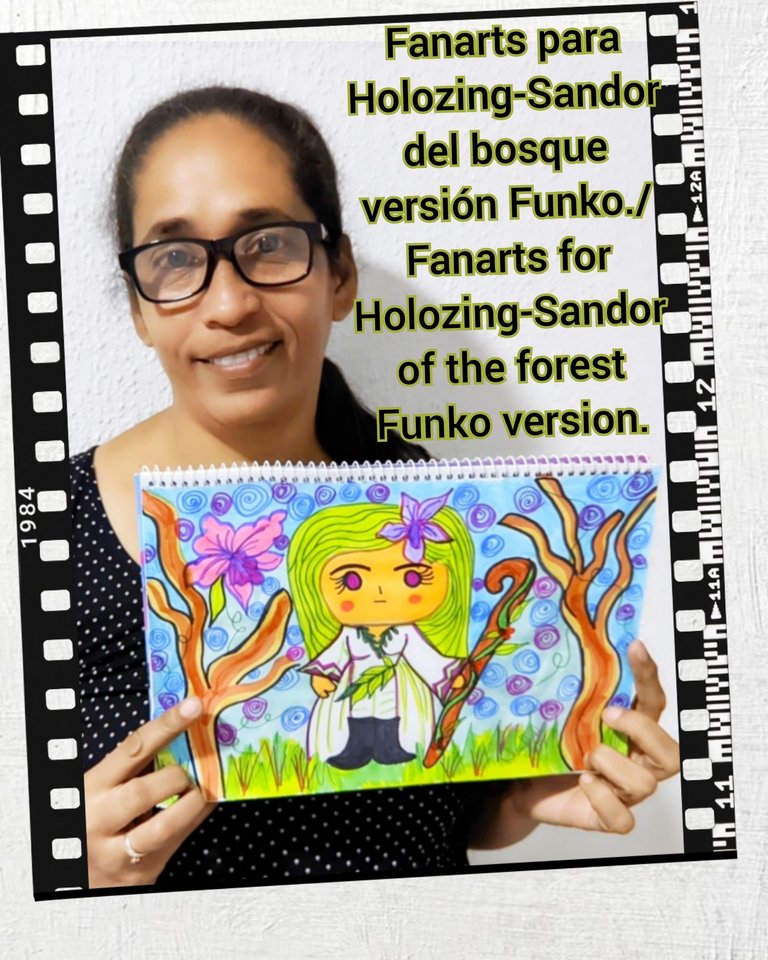
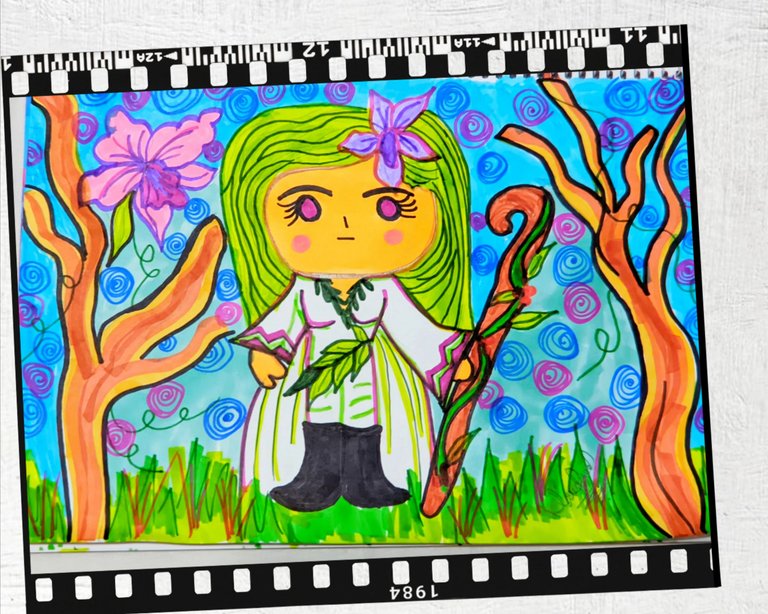
Greetings my loves, lovers of the video game #holozing today I bring you a beautiful fan art inspired by the forest healer, I must confess that these healers I have always imagined them in a delicate way, with fine details and details and in fact this is how they have been represented, But today I come to bring you an unusual representation.
This drawing I do it from the room of the clinic where my husband is hospitalized for surgery, because for me #hive is always present at all times, even in these moments it always helps me to drain anxiety and what better way to do it than drawing.
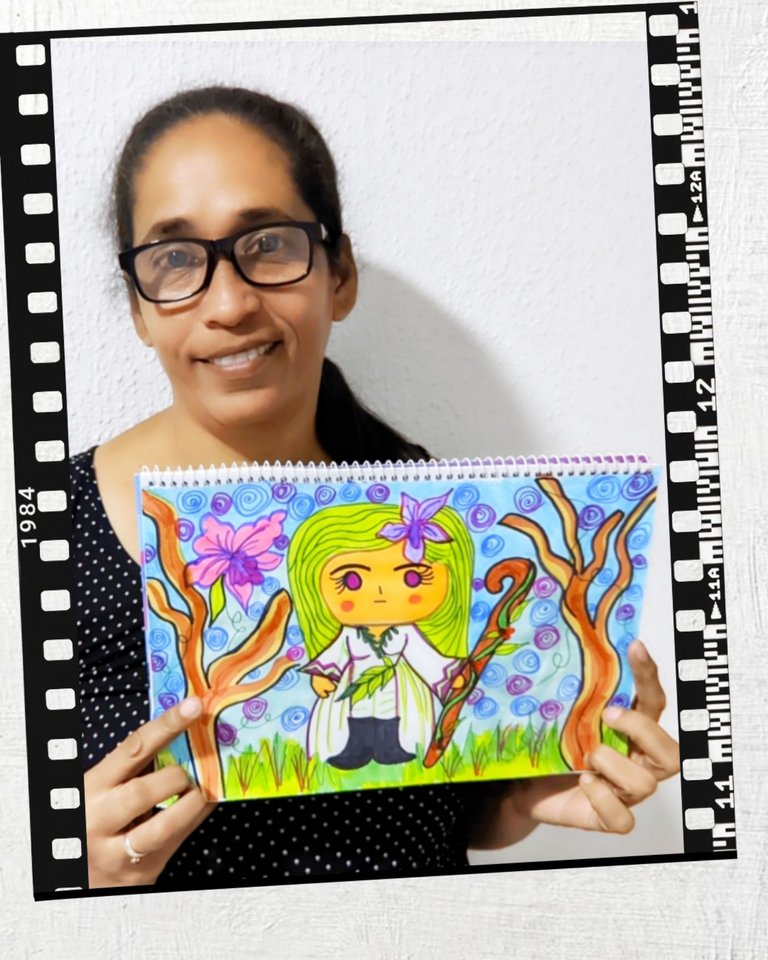
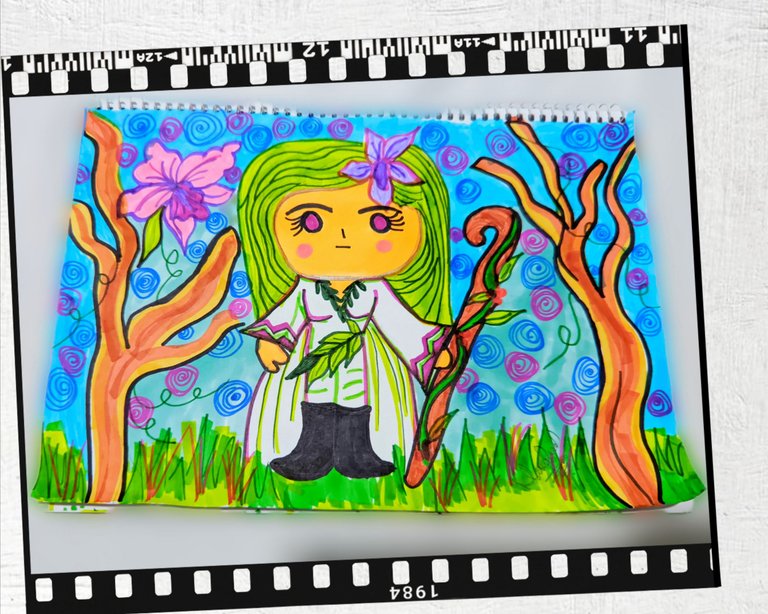
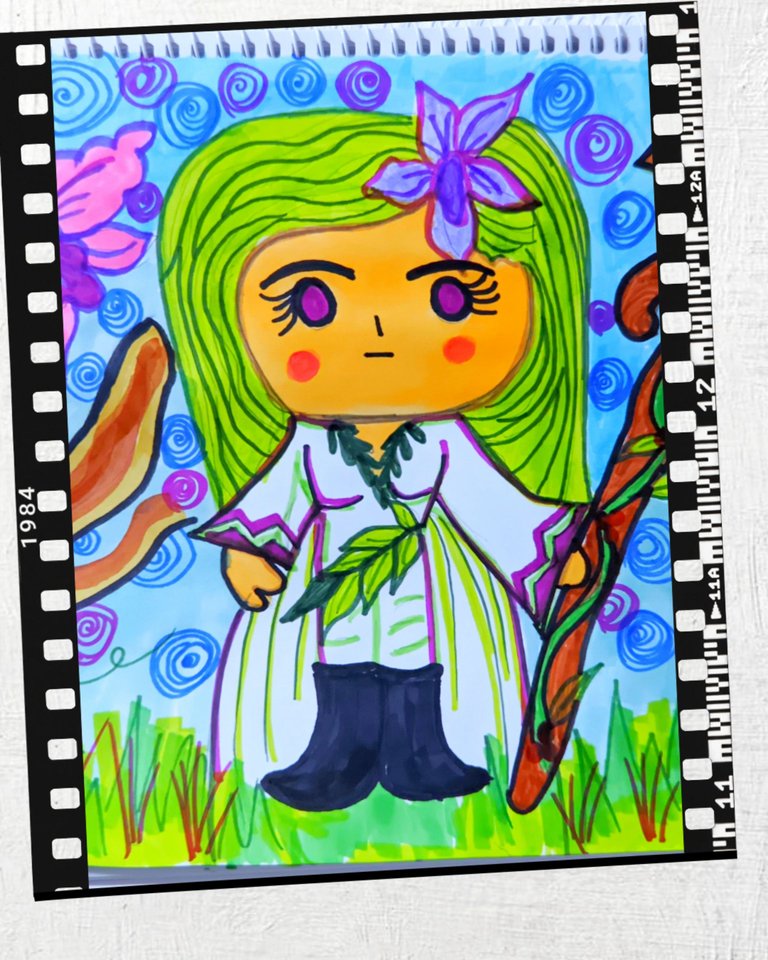
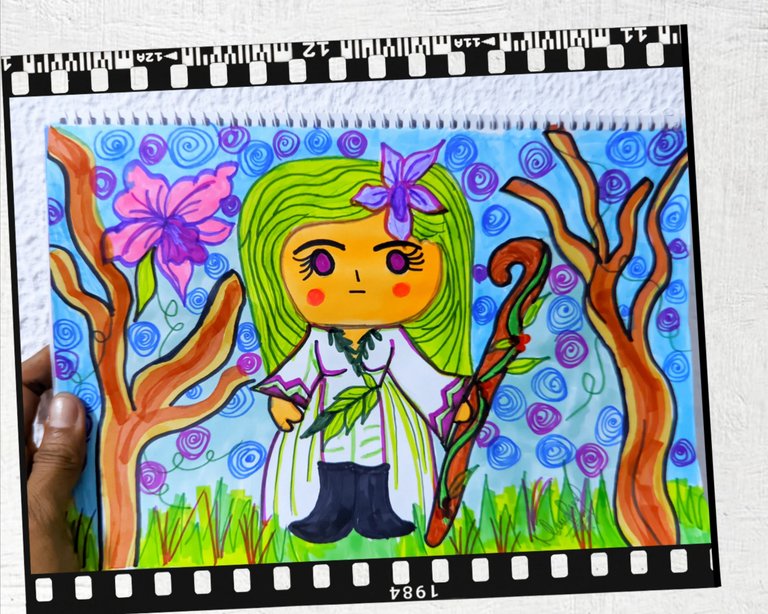
Since many years I've been a collector of funkos, I love to see how different characters are represented in this way, that's why my fanart today is a forest healer versioned in a Funko, I honestly tell you, I loved the final result, here I leave you the step by step and the final result.
❇️ MATERIALS ❇️
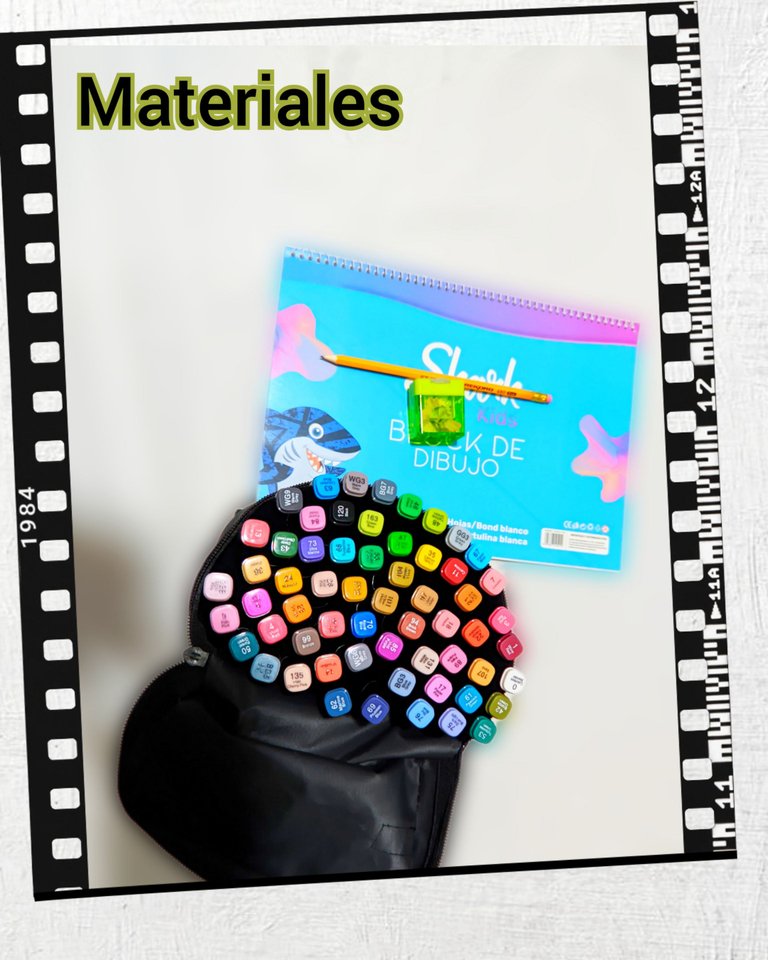
❇️ Drawing pad.
❇️ Markers.
❇️ Crayons.
❇️ Pencil sharpener.
❇️STEP BY STEP❇️
❇️STEP 1:
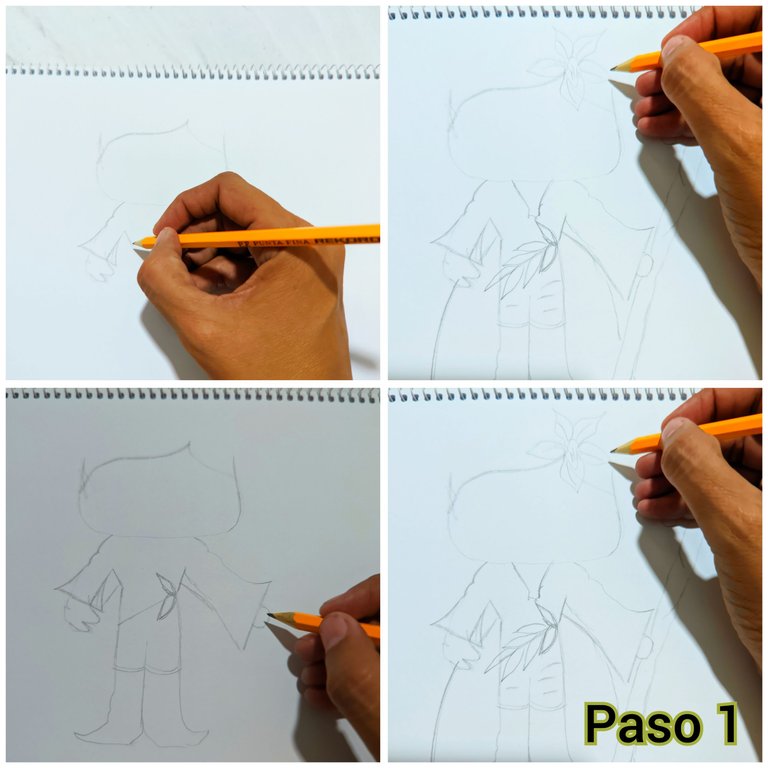
I took the drawing pad and with the crayon I began to draw, first I started by drawing the face, then the body, and little by little I began to draw every detail of the character.
❇️STEP 2:
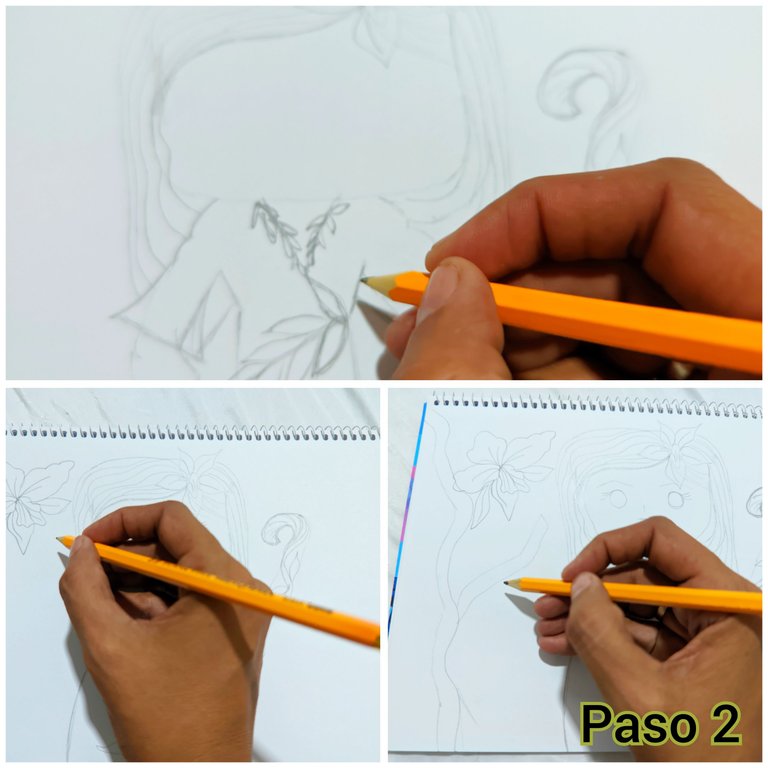
Once the character is fully drawn, I draw the rest of the details, which in this case is a kind of forest to give an outline to our Funko-style forest healer.
❇️ STEP 3:
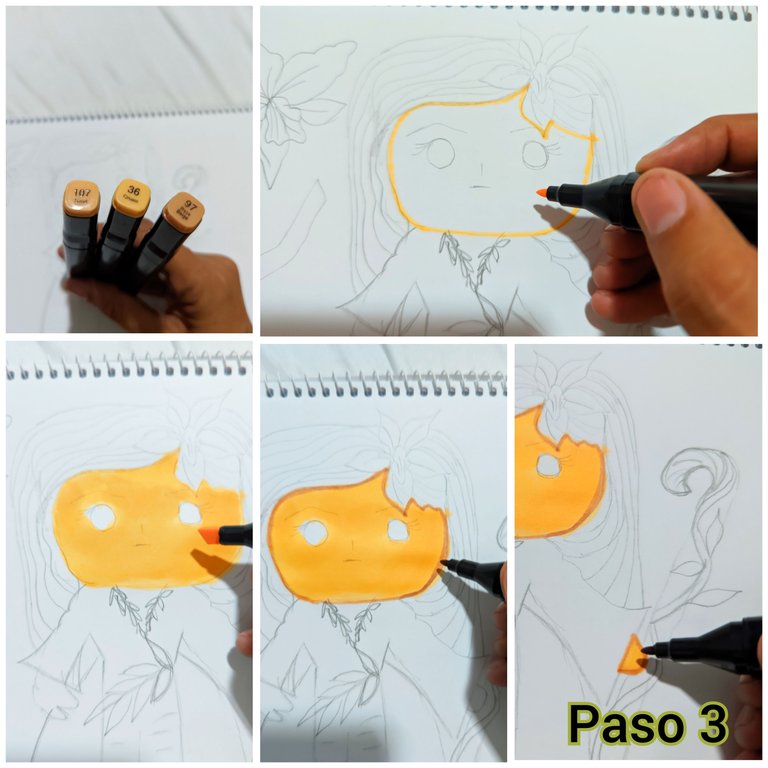
I always start with the lightest colours, in this case the skin colour, and for this I worked with the alcohol markers: I worked with the shades n° 36 cream, n° 97 beige and n° 107 sand which are the shades I used for the skin colour and with which colours, the hands, neck and face of the Funko.
❇️ STEP 4:

Now I started to colour the hair and the costume of my forest healer Funko, I worked with the shades: n° 47 Grass Green, n°48 yellow Green, n°50 forest Green, n° 53 turquoise Green, and n° 55 emerald green.
❇️ STEP 5:
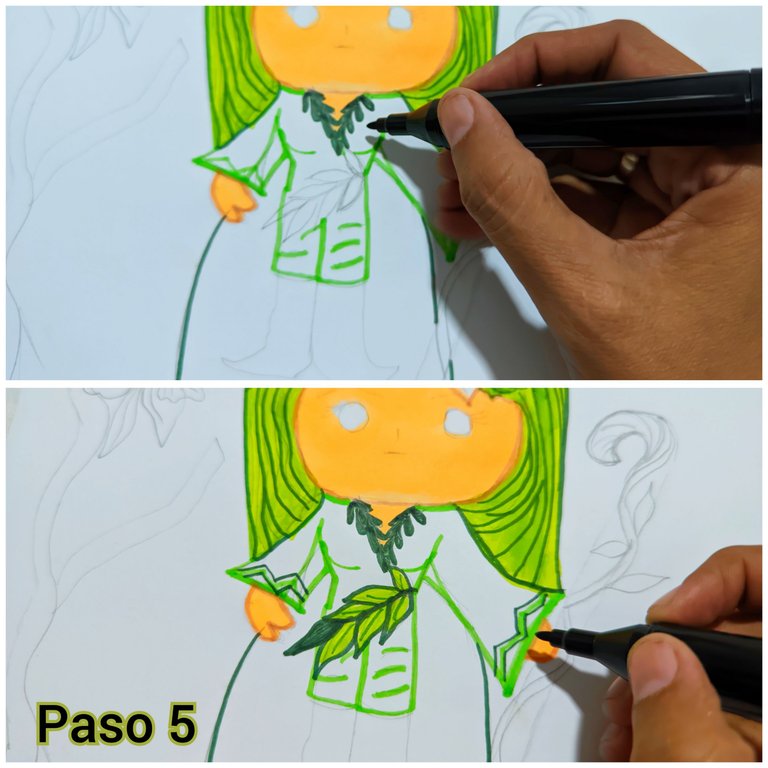
Take the marker n°50 Forrest Green and as it is a dark shade use it to highlight the necklace of the Funko healer, as well as other details of the costume, which help to enhance it..
❇️ STEP 6:
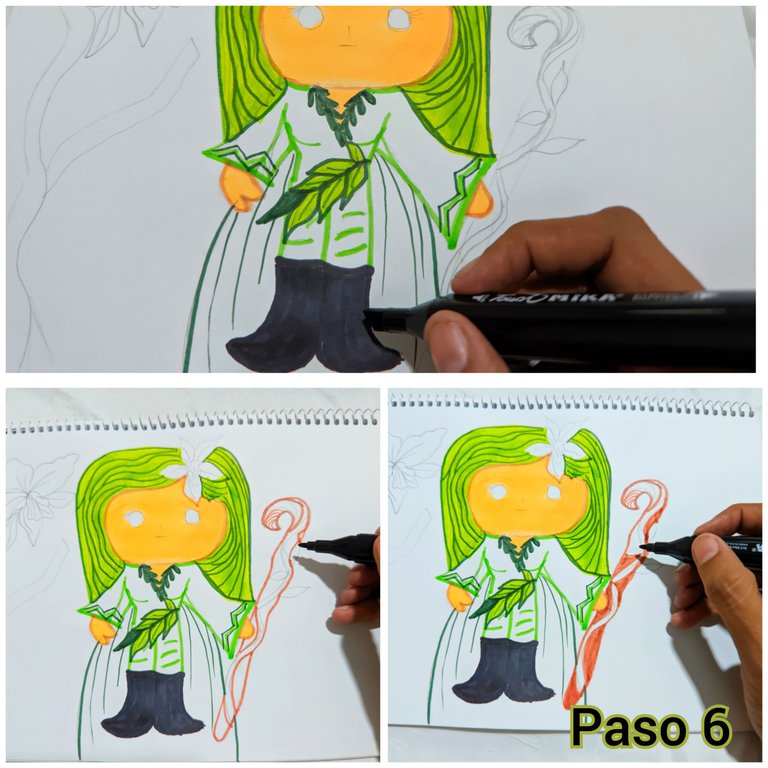
Then take the marker n°120 black and on the thick side fill in the boots, take the marker n° 21 terracotta and outline the cane and fill in with the marker n° 94 black brown.
❇️ STEP 7:
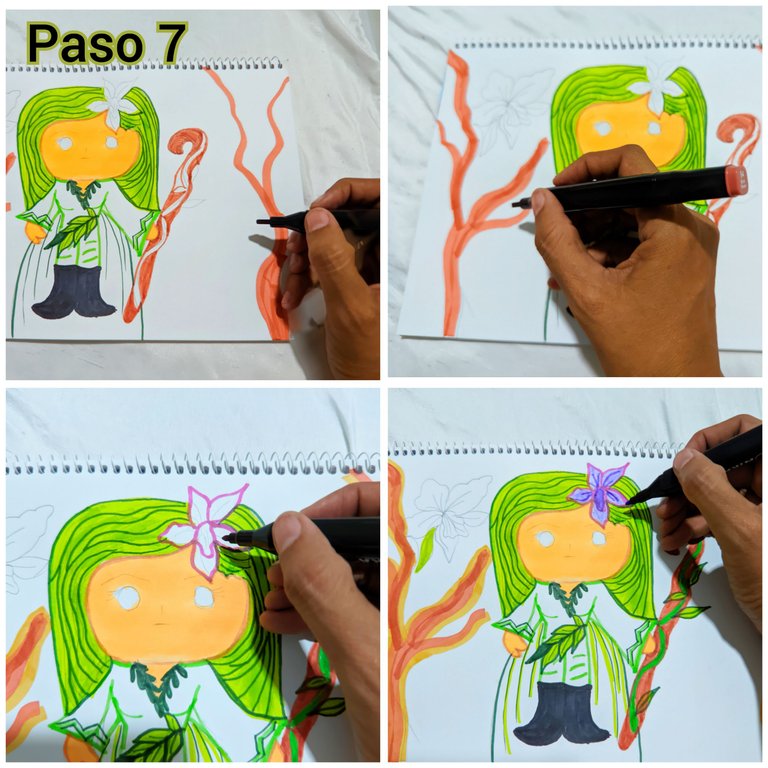
Now I take the markers n° 24 marigold and n° 101 yellow ochre and draw the bushes in the forest, then I take the markers n° 85 vivid purple and n°73 ultramarine and fill in the flower.
❇️ STEP 8:
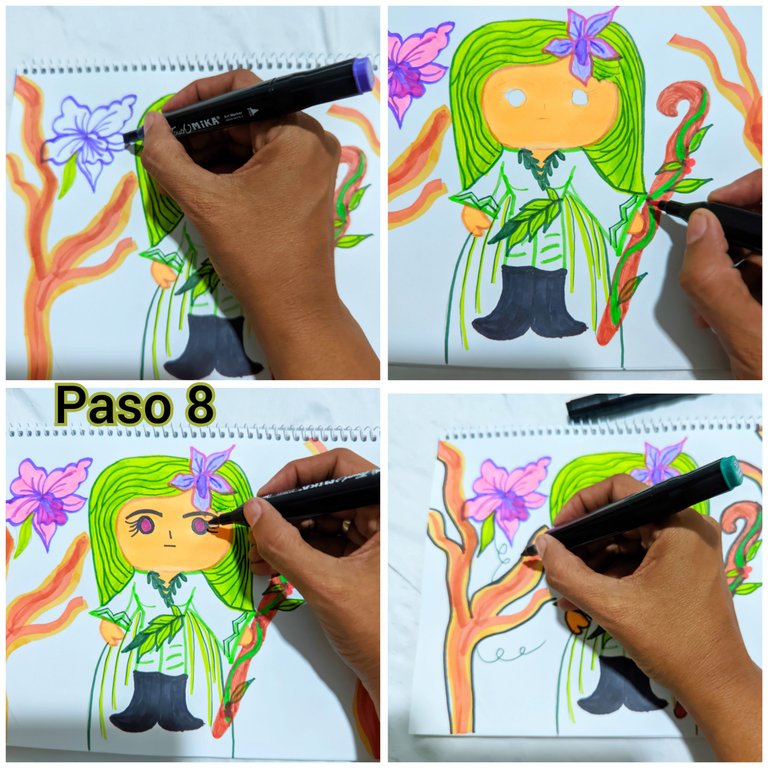
With the colour n° 85 vivid purple and outline and fill in the eyes then with the colour n° 94 black brown and draw the eyebrows and mouth, and also outline everything.
❇️ STEP 9:
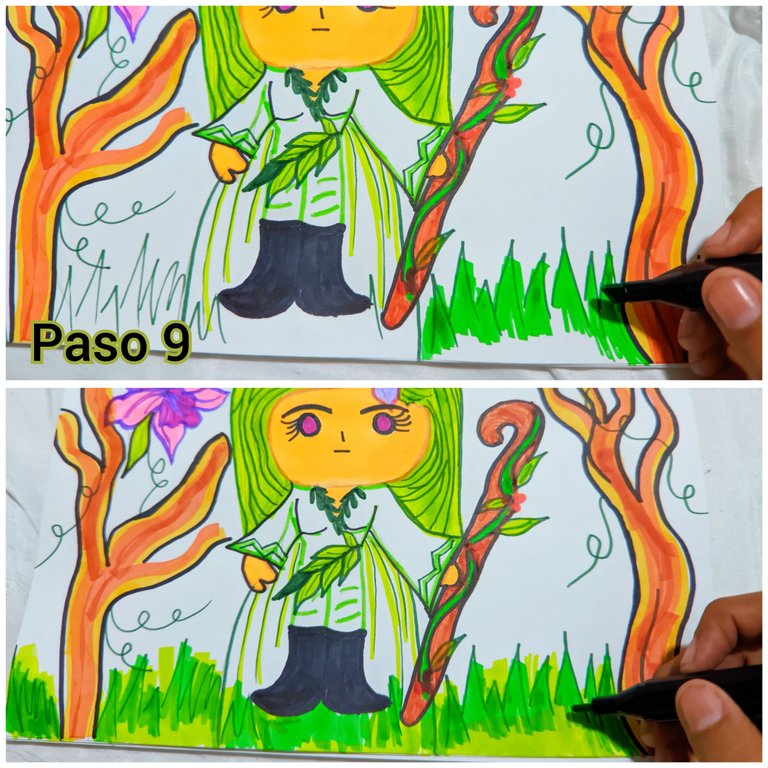
I take the marker No. 50 Forrest Green together with No. 48 yellow Green and we draw the grass.
❇️ STEP 10:
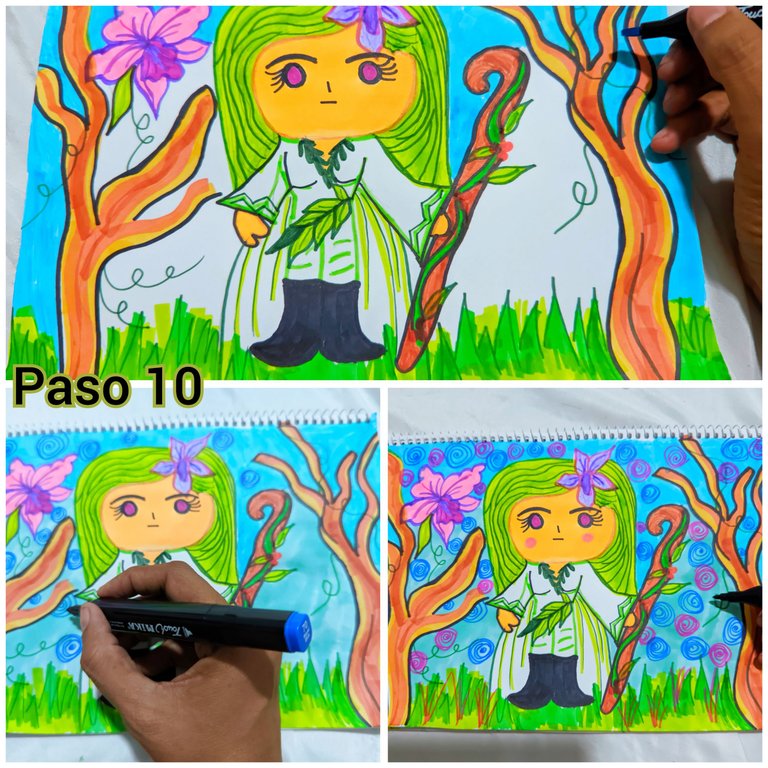
Now I take the marker n° 67 pastel blue and n°68 turquoise blue and fill in the sky area, then I draw little spirals all over the drawing as well as a vine on the tree and that's it, we are done.
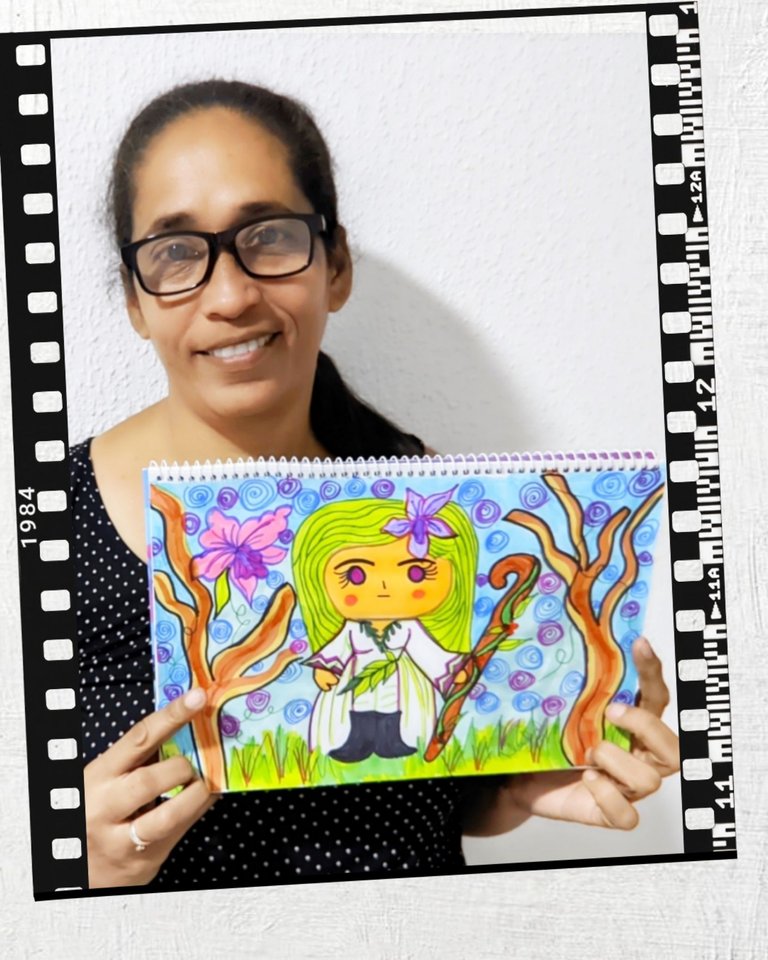
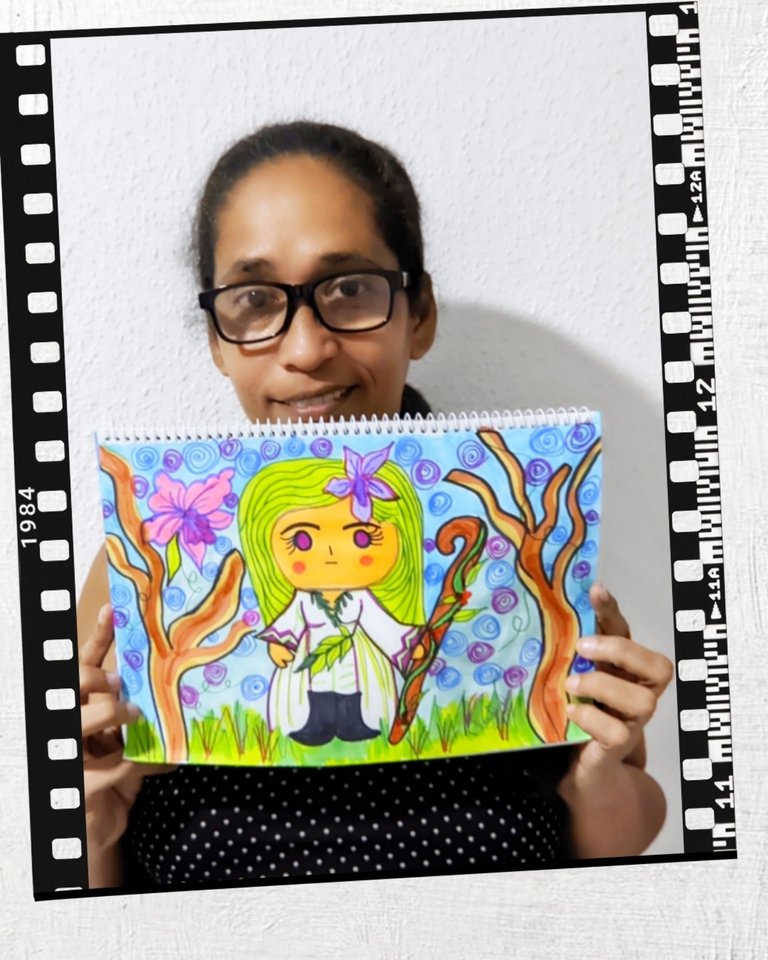
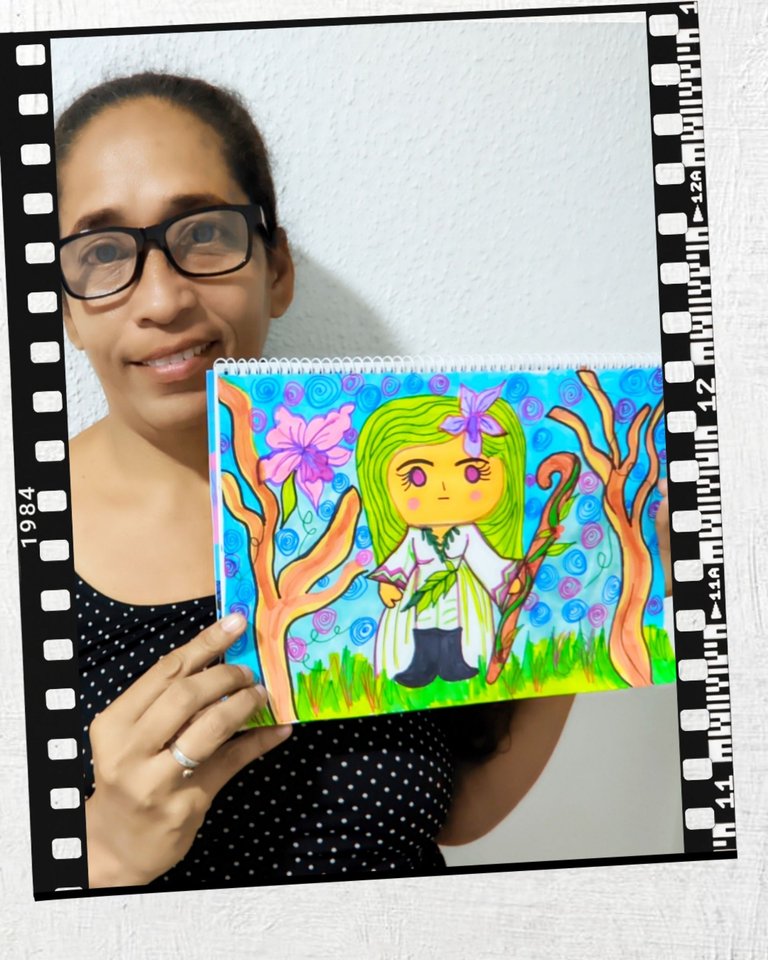
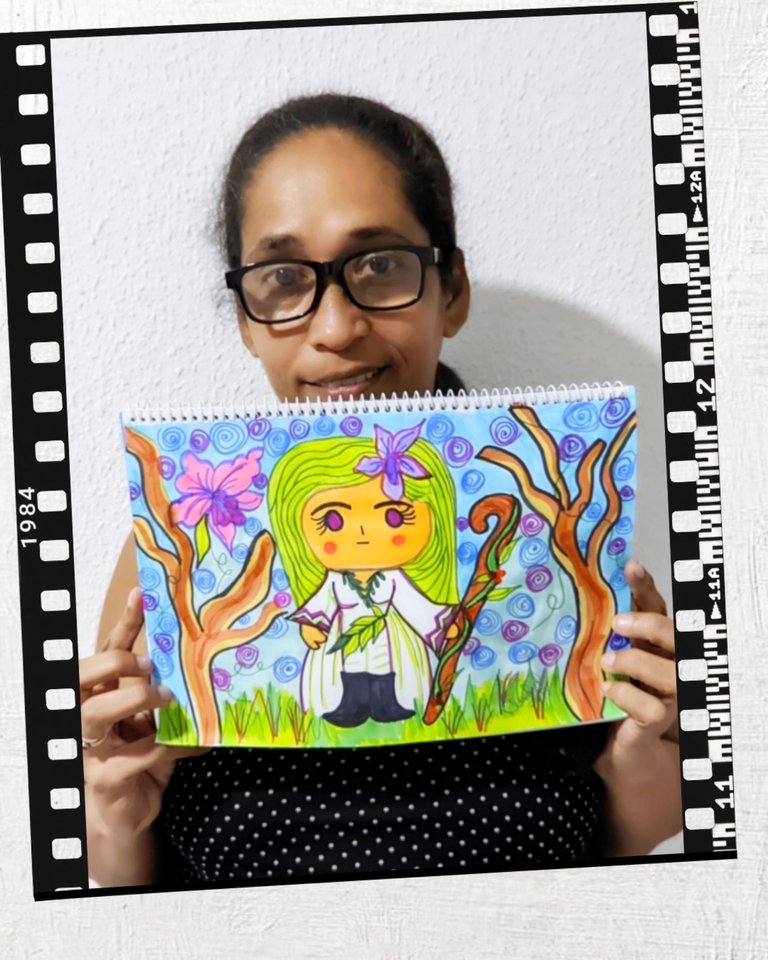
❇️ CRÉDITS ❇️
All pictures were taken with my Xiaomi redmi phone and are my own, I used polish and Deepl translator.


Saludos mis amores, amantes del vídeo juego #holozing el día de hoy les traigo un hermoso fan art inspirado en el sanador del bosque, debo confesarles que estos sanadores siempre me los he imaginado de manera delicada, con detalles finos y detallados y de hecho así es que han sido representados, Pero hoy no vengo a traerles una representación poco común.
Este dibujo lo hago desde la habitación de la clínica donde está hospitalizado mi esposo para ser operado, porque para mí #hive siempre está presente en todo momento, hasta en estos momentos siempre me ayuda a drenar la ansiedad y qué mejor manera que hacerlo que dibujando.
Desde muchísimos años he sentido pasión y son coleccionista de los funkos, amo ver cómo son representados diferentes personajes de esta manera, por eso mi fanart de hoy es un sanador del bosque versionado en un Funko, que les digo sinceramente, me encantó, el resultado final, acá les dejo el paso a paso y el resultado final.
❇️ MATERIALES ❇️

❇️ Block de dibujo.
❇️ Marcadores.
❇️ Lápiz de creyón.
❇️ Sacapuntas.
❇️ PASO A PASO ❇️
❇️PASO 1:

Tome el block de dibujo y con el lápiz de creyón inicie a dibujar, primero comencé por dibujar el rostro, luego el cuerpo, y de a poco fui dibujando cada detalle del personaje.
❇️PASO 2:

Cuando ya está dibujado el personaje en su totalidad, dibujo el resto de los detalles, que en este caso es una especie de bosque para darle un contorno a nuestro sanador del bosque estilo Funko.
❇️ PASO 3:

Vamos ahora a dar inicio con la aplicación de los colores, yo siempre inicio por los colores más claros, en este caso el color piel, y para esto trabajé con los marcadores de alcohol: trabajé con los tonos n° 36 crema, el n° 97 beige y el n° 107 sand que son los tonos que use de color piel y con los que colores, las manos cuello y rostro del Funko.
❇️ PASO 4:

Ahora comencé a darle color al cabello y al traje de mi Funko sanador del bosque, trabajé con los tonos: n° 47 Grass Green, n°48 yellow Green, n°50 forest Green, n° 53 turquesa Green, y n° 55 emerald green.
❇️ PASO 5:

Tome el marcador n°50 Forrest Green y como es un tono oscuro lo utilice para resaltar el collar del Funko sanador, así como también otros detalles del traje, que ayuden a darle más realce.
❇️ PASO 6:

Luego tome el marcador n°120 black y por el lado grueso rellene las botas, agarre el marcador n° 21 terracota y delineamos el bastón y relleno con el marcador n° 94 black brown.
❇️ PASO 7:

Ahora tomo el marcador n° 24 marigold y n° 101 yellow ochre y dibujo los arbustos que están en el bosque, luego tome el marcador n° 85 vivid purple y n°73 ultramarine y relleno la flor.
❇️ PASO 8:

Con el color n° 85 vivid purple y delineamos y rellenamos los ojos luego con el color n° 94 black brown y dibujamos las cejas y boca, y también delineamos todo.
❇️ PASO 9:

Tomo el marcador n° 50 Forrest Green junto con el n° 48 yellow Green y vamos dibujando la grama.
❇️ PASO 10:

Ahora tomo el marcador n° 67 pastel blue y el n°68 turquesa blue y vamos rellenando el área del cielo, luego dibujó pequeños espirales en todo el dibujo así como también enredadera en el árbol y listo hemos terminado.


❇️ CRÉDITOS ❇️
Todas las fotografías fueron tomadas con mi teléfono Xiaomi redmi y son de mi propiedad utilice el programa polish y el traductor Deepl.
~~~ embed:1881352257155031325?t=xz83JRTJ9XpRoG_578Wz2A&s=19 twitter metadata:TWF5ZWxpbjIwMjF8fGh0dHBzOi8vdHdpdHRlci5jb20vTWF5ZWxpbjIwMjEvc3RhdHVzLzE4ODEzNTIyNTcxNTUwMzEzMjV8 ~~~
Como siempre una excelente artista y poner drenar tus emociones a través de tu arte es genial, espero que tu esposo encuentre pronta recuperación.🙏
Muchísimas gracias corazón ya casi lo logramos y pronto lo verán regresar acá a hive a mi esposo con más entusiasmo que nunca, saludos
Que bueno amiga, me alegro escuchar eso, así sea con el favor de Dios🙏
Amén y gracias