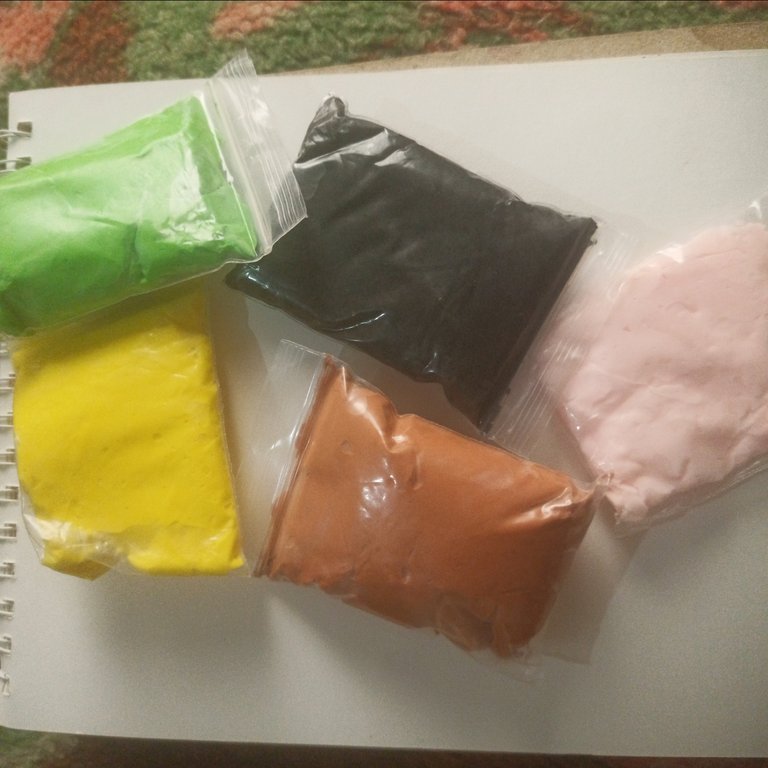
Things to use
Molding clay
Tools
Process
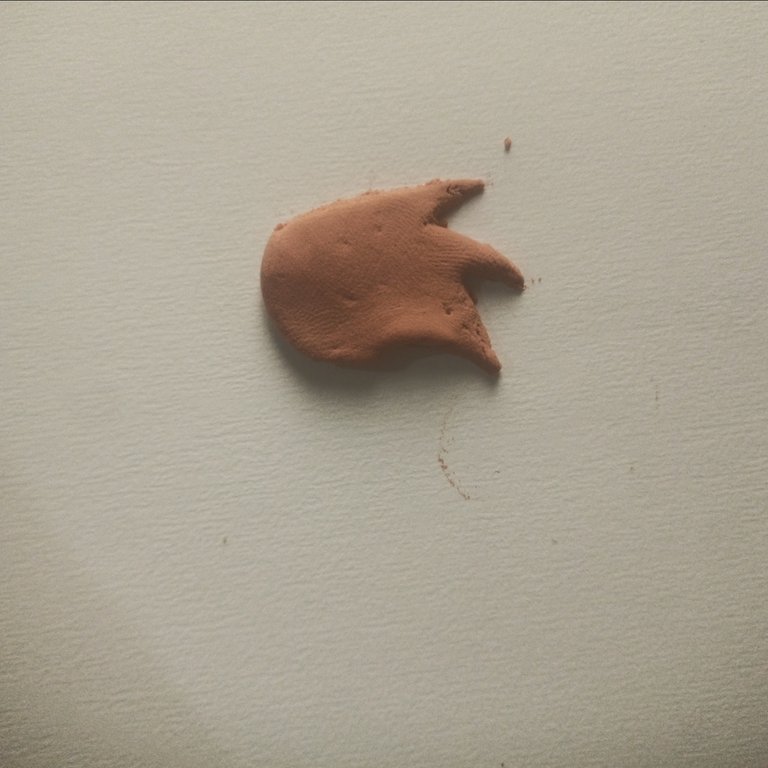
First of all I take a brown moulding clay. And then I started to make a doe of it. When it was completely airtight and wet. Then I started to make its character. First of all I make its head part. As we know the parts have hairs on their head. So I try to make as same the picture.
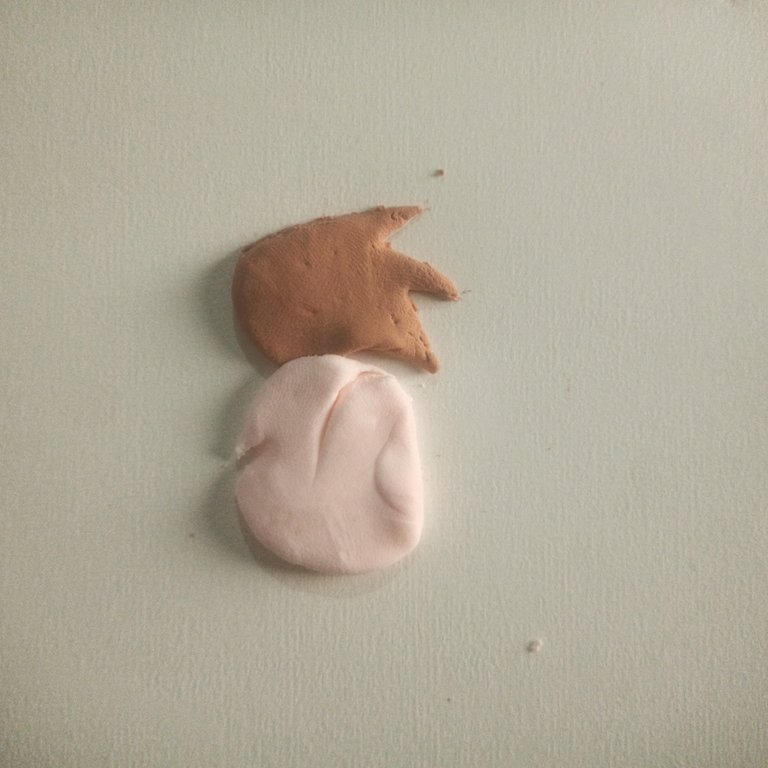
Now it was done to make its body. So I used light pink clay and make a round ball of it. Then a wrap it and started to press it with the force. So I make its belly. As you can see in the picture.
Now I was moving to the wings part. Again I used brown clay and make its feathers. It was a challenge for me because I am doing this after a long gap. But I was trying my best. There was only one thing which I have not. That is a good camera.
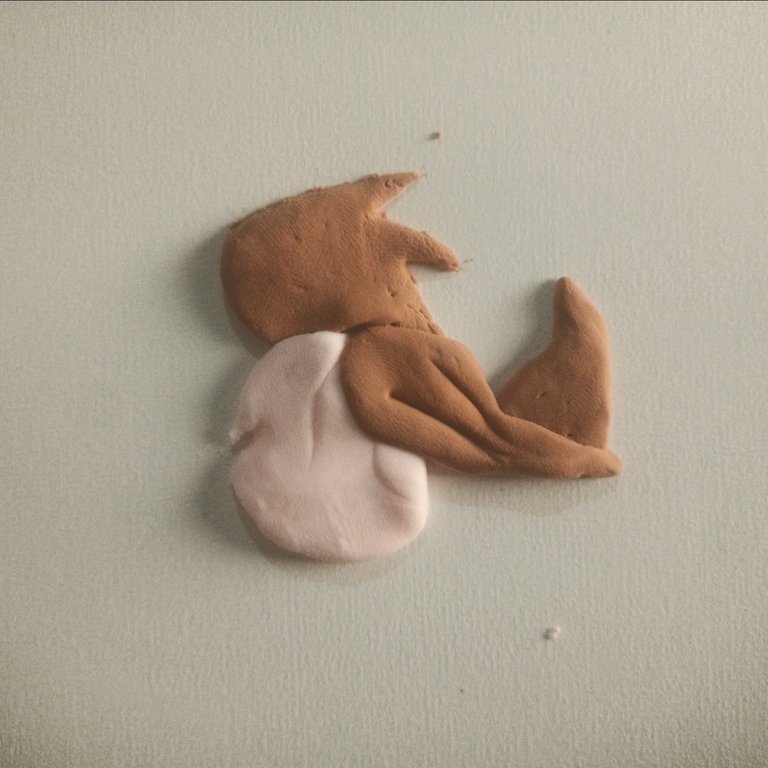
Now I started to make its back part. So I used black clay and made its legs and the tail.
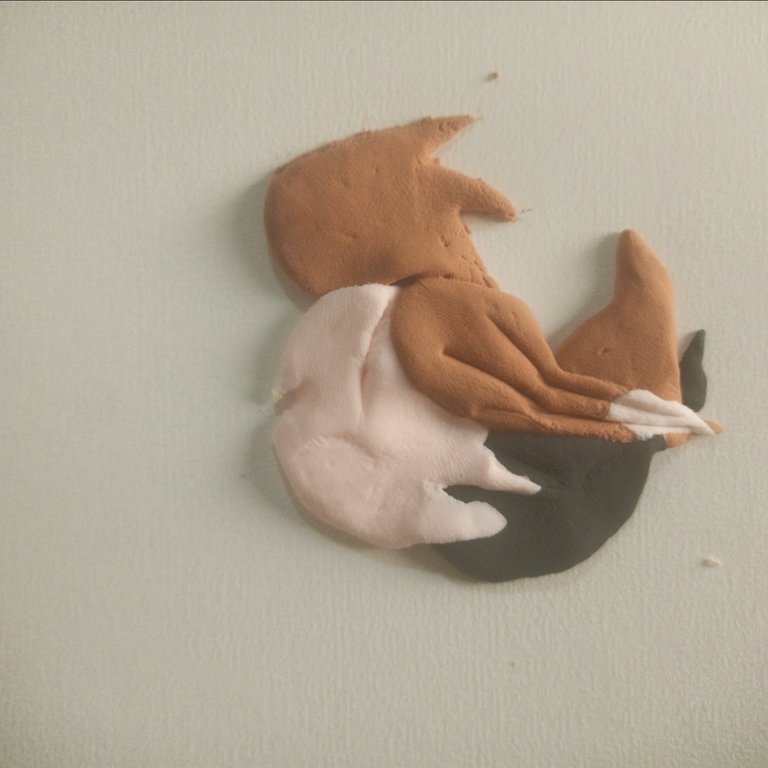
Mostly part was done. Now there was left only its eyes and feet. So I used yellow clay and give it a shape of feet and legs. So here you can see I also add some details in the body features.
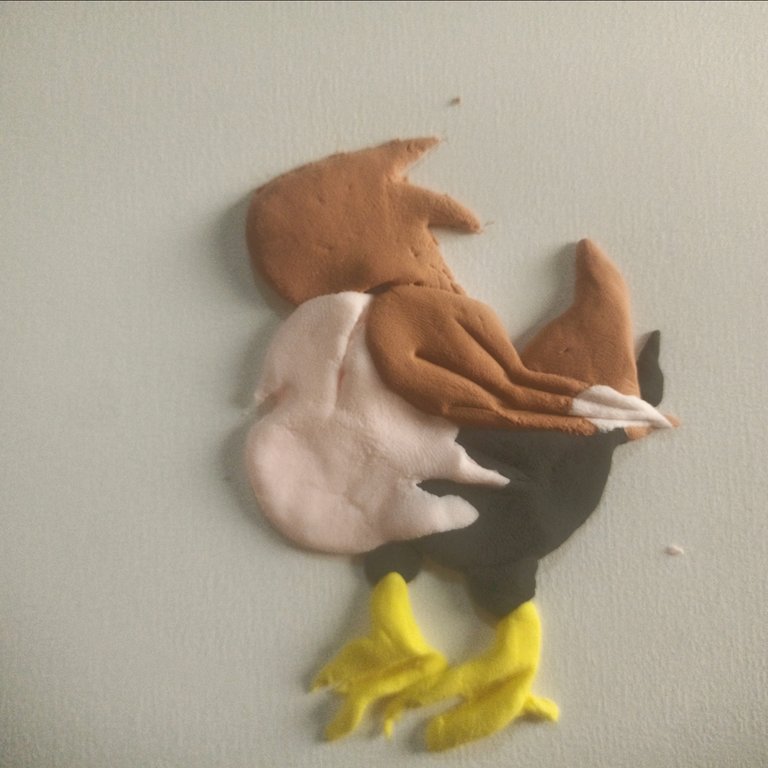
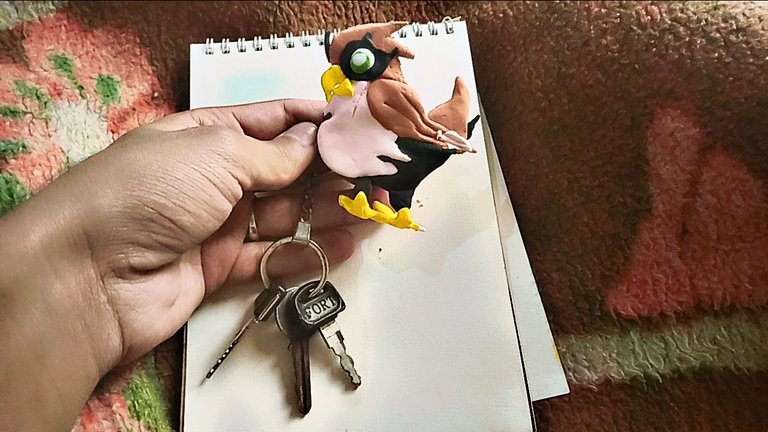
Now the last step. I make its eyes with green and white clay. And according to the inspiration there was also black hole beside the eyes. So I also made its beak with yellow clay. And here's the results.
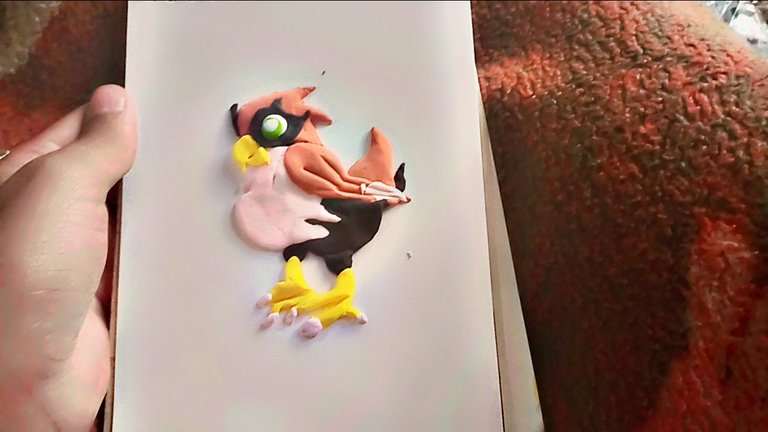
I was making it for my keychain. So I took my keys and insert this in the jumper of my keychain. Sohail was the look of final results
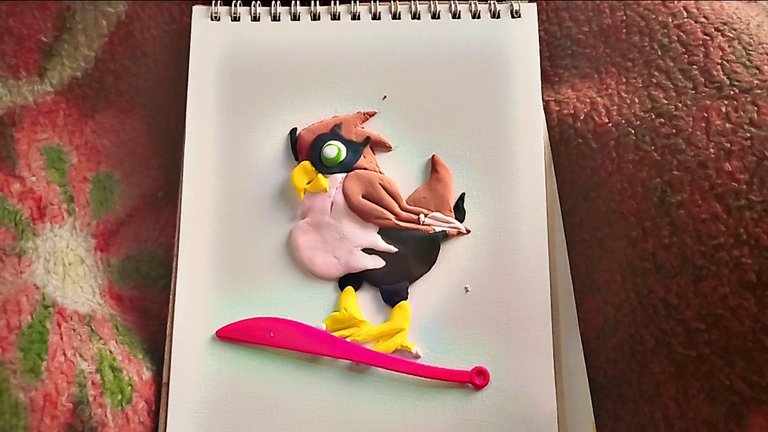
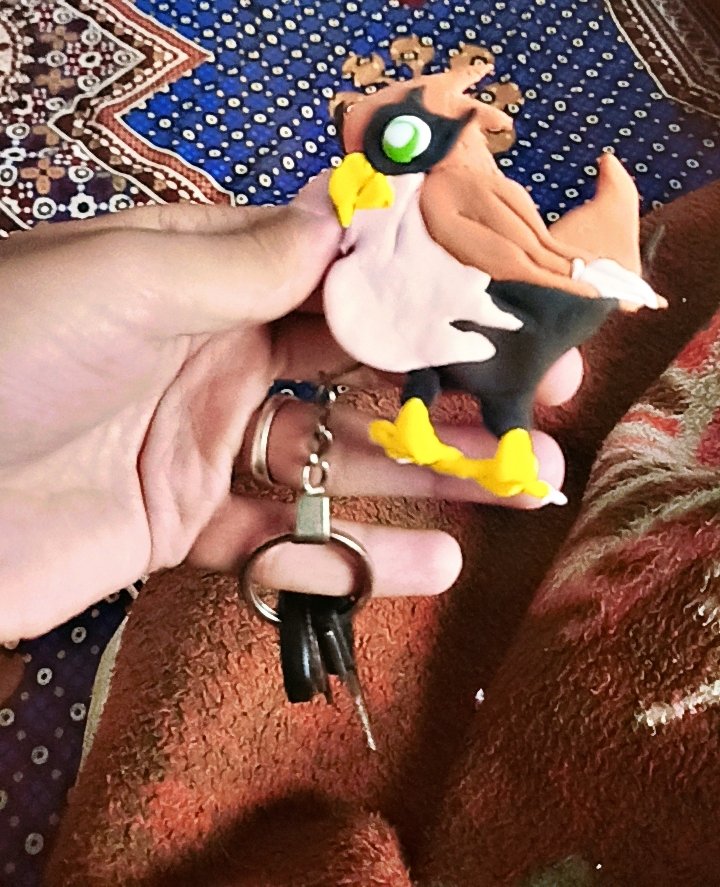
I hope you will like it. I have mention that I have to pictures from the Snapchat of the final results due to camera result issue. So I will try to manage a camera for my next post.
Keep Shining 🌟✨
very beautiful, you are very creative. good work👍