Process
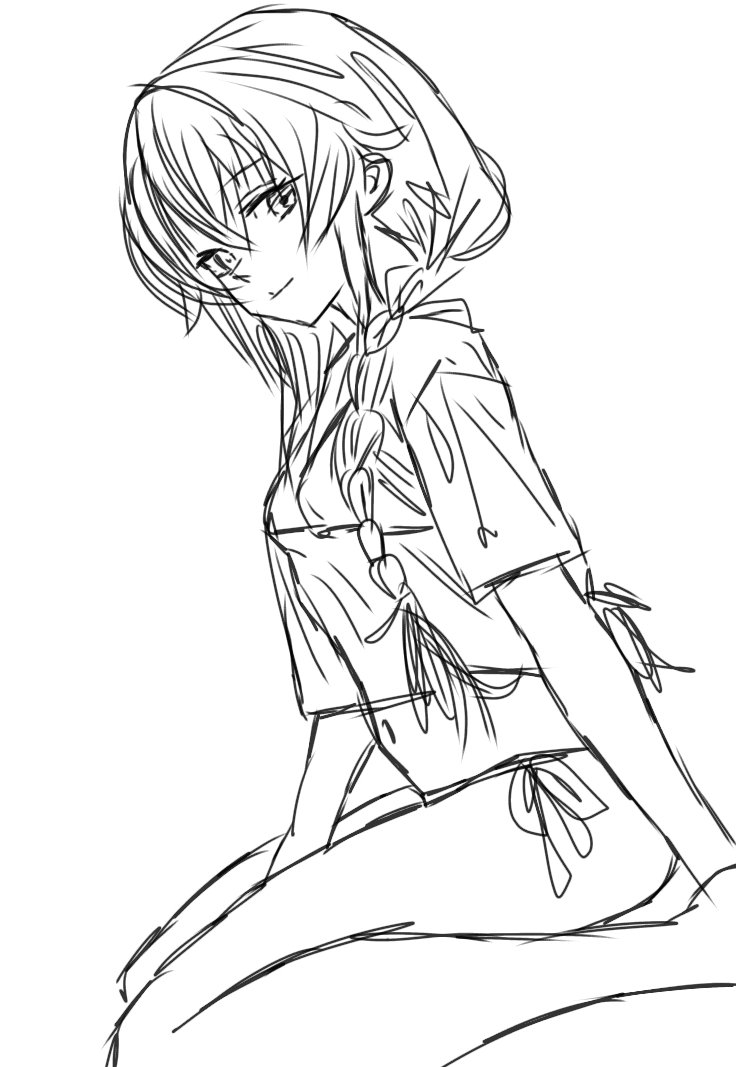
In the first start with the help of a brush called soft edges I have made the rough sketch the rough sketch is the only step in which it doesn't require a lot of trouble and a lot of hardworking you just have to scroll your pan on the screen and obviously required from sort of experience but once you become efficient enough it will be a second hand job.
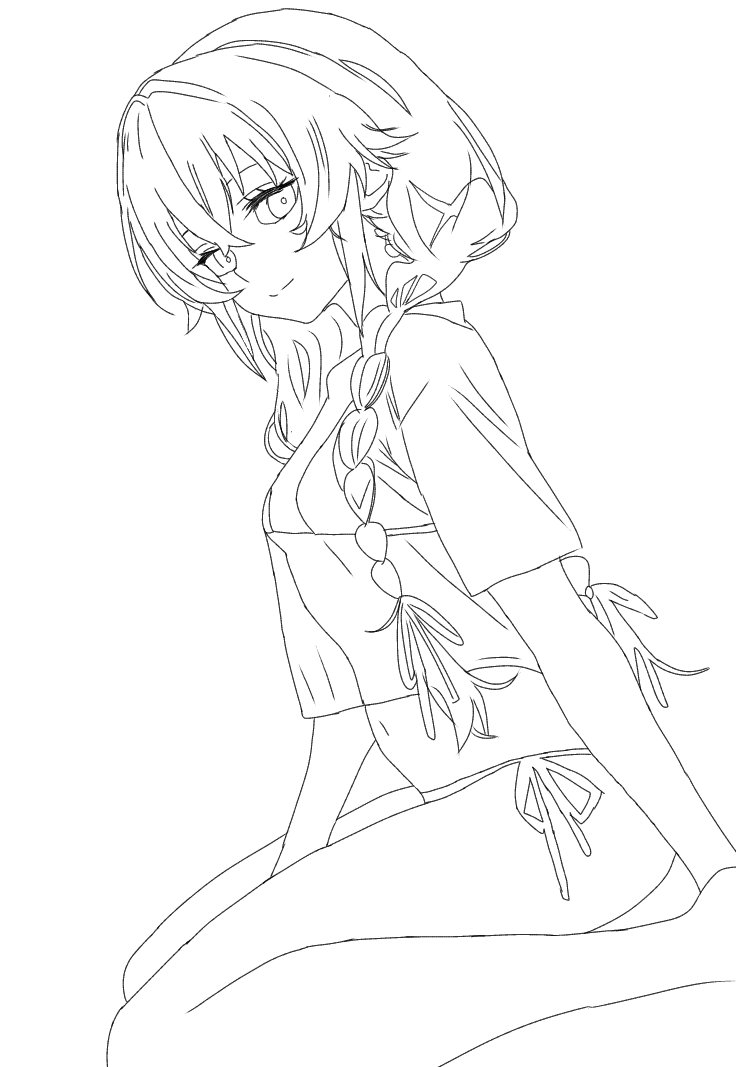
After completing the rough sketch of the drawing now it is time to turn it into a very prominent line art this is the step which required a lot of time first one is started making it for this drawing the pixel size of my pen was two pixel but it was looking so much think and weird so I have to reduce size to only 1.5 pixel and then was looking fine.
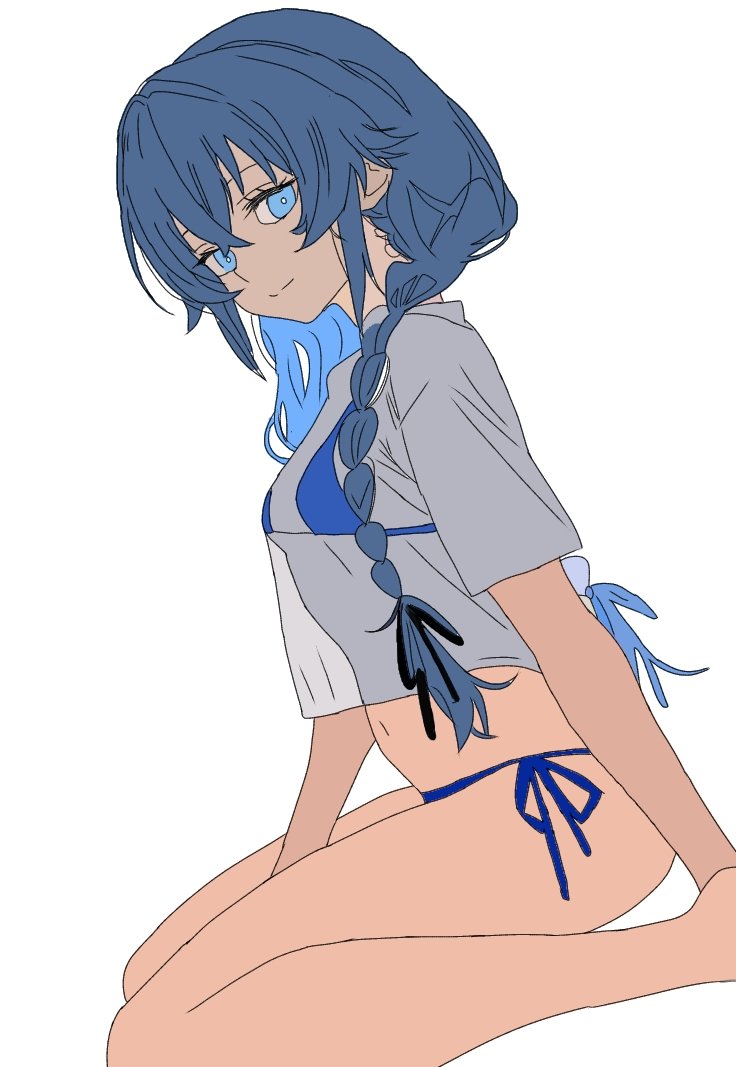
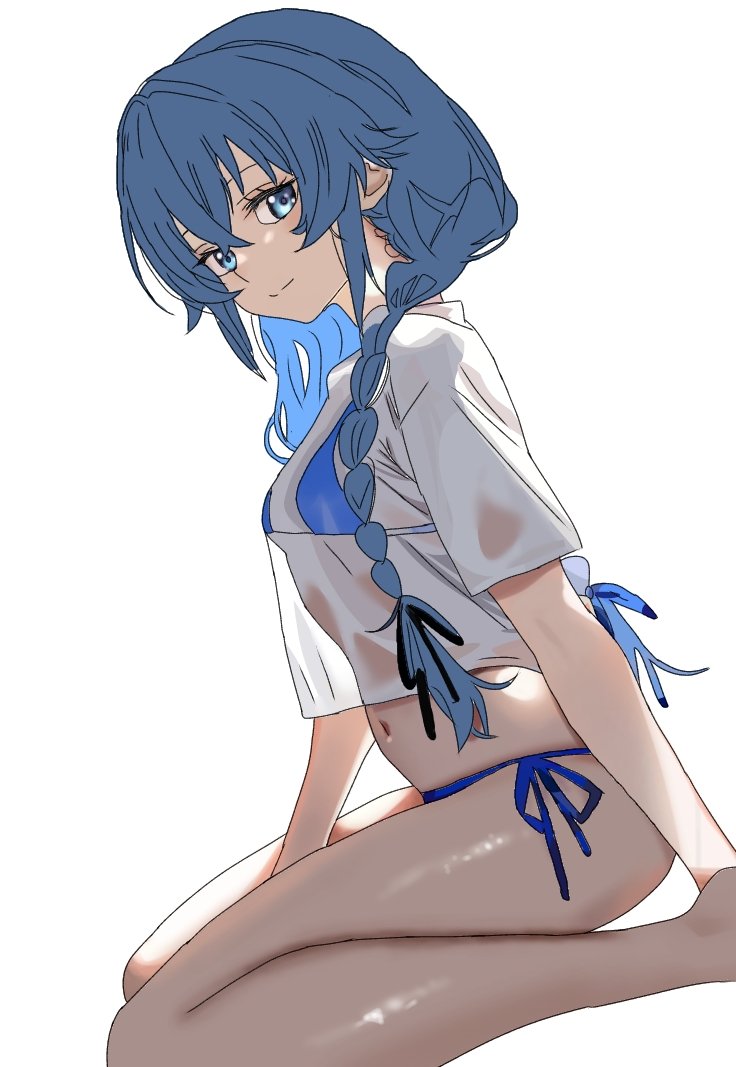
After completing the line art now it is time to colour it for colouring I am very comp person I always use Rock colours low saturation colour for drawings specifically just have to put it a colour from eye dropper and put it in the box with the help of a bucket tool.
After completing the basic colours I have use some brushes called fed pen heart as pen and airbrush for blending and other details to the skin and eyes of the character.
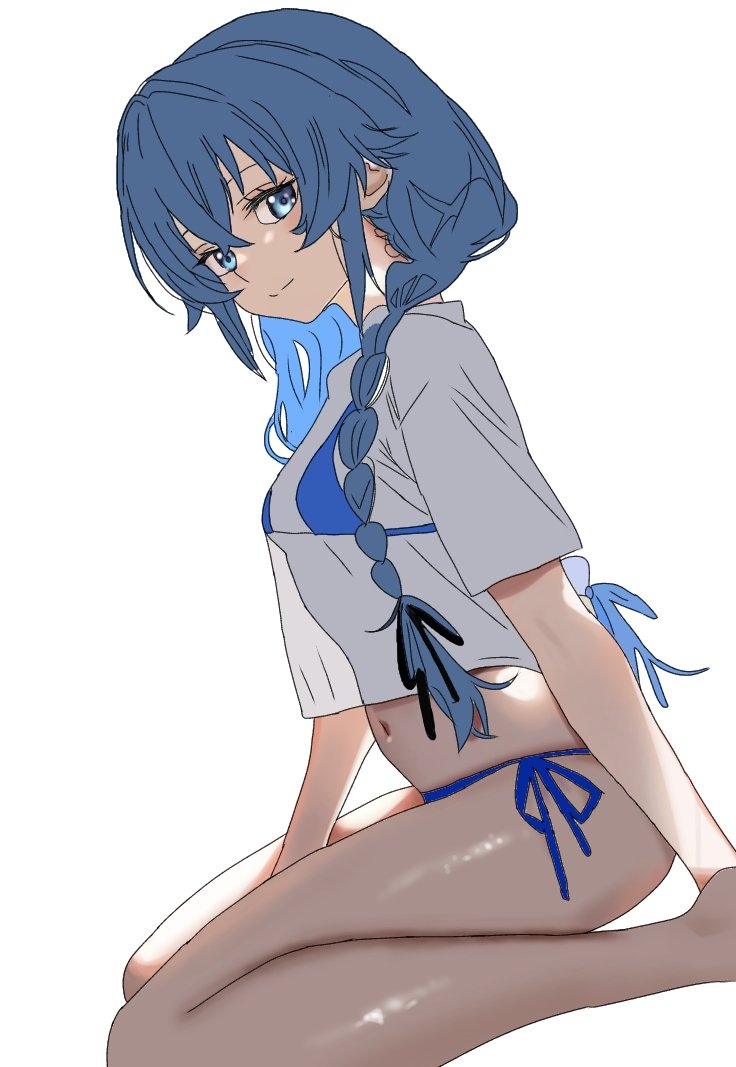
Diler body of the character requires not enough time but when he completed it I was thinking on myself that how I ended up here the legs are looking so much juicy and realistic that a couldn't even believe on myself that I have made them they are shining and their inshared so I have put some darker and lowest saturated colour for them.
This time I have reduce the so much colours that so much reduce my images of the procedure as I don't want to make any post a photo gallery so this is the image captured after completing this skirt of the character.
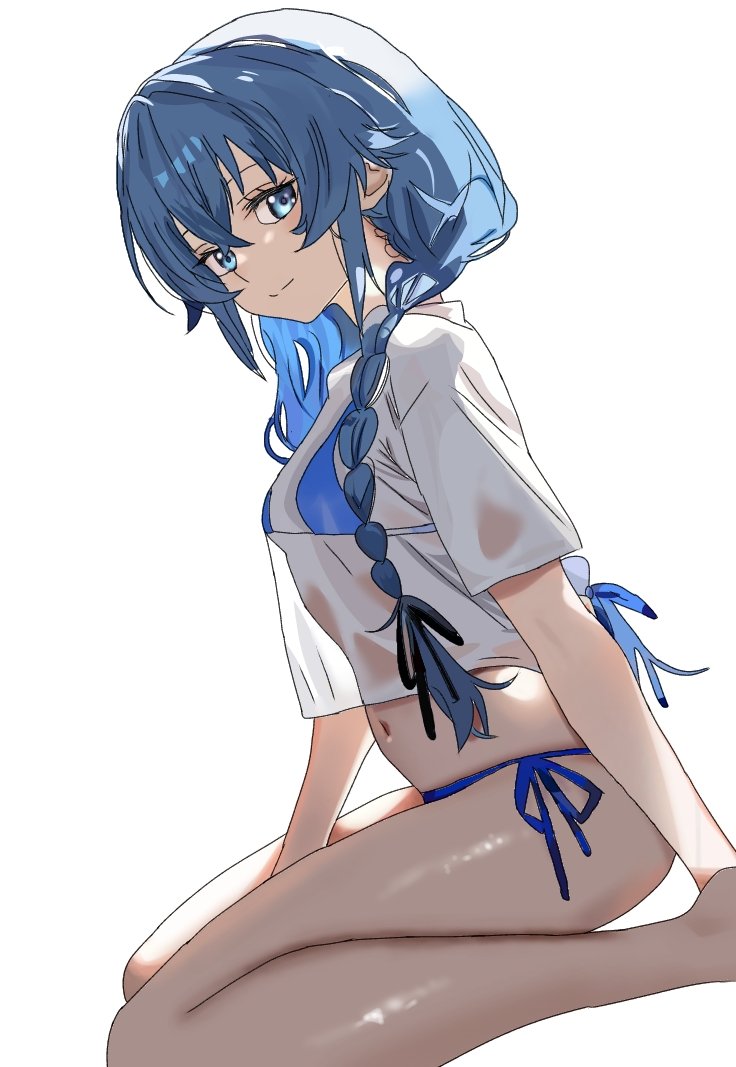
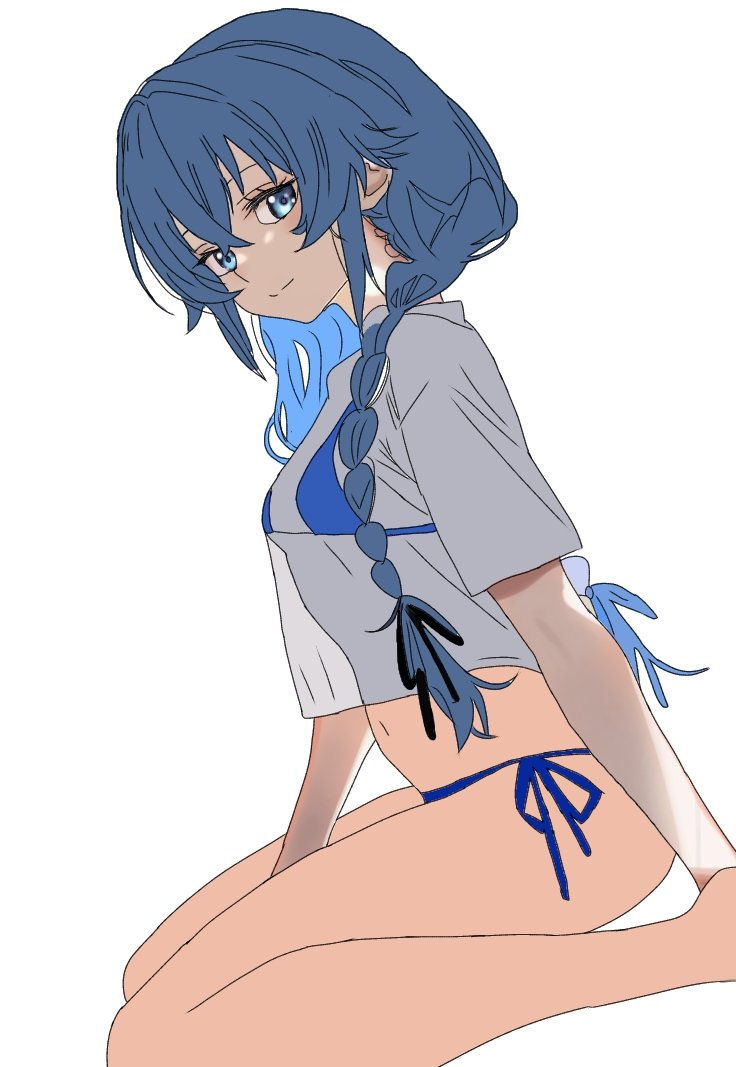
The hairs required a lot of time I have no idea why but I had made them a separate layer and then I attached and other layer of the layer of the hair and I clipped it on the lower layer and then I add multiply layer there was a lot of maths to create those hairs but the final result was satisfying.

Time to add background
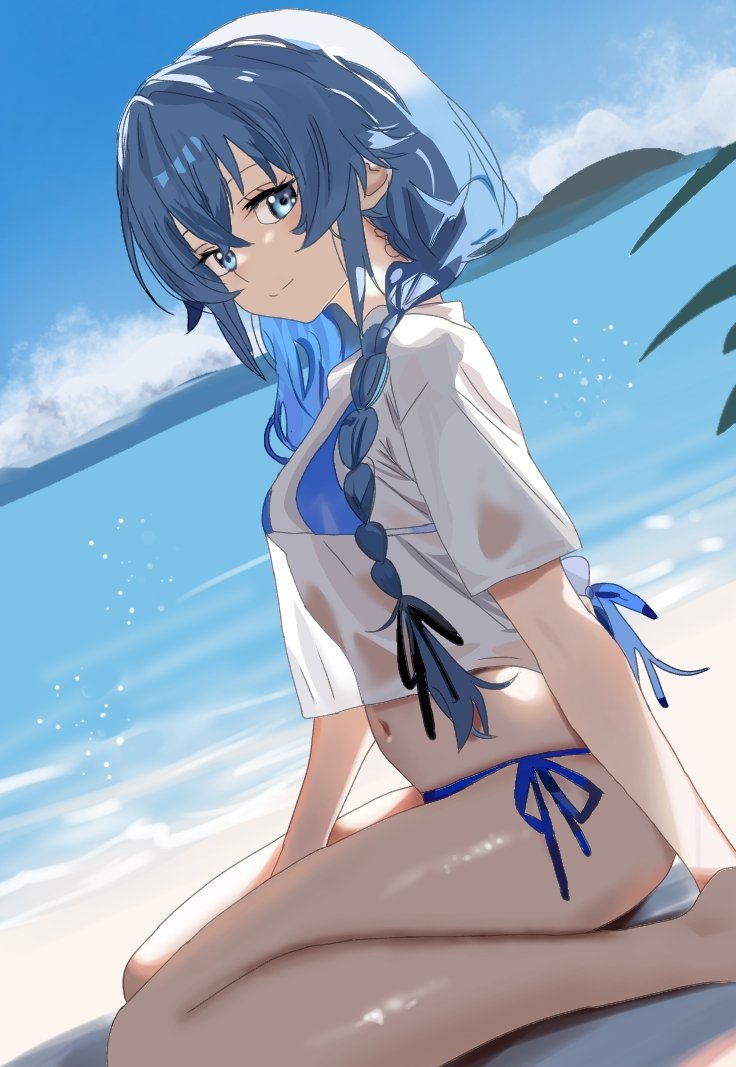
After adding day background I have added some shadows on the lower side as a sa in the reference drawing that was a pretty easy I had already made the background when a separate layer and then I made it visible at the last step.

Final look