Hola amigos hivers
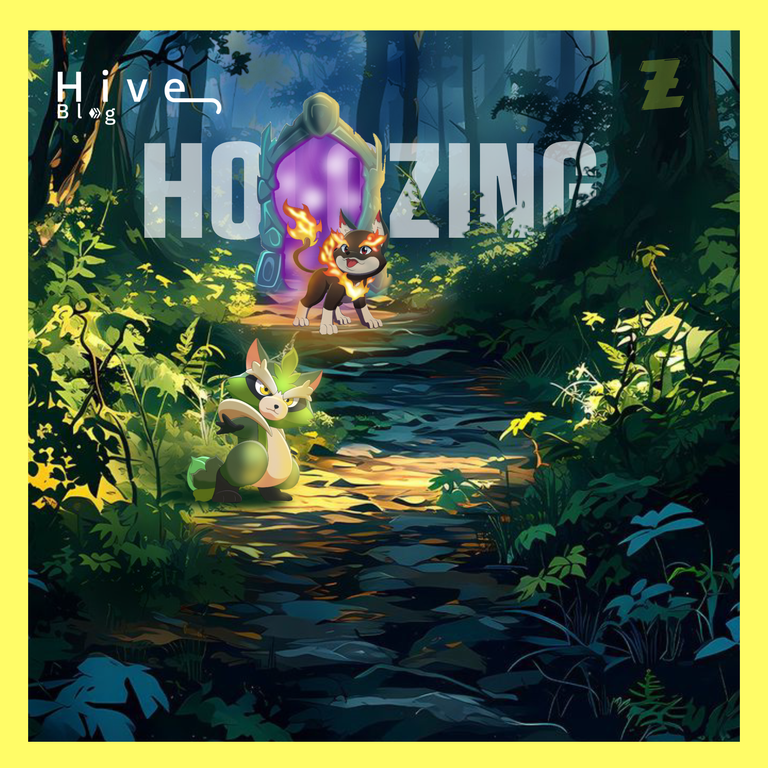
Hoy les traigo el nuevo diseño de hollowing que he realizado en la aplicación ibisPaint x,.
Este nuevo diseño lo he realizado en una serie de capas, fotos y un poco de dibujo.
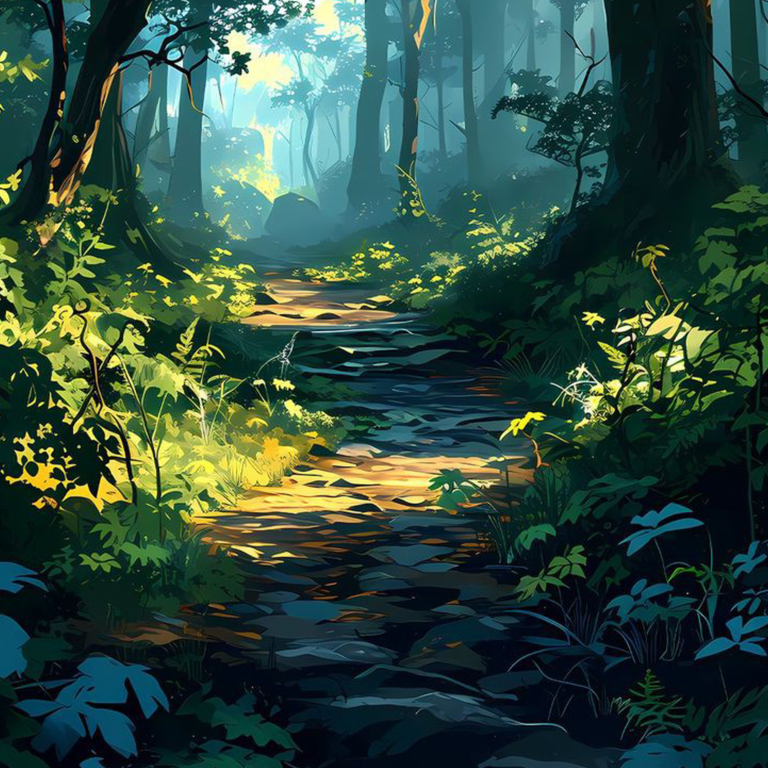
Para iniciar busque una imagen en Pinterest de un paisaje en versión 2D luego ya es teniendo la base empecé a colocar todas las capas correspondientes
Esta imagen la descargué de Pinterest la modifiqué un poco recortándola y echándola.
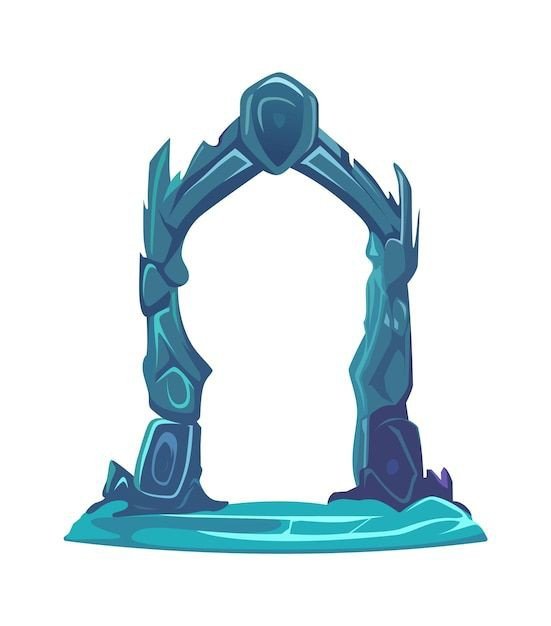
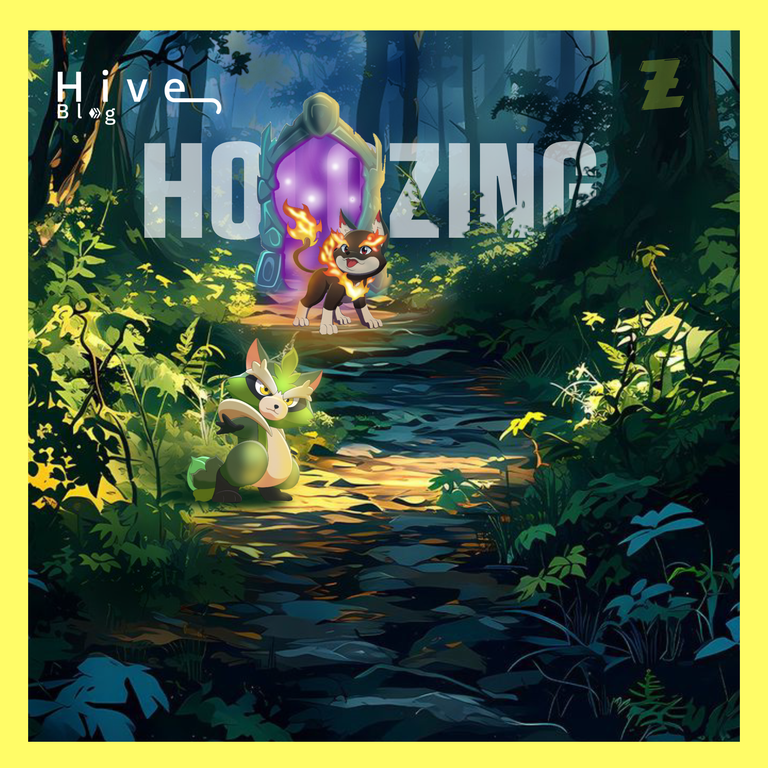
Busqué por internet una imagen de un portal en un dibujo 2D que relativamente cuadro bastante con esta imagen y los dibujos.
Para este portal luce muchas sombras Para darle lo necesario para mantenerse en el ambiente y el entorno en el que estaba.
El siguiente paso fue hacer las letras todas las letras allí fueron modificadas y recortadas con la figura de los árboles y las plantas alrededor para hacer así que se viera como si estaban por detrás de todos estos personajes diseños y plantas porque al final todo este proceso se trata de capas de dibujos
Ese tipografía fue la que usé en una publicación anterior y es la que mejor cuadra con el diseño de holozing.

En esta oportunidad modifiqué un poco esto le borré el fondo porque descargué estas imágenes de la página principal de holozing.


Ya en la publicación anterior este mismo marco lo estoy utilizando y cuadra muy bien con el diseño y los colores que se utilizan por eso decidí volver a usarlo y quedó muy bien dándole un aspecto único y lo hace parte de una serie de diseño.

Hay detalles tan simples como los que se ven en el árbol que está a la derecha la letra z . Esta fue una captura de pantalla que le hice al logo y lo utilicé para colocarla en el árbol un poco modificada de color verde

Aquí en la siguiente imagen se ve en parte un poco de las sombras que estoy utilizando para que todo el entorno encajara sin embargo utilicen un poco más de sombras que aquí no muestro como por ejemplo las sombras que emite el portal, la sombra que coloqué en el paisaje en la parte final como si fuera una neblina oscureciendo el bosque. Te estás que no aparecen en la imagen pueden detallarlas comparando la primera imagen del paisaje que descargué de Pinterest y el resultado final.
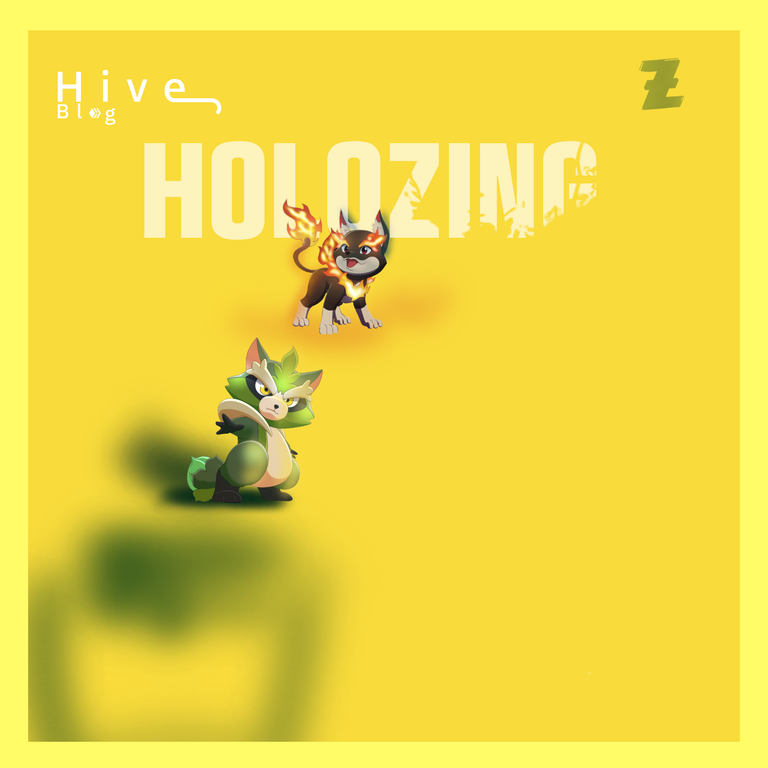
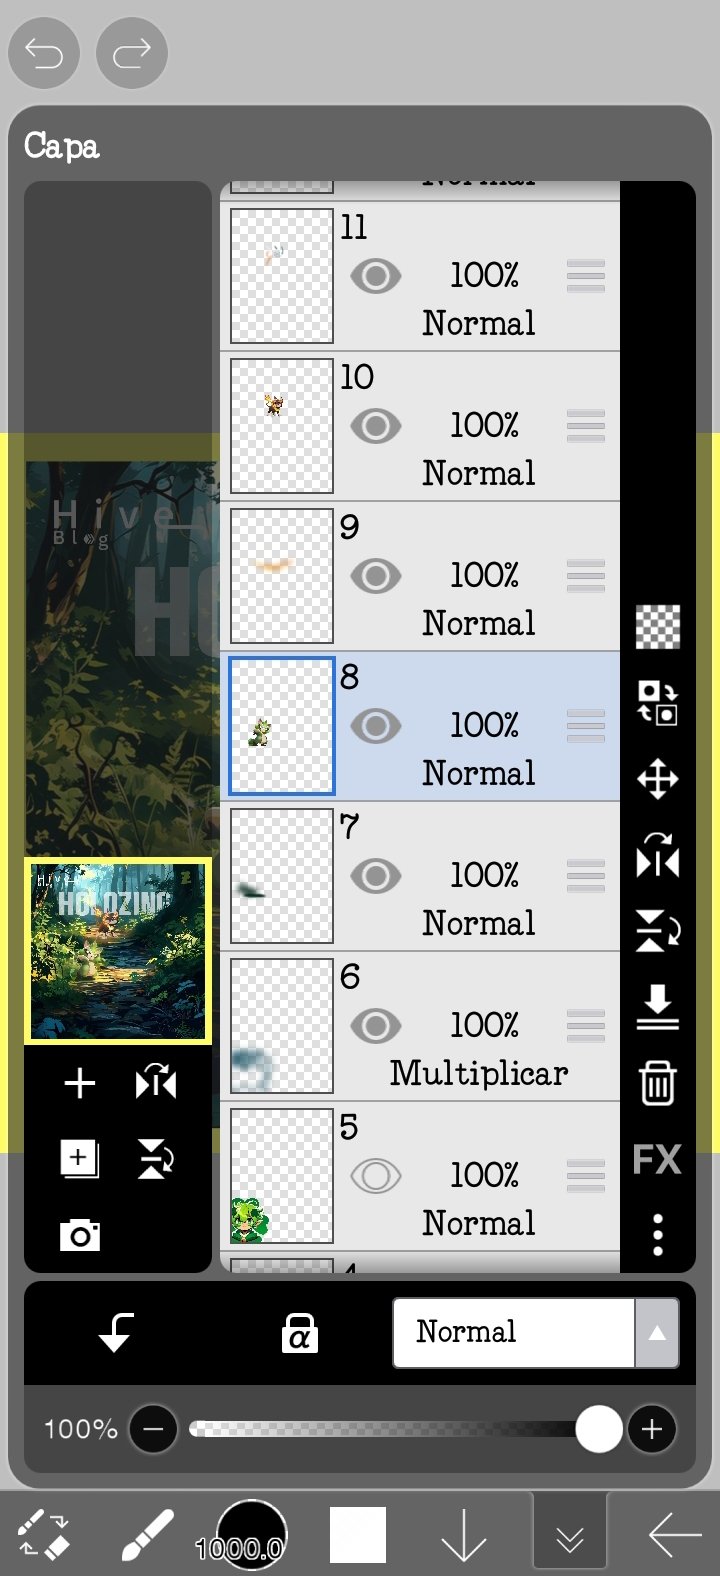
Y aquí está la versión en todas las capas una captura de pantalla que le he hecho a la aplicación de Ibis paint x, en esta parte se puede ver cada capa enumerada y este es el proceso que yo utilizo para transformar una imagen en un diseño como este.
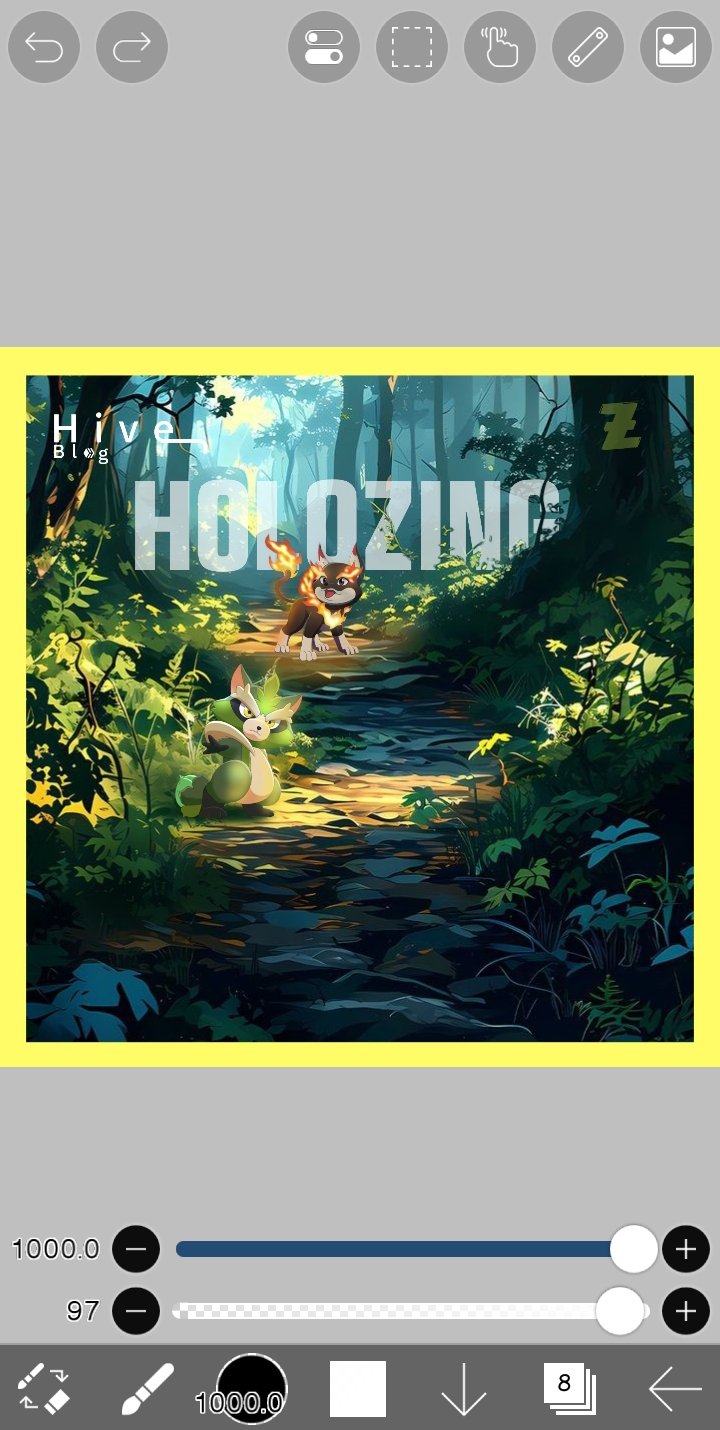
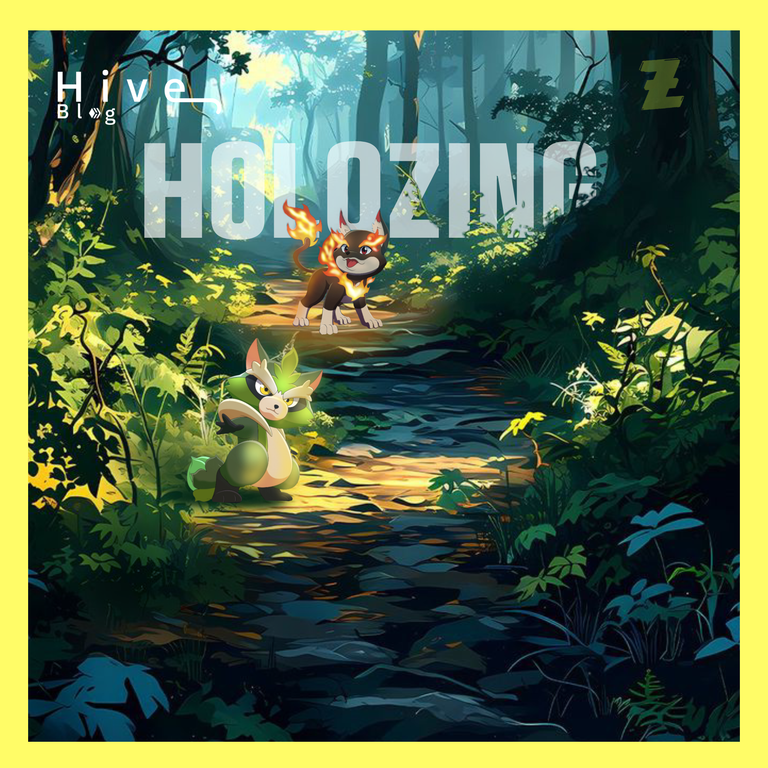
Ya aquí en esta parte no quiero demostrar que una de las dos imágenes sea válida, las dos son válidas, tanto la imagen del portal como la que no lo tiene son válidas porque son diseños completamente terminados lo único que uno fue un poco más modificado que el otro colocando el portal que se ve allí en la parte de atrás y la neblina
Espero que les haya gustado este diseño nos vemos en un próximo post

_____________________english______________________

Hello friends hivers
Today I bring you the new hollowing design that I have made in the ibisPaint x application.
This new design I have done in a series of layers, photos and a little drawing.
To start I looked for an image on Pinterest of a landscape in 2D version then having the base I started to place all the corresponding layers.

I downloaded this image from Pinterest and modified it a bit by cropping it and adding some layers.

I searched the internet for an image of a portal in a 2D drawing which is relatively close to this image and the drawings.
For this portal I used a lot of shadows to give it what it needed to stay in the atmosphere and environment it was in.

The next step was to make the letters all the letters there were modified and cut out with the figure of the trees and the plants around them to make it look like they were behind all these characters designs and plants because in the end this whole process is all about layers of drawings.
That typeface was the one I used in a previous publication and it's the one that fits best with the holozing design.

This time I modified this a bit and deleted the background because I downloaded these images from the holozing homepage.


Already in the previous publication I am using this same frame and it fits very well with the design and the colours that are used so I decided to use it again and it looked very good giving it a unique look and makes it part of a design series.

There are details as simple as the ones you see in the tree on the right the letter z . This was a screenshot I took of the logo and used it to place it on the tree in a slightly modified green colour.

Here in the following image you can see some of the shadows that I am using to make the whole environment fit, however I used some more shadows that I don't show here, for example the shadows that the portal emits, the shadow that I placed in the landscape in the final part as if it was a mist darkening the forest. You can detail the shadows that do not appear in the image by comparing the first image of the landscape that I downloaded from Pinterest and the final result.

And here is the all layers version a screenshot I have made to the Ibis paint x application, in this part you can see each layer numbered and this is the process I use to transform an image into a design like this.


Already here in this part I don't want to demonstrate that one of the two images is valid, both are valid, both the image of the portal and the one without it are valid because they are completely finished designs the only thing that one was a little more modified than the other placing the portal that you see there in the back part and l
the mist


Congratulations @shabue! You have completed the following achievement on the Hive blockchain And have been rewarded with New badge(s)
You can view your badges on your board and compare yourself to others in the Ranking
If you no longer want to receive notifications, reply to this comment with the word
STOPCheck out our last posts: