🔸Sin más que añadir, a continuación los dejo con el paso a paso:
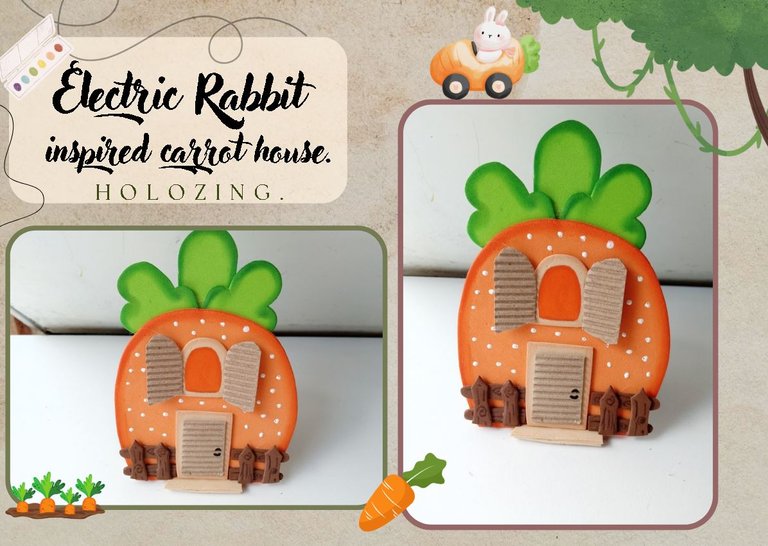
🥕🐇Good afternoon, holozing friends!I hope you are feeling great today and are having a nice week. For my part, I am happy to stop by here again to share with you a nice decoration inspired by Electric Rabbit. Here I come with my creative ideas, friends, once again imagining a little beyond each of the characters or creatures, on this occasion I wanted to elaborate what Rabbit's house would look like, so I got a little inspired and after cutting out a Shortly, this cute carrot-shaped house pendant came out.
🔸Without more to add, then I leave you with the step by step:
♥️ESPERO QUE TE GUSTE,
¡Empecemos!
♥️I HOPE YOU LIKE IT,
Let's start!

✂️ MATERIALES | ✂️ MATERIALS

- Cartón delgado.
- Foami naranja.
- Foami verde.
- Foami marrón.
- Foami beige.
- Cartulina corrugada.
- Marcadores y pinturas.
- Cinta delgada.
- Hoja blanca.
- Pegamento.
- Lápiz.
- Tijera.
- Thin cardboard.
- Orange foam.
- Green foam.
- Brown foam.
- Beige foam.
- Corrugated cardboard.
- Markers and paints.
- Thin tape.
- White sheet.
- Glue.
- Pencil.
- Scissors.

🥕 PROCEDIMIENTO | 🥕 PROCESS

- ✨ PASO 1:
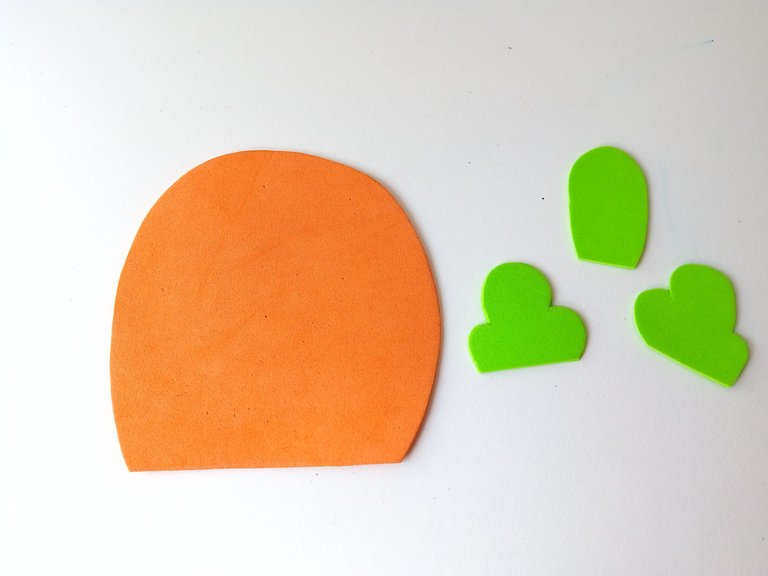
Yo no quise hacer la zanahoria entera, solo la parte superior, así que solo dibujé y recorté en foami naranja con forma ovalada en la parte de arriba y recto abajo. También, dibujé un par de hojas en foami verde; dos con la misma forma y una diferente que es la que va en medio.
- ✨ STEP 1:
I didn't want to make the whole carrot, just the top part, so I just drew and cut it out of orange foam with an oval shape on the top and a straight bottom. Also, I drew a couple of leaves in green foam; two with the same shape and a different one, which is the one in the middle.


- ✨ PASO 2:
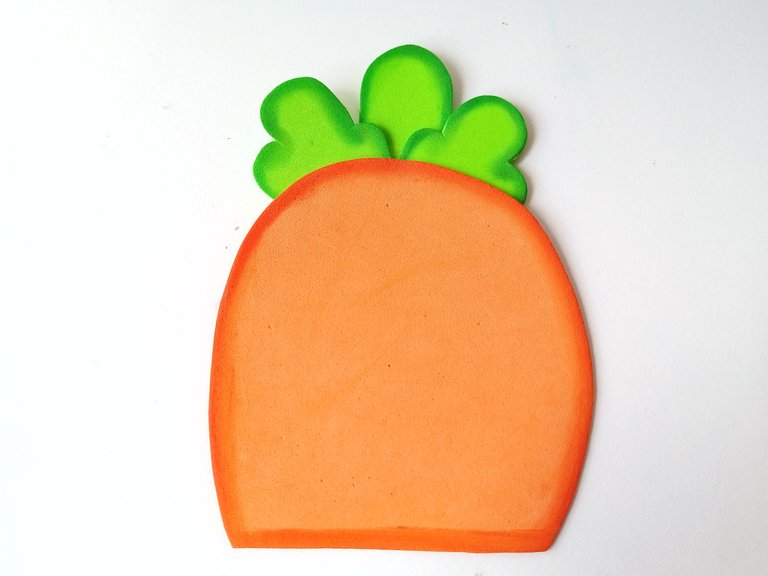
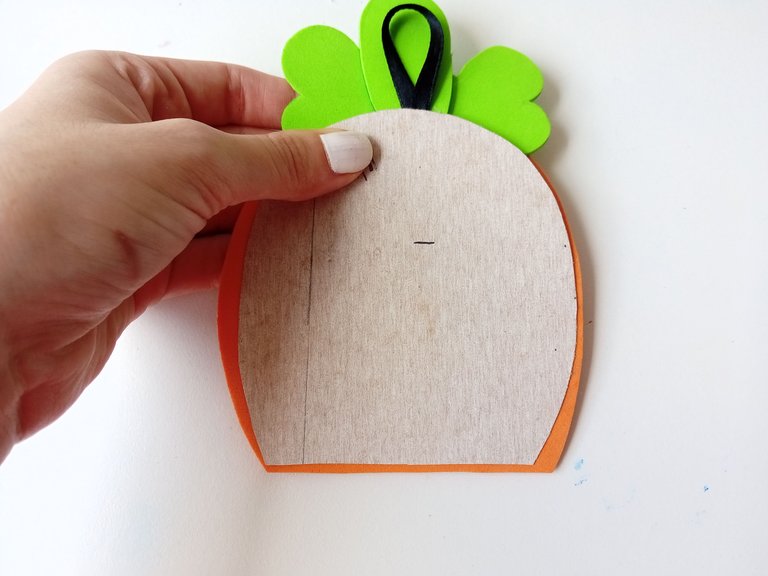
Después, con ayuda de un pañito, froté los bordes de cada pieza, con pinturas un tono más oscuro que cada una. Al secar, pegué las piezas en su lugar y pegué un trozo de tira en la parte trasera que será de donde colgaremos esta decoración. Para que la pieza quede un poco más firme, recorté una pieza de cartón delgado 1 cm más pequeño que la pieza de foami naranja y pegué a la parte trasera.
- ✨ STEP 2:
Then, with the help of a cloth, I rubbed the edges of each piece, with paints one tone darker than each one. When dry, I glued the pieces in place and glued a piece of strip to the back which will be where we will hang this decoration. To make the piece a little firmer, I cut a piece of thin cardboard 1 cm smaller than the orange foam piece and glued it to the back.


- ✨ PASO 3:
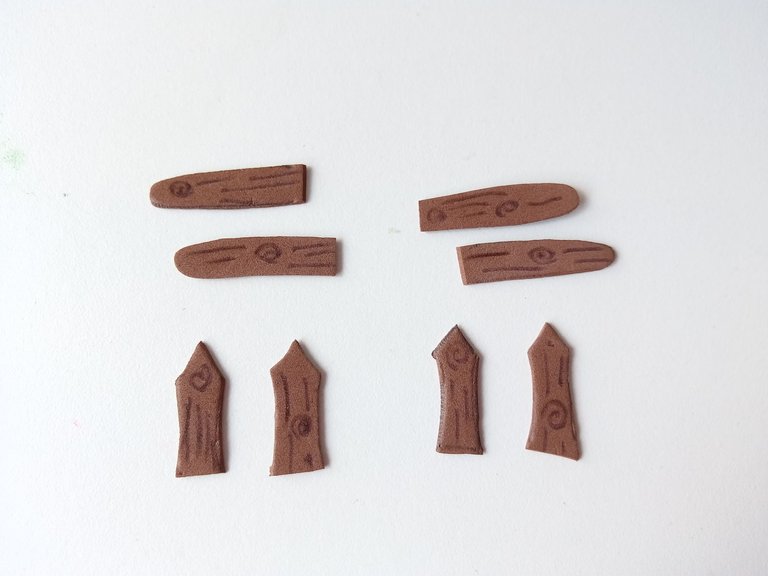
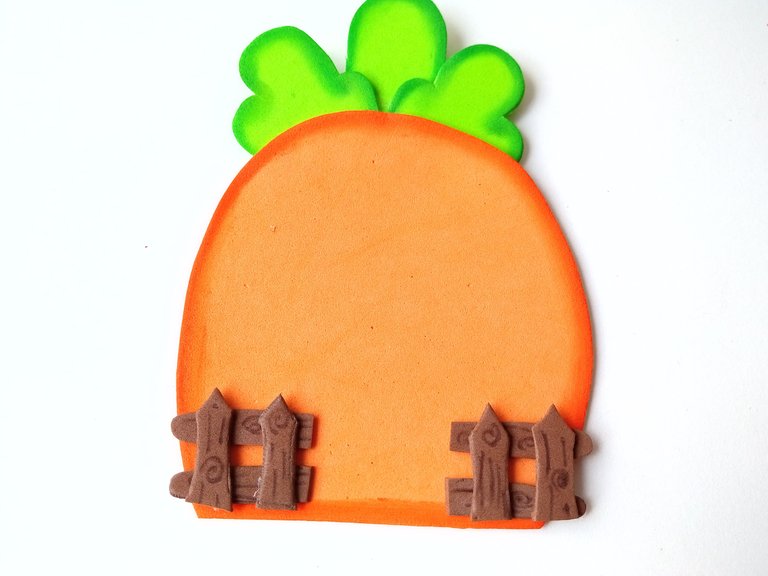
Al estar lista la estructura de la casa, comencé a dibujar y recortar las piezas para formar unas vallas a los lados de la puerta, así que recorté cada una de las piezas y les di detalles de madera con un marcador delgado y, por último, pegué a la casa.
- ✨ STEP 3:
Once the structure of the house was ready, I began to draw and cut out the pieces to form some fences on the sides of the door, so I cut out each of the pieces and gave them wooden details with a thin marker and, finally, I hit the house.


- ✨ PASO 4:
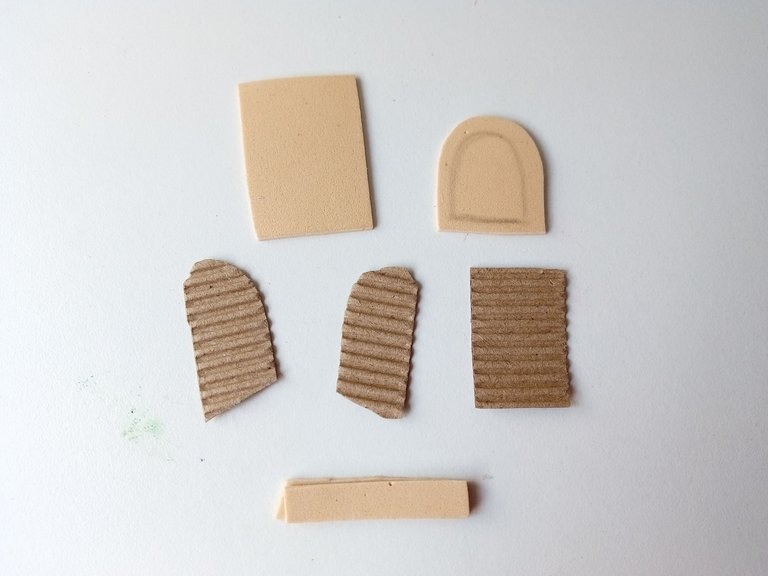
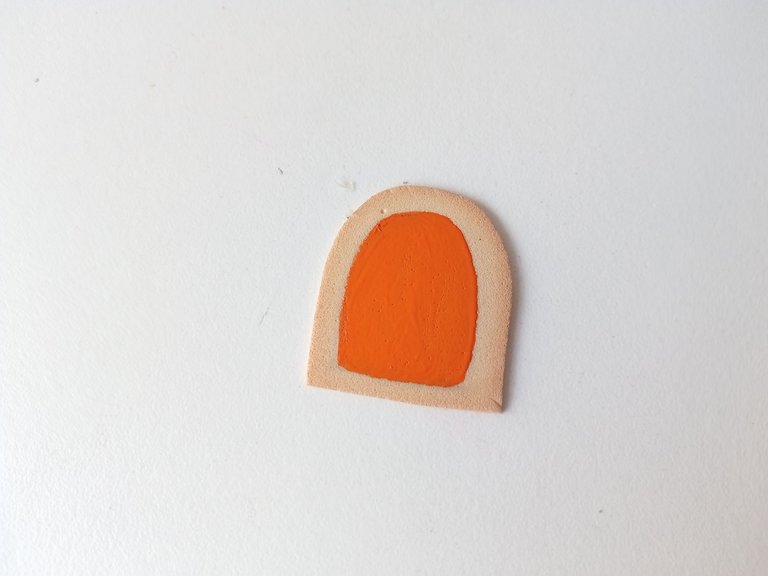
Luego, recorté cada una de las piezas para las puertas y ventanas, de la siguiente manera: recorté el marco de la ventana y puerta en foami beige, y las puertas en cartulina corrugada. Después, froté un poco de pintura por los bordes de los marcos y, como la ventana está abierta, pinté el medio del marco con pintura naranja.
- ✨ STEP 4:
Then, I cut out each of the pieces for the doors and windows, as follows: I cut out the window and door frame in beige foam, and the doors in corrugated cardboard. Next, I rubbed some paint around the edges of the frames and since the window is open, I painted the middle of the frame with orange paint.


- ✨ PASO 5:
Al estar todo seco, pegué el marco y la puerta en medio de las vallas, y también pegué el marco de la ventana y las puertas de la misma a cada lado, abiertas. Por último, di detallas pintando la manilla de la puerta y puntos blancos por toda la casa⁄zanahoria.
- ✨ STEP 5:
Once everything was dry, I glued the frame and the door in the middle of the fences, and I also glued the window frame and the window doors on each side, open. Finally, I gave details by painting the door handle and white dots throughout the house⁄carrot.

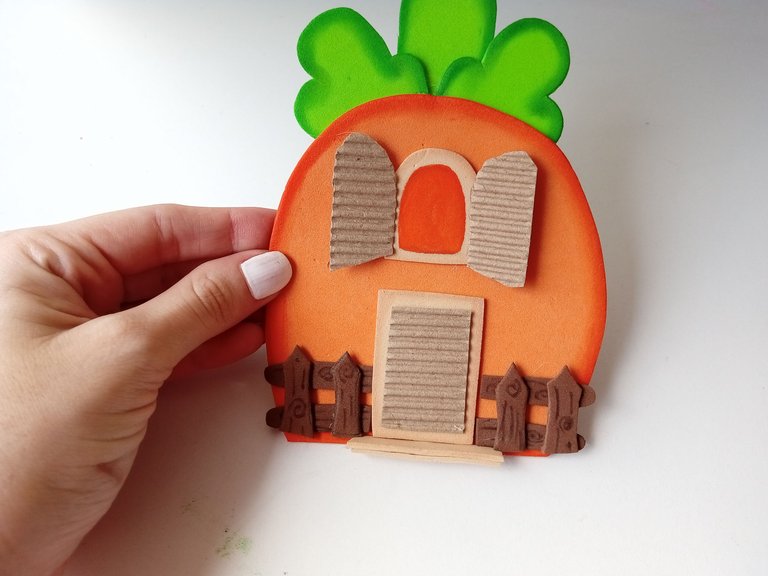
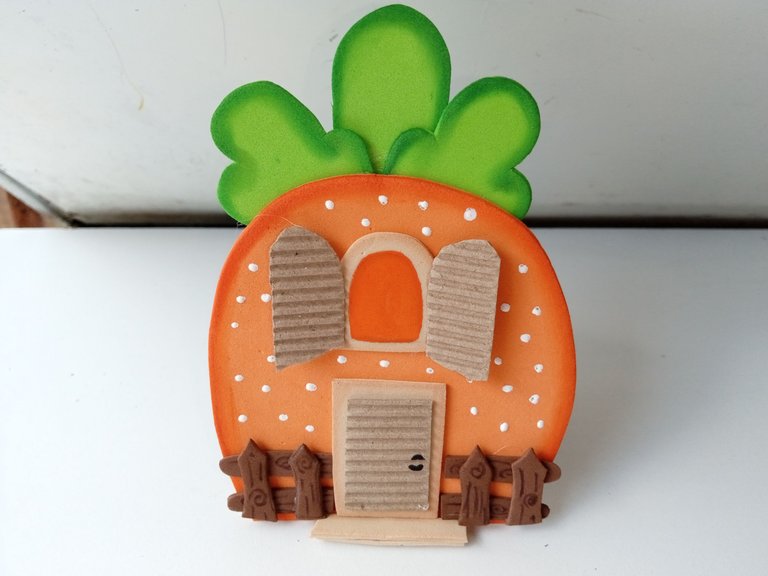

✨¡And ready!✨ This is how I created a nice pendant idea to decorate some space in the house or room, it is also a nice idea to decorate a party with a similar theme. I hope you liked the step by step and are encouraged to make it.
❤️Until the next post.
❤️ Hasta la próxima publicación.
❤️ Until the next post.


Todas las fotografías son de mi propiedad.
Separador y Fotos editadas en Canva
All photographs are my property.
Photos edited in Canva
Por favor, que alguien me diga cuándo no? Cuando mi amiga no está creando bellezas🤭🥰🥰🥰
Esta casita de zanahoria te quedo fantástica amiga y además muy cuchi, me encantó muchoooo! Gracias por compartir e impartir esta tierna idea🩷🌷
Que preciosura ami, como todo lo que haces, te quedó muy cuchi esa casita 😊
Que hermosa.
Que cosita tan curiosa y hermosa mi Valen, te quedó super linda 🥹😍
Congratulations, your post has been curated by @dsc-r2cornell. You can use the tag #R2cornell. Also, find us on Discord
Felicitaciones, su publicación ha sido votada por @ dsc-r2cornell. Puedes usar el tag #R2cornell. También, nos puedes encontrar en Discord
Me gusta mucho la zanahoria y está decoración está muy bonita amiga
Hermoso y muy bien explicado.