🔸Sin más que añadir, a continuación los dejo con el paso a paso:
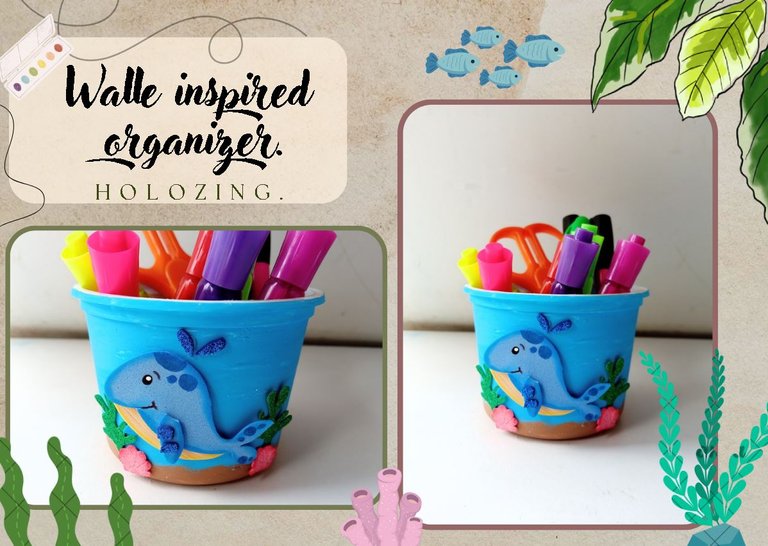
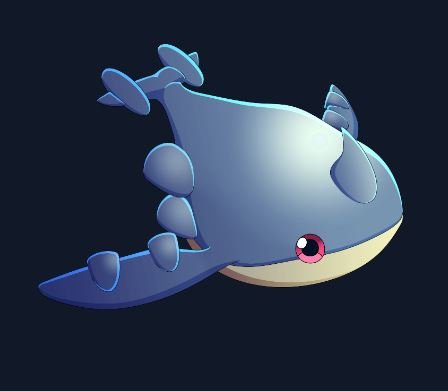
** 🐳¡Good afternoon, holozing friends! 🐳** I hope you are feeling great today and are having a nice week. For my part, I am happy to stop by again to share with you a cute desk organizer inspired by Water Whale. On this occasion I wanted to combine my paintings with the foam decoration and it seemed like a great idea to create a pencil holder with this creature, since I had never had an idea with this one.
At the end of the creation I was not convinced, but after seeing it again I think it was cute and that it is a nice idea for the little ones in the house. In addition, you do not need a large amount of materials to make it.💕
🔸Without more to add, then I leave you with the step by step:
♥️ESPERO QUE TE GUSTE,
¡Empecemos!
♥️I HOPE YOU LIKE IT,
Let's start!

✂️ MATERIALES | ✂️ MATERIALS

- Envase plástico.
- Pinturas y marcador.
- Foami escarchado azul.
- Foami escarchado rosa.
- Foami escarchado verde.
- Foami azul.
- Foami crema.
- Pegamento.
- Hoja blanca.
- Lápiz.
- Tijeras.
- Plastic container.
- Paints and marker.
- Blue frosted foam.
- Pink frosty foam.
- Green frosty foam.
- Blue foam.
- Cream foam.
- Glue.
- White sheet.
- Pencil.
- Scissors.

🐳 PROCEDIMIENTO | 🐳 PROCESS

- ✨ PASO 1:
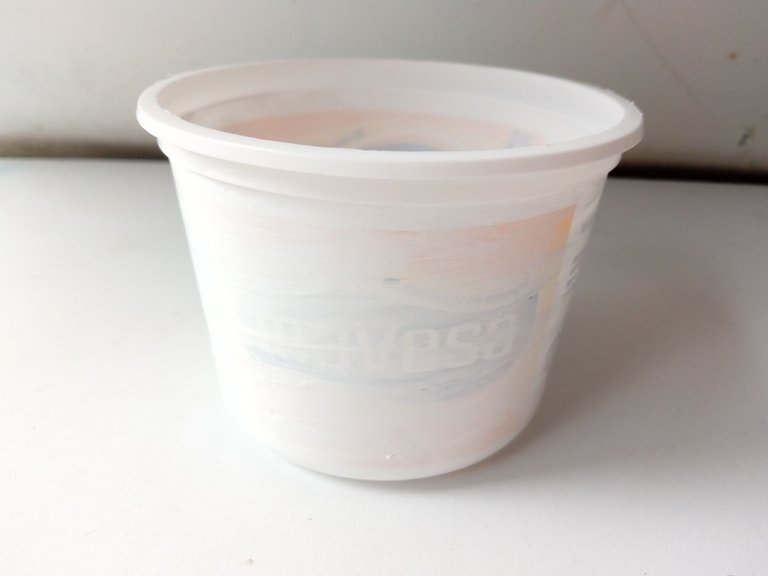
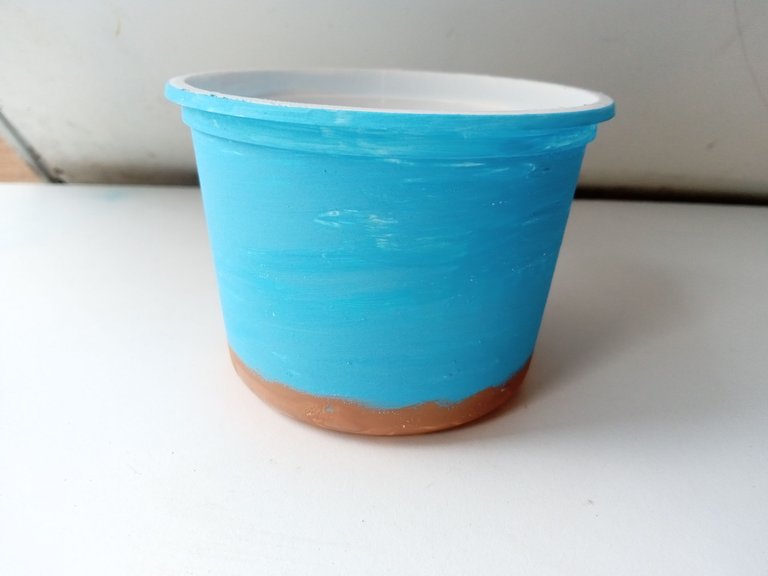
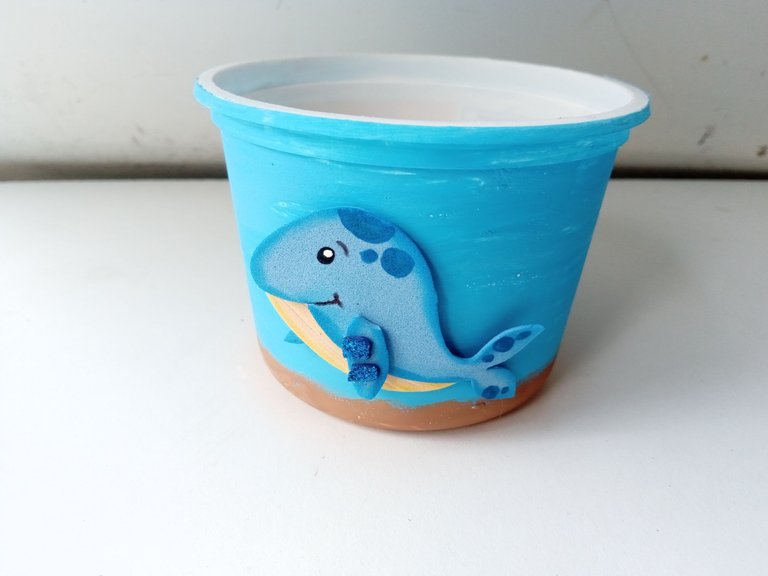
Lo primero que hice fue pasarle una capa de pintura al envase que iba a estar utilizando, para así tapar un poco los colores originales y que resaltara el color final. Al secar, di dos capas de pintura azul claro y en la base, pase pintura marrón y dejé secar muy bien.
- ✨ STEP 1:
The first thing I did was apply a layer of paint to the container I was going to be using, in order to cover the original colors a little and highlight the final color. When dry, I applied two coats of light blue paint and on the base, I applied brown paint and let it dry very well.


- ✨ PASO 2:
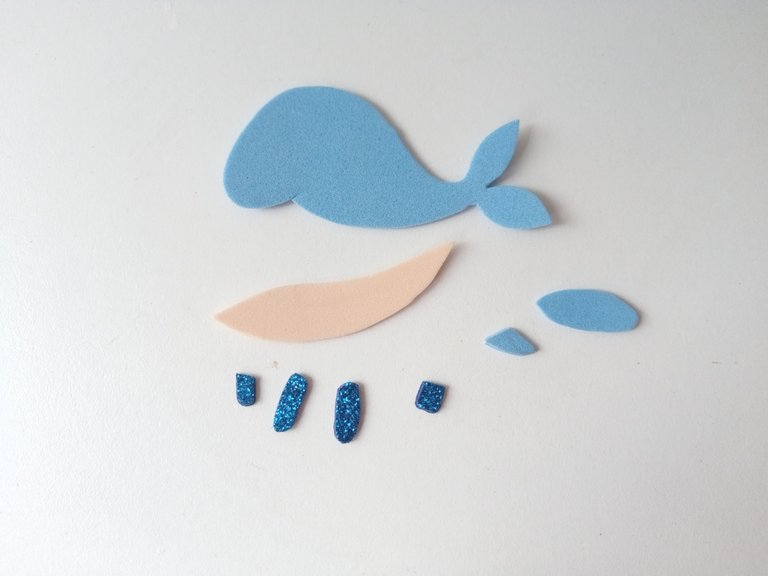
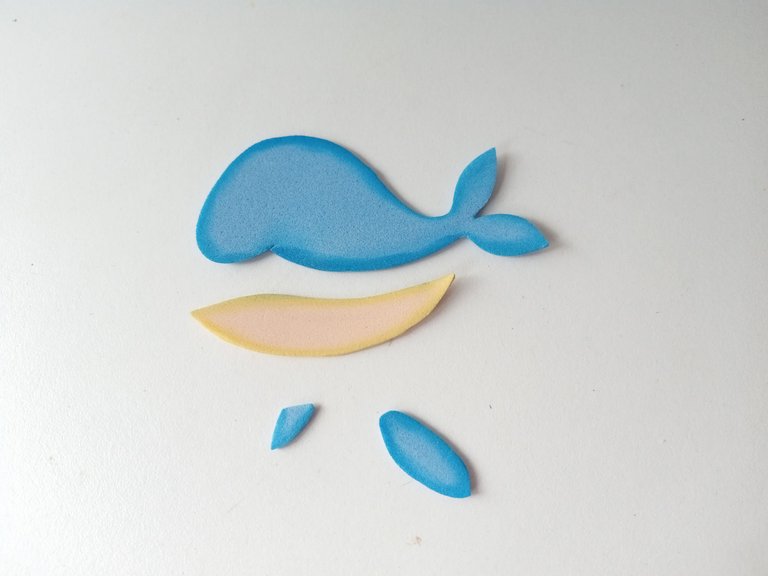
Mientras, comencé a dibujar a Walle en una hoja blanca y luego, transferí cada parte del cuerpo en el color correspondiente de foami, que en este caso fue foami azul, crema y azul escarchado. Una vez recortadas todas las piezas, tomé pinturas más oscuras o que contrastaran con cada pieza y con ayuda de un pañito, froté por todo el borde de cada una.
- ✨ STEP 2:
Meanwhile, I started drawing the whale on a white sheet and then, I transferred each part of the body in the corresponding color of foami, which in this case was blue, cream and frosty blue foami. Once all the pieces were cut out, I took darker paints or those that contrasted with each piece and with the help of a cloth, I rubbed all over the edge of each one.


- ✨ PASO 3:
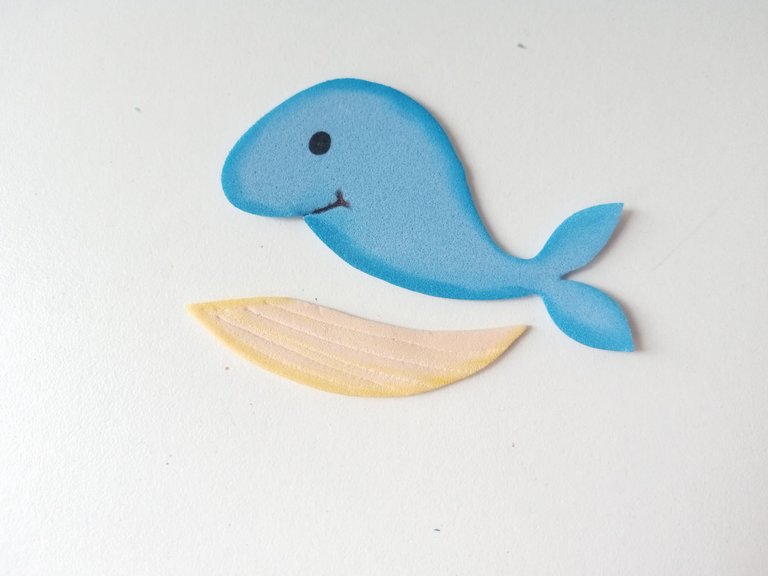
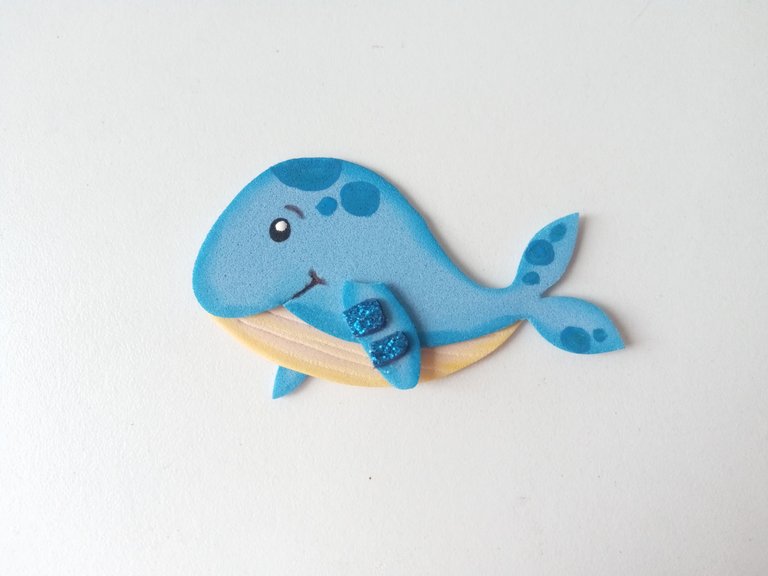
Luego, dibujé el rostro con marcador negro y di textura a la parte interior de la ballena con un palillo. Pegué todas las piezas y también, di más detalles con pintura azul, haciendo círculos de diferentes tamaños en algunas zonas y pinté el punto de luz en el ojo.
- ✨ STEP 3:
Next, I drew the face with black marker and textured the inside of the whale with a toothpick. I glued all the pieces and also gave more details with blue paint, making circles of different sizes in some areas and painted the light point in the eye.


- ✨ PASO 4:
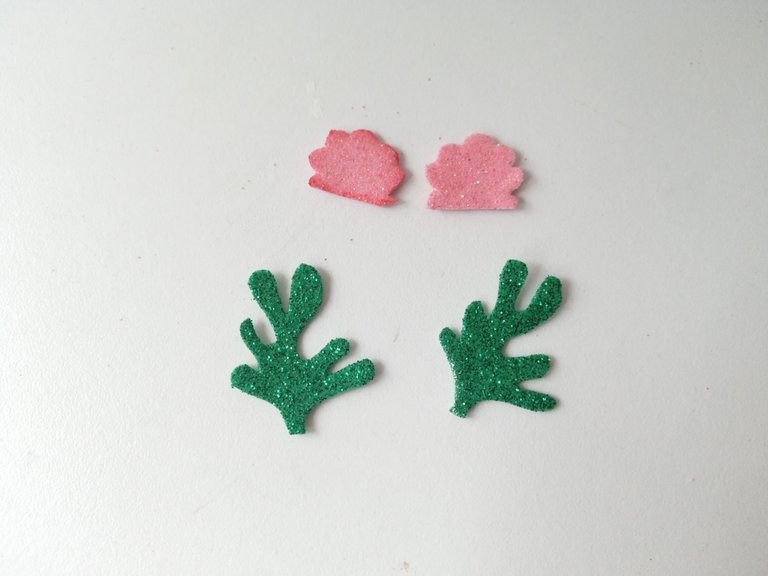
Pegué a la ballena en el medio del envase que pinté anteriormente y quise dar más detalles, así que dibujé y transferí al foami escarchado rosado y verde, un par de plantas marinas y ostras a las cuales le di un poco de textura con un palillo y pegué a los lados de la parte inferior de la ballena. Por último, recorté un par de gotas de agua con foami escarchado azul y las pegué en la parte superior de la cabeza.
- ✨ STEP 4:
I glued the whale in the middle of the container that I painted previously and I wanted to give more details, so I drew and transferred to the pink and green frosted foam, a couple of sea plants and oysters to which I gave a little texture with a toothpick and I glued to the sides of the bottom of the whale. Lastly, I cut out a couple of water drops with blue frosted foam and glued them to the top of the head.

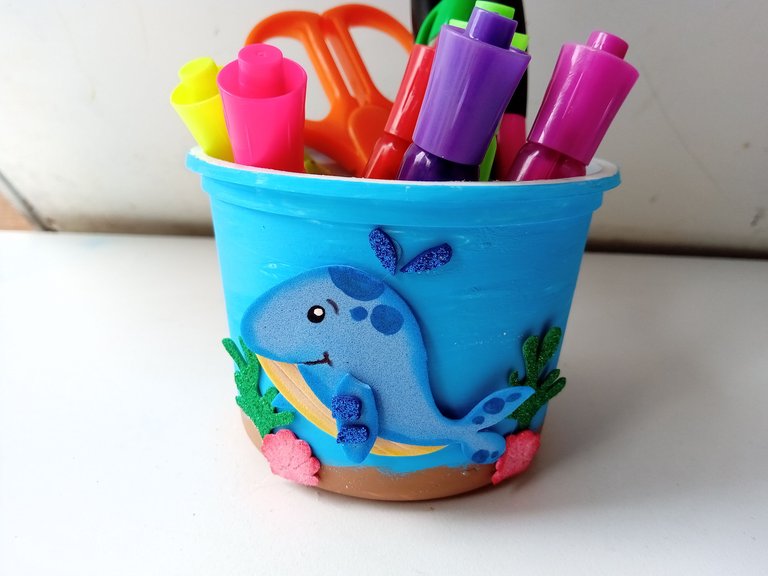

✨ 🐳¡And ready! 🐳✨ This way you can make a nice and easy pencil holder for the little ones at home, but you can also make it with the creature or character of your choice. I hope you liked the step by step and are encouraged to make it.
❤️Until the next post.
❤️ Hasta la próxima publicación.
❤️ Until the next post.


Todas las fotografías son de mi propiedad.
Separador y Fotos editadas en Canva
All photographs are my property.
Photos edited in Canva
Awww que cuchi se ve😍 me encantó! Te quedo muy bonito, felicidades💜
Que linda! Muchas gracias por tu bonito comentario 💗 Saludos.
Gracias por compartir el paso a paso, quedó muy lindo, y practico de usar!
Muchas gracias por tu comentario! Me alegra que te haya gustado ✨
¿Que me extraña de aquí? NADAAAA porque como siempre mi amiga está compartiendo bellezas, está te quedo estupendamente perfecta amiga, gracias por compartir ✨✨🩷
🤭 Ayyyy, pero a mí sí me tratan bonito !!! Gracias amiga hermosa, por siempre comentar cositas bellas en todos mis posts. Te quiero belli 💕
Está demasiado Cuchi mi valen!!! Amé los colores 🌈✨✨
Muchas gracias mi Albi! 🤭
Ayyy que ternurita, demasiado bello amiga🥰🥰
Michss gracias mi Yage! Me alegra que te haya gustado 🤭💕
Hermoso, me encanta 😍
Muchas gracias, amiga! 💕
Congratulations, your post has been curated by @dsc-r2cornell. You can use the tag #R2cornell. Also, find us on Discord
Felicitaciones, su publicación ha sido votada por @ dsc-r2cornell. Puedes usar el tag #R2cornell. También, nos puedes encontrar en Discord
Tienes mucha habilidad y creatividad te quedo muy bonito
Muchas gracias, Ami! Me alegra que le haya gustado y muchas gracias por sus palabras.✨
Que belleza de organizador ami 🥰 Está precioso y delicado, la ballenita es muy cuchi y ese tono de azul que utilizaste para el envase es perfecto para la temática 😊
Muchas gracias Mary! Tuve que utilizar dos colores de azul que contestara o todo se vería igual 🤭. Un abrazote bella 😘
What a cute way to make a holozing decorative arrangement, I find it charming and practical, because it could well serve to decorate any table, thinking of sea creatures.
Totalmente, es una idea bastante práctica que puede servir para distintos usos. Me alegra mucho que le haya gustado.✨✨
Que cuchitura la ballenita 🥹🫶 Me parece muy tierno el organizador, y muy práctico y fácil de realizar. Muchas gracias por compartirlo 😊 Un abrazo 🤗
Muchas gracias! La idea era que el resultado se viera bastante tierno, así que lo logré. Me alegra mucho que te haya gustado, bella. Saludos.💕
Muy util y bello organizador.
Muchas gracias! Así es, sea esta idea u otra, es un organizador práctico. ✨ Saludos.
Contáctenos para saber más del proyecto a nuestro servidor de Discord.
Si deseas delegar HP al proyecto: Delegue 5 HP - Delegue 10 HP - Delegue 20 HP - Delegue 30 HP - Delegue 50 HP - Delegue 100 HP.