🔸Sin más que añadir, a continuación los dejo con el paso a paso:
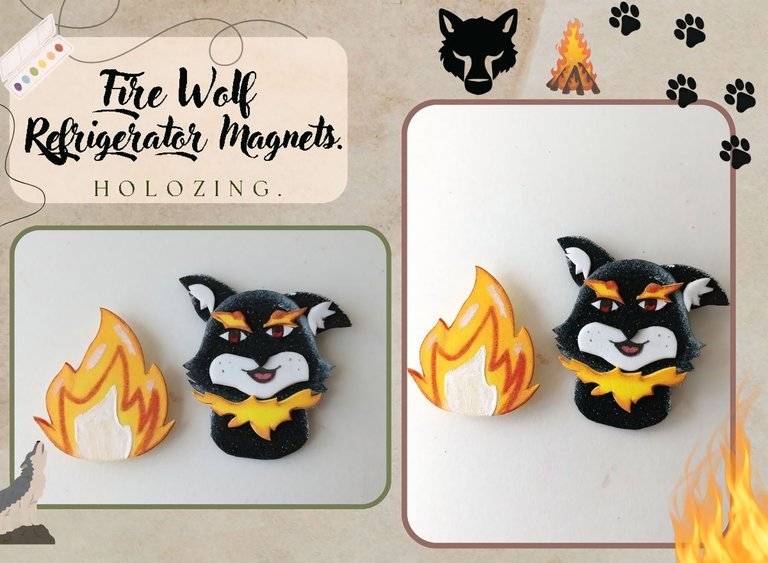
✨Good afternoon, holozing friends!✨ I hope you are all doing well. For this part, I am doing very well, thank God. As always, I am happy to come back here to share with you a nice idea for refrigerator magnets, inspired by Fire Wolf. It was time to develop some idea about this creature, after my denials because I thought it would look terrible, I decided to make a nice magnet. Also, I love making tiny characters in foam, but for that reason it becomes a complicated task because of the details. I made it a long time ago, but it was in drawing, in fact, it was the first post I shared in the community and of my first months drawing and painting in hive.
🔸Without more to add, then I leave you with the step by step:
♥️ESPERO QUE TE GUSTE,
¡Empecemos!
♥️I HOPE YOU LIKE IT,
Let's start!

✂️ MATERIALES | ✂️ MATERIALS

- Foami escarchado negro.
- Foami blanco.
- Foami amarillo.
- Pinturas y marcadores.
- Imanes.
- Hoja blanca.
- Tijera.
- Lápiz.
- Black frosted foam.
- White foam.
- Yellow foam.
- Paints and markers.
- Magnets.
- White sheet.
- Scissors.
- Pencil.

✨ PROCEDIMIENTO | ✨ PROCESS

✨ PASO 1:
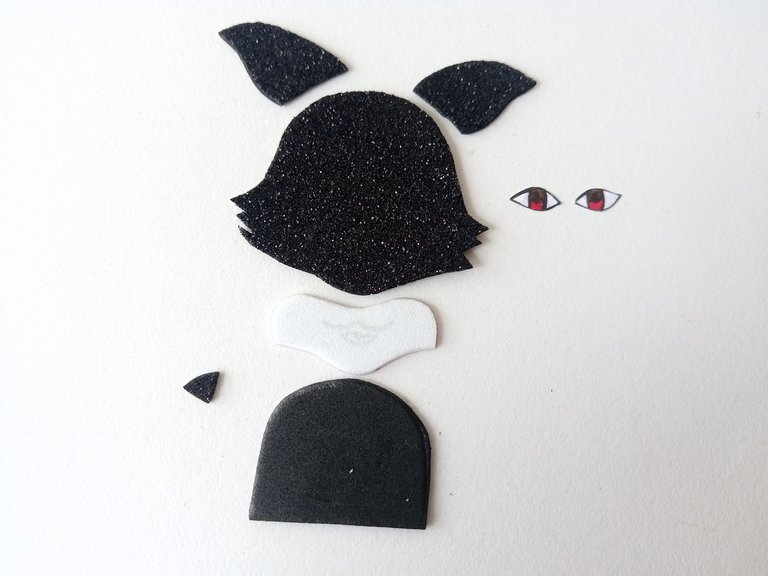
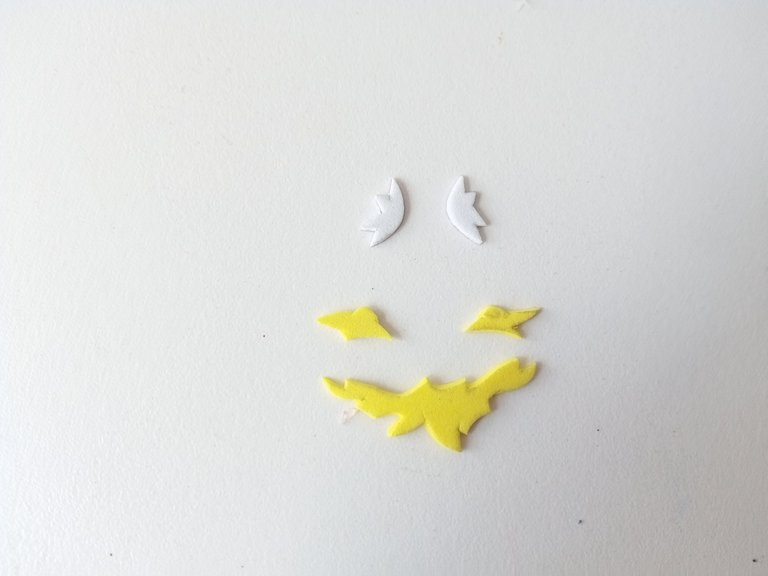
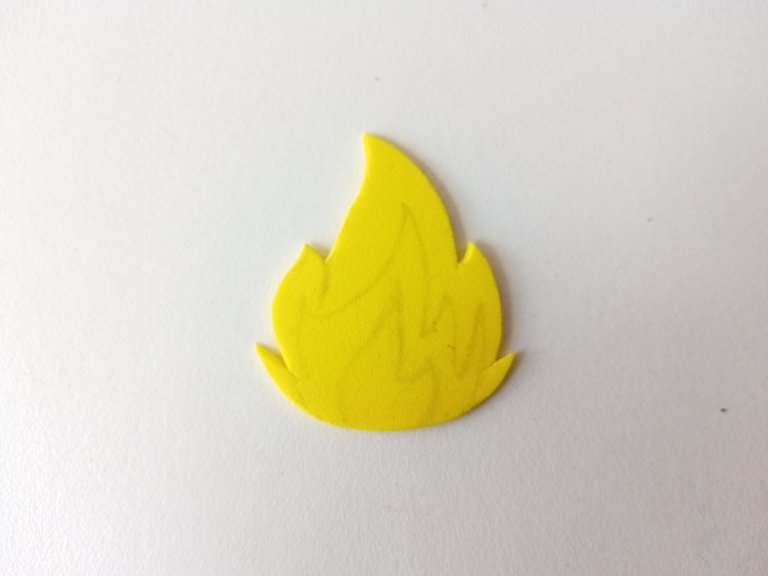
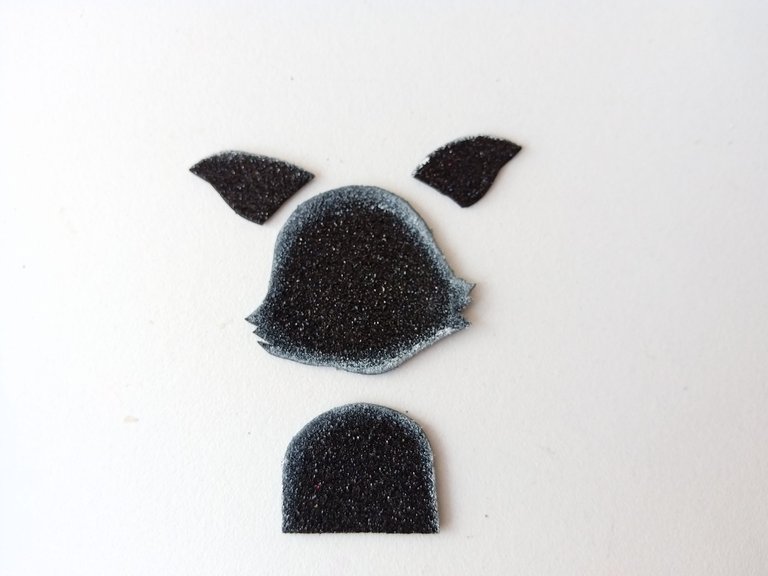
Lo primero que hice fue elaborar el dibujo de Fire Wolf y de una llama de fuego como acompañante. Al tener los dibujos listos, transferí cada una de las piezas a los colores correspondientes de foami, utilizando los siguientes colores: cabeza, cuerpo, orejas y nariz en foami escarchado negro; hocico y parte interna de las orejas en foami blanco; llamas en foami amarillo.
✨ STEP 1:
The first thing I did was make the drawing of Fire Wolf and a flame of fire as a companion. Once I had the drawings ready, I transferred each of the pieces to the corresponding colors of foam, using the following colors: head, body, ears and nose in black frosted foam; snout and inner part of the ears in white foam; flames in yellow foam.


✨ PASO 2:
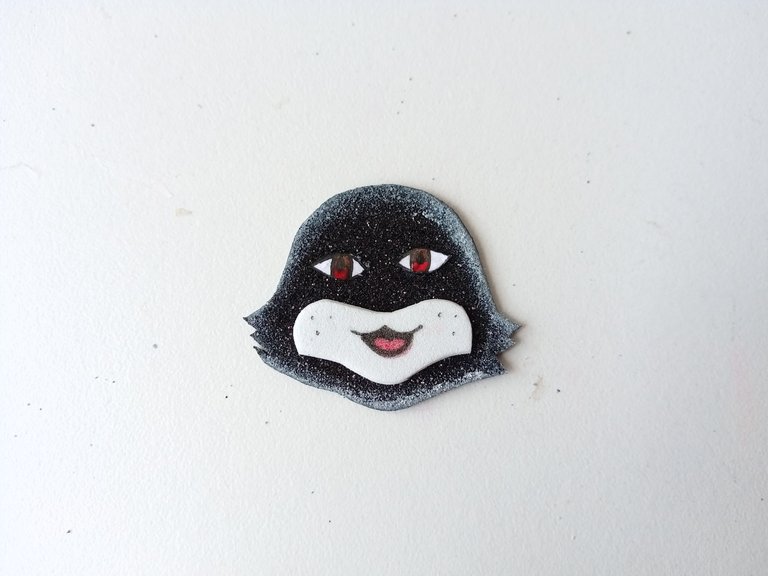
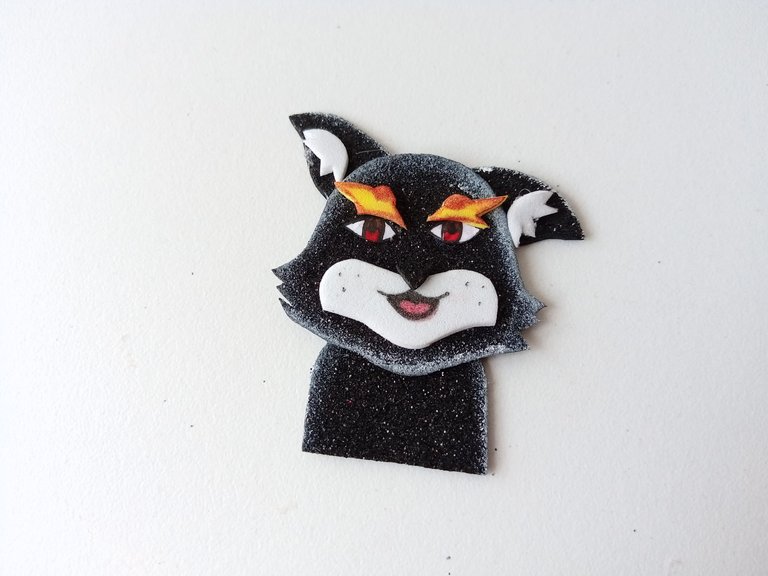
Al recortar todas las piezas es momento de dar color a los bordes, que en este caso solo le di un poco de color a las piezas de la cabeza, cuerpo y orejas con pintura blanca. Simplemente, tomé un poco de pintura con un pañito y difuminé por los bordes de las piezas mencionadas anteriormente. Mientras secaba, aproveché de dibujar y pintar con marcadores las partes del hocico, al igual que los ojos, los cuales dibujé en la hoja blanca. Seguidamente, pegué las piezas a la cabeza.
✨ STEP 2:
Once all the pieces were cut out, it was time to color the edges, which in this case I only gave a little color to the pieces of the head, body and ears with white paint. I simply took a little paint with a cloth and smudged it along the edges of the pieces mentioned above. While it was drying, I took the opportunity to draw and paint the parts of the snout with markers, as well as the eyes, which I drew on the white sheet. Next, I glued the pieces to the head.


✨ PASO 3:
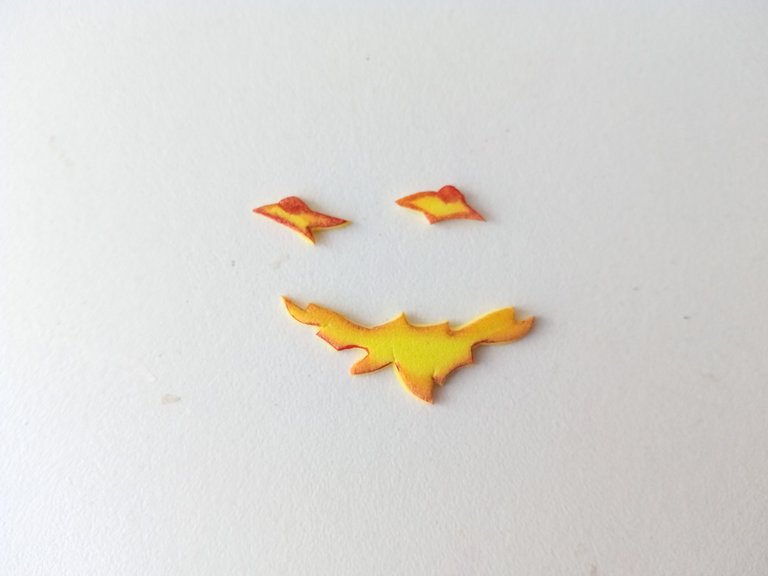
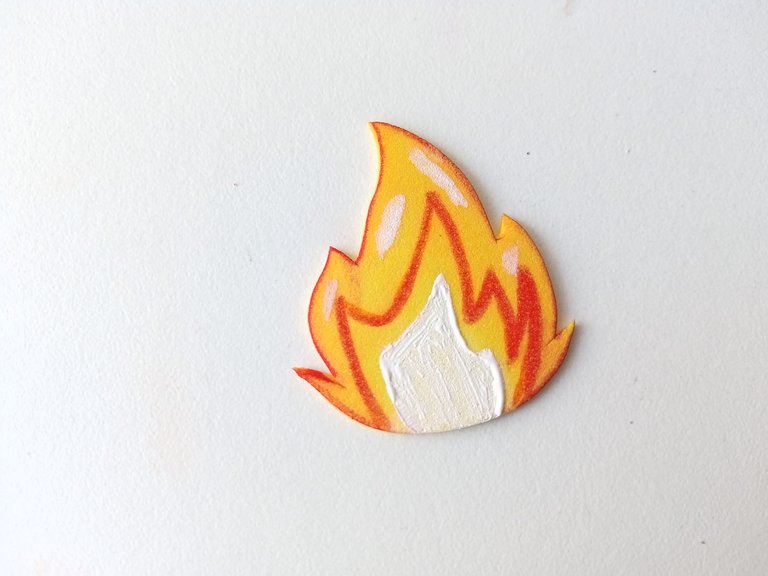
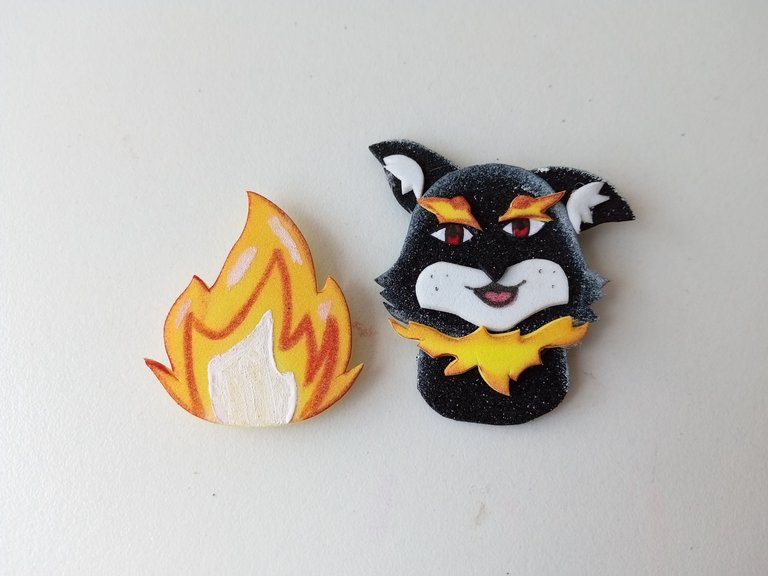
Después, di color a los bordes de las llamas con pintura roja y Al secar me centré un poco más en dar detalles a la llama grande, definiendo con marcadores, pintura blanca en el centro y puntos de luz donde creí que se verían bien.
Creo que quedo bien para ser la primera vez que dibujo fuego jaja.
✨ STEP 3:
Afterwards, I colored the edges of the flames with red paint and when it dried I focused a little more on giving details to the large flame, defining with markers, white paint in the center and points of light where I thought they would look good.
I think it turned out well for my first time drawing fire haha.


✨ PASO 4:
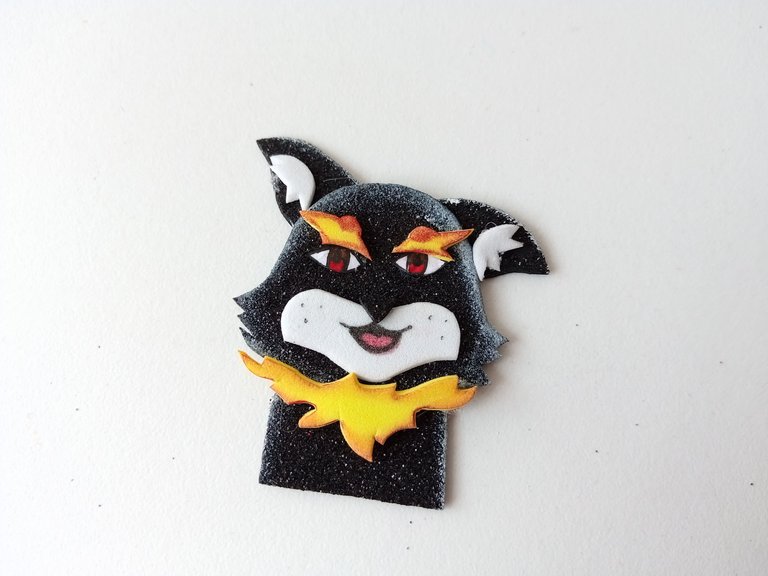
Mientras secaba, seguí pegando las piezas para terminar de formar el cuerpo de Fire Wolf, pegando las llamas sobre los ojos, el cuerpo, orejas, parte interna de las orejas y por último las llamas del cuerpo.
✨ STEP 4:
While it was drying, I continued gluing the pieces to finish forming Fire Wolf's body, gluing the flames on the eyes, the body, ears, the inside of the ears and finally the flames on the body.


✨ PASO 5:
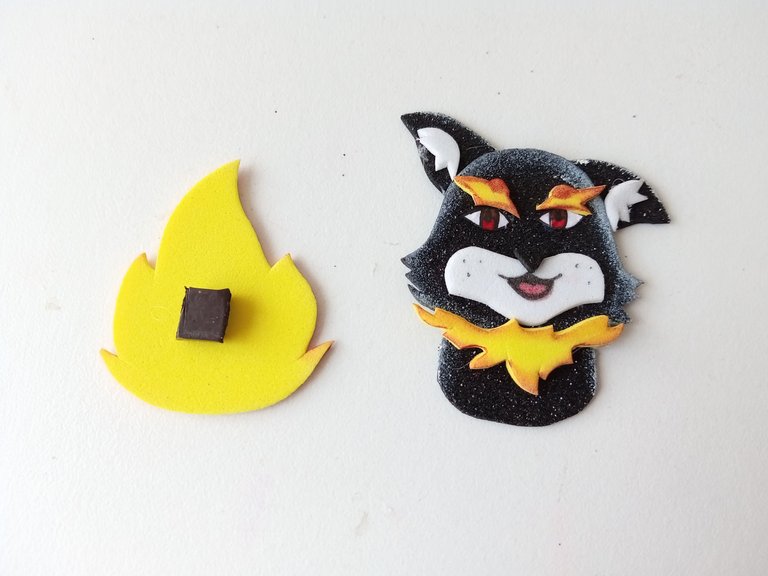
Al estar listas y armadas ambas piezas, tomé los imanes y los pegué en la parte trasera de cada una. Así que ya estaría listo para pegar en el refrigerador o para que los pequeños jueguen y se distraigan un poco con estas figuras o las que deseen elaborar siguiendo este paso a paso.
✨ STEP 5:
Once both pieces were ready and assembled, I took the magnets and glued them on the back of each one. So it would be ready to stick on the refrigerator or for the little ones to play with and have fun with these figures or the ones they want to make following this step by step.

❤️ Hasta la próxima publicación.
❤️ Until the next post.


Todas las fotografías son de mi propiedad.
Separador y Fotos editadas en Canva
All photographs are my property.
Photos edited in Canva
Posted Using InLeo Alpha
𝑇𝑒 𝑞𝑢𝑒𝑑𝑜 𝑏𝑖𝑒𝑛 𝑏𝑜𝑛𝑖𝑡𝑜 𝑚𝑒 𝑔𝑢𝑠𝑡𝑎 𝑚𝑢𝑐ℎ𝑜
Muchas gracias Miri! 💕
Qué hermoso amiga! Quiero muchos para mi nevera jajaj