🔸Sin más que añadir, a continuación los dejo con el paso a paso:
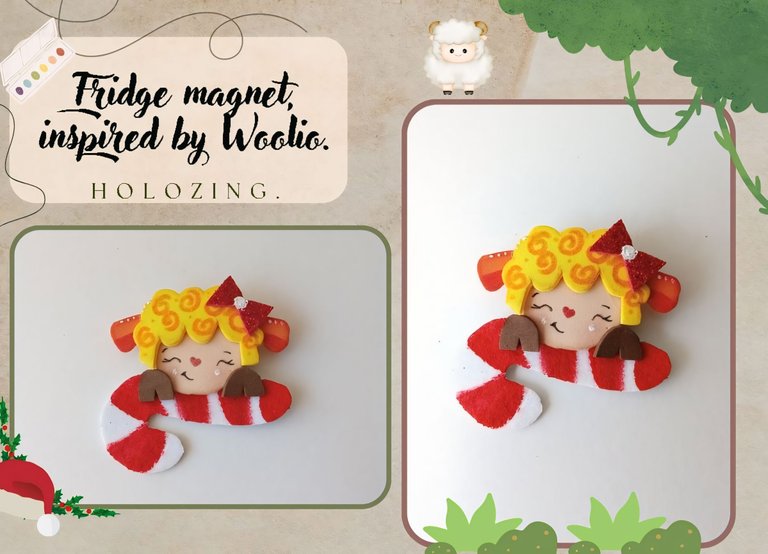
Good afternoon, holozing friends! I hope you are all doing well. For this part, I am doing very well, thank God. As always, delighted to stop by again to share with you a good fridge magnet idea, inspired by Woolio. I'm not entirely sure, but I think I hadn't put together a Woolio image yet and I thought it would be a good idea to start one of the latest vivid holozing creations with an image of this spontaneous and perfect creation for the kitchen, because nothing can be asked for without decorating your home.
🔸Without more to add, then I leave you with the step by step:
♥️ESPERO QUE TE GUSTE,
¡Empecemos!
♥️I HOPE YOU LIKE IT,
Let's start!

✂️ MATERIALES | ✂️ MATERIALS

- Foami escarchado blanco.
- Foami escarchado rojo.
- Foami amarillo.
- Foami crema.
- Foami naranja.
- Imán.
- Hoja blanca.
- Pegamento.
- Tijera.
- Lápiz.
- White frosted foam.
- Red frosted foam.
- Yellow foam.
- Cream foam.
- Orange foam.
- Magnet.
- White sheet.
- Glue.
- Scissors.
- Pencil.

PROCEDIMIENTO | PROCESS

- ✨ PASO 1:
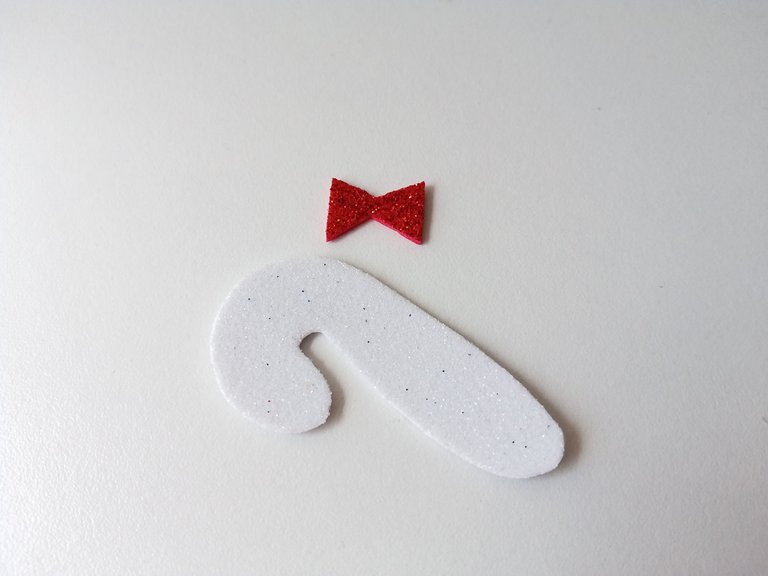
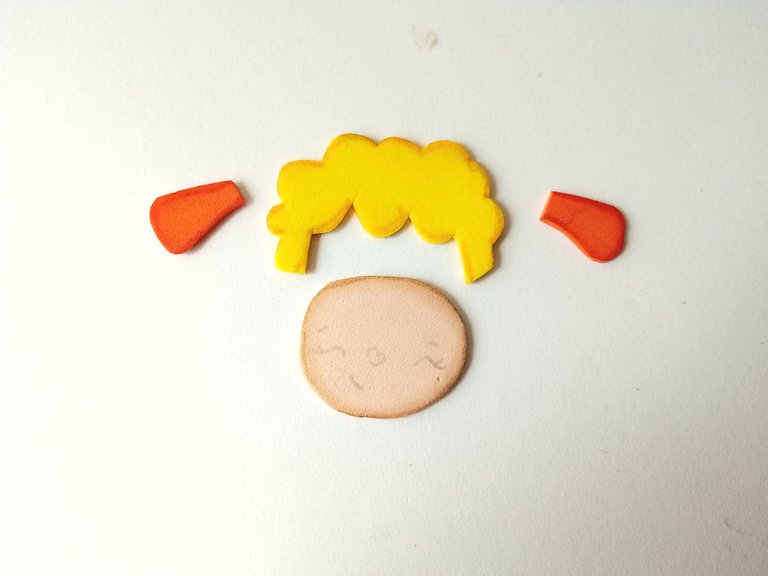
Como siempre, lo primero que hice fue el patrón; dibujar cada una de las partes del cuerpo, individualmente. A mí me gustan los imanes pequeñitos así que la cabeza tiene aproximadamente 3 cm de ancho y el bastón 5 cm. Luego de tener el patrón listo, lo transferí a los colores correspondientes de foami, como explico a continuación: Cabeza en foami crema, lana en foami amarillo, orejas en foami naranja, bastón en foami escarchado blanco y lazo en foami escarchado rojo.
- ✨ STEP 1:
As always, the first thing I did was the pattern; draw each of the body parts individually. I like small magnets so the head is approximately 3 cm wide and the stick 5 cm. After having the pattern ready, I transferred it to the corresponding colors of foam, as explained below: Head in cream foam, wool in yellow foam, ears in orange foam, cane in white frosted foam and bow in red frosted foam.



- ✨ PASO 2:
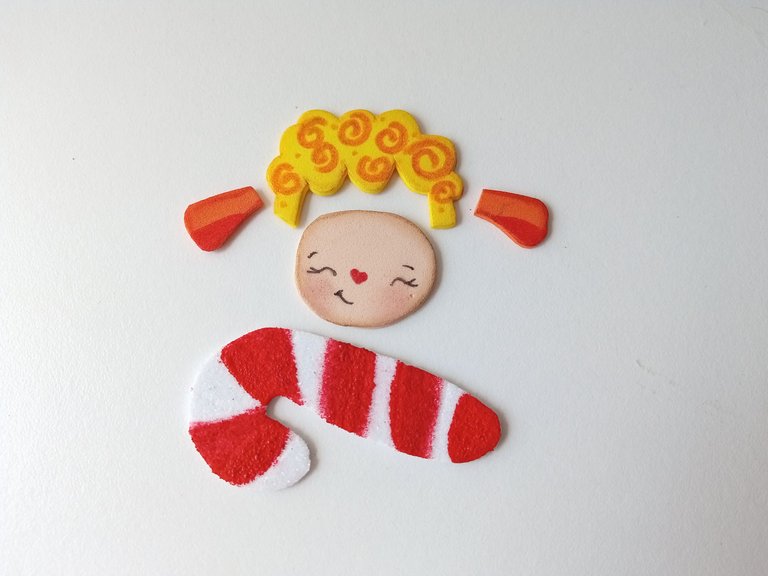
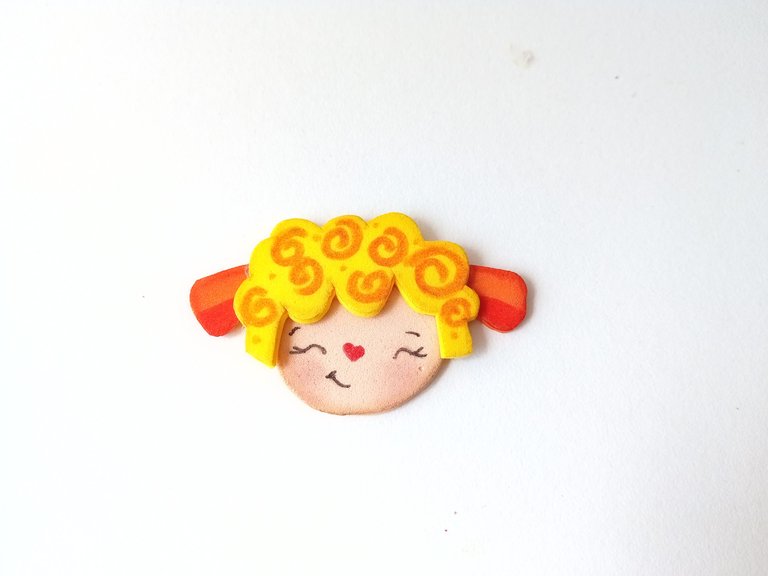
Al estar todas las piezas recortadas, tomé las pinturas y con ayuda de un palito di color a los bordes de las piezas en foami liso. Lo ideal es utilizar colores que hagan contraste con cada pieza. Al estar secas, comencé a dar detalles a Woolio con marcadores; en el cabello di detalles con marcador naranja, las orejas y nariz con marcador rojo, y el resto del rostro con marcador negro. En cuanto al bastón, pinté las franjas con pintura roja y rubor en las mejillas.
- ✨ STEP 2:
Once all the pieces were cut out, I took the paints and with the help of a stick I colored the edges of the pieces in plain foam. The ideal is to use colors that contrast with each piece. Once they were dry, I began to give details to Woolio with markers; in the hair I gave details with an orange marker, the ears and nose with a red marker, and the rest of the face with a black marker. As for the cane, I painted the stripes with red paint and blush on the cheeks.


- ✨ PASO 3:
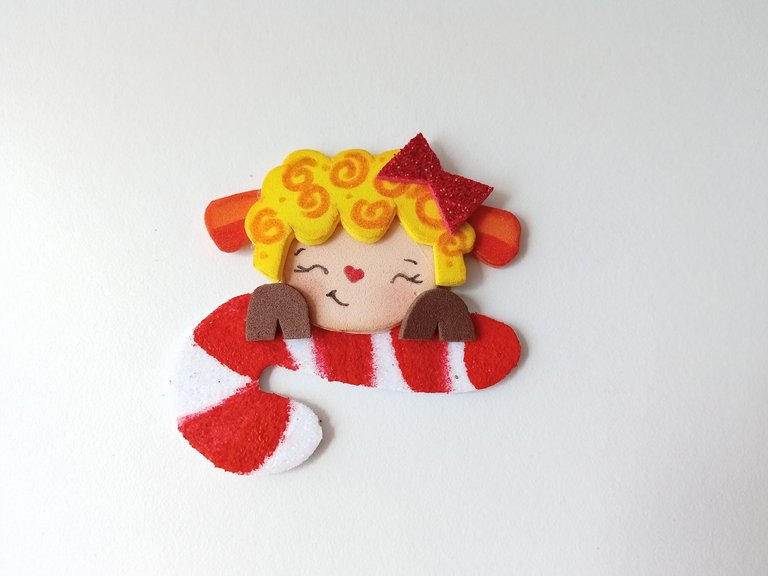
Luego, comencé a pegar a la criatura con mucho cuidado, comenzando por la cabeza, la lana y las orejitas, para luego continuar pegando la cabeza sobre el bastón que va horizontal, las patas o pesuñas a los lados de la cabeza, sosteniendo el bastón y el lazo sobre la cabeza.
- ✨ STEP 3:
Then, I began to glue the creature very carefully, starting with the head, the wool and the little ears, then continuing to glue the head on the stick that goes horizontally, the legs or hooves on the sides of the head, holding the stick and the bow over the head.


- ✨ PASO 4:
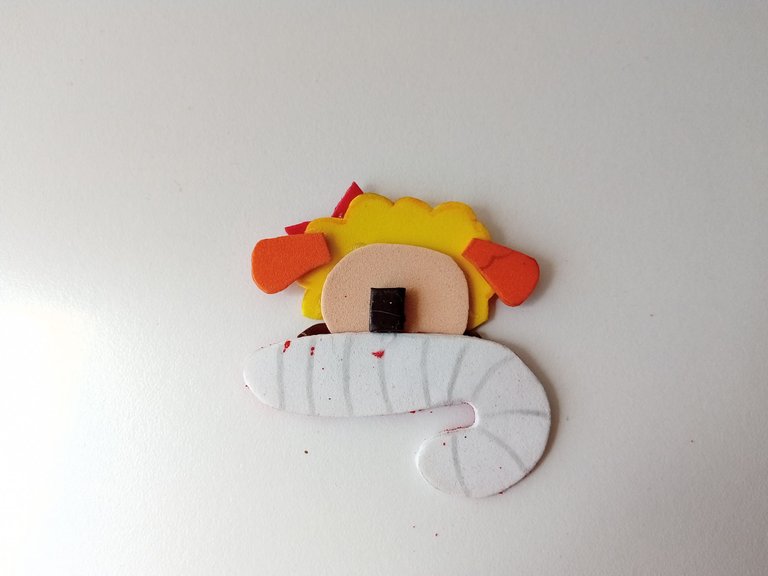
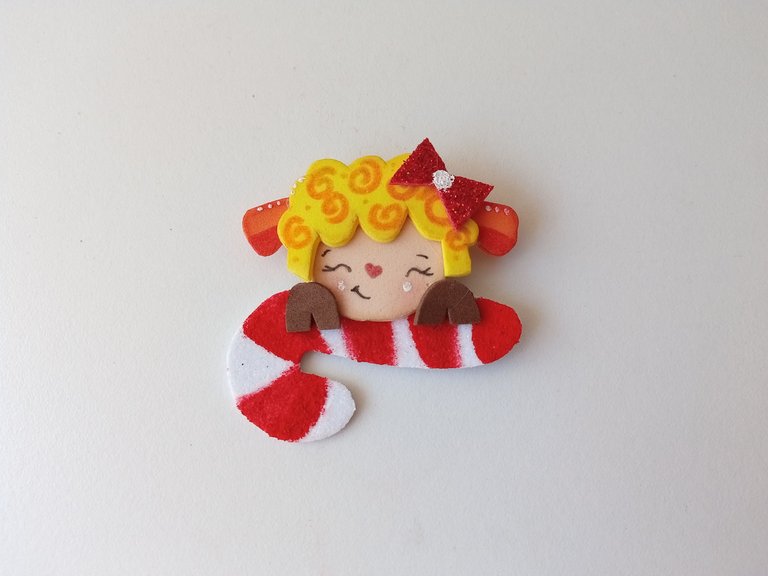
Para finalizar, damos vuelta y pegamos el imán justo en medio de la pieza, para que quede bien equilibrado. También, si desean, antes de pegar el imán, pueden pegar cartulina en la parte trasera para que quede mucho más prolijo, pero esto es a elección.
- ✨ STEP 4:
To finish, we turn and glue the magnet right in the middle of the piece, so that it is well balanced. Also, if you want, before gluing the magnet, you can glue cardboard on the back so that it looks much neater, but this is up to you.

❤️ Hasta la próxima publicación.
❤️ Until the next post.


Todas las fotografías son de mi propiedad.
Separador y Fotos editadas en Canva
All photographs are my property.
Photos edited in Canva
Que ternura 🥰
Que hermoso! Me encantó!
Amiga que lindo detalle! Me encantó🥰
Ayy Ami te quedó demasiado demasiado tierno, me encanta su naricita de corazón 🥹😍
Siempre creando cositas lindas amii🥰 la verdad no se de donde sacas tantas ideas jejeje