🔸Sin más que añadir, a continuación los dejo con el paso a paso:
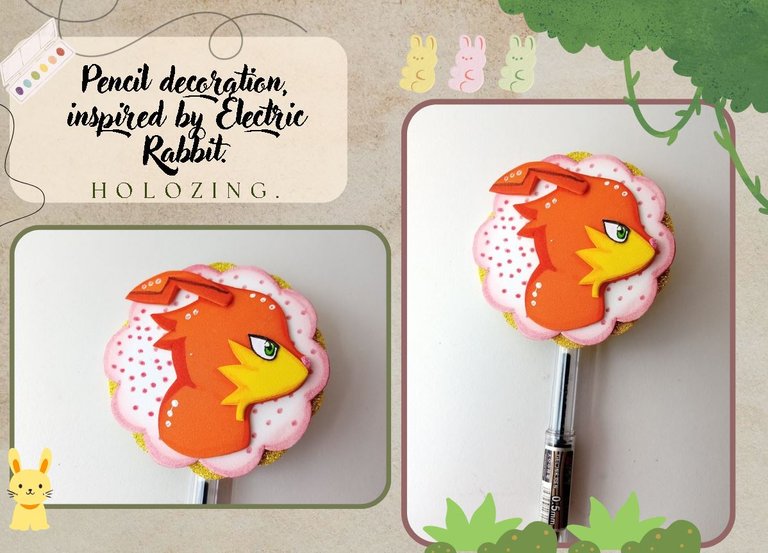
Good afternoon, holozing friends! As always, I'm happy to stop by here again to share a nice pencil decoration idea, inspired by Electric Rabbit. This time I wanted to make Rabbit with the profile we can see on the community banner, because I always imagine it as a good start to a series in which each character is introduced with their name and their face appears on one side haha, I find it funny. The truth is, I don't know if that was the intention, but I really like to imagine it like that. I wanted to do something simple so that Rabbit was completely the protagonist of this decoration.
🔸Without more to add, then I leave you with the step by step:
♥️ESPERO QUE TE GUSTE,
¡Empecemos!
♥️I HOPE YOU LIKE IT,
Let's start!

✂️ MATERIALES | ✂️ MATERIALS
- Foami escarchado dorado.
- Foami escarchado rosa.
- Foami blanco.
- Foami naranja.
- Foami amarillo.
- Pinturas y marcadores.
- Hoja blanca.
- Pegamento.
- Tijera.
- Regla.
- Lápiz.
- Golden frosted foam.
- Pink frosted foam.
- White foam.
- Orange foam.
- Yellow foam.
- Paints and markers.
- White sheet.
- Glue.
- Scissors.
- Ruler.
- Pencil.
PROCEDIMIENTO | PROCESS
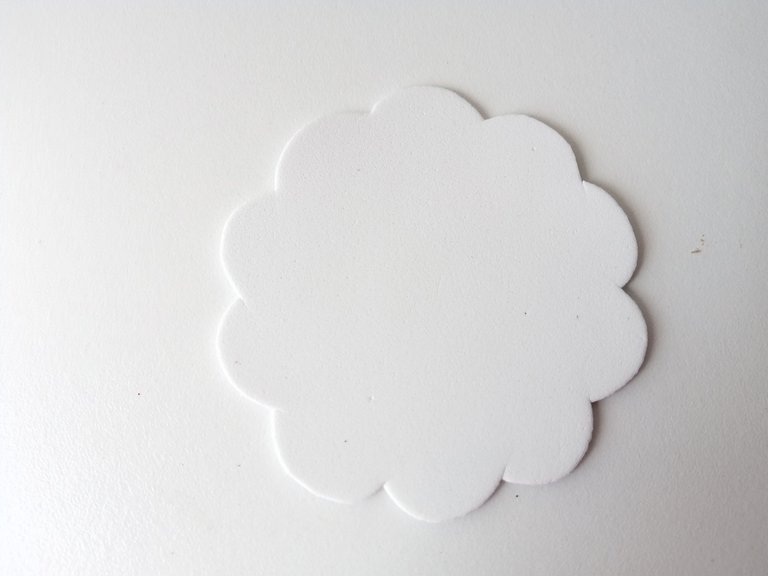
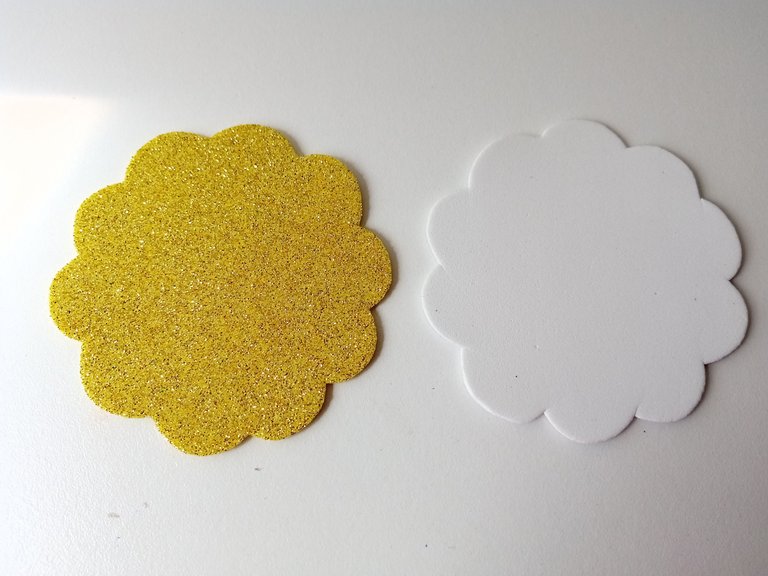
- ✨ PASO 1:
Lo primero que hice esta vez fue la base o fondo de la decoración. En este caso quise hacer un círculo en foami blanco con óvalos en los bordes, parecido a una flor. Repetí el mismo proceso en el foami dorado y ambas piezas son de 8 cm x 8 cm.
- ✨ STEP 1:
The first thing I did this time was the base or background of the decoration. In this case I wanted to make a circle in white foam with ovals on the edges, similar to a flower. I repeated the same process on the gold foam and both pieces are 8 cm x 8 cm.
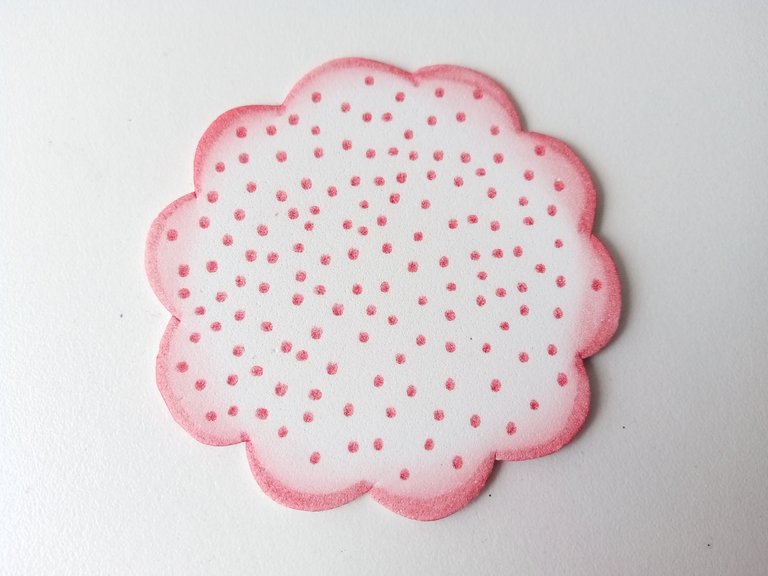
- ✨ PASO 2:
Seguidamente, di color a los bordes de la pieza en foami blanco con pintura roja y difuminé con ayuda de un pañito. Además, con marcador rojo, hice algunos puntos en el resto de las piezas. Al estar seco pegué ambas piezas sobrepuestas una de la otra, dejando la pieza en foami dorado por detrás y dejando lucir ambos fondos.
- ✨ STEP 2:
Next, I colored the edges of the white foam piece with red paint and blended it with a cloth. Also, with a red marker, I made some dots on the rest of the pieces. When it was dry, I glued both pieces overlapping each other, leaving the gold foam piece behind and letting both backgrounds shine through.

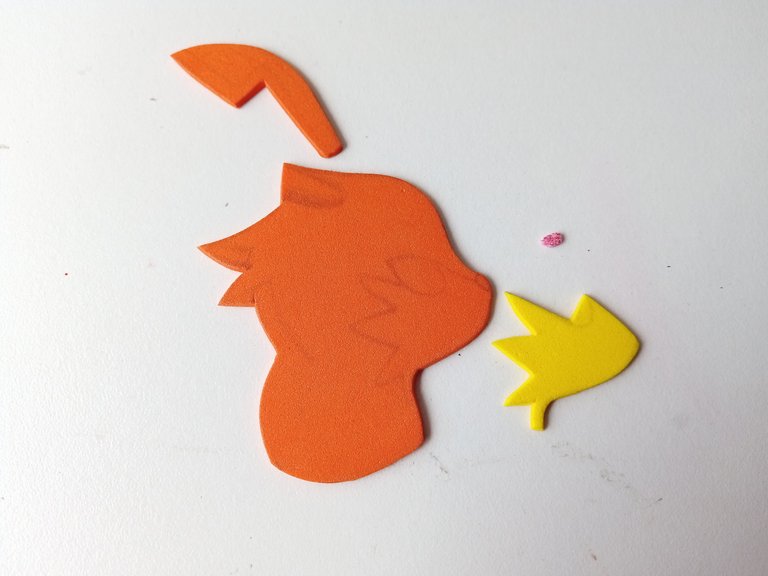
- ✨ PASO 3:
Seguidamente, busqué el dibujo de Electric Rabbit en el banner, lo dibujé en una hoja blanca y luego transfería a los colores correspondientes de foami, como explicó a continuación:
✨Cabeza de 6 cm x 4.5 cm en foami naranja.
✨Oreja de 4 cm en foami naranja.
✨Parte amarilla del hocico de 2.5 cm.
✨Ojo de 1 cm en hoja blanca.
- ✨ STEP 3:
Next, I looked for the Electric Rabbit drawing on the banner, drew it on a white sheet and then transferred it to the corresponding colors of foam, as explained below:
✨Head 6 cm x 4.5 cm in orange foam.
✨Ear 4 cm in orange foam.
✨Yellow part of the snout 2.5 cm.
✨Eye 1 cm in white sheet.
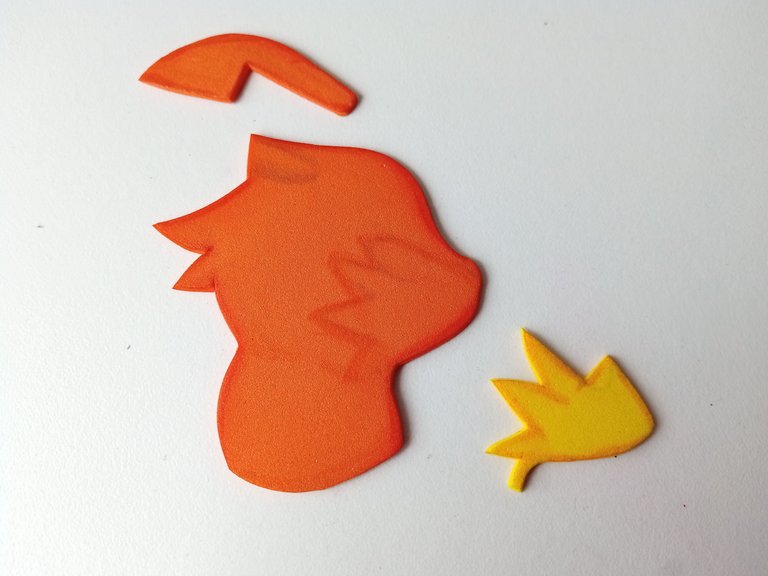
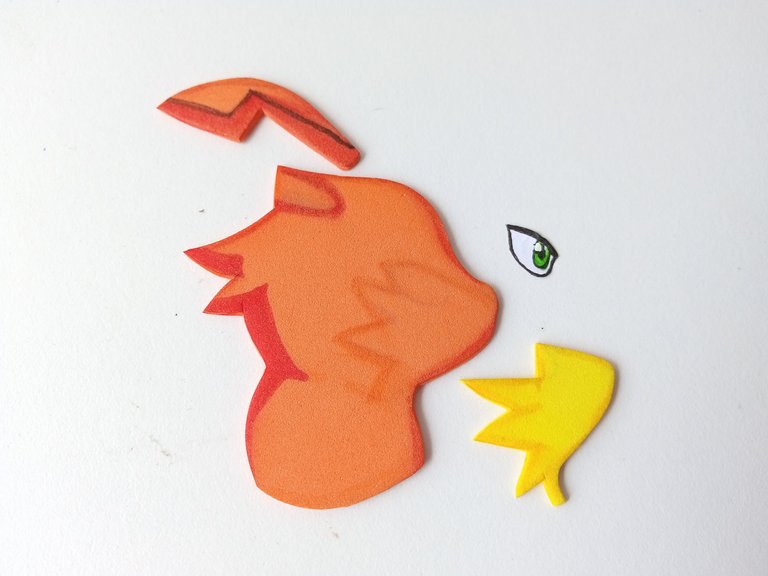
- ✨ PASO 4:
Al tener todas las piezas recortadas, comencé a dar color a los bordes con un tono de naranja más oscuro y un tono más claro a la pieza en color amarillo. Al estar seco, di detalles de las sombras con un marcador naranja, hice algunos detalles en marcador negro y dibujé y pinté el ojo en hoja blanca, del color correspondiente en la criatura original.
- ✨ STEP 4:
Once I had all the pieces cut out, I began to color the edges with a darker shade of orange and a lighter shade to the yellow piece. Once it was dry, I gave details of the shadows with an orange marker, made some details in black marker and drew and painted the eye on white paper, the corresponding color on the original creature.
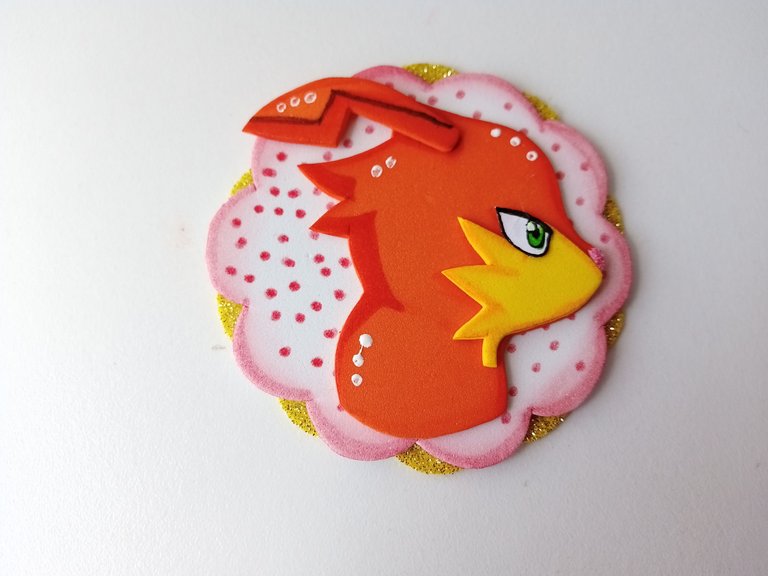
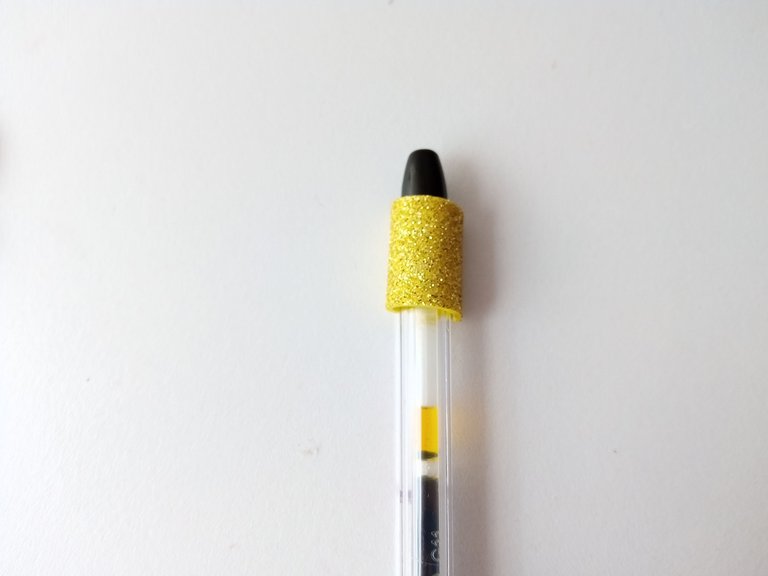
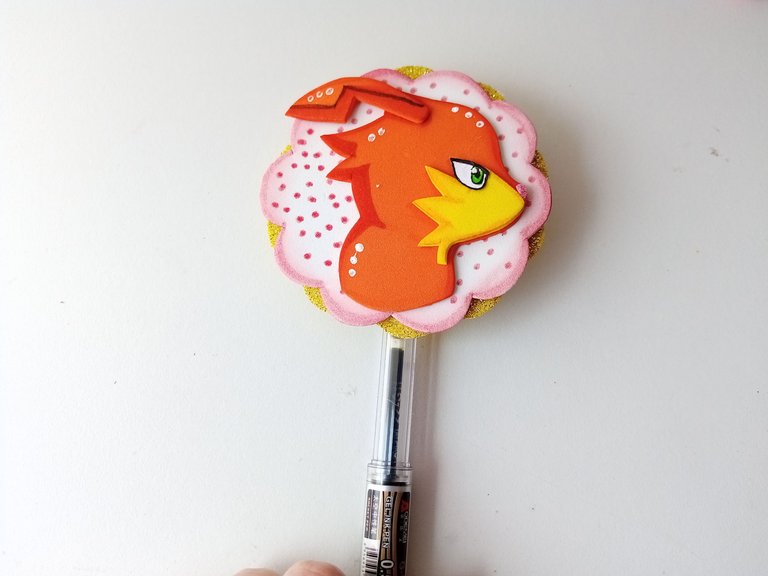
- ✨ PASO 5:
Pegué las piezas hasta formar a Electric Rabbit, seguidamente lo pegué en medio de los círculos que elaboré al inicio y di algunos puntos de luz con pintura blanca. Para finalizar, recorté una tira de 4 cm x 2 cm, la pegué en la parte superior del lápiz o lapicero y encima de la misma pieza, pegué la decoración.
- ✨ STEP 5:
I glued the pieces together until I formed the Electric Rabbit, then I glued it in the middle of the circles I made at the beginning and gave some points of light with white paint. To finish, I cut out a 4 cm x 2 cm strip, glued it on the top of the pencil or pen and on top of the same piece, I glued the decoration.
❤️ Hasta la próxima publicación.
❤️ Until the next post.

Todas las fotografías son de mi propiedad.
Separador y Fotos editadas en Canva
All photographs are my property.
Photos edited in Canva
Posted Using INLEO
Me encantó! Está lindísimo, valen. De verdad que haces magia con esas manos 😍😍✨🩷
Discord Felicitaciones, su publicación ha sido votada por @ dsc-r2cornell. Puedes usar el tag #R2cornell. También, nos puedes encontrar en