🔸Sin más que añadir, a continuación los dejo con el paso a paso:
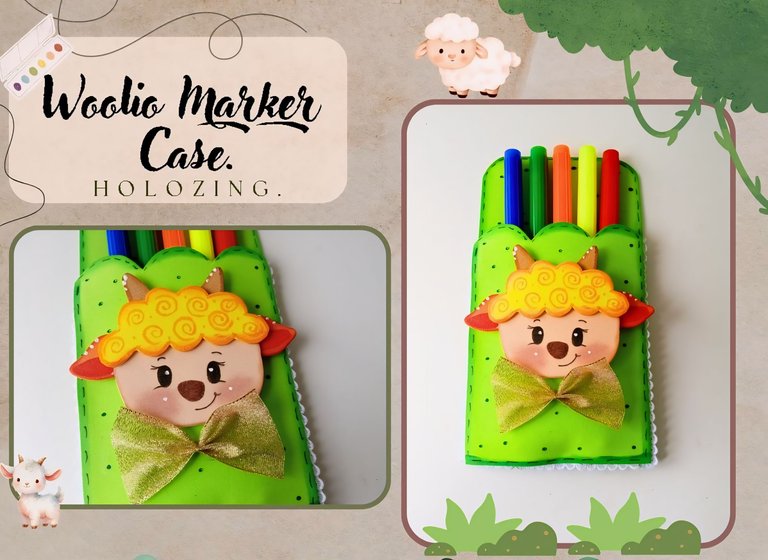
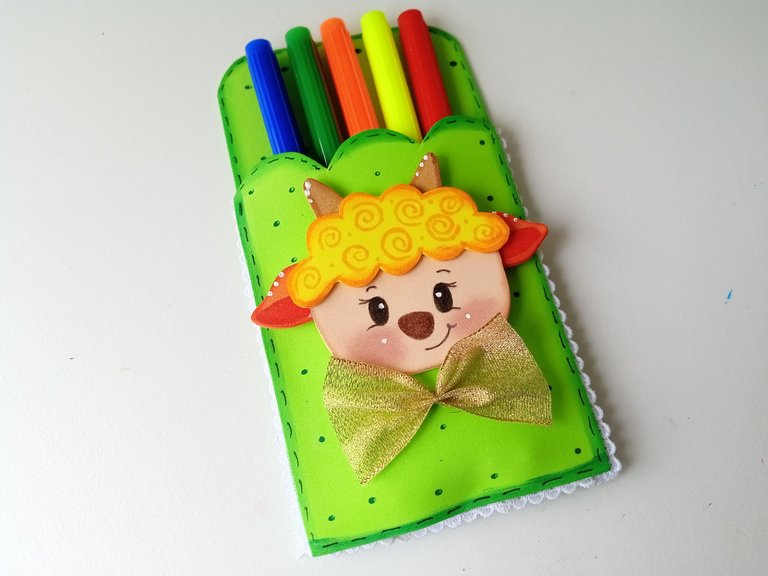
✨Good afternoon, holozing friends!✨ I hope you are all doing well. For this part, I am doing very well, thank God. As always, I am happy to stop by here again to share with you a nice idea for a Woolio marker case. As you can see on the cover, I made a cute one for the little ones or for whoever likes this cute design. It is perfect for keeping markers, pencils or pens in order and at hand, without taking up so much space with a zippered case.
I know that you can see a great variety of colors, but that is how Woolio is, it has many bright colors and that is why I did not want to overshadow it, so I used a green color so that they would all match, because I was a little undecided about the background or good design and color of the case, but in my opinion it turned out very nice.
🔸Without more to add, then I leave you with the step by step:
♥️ESPERO QUE TE GUSTE,
¡Empecemos!
♥️I HOPE YOU LIKE IT,
Let's start!

✂️ MATERIALES | ✂️ MATERIALS

- Foami verde, crema,
amarillo, naranja y marrón. - Pinturas y marcadores.
- Hoja blanca.
- Pegamento.
- Lacito.
- Tijeras.
- Regla.
- Lápiz.
- Green, cream,
yellow, orange and brown foam. - Paints and markers.
- White sheet.
- Glue.
- Bow.
- Scissors.
- Ruler.
- Pencil.

✨ PROCEDIMIENTO | ✨ PROCESS

- ✨ PASO 1:
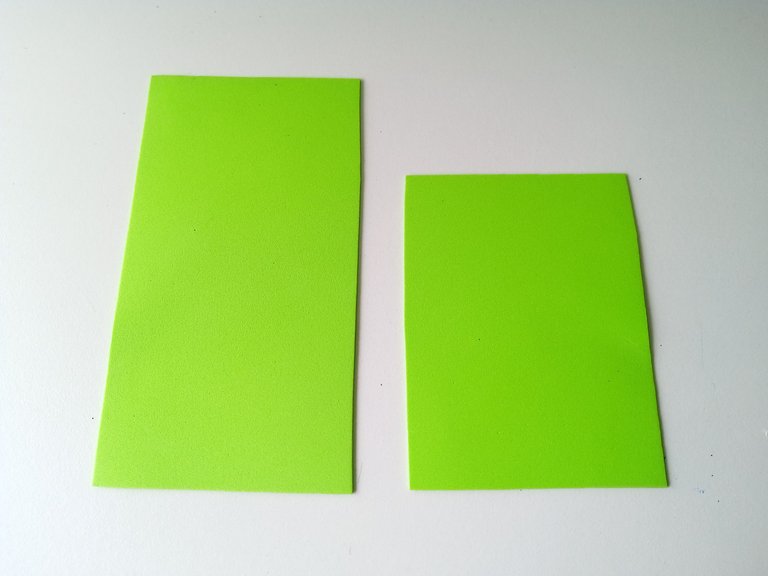
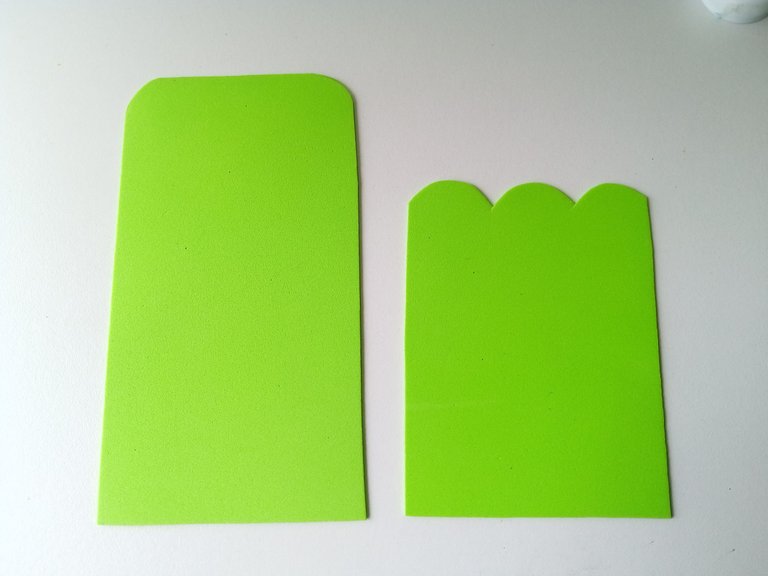
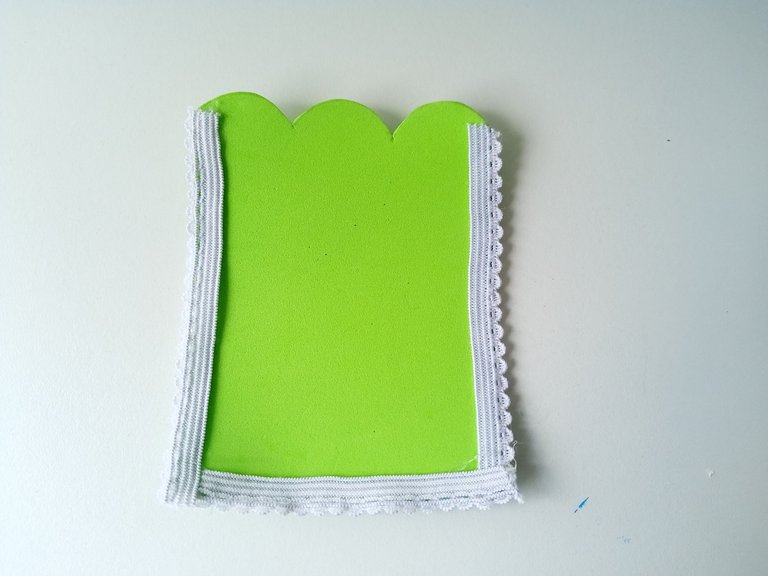
Lo primero que hice fue el estuche, así que tomé el foami verde y tracé las medidas que quería, las cuales fueron las siguientes: pieza más grande de 15 x 8.5 cm y pieza más pequeña de 11 x 8.5 cm. Recorté y a las puntas de la pieza más grande las recorté curvas y a la parte superior de la pieza más pequeña, le recorté un diseño curvo, pero por todo el borde.
- ✨ STEP 1:
The first thing I did was the pencil case, so I took the green foam and traced the measurements I wanted, which were the following: larger piece of 15 x 8.5 cm and smaller piece of 11 x 8.5 cm. I cut them out and cut out curves at the tips of the larger piece and at the top of the smaller piece, I cut out a curved design, but all around the edge.


- ✨ PASO 2:
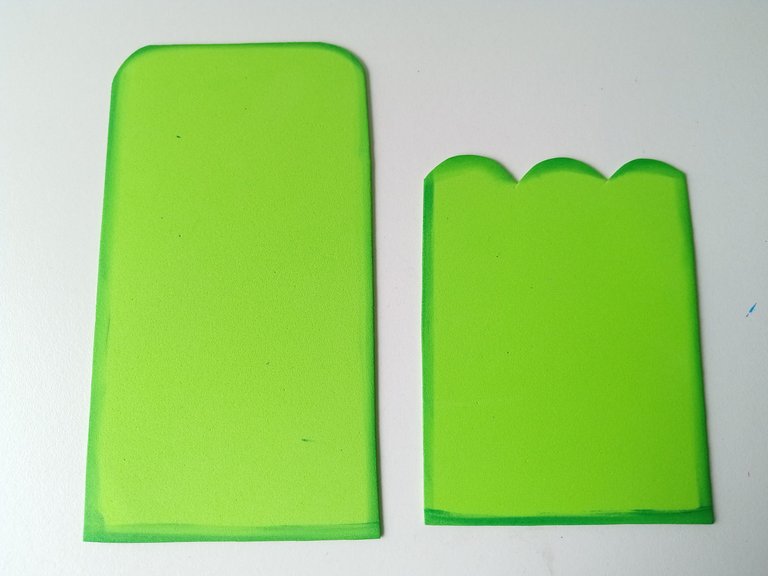
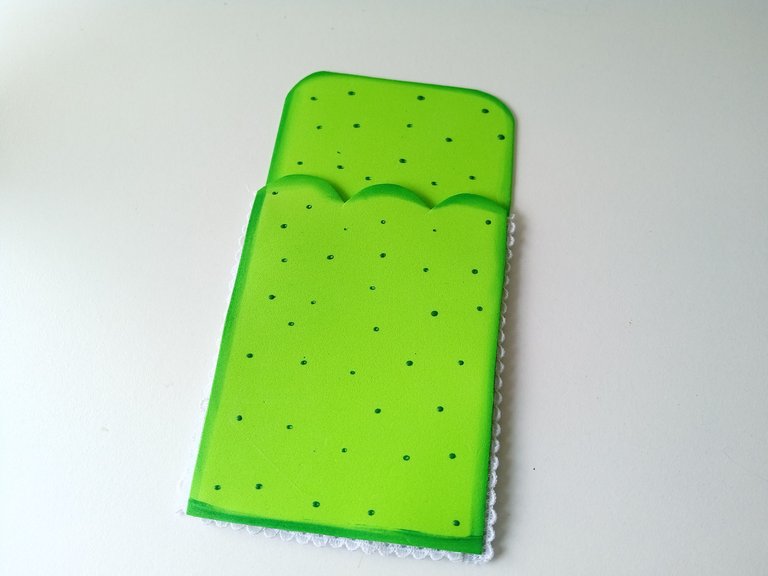
Seguidamente, comencé a dar color a los bordes de ambas piezas con pintura verde más oscura y como toque extra, pegué liga con diseño por todo el borde superior de la pieza más pequeña. Uní ambas piezas para formar el estuche, pinté puntos verdes por ambas piezas y tracé pequeñas líneas por todo el borde con marcador y dejé secar.
- ✨ STEP 2:
Next, I began to color the edges of both pieces with darker green paint and as an extra touch, I glued a design all around the top edge of the smaller piece. I joined both pieces to form the pencil case, painted green dots on both pieces and drew small lines all around the edge with a marker and let it dry.


- ✨ PASO 3:
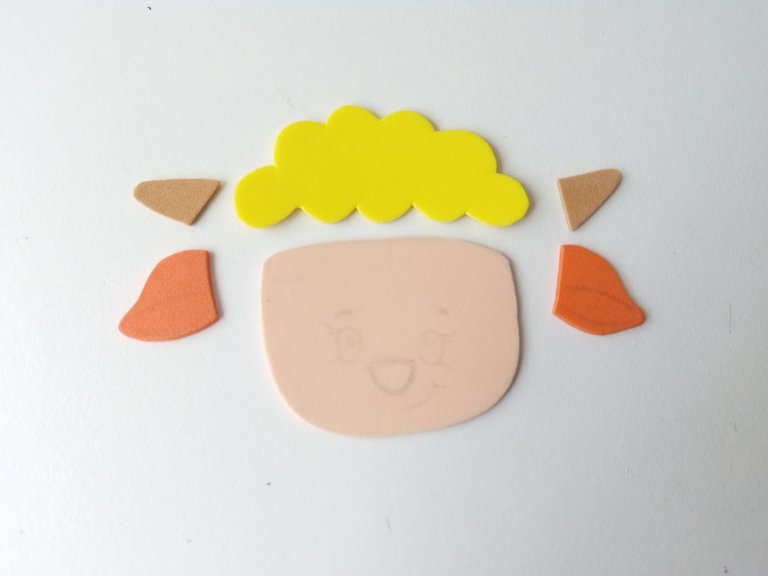
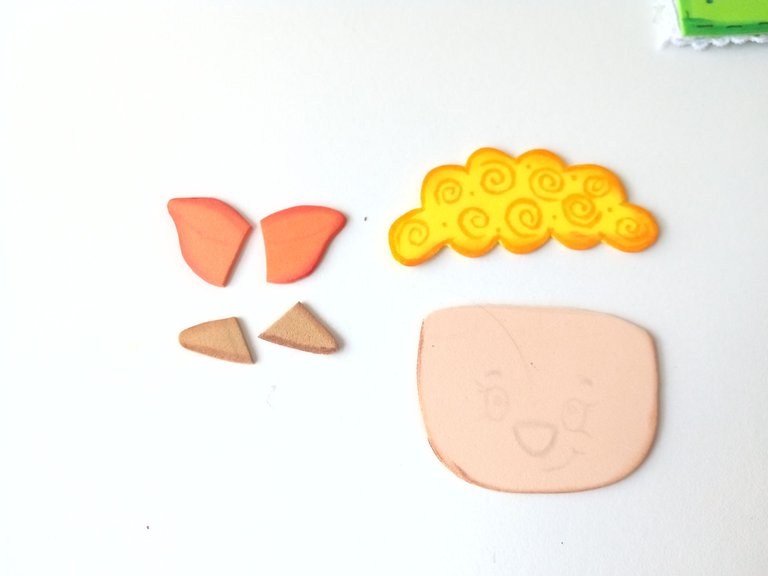
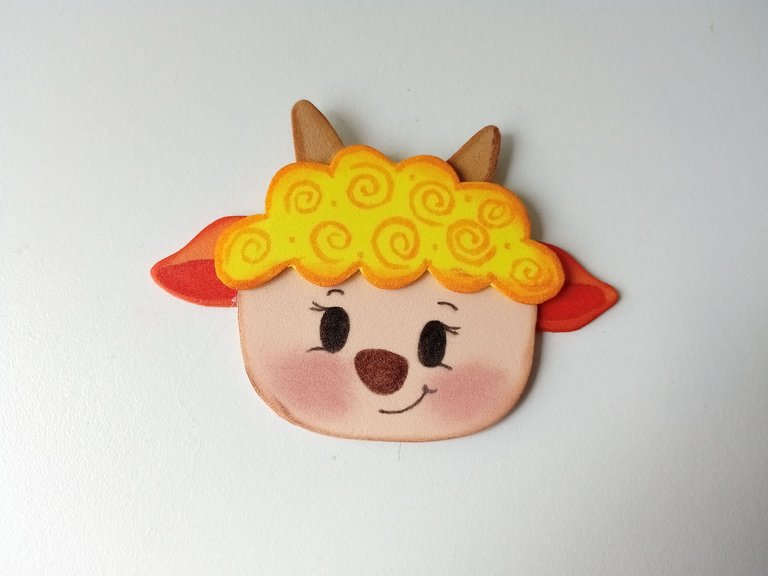
Ahora si llego el momento de hacer la decoración, que como saben es Woolio, así que comencé dibujando el diseño en una hoja blanca y luego transferí cada una de las piezas a los colores correspondientes de foami, de la siguiente manera: Cabeza en foami crema, lana en foami amarillo, orejas en foami naranja, cuernos en foami marrón. Recorté las piezas y comencé a dar detalles a los bordes con pinturas.
- ✨ STEP 3:
Now it's time to make the decoration, which as you know is Woolio, so I started by drawing the design on a white sheet and then I transferred each of the pieces to the corresponding colors of foam, as follows: Head in cream foam, wool in yellow foam, ears in orange foam, horns in brown foam. I cut out the pieces and began to give details to the edges with paints.


- ✨ PASO 4:
Una vez secos, di más detalles con marcadores a las orejas, pelaje, nariz, ojos, cejas y boca. También, aproveché de pintar las mejillas con rubor. Uní todas las piezas hasta formar a Woolio y, además, di puntos de luz a ojos y otras partes de la cabeza. Finalmente, pegué la decoración en medio de la pieza más pequeña del estuche y agregué un lazo dorado debajo de Woolio.
- ✨ STEP 4:
Once dry, I gave more details with markers to the ears, fur, nose, eyes, eyebrows and mouth. I also took the opportunity to paint the cheeks with blush. I joined all the pieces together to form Woolio and, in addition, I gave points of light to eyes and other parts of the head. Finally, I glued the decoration in the middle of the smallest piece of the case and added a gold bow under Woolio.

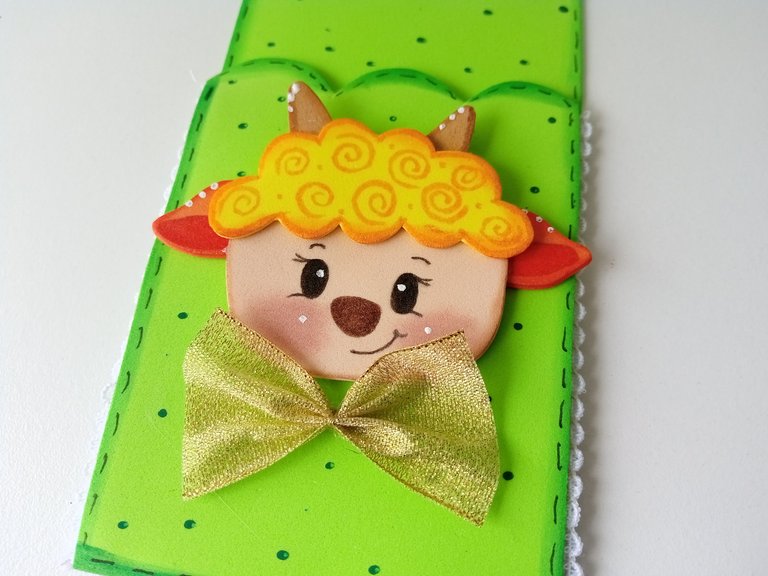

✨Now you can add the markers, pens or pencils you want in this cute organizer or case to have everything at hand. I really enjoyed the process of this creation. I hope you are encouraged to elaborate the step by step with the character or creature of your choice.
❤️Until the next post.
❤️ Hasta la próxima publicación.
❤️ Until the next post.


Todas las fotografías son de mi propiedad.
Separador y Fotos editadas en Canva
All photographs are my property.
Photos edited in Canva
Necesito tu creatividad. Que hermosura 🥰
Ayy tan bella! Gracias Ami 💕
OMGGGGGG🩷🩷🩷😍
La necesito, está demasiado cuchi y los colores DIOSSSSMIOOOO ¡Me encantó!
Gracias Ami bella!! 🤭 Estaba dudosa, pero al final pensé que los colores si quedaban bonitos. Gracias Ami 💕
Que cuchitura 😍😍, me encantó Ami❤️✨
Muchas gracias Ami 🤭💕